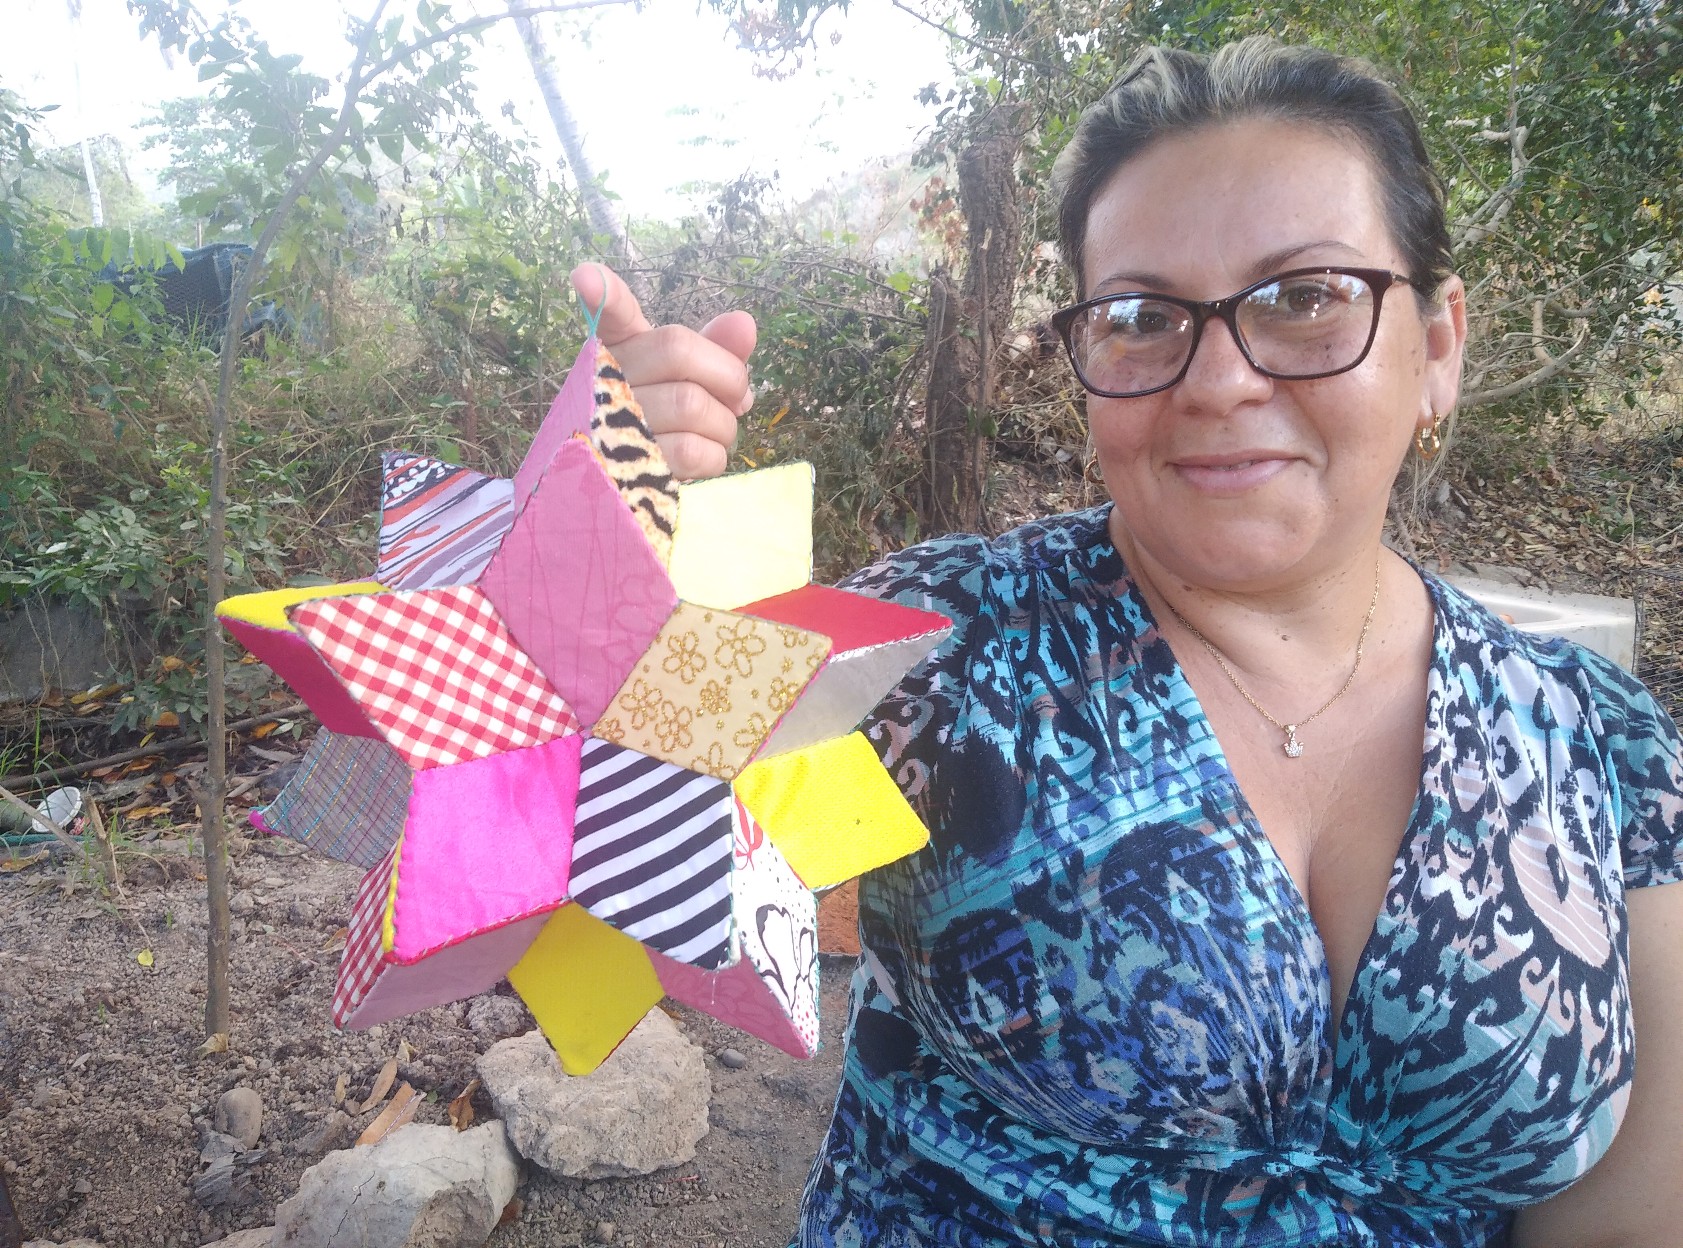
ESP/ENG] HERMOSA ESTRELLA EN 3D ELEBORADA CON RECORTES DE TELAS Y CARTÓN/. BEAUTIFUL 3D STAR MADE WITH FABRIC AND CARDBOARD CUTOUTS.
Muy buena noche deseo a todos, en @hivediy, Dios los bendiga, hoy les mostraré un fácil tutorial de cómo hacer una linda estrella decorativa en 3D.
Very good night I wish everyone, at @hivediy, God bless you, today I will show you an easy tutorial on how to make a cute 3D decorative star.
Materiales:
. Cartón
. Recortes de tela
. Hilo y aguja de coser
. Tijeras.
Materials:
. Paperboard
. fabric scraps
. sewing needle and thread
. Pair of scissors.

Pasos. Step.
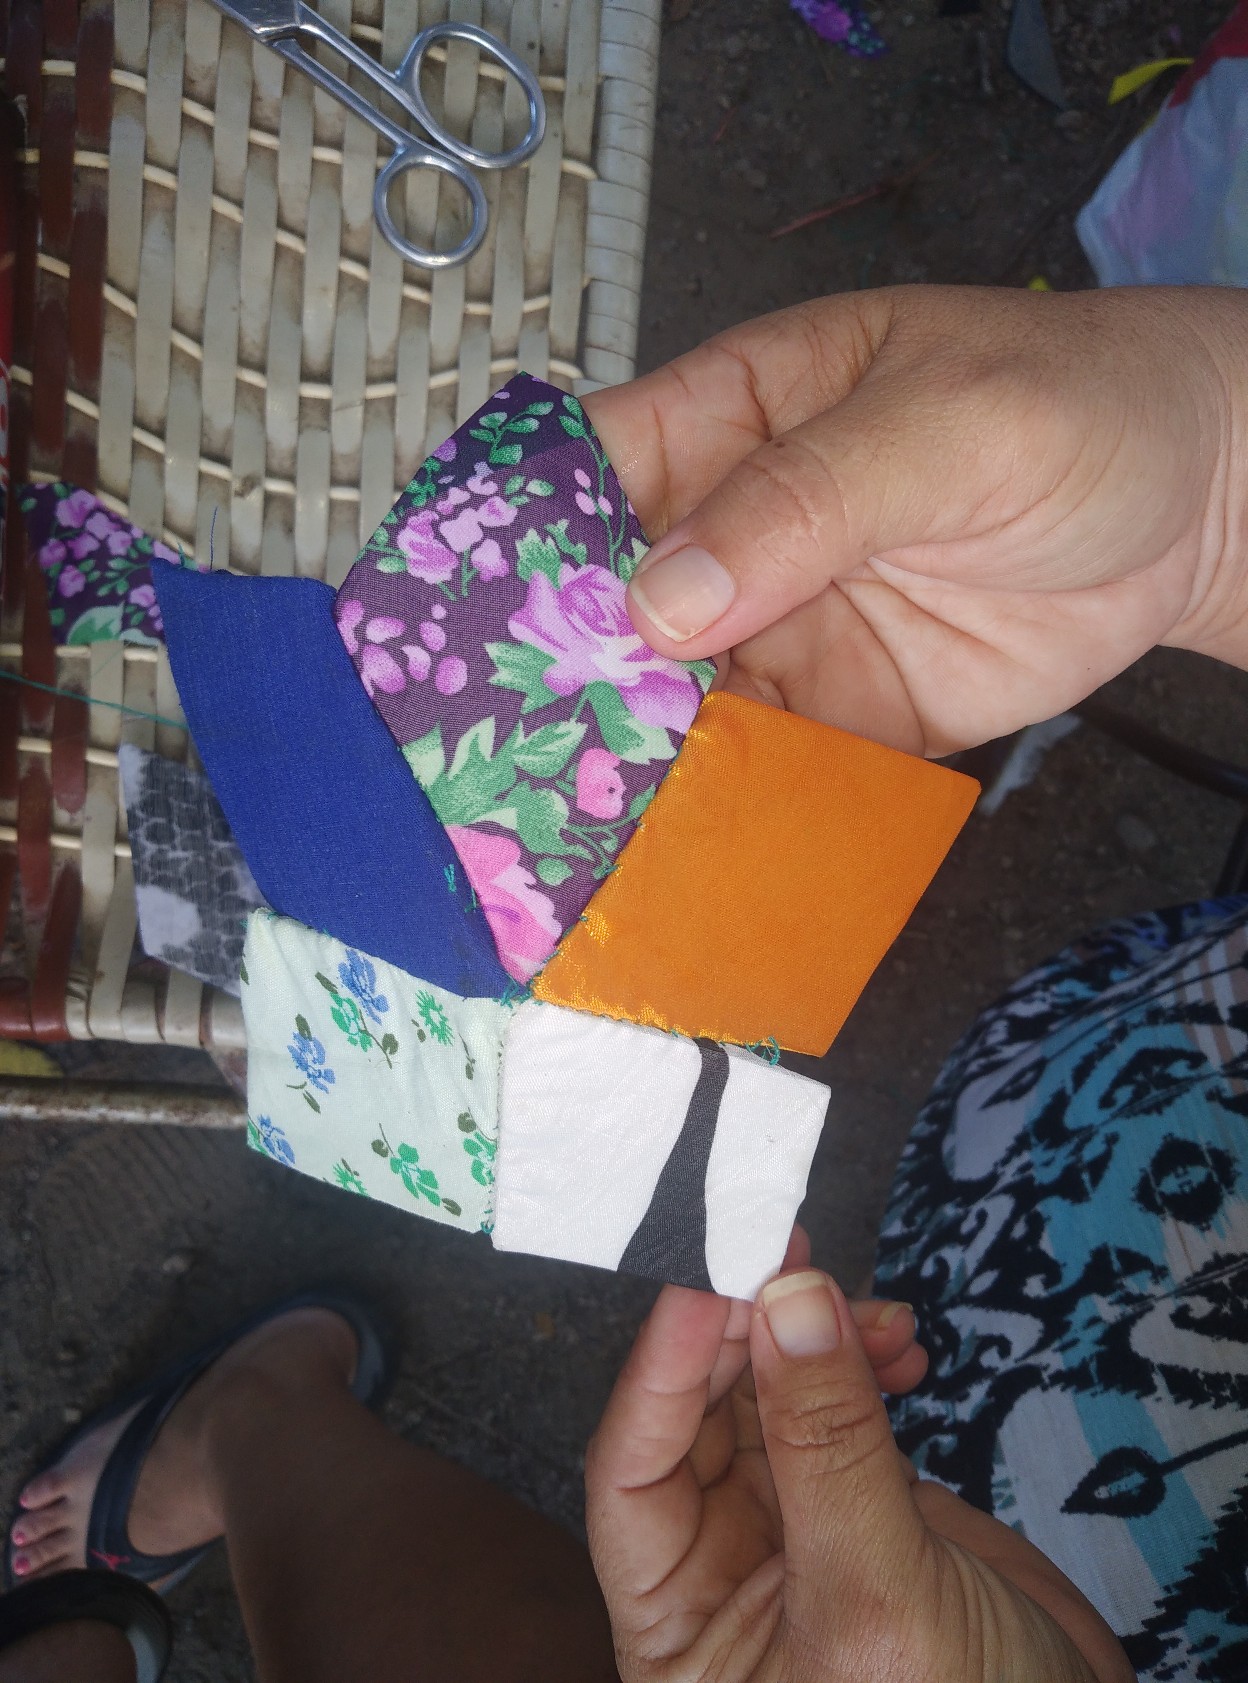
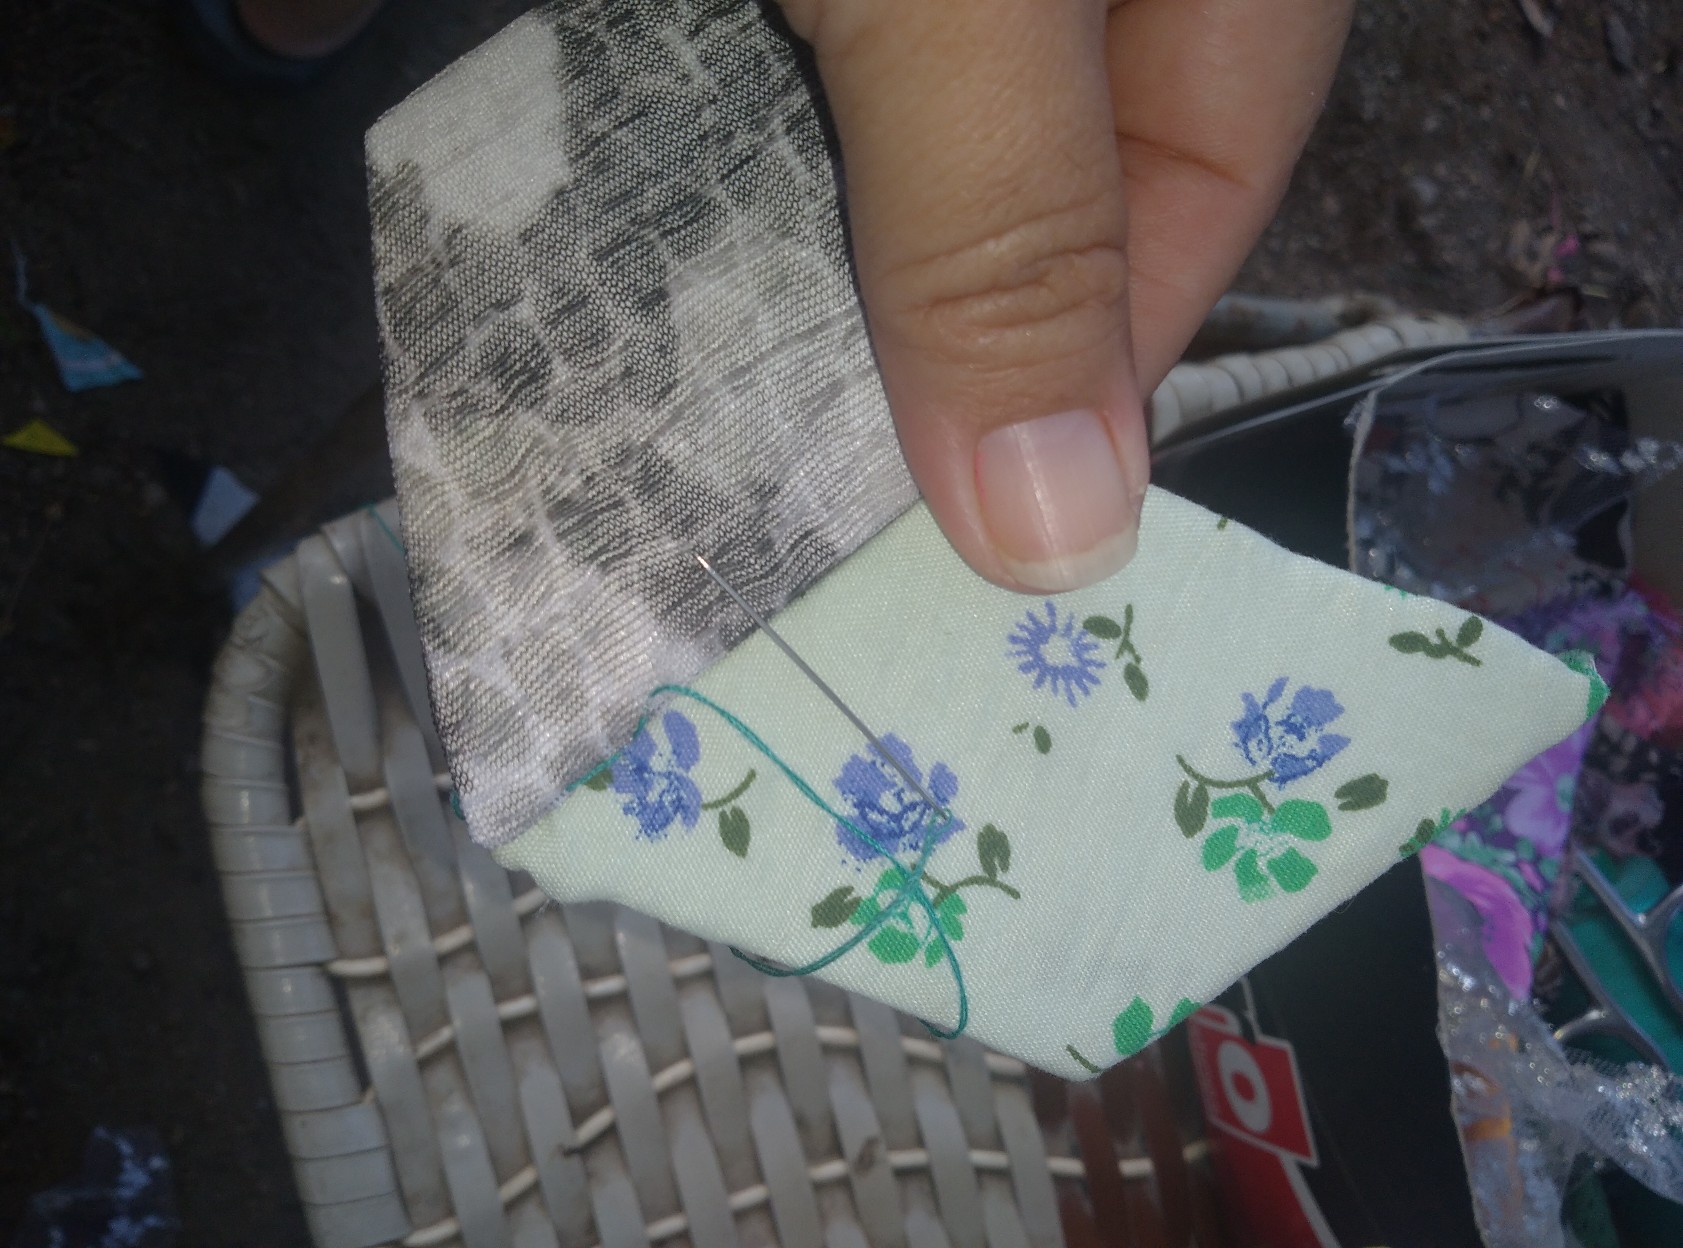
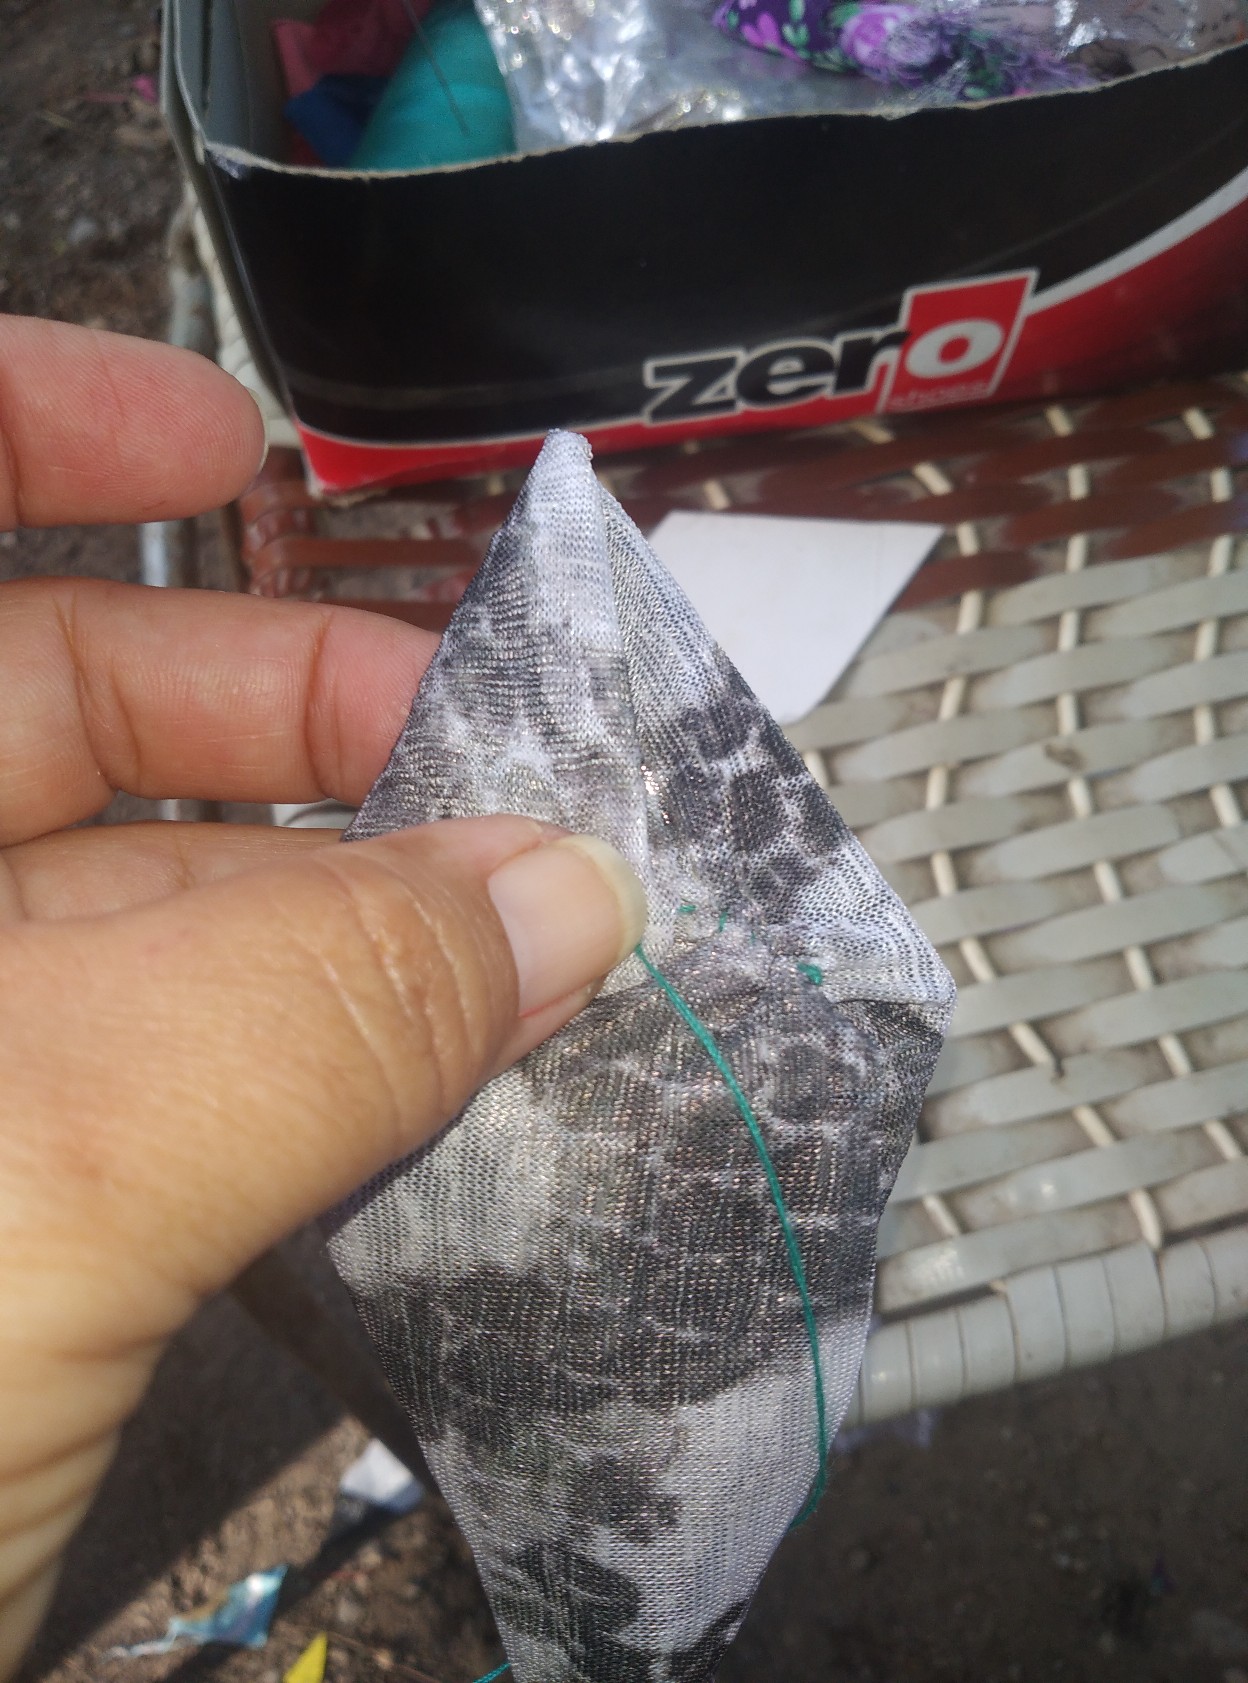
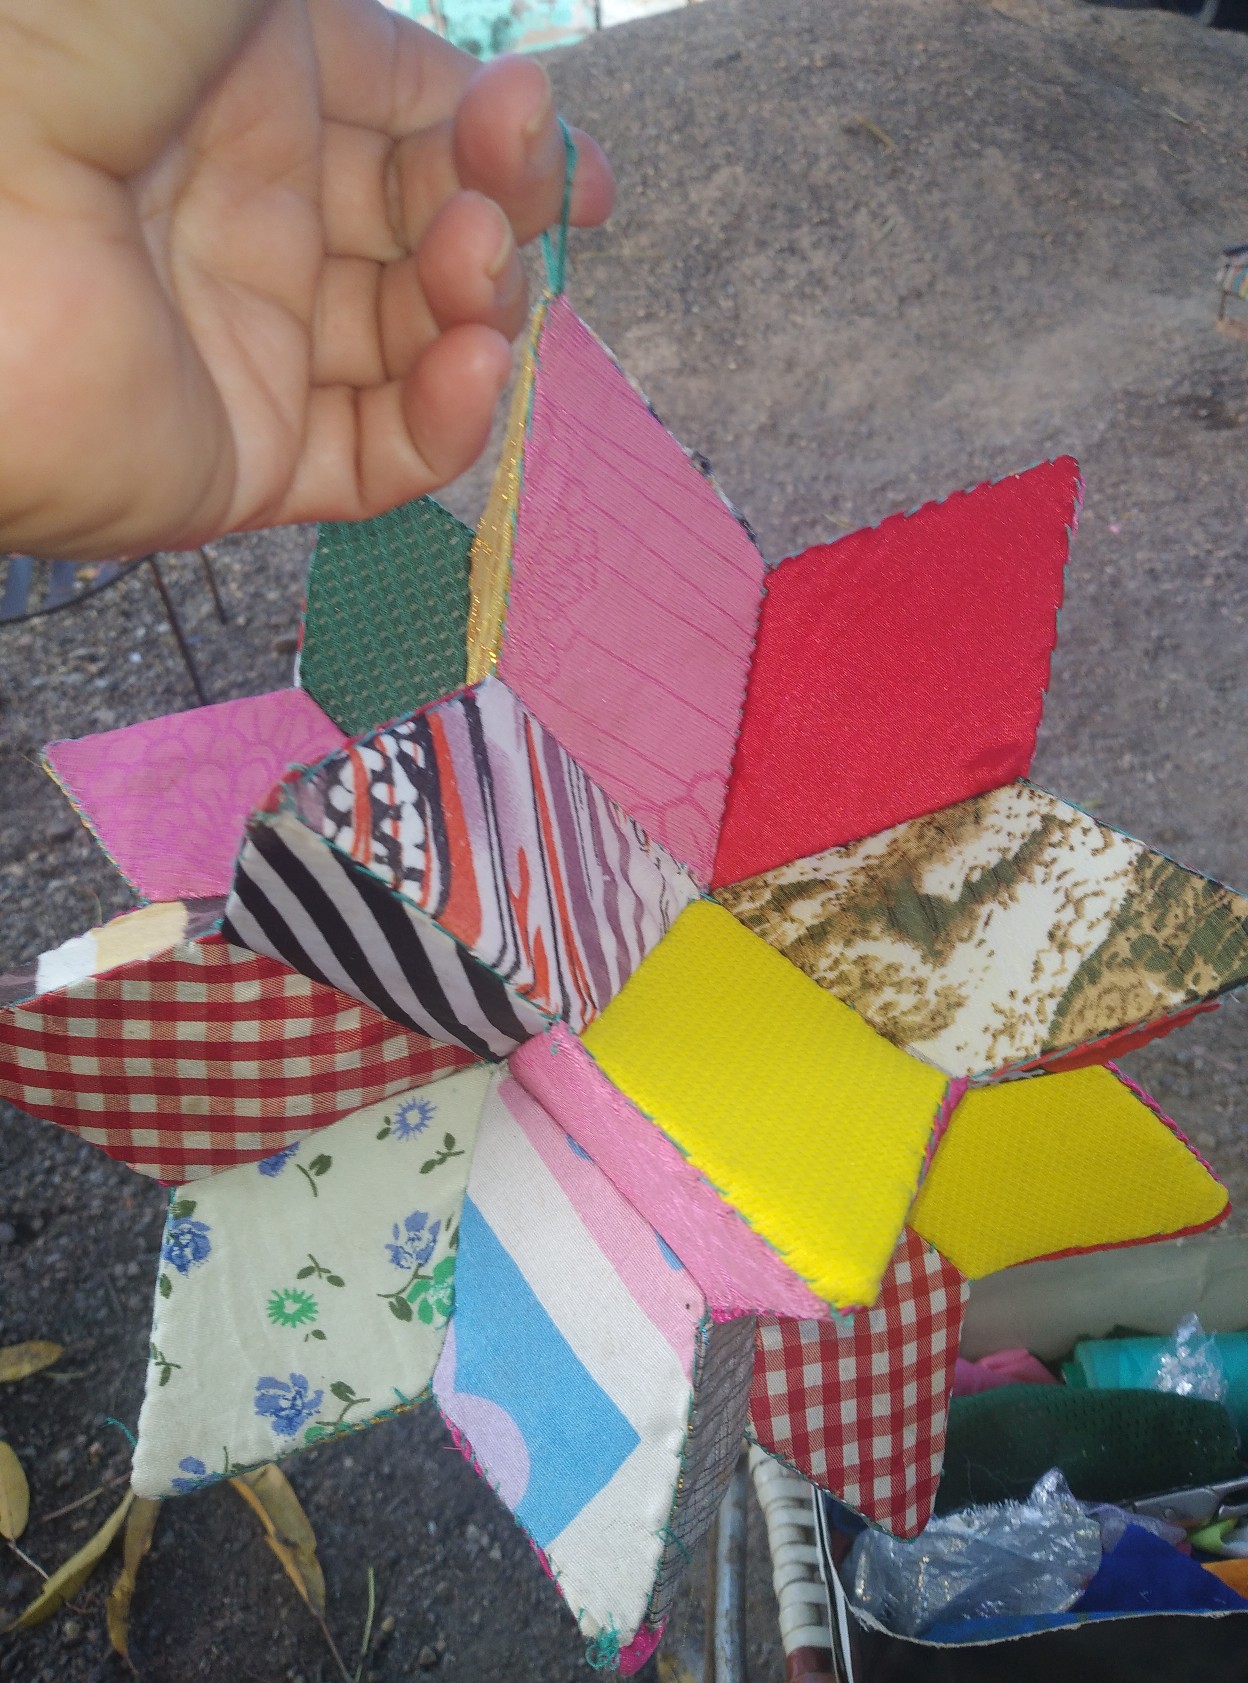
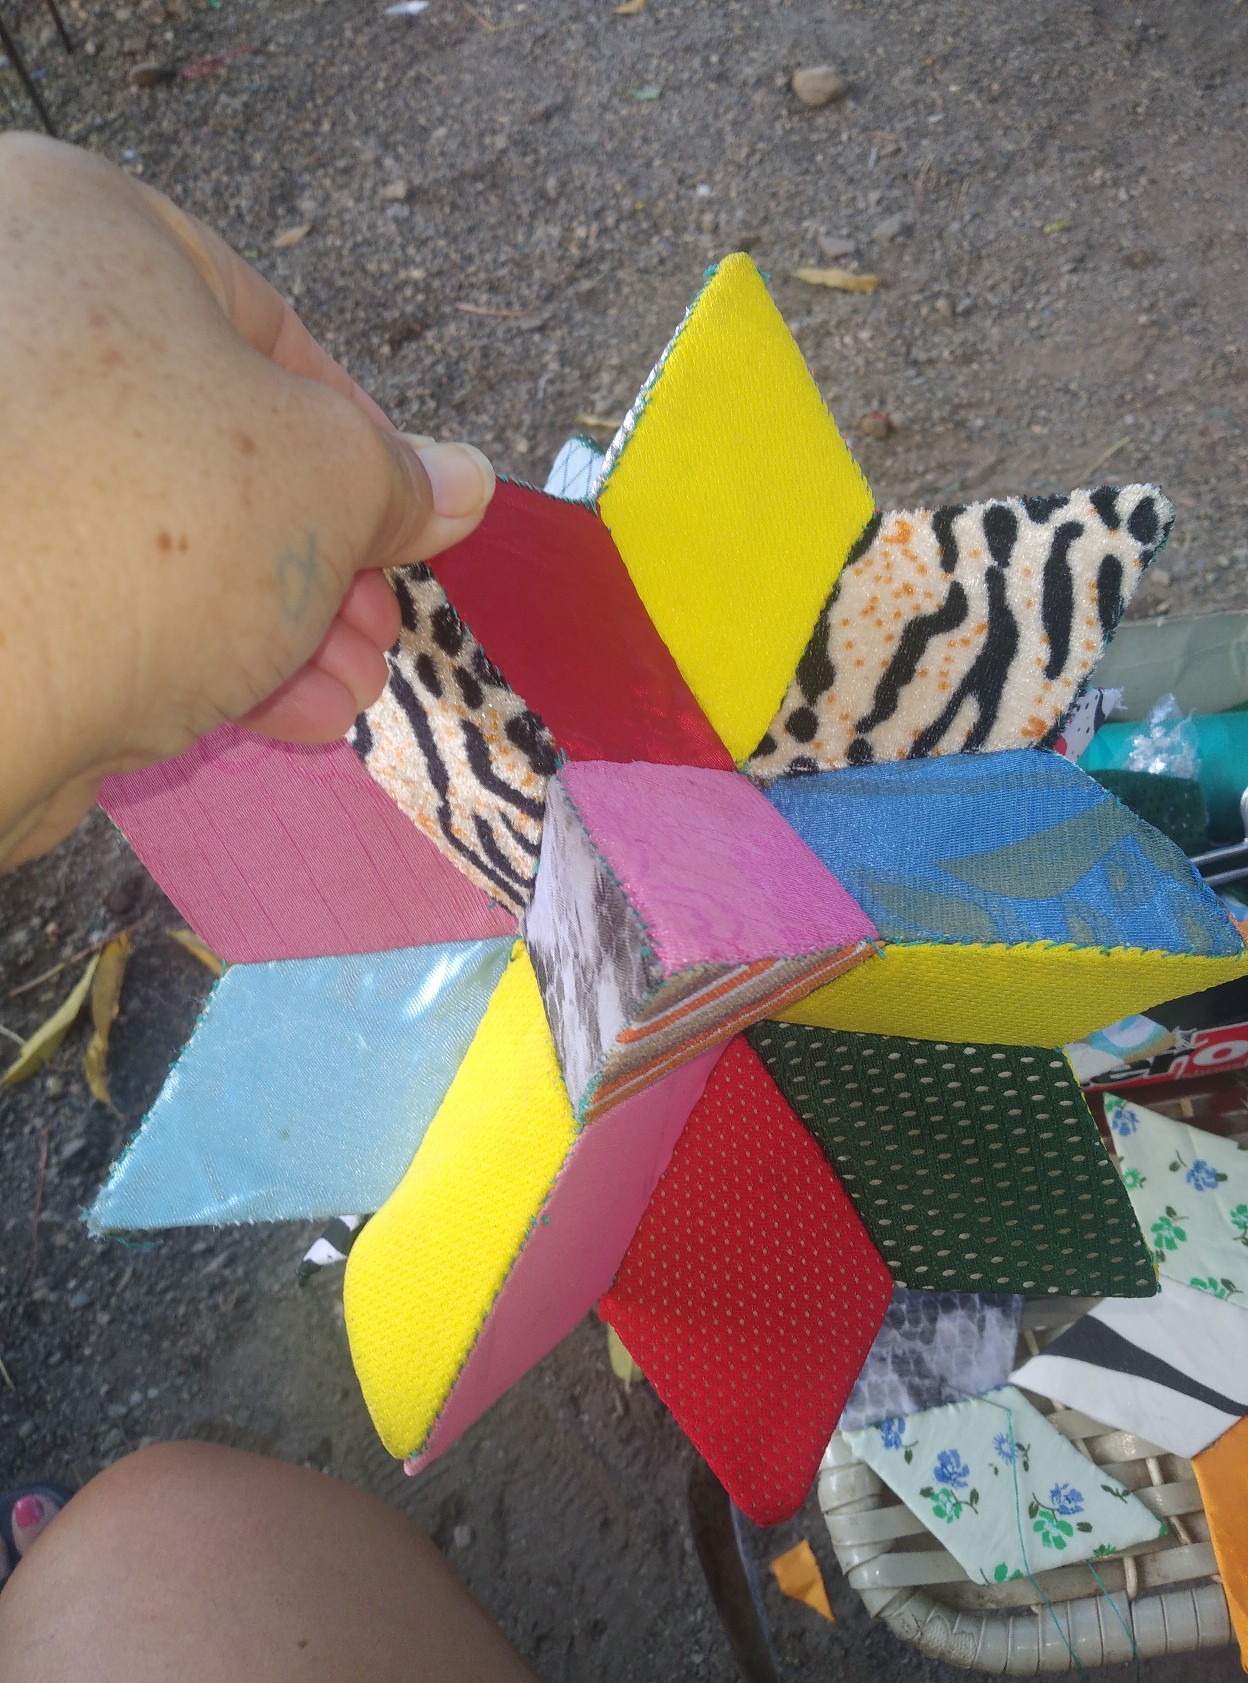
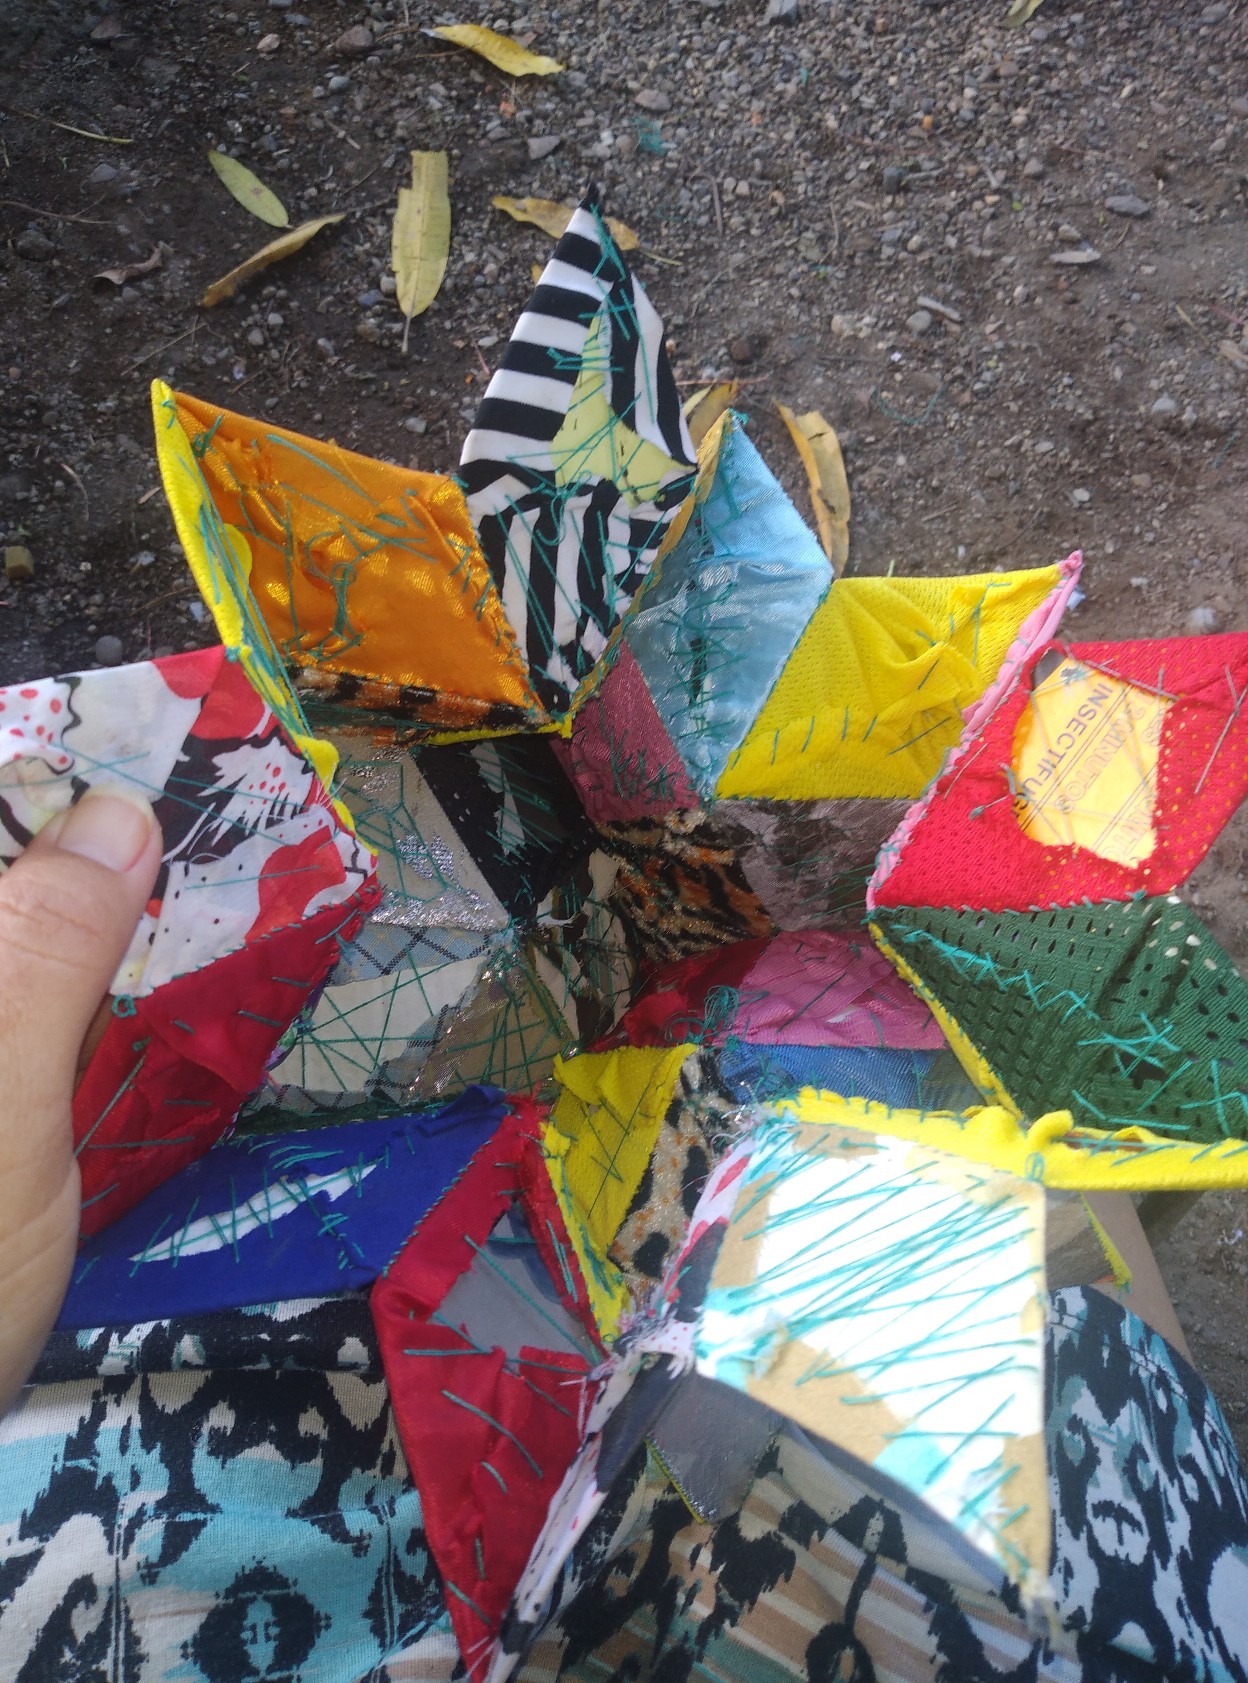
1.) Inicio cortando de el cartón en forma de rombo. cada estrella consta de 5rombos y serán 12 estrellas, se debe ser cuidadoso de que todos tengan la misma medida de igual manera se cortan trozos de tela, para forrar e ir armando la estrella, de esta forma se arman un total de 12 estrellas que luegos se irán cosiendo entresi.
1.) Start by cutting rhombuses from the cardboard, each star consists of 5 rhombuses and there will be 12 stars, you must be careful that they all have the same size in the same way pieces of fabric are cut, to line and assemble the star, in this way This way, a total of 12 stars are assembled, which will then be sewn together.

2.) Se van pegando las estrellas, hasta completar y rellenar todos los espacios, para finalizar se coloca, con el mismo hilo un colgante.
2.) The stars are glued, until completing and filling all the spaces, to finish, a pendant is placed with the same thread
Gracias por visitar mí blog, hasta una pronta publicación.
Thanks for visiting my blog, until a soon publication.