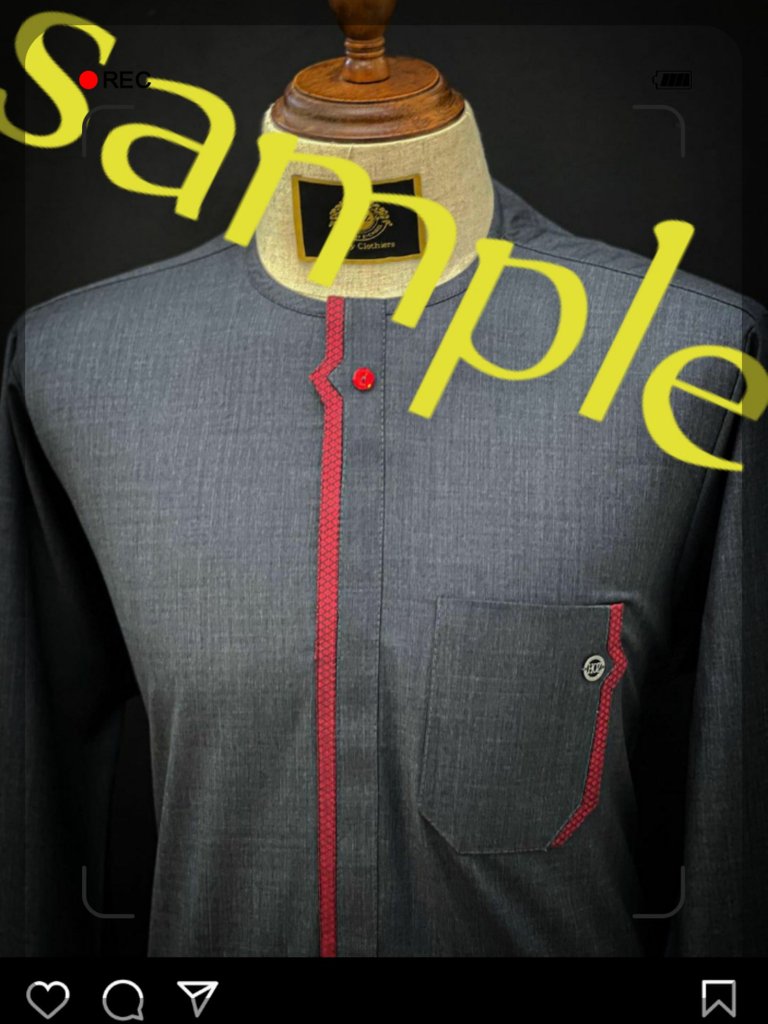
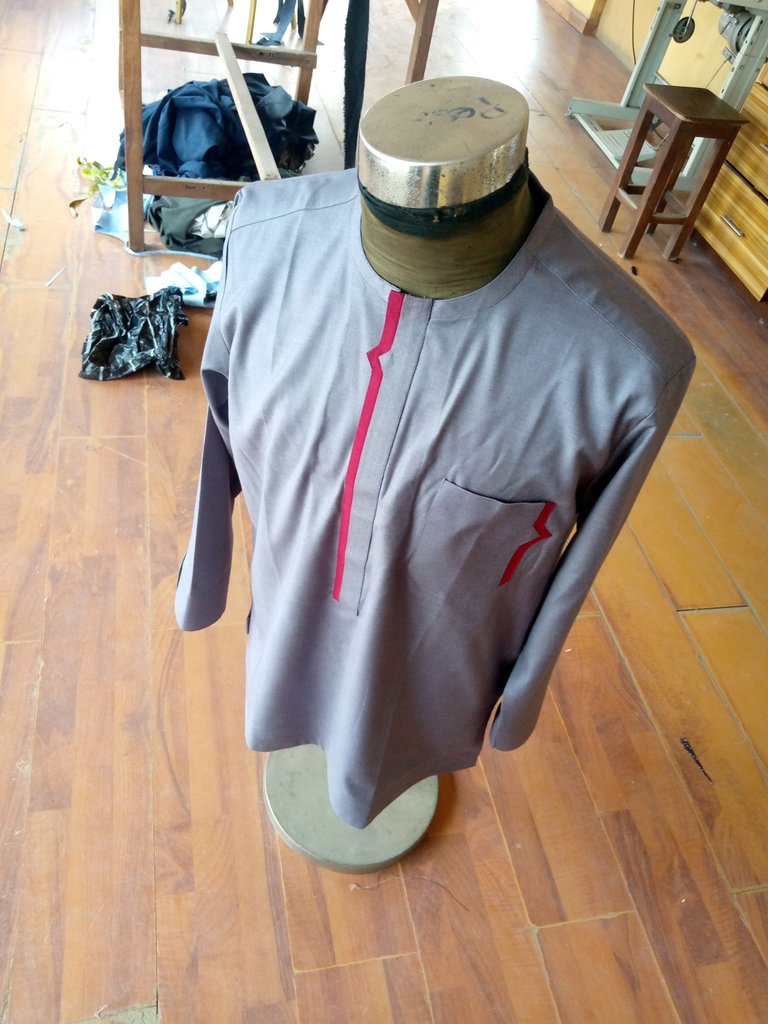
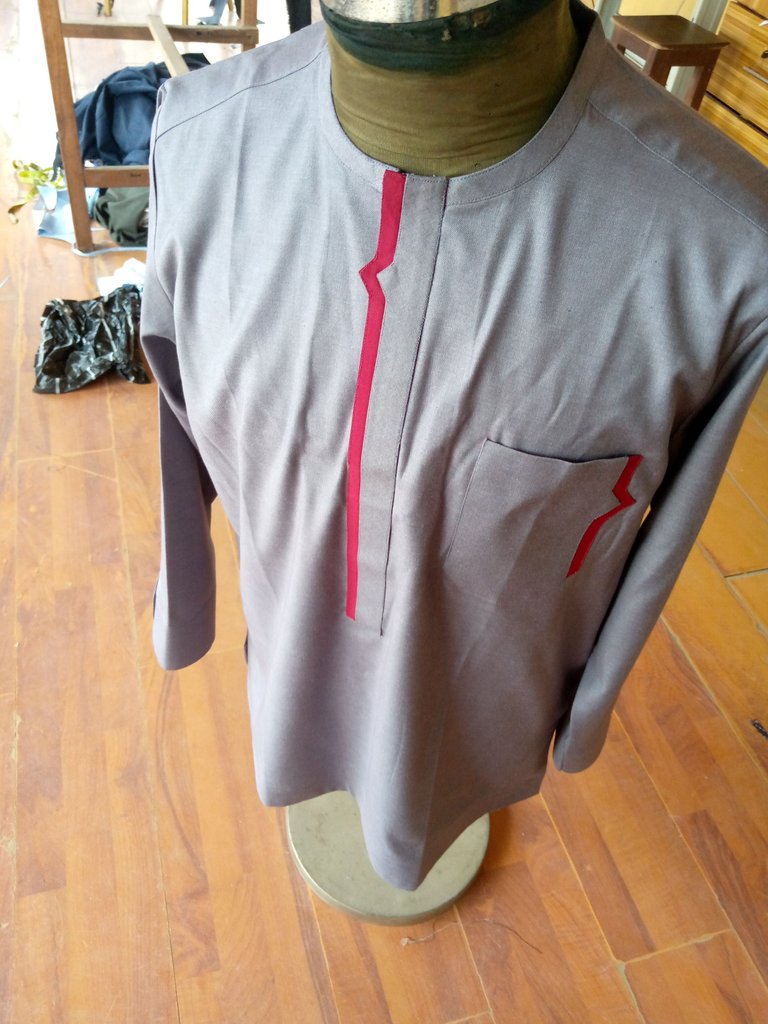
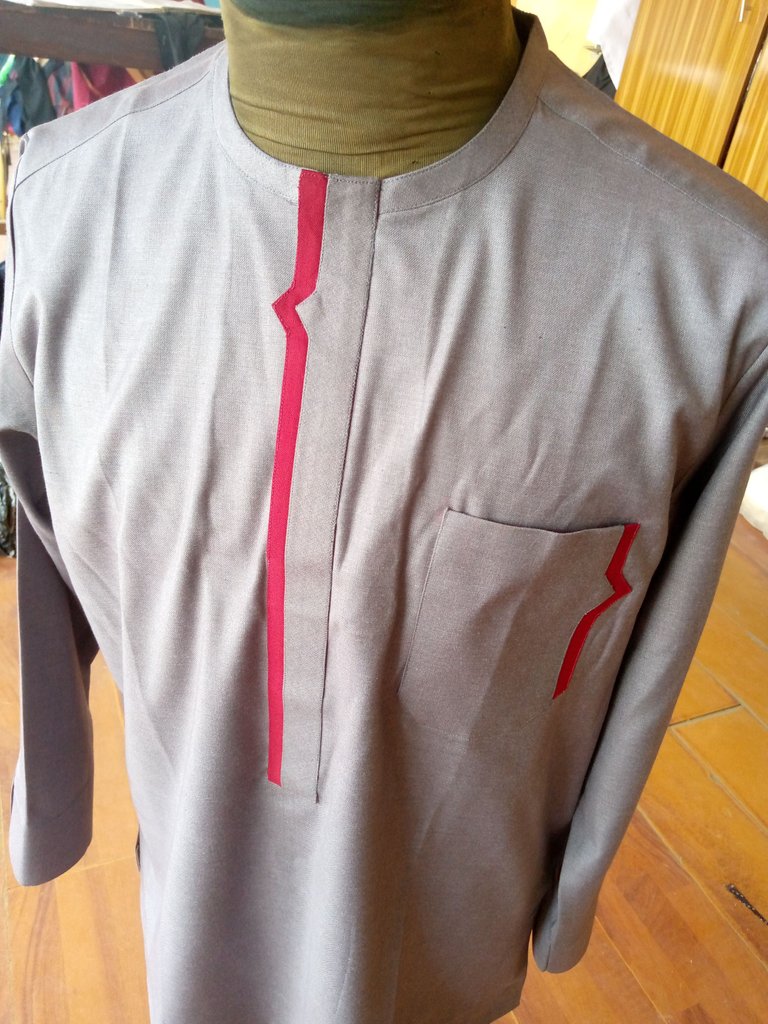
An outfit I just made for client this weekend
Good evening every hive leaders, it is a new week loading, I hope you all have wonderful night yesterday, I am so grateful for the privilege given me to be here in this needleworks Monday to display the skill that I have learnt so far.
Sample
Guys this is what my client need .
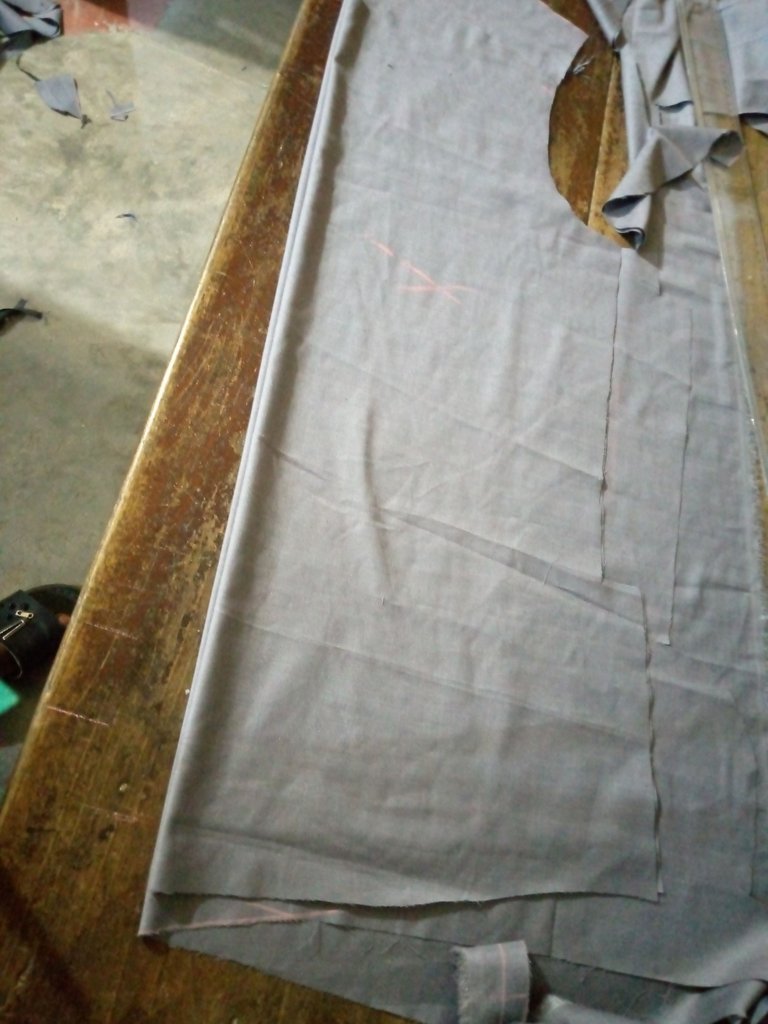
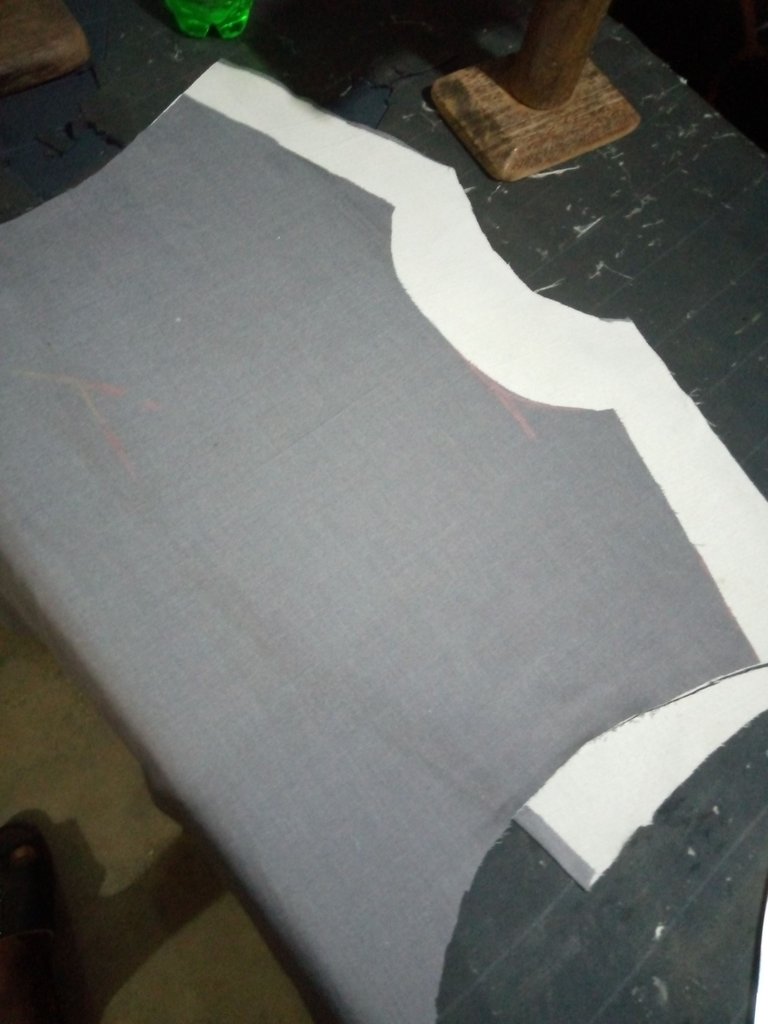
my cutting process
I lay the fabric on my cutting table and I drift out the measurement of my client on it and I cut it out the front part of the cloth, after that I used the front and cut out the back adding some inches at the top for the shoulder adjustment and I rounded the neck out, that was it for the back and moved to the sleeve I from the top I drifted out where it will end and from the top I took six inches so that I could have a good rounded sleeve and I cut it out.
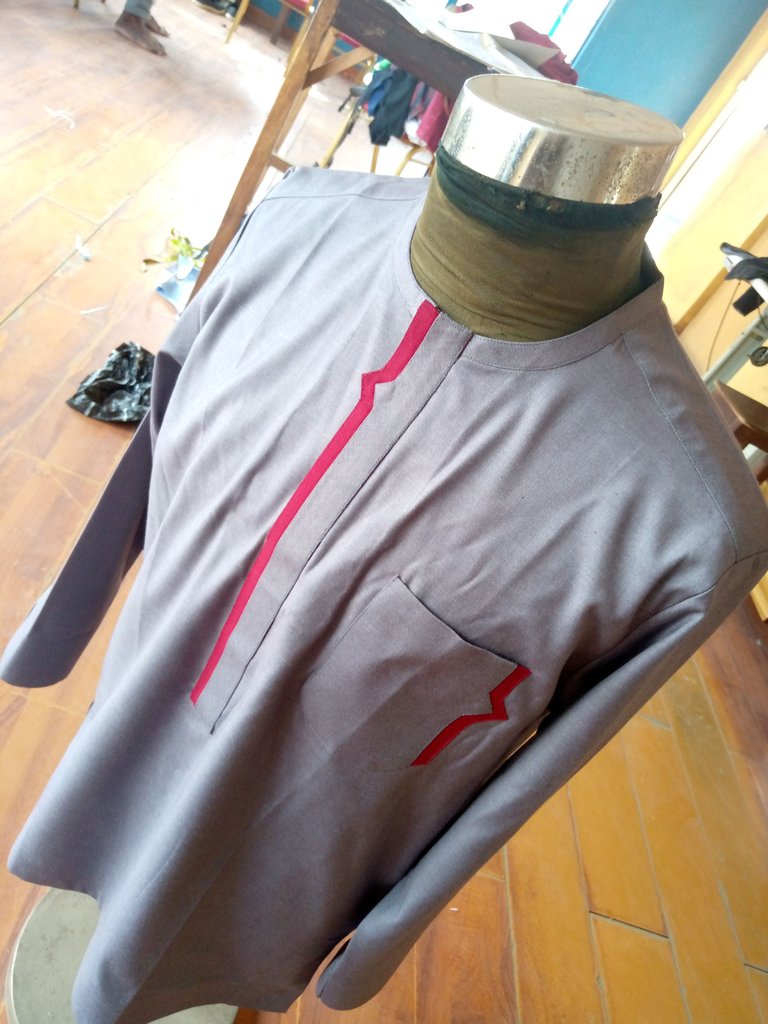
Item used: Ash & red fabric, colar gum, Lightstay gum, Hemming gum, heirstay gum, scissors, tap, sewing machine, matching thread.
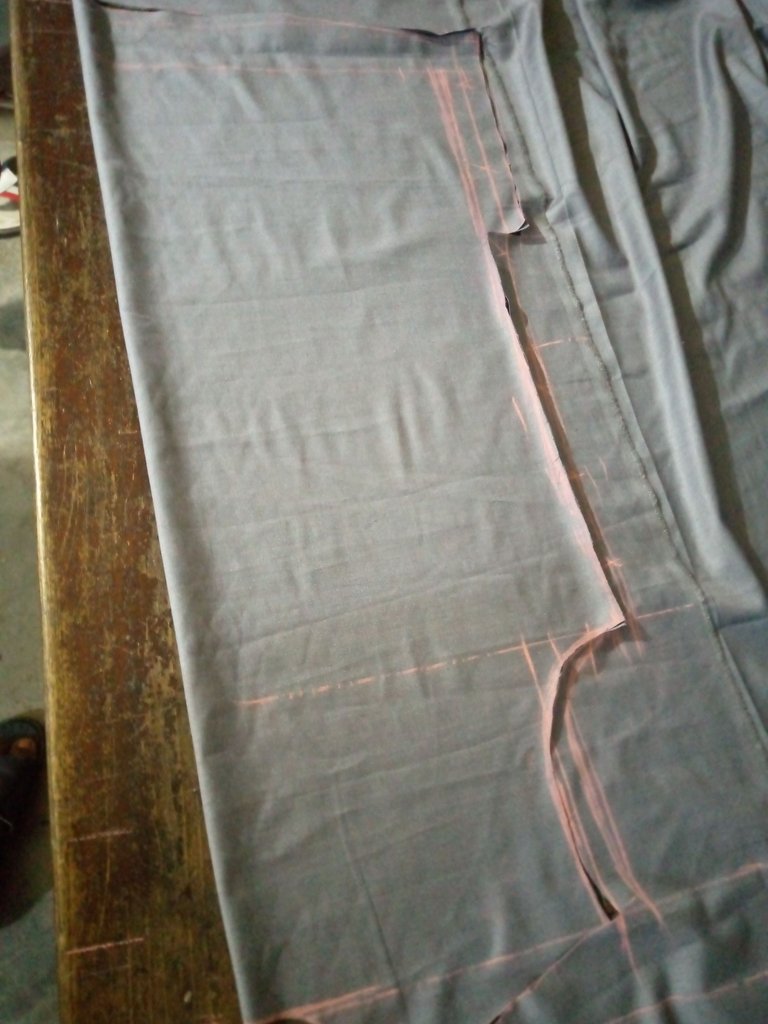
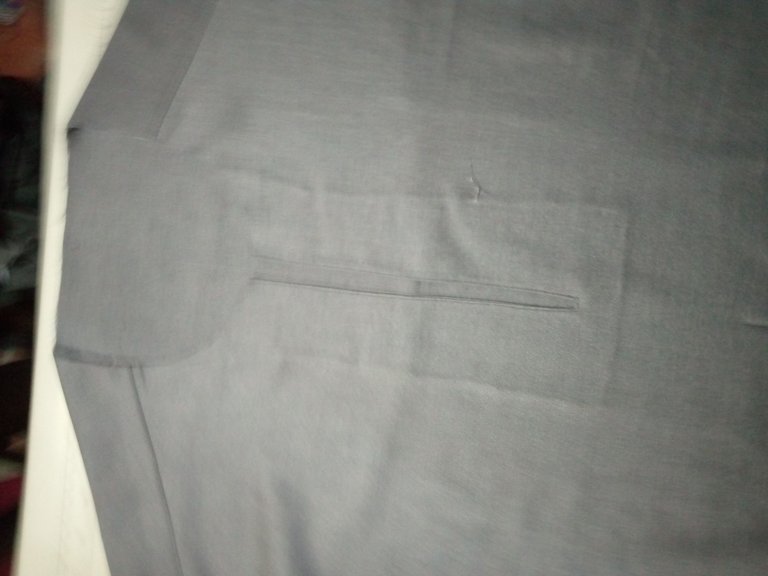
Back piece view:
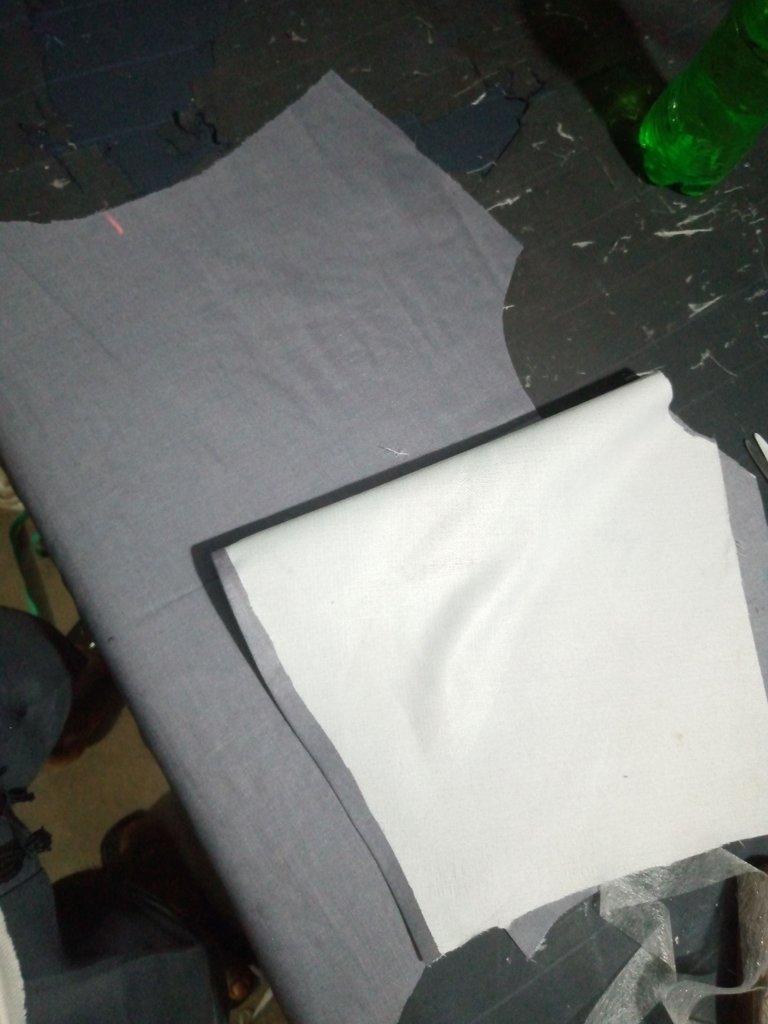
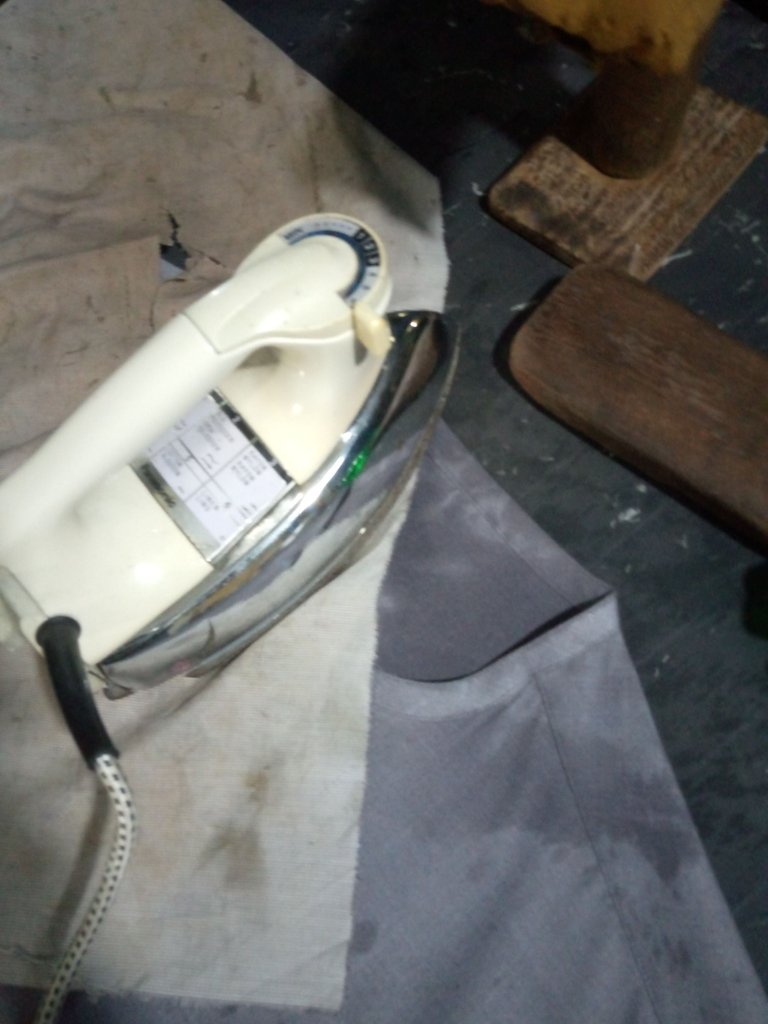
I cut out the back turning called back piece and I start preparing the back piece, first of all, I cut the material and heirstay then I carried the to ironing table and gum it with hot iron, after I finish gum the back piece,I bend It with simple design for the pieces then I used iron and divided it be two and the back of the cloth too before I carried the back piece and pest on the back middle, then put hrming gum under and press it with iron before I sew it.
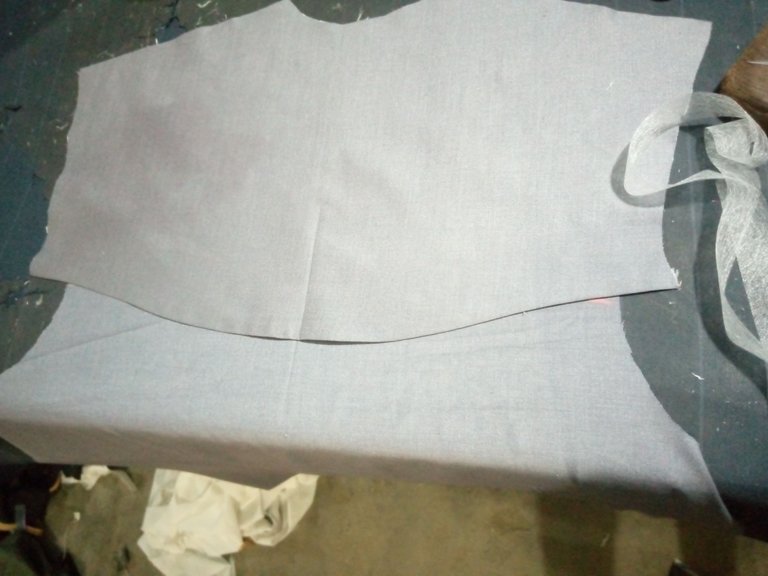
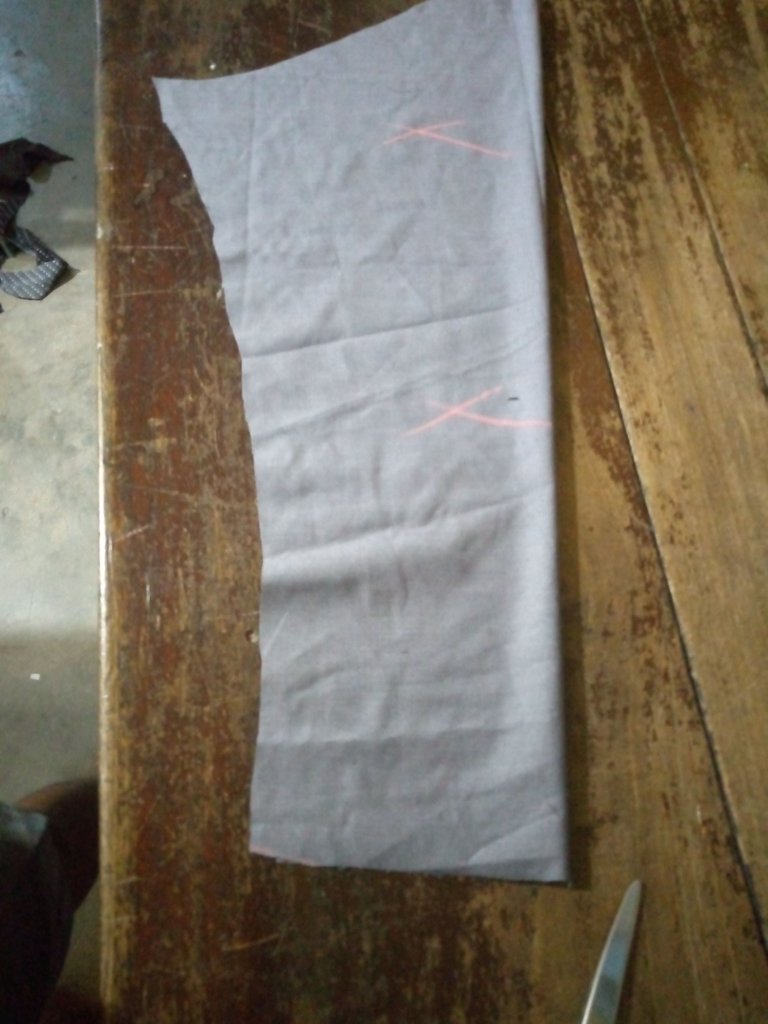
then I carried the front side and join the shoulder before I carried it to ironing table press it to see how the neck is, so the neck need some trimming so I used scissors and trim it to give me a round neck before I cut the pieces of material and then I turn the front where the flap will pest before fix the neck.

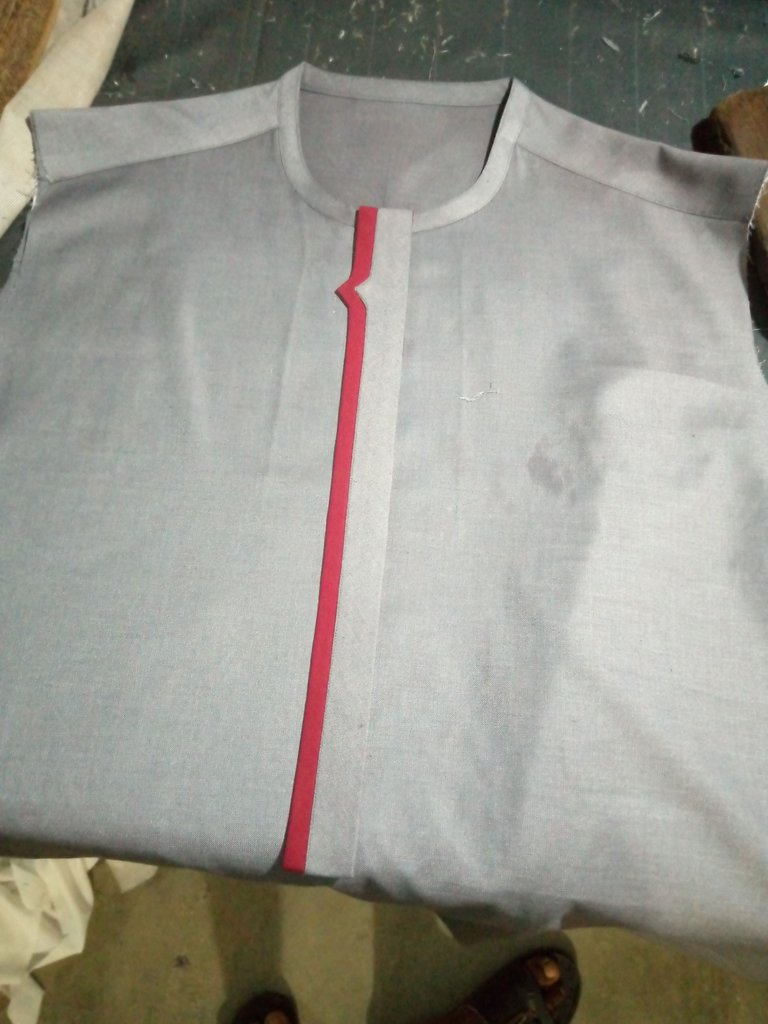
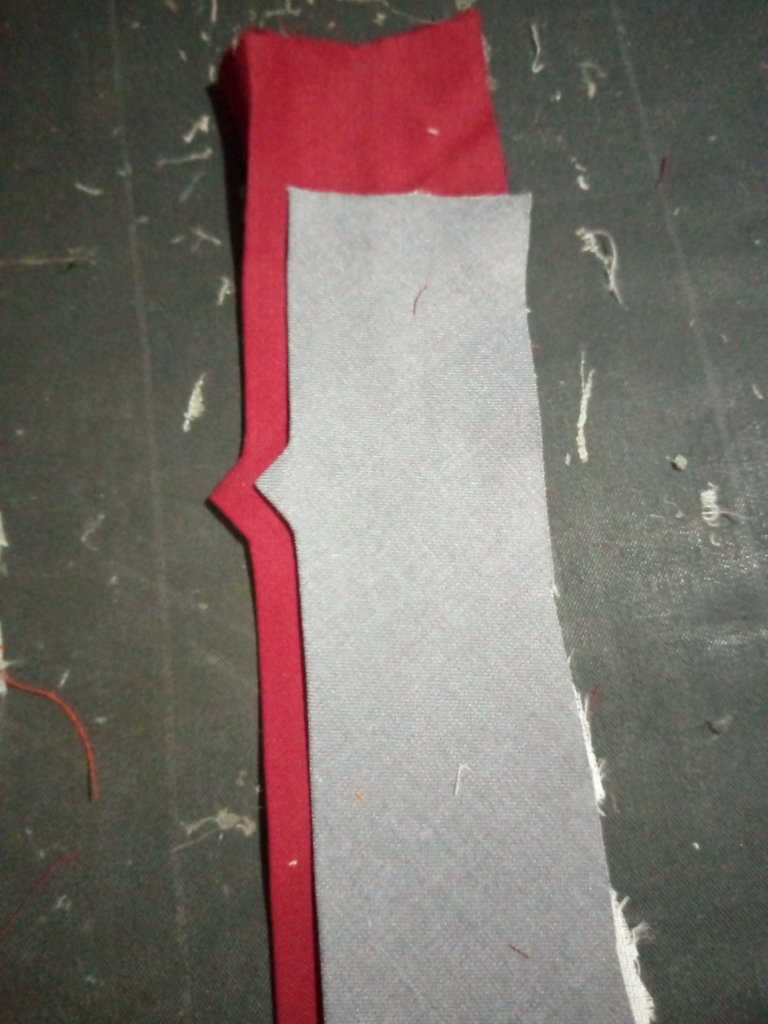
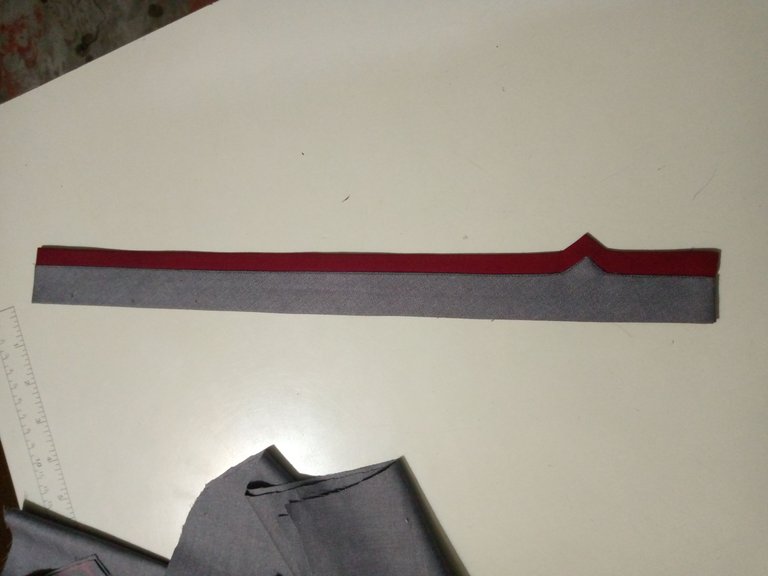
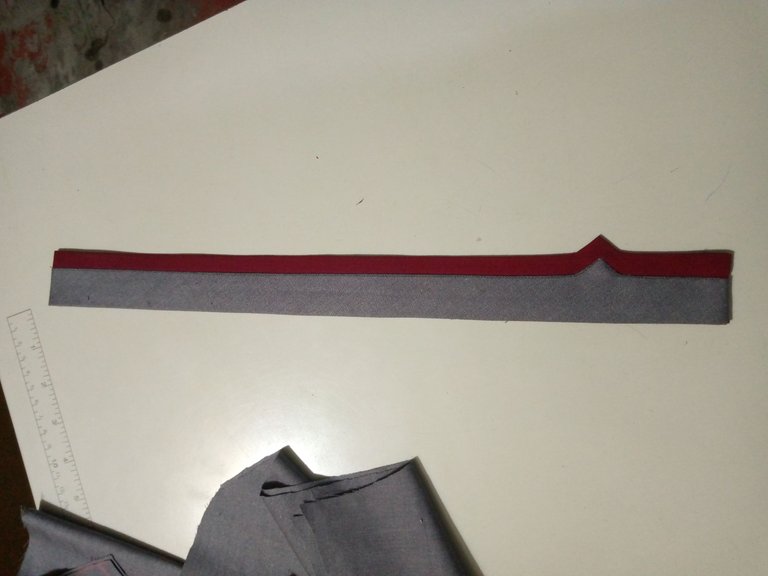
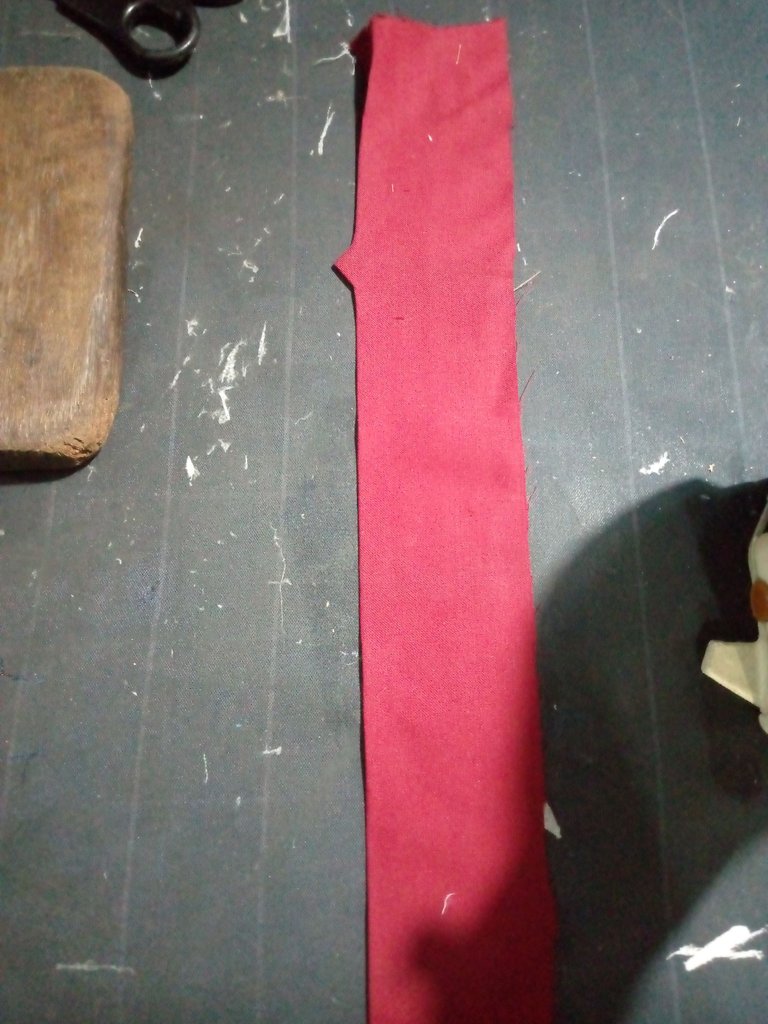
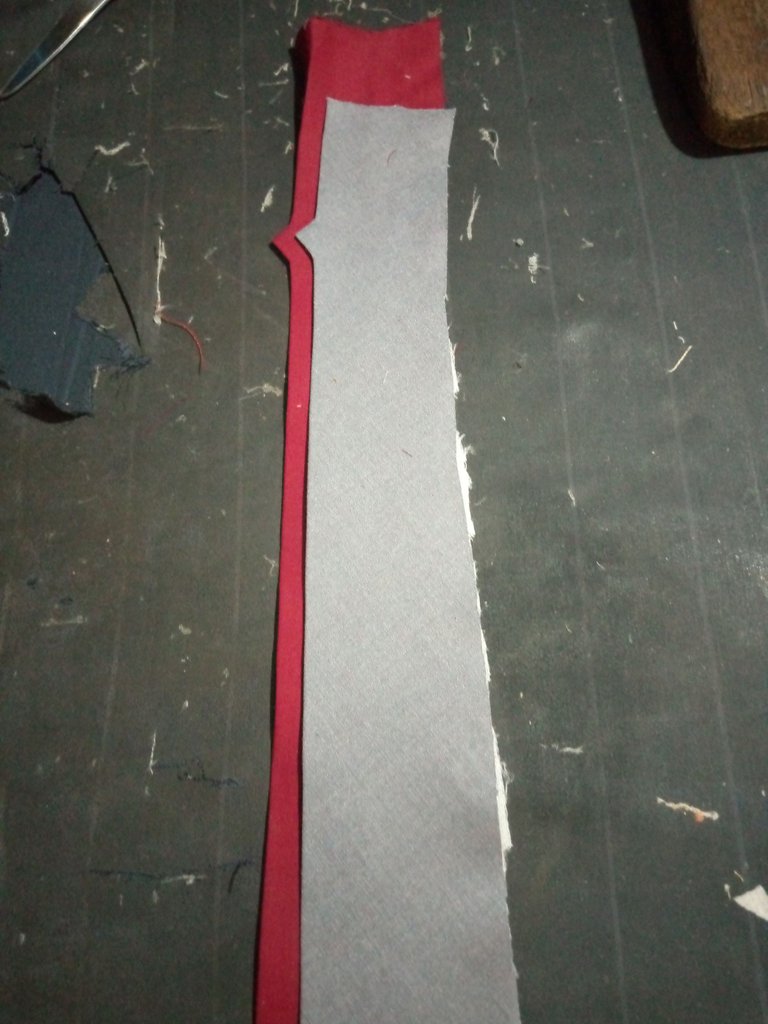
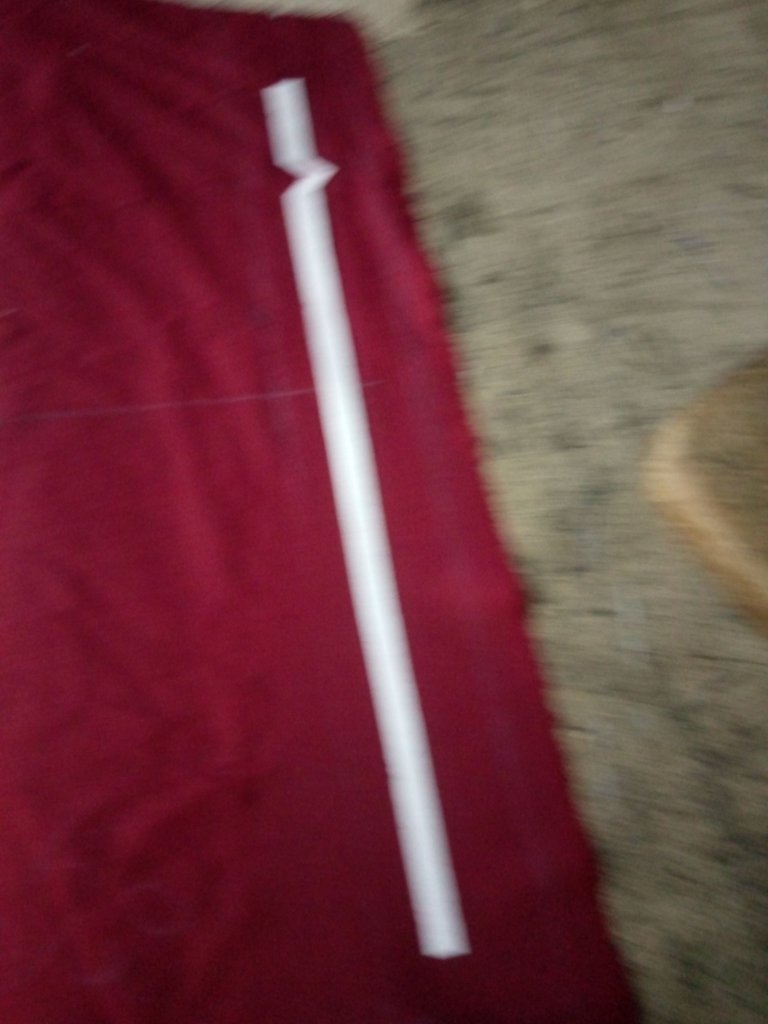
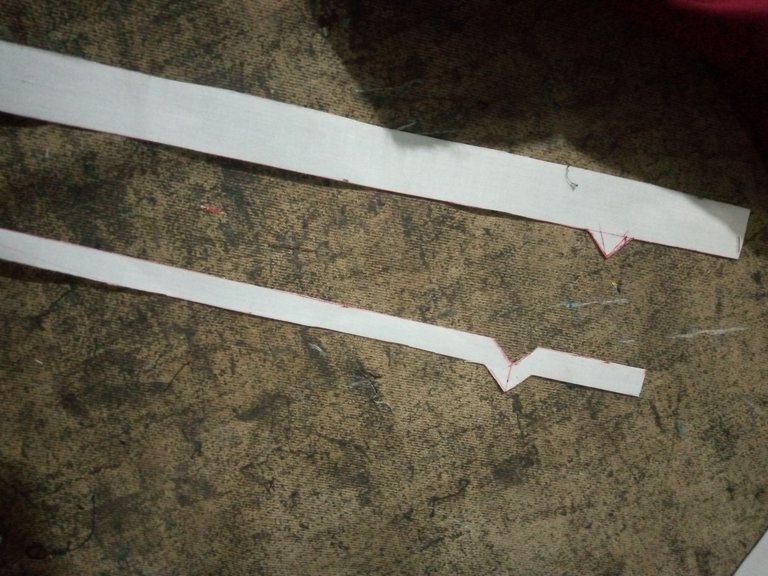
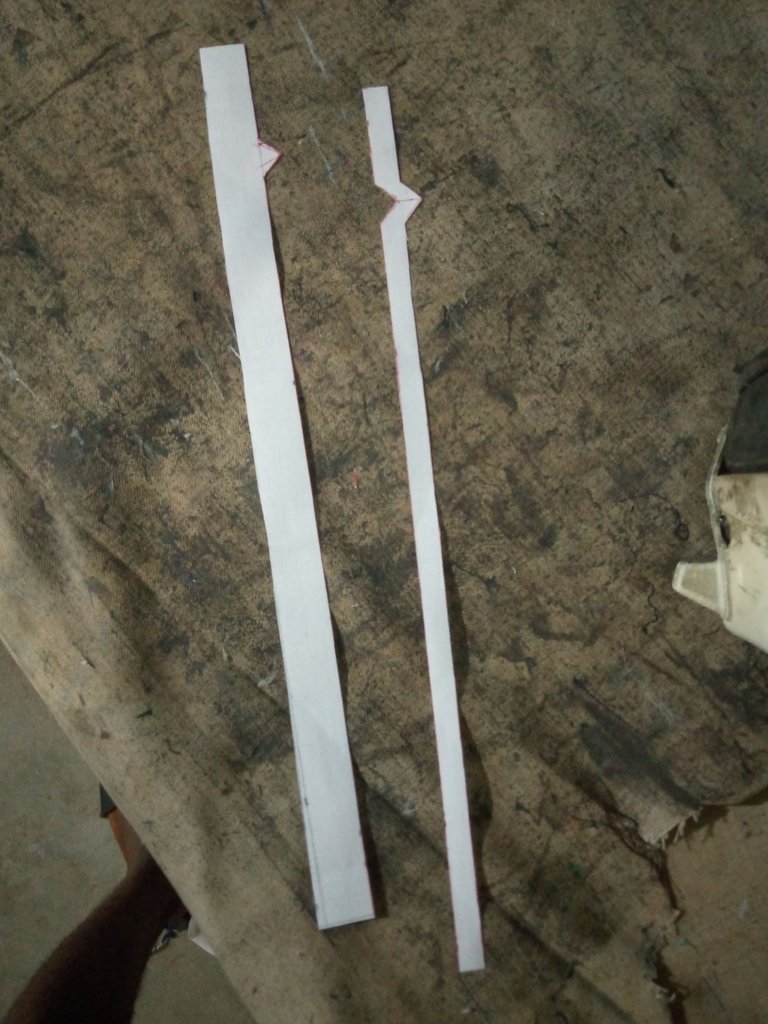
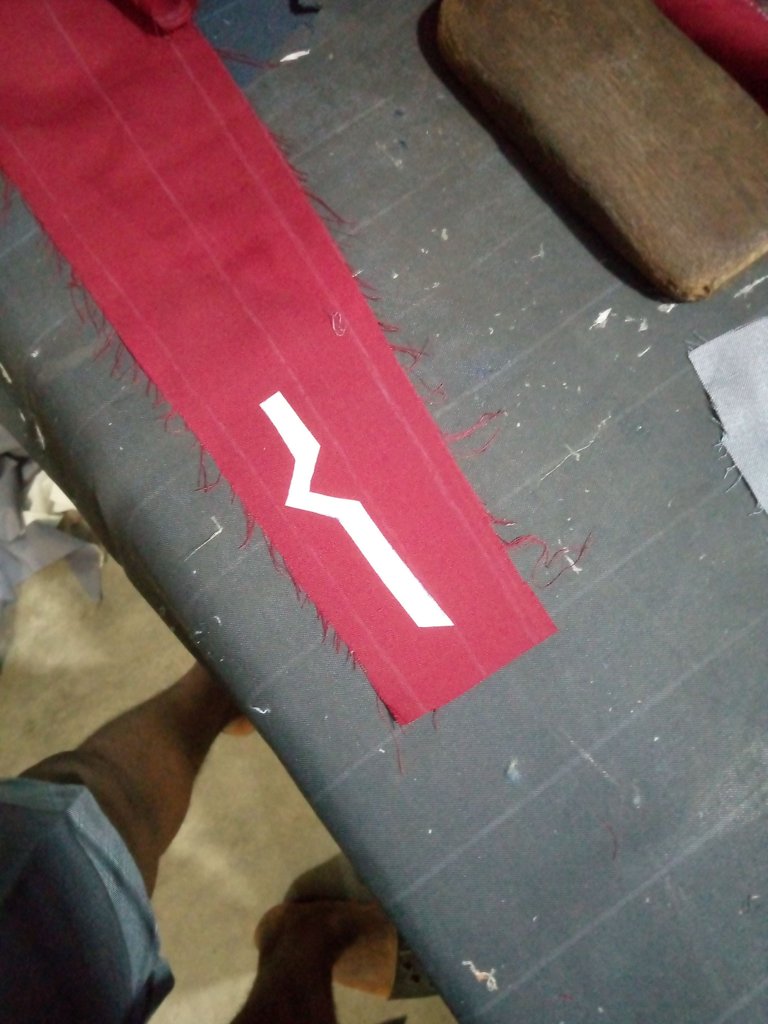
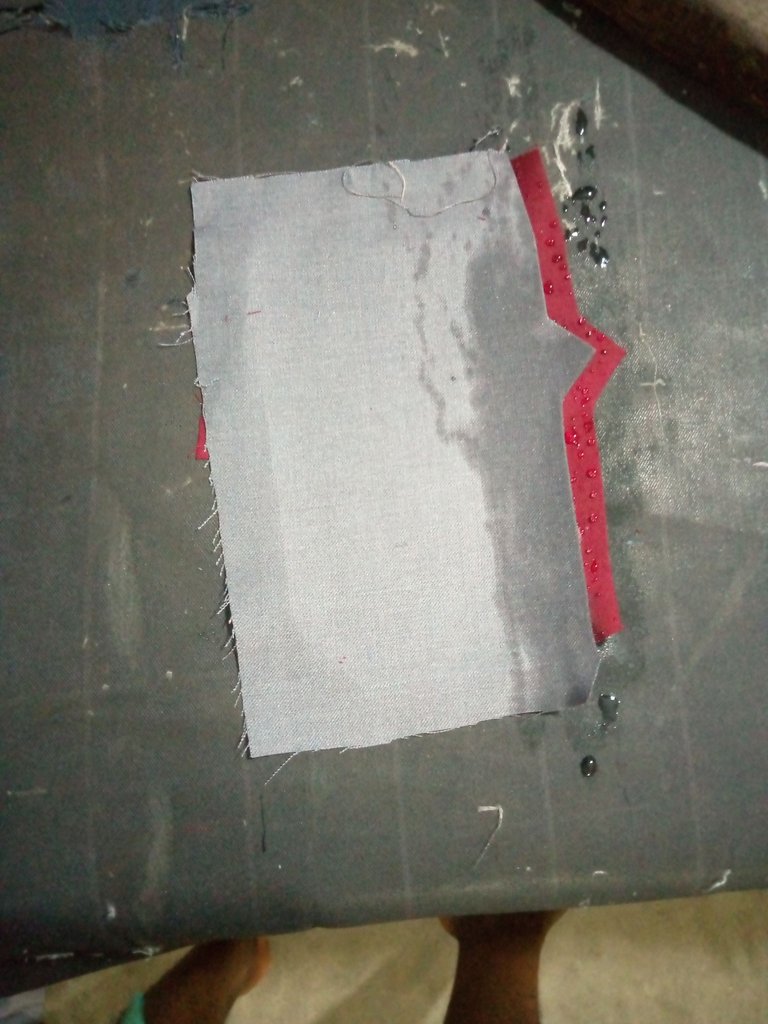
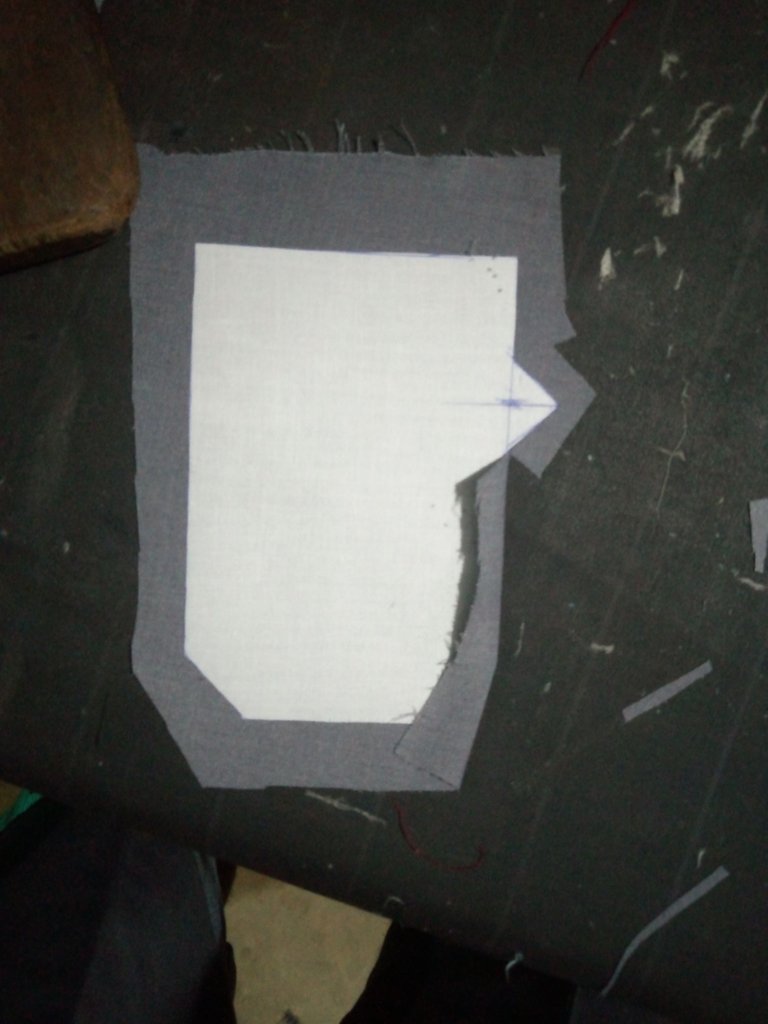
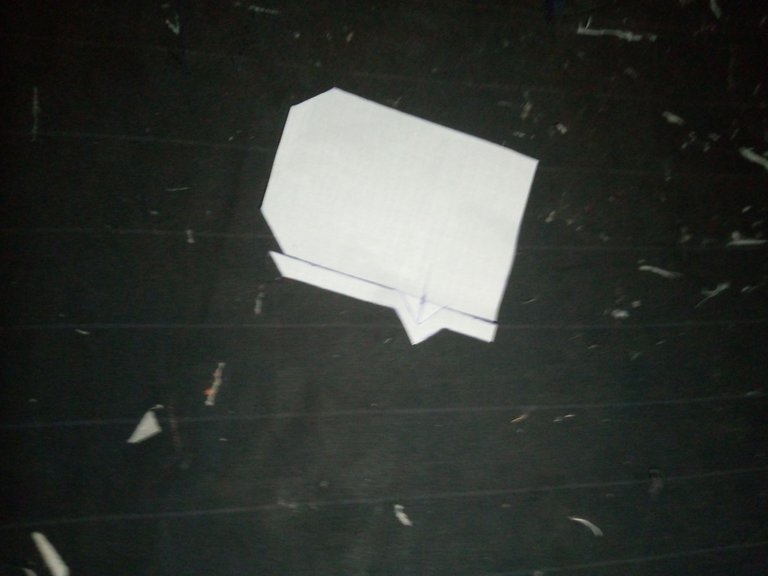
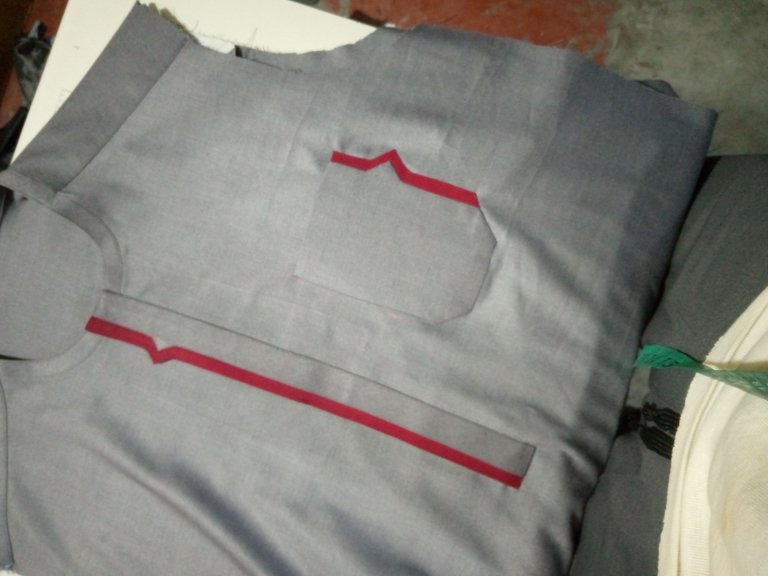
Front view: Guys I start with the flap preparation, so I used colar gum to prepared the flap. How I do it I first of all use ruler and draw a strate line on the gum before I start measuring from the line I druw in the gum, I now Mark one and squatters (1.25) inches for the gum then I cut it out then I carried the flap and mark quarter inch to get that V arrow then I measured from up to the arour point I too two (2) inches and mark and remove the arrow then I cut it, before I draw another strate line for the color gum and measure quarter (.25) for the gum and mark the V arrow an cut it out. Then I carried it to ironing table and gum The big one for the Ash color of the fabric then gum it, then for the small one I used red fabric and gum it. then I start bending the side of the big and I bend the arrow side of the red before I carried the big one flap that Ash and pest on the red fabric and make it to be like this.

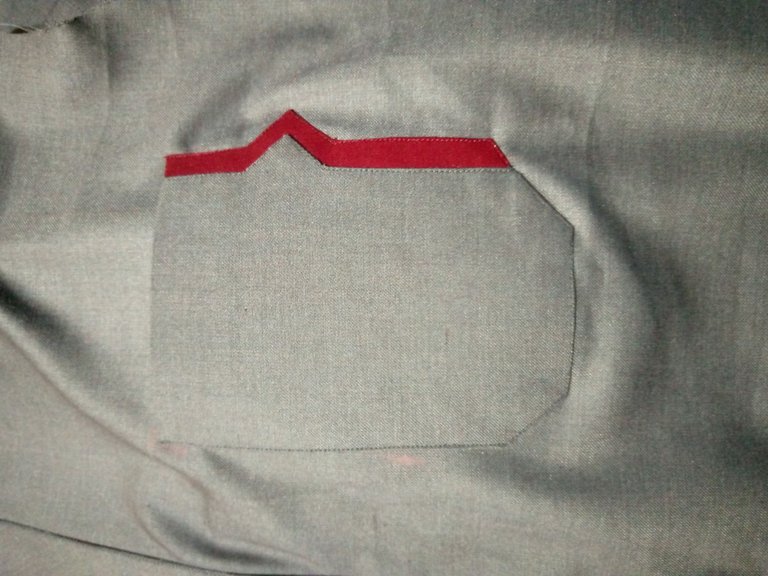
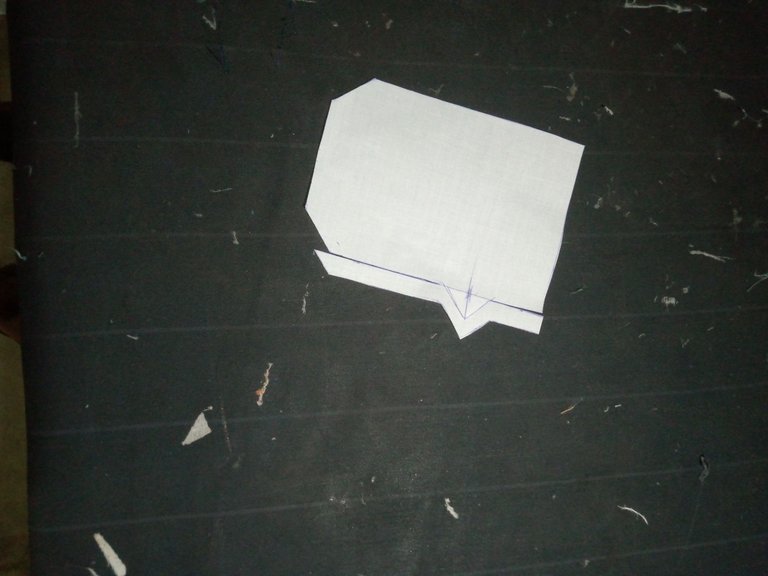
pocket view: I used the same gum that I used for the flap and prepare the pocket, I first of all draw a strate line on the gum before I measured from that line I draw and take four then I draw with the arrow, then i measure quarter (.25)inch for the gum and cut it with the arrow.
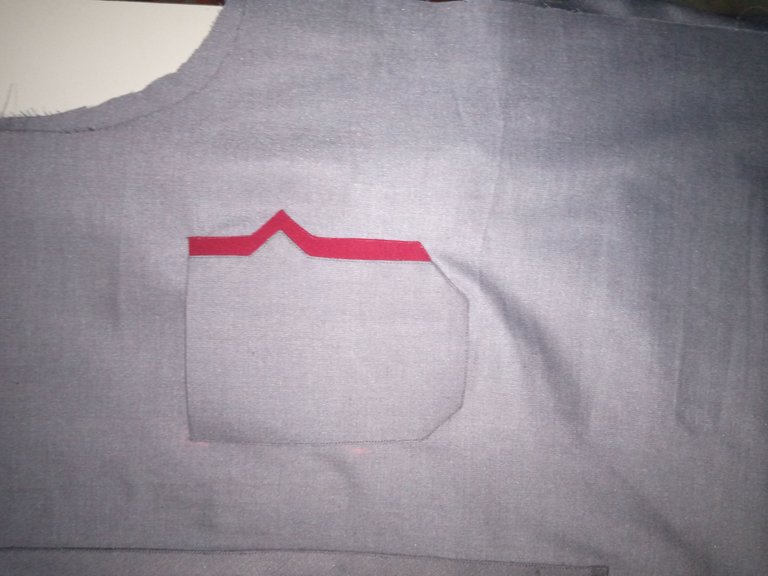

The finishing
thanks for reading
Wow amazing design, this look so beautiful I love it. Hope you customer love it too