Dizzy


¡Hola Hivers!!! Hoy les traigo un pequeño experimento que realice hoy, un retrato con colores muy saturados y varios elementos que pueden ser vistos como de terror, pero que coloque de una manera que fuera más estético, también fue una forma de dejarme llevar y ver que podía lograr.
Hello Hivers!!! Today I bring you a little experiment I did today, a portrait with very saturated colors and various elements that can be seen as horror, but I placed in a way that was more aesthetic, it was also a way to let myself go and see what I could achieve.
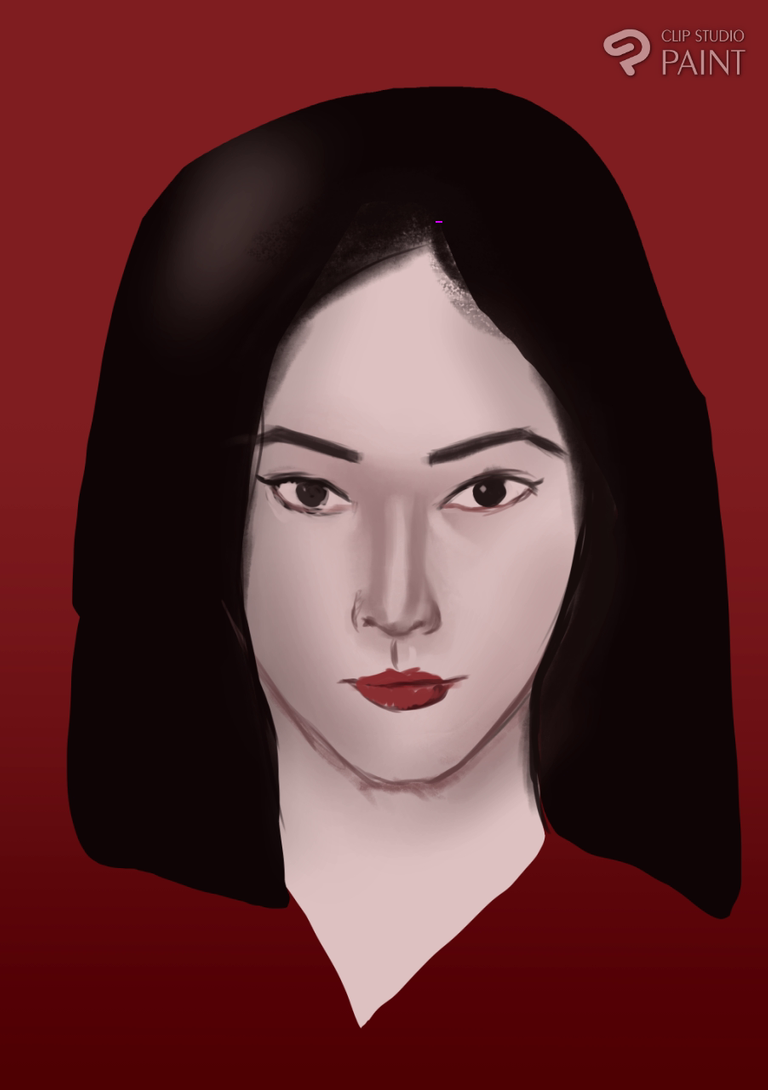

Comencé con un fondo rojo en degradado y sobre eso pinté la forma base de la cabeza, cuello y cabello del personaje, ya que iba a pintar todo el dibujo sin realizar el boceto, después de esto comencé a agregar las fundaciones de lo que sería el rostro con manchas muy básicas que fui puliendo y ajustando a medida que avanzaba en la pintura.
I started with a red gradient background and on that I painted the base shape of the head, neck and hair of the character, since I was going to paint the whole drawing without making the sketch, after that I started to add the foundations of what would be the face with very basic stains that I was polishing and adjusting as I progressed in the painting.
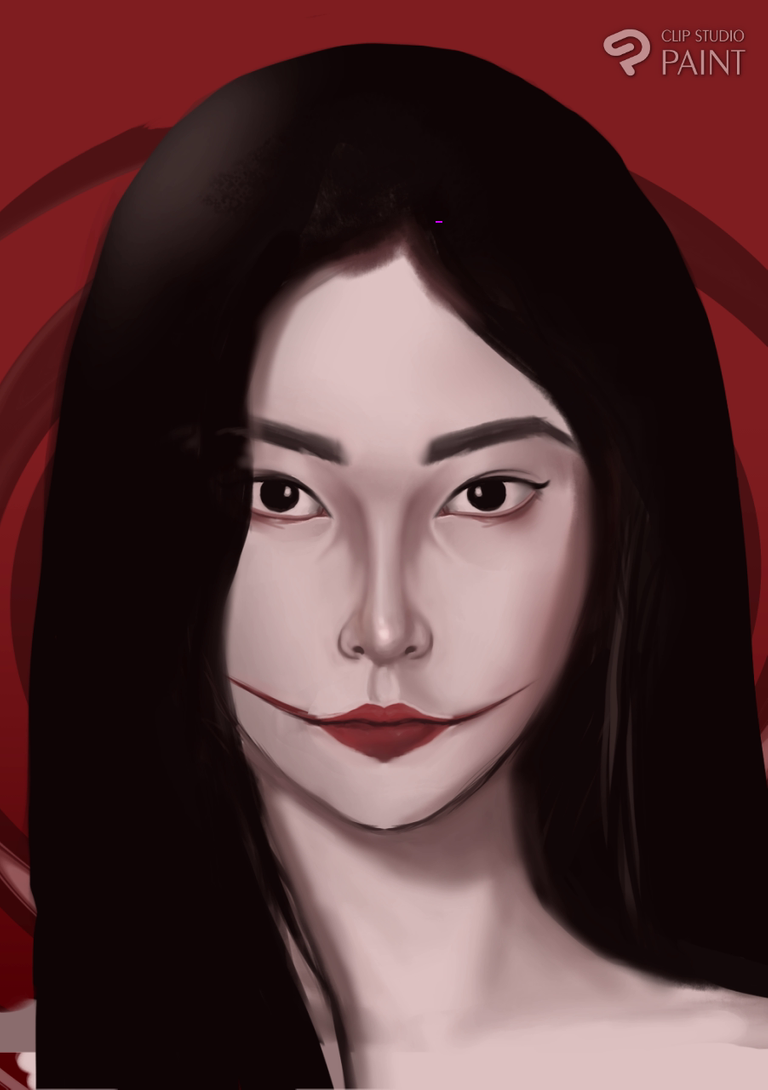
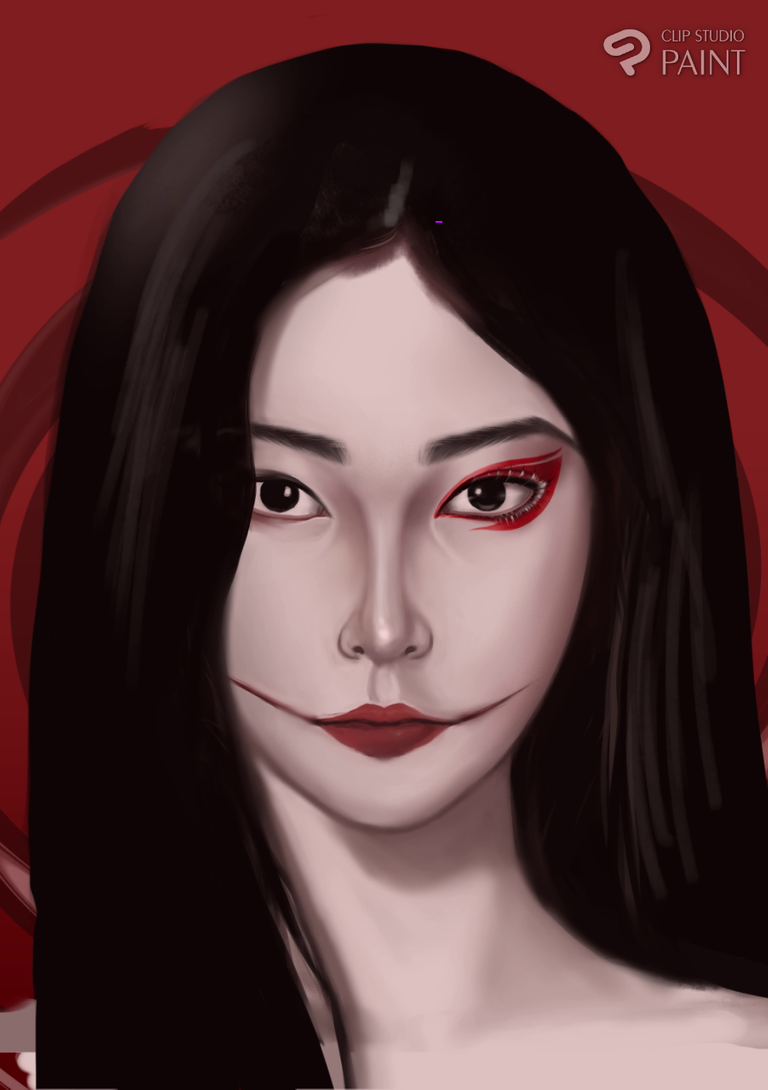
Ya teniendo los detalles del rostro más definidos, comencé a agregar más elementos como el maquillaje y las líneas de su boca y al mismo tiempo ajustando las proporciones del rostro y la cabeza. Además de ajustar las dimensiones del personaje para hacerla más grande y que se adaptara mejor al formato.
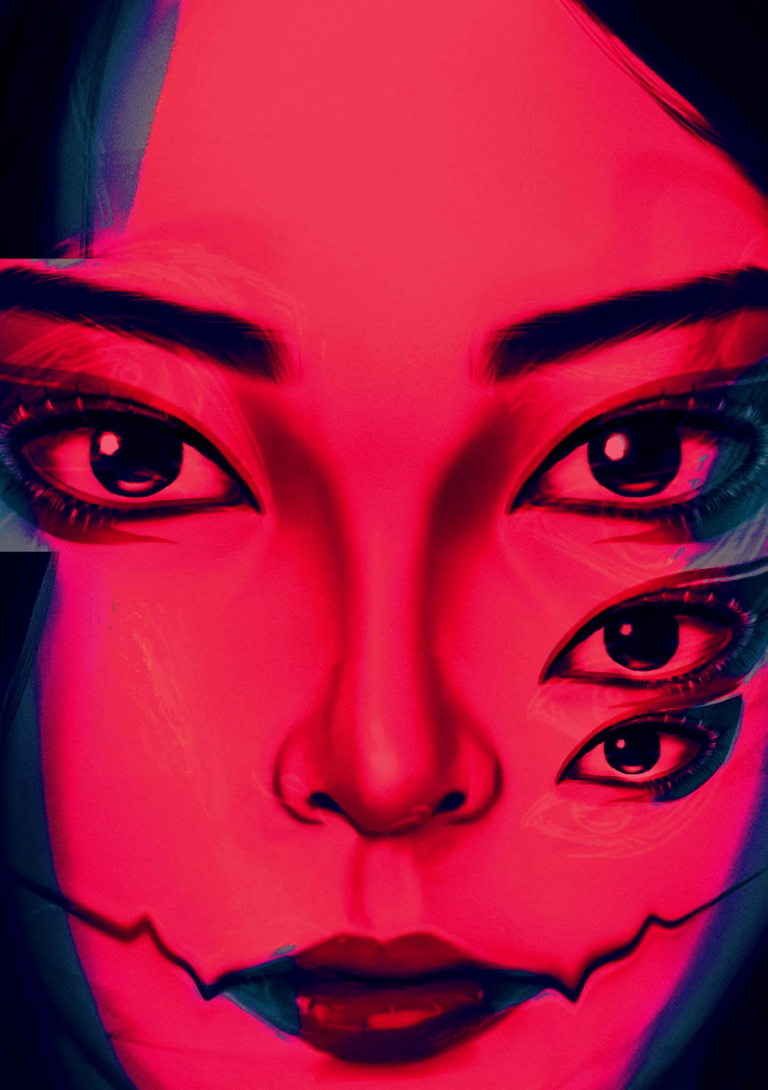
Para finalizar la parte de pintar copié el ojo para crear el del lado contrario, dándole un formato rectangular y que se viera superpuesto sobre el rostro, con esta misma copie, cree los dos ojos extras, solo los escale y moví más abajo.
Already having the details of the face more defined, I began to add more elements such as makeup and the lines of his mouth and at the same time adjusting the proportions of the face and head. In addition to adjusting the dimensions of the character to make it bigger and better adapted to the format.
To finish the painting part I copied the eye to create the one on the opposite side, giving it a rectangular format and to make it look superimposed over the face, with this same copy, I created the two extra eyes, I just scaled them and moved them lower.
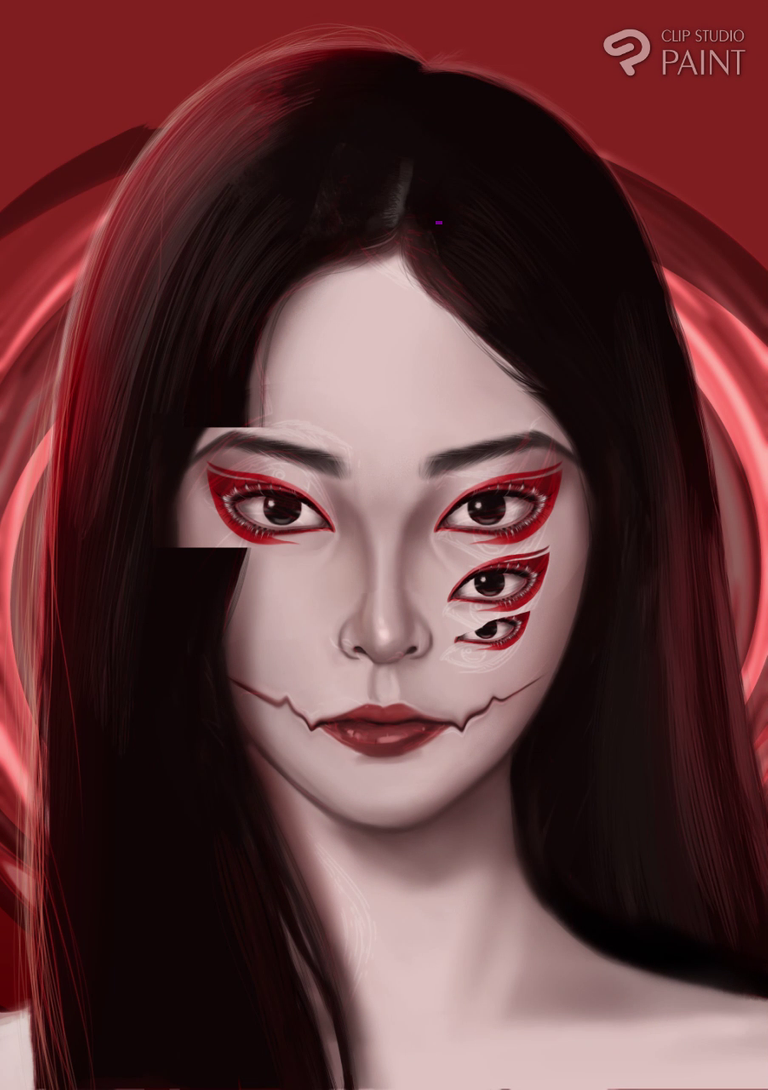
Ahora solo quedaba jugar con los filtros, efectos y tipos de capas para darle más personalidad al la pintura. Lo primero que realice es una copia de toda el dibujo y lo pase por un filtro de distorsión y justo después un filtro de efecto artístico para sacar las líneas donde puse la capa en modo [color doge], mezcle todas la capas y le agregue otro filtro de distorsión que coloque en [overlay] a baja opacidad eso le dio esas líneas borrosas en el personaje.
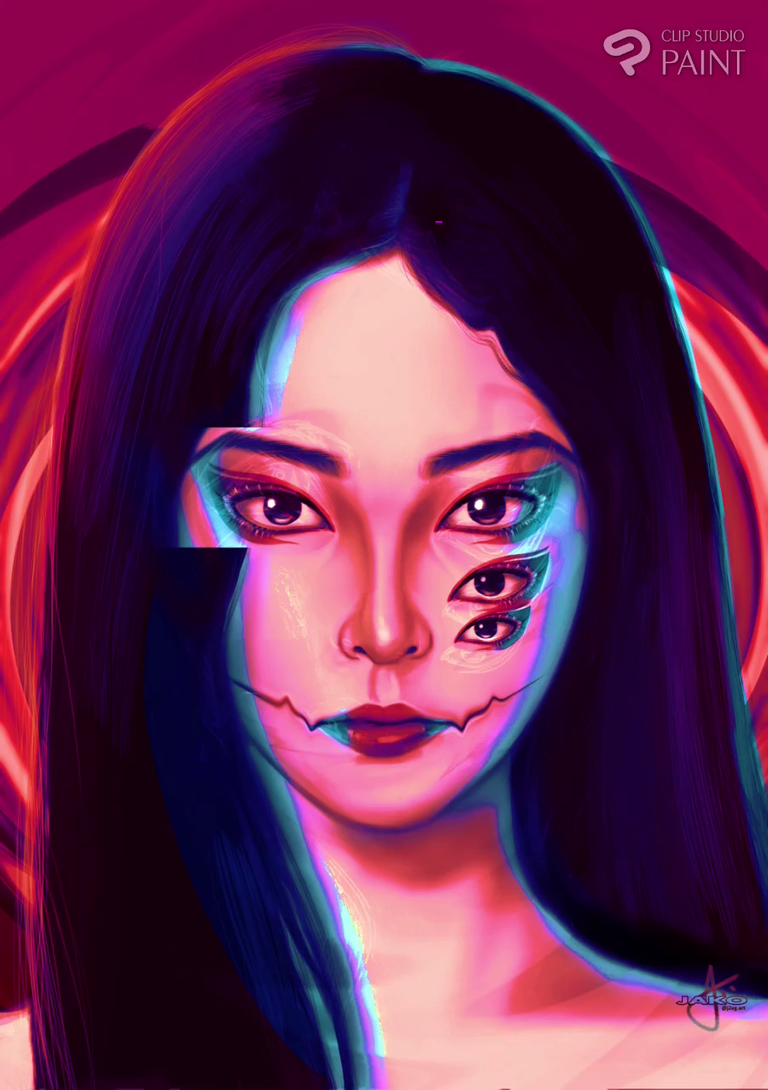
Ya para los toques finales copie de nuevo el dibujo y ajuste los tonos para hacerlo completamente azul y con la ayuda de una máscara de capa solo deje visible algunas partes de ese tono, y sobre todo esto una capa de [tone curve] para mezclar más los colores y realzarlos y otra de saturación para llevar más allá esos tonos, y como parte final la capa de ruido en [overlay] y así obtuve ese efecto que decidí llamar mareado.
Espero que les haya gustado.
Now I just had to play with the filters, effects and types of layers to give more personality to the painting. The first thing I did is a copy of the whole drawing and put it through a distortion filter and right after that an artistic effect filter to remove the lines where I put the layer in [color doge] mode, mix all the layers and add another distortion filter that I put in [overlay] at low opacity that gave those blurred lines on the character.
For the final touches I copied the drawing again and adjusted the tones to make it completely blue and with the help of a layer mask I only left visible some parts of that tone, and over all this a [tone curve] layer to mix more colors and enhance them and another saturation layer to take those tones further, and as a final part the noise layer in [overlay] and so I got that effect that I decided to call dizzy.
I hope you liked it.
[ SPEED PAINTING ]
ILUSTRACIÓN FINAL | FINAL ILLUSTRATION
Gracias por ver hasta la próxima.
Thanks for watching until next time.
Instagram --- Sfw-Twitter --- Nsfw-Twitter
Herramientas usadas / Tools used
ClipStudioPaint & Photoshop & ShotcutWacom Bamboo tablet
https://twitter.com/1316504831457193987/status/1622750597106610178
The rewards earned on this comment will go directly to the people( @kojart ) sharing the post on Twitter as long as they are registered with @poshtoken. Sign up at https://hiveposh.com.
Me gustó muchísimo, sería un lindo cuadro para mi cuarto😍
Muchas gracias @gltorres12 si lo llegas a poner en tu cuarto me gustaría ver como quedo.❤️
Freaky nd stylish, I love it :-) The cutoff in the hair where the eye is is very original
Thank you hehehe ❤️