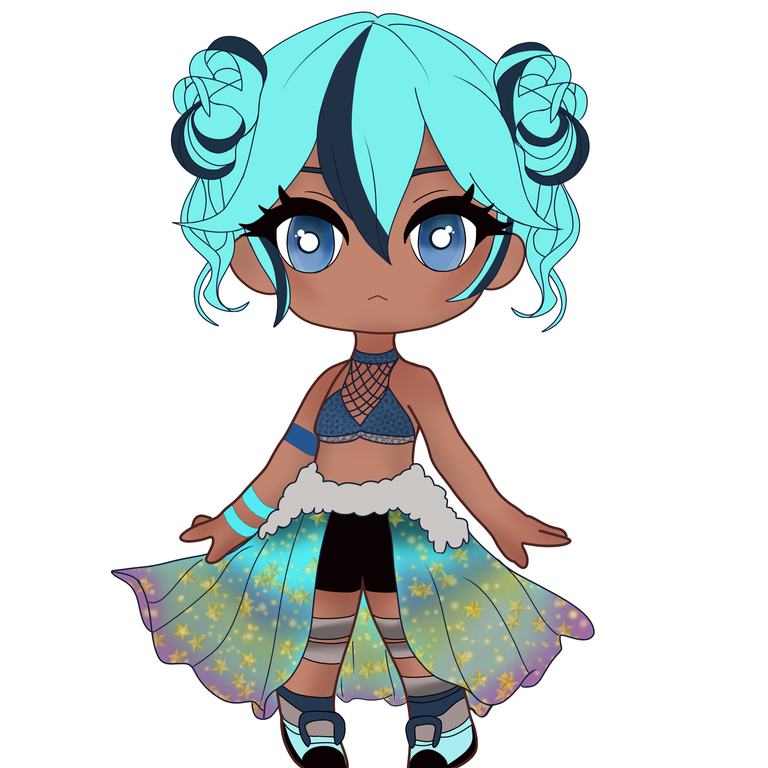
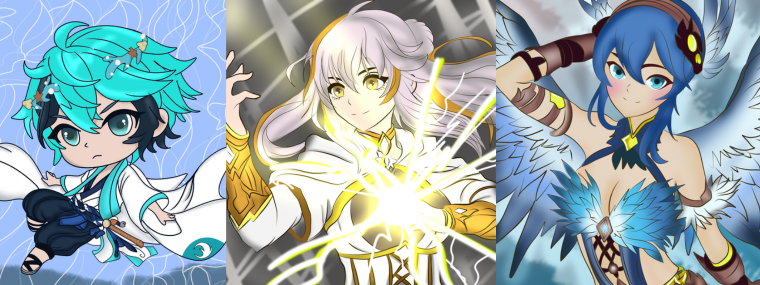
Chibi-style Female Ocean Healer...! - Radiantly beautiful- Fan Art 💙.
I'm glad I was able to take some of my time to create a nice Fan Art of the Female Healer of the Ocean. I had been mentally cooking the idea that I present to you today, but between work and some additional pending tasks, time was slipping like water through my hands. I really liked this Fan Art, I consider it to be one of the most complicated to make, due to the effect of the skirt, background and details.
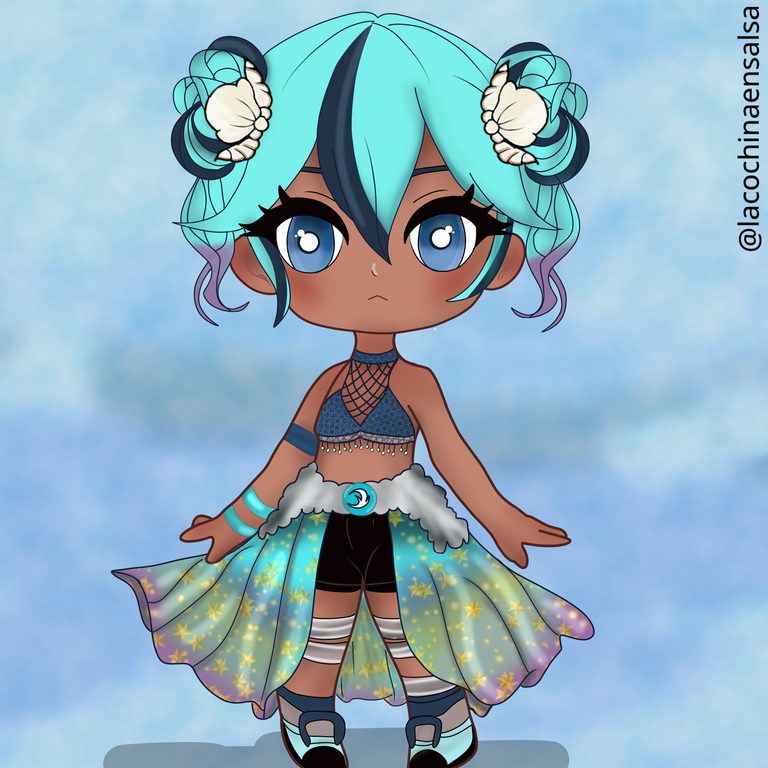
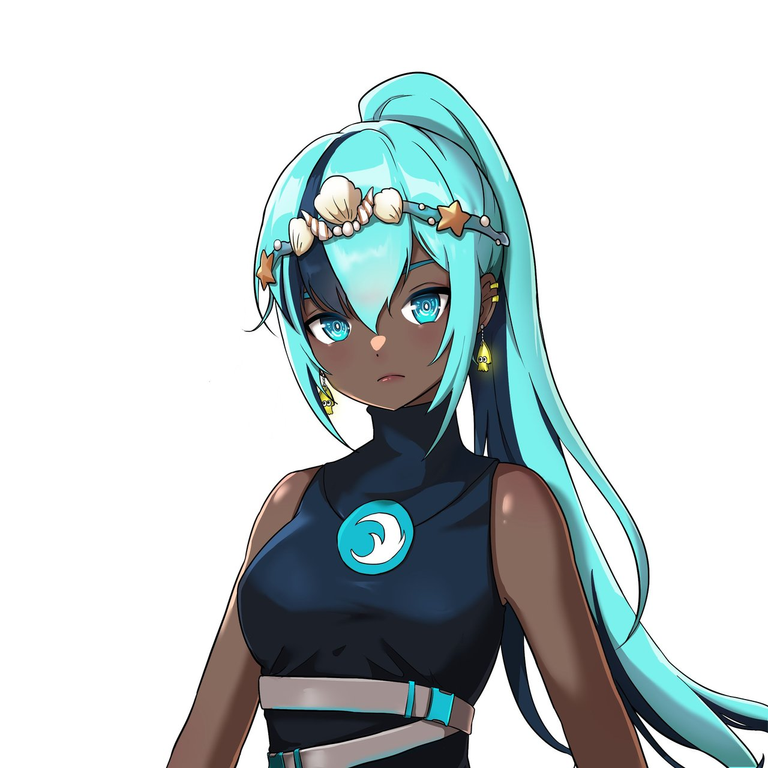
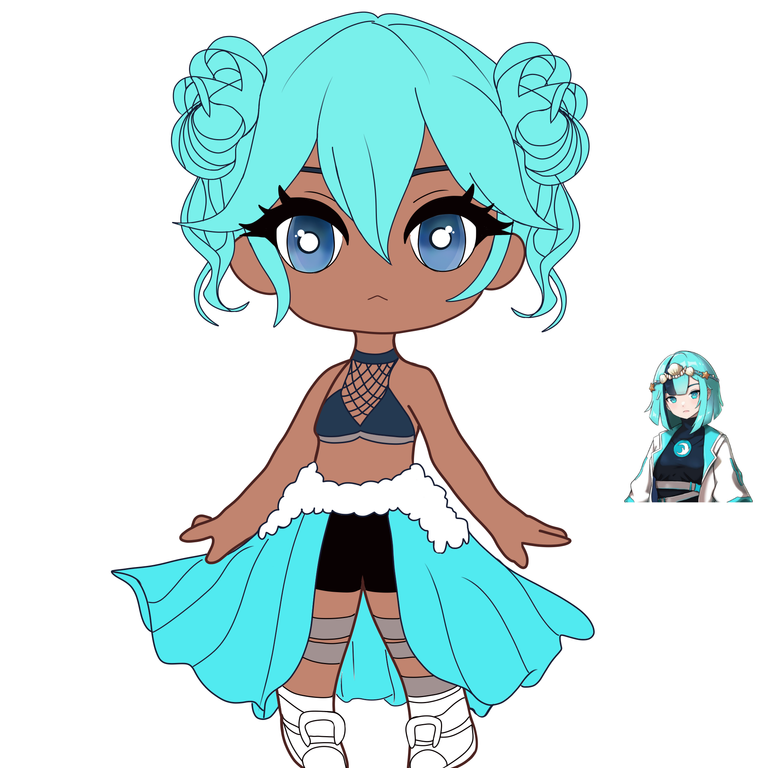
I wanted to create something different and eye-catching, but still maintain certain things from the main Ocean Healer. Among the details that I kept are some oysters and conch shells that I have placed in each ponytail, the pearls that hang on the top, as well as base colors and the symbol of the Ocean. A detail that I also recently discovered while creating my character's eyes is that the original Healer's eyes have a white center. Oh! It's something I kept to position my character.
 |  |
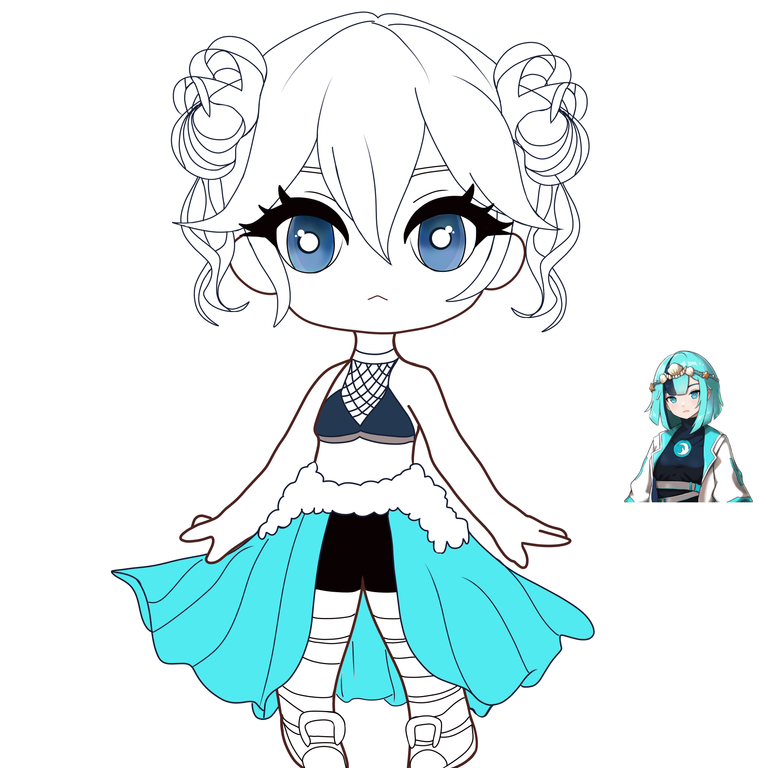
For the skirt, I was inspired by an outfit similar to an anime character I saw recently, the landlady of Link Click who wears a Roman-style semi-exposed skirt. I really like that type of skirt, I think it is very feminine. To give it more color, I decided to make a kind of color mix, and then place little stars at low transparency. It reminds me a lot of the printed tulle that is commonly used for printed skirts and dresses. To complement, I have placed a fine mesh top on top.
I love the pigtails on each side, plus the hook type ones are cute shells and pearls. I adore the color on the ends of the hair in a lilac tone, I think it plays very well with the composition of the character itself. This Fan Art version of the Ocean Healer is one of the cutest and most dedicated drawings I have ever made, I have completely loved the process and adored the result!
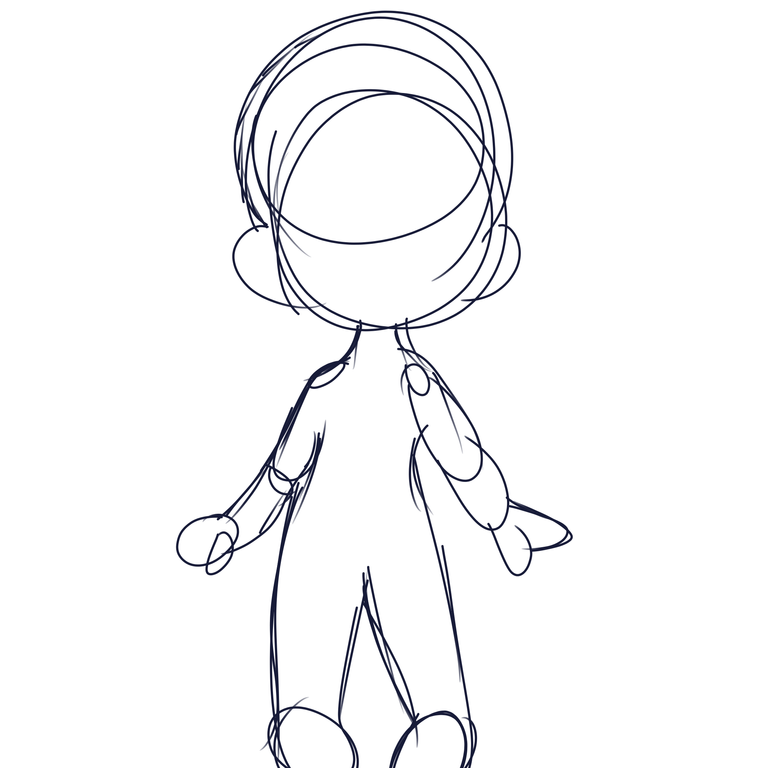
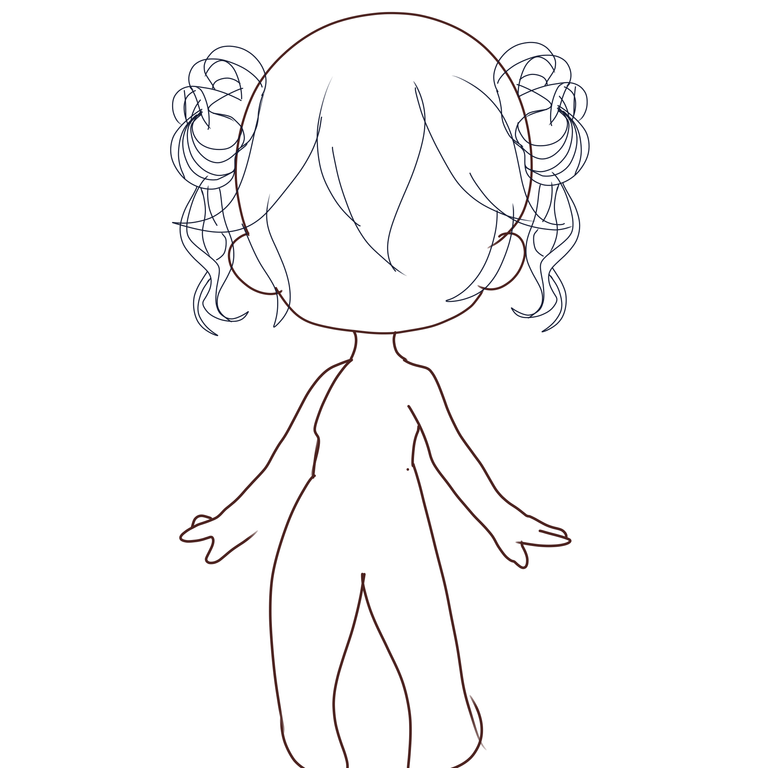
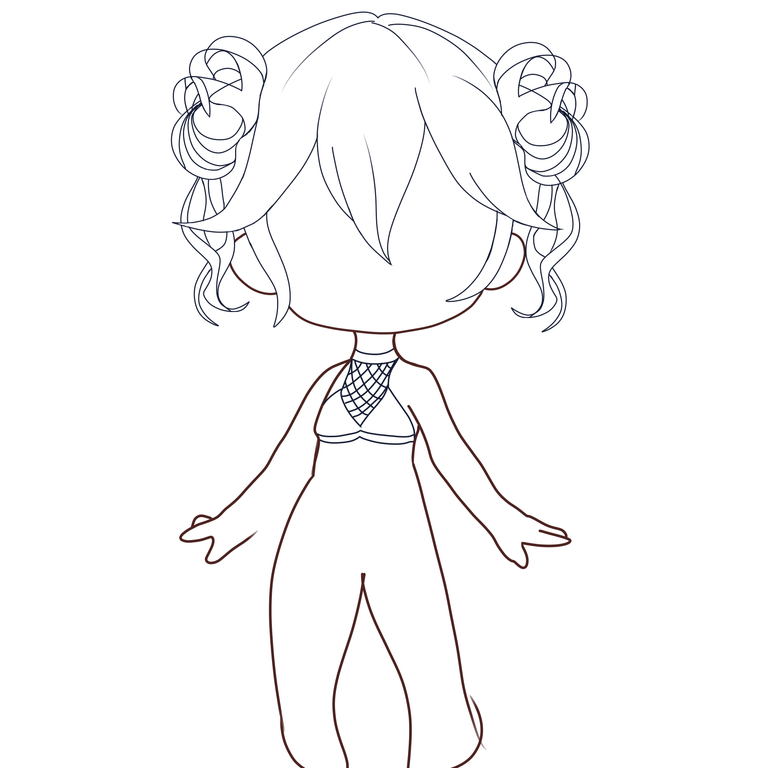
Let's take a walk through the process of creating this cute Female Ocean Healer Fan Art:
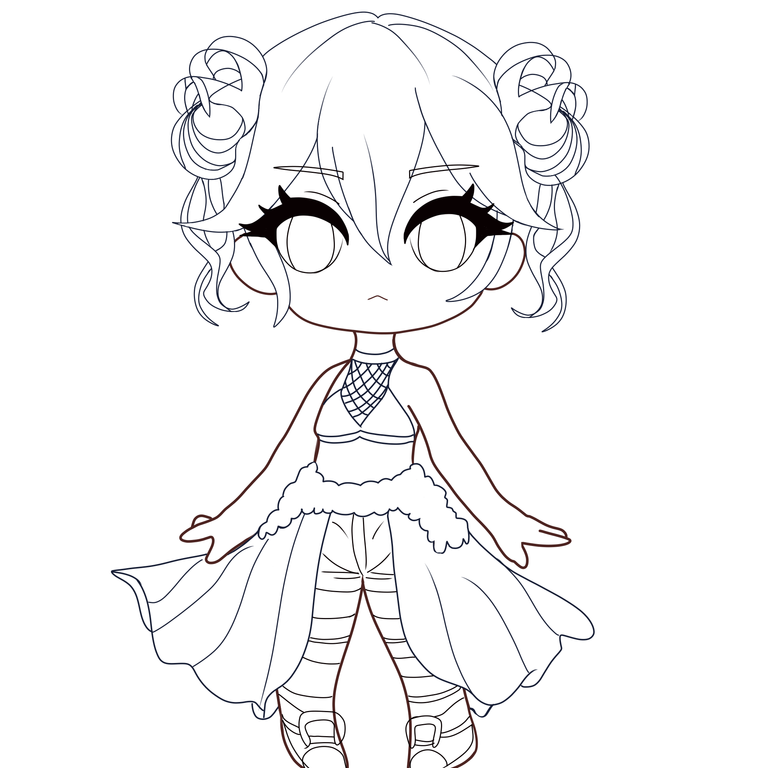
Initially I made a super quick sketch of some main lines of my character's pose to help me better physically place him on the canvas. Later on in other layers, to be more specific 4, I began to work on the outline more cleanly and in parts. In order to separate the details that I planned to add to the character. For the outlining I have used two types of thickness, for the body a number 6 with the pencil brush and for other parts such as hair, eyes and clothes in varying thicknesses of 3 and 4 with the same pencil brush.
 |  |
 | 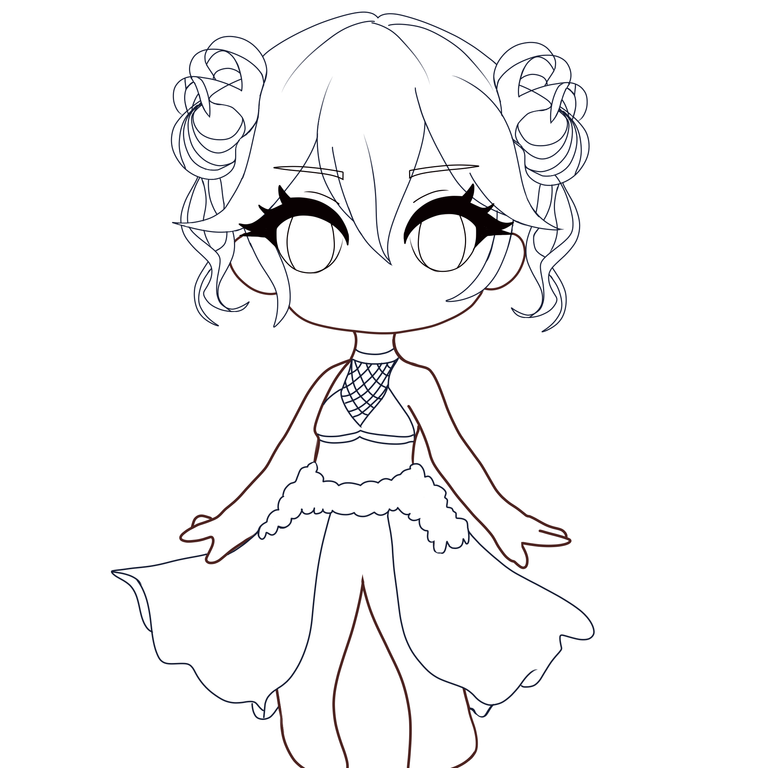 |
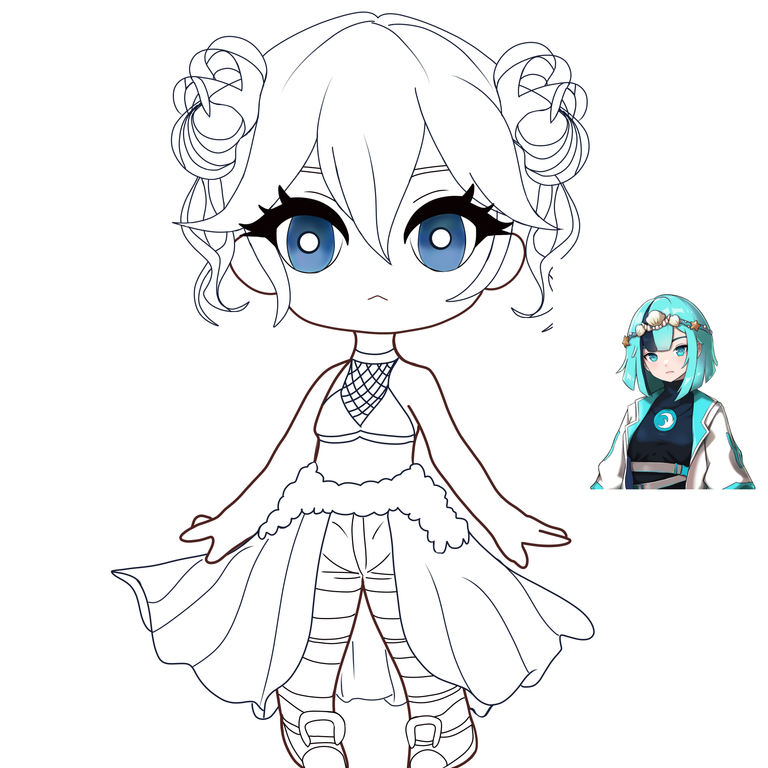
Now let's move on to the base colors stage. One of the things I like is to do the eyes first. They are always a "trust the process"...This time I didn't use 3 colors like I usually do on the eyes, but rather 5 colors that I put together using the blurry brush. For the base of the eye colors I used a watery acrylic brush, and to add the last two colors I used a very soft airbrush. For the "empty eye" detail I used a contour brush and for the highlights and highlights, a regular pencil. I really liked the eyes, it is one of the things that I put the most effort into doing, because they are a fairly important focus. For the other colors, I have helped myself using the main Ocean Healer as a reference, so you can see it there to facilitate the location of the color through the eyedropper.
 |  |
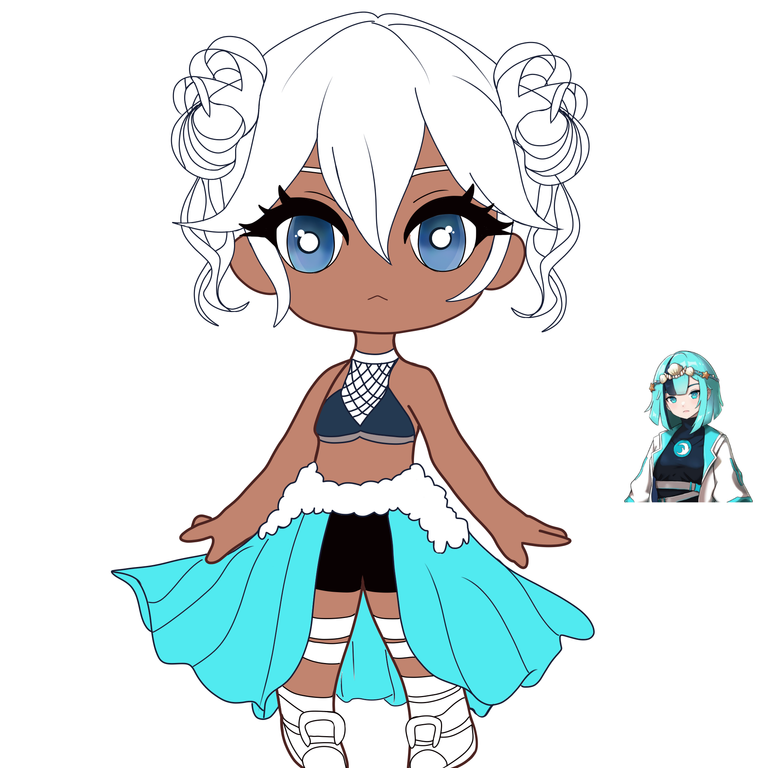 |  |
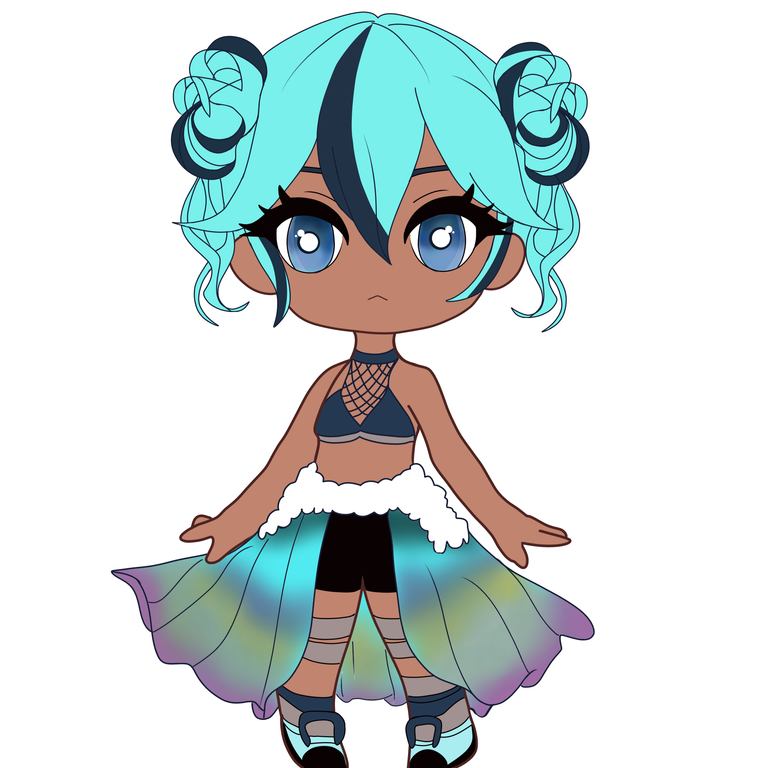
After having given the base colors, I started with the details. Like shadows, color details and depth. One of the ones I liked to experiment with the most was the integration of the multicolored skirt, the first time I have made a garment of this type, it seems super cute and different to me. For this one I placed the colors I wanted to mix with the watery acrylic brush, then with blur I lost the lines of marked colors and played a little with the airbrush, later I used a special brush called "stars and lights" for the stars and glitters.
 |  |
 |  |
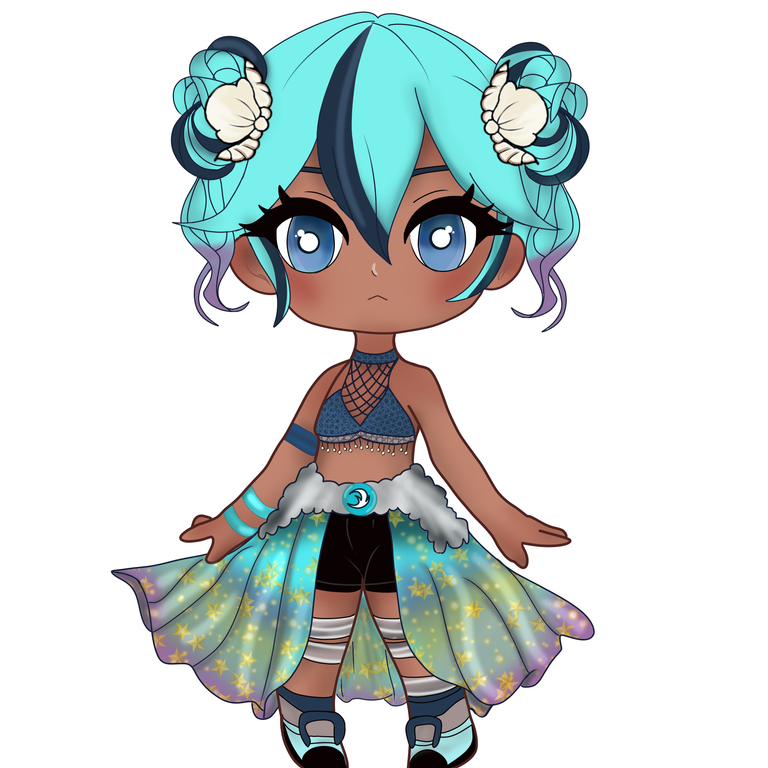
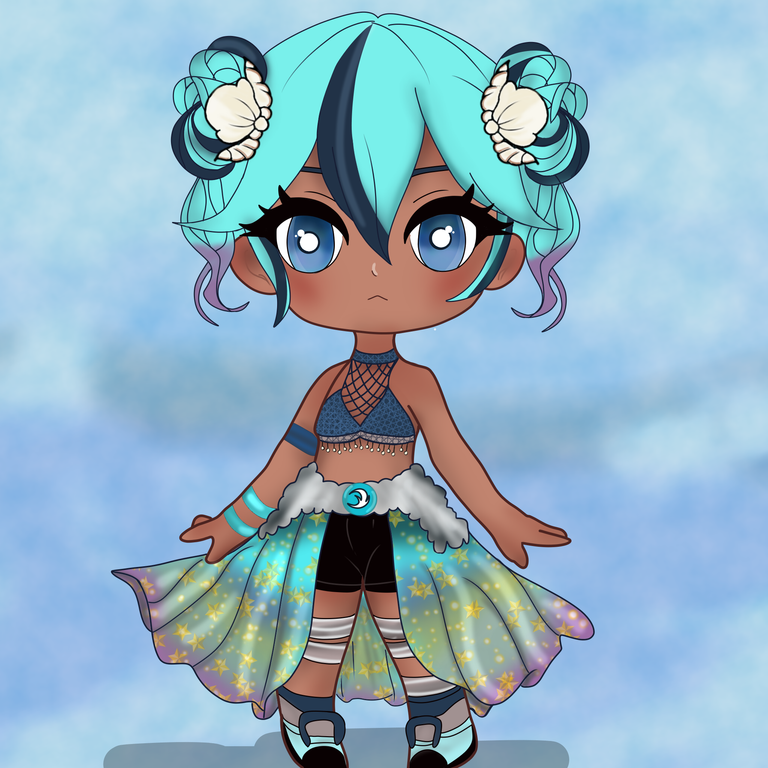
Here the final result:
| |
Translation: Google Translator.
Texts, photographs, screenshots and editions of my authorship/original content.
cute arts madam!
Ty, Ty!
😊
awww cutie
Yes!. Ty Ty! 💜