a minimalist bookshelf//for furniture design
Hi everyone, architectural design friends, how are you today? I hope everyone is well and always enthusiastic about carrying out their respective routines. I haven't made a post in this community for a long time because of several factors that made me not have time to share a post here, but today I will train my hand again to write a post about making furniture.
For about a year I haven't made a post and maybe you are wondering if I no longer make furniture as usual, of course not, my daily routine is still the same, namely making furniture and all this time I haven't posted a lot of the wooden crafts I've made here and started This second I'm sharing nyan again and I can't wait for your responses regarding my first wooden craft post in a long time.
For this post, I want to share photos and also an explanation of how I made a minimalist bookshelf, so let's get straight to the point of the post.
The photo below was sent by my customer a few moments later after I delivered the shelf to his house and he started arranging books and other items on the shelf.
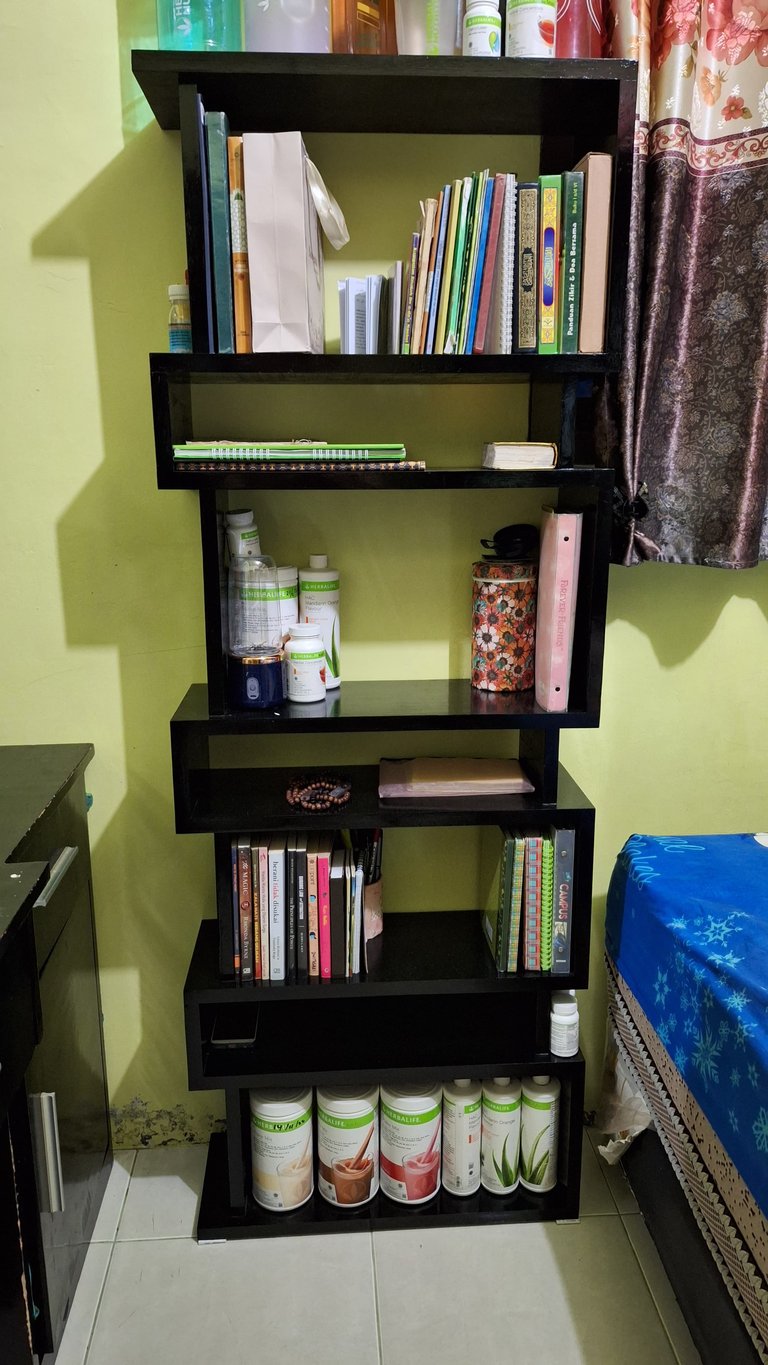
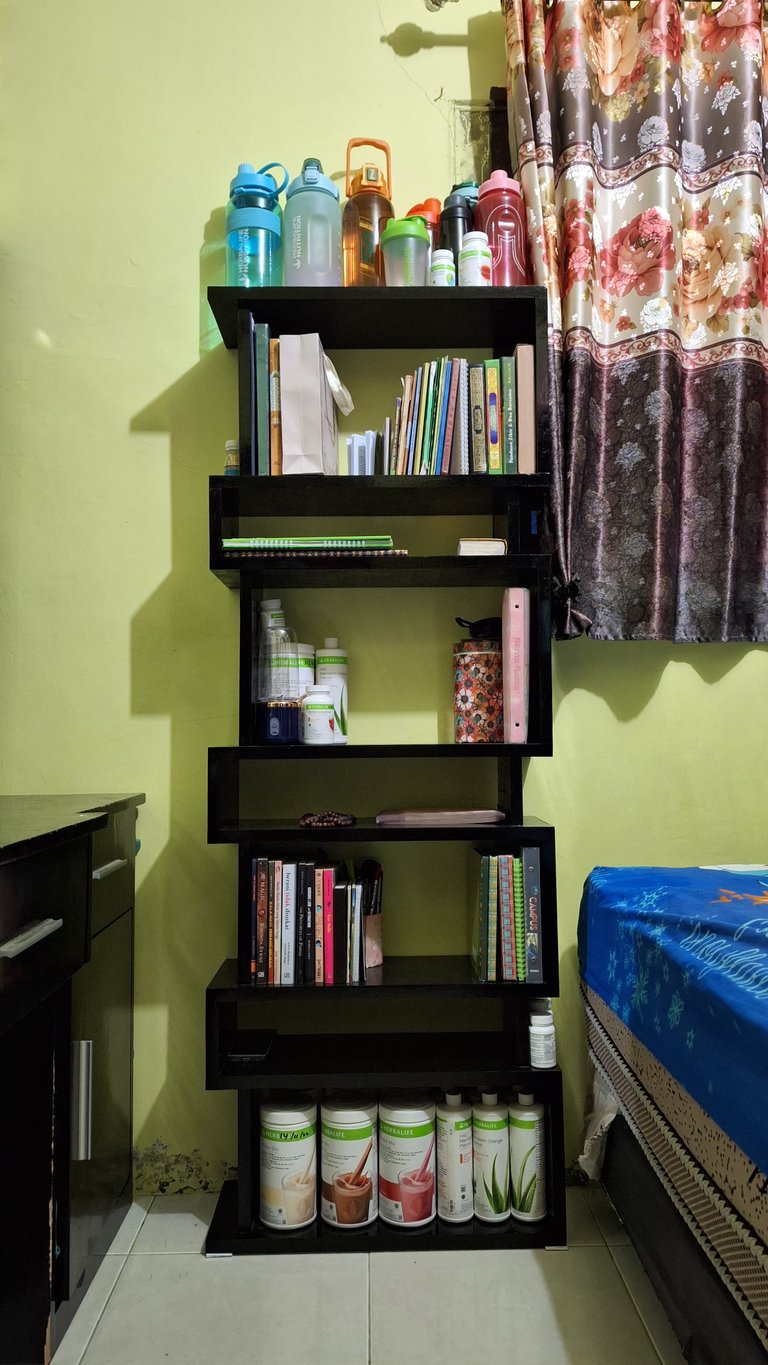
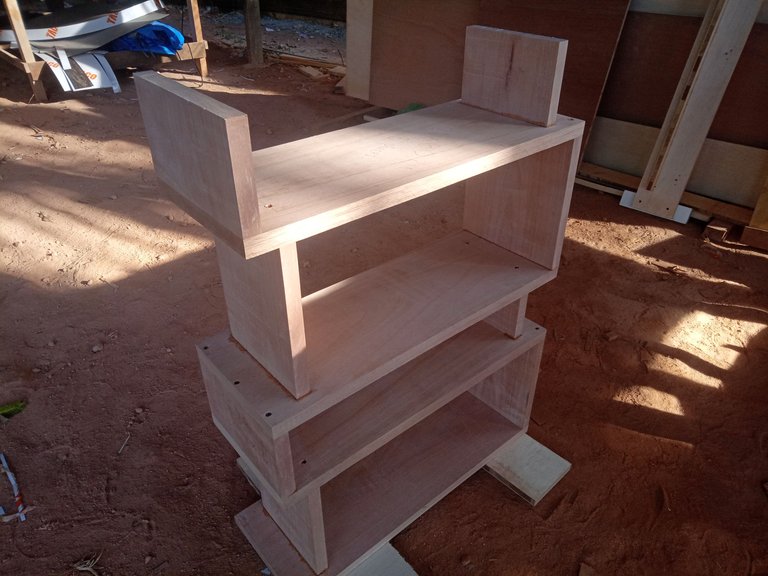
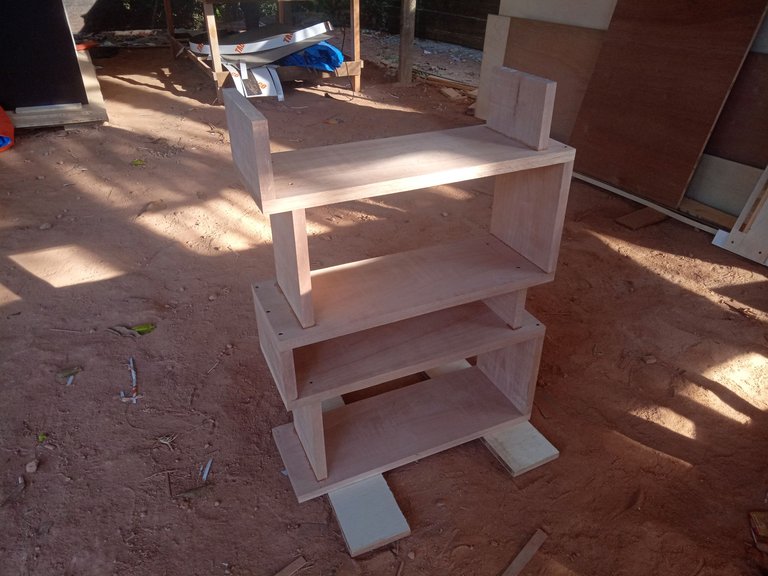
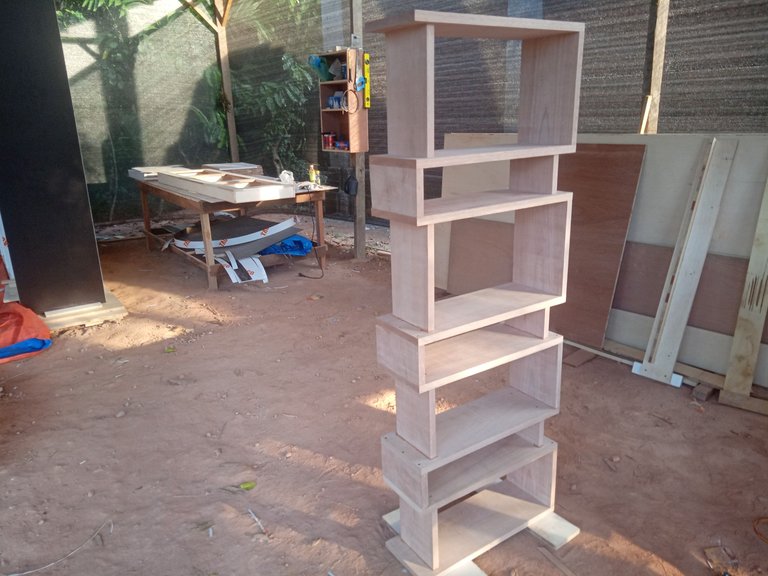
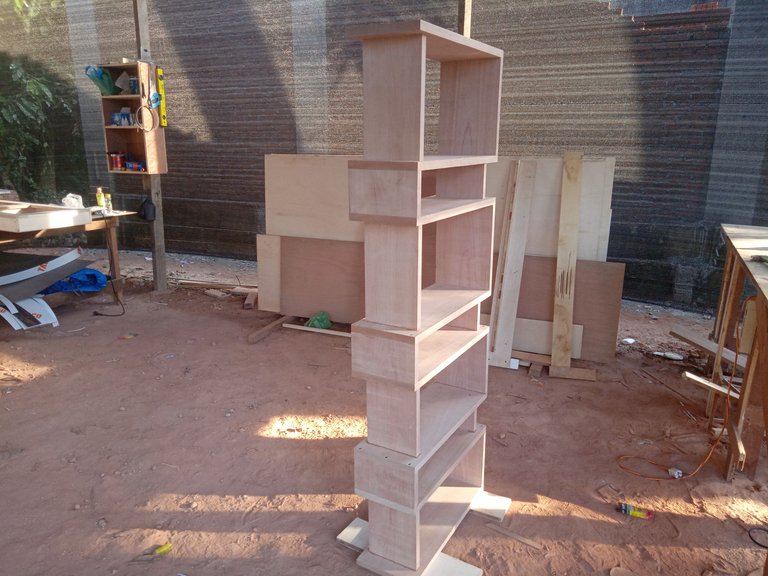
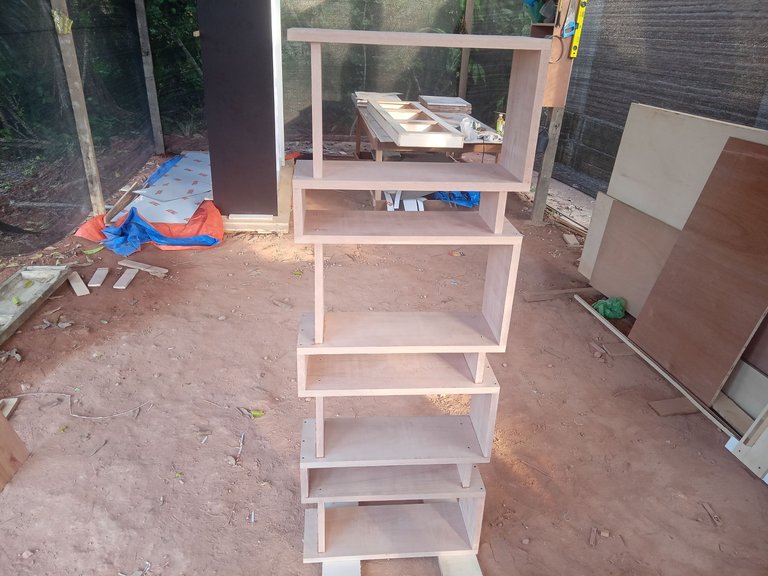
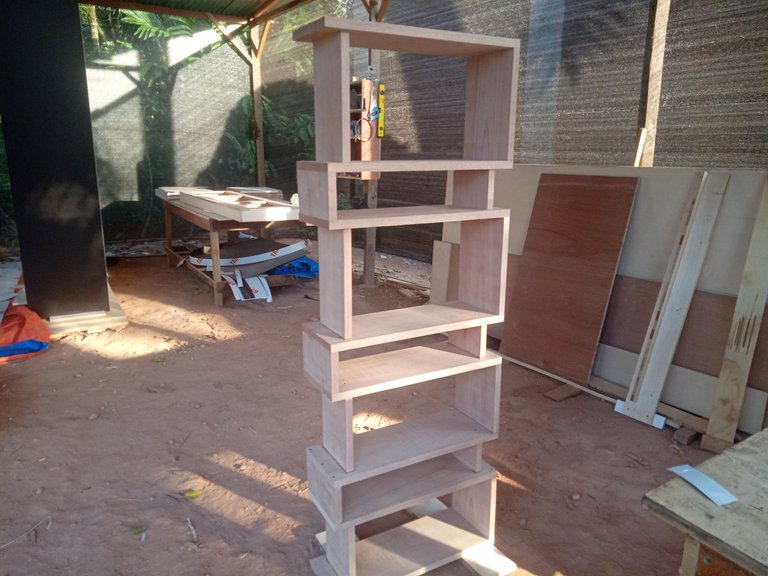
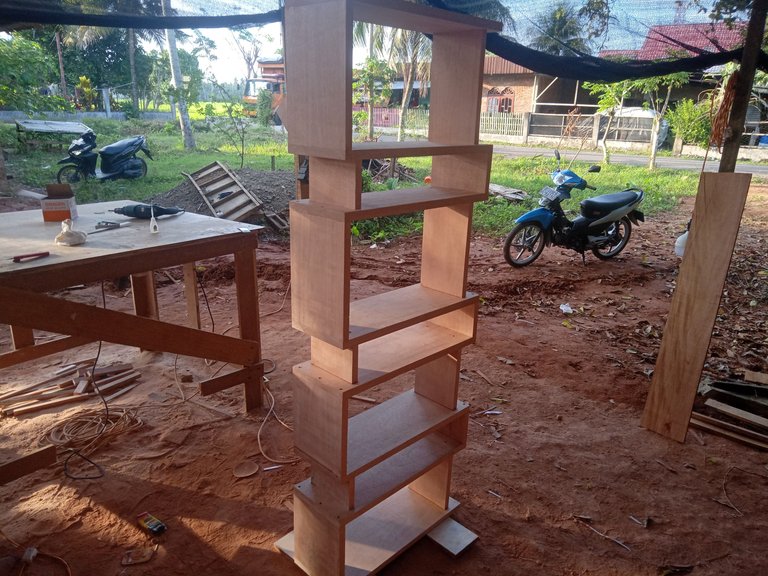
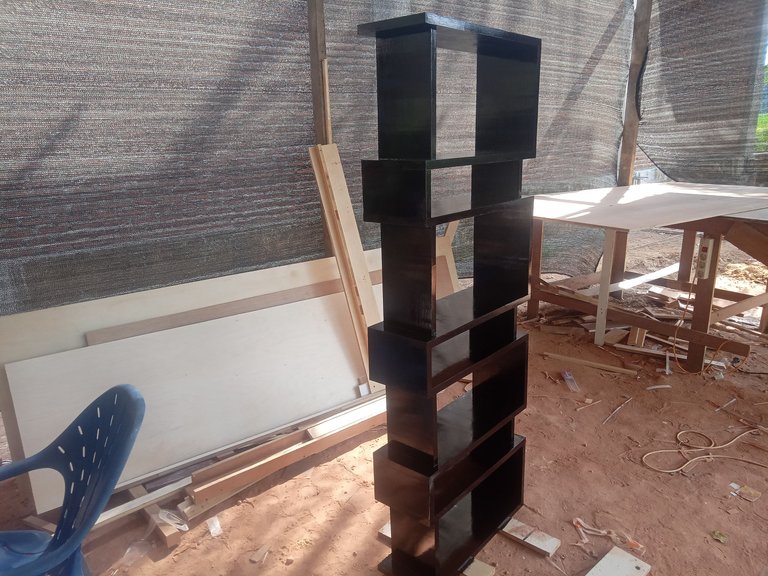
The size of this shelf is 165 cm high and 60 cm long and 21 cm wide. The wood I use is meranti wood planks with the following dimensions per board; 2.5 cm thick and 21.5 cm wide and 480 cm long. This shelf requires two pieces of board.
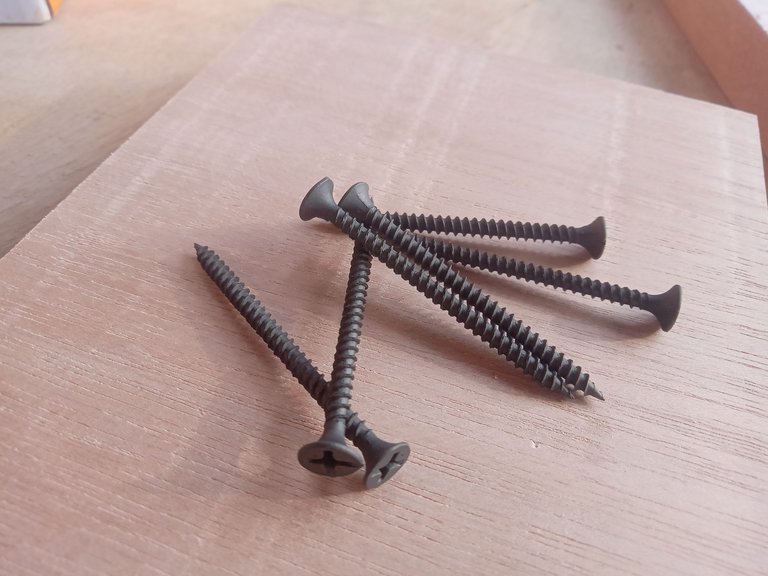
I bought this wood at a wood shop for $10 for both and the other materials I needed were 2 inch screws to join the parts together, putty to cover the screw marks and joints and also coat all the wooden surfaces, then paint to color the shelves.


The first stage
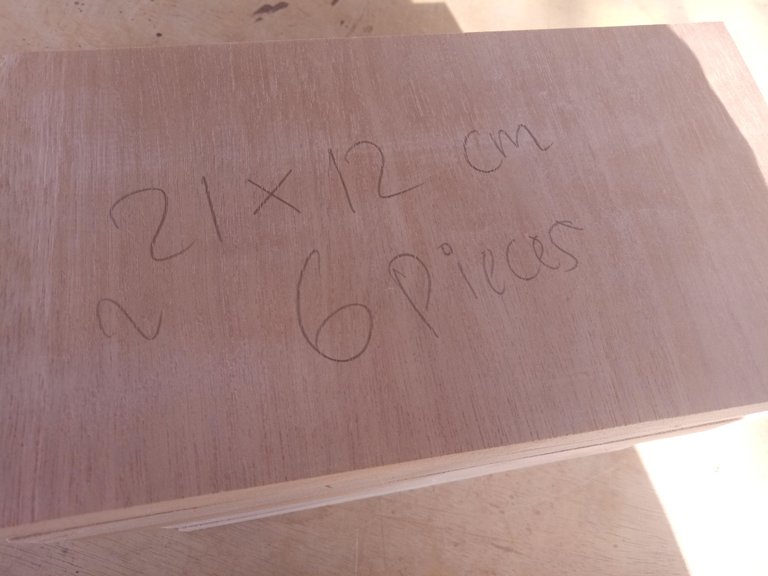
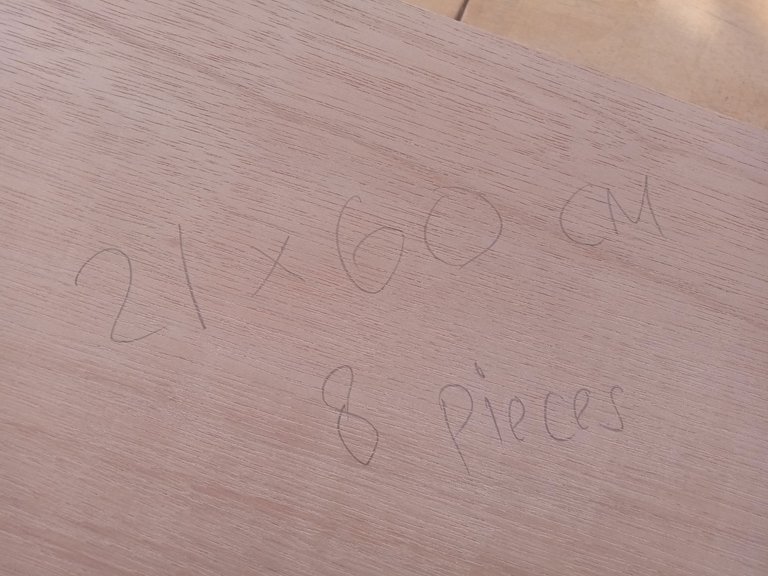
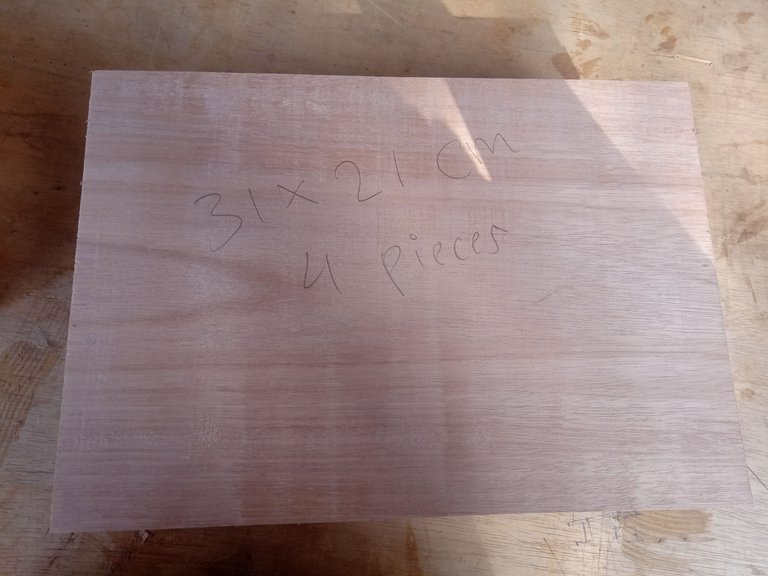
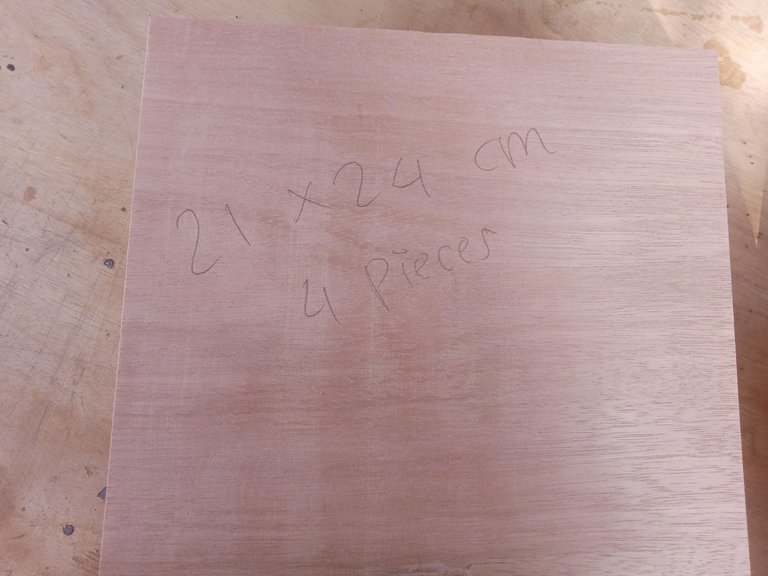
The first is to cut the board into parts as follows;
- 21 cm x 12 cm : 6 pieces
- 21 cm x 60 cm : 8 pieces
- 21 cm x 31 cm : 4 pieces
- 21 cm x 24 cm : 4 pieces
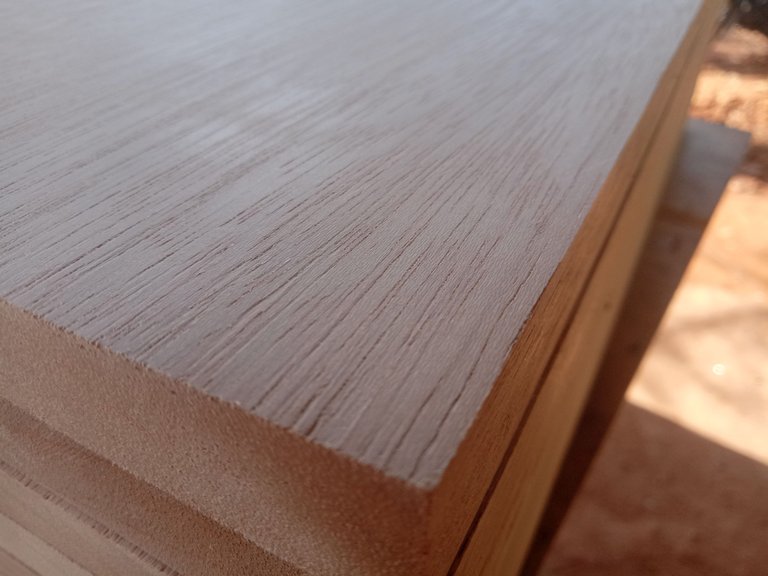
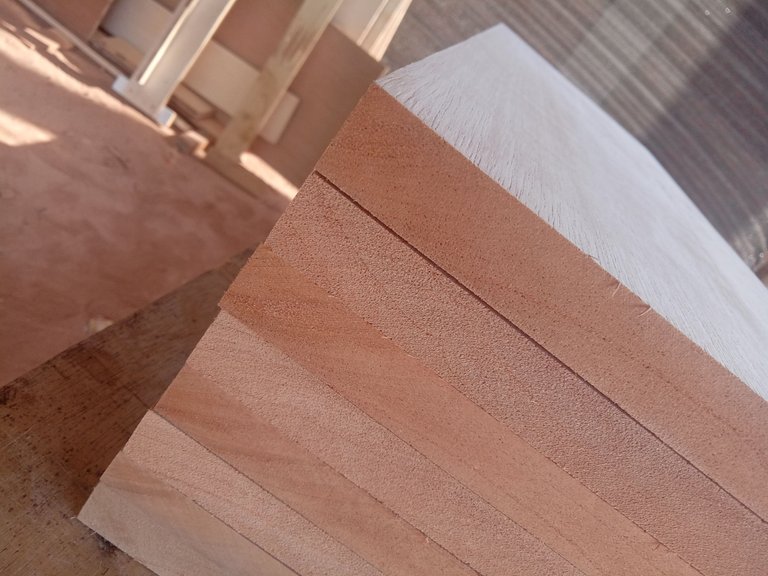
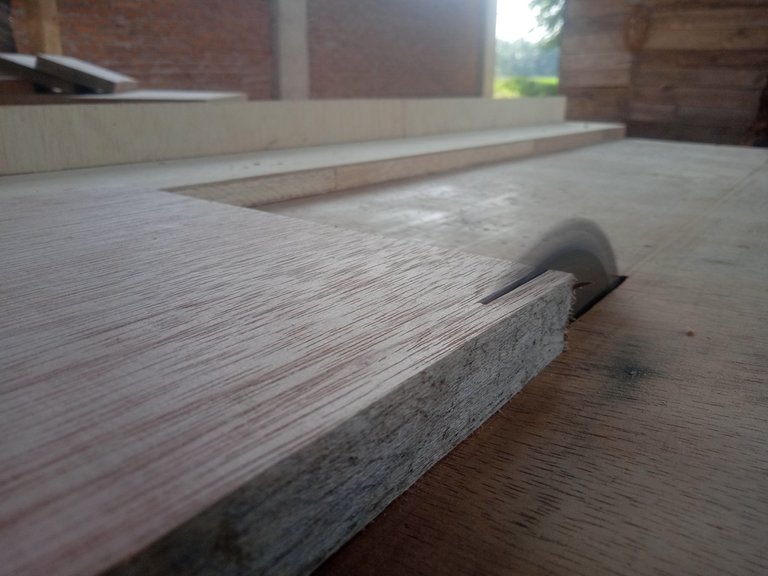
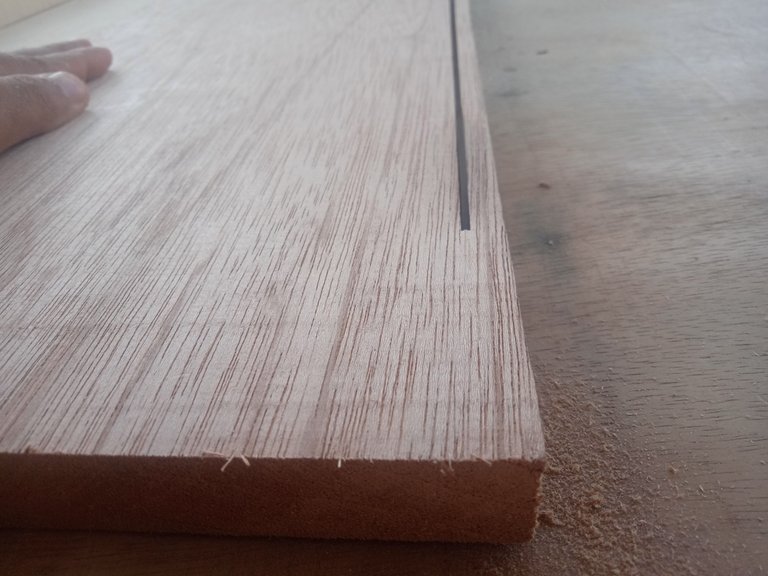
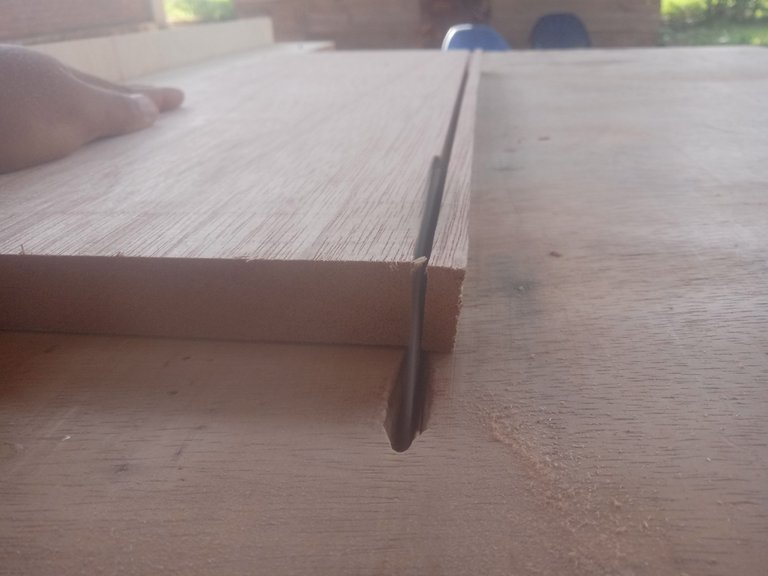
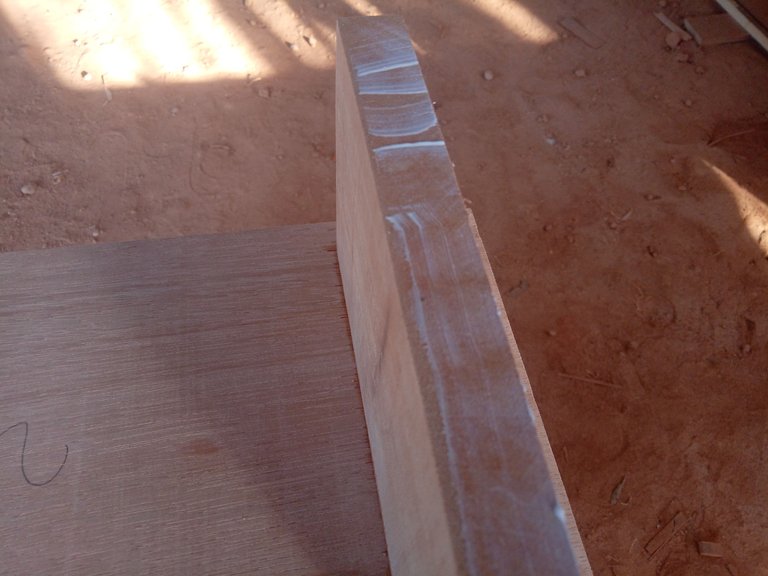
After all the pieces were cut, I then equalized all the wood sizes to 21 cm by splitting them on a table saw machine.
After that was finished I started smoothing all the wooden surfaces by sanding them in stages, the first stage I used sandpaper number 180 to even out the surface of the wood, then the second stage used sandpaper number 240 to smooth it and the results were perfect.
Second stage
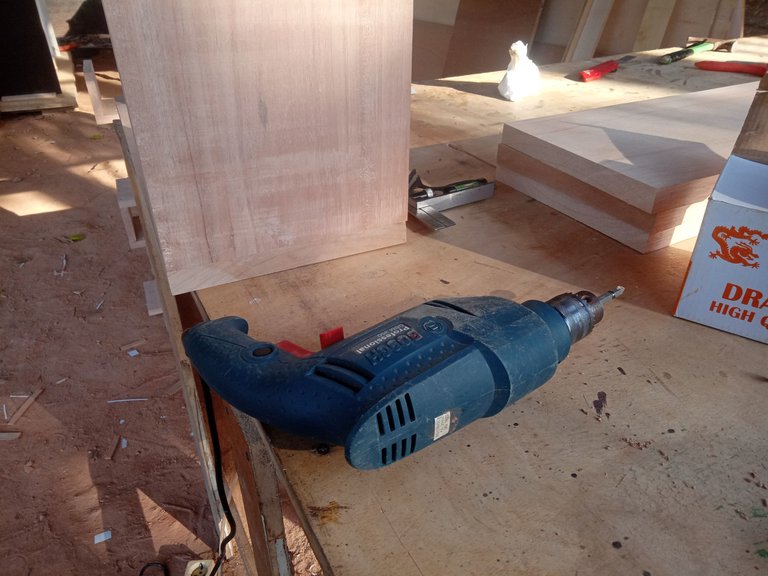
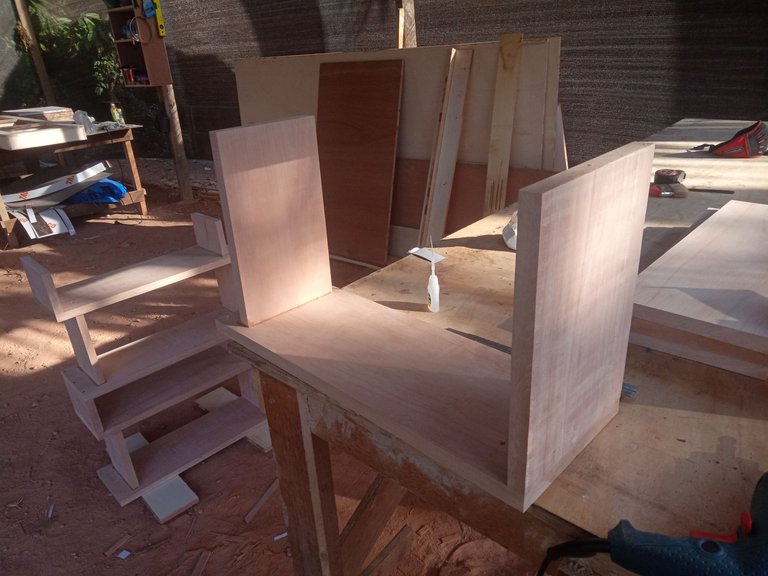
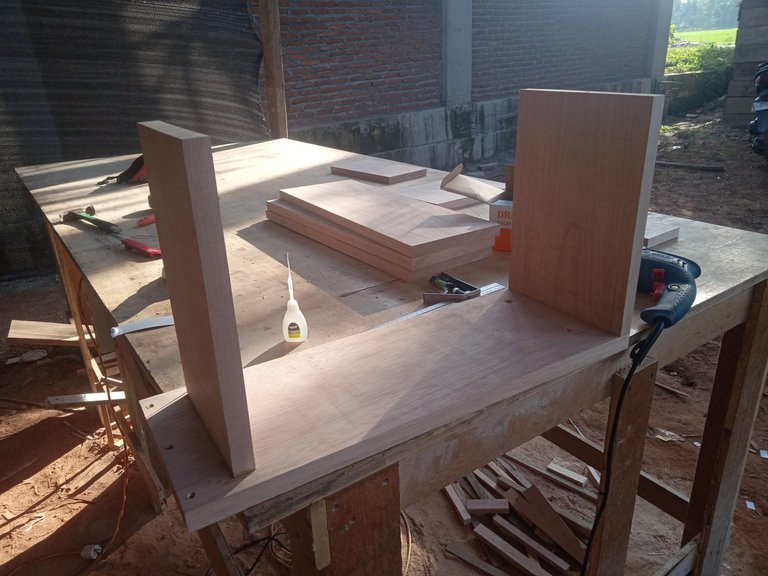
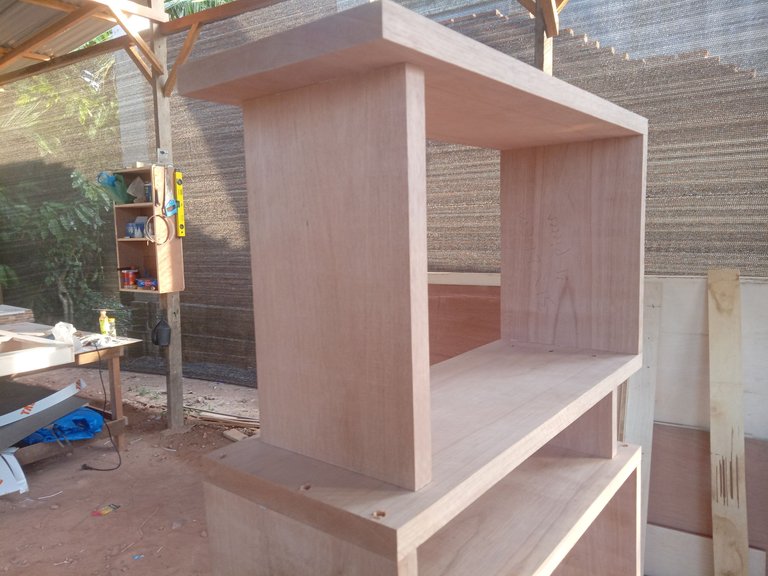
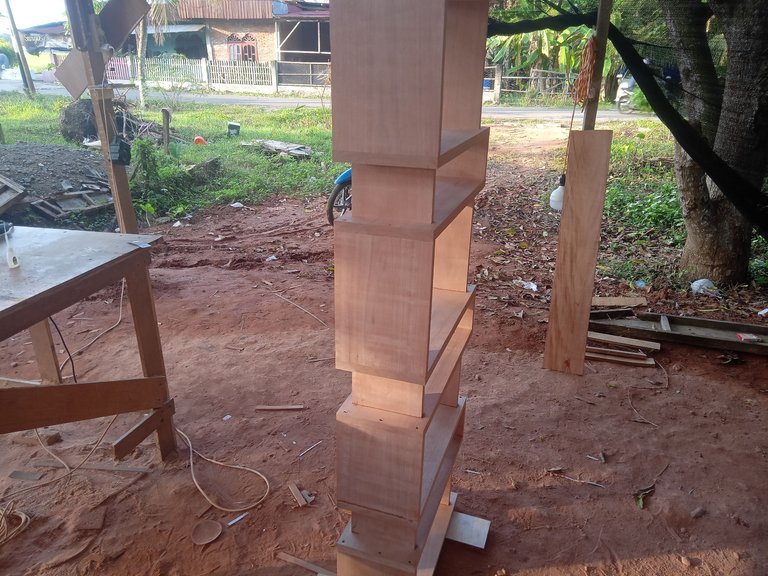
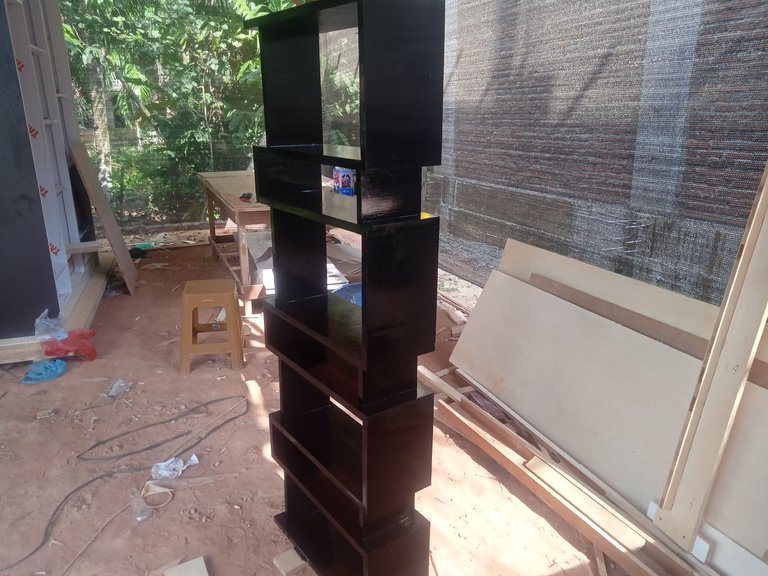
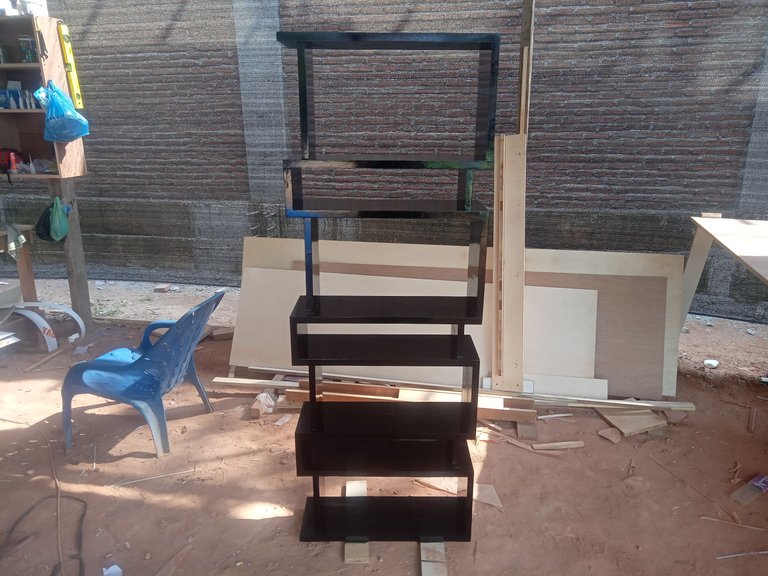
We continue to the next stage, namely the process of assembling all the parts with each other by gluing and screwing them using 2 inch screws. In the process of assembling this shelf it is a little difficult if you do it piece by piece because each level of the shelf has a different size, there are even sizes those who can't use a hand drill but it will be easier if you assemble it piece by piece, that is, assemble the pieces of the first, second level and so on first then put them together to make a shelf, it's a bit difficult to explain but I hope you can understand it by looking at the picture I showed on.

Third phase
This stage is the finishing stage and this is the last stage, in the finishing stage there are several processes that are different but complement each other.
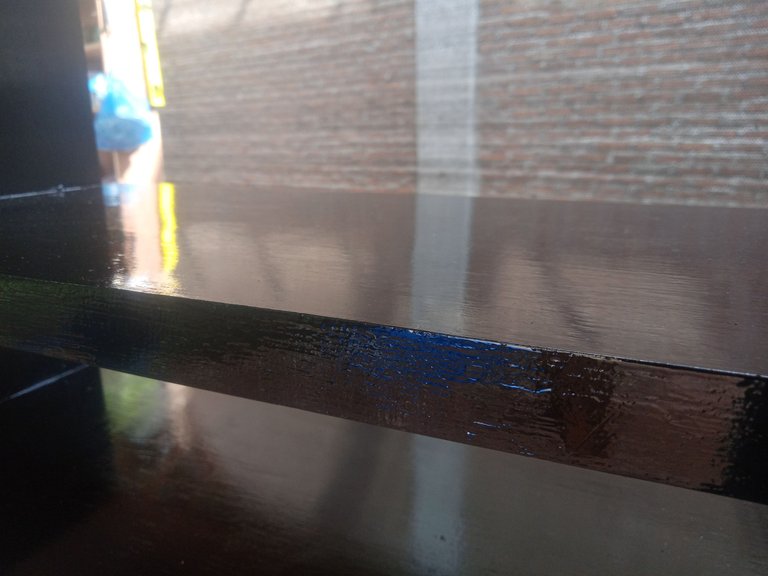
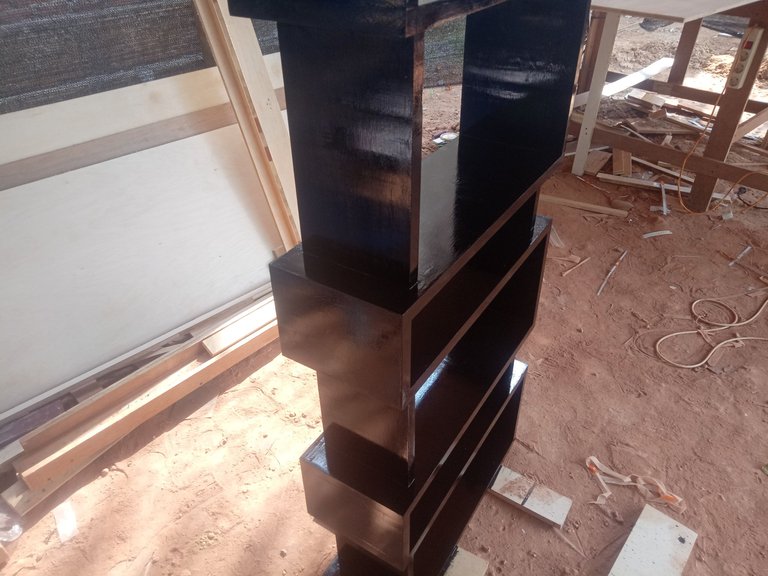
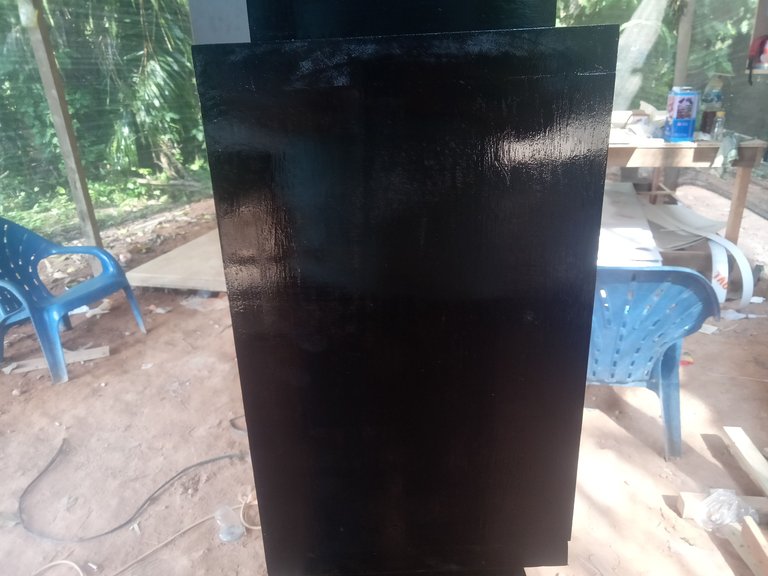
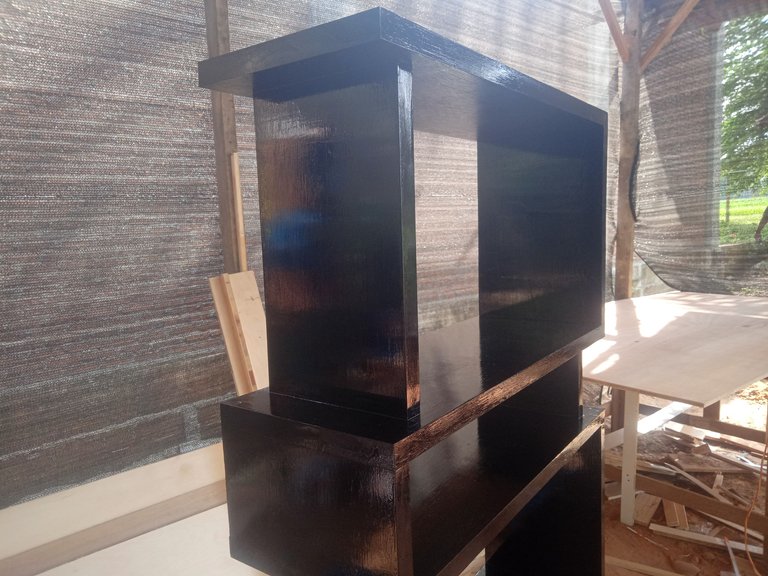
The first process is to cover all the screw marks using thick putty or putty without any mixture and wait for it to dry then sand the putty marks until they are even, then coat all the wooden surfaces using a slightly runny putty by mixing it with thinner. This process can be done using Brush or scrap until evenly distributed, then wait until it is completely dry, approximately 2 hours, then start sanding everything using sandpaper number 400 so that the results are smooth and optimal, you can use a machine or manually.
The next process is to paint all the wooden surfaces, in this project my customer asked for a shiny black color and this painting process can be done using a brush or using a spray gun, if you want more satisfying results you can use a spray gun but because I don't have one then I just used a brush and the results were quite satisfying and this is the result.
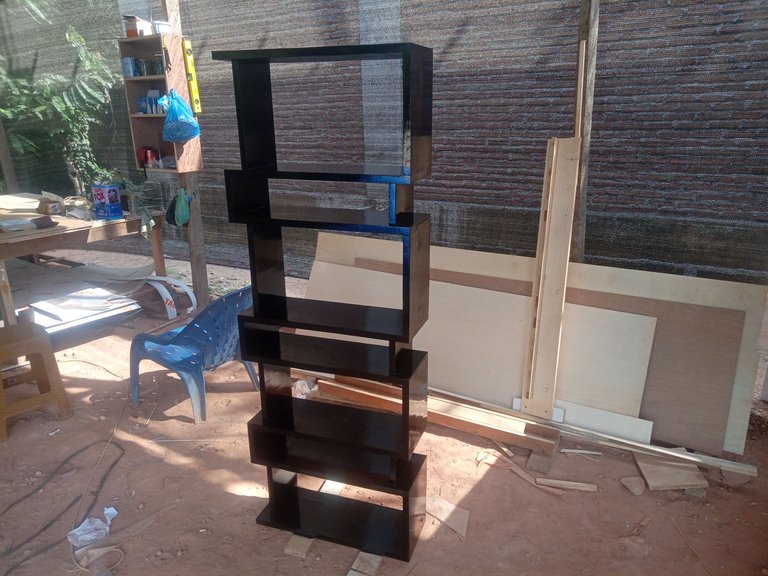
And that's an explanation of my project this time. I hope you like it and see you in the next post..
The shelves are really minimalist and unique. I also think I need a similar bookshelf for my book collection at home. very inspiring
Congratulations @lancang! You have completed the following achievement on the Hive blockchain And have been rewarded with New badge(s)
Your next target is to reach 1000 upvotes.
You can view your badges on your board and compare yourself to others in the Ranking
If you no longer want to receive notifications, reply to this comment with the word
STOPCheck out our last posts:
Congratulations dear @lancang! We are delighted to inform you that your outstanding publication was specially selected as an exclusive feature for our Curated Content Catalog and was awarded RUNNER UP in Architecture Anthology™ 64. More power!
Thank you for subscribing to Architecture+Design, an OCD incubated community on the Hive Blockchain.
Thanks so much..
With great pleasure dear @lancang. Cheers! 😀