How to Add a Basemap in QGIS
Last week, I have posted an article about QGIS and the reasons why you should try using it. On the assumption that you already installed it in your system, one of the first things you can do is to load a base map. Actually, in many computer tutorials, you will be taught of the workspaces first, the menu and the whole lot of options that you can find within the software. I chose not to do that, since many of the software we use share the same commands (e.g. F1 – help, F2 – rename, Ctrl+C, Ctrl+V, etc). It’s just a matter of exploring and playing around with the program to familiarize yourself on the user interface and what each option does to the one you’re doing inside the software.
QGIS, to be more useful, can be used to overlay different layers that contain different information. It may be population of an area, a disease outbreak, voters’ turnout in an election, or some other things that have spatial component and we can also do analysis within. We will discuss more of those layers in our future tutorials. What this post is going to do is to teach you how to add a base map layer to your map.
Coordinate systems are reference systems which show the exact location of an object, or a place, or an item. When you see on TV those tech guys trying to locate an object or a person, you will encounter these numbers, which usually come in pairs, to denote X and Y coordinates in a map. There are more than a hundred coordinate systems in the world, but they pinpoint the exact same thing, it’s just using a different number pairs if you like. My nearest analogy for that is measurement, you can have** IMPERIAL or METRIC**. You can measure your height using both measurement, you will get different numbers but it is still the same height.
In New Zealand alone, where I am based, there are different types of coordinates system and they are used primarily depending on where you are located. In saying that, a country usually have a “predominant” reference system that most GIS practitioners use. That “predominant” coordinate system currently use it is NZTM or New Zealand Transverse Mercator projection.
If you want to start immersing yourself into the world of mapping, it is important that you set your default coordinate system in QGIS. You can search GOOGLE on what is the “predominant” coordinate for your country.
Going back to the main tutorial, I mentioned in my previous QGIS post that one of the things that QGIS offers is the use of plugins – or third-party software that provides additional functionality to the main program. In this tutorial, we will use a plugin that will provide us lots of selections for our base map.
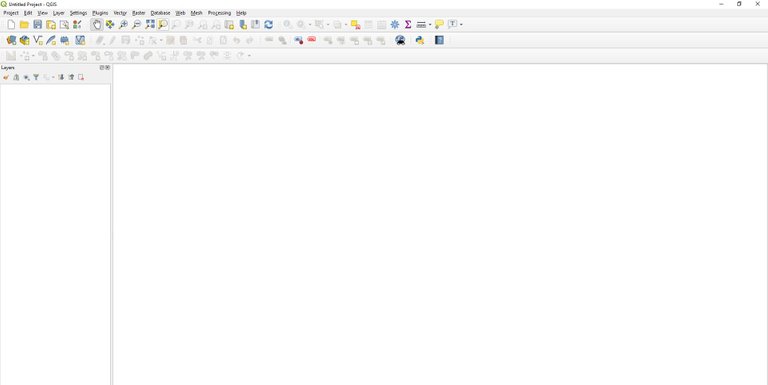
The plugin is call QUICK MAP SERVICES. So the first thing we do is to run the program.
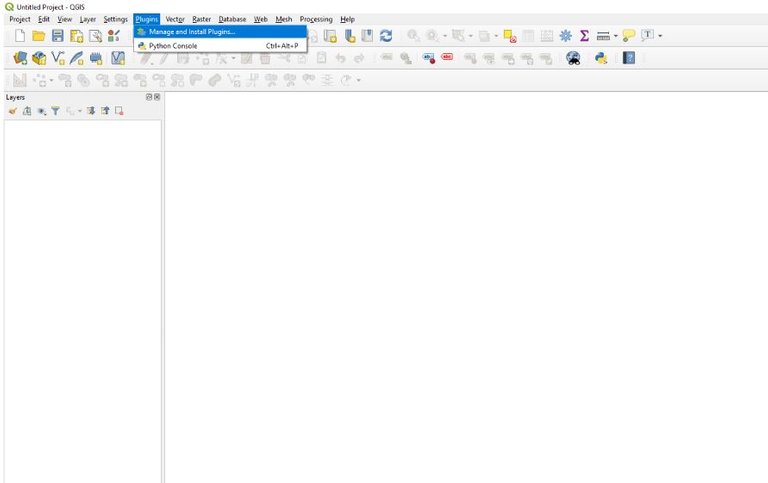
The we go to the command Manage and Install Plugins under Plugins on the program menu.
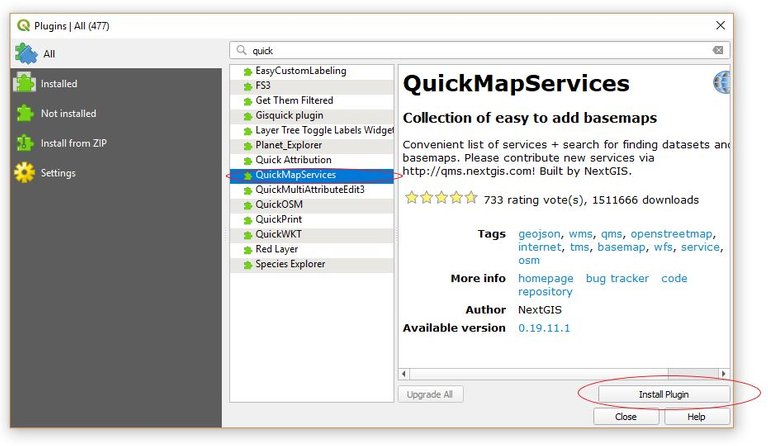
Then a new smaller window will pop up showing the available plugins currently on the QGIS repository.

Type in “quick” and it will filter the list showing those that have the word “quick” either in its name or in the description. You will see QuickMapServices in the list. Click on it and press the Install Plugin button.
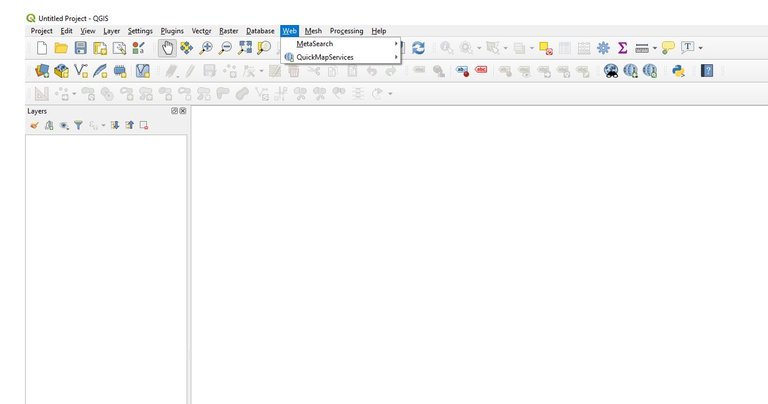
Close the plugin window and when you check Web on the program menu, you should see QuickMapServices just below MetaSearch.
Go to QuickMapServices Settings, and click on the tab that says More Services. Click on the button that says Get contributed pack. What it does is it downloads all the other map selections that other users chose to share with everyone else using the plugin.

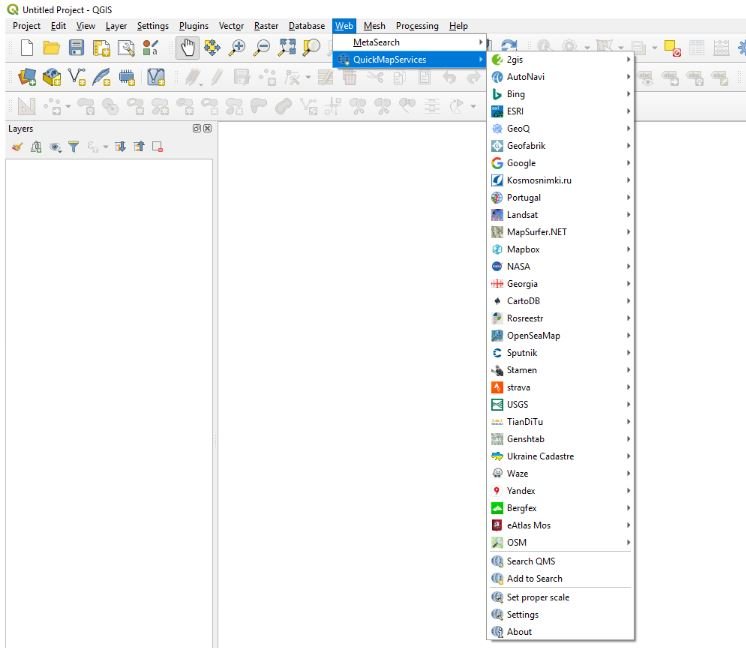
When you check the maps available under QuickMapServices, you will see that it has a wide variety of selections to choose from.
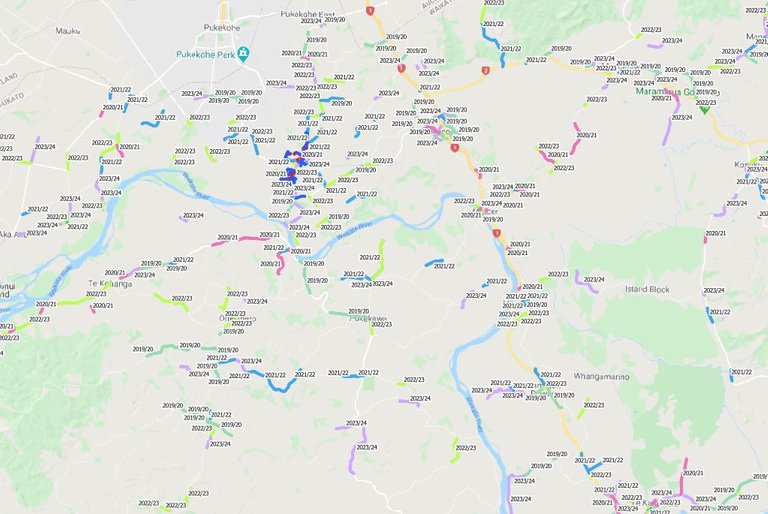
To test if it will work, you can choose Google Road and it will load into your main screen. Google Road is the same default map format when you go to the Google Maps website.
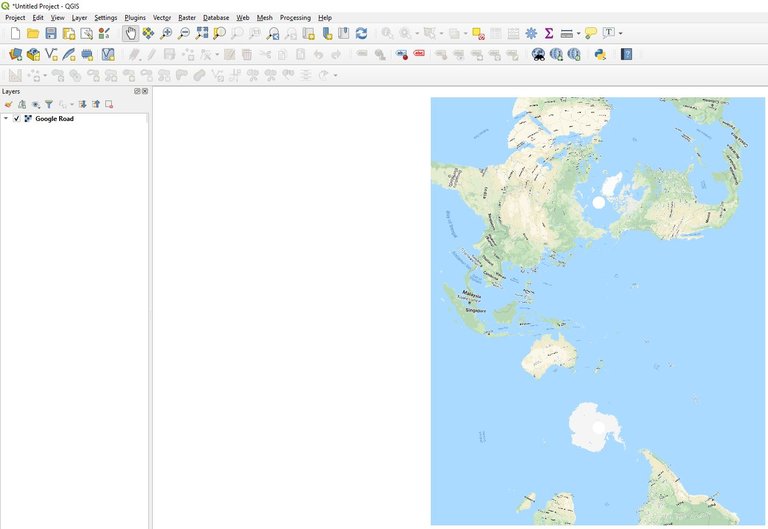
From there on, you can use the zoom-in, zoom-out button to navigate your way across the global as presented by Google.
I hope you enjoyed this tutorial. If you have any questions, do not hesitate to post them by commenting below.
A Little About Me
Please feel free to follow my account if you like my post.