Como fábricar una mini cajita sorpresa de corazón💜 fácil y rápido ⚡/ How to make a mini heart surprise box💜 quickly and easily ⚡
Saludos otra vez! Espero que hayan tenido un excelente día~ En esta oportunidad,les traigo una super facil y rápida idea, para hacer un pequeño pero amoroso presente. Una cajita,en forma de corazón con una pequeña sorpresa dentro. Y sin más,les explicó 😌
Materiales:
- Un rollo de papel higiénico
- Pegamento
- Tijera
- Una hoja de papel
- Lápiz y Marcador
Paso a Paso:
1
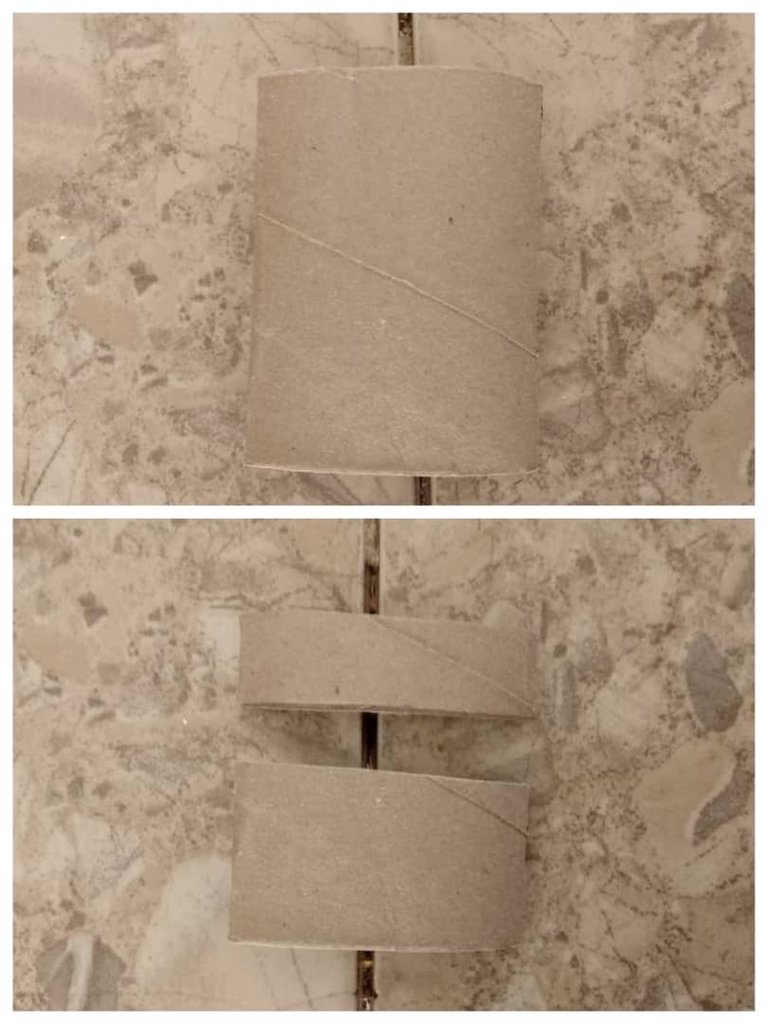
Cómo primer paso, aplastaremos el cilindro de cartón, para luego proceder a cortar dos pedazos. Pueden ser medidas al gusto, pero si es de sugerir mejor que uno tengo un grosor de 3 cm y el otro de 1,5 cm.
2
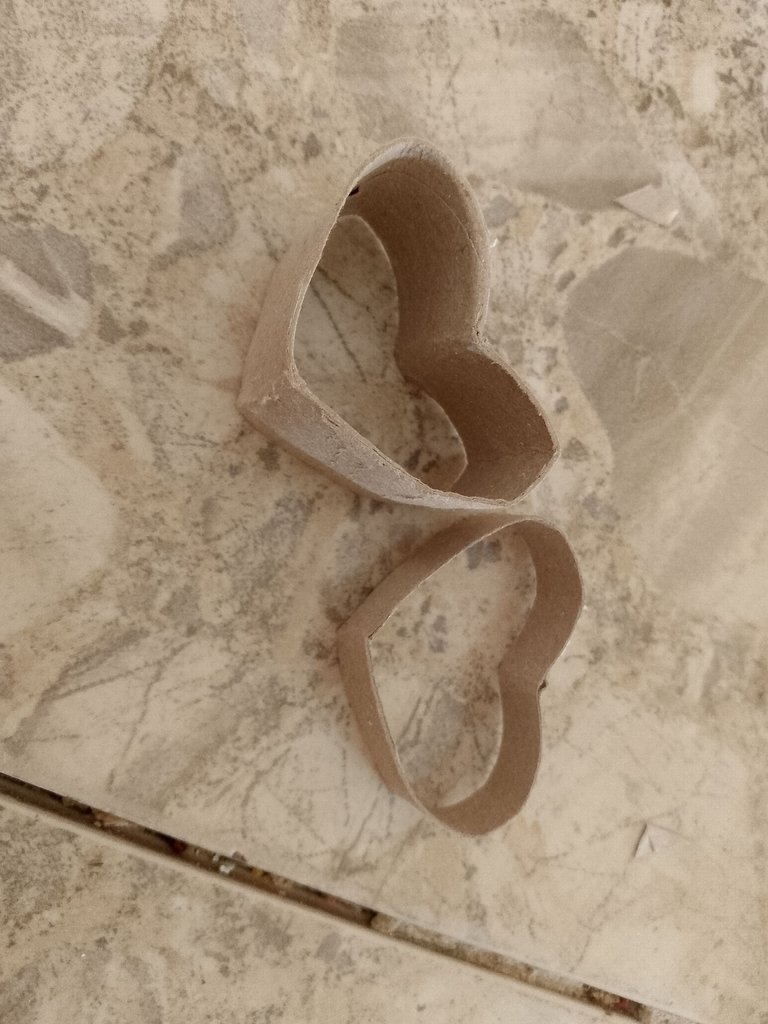
A continuación, doblaremos hacia dentro uno de los lados de las tiras, automáticamente tendrá una forma de "corazón" 🤎
3
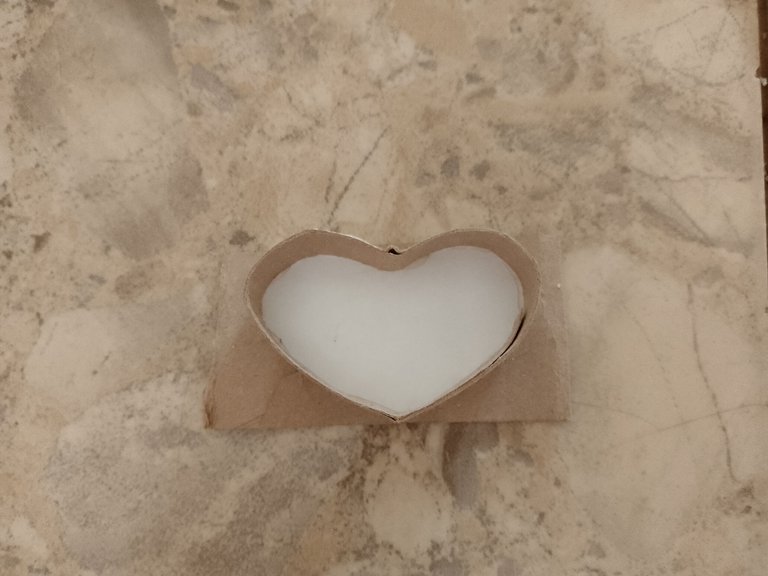
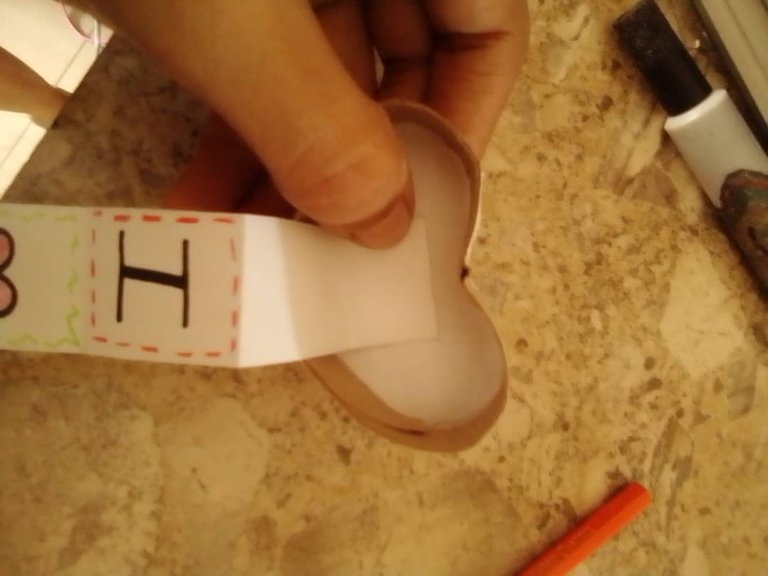
Ahora que tenemos la forma deseada, los corazones; colocamos pegamento en los bordes y los pegamos a la hoja de papel. Luego,solamente cortamos por los bordes para tener así las tapas de cada una.
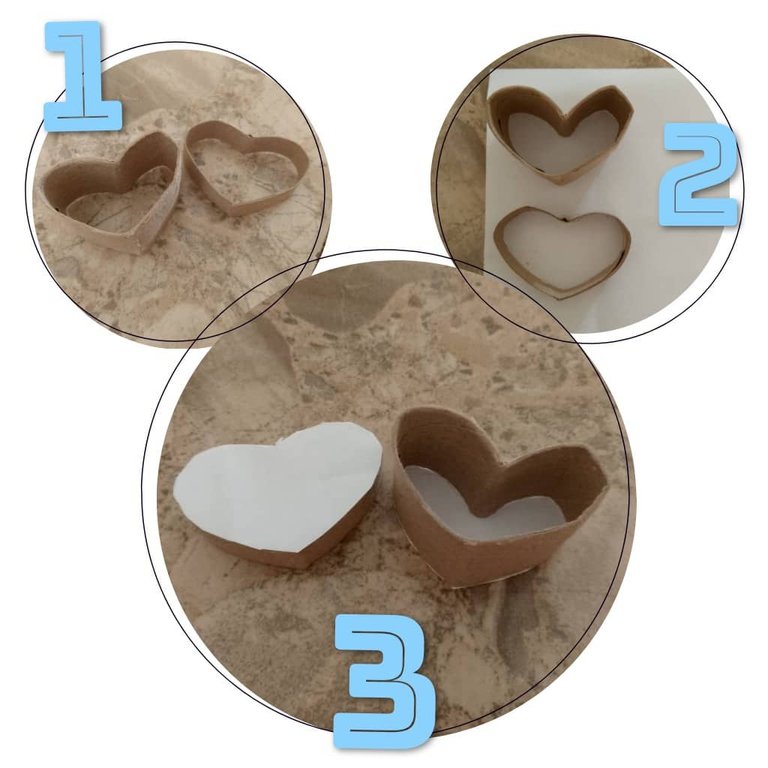
Para completar,podemos usar lo que nos queda del rollo de papel, y pegamos encima de la tapa, para tapar el papel y quede más uniforme.
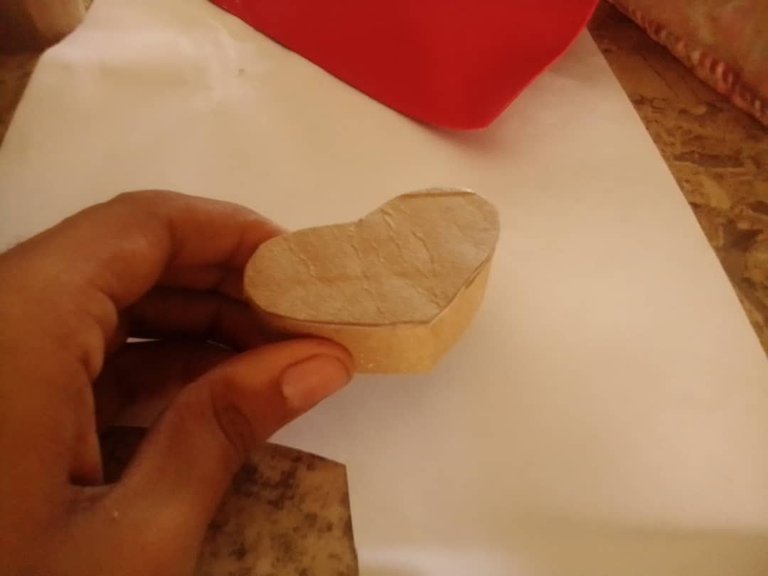
4
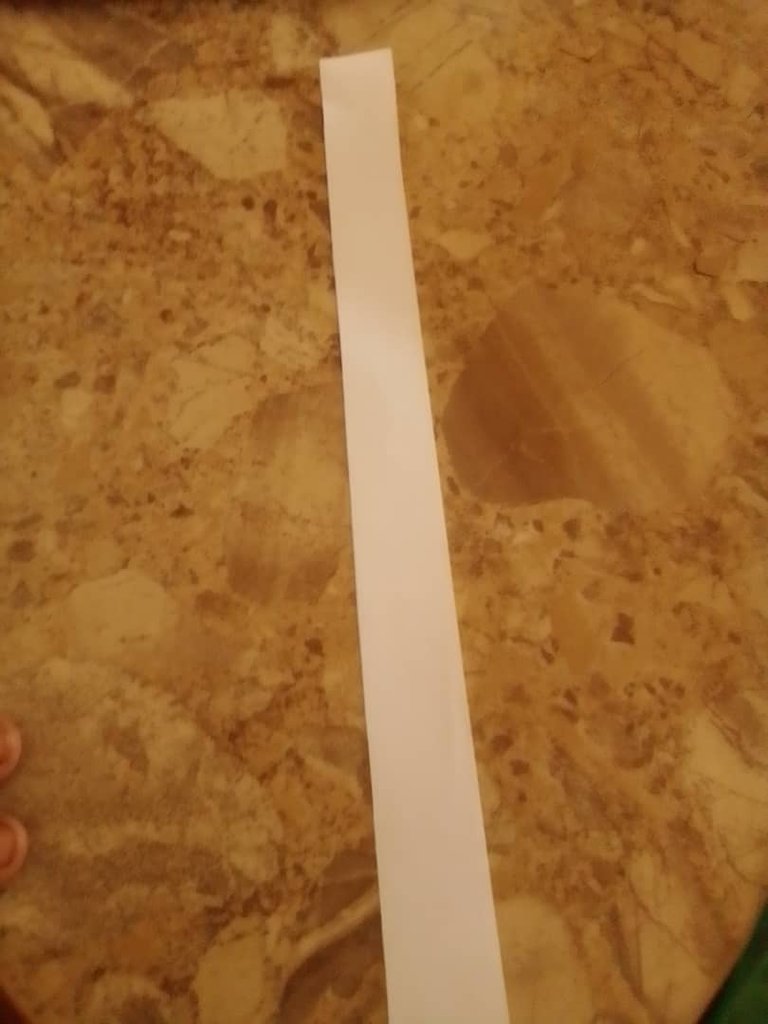
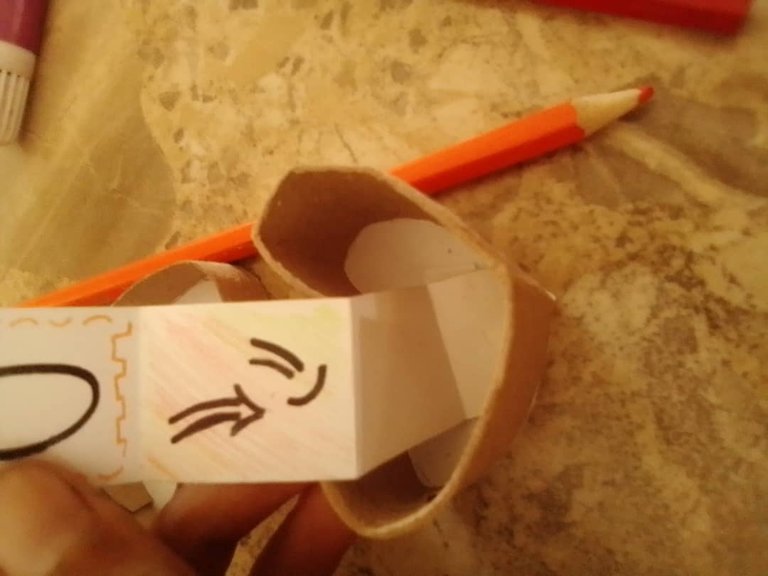
Ya tenemos la cajita armada. Ahora, viene la sorpresa que tendrá dentro. Con una tira de papel, lo que haremos será ir doblando hacia adelante y hacia atrás. (Haremos lo que llamo un efecto acordeon)
 )
)
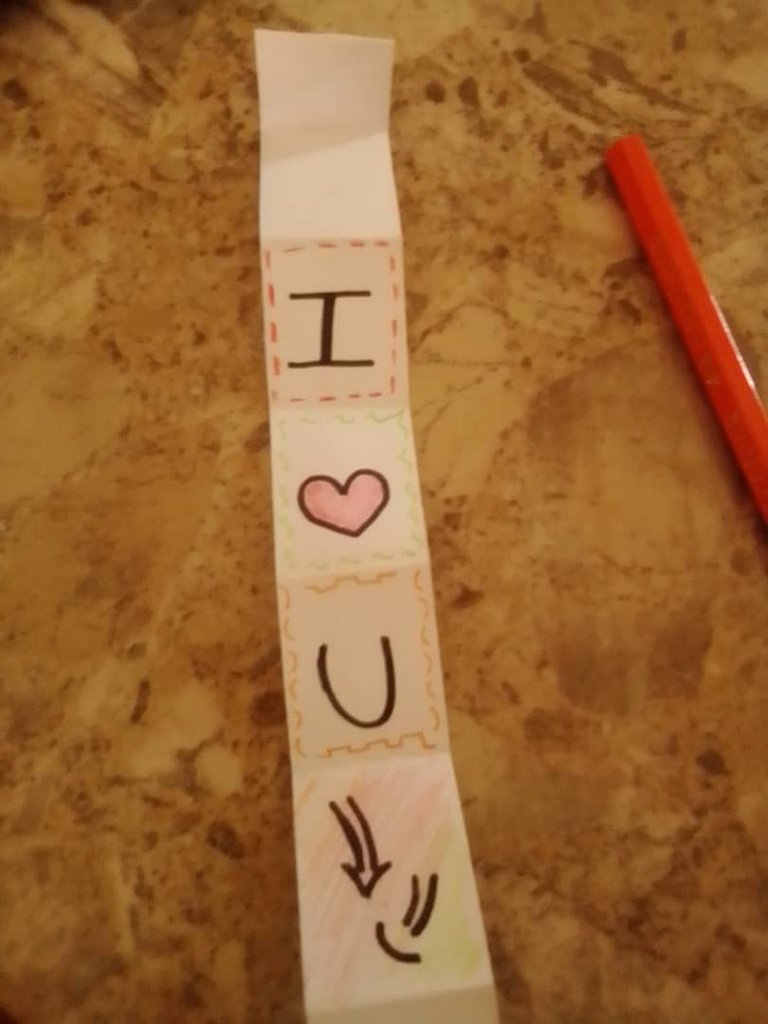
Y después,en el escribimos o dibujamos lo que más nos guste 🌞
5
Y solo faltaría pegar está tira a las dos partes de la cajita. Un extremo va hacia la tapa, y el otro hacia el interior de está, dónde también podríamos introducir algún caramelo o algún adorno adicional.
Podemos pintar la cajita,adornarla con algún forma de foami, cartulina, escarcha... Cómo he dicho, nunca hay límites para la creatividad, y siempre es muy buena idea darles toques personales a toda idea, y sobre todo mucho mucho amor 🫶🏼


Y ven que facil es? Con pocos materiales, y está listo en un 2x3. De vez en cuando los simple si es muy bueno, pero de vez en cuando; hay que subir de nivel y poco a poco nos volveremos expertos con las manos. Esas ideas de 5 minutos si pueden ayudarnos a experimentar y darnos impulso para crear nuestros propios diseños.
Un placer estar por aquí.
Cuidense mucho~
Espero les agradará.
Hasta otra entrada!.
Editor: Canvas
Las fotos son propiedad mia 👌
Traductor: FaceEmoji.
Greetings again! I hope you had a great day~ On this occasion, I bring you a super easy and quick idea to make a small but loving present. A little heart-shaped box with a little surprise inside. And without further ado, he explained to them 😌
Materials:
- A roll of toilet paper
- Glue
- Scissors
- A sheet of paper
- Pencil and Marker
Step by Step:
1
As a first step, we will flatten the cardboard cylinder, and then proceed to cut two pieces. They can be measured to taste, but it is better to suggest that one is 3 cm thick and the other 1.5 cm thick.
2
Next, we will fold one of the sides of the strips inward, it will automatically have a "heart" shape 🤎
3
Now that we have the desired shape, the hearts; We put glue on the edges and glue them to the sheet of paper. Then, we only cut along the edges to have the tops of each one.
To complete, we can use what is left of the paper roll, and glue it on top of the lid, to cover the paper and make it more uniform.
4
We already have the box assembled. Now, comes the surprise that will be inside. With a strip of paper, what we will do is fold it back and forth. (We will do what I call an accordion effect)
)
Then, in it we write or draw what we like the most 🌞
5
And all that remains is to glue this strip to the two parts of the box. One end goes towards the lid, and the other towards the inside, where we could also insert some candy or some additional decoration.
We can paint the box, decorate it with some form of foam, cardboard, glitter... As I said, there are never limits to creativity, and it is always a good idea to give personal touches to every idea, and above all, a lot of love 🫶🏼
And see how easy it is? With few materials, and it is ready in a 2x3. From time to time the simple one is very good, but from time to time; You have to level up and little by little we will become experts with our hands. Those 5-minute ideas can help us experiment and give us the impetus to create our own designs.
A pleasure to be here.
Take care of yourselves~
I hope you will like it.
Until another entry!
Publisher: Canvas
The photos are my property 👌
Translator: FaceEmoji
Saludos amiga .. éxitos y bendiciones para ti ❤️🤗🫂
Una idea divertida para hacer con los pequeños de la casa. Y lo que me gusta es que lo hiciste con materiales de reciclaje.
La creatividad no tiene límites
Nadie pensaría que el producto final de esto tendría mucho sentido como lo es ahora. Este es un trabajo bien hecho por lo que has hecho, felicitaciones.
Hola amiga que bonita idea para realizar y dar con mucho amor y cariño para alguien especial
muy bonito te quedo! excelente!
Quedó tan hermoso. Buen trabajo querida.
Creatividad y ideas fluyendo. Muy linda cajita.