How to make a centerpiece for a baby shower. //Cómo hacer un centro de mesa para la bienvenidas de los bebés.
✨Bienvenidos. // Welcome. ✨
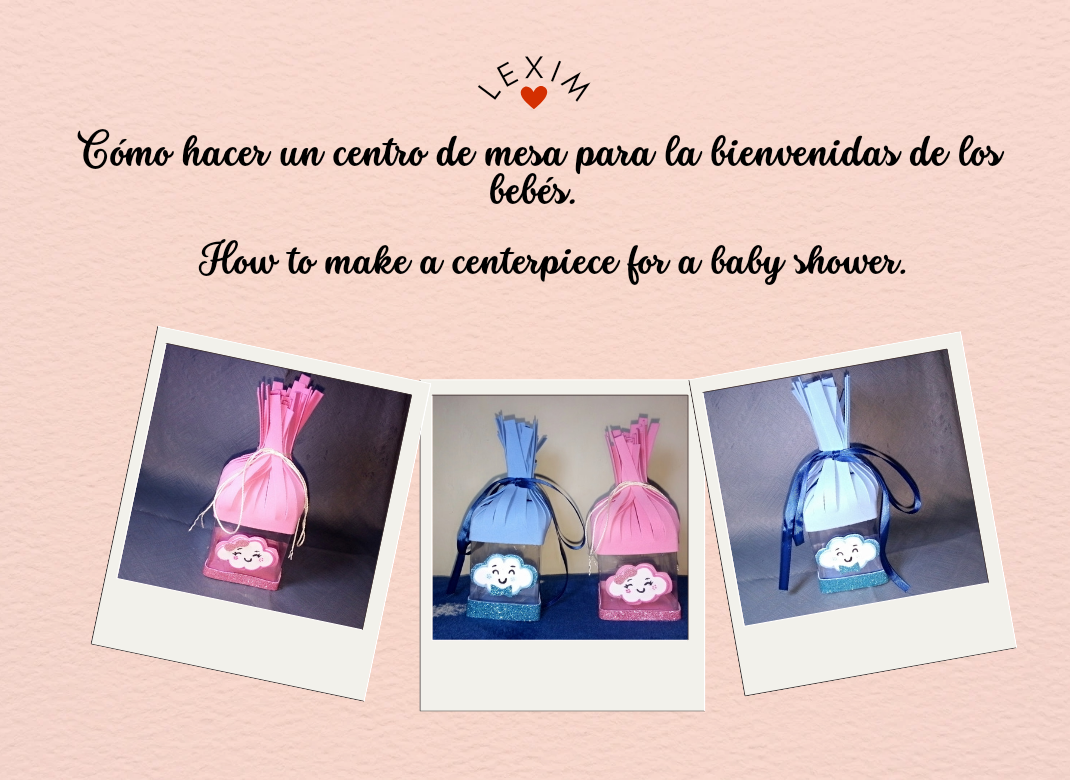
Hello everyone dear colleagues a pleasure to greet you. Today I want to share with you one of my creative activities that I like to do with much affection for you a step by step how to make a centerpiece for the welcome of babies. Nowadays the revelation of babies is very fashionable so parents are anxiously awaiting the arrival of their babies and I was motivated to make these cute souvenirs or centerpiece for the party of your welcome super nice and practical to do without more to say here I leave its elaboration.
Hola a todos queridos compañeros un gusto en saludarlos. Hoy les quiero compartir una de mis actividades creativas que me gusta hacer con mucho cariño para ustedes un paso a paso de cómo hacer un centro de mesa para la bienvenidas de los bebés. Hoy en día la revelación de los bebés está muy de moda asi que los padres esperan muy anciosos la llegada de sus bebés y me motive en hacer estos lindos recuerdos o centro de mesa para la fiesta de su bienvenidas súper bonito y práctico de hacer sin más qué decir acá les dejo su elaboración.

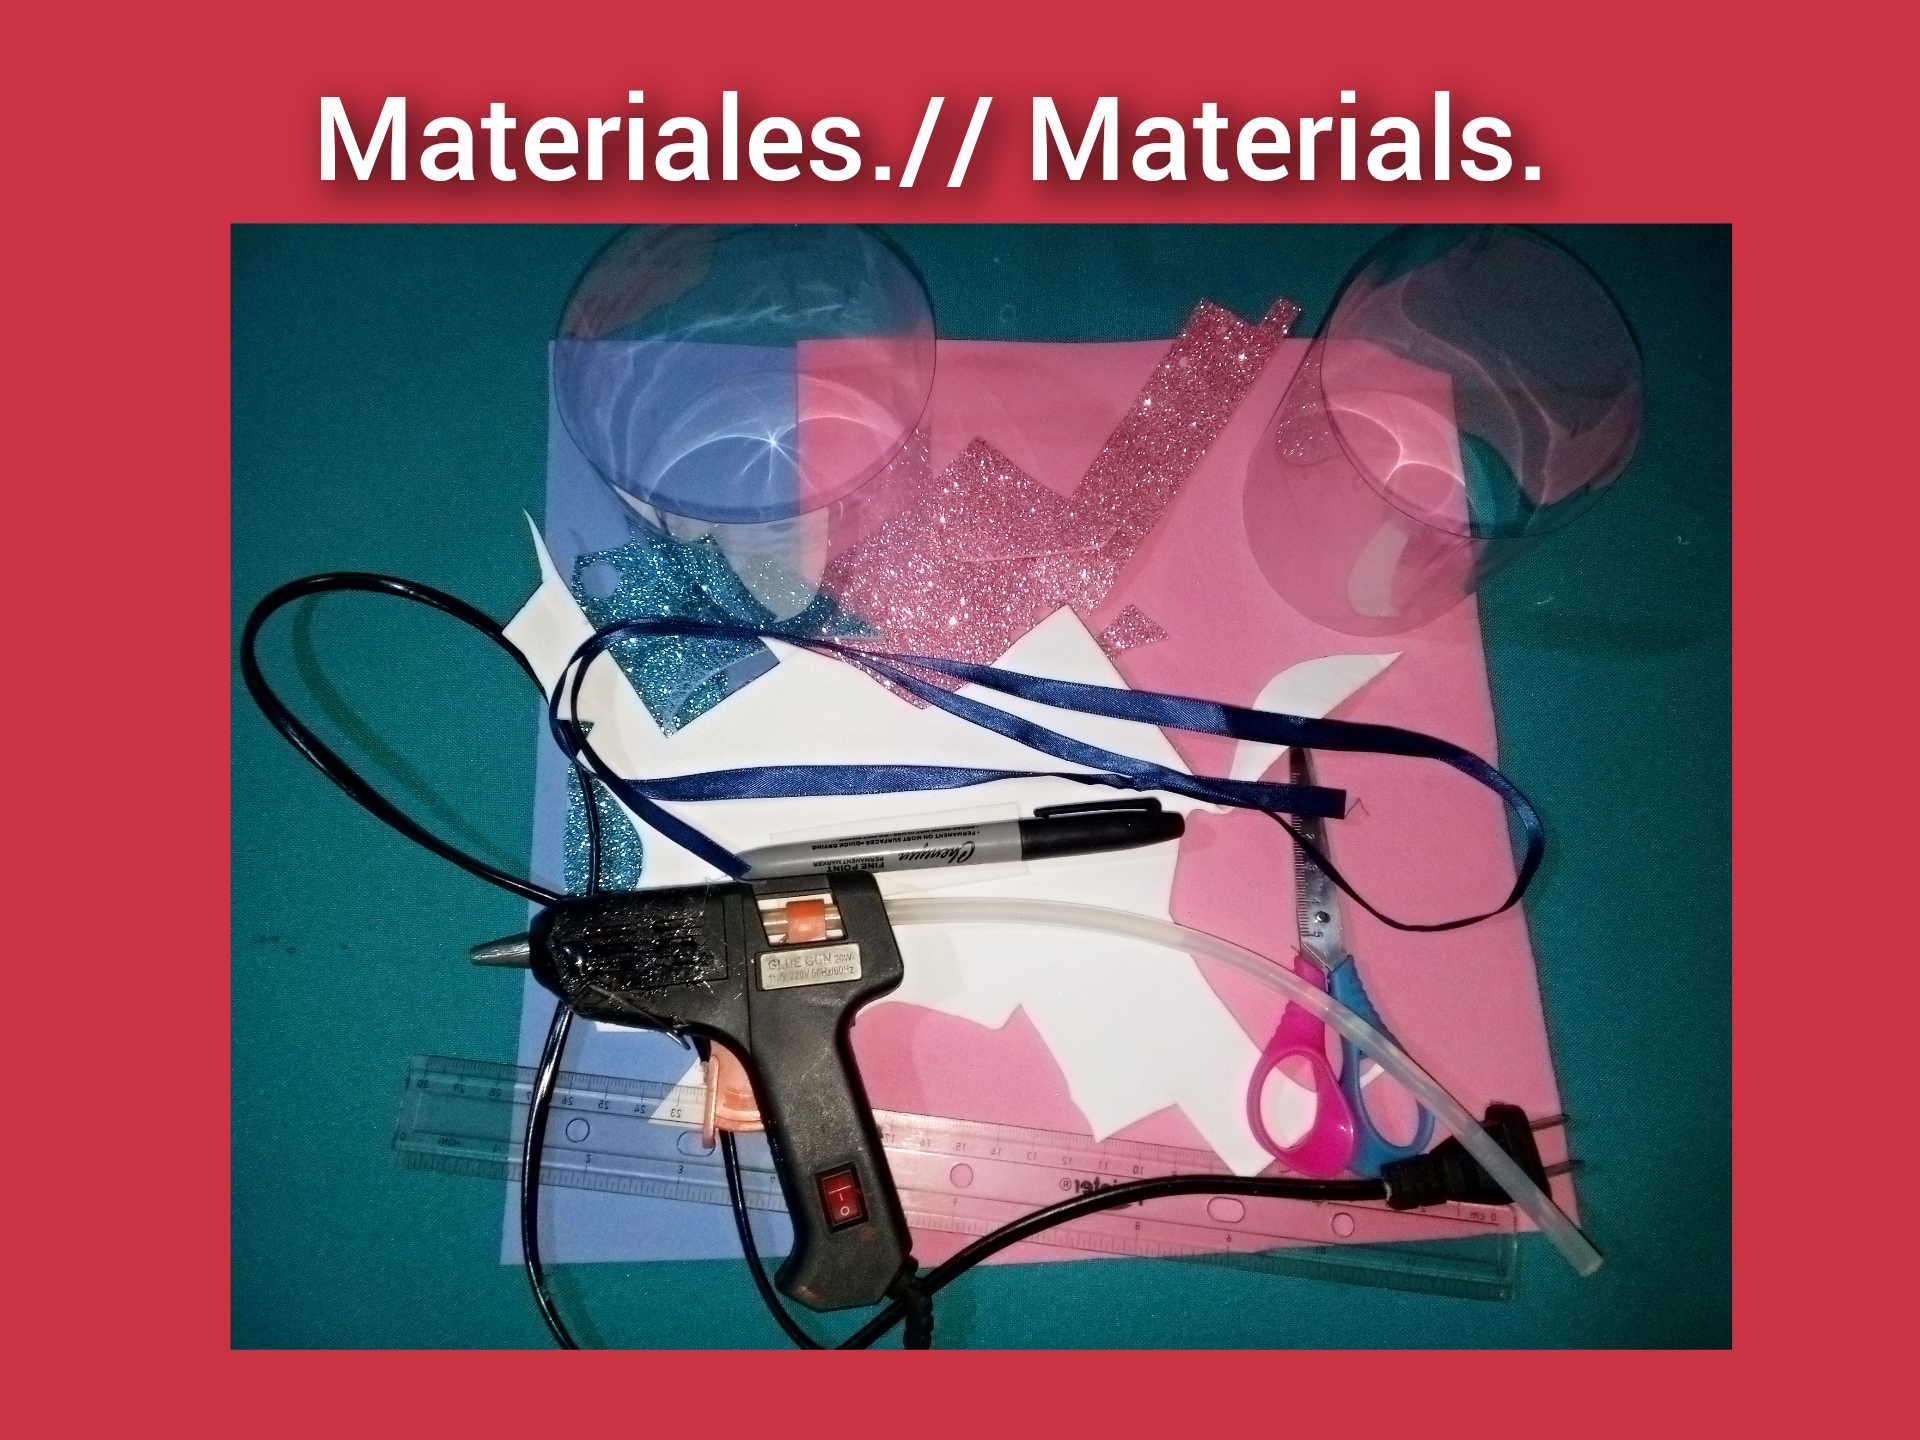
Materials.
Materiales.
- Plastic bottles.
- Frosted and normal pink, light blue and white eva glue.
- Black, pink and fuchsia felt-tip pen.
- Scissors.
- Pencil.
- Ruler.
- Liquid silicone.
- Ribbons.
- Silicone gun (optional)
- Botellas de plástico.
- Goma Eva escarchada y normal rosado, seleste y blanco.
- Rotulador negro, seleste y fucsia
- Tijera.
- Lápiz.
- .Regla
- Silicón liquidó.
- Cintas.
- Pistola de silicón (opcional)
Step by step.
Paso a paso.
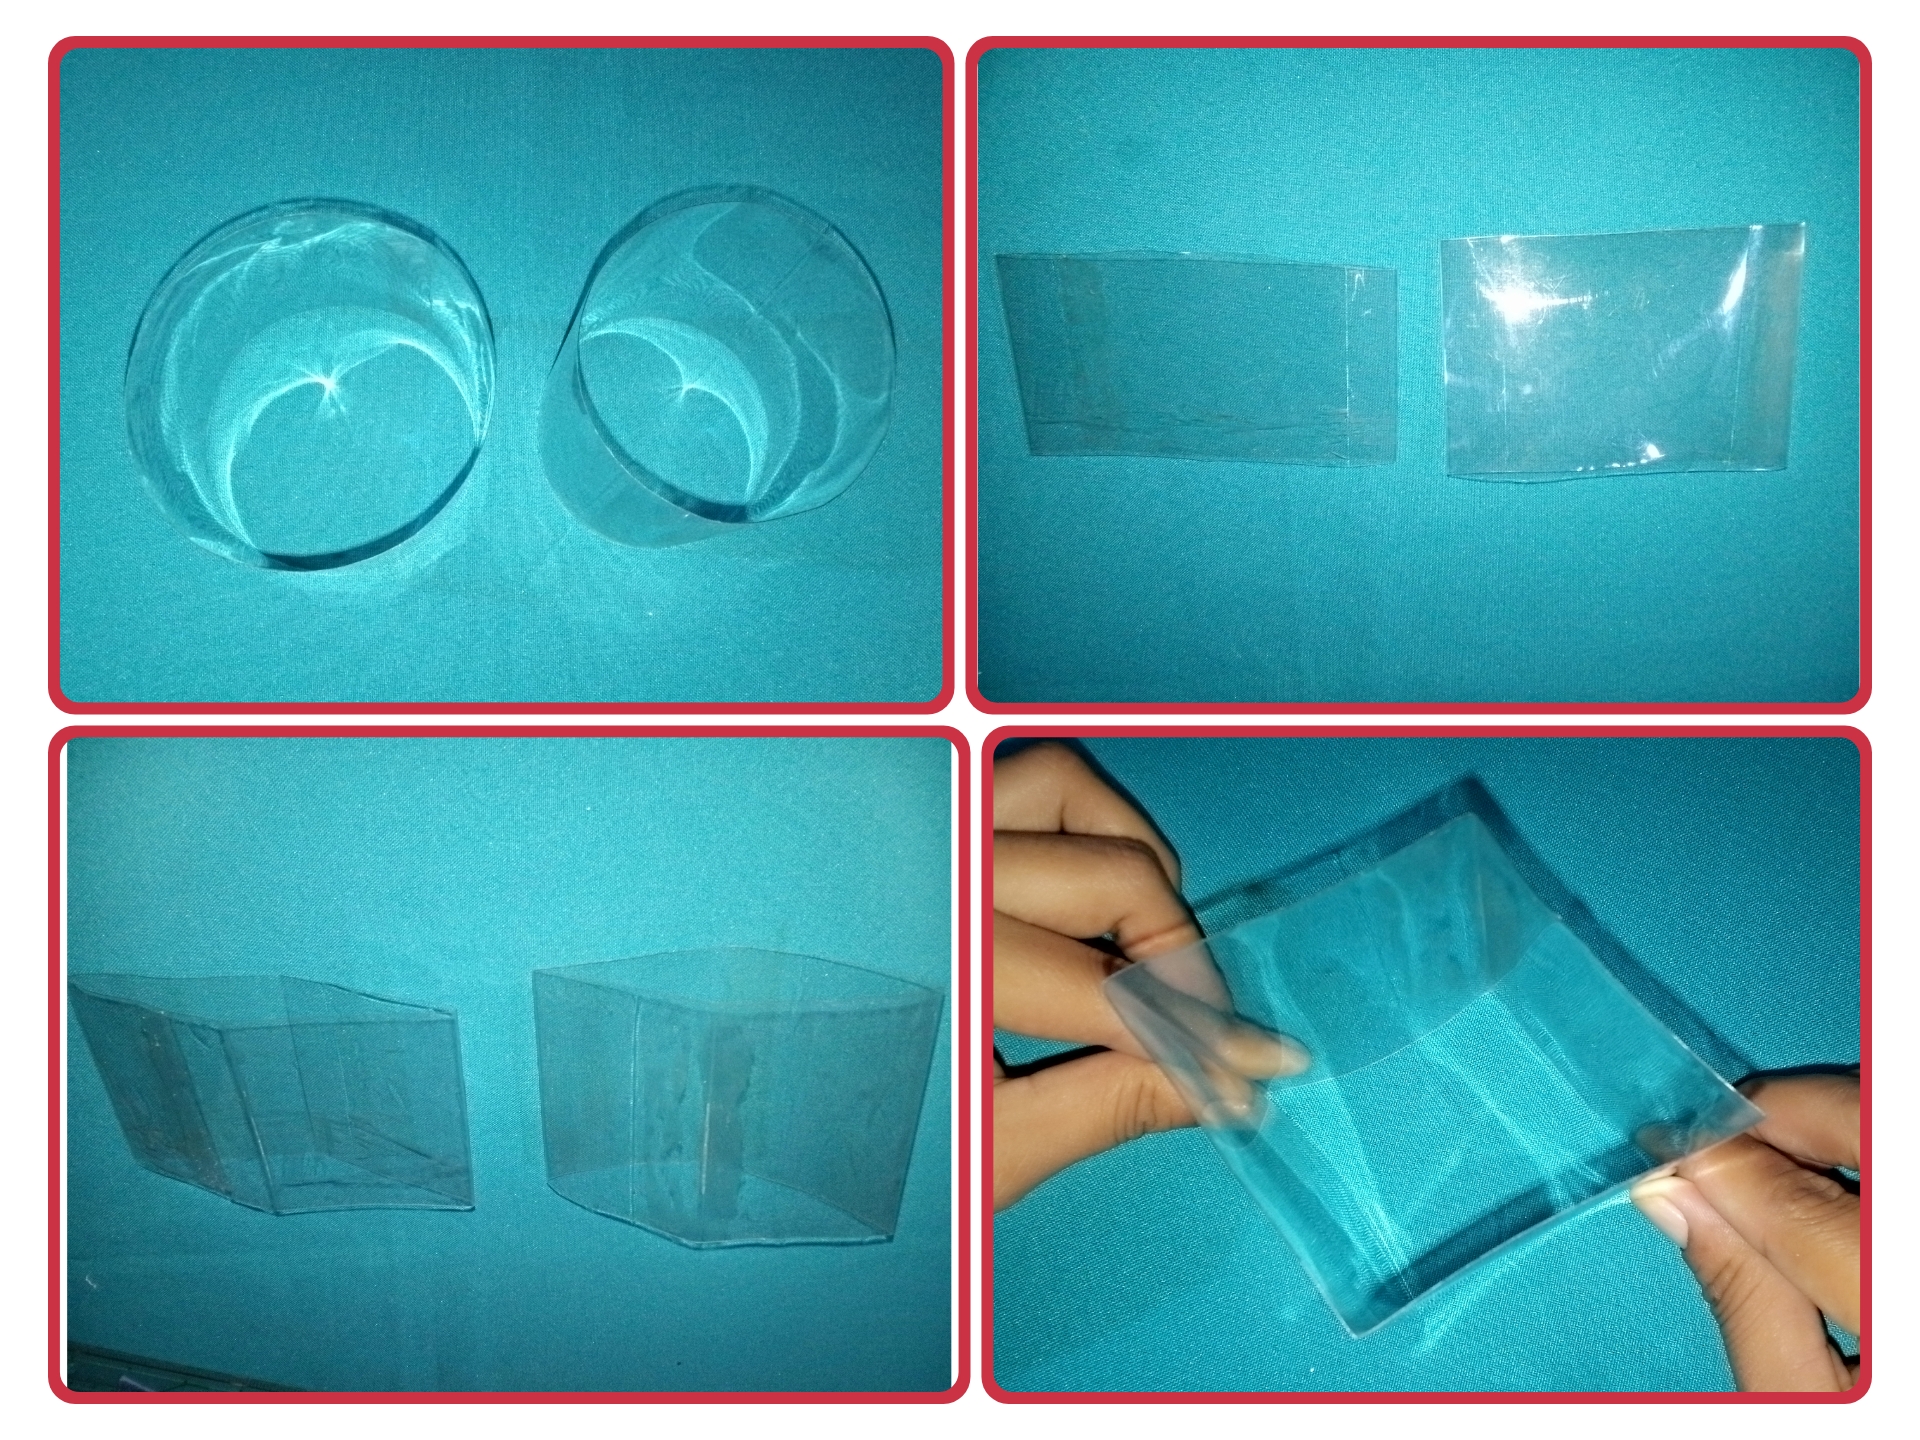
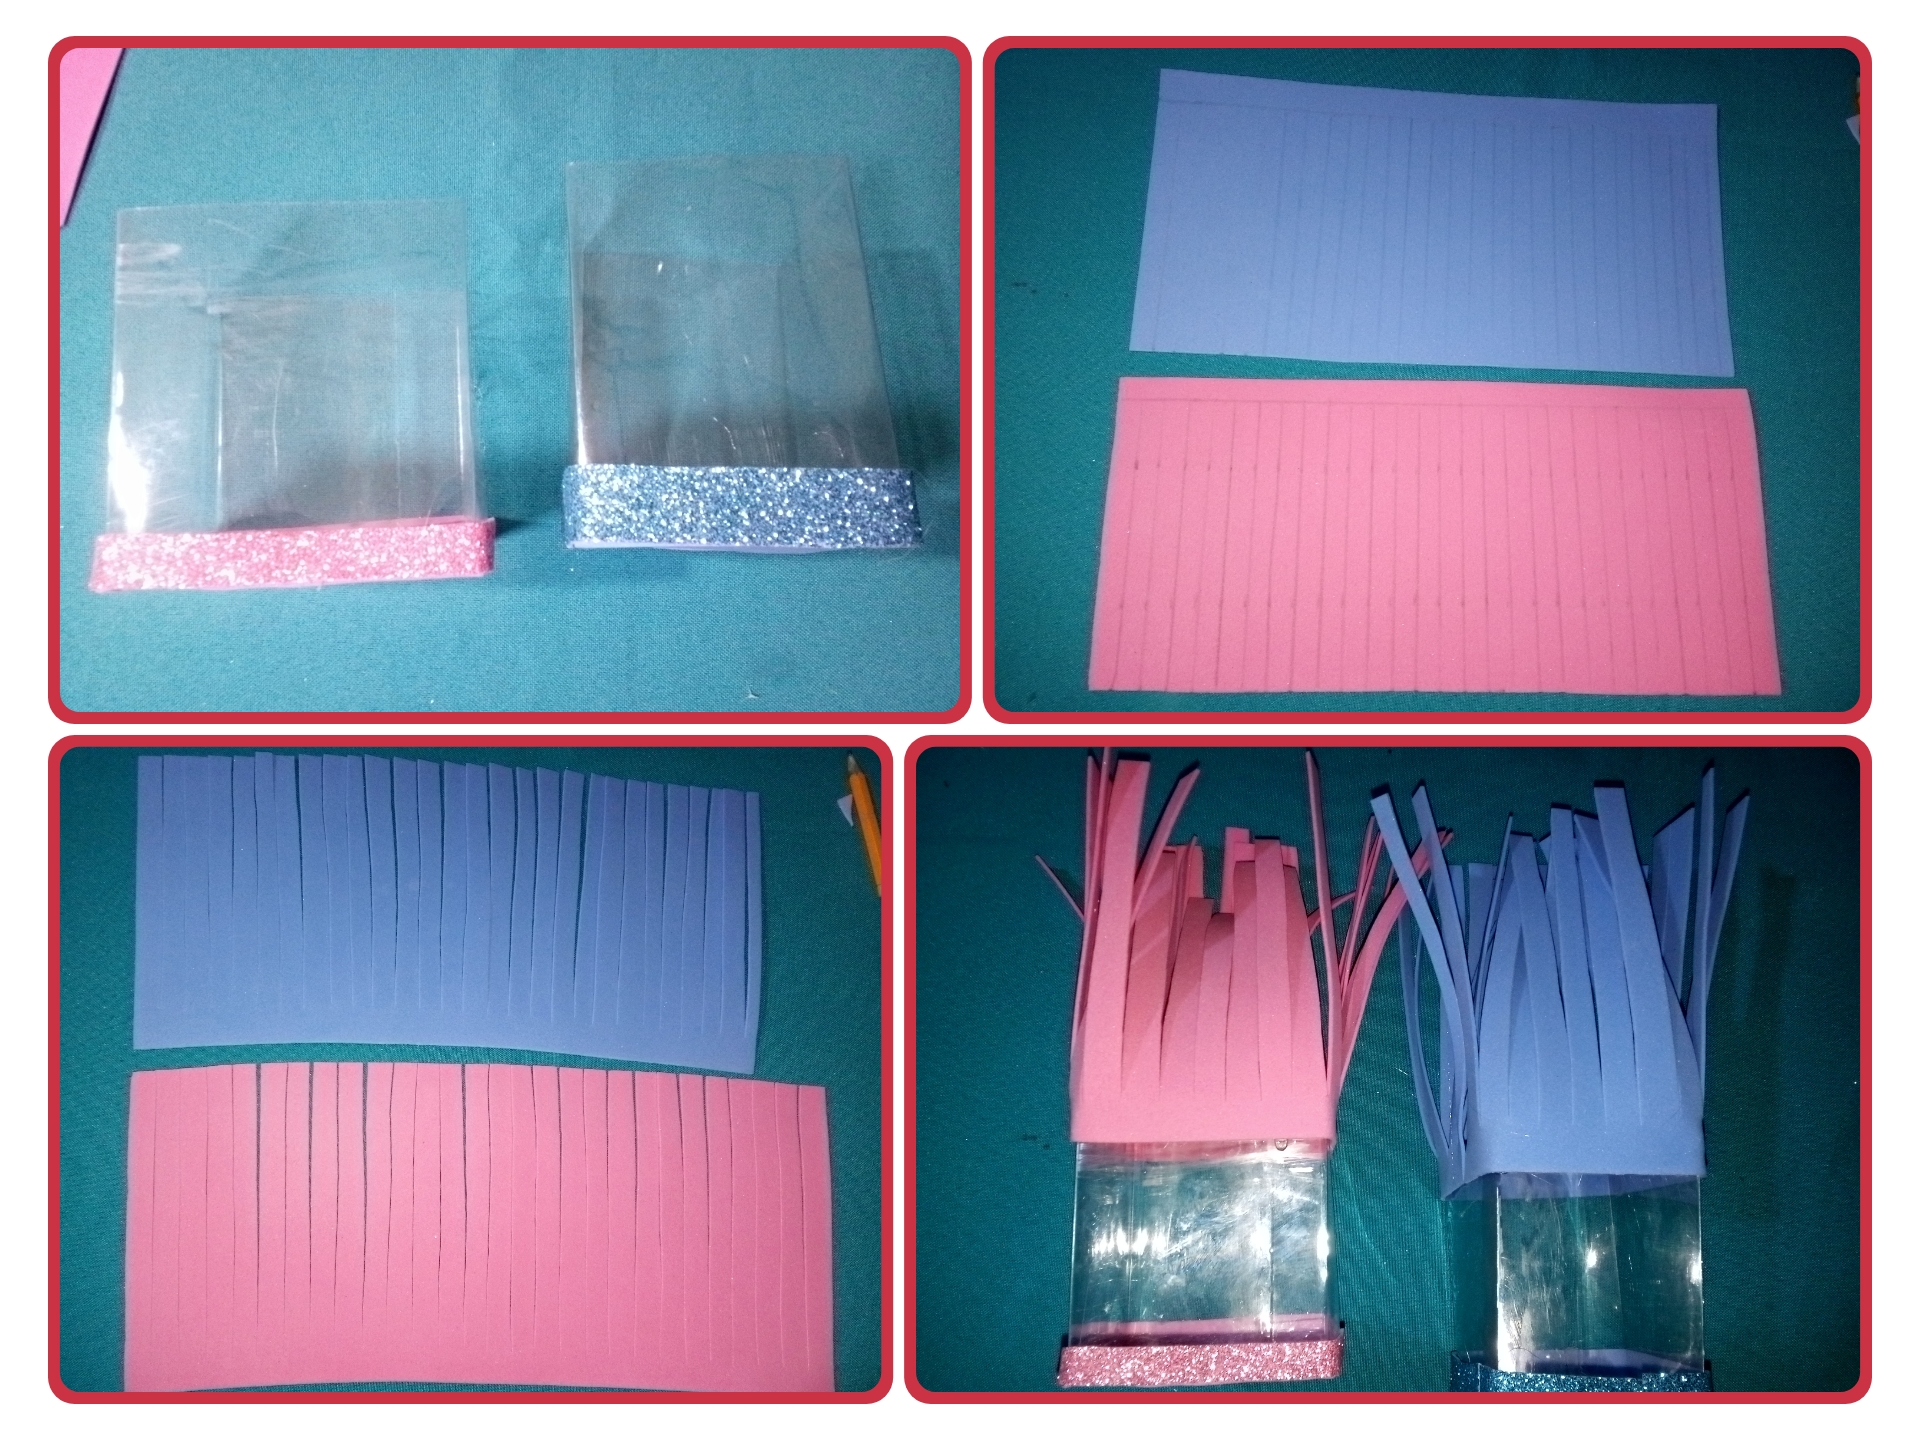
Paso 1. // Step 1.
We take two plastic bottles and cut the center part. We flatten the two bottles then we open and flatten the other end and we will have a square.
Cogemos dos botellas de plástico y cortamos la parte central. Aplanamos las dos botellas luego abrimos y aplanamos el otro extremo y tendremos un cuadrado.
Paso 2. // Step 2
Once this step is ready, make the base of a pink color and the other seleste and with the help of the scissors cut the excess. With pink frosted strips of 1x27.5 centimeters and the seleste of 1.5 x 28 centimeters.
Una vez listo este paso, haz la base de un color rosa y el otro seleste y con la ayuda de las tijeras corta el sobrante. Con las tiras escarchadas de color rosa de 1x27,5 centímetros y la seleste de 1,5 x 28 centímetros.
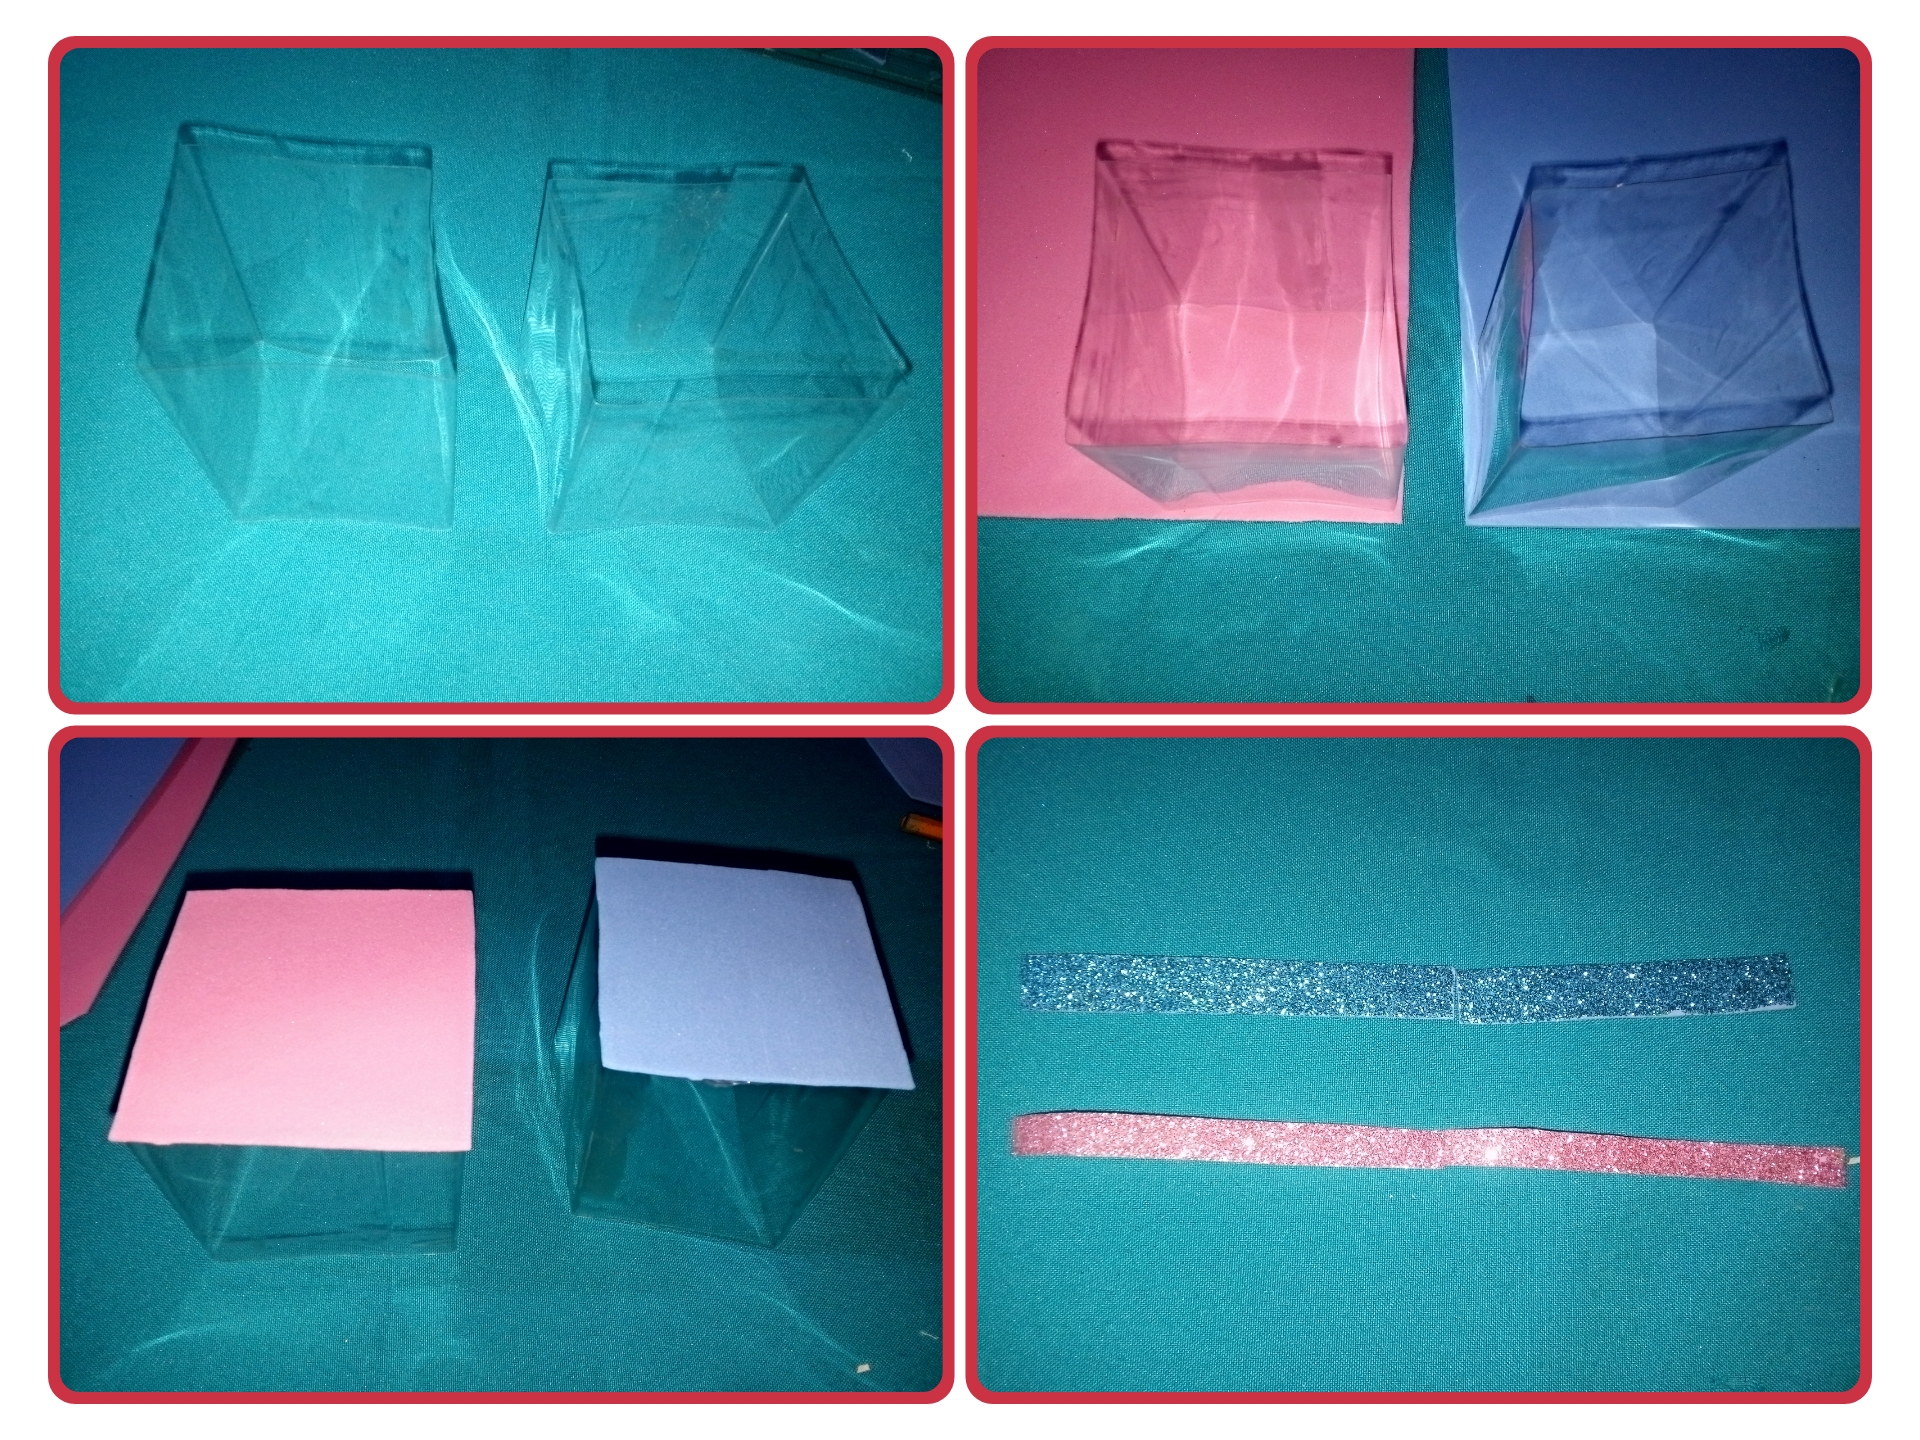
Paso 3. // Step 3.
Decorate the squares at the bottom with the strips of the color that has the pink and seleste base. Then cut half a 13x27.5 centimeter sheet of pink eva rubber and the seleste one of 14x28 centimeters and leave a 1 centimeter space and make strips of one centimeter to the sheets. And glue preferably with cold silicone on the top of the boxes.
Decora los cuadrados en la parte de abajo con las tiras del color que tiene la base rosa y seleste. Luego corta medio pliego de goma Eva rosa de 13x27.5 centímetros y el seleste de 14x28 centímetros y deja un 1 centímetros de espacio y realiza tiras de un centímetros a los pliego. Y pega preferiblemente con silicón frío en la parte superior de las cajas.
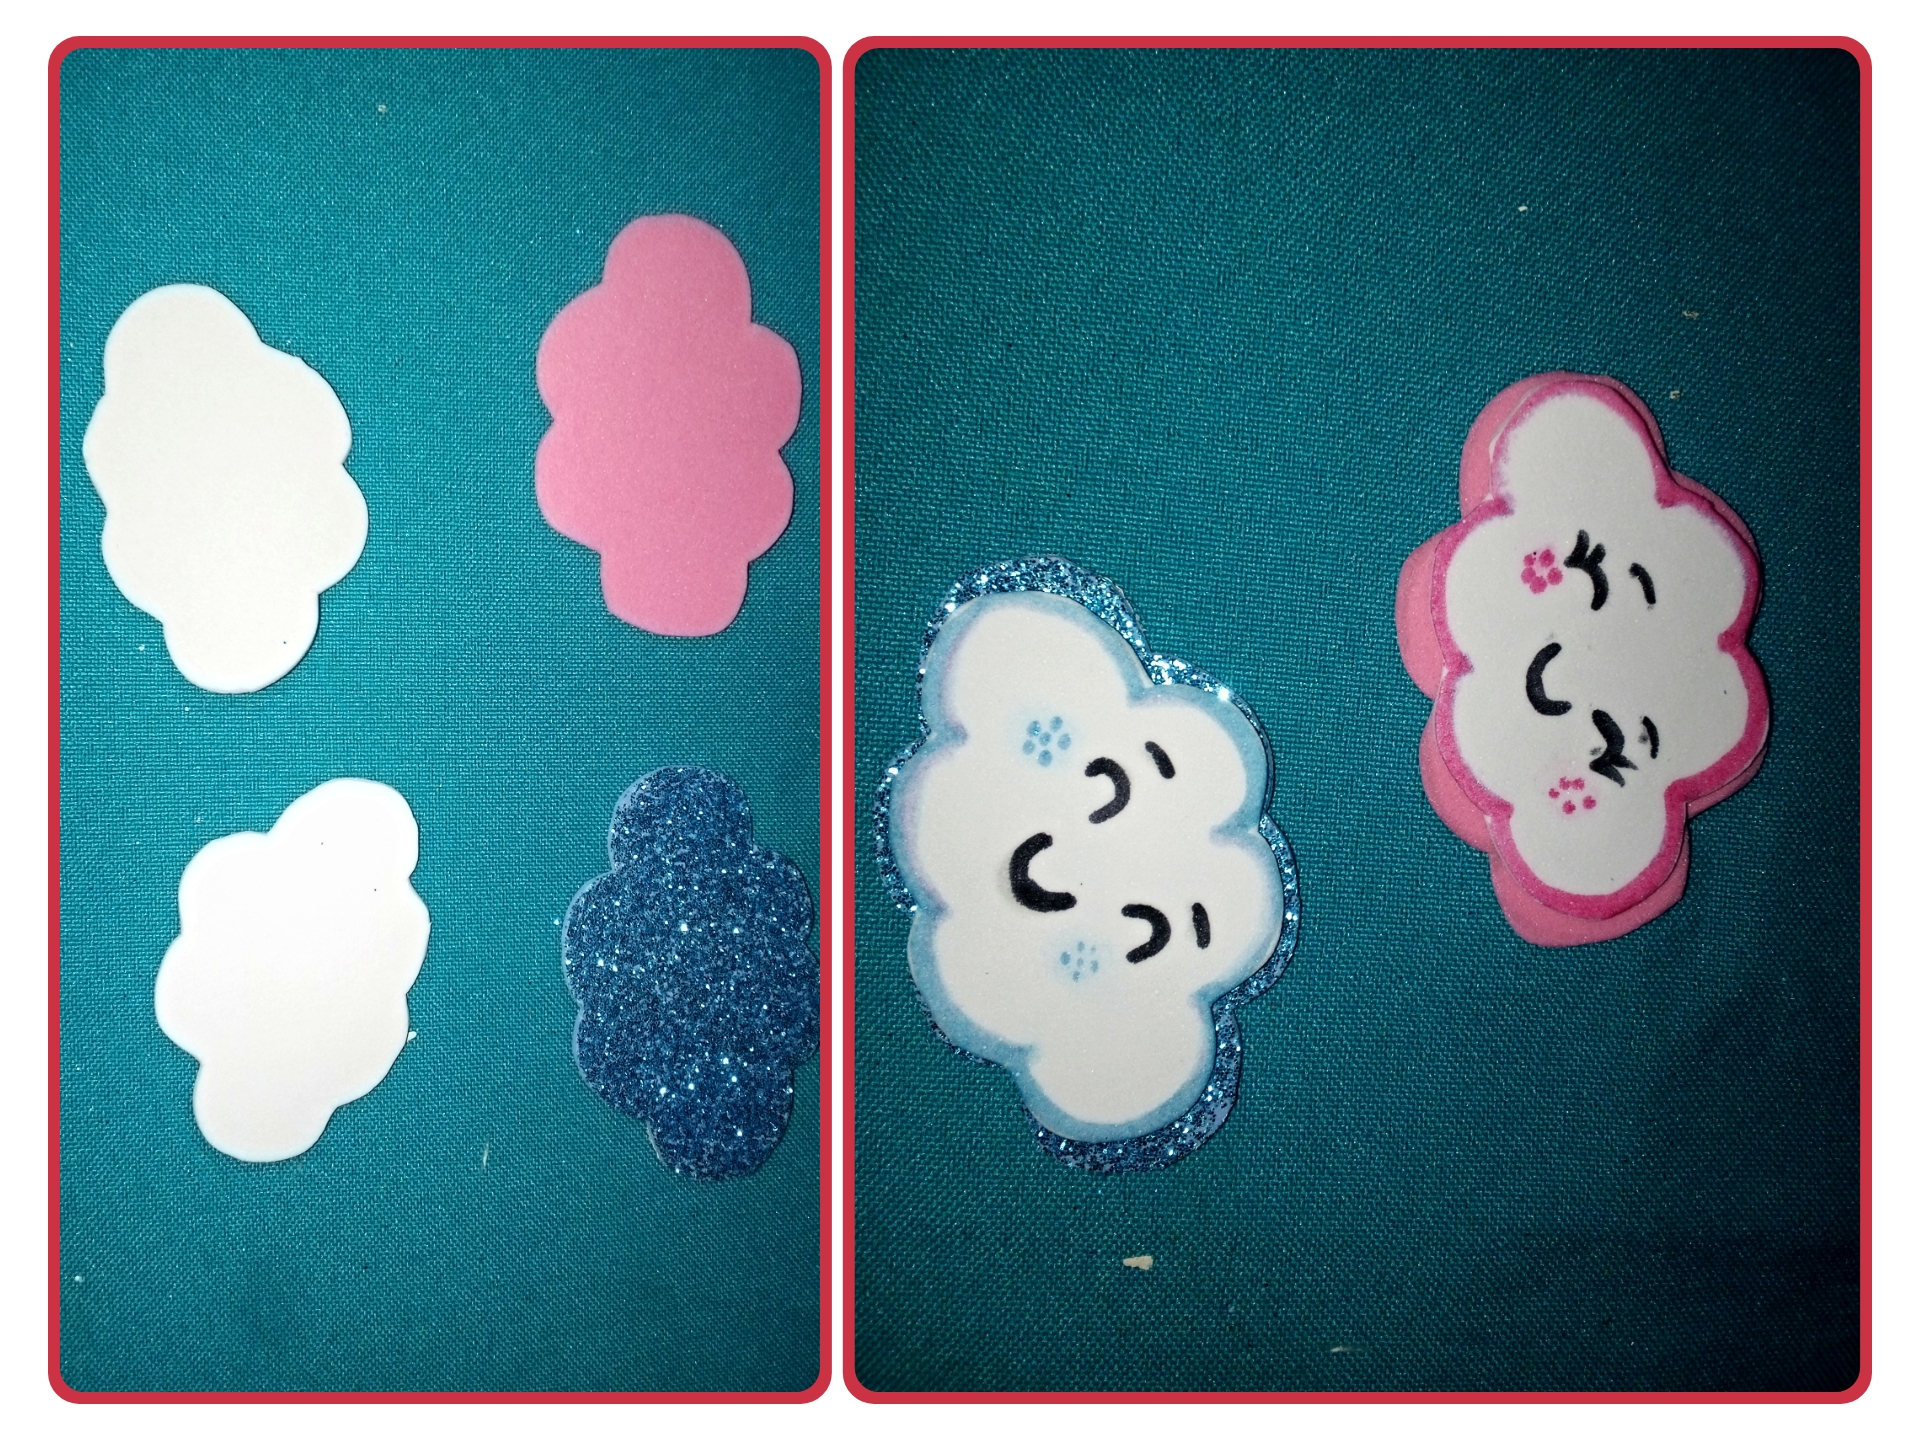
Paso 4. // Step 4.
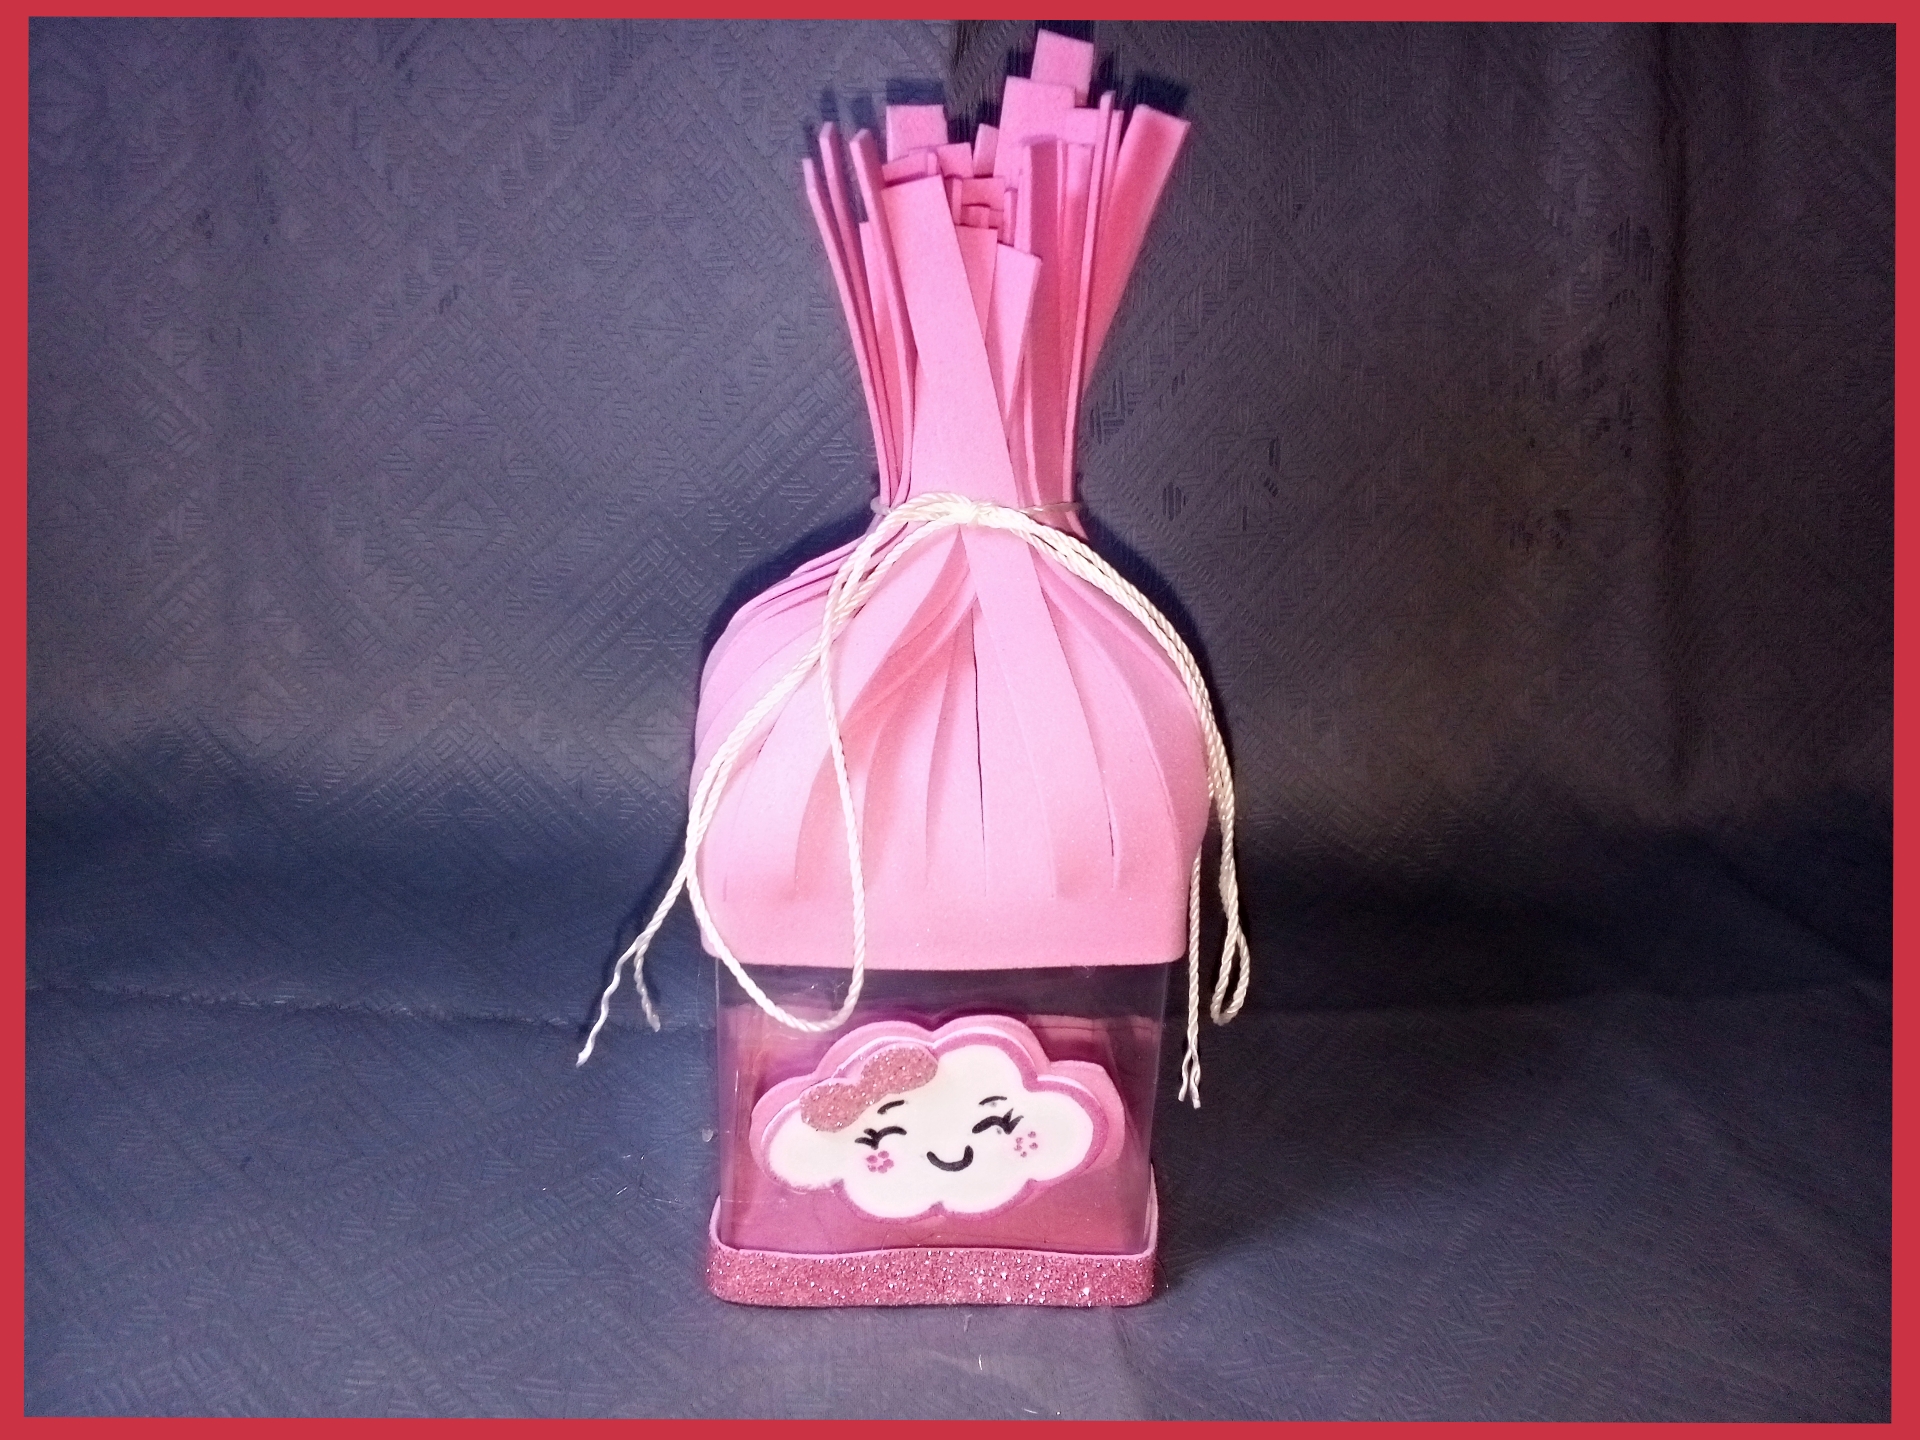
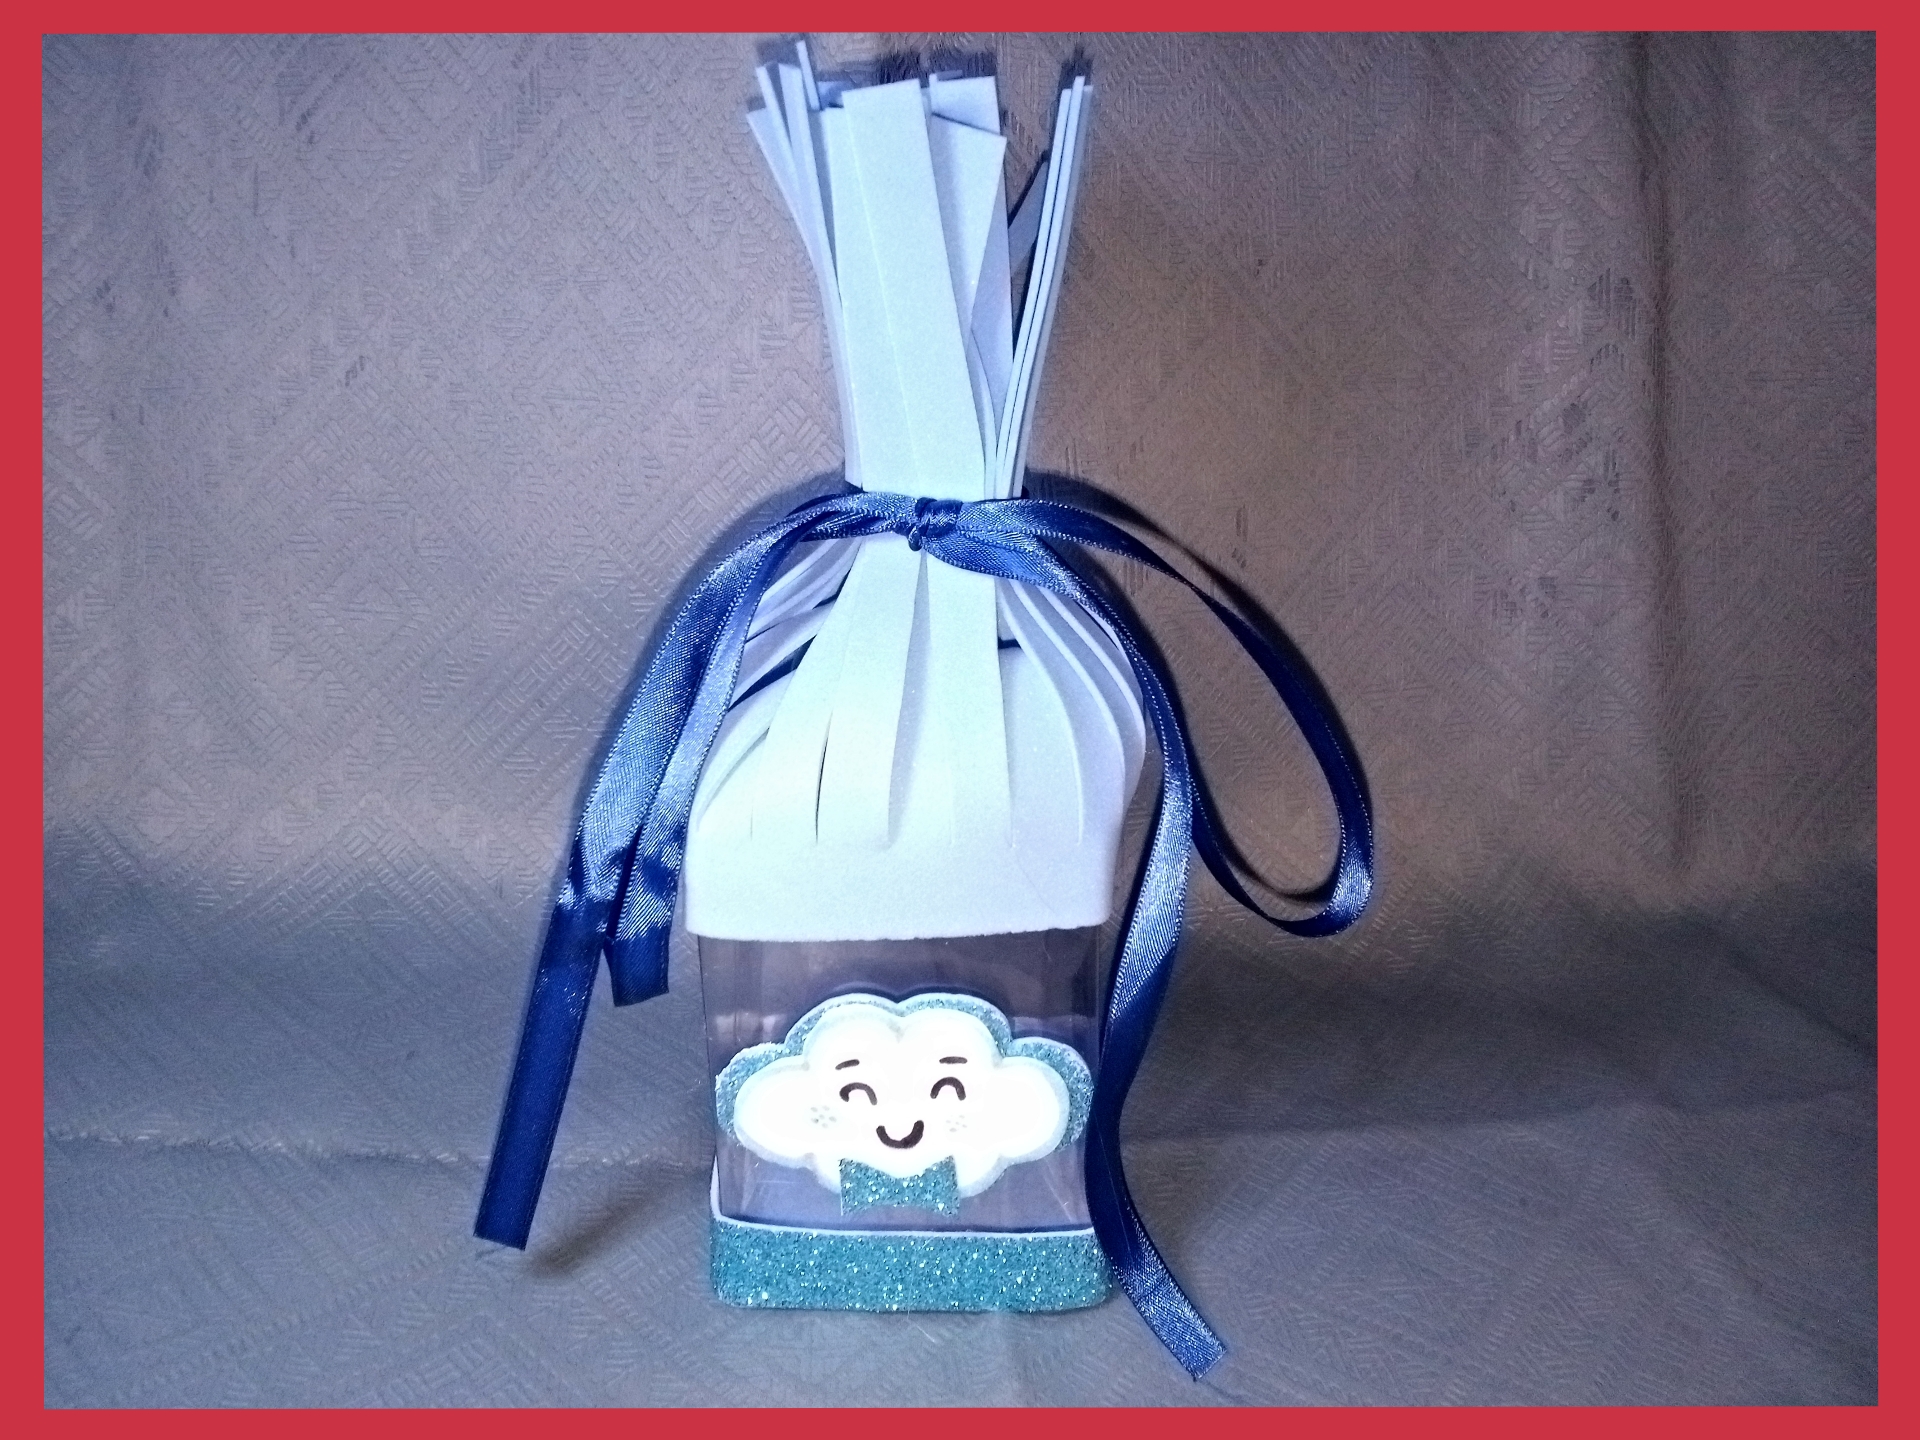
Finally, make two small white and one larger pink cloud so that it stands out from the white one. With the marker outline and finish making the face to the clouds with the black marker glue to the square of the corresponding color and make a bow to each cloud with the leftover eva rubber. And tie the strips with ribbons we can add anything.
Por último haz dos nubes blancas pequeñas y una rosa más grande para que destaque sobre la blanca. Con el rotulador perfila y termina de hacer la cara a las nubes con el rotulador negro pega al cuadrado del color correspondiente y haz un lazo a cada nube con la goma eva sobrante. Y atar las tiras con cintas podemos añadir cualquier cosa.
✨Final result. // Resultado final.✨

Gracias por visitar.
Todas las fotos y el contenido son originales que hago diariamente para mi blog. Para La traducción uso deepl los marcos y separadores es usado de canva .📷🖼️🤗
Thank you for visiting.
All photos and content are originals that I make daily for my blog. For translation I use deepl the frames and separators are used from canva .📷🖼️🤗

0
0
0.000
Están súper lindas de verdad y muy original está manera de reciclar las botellas plásticas 😁👍💓
Gracias si podemos hacer cosas linda con el reciclaje me alegra que te haya gustado.
Te quedaron hermosas y es una forma muy original de reutilizar las botellas, gracias por compartir.
Feliz año!
Gracias a ti por pasar igualmente feliz año nuevo disfruta al máximo con tus seres queridos.
They look so cute and the pink is my favorite.
Great looks perfect thanks for commenting.
Quedaron tan hermosos. Buen trabajo.
Gracias amiga.
De nada mi amiga
Están lindísima amiga . Saludos y feliz año .. bendiciones 🤗
Gracias feliz año nuevo.