[Eng | Esp] My little stone cactus

Good evening #diyhub friends, welcome to a new entry to my blog, this time I made a small tutorial about a cactus that I made with round and oval stones and some jewelry materials. I love the result, I hope you like it!
Buenas noches amigos de #diyhub, bienvenidos sean a una nueva entrada a mi blog, en esta oportunidad hice un pequeño tutorial sobre un cactus que hice con piedritas redondas y ovaladas y unos materiales de bisuteria. Me ha encantado el resultado espero les guste!
Materials | Materiales
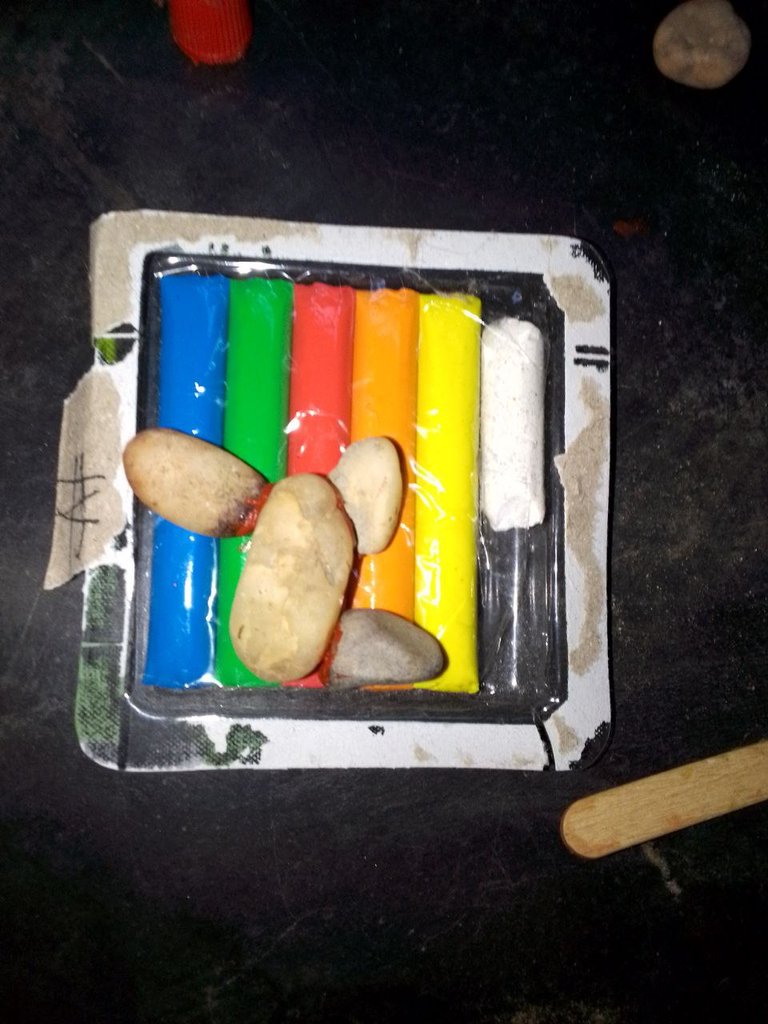
- Green pastilin
- Red silicon glue, it can be any silicon
- Hot silicon
- Stones of various sizes
- Jewelry beads of different textures and shapes
- Foami
- Porroncito pequeño
- Pega escolar
- Pastilina verde
- Pegamento de silicon rojo, puede ser cualquier silicon
- Silicon caliente
- Piedras de varios tamaños
- Perlas de bisuteria de diferentes texturas y formas
- Foami
- Small porroncito
- School glue
Procedure | Procedimiento
Step 1 | Paso 1
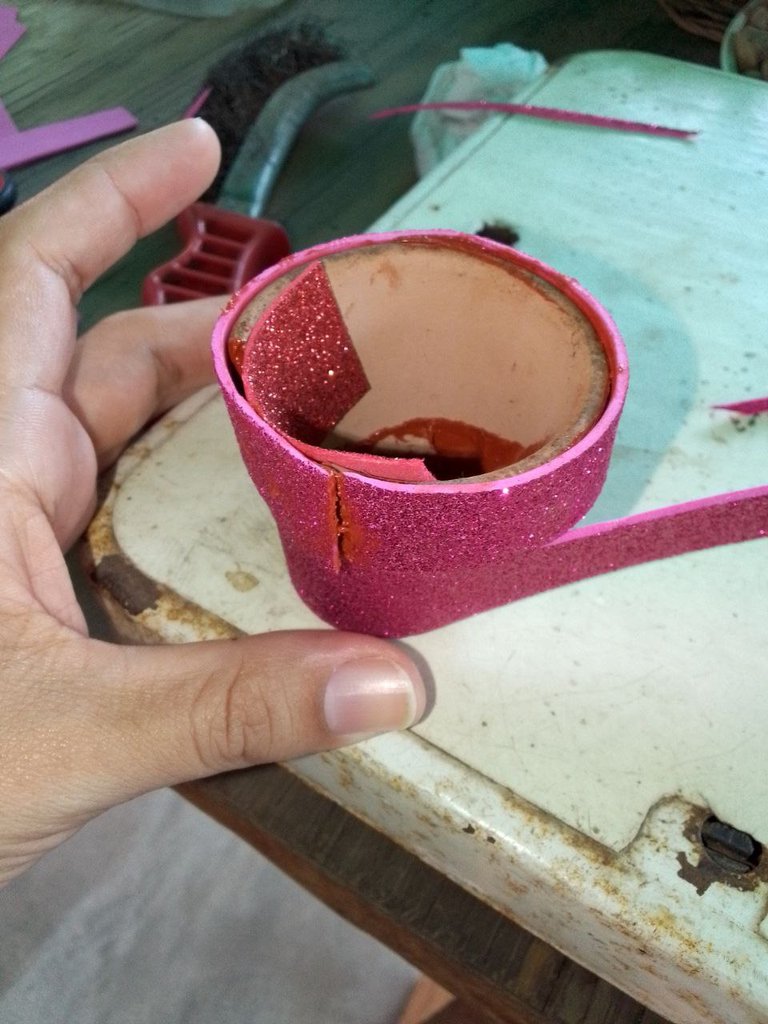
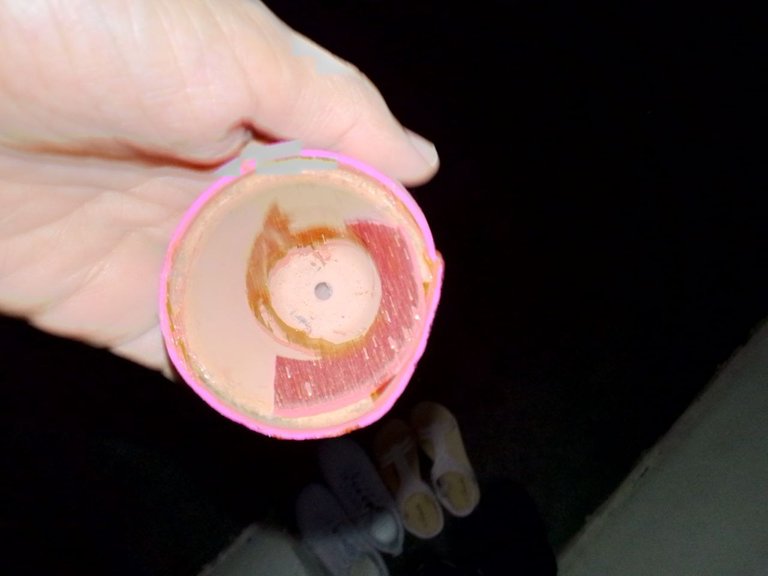
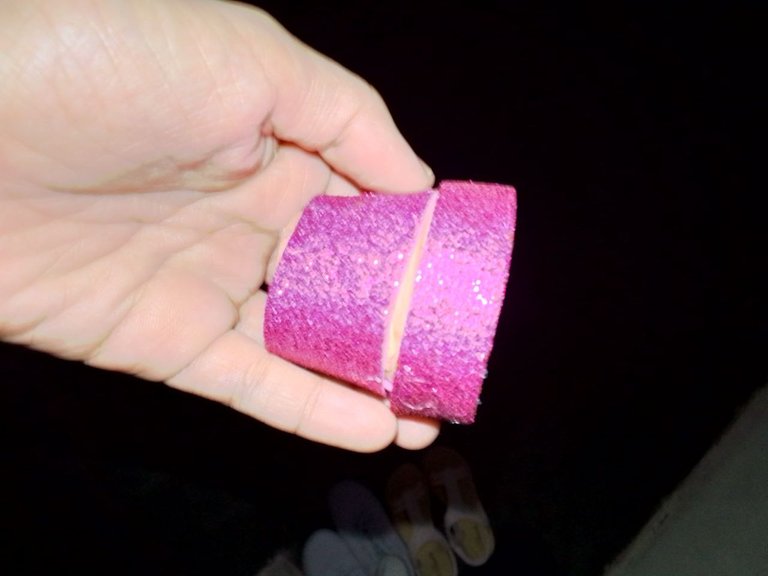
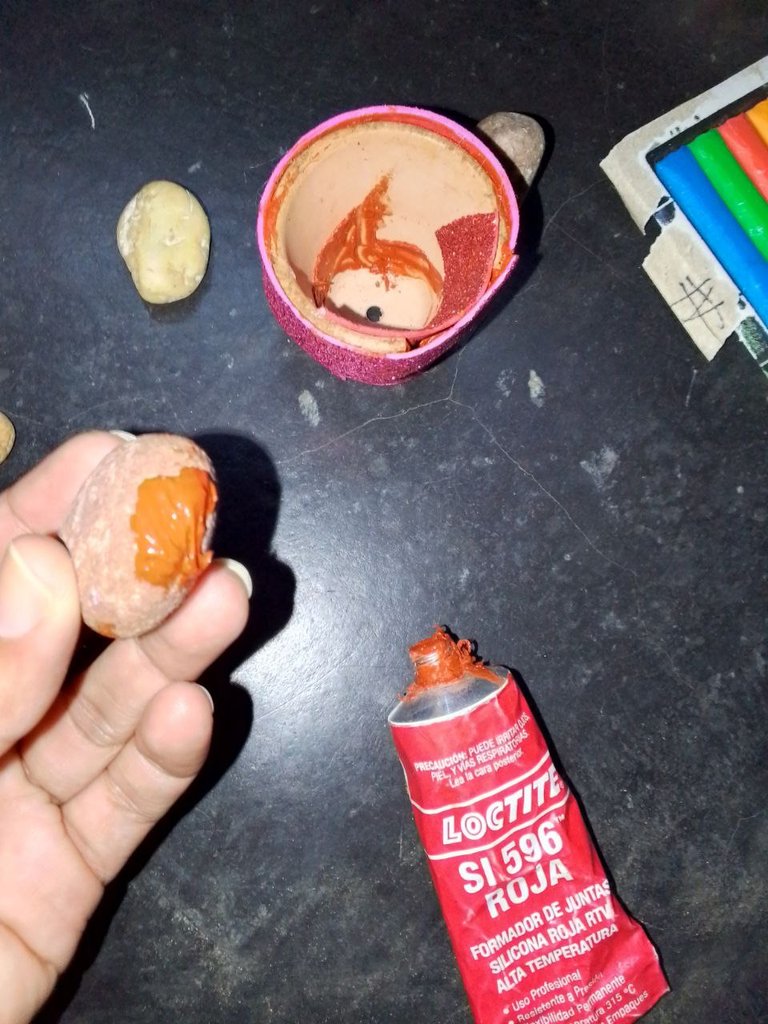
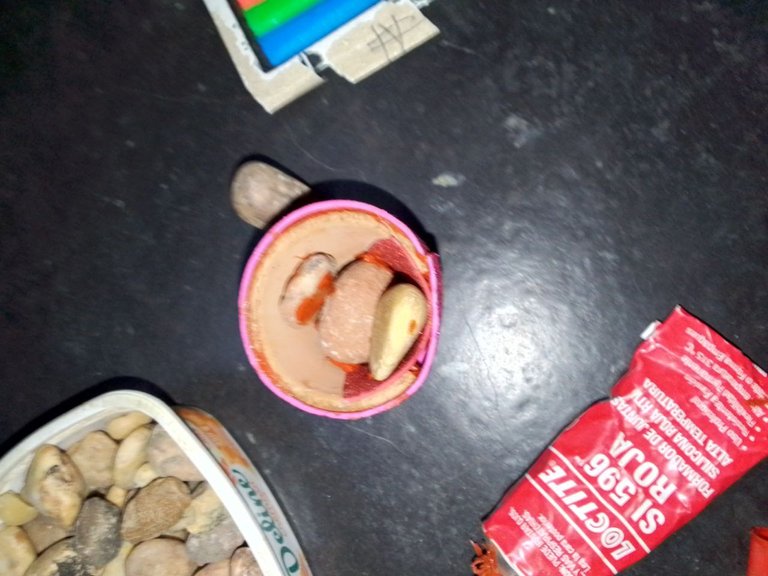
We place frosted foami and glue it with red silicon. We also do it on the inside. Then we apply the red silicon to the stones at the bottom and glue them.
Colocamos foami escarchado y lo pegamos con silicon rojo. También lo hacemos por dentro. Luego le vamos aplicando el silicon rojo a las piedras que van al fondo y las pegamos.
|
|
|
|
|
|
Step 2 | Paso 2
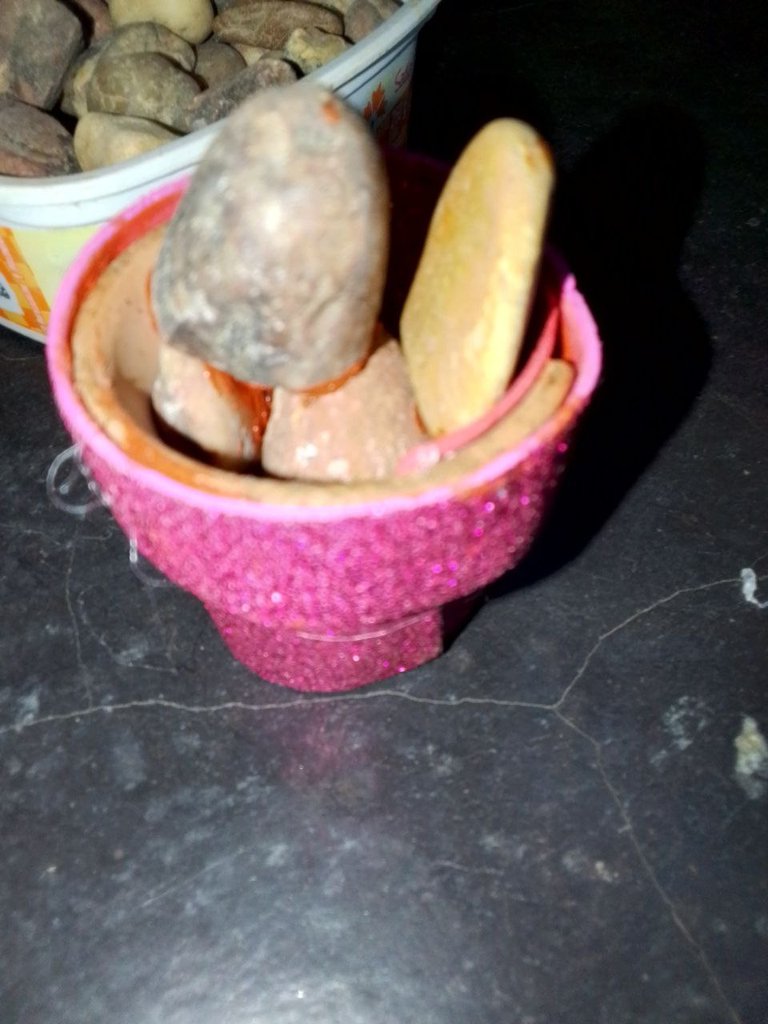
Then we place the stones and go up, finally after gluing all the stones with the red silicon we pass over the hot silicon so that it sticks well.
Luego vamos colocando las piedras y vamos subiendo, finalmente luego de pegar todas las piedras con el silicon rojo le pasamos por encima el silicon caliente para que se pegue bien.
|
|
|
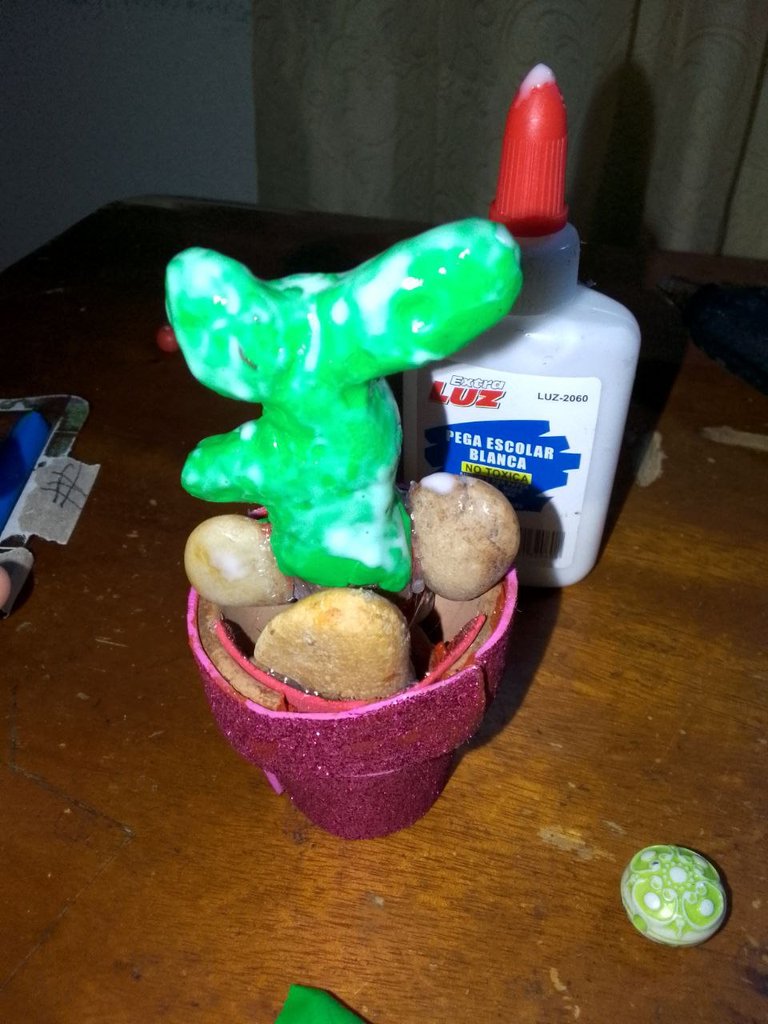
Step 3 | Paso 3
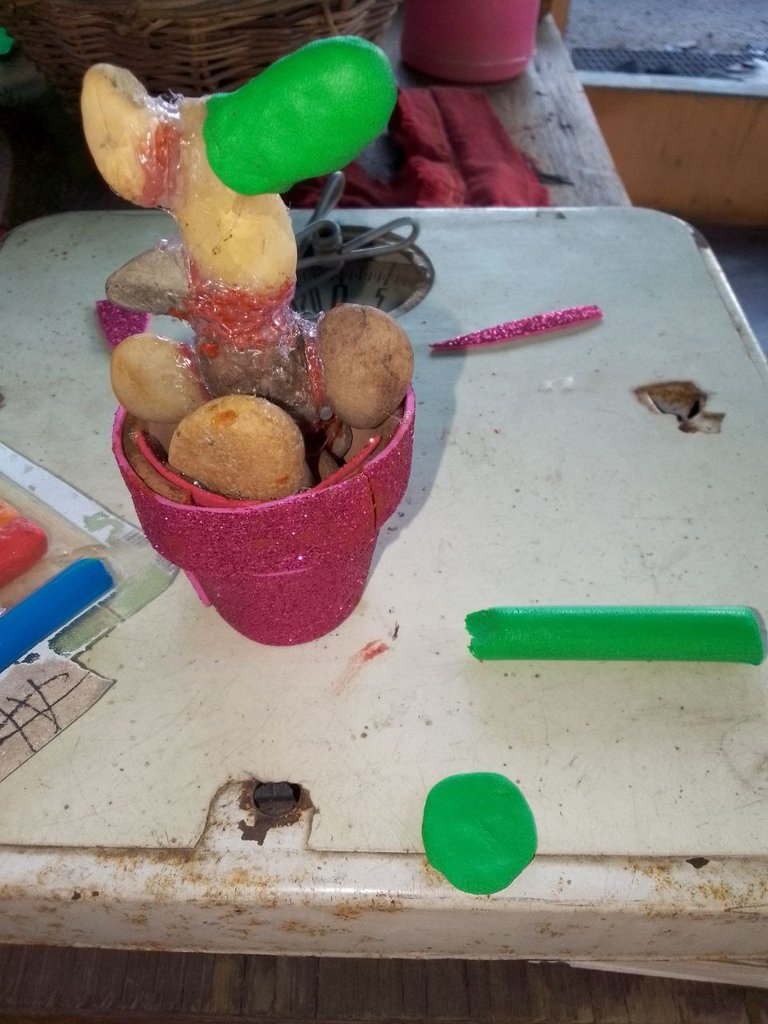
Now we take the plasticine and place it thinly and stick it to the stones, then we take the school glue and apply it on the plasticine so that the structure is shiny.
Ahora tomamos la plastilina y la colocamos delgadita y la vamos pegando a las piedras, luego tomamos la pega escolar y la aplicamos en la plastilina para que la estructura quede brillante.
|
|
|
|
|
|


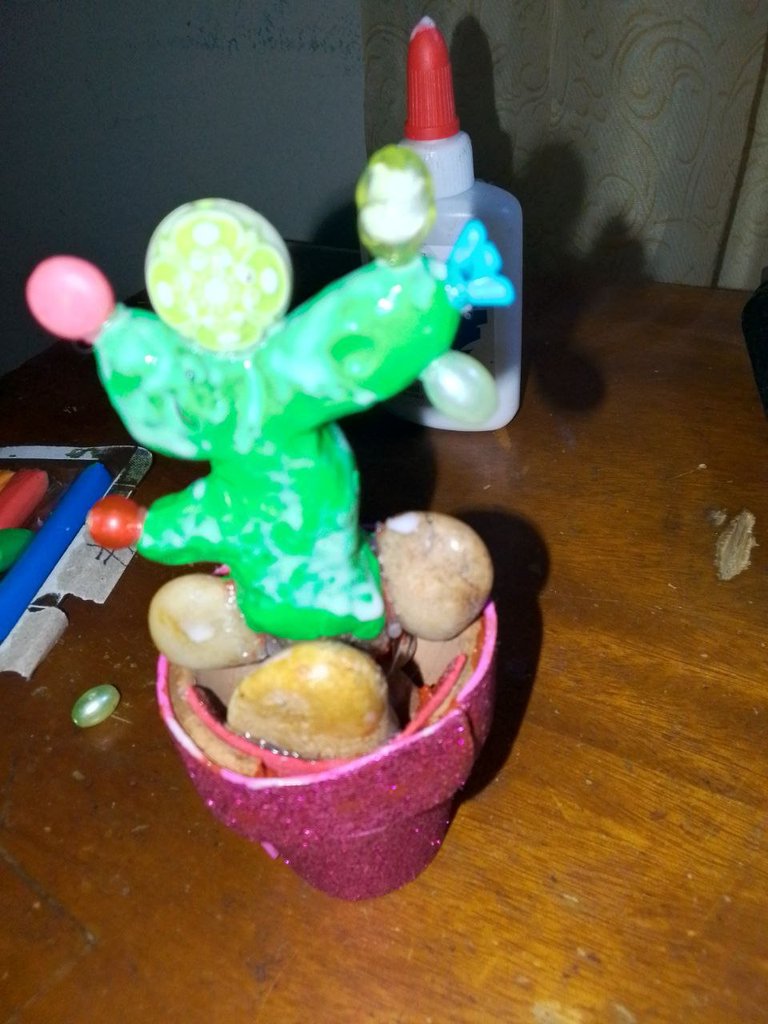
Step 4 | Paso 4
Now we place the jewelry and glue it with hot silicone.
Ahora vamos colocando la bisuteria la pegamos con silicón caliente.
|
|
|
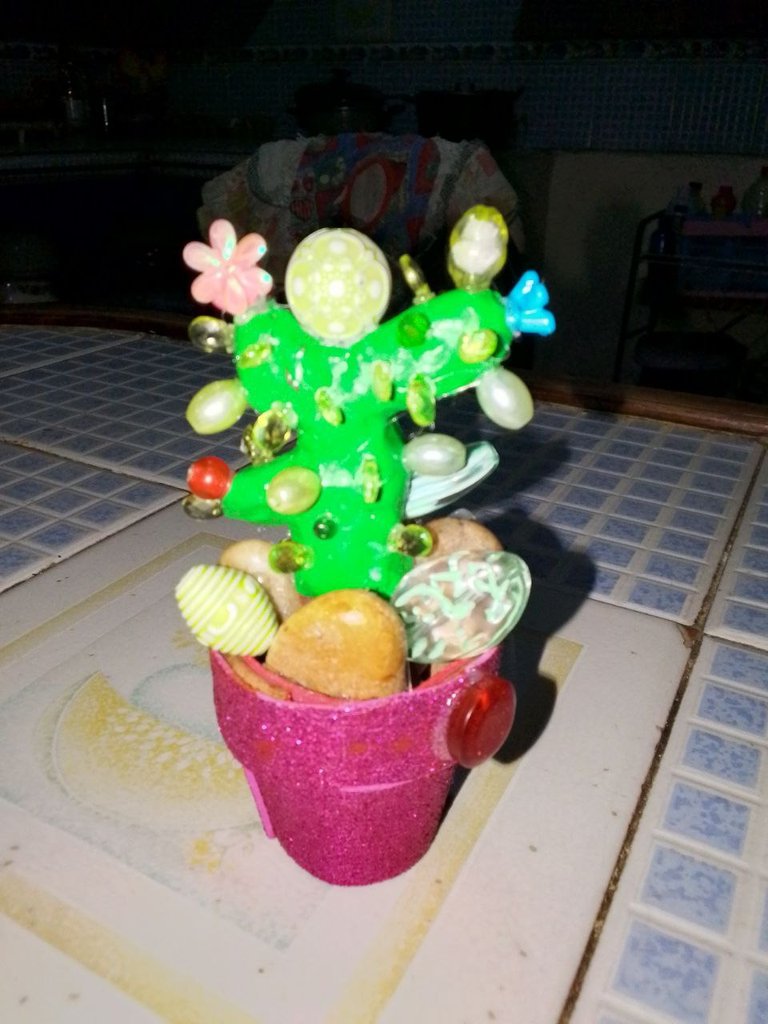
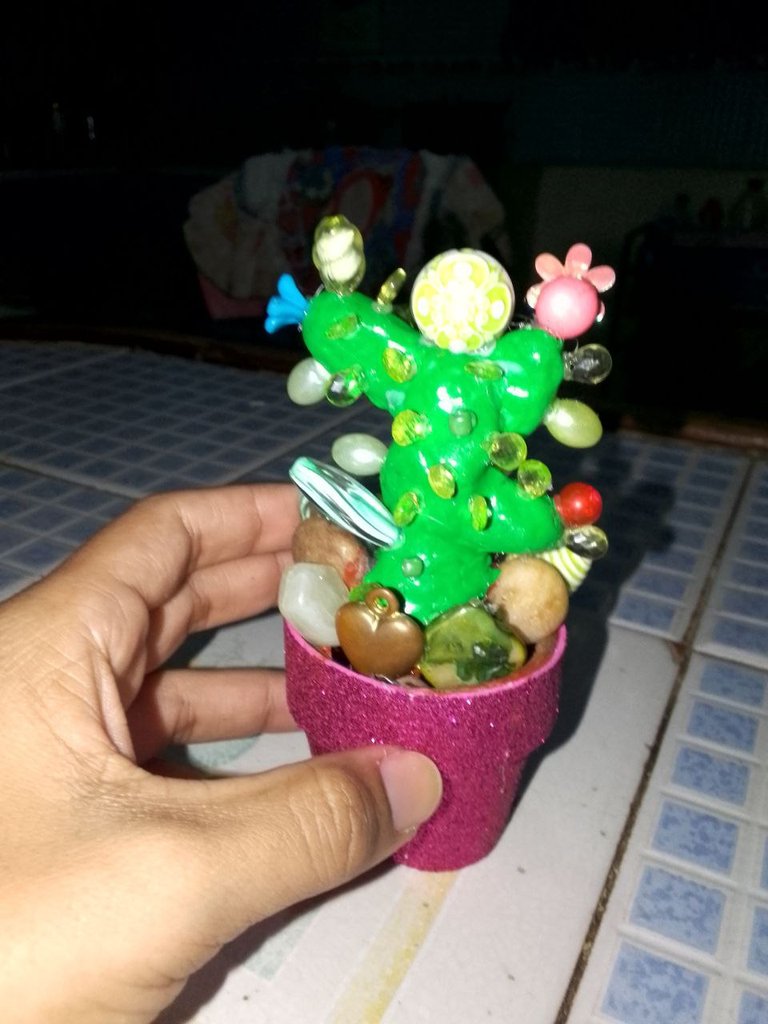
Result | Resultado
This is the result, I really liked how it turned out, here you can see the front and back pictures of our artificial plant.
Este es el resultado me gustó mucho como quedó, aqui pueden ver las fotos por delante y por detras de nuestra plantita artificial.
| | |
|---|---|
|
|
|

Thanks for visiting my blog
Gracias por visitar mi blog
No te detengas, no dejes de creer en ti y de buscar ideas y opciones para salir adelante.
Don't stop, don't stop believing in yourself and looking for ideas and options to get ahead.
Créditos | Credits
Utilicé una plantilla de https://www.canva.com/ con herramientas gratuitas
I used a template from https://www.canva.com/ using free tools
Utilicé https://www.deepl.com/es/translator para la traducción
I used https://www.deepl.com/es/translator to traduction.
Las imagenes son propias.
The images are my own.
https://inleo.io/threads/lismarcarolina2/re-leothreads-26hfamf7y
The rewards earned on this comment will go directly to the people ( lismarcarolina2 ) sharing the post on LeoThreads,LikeTu,dBuzz.
Hola amiga ha quedado muy bello tu cactus, será un excelente adorno en dónde decidas colocarlo, gracias por mostrarnos el paso a paso que has hecho muy bien. Saludos
si quedo muy bonito gracias
wow that looks so cute, you are amazing, keep up the good work.
Thank you
gracias por el apoyo
Wao! Que bonito!
Gracias
Wow 😮 this is so beautiful, I love it.
Thank you
U welcome
QUEDO MUY BONITO!
IT WAS VERY NICE!
Thank you!
Me parece muy lindo este cactus, es hermosa la manera en que están colocadas las mostacillas.
Gracias!
Wow so beautiful artifect.