[Eng | Esp] Wrackoo radiant: A fanart with plasticine
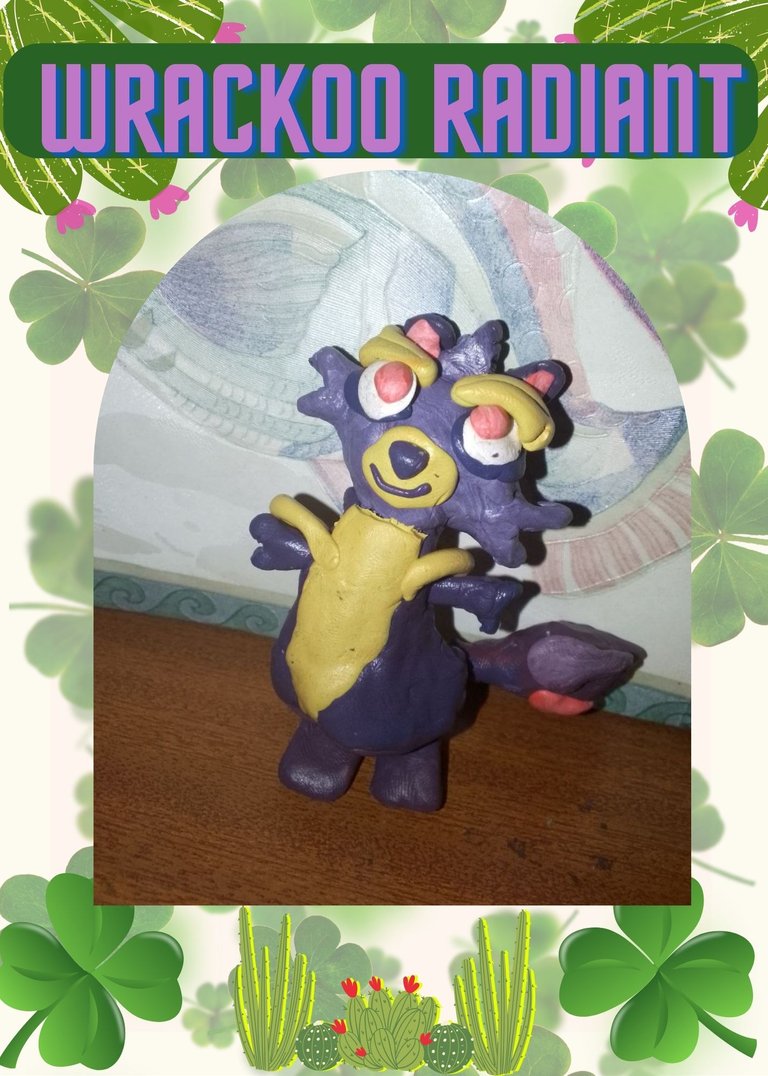
Hello #holozing friends, in this new post I made a #fantart with plasticine for the character of wrackoo radiant, I hope you like it. I tried to make it look as much like this cute character as possible. I had to make several combinations of colors with the plasticine because the one I bought were the basic colors.
Hola amigos de #holozing, en este nuevo post hice un #fantart con plastilina para el personaje de wrackoo radiant, espero les guste. Intenté que se pareciera lo mas posible a este simpatico personaje. Tuve que hacer varias combinaciones de los colores con la plastilina piorque el que compre eran los colores básicos.
Materials | Materiales
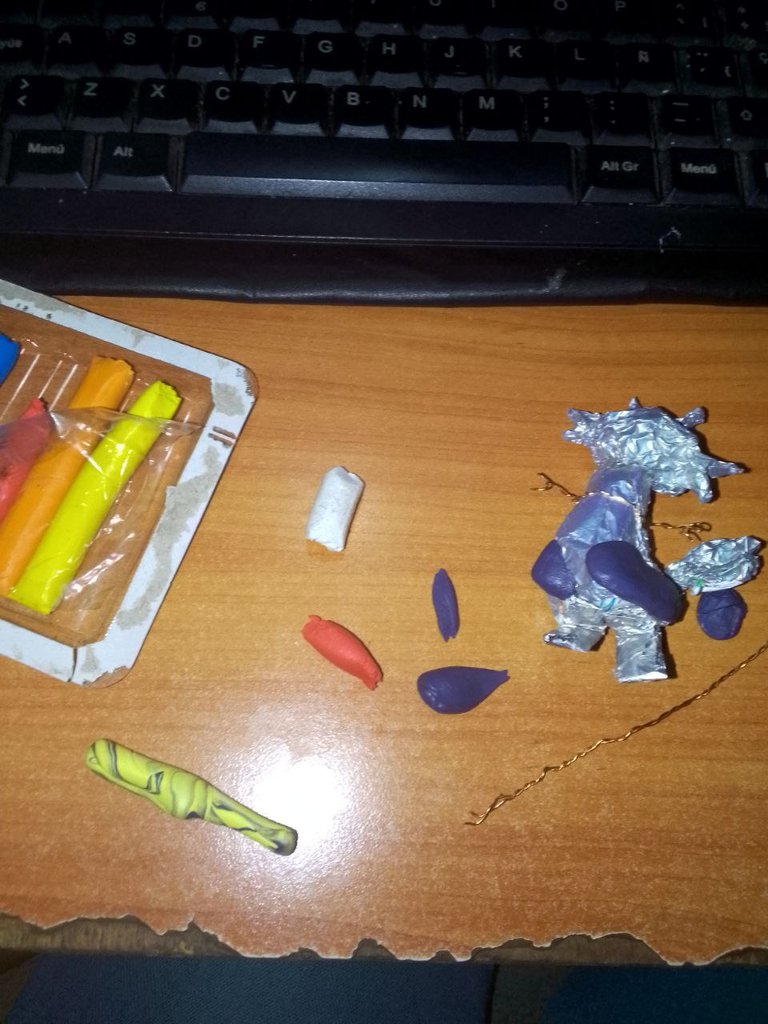
- Blue, red, yellow, yellow, white and orange Plasticine
- Copper wire
- Recycled paper
- Aluminum foil
- Hot silicone
- Plastilina azul, roja, amarilla, blanca y naranja
- Alambre de cobre
- Papel reciclado
- Papel aluminio
- Silicón caliente
Procedure | Procedimiento
Step 1 | Paso 1
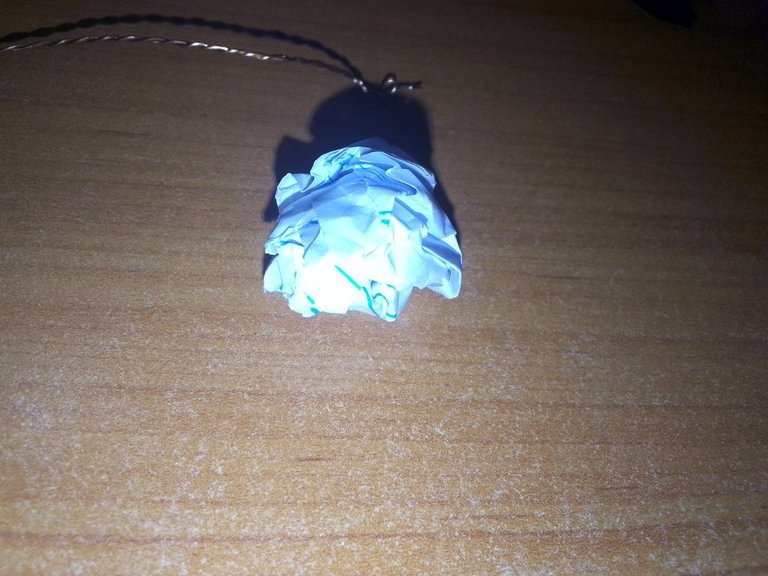
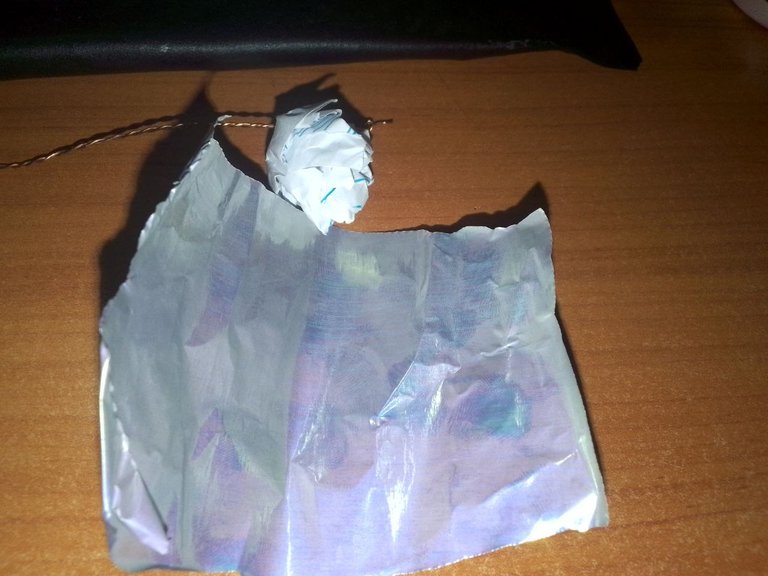
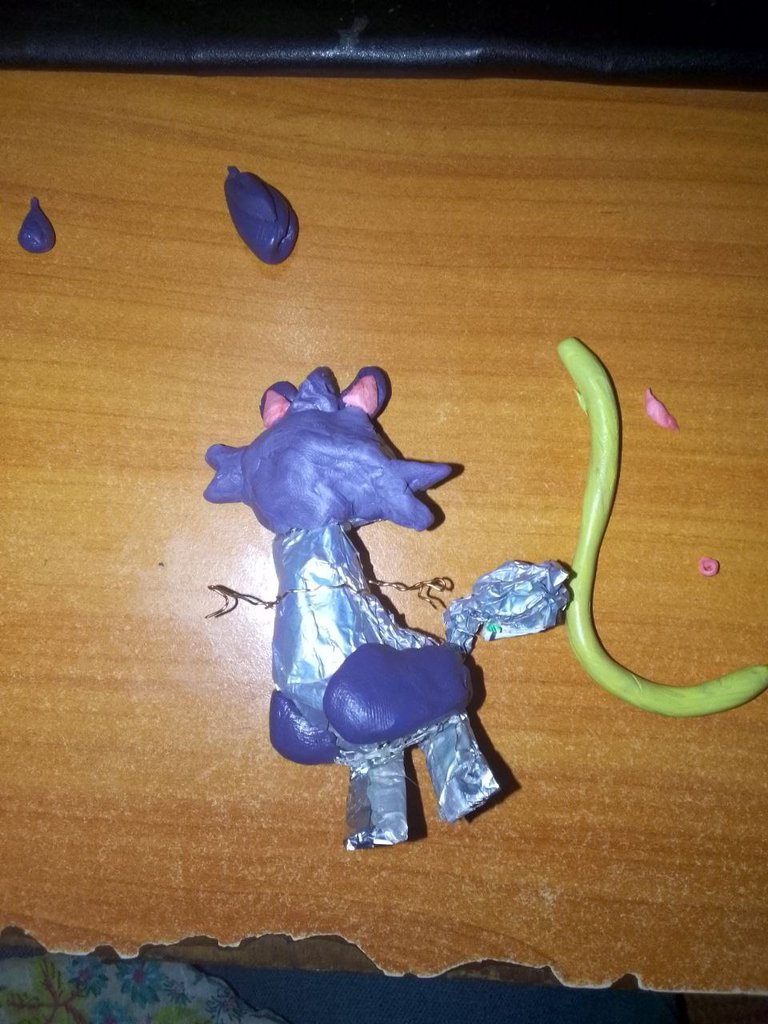
We start with the head, we make a little ball with the recycled paper. Then we use the aluminum foil to cover the ball and give the figures a better shape. We do the same with the torso, tail and hind legs.
Empezamos con la cabeza, hacemos una bolita con el papel reciclado. Luego usamos el papel aluminio para cobrir la bolita y dar mejor forma a las figuras. Lo mismo hacemos con el torso, la cola y las patitas traseras.
|
|
|
Step 3 | Paso 3
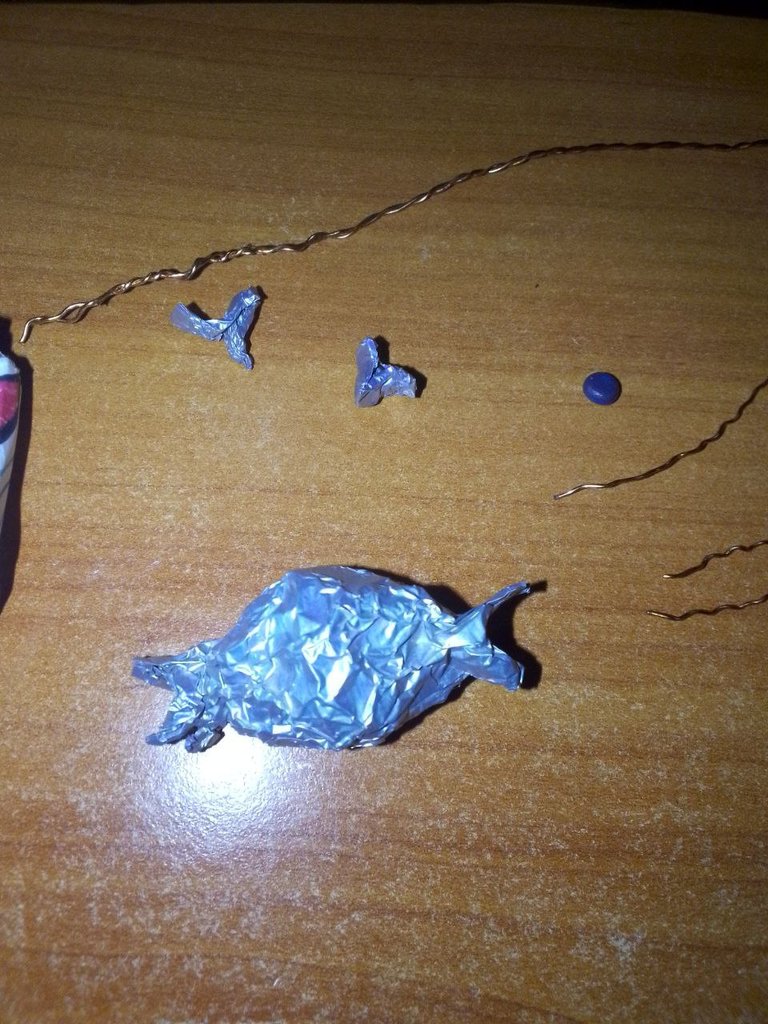
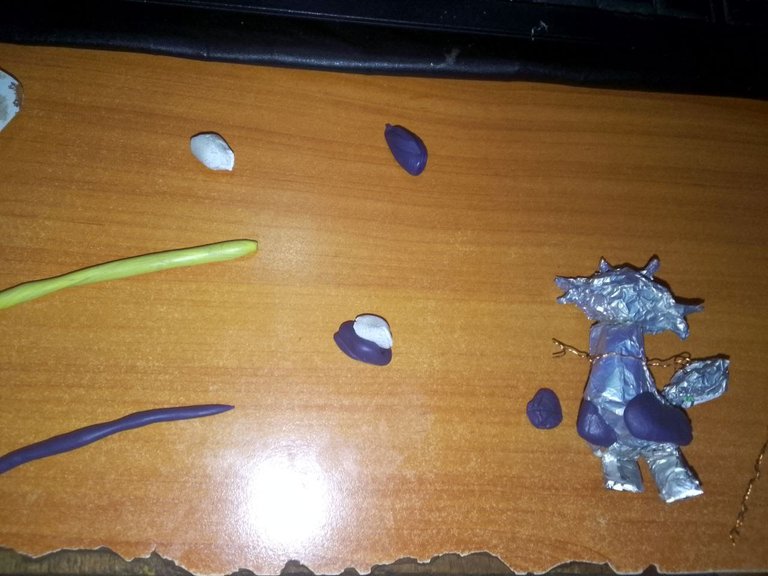
Then, around the body we place a wire and tie it. Then we glue each separate part with hot silicone.
Luego, alrededor del cuerpo colocamos un alambre y lo amarramos. Luego cada parte que hacemos separada la vamos pegando con el silicón caliente.
|
|
|
Step 4 | Paso 4
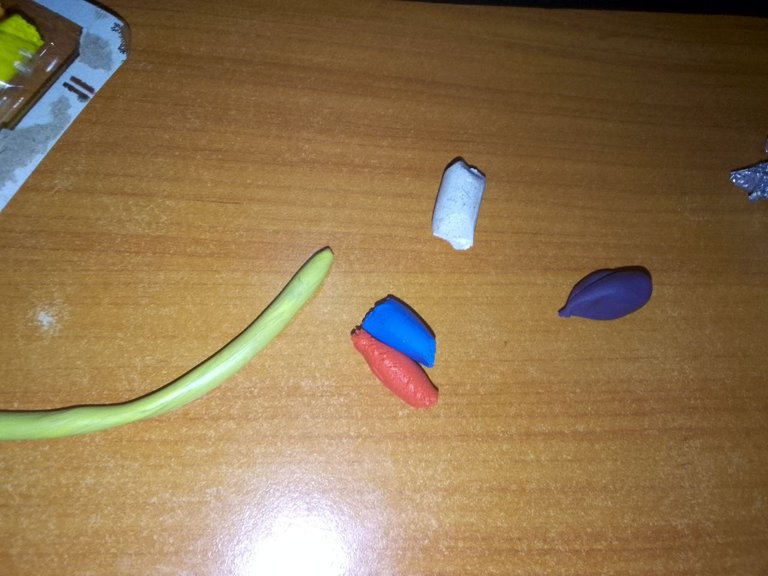
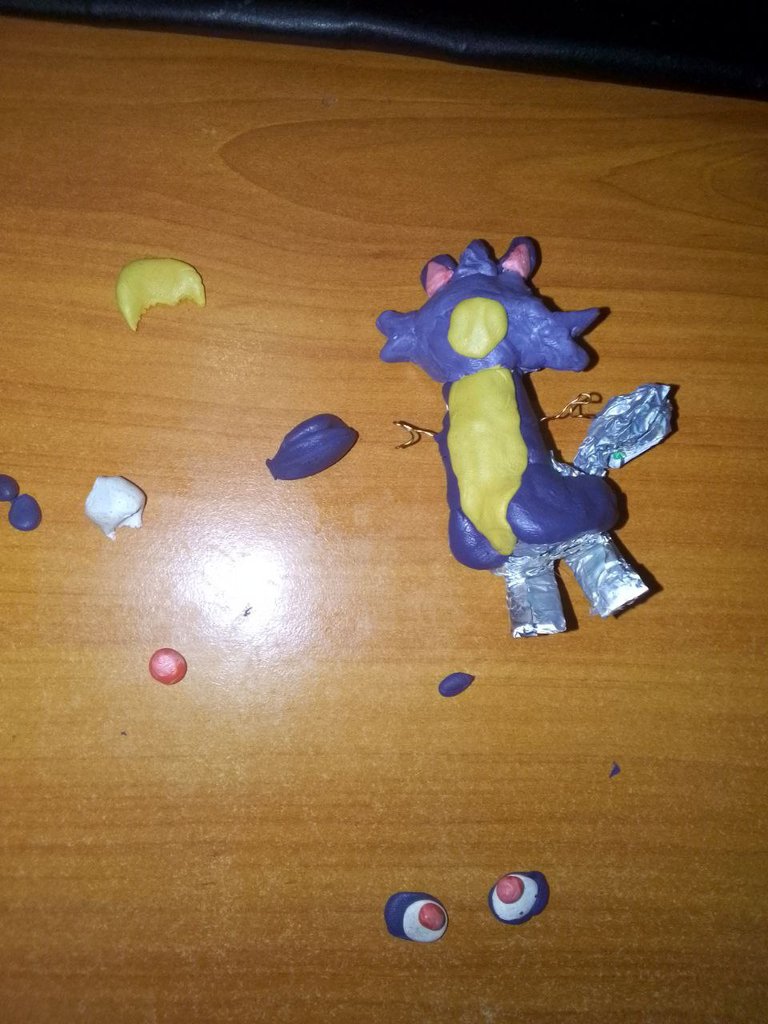
Then we started to prepare the colors, to make the body and to make the purple we used and to make the purple we used blue and red. For the head we added a little bit of white in addition to red and blue.
To make the belly we used yellow, white, a little bit of orange and a pinch of purple.
To make the eyes we used a lot of red and a little bit of white and for the ears a little more white.
Luego empezamos a preparar los colores, para hacer el cuerpo
y hacer el morado usamos azul y rojo. Para la cabeza le colocamos ademas de rojo azul un poquito de blanco.
Para hacer la barriguita usamos amarillo, blanco un poquito de naranja y una pizca del morado.
Para hacer los ojos usamos bastante rojo y un poquito de blanco y para las orejas un poco mas de blanco.
|
|
|
Step 5 | Paso 5
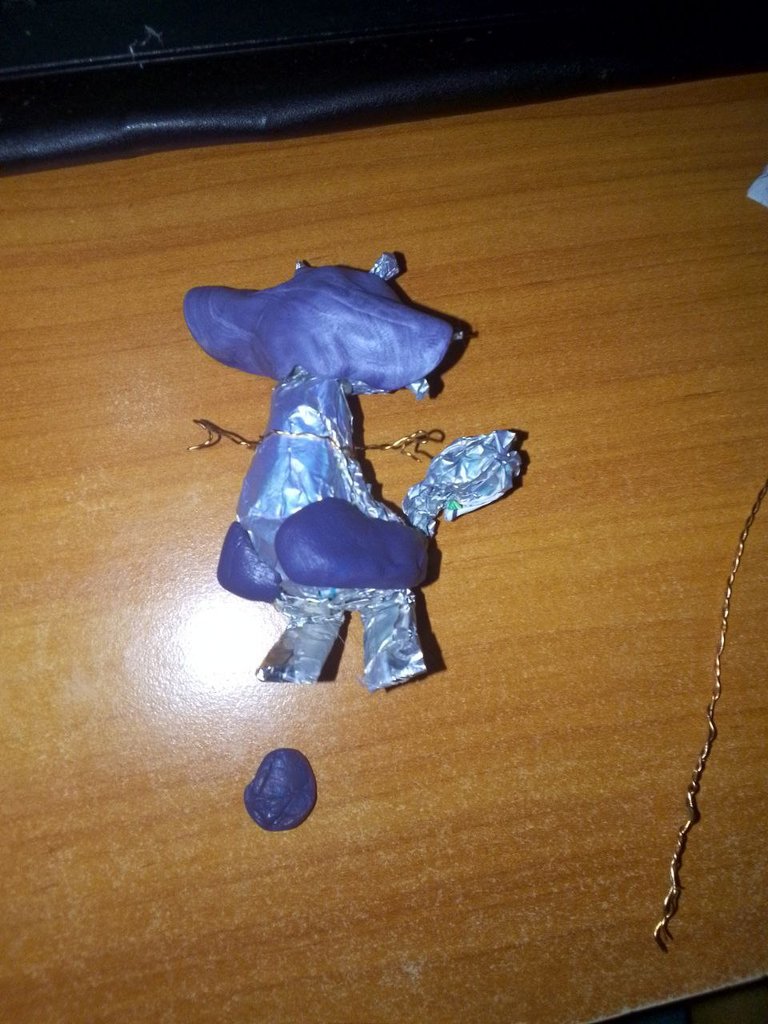
We take the plasticine and lengthen it and then we flatten it and place it on top of the figure according to our drawing pattern. We do the same with the rest of the colors.
Tomamos la plastilina y la alargamos y luego la vamos aplastando y la colocamos encima de la figura de acuerdo a nuestro patron de dibujo. Lo mismo hacemos con el resto de colores.
|
|
|
|
|
|
|
|
|
|
|
|
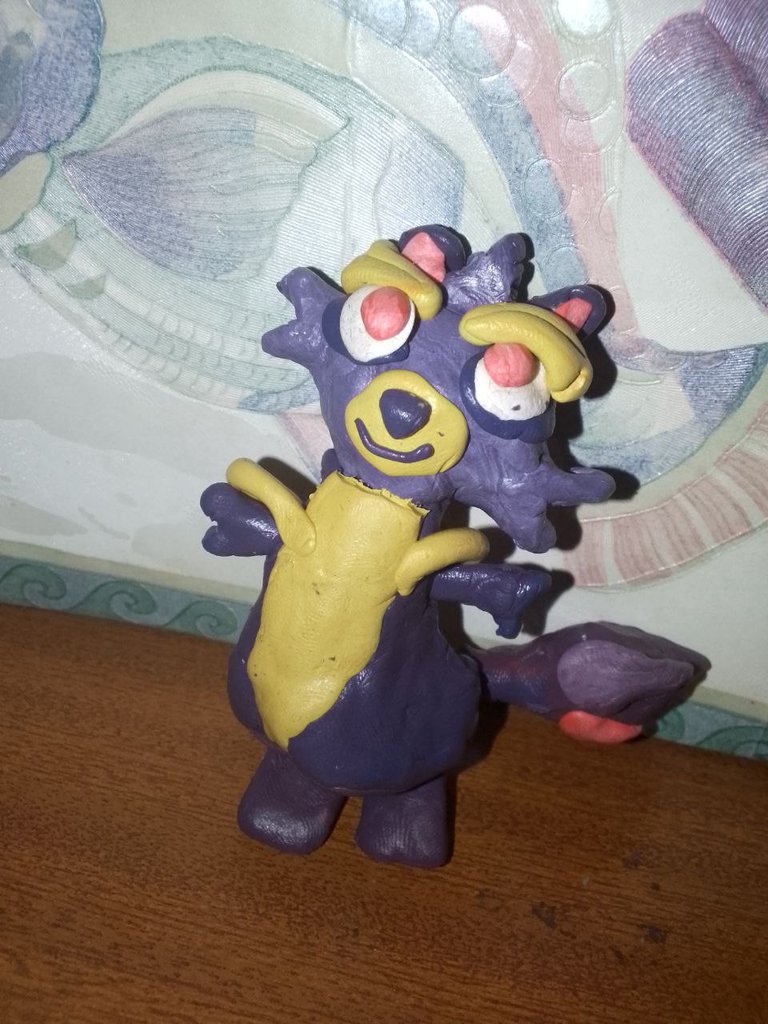
Result | Resultado
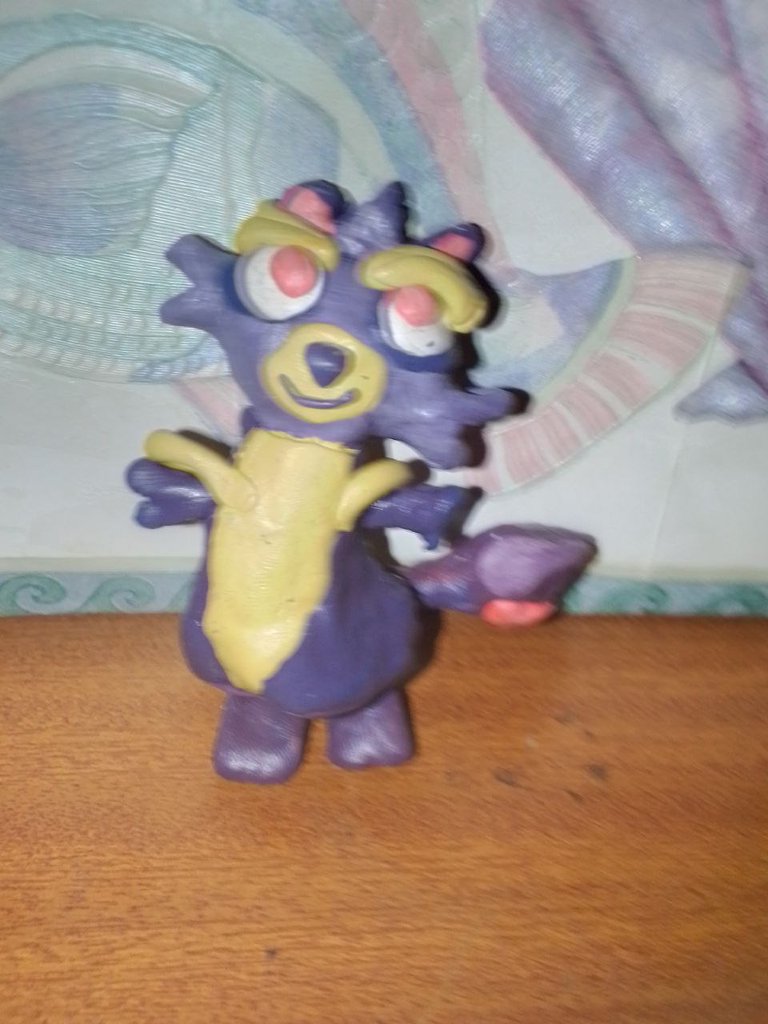
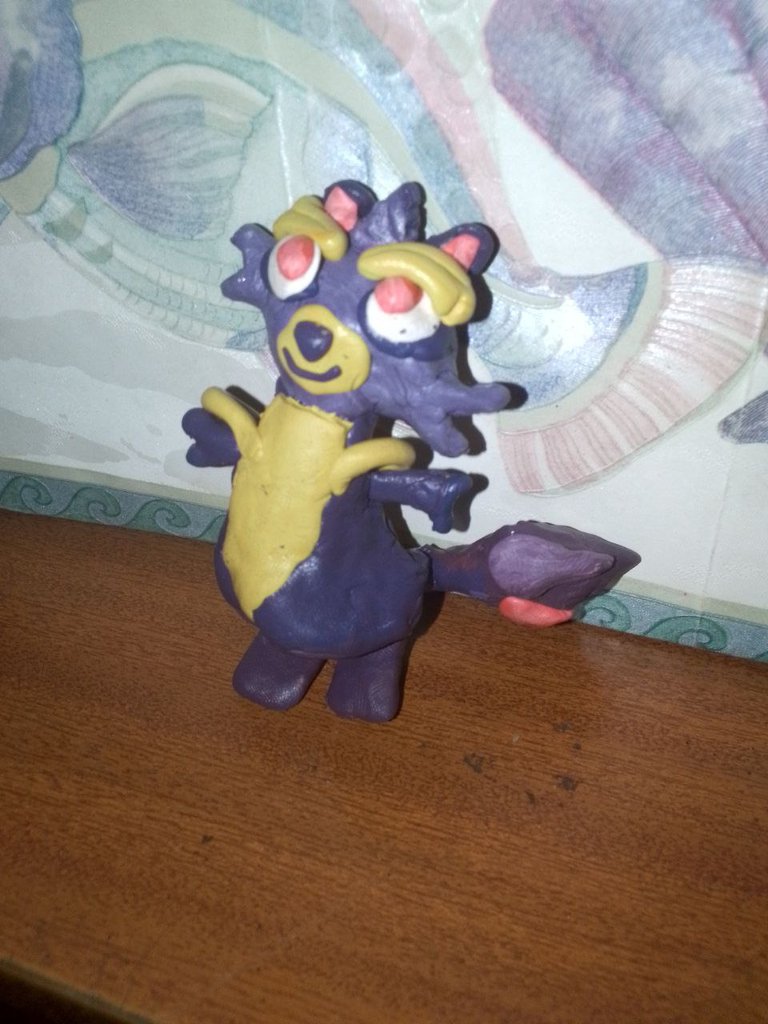
And this is how this cute character looks like, I hope you liked it, I feel like I went back to my childhood when I played with play dough, as background of the image I used a little notebook I have that matches the #radiant colors of our cute #wrackoo.
Y asi es como queda este simpatico personaje amigos, espero les haya gustado, siento que volví a la epoca de niña cuando jugaba con plastilina, como fondo de la imagen use un cuadernito que tengo que combina con los colores #radiant de nuestro simpatico #wrackoo.
|
|
|
Thanks for visiting my blog
Gracias por visitar mi blog
No te detengas, no dejes de creer en ti y de buscar ideas y opciones para salir adelante.
Don't stop, don't stop believing in yourself and looking for ideas and options to get ahead.
Créditos | Credits
Utilicé una plantilla de https://www.canva.com/ con herramientas gratuitas
I used a template from https://www.canva.com/ using free tools
Utilicé https://www.deepl.com/es/translator para la traducción
I used https://www.deepl.com/es/translator to traduction.
Las imagenes son propias.
The images are my own.
https://inleo.io/threads/lismarcarolina2/re-leothreads-fv11adfv
The rewards earned on this comment will go directly to the people ( lismarcarolina2 ) sharing the post on LeoThreads,LikeTu,dBuzz.
Congratulations @lismarcarolina2! You have completed the following achievement on the Hive blockchain And have been rewarded with New badge(s)
Your next target is to reach 2000 comments.
You can view your badges on your board and compare yourself to others in the Ranking
If you no longer want to receive notifications, reply to this comment with the word
STOPCheck out our last posts:
Saludos amiga, Wrackoo se ve espectacular, todo un profesional popsando para la foto.
Feliz miércoles!