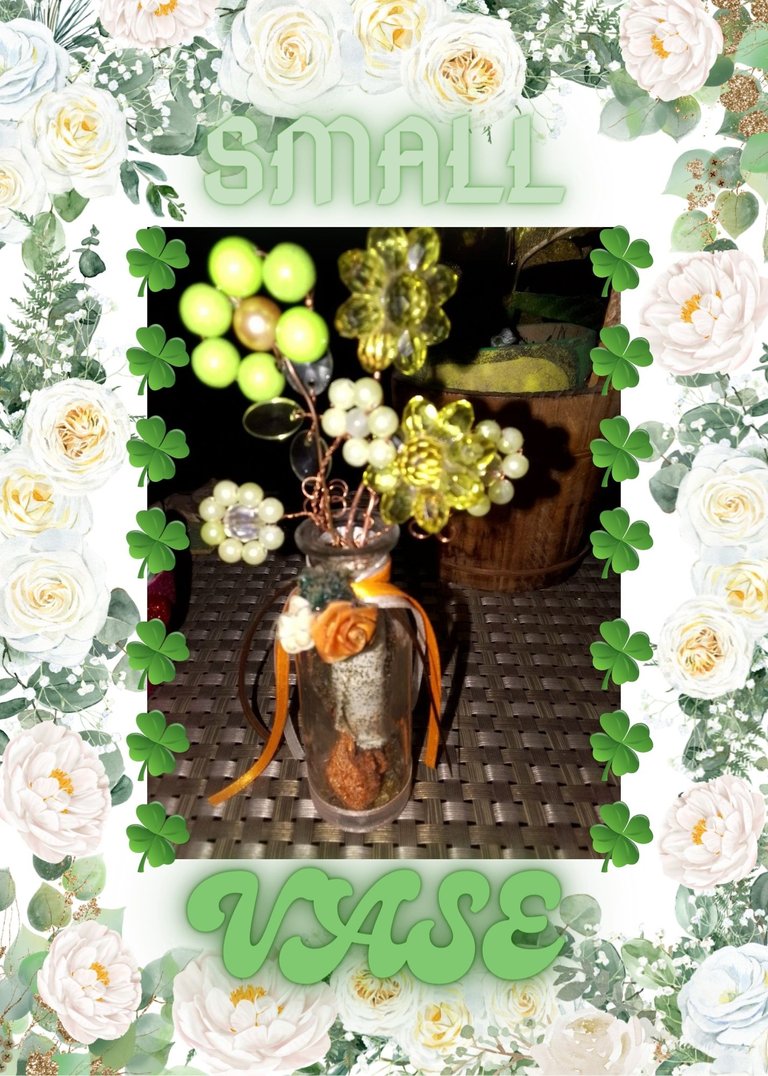
[Esp | Eng] Small vase inspired by Forest Healer
Buenas noches amigos de #holozing, en esta oportunidad hice un pequeño florero con bisuteria inspirado en el ambiente para #foresthealer, espero les guste.
Good evening friends of #holozing, on this occasion I made a small flower basket with jewelry inspired by the environment for #foresthealer, I hope you like it.
Materiales | Materials
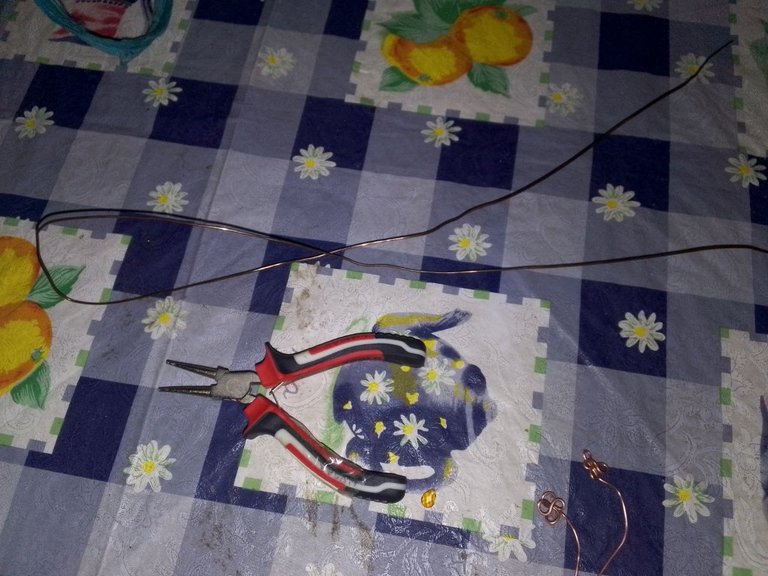
- Alambre de cobre de varios calibres, el que prefieras 2 mts
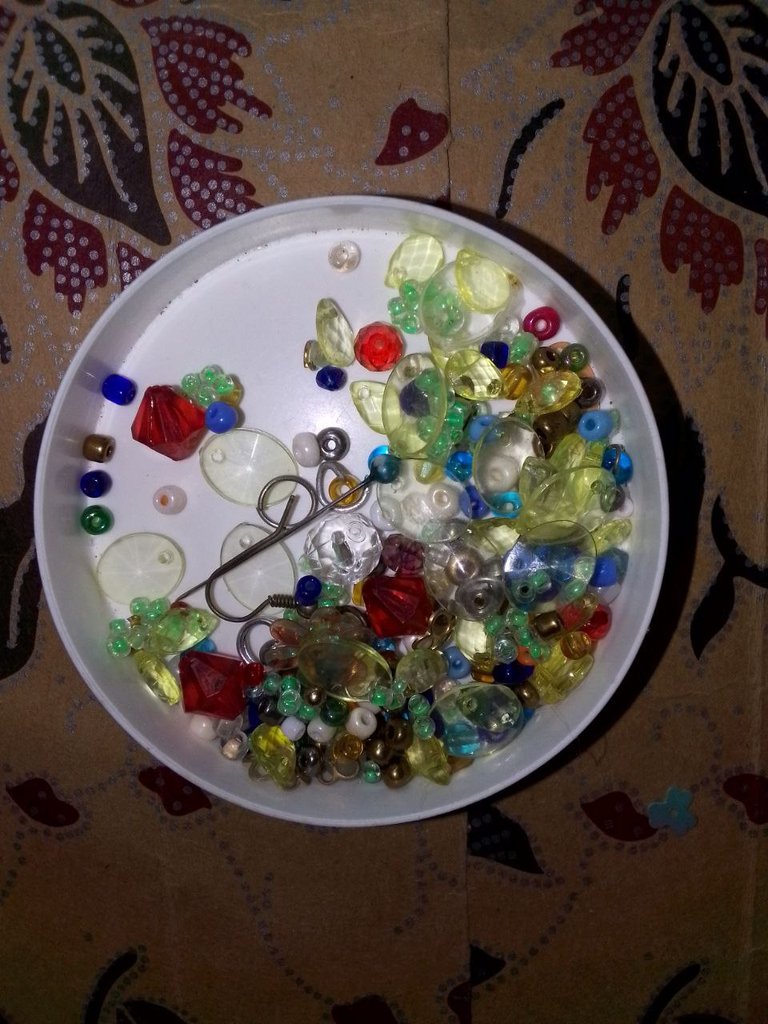
- Perlas de diversos tamaños y texturas
- Flores de plastico
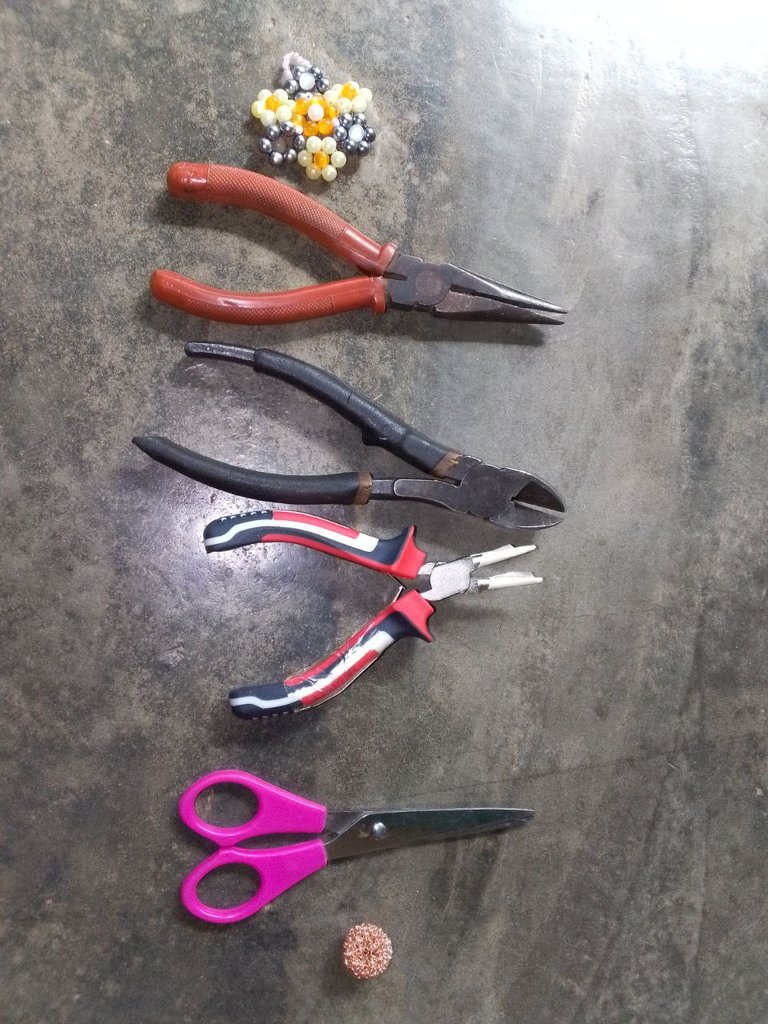
- Pinza de punta redonda
- Pinza de punta larga
- Pinza de corte
- Aguja de tejer estambre de 4.5 mm
- Copper wire of various gauges, whichever you prefer, 2 meters
- Pearls of various sizes and textures
- Plastic flowers
- Round nose tweezers
- Long nose tweezers
- Cutting clamp
- 4.5 mm worsted knitting needle
|
|
|
|
|
|

Procedimiento | Procedure
Paso 1 | Step 1
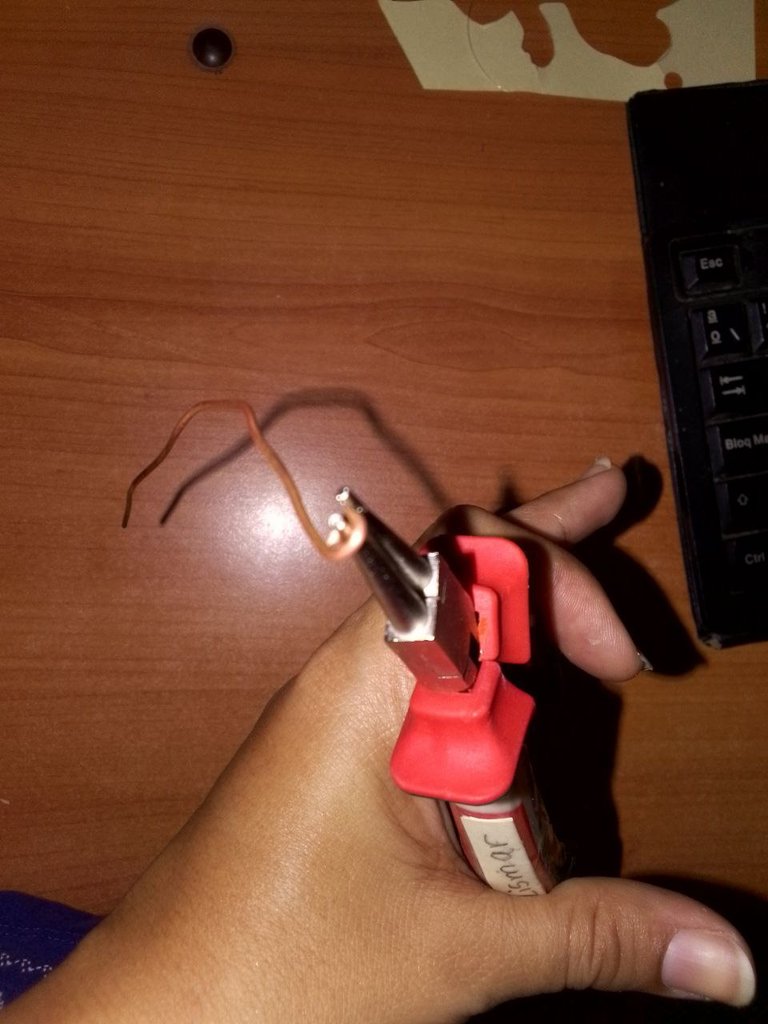
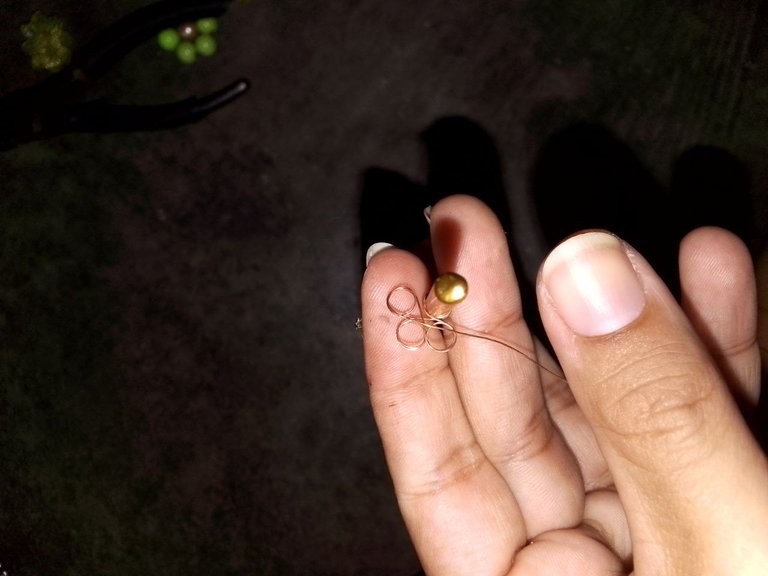
Empezamos haciendo los treboles con la pinza de punta redonda, hacemos primero un circulo, luego el otro circulo nos ubicamos en el sentido opuesto.
We start by making the clovers with the round-tipped tweezers, first we make a circle, then we place the other circle in the opposite direction.
|
|
|
|
|
|

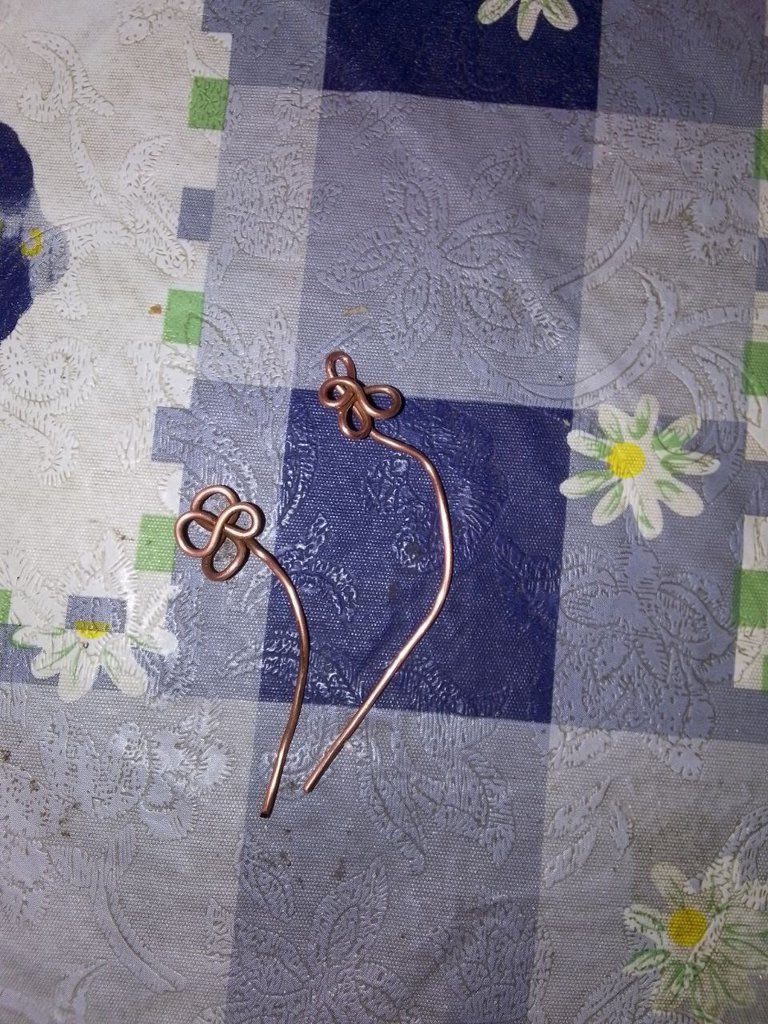
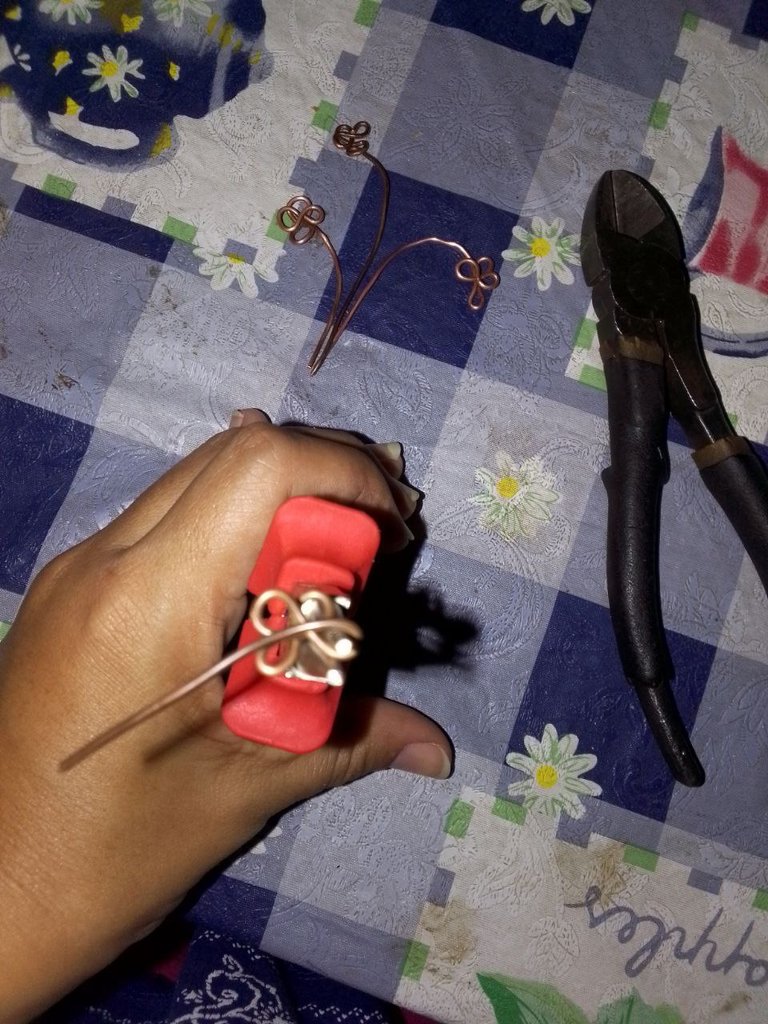
Paso 2 | Step 2
Luego, para hacer los otros dos petalos con la pinza de punta redonda y luego con la pinza larga aplastamos lo que se haya torcido.
Then, to make the other two petals, use the round-tipped tweezers and then with the long tweezers we flatten what is twisted.
|
|
|
|
|
|

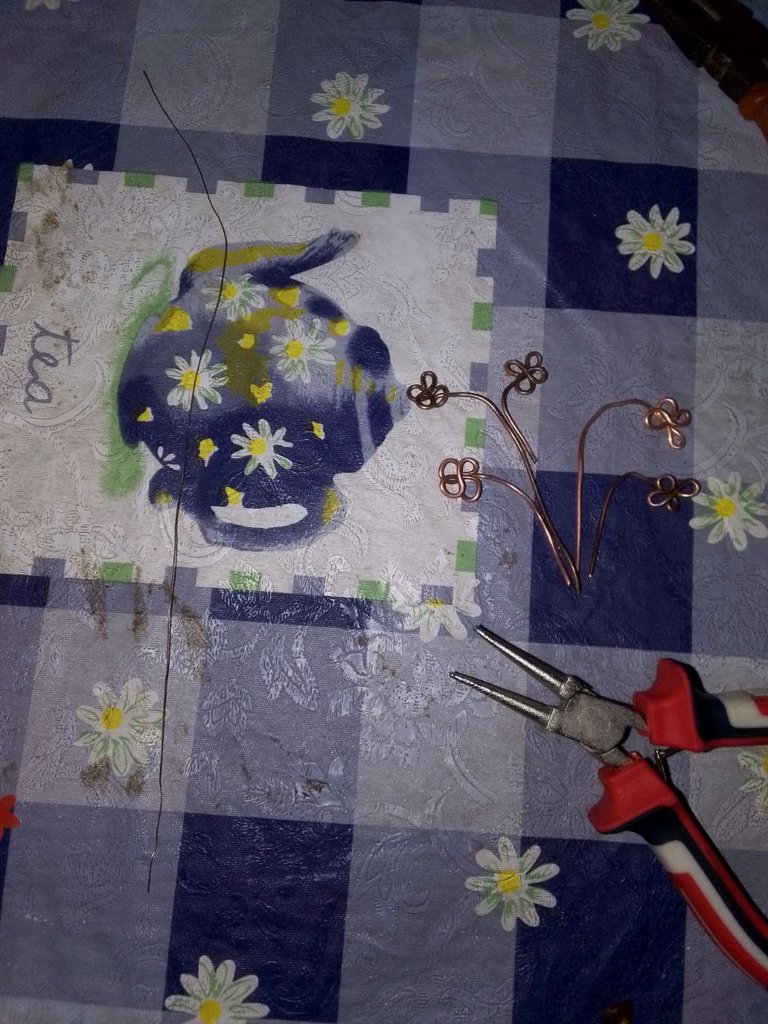
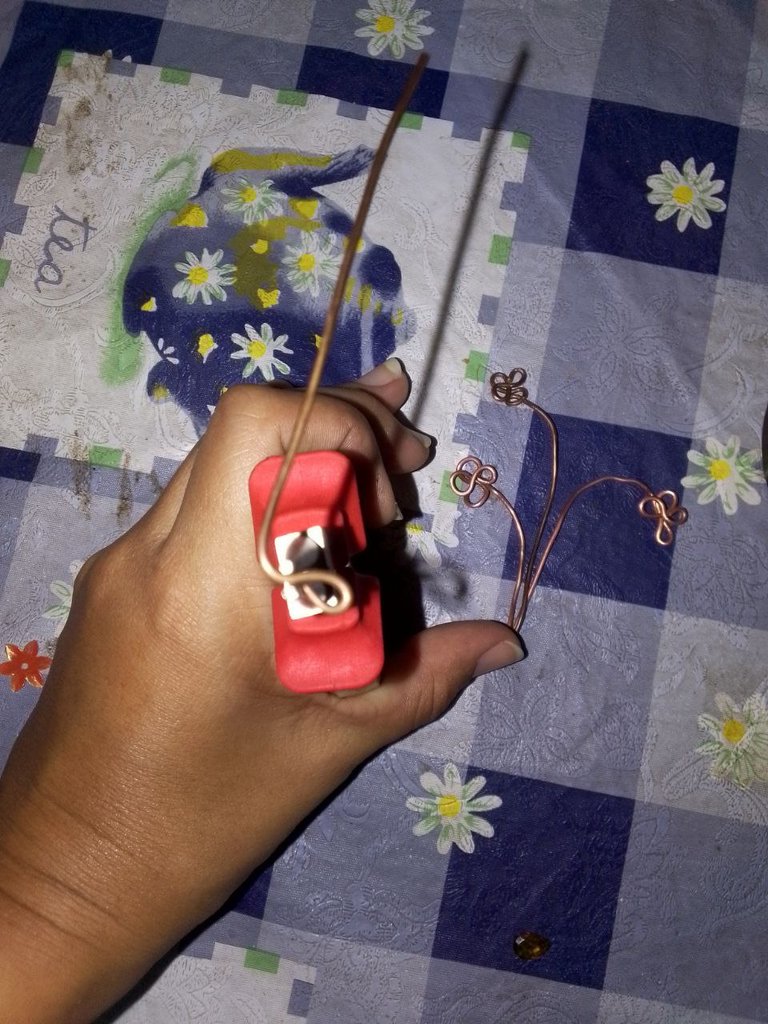
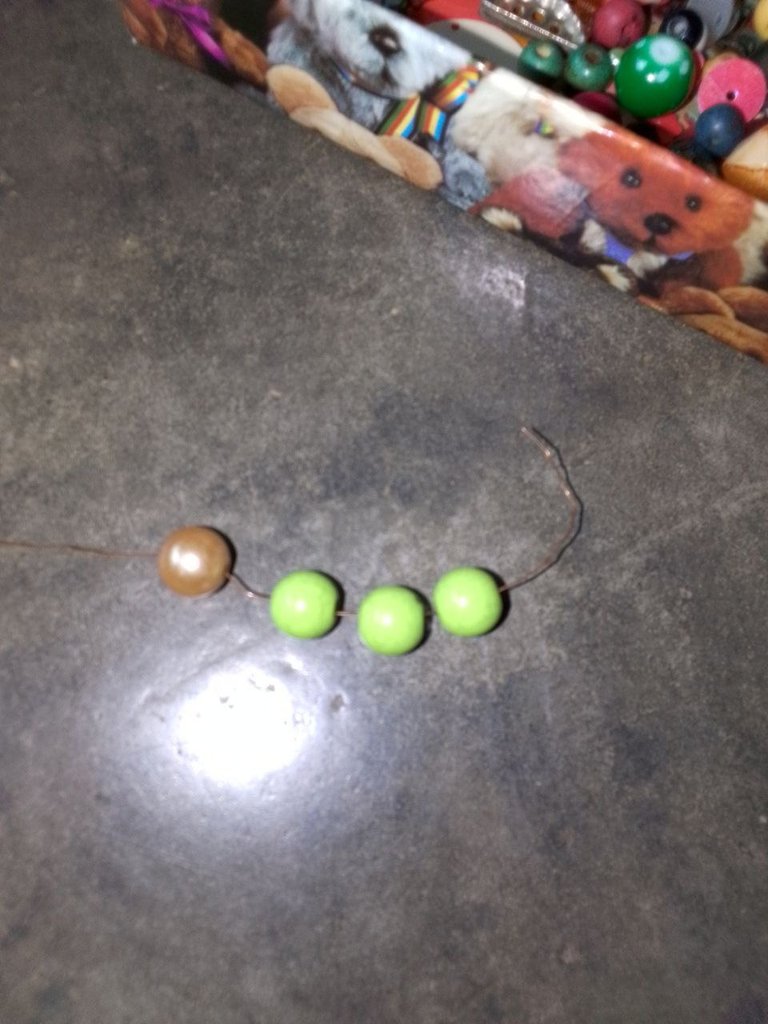
Paso 3 | Step 3
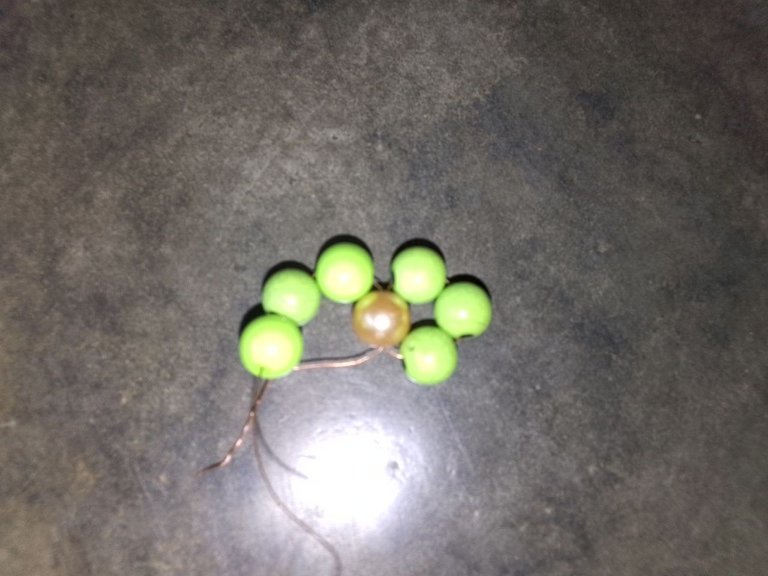
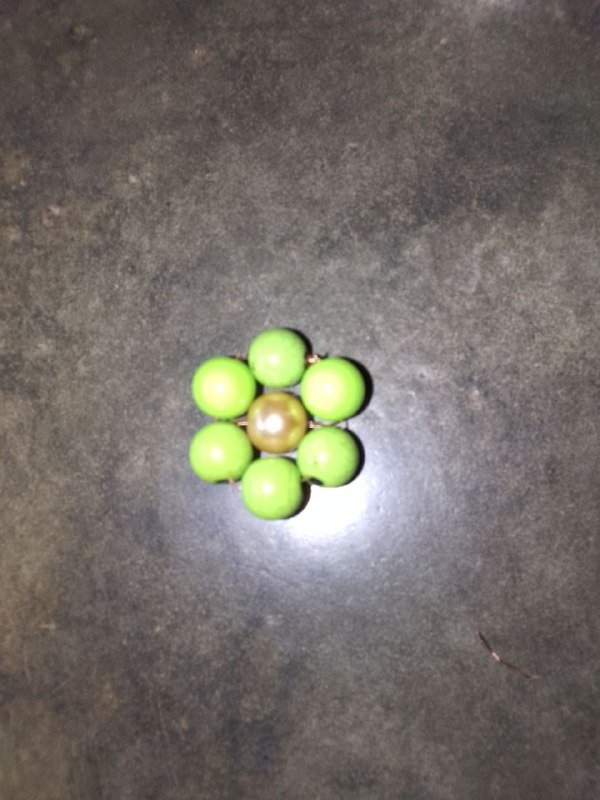
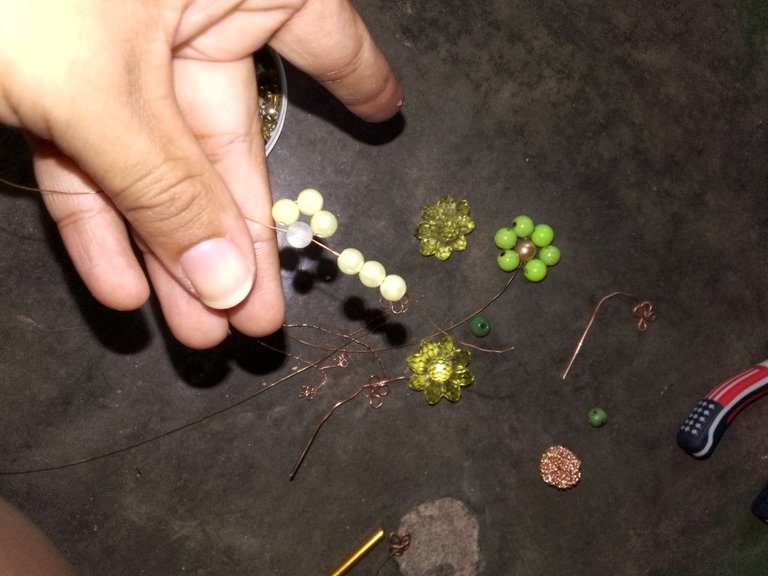
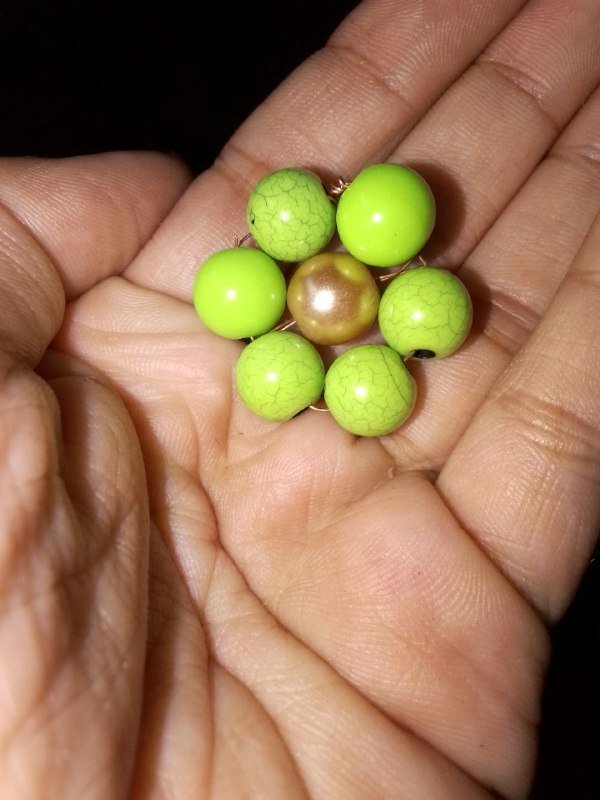
Aqui ya tenemos hecho un pequeño trebol con alambre de menor calibre, luego volteamos el alambre y lo torcemos y volvemos a hacer otra flor solo con alambre. Ahora haremos una florecita de centro beige y 6 petalos verdes : pasamos por el alambre la perla beige y luego las 3 verdes, cruzamos ambos hilos en la beige y pasamos el hilo por las siguientes tres perlas. Este procedimiento es repetitivo con varias flores.
Here we have already made a small clover with smaller gauge wire, then we turn the wire over and twist it and we make another flower only with wire. Now we will make a little flower with a beige center and 6 green petals: we pass the beige pearl through the wire and then the 3 green ones, we cross both threads in the beige one and pass the thread through the next three pearls. This procedure is repetitive with several flowers.
|
|
|
|
|
|
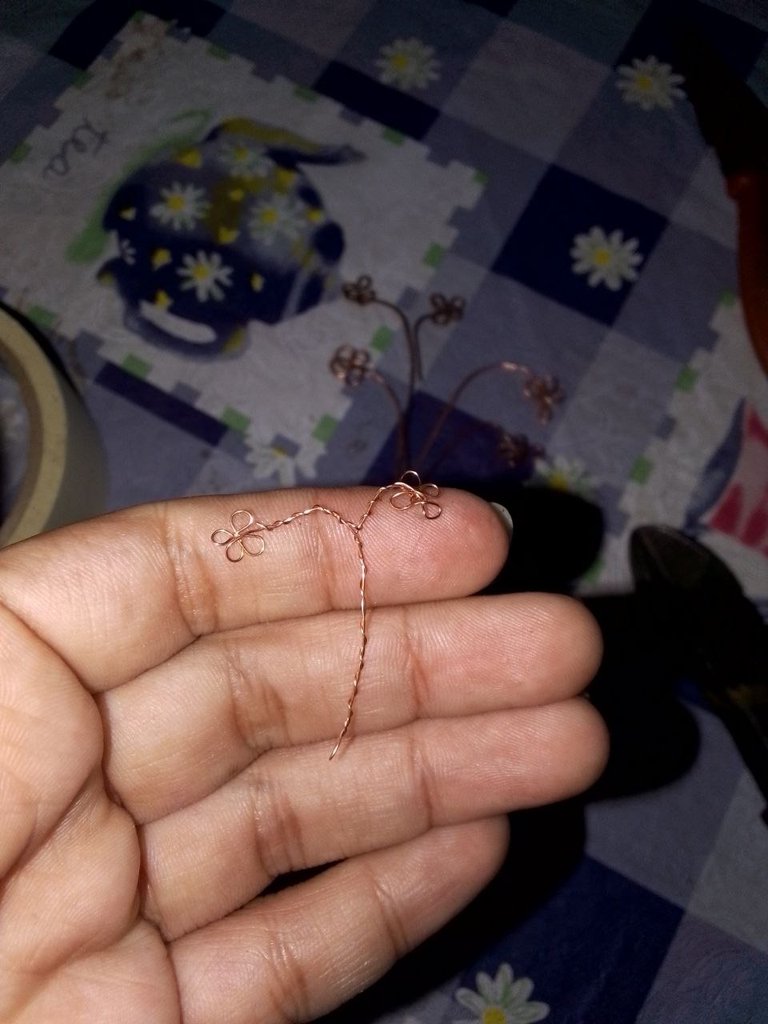

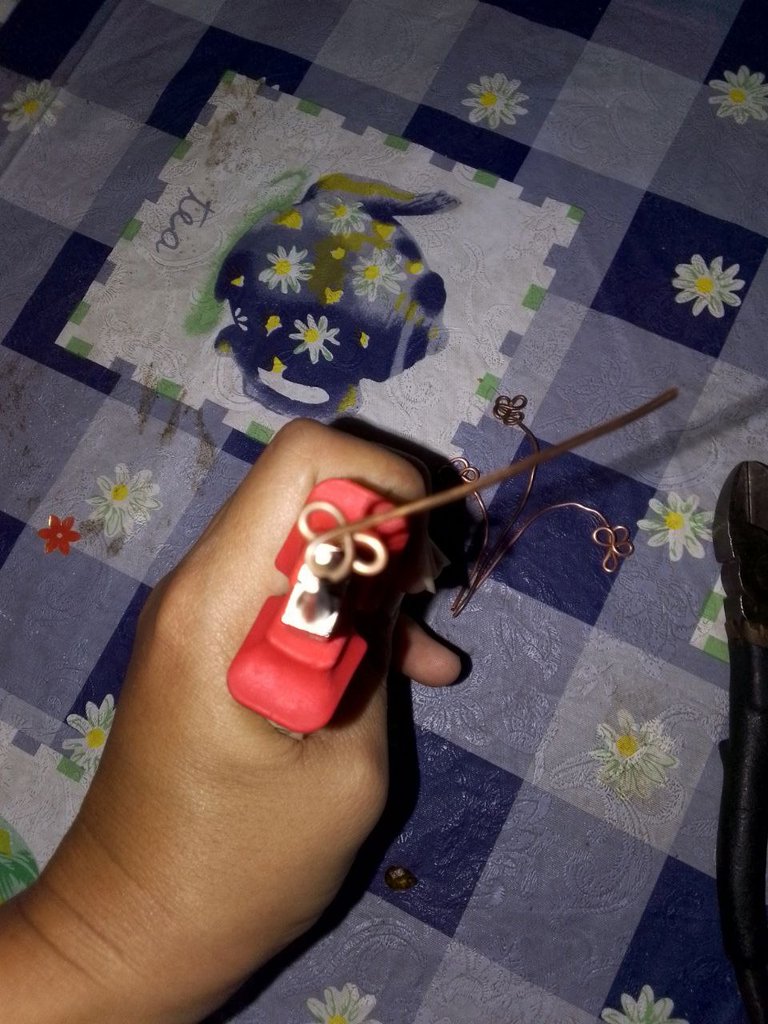
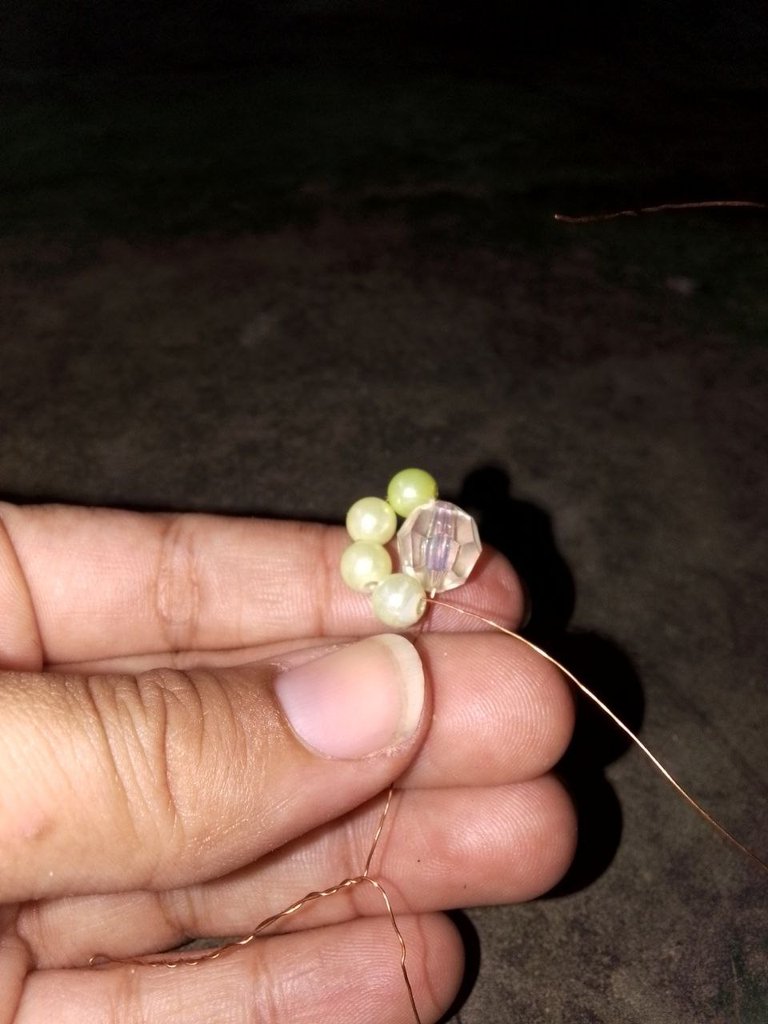
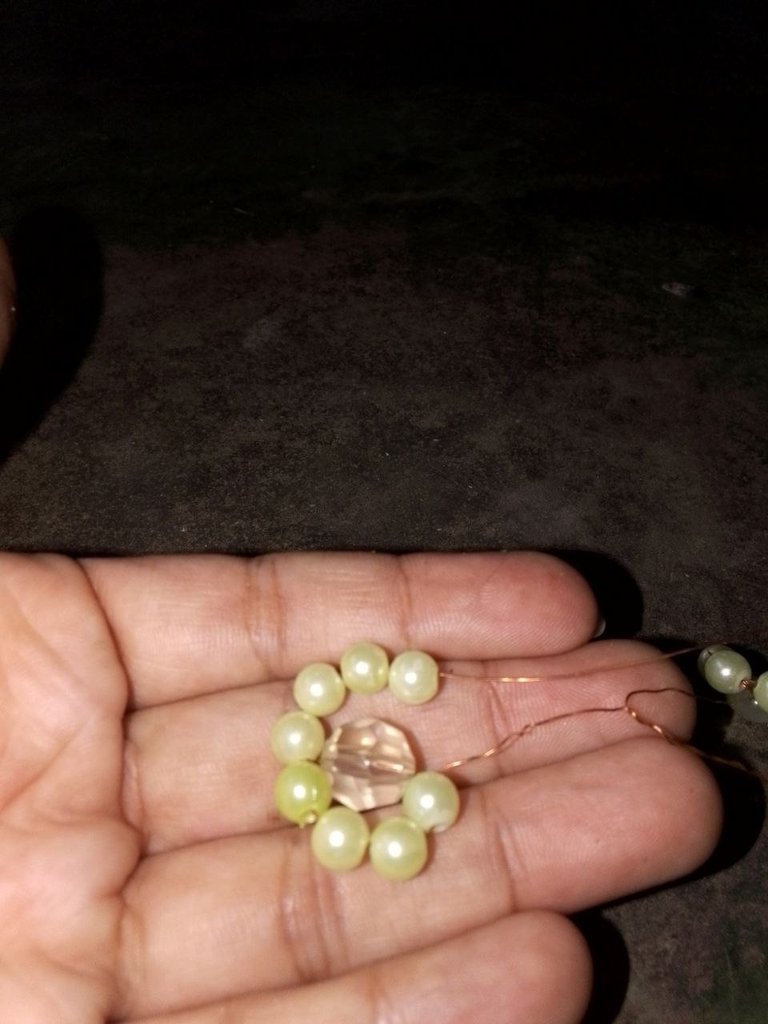
Aqui hacemos otra florecita esta vez con el centro transparente, y otro trebol de alambre , alli use una aguja de tejer de 4.5 m.
Here we make another little flower this time with a transparent center, and another wire clover, there I used a 4.5 m knitting needle.
|
|
|
|
|
|
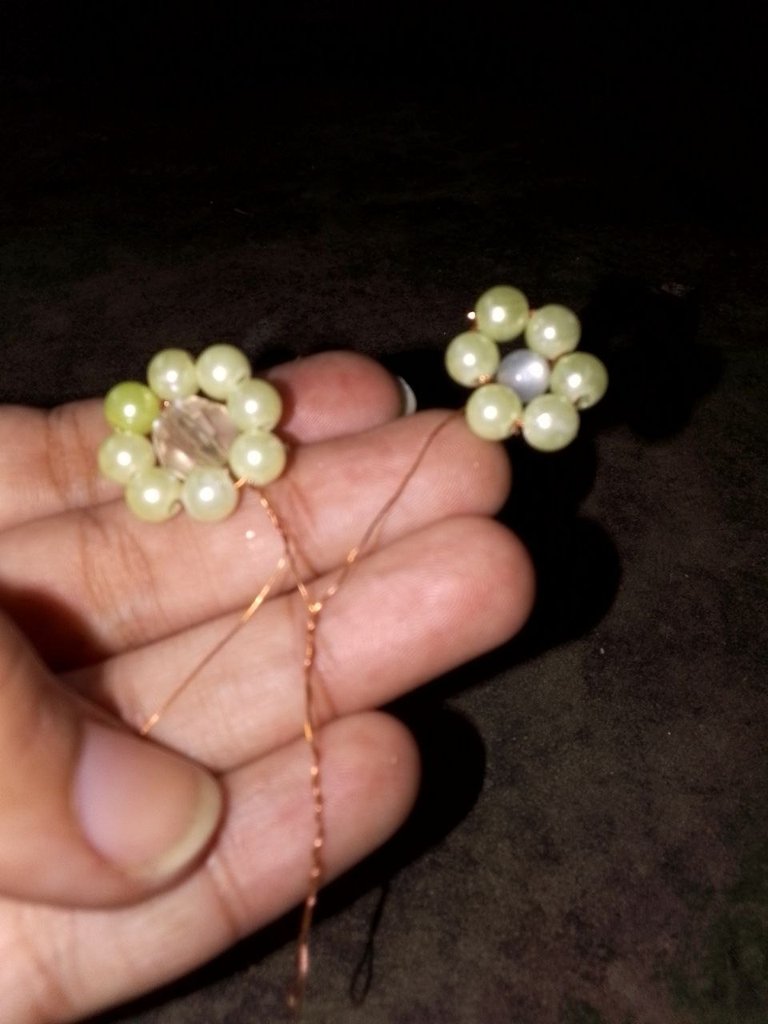
Aqui unimos el alambre al otro extremo de las perlitas, le tenemos que dar toda la vuelta las perlas verdes con el alambre y luego devolvernos hacia abajo y luego hacia un lado y hacer la otra flor.
Here we attach the wire to the other end of the pearls, we have to go around the green pearls with the wire and then go back down and then to one side and make the other flower.
|
|
|
Paso 4 | Step 4
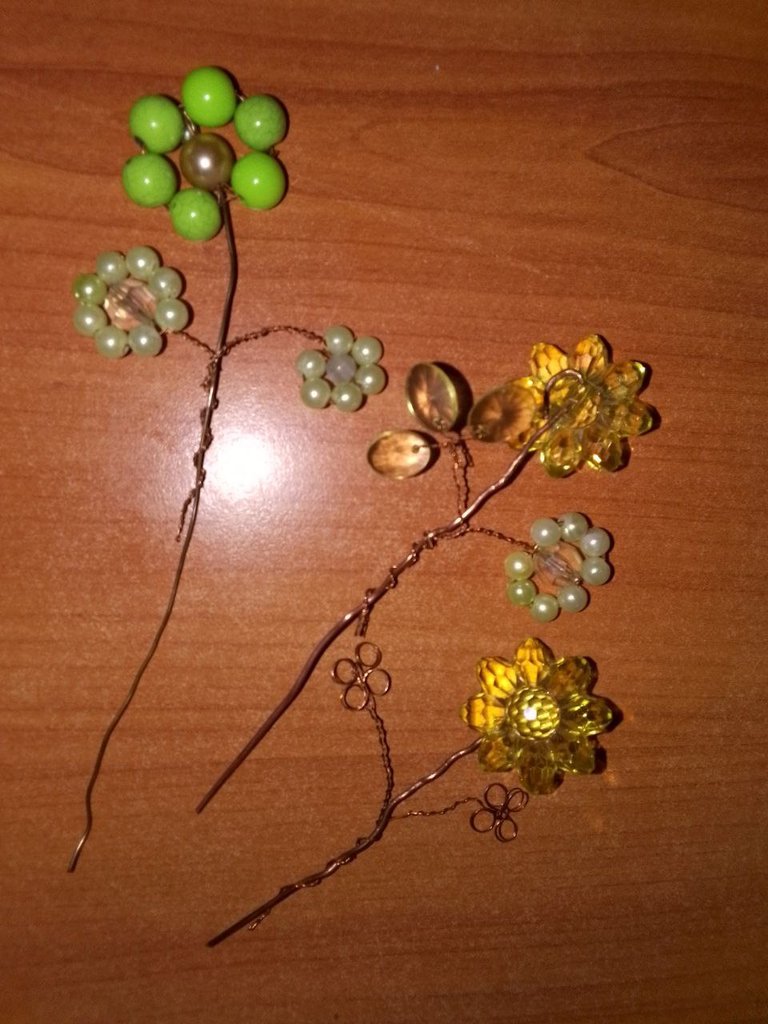
Finalmente, entorchamos las flores mas pequeñas a las mas grandes, quedando de esta manera: hay un lado que use petalitos verdes y quedo como una hoja, solo use tres pero es mucho mas facil aun. Tienes que entorchar bien el alambre en cada petalito para que quede firme.
Finally, we twist the smallest flowers to the largest, leaving it this way: there is one side that used green petals and it turned out like a leaf, I only used three but it is much easier even. You have to twist the wire tightly around each petalite so that it is firm.
|
|
|
Resultado | Result
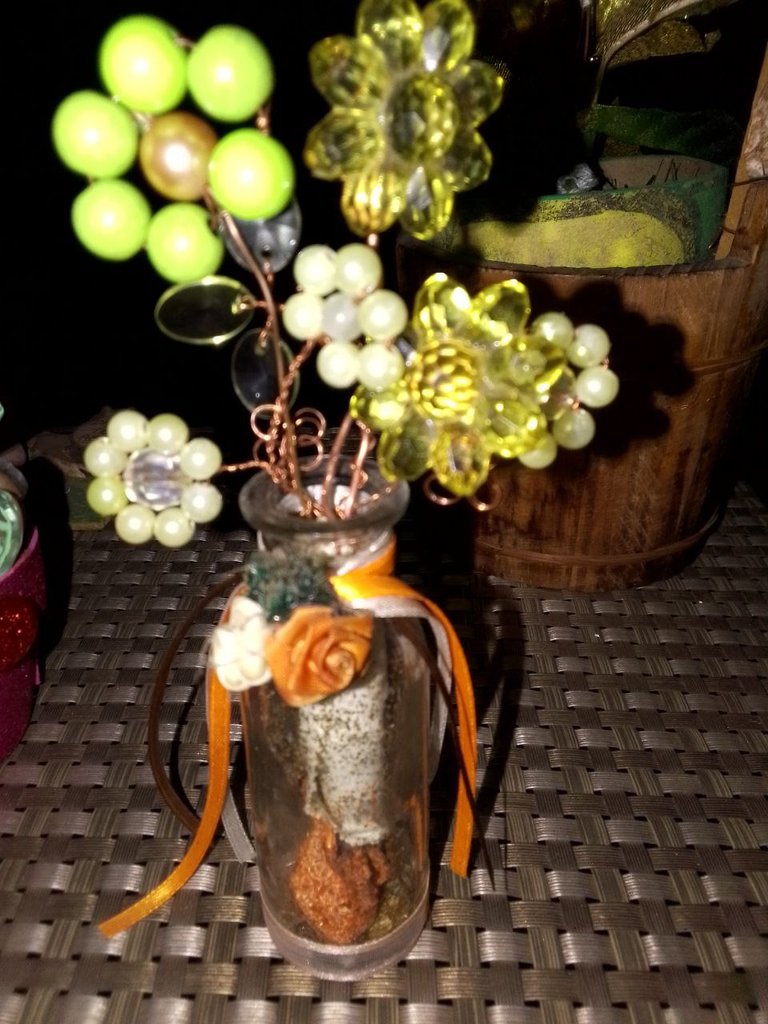
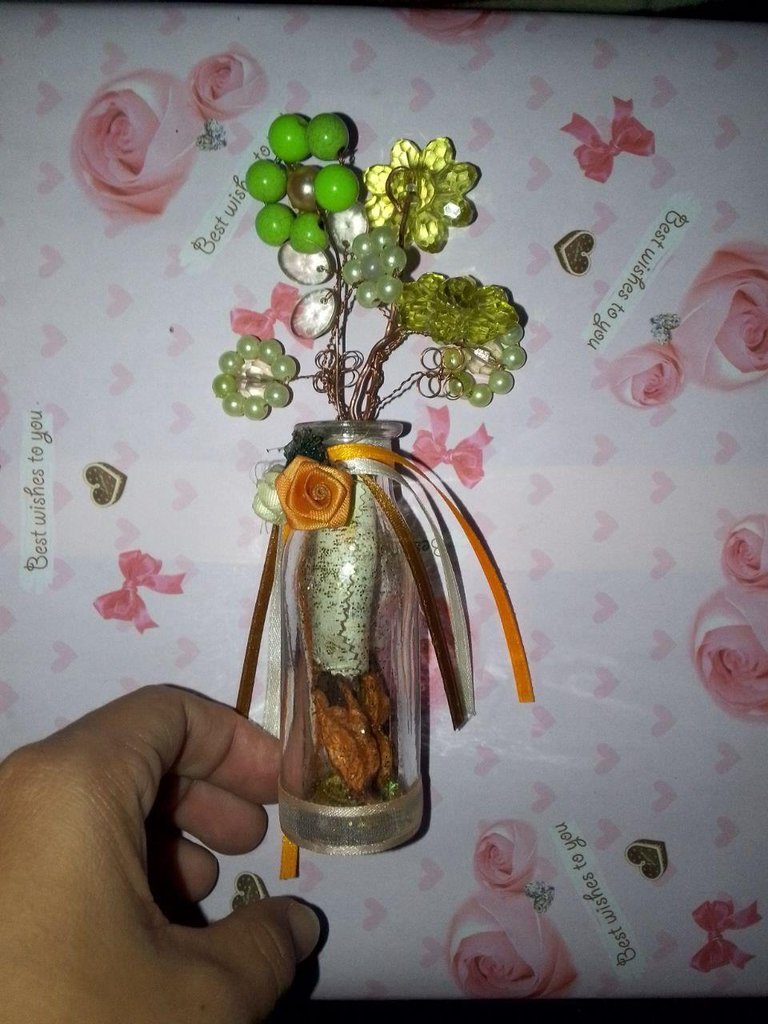
Y bueno amigos, asi es como se ve , tambien le tomé otra foto con fondo rosa para que se vea mejor mi #fanart. Espero les guste, sientanse libres de comentar!
And well friends, this is how it looks, I also took another photo with a pink background so that my #fanart can be seen better. I hope you like it, feel free to comment!
|
|
|

Thanks for visiting my blog
Gracias por visitar mi blog
No te detengas, no dejes de creer en ti y de buscar ideas y opciones para salir adelante.
Don't stop, don't stop believing in yourself and looking for ideas and options to get ahead.
Créditos | Credits
Utilicé una plantilla de https://www.canva.com/ con herramientas gratuitas
I used a template from https://www.canva.com/ using free tools
Usé google traductor para la traducción.
I used google traductor to traduction.
Las imagenes son propias.
The images are my own.
Congratulations @lismarcarolina2! You have completed the following achievement on the Hive blockchain And have been rewarded with New badge(s)
Your next target is to reach 1500 replies.
You can view your badges on your board and compare yourself to others in the Ranking
If you no longer want to receive notifications, reply to this comment with the word
STOPCheck out our last posts:
Hola @lismarcarolina2, quer lindo adorno, las flores me encantan, una linda combinación de tonos verdes.
Saludos!