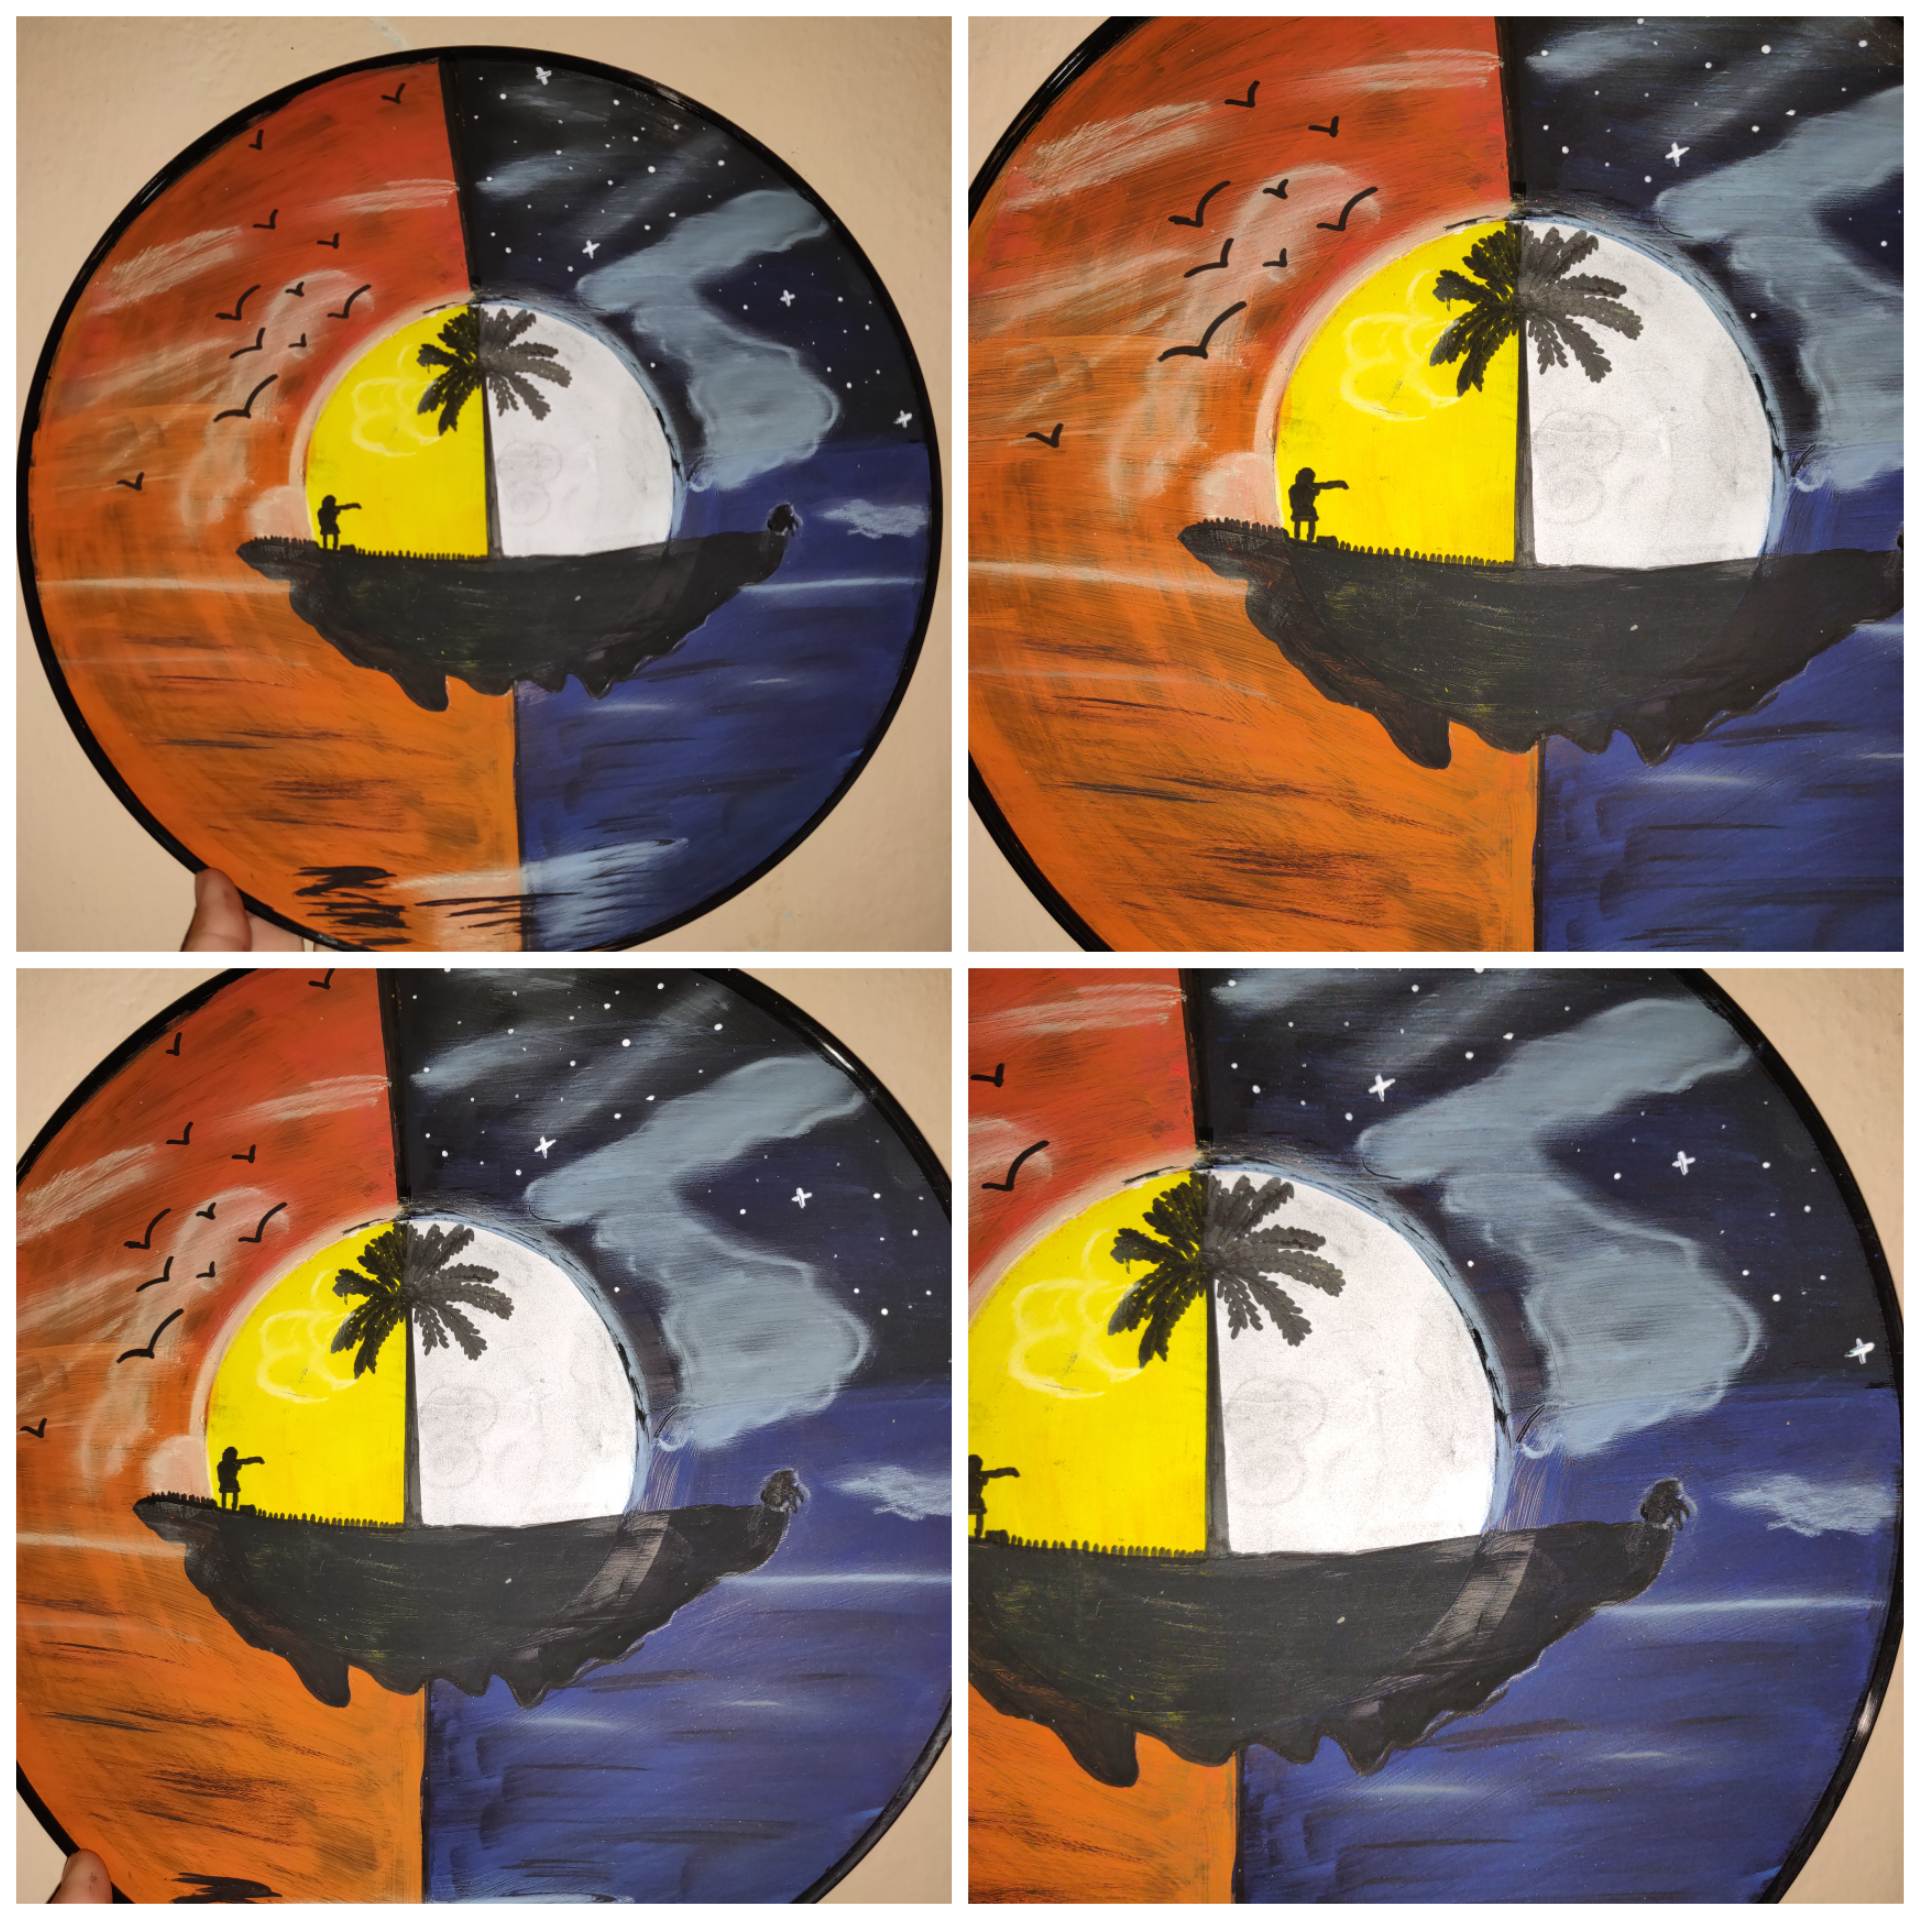
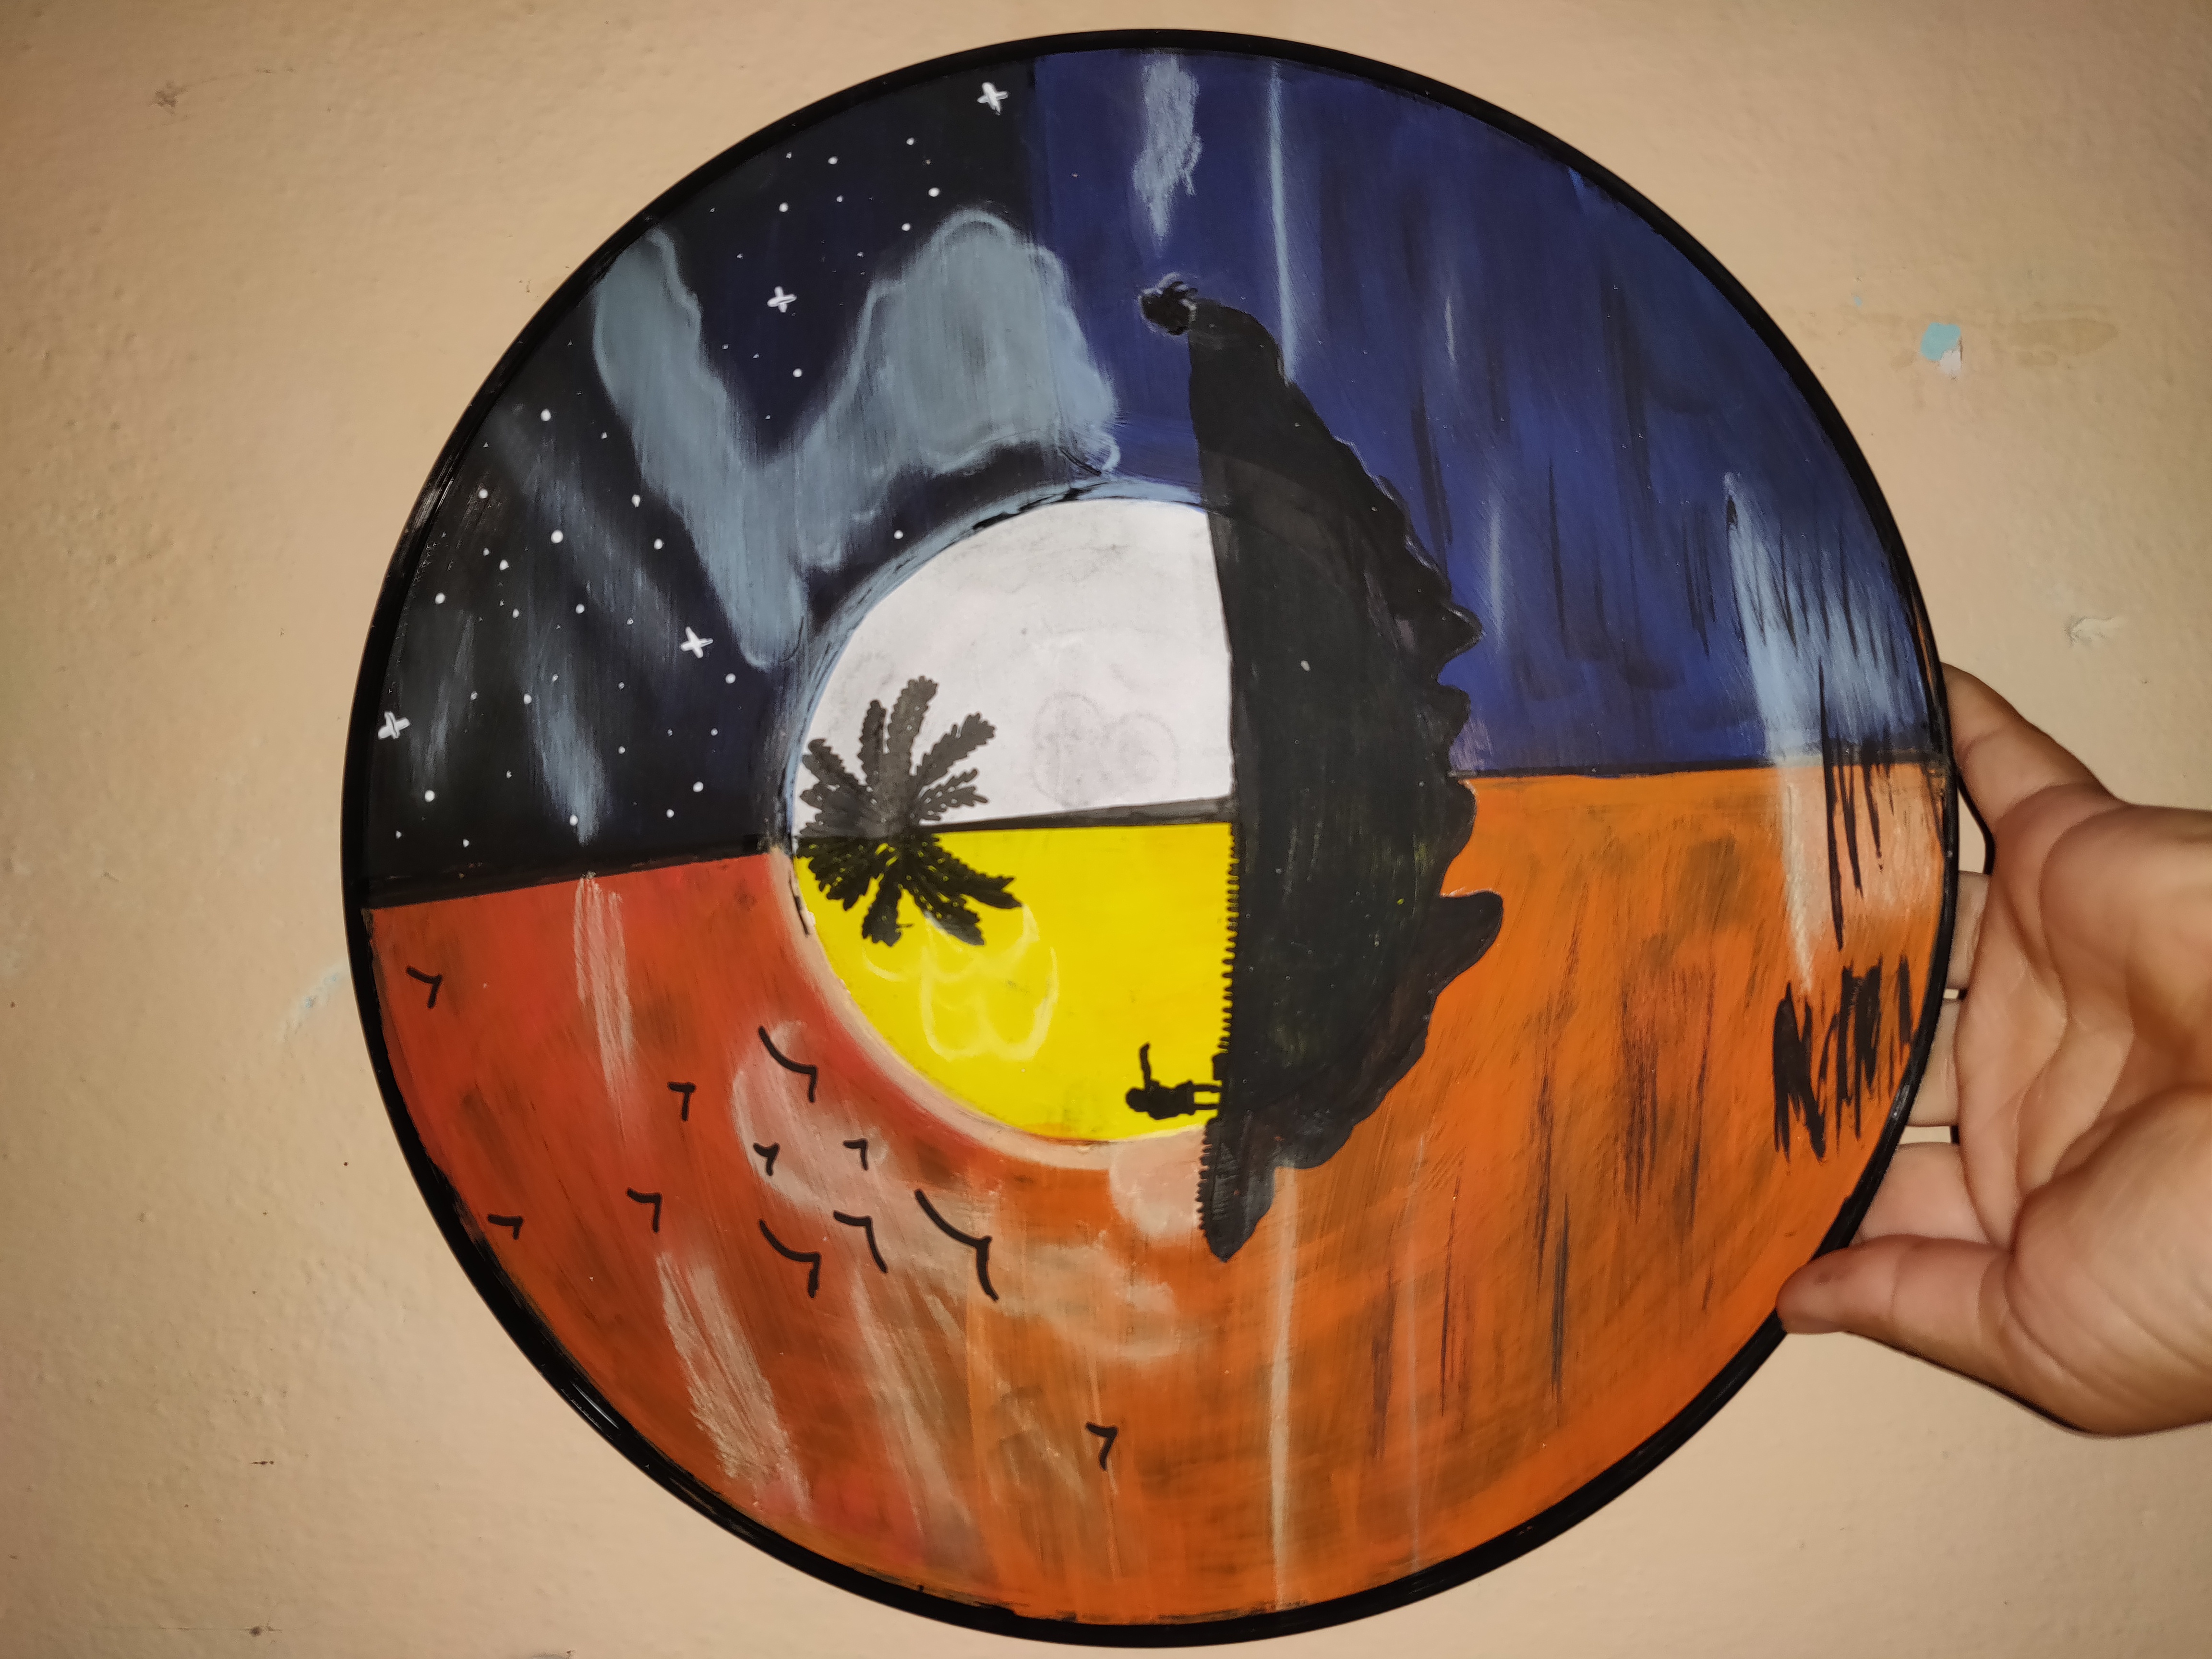
yellow-black del día y la noche/yellow-black of day and night @loryzur
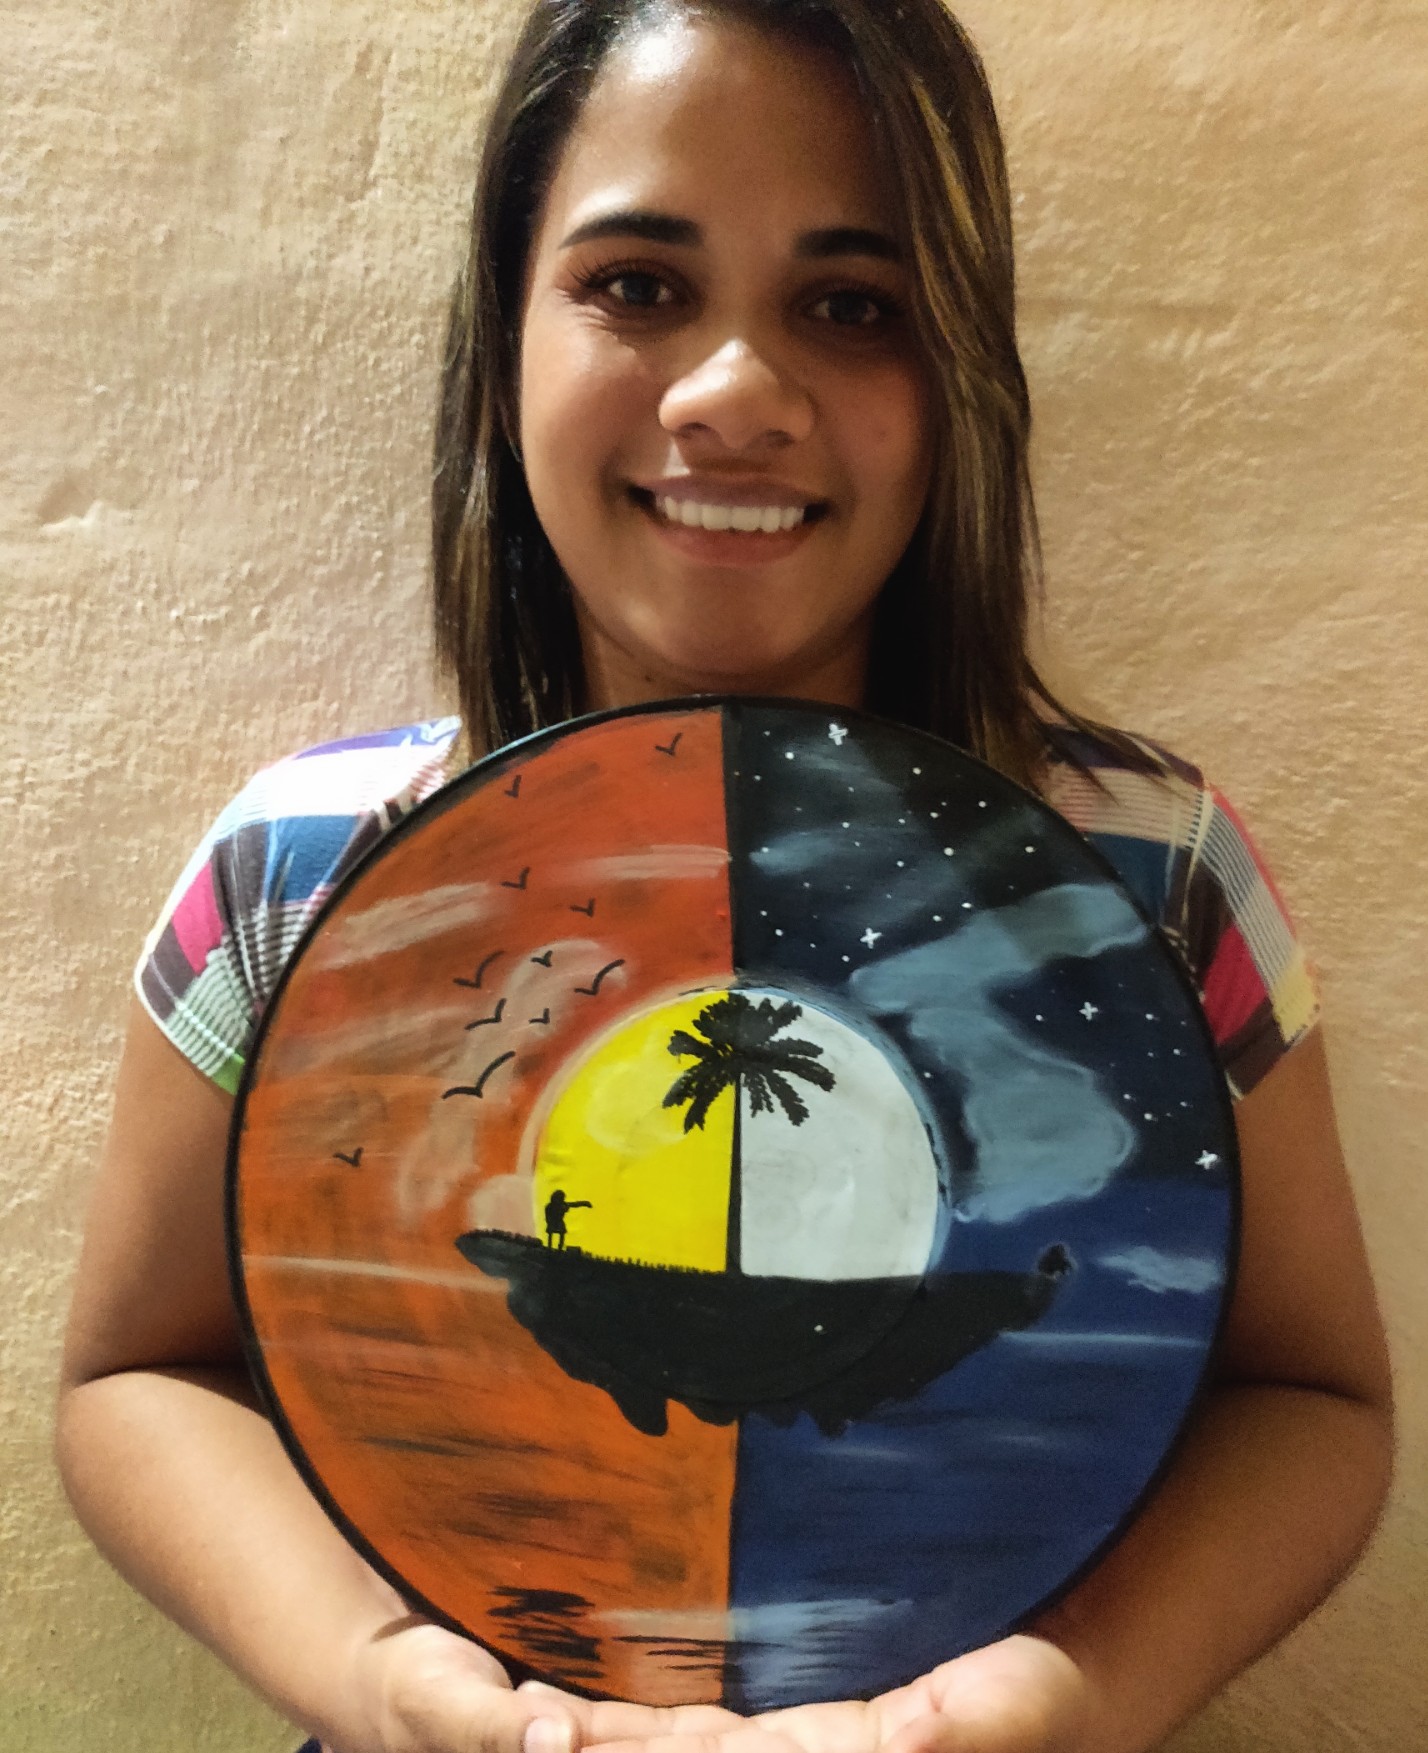
Saludos queridos amigos, estuve ausente porque estaba un poco descompuesta con el virus, pero acá me encuentro un poco mejor.El día de hoy quiero mostrarles poco a poco como realice este Hermoso yellow-black del tiempo.
Siempre suelo identificarme con paisajes o dibujos de día y de noche , desde que empecé a dibujar mi inspiración a Sido los animales y paisajes nocturnos o amaneceres, siento y me siento muy orgullosa de mi misma porque se y estoy viendo que eh ido mejorando poco a poco en la pintura , ciertamente tengo alguno errores que espero poco a poco ir corriendo y si ustedes artistas del dibujo me pueden ayudar comentado lo que debo mejorar, se los voy a agradecer ❤️😊👋.
Greetings dear friends, I was absent because I was a little sick with the virus, but here I am a little better, today I want to show you little by little how I made this beautiful yellow-black of the weather.
I always tend to identify with landscapes or day and night drawings, since I started drawing my inspiration has been animals and night landscapes or sunrises, I feel and I feel very proud of myself because I know and I am seeing that I have been improving little by little in painting, certainly I have some mistakes that I hope to gradually go running and if you drawing artists can help me by commenting on what I should improve, I will thank you ❤️😊👋.
Sin mas preambulos acompañenme a ver cómo realice esta belleza de dibujo .
Without further ado, come with me to see how I made this beautiful drawing.
| Materiales | Materials |
|---|---|
| Pinceles | Brushes |
| Pintura al frio | Cold paint |
| Disco | Disk |
| Marcador | Marker |
Procedimiento/Procedure
Paso 01:
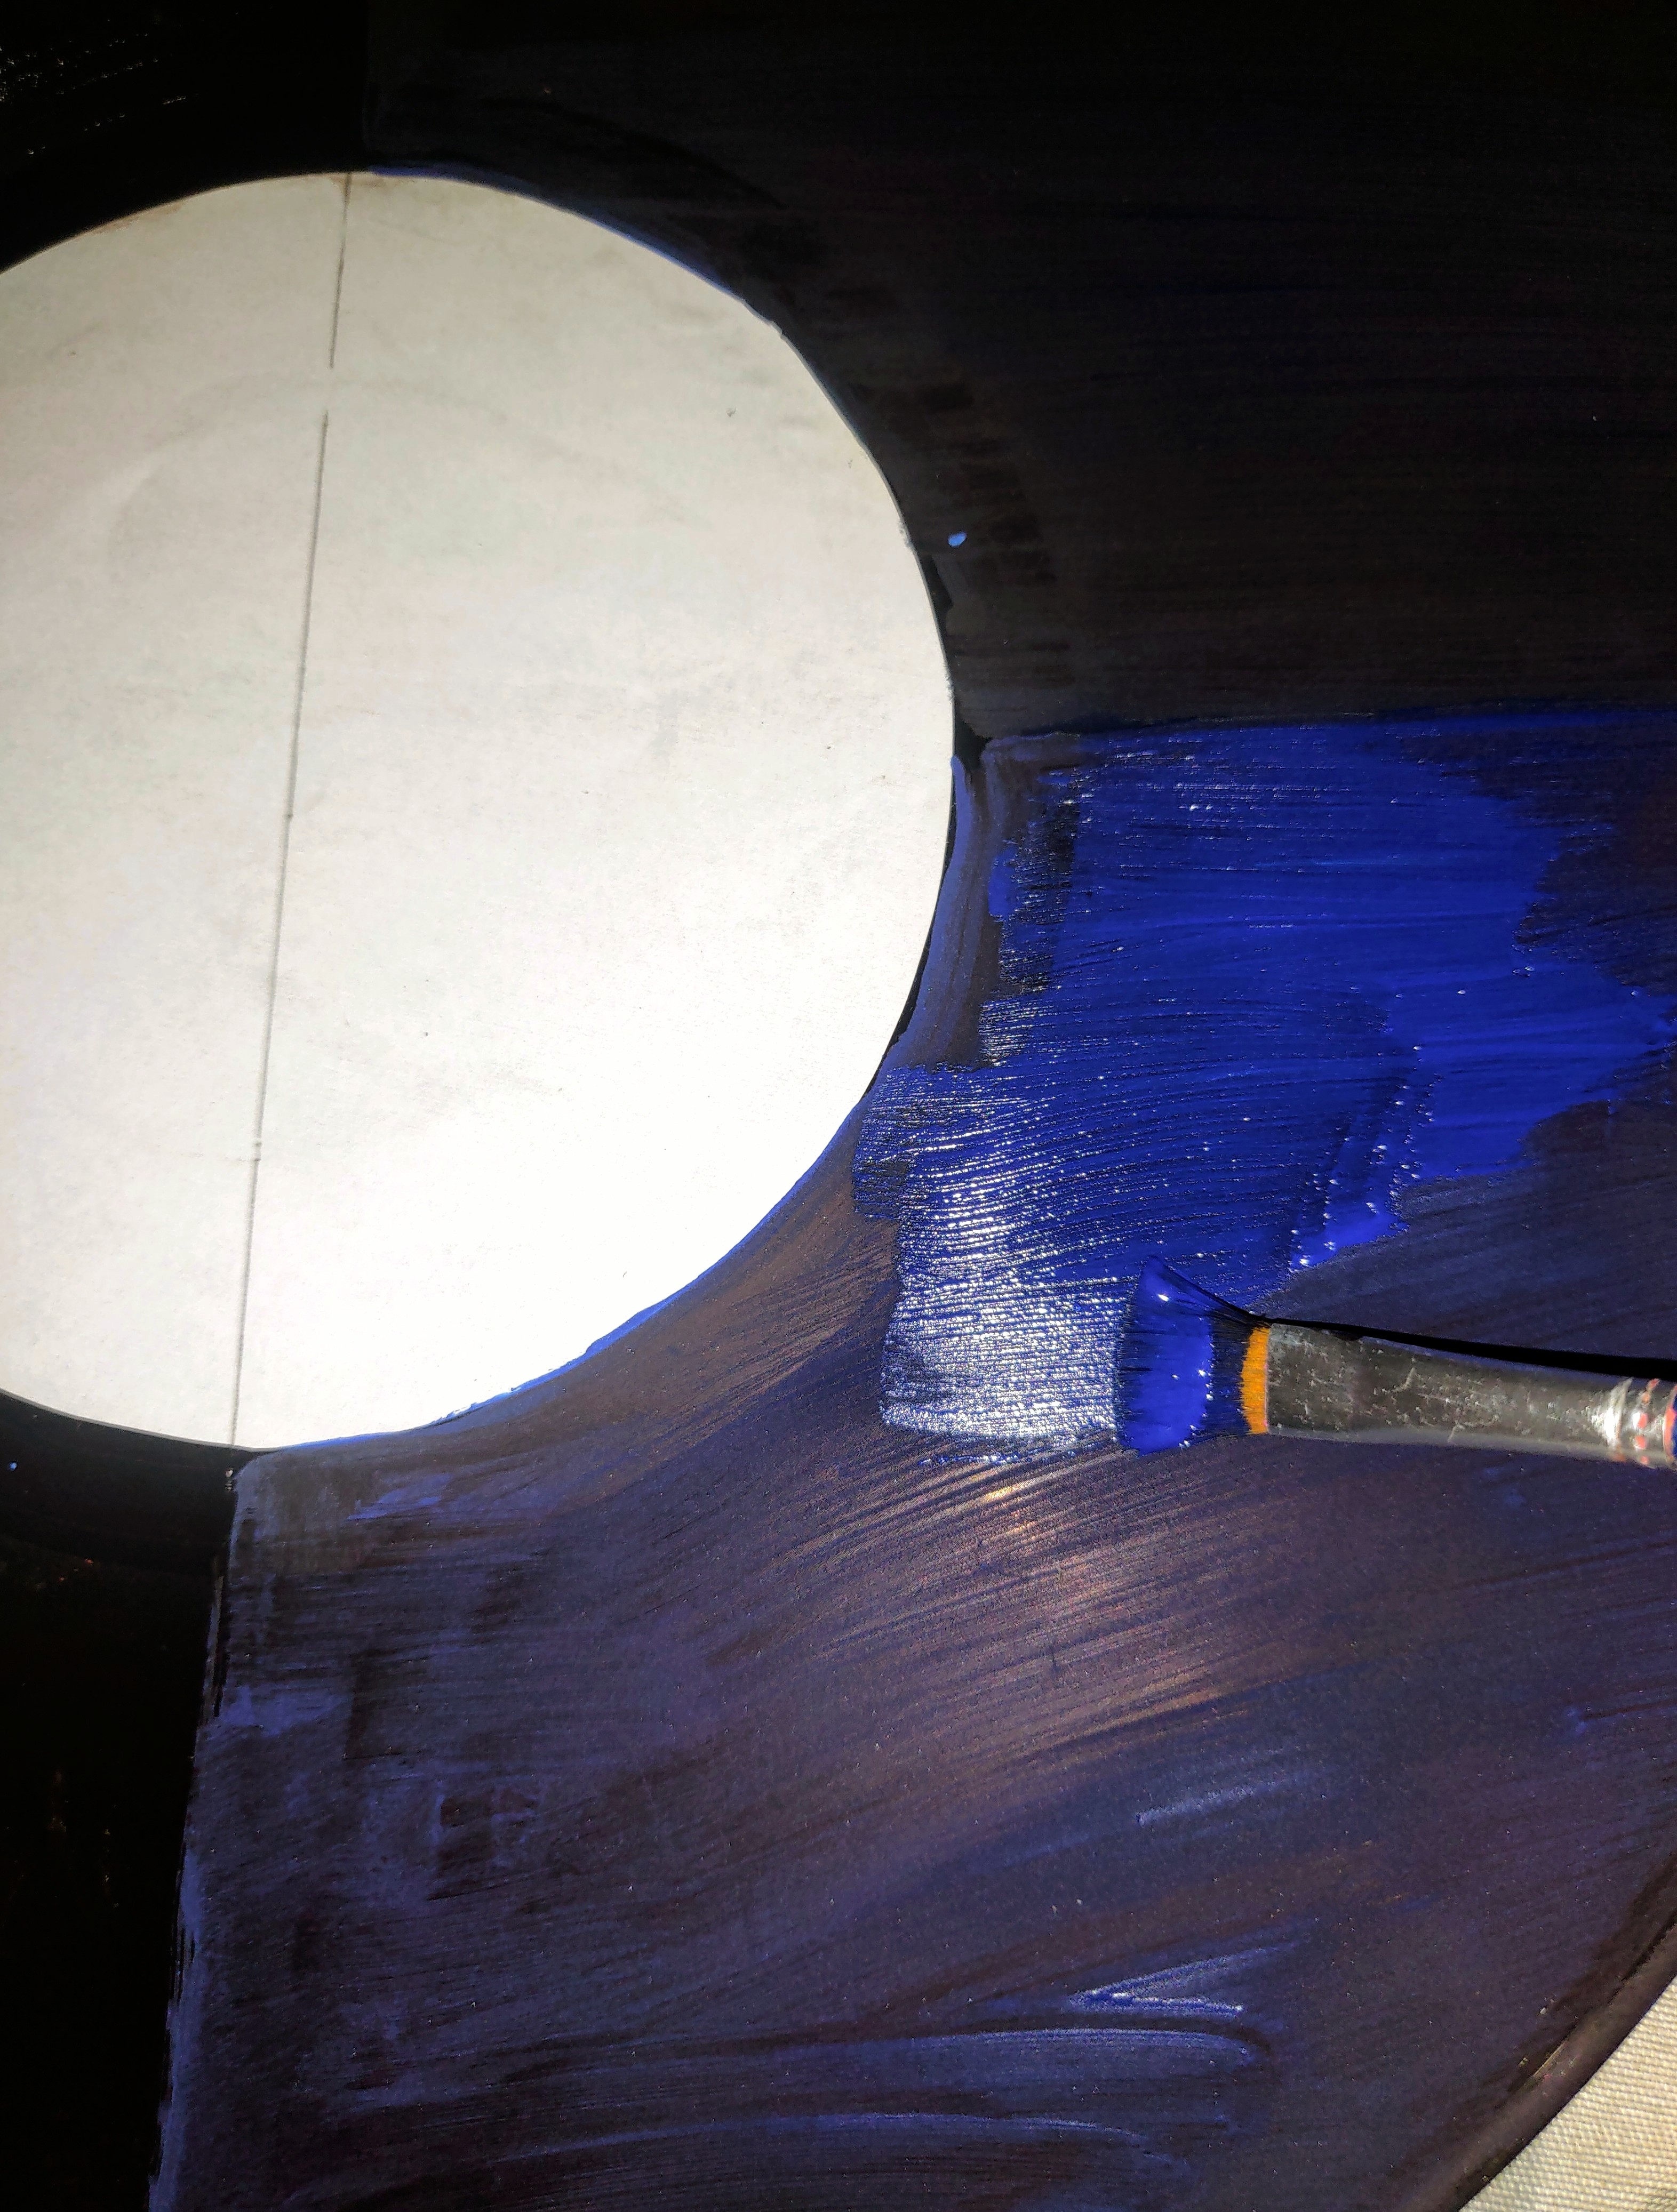
Primero comienzó dividiendo el disco con una distancia igual, seguidamente aplique pintura color negro y azul, tome el pincel y empezando desde arriba abajo fui mezclando ambos colores dando un efecto de oscuro pero tornado en azul.Seguire aplicando en el mismo lado color azul hasta la parte final.
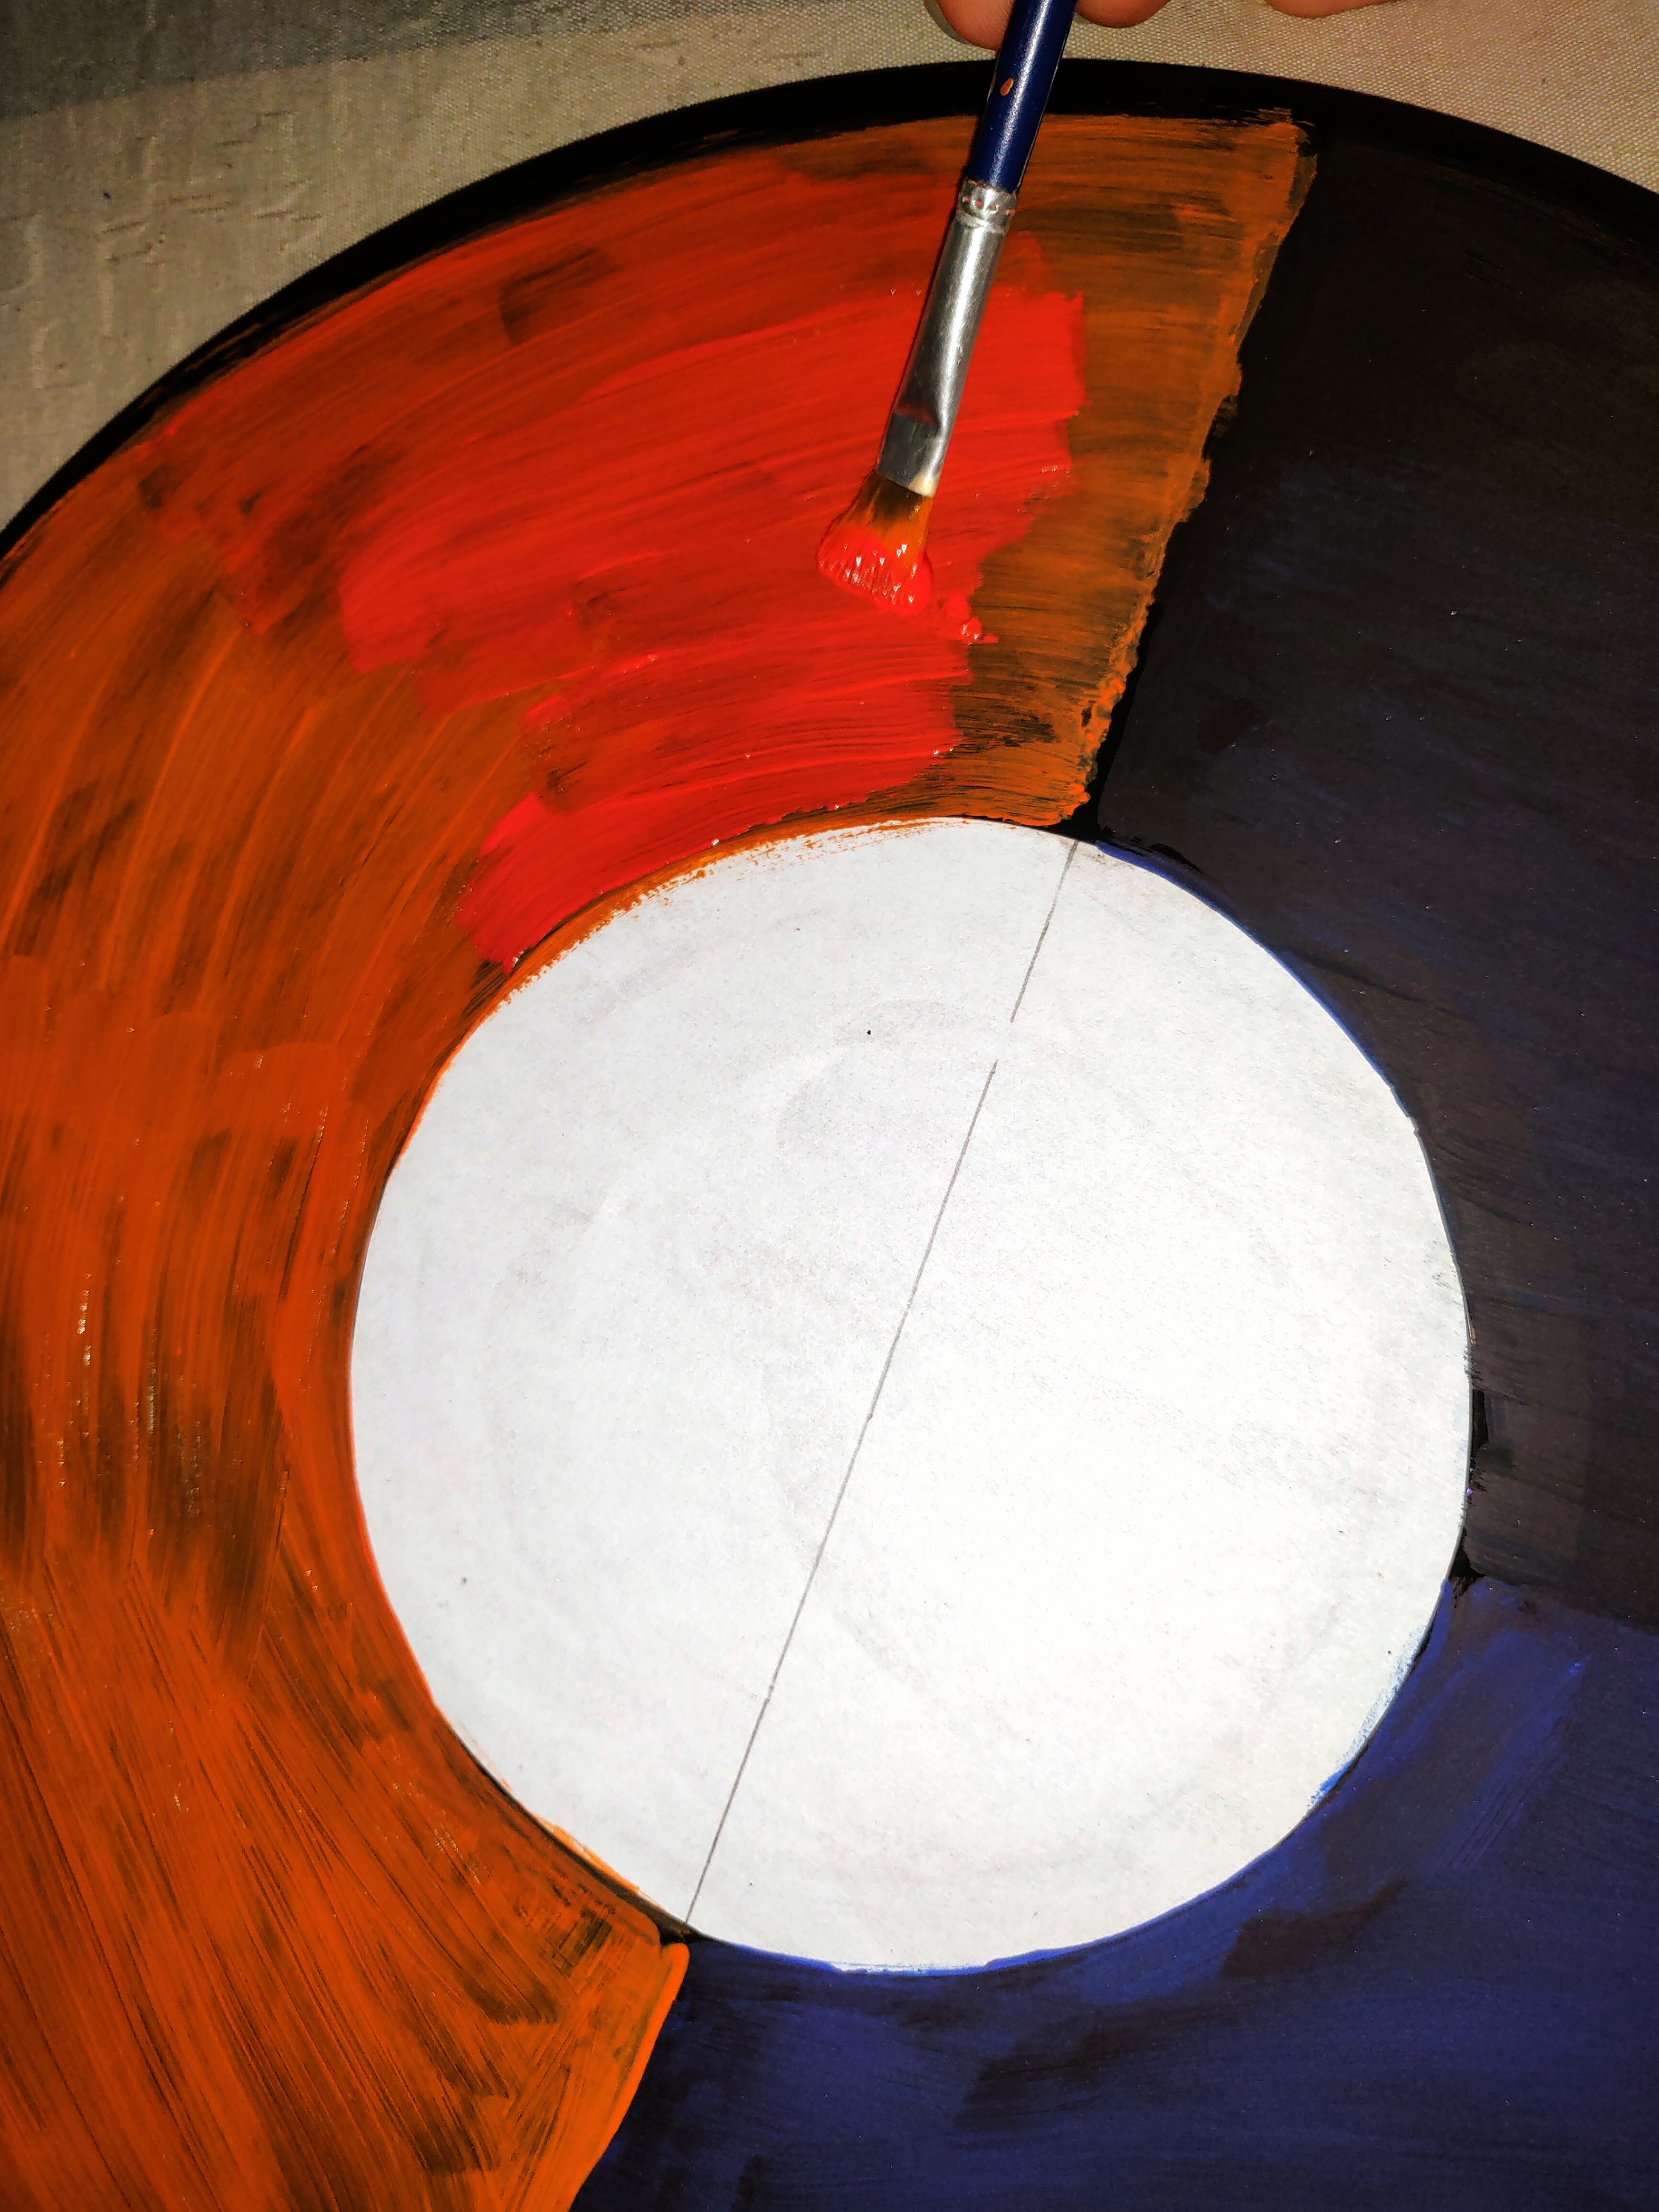
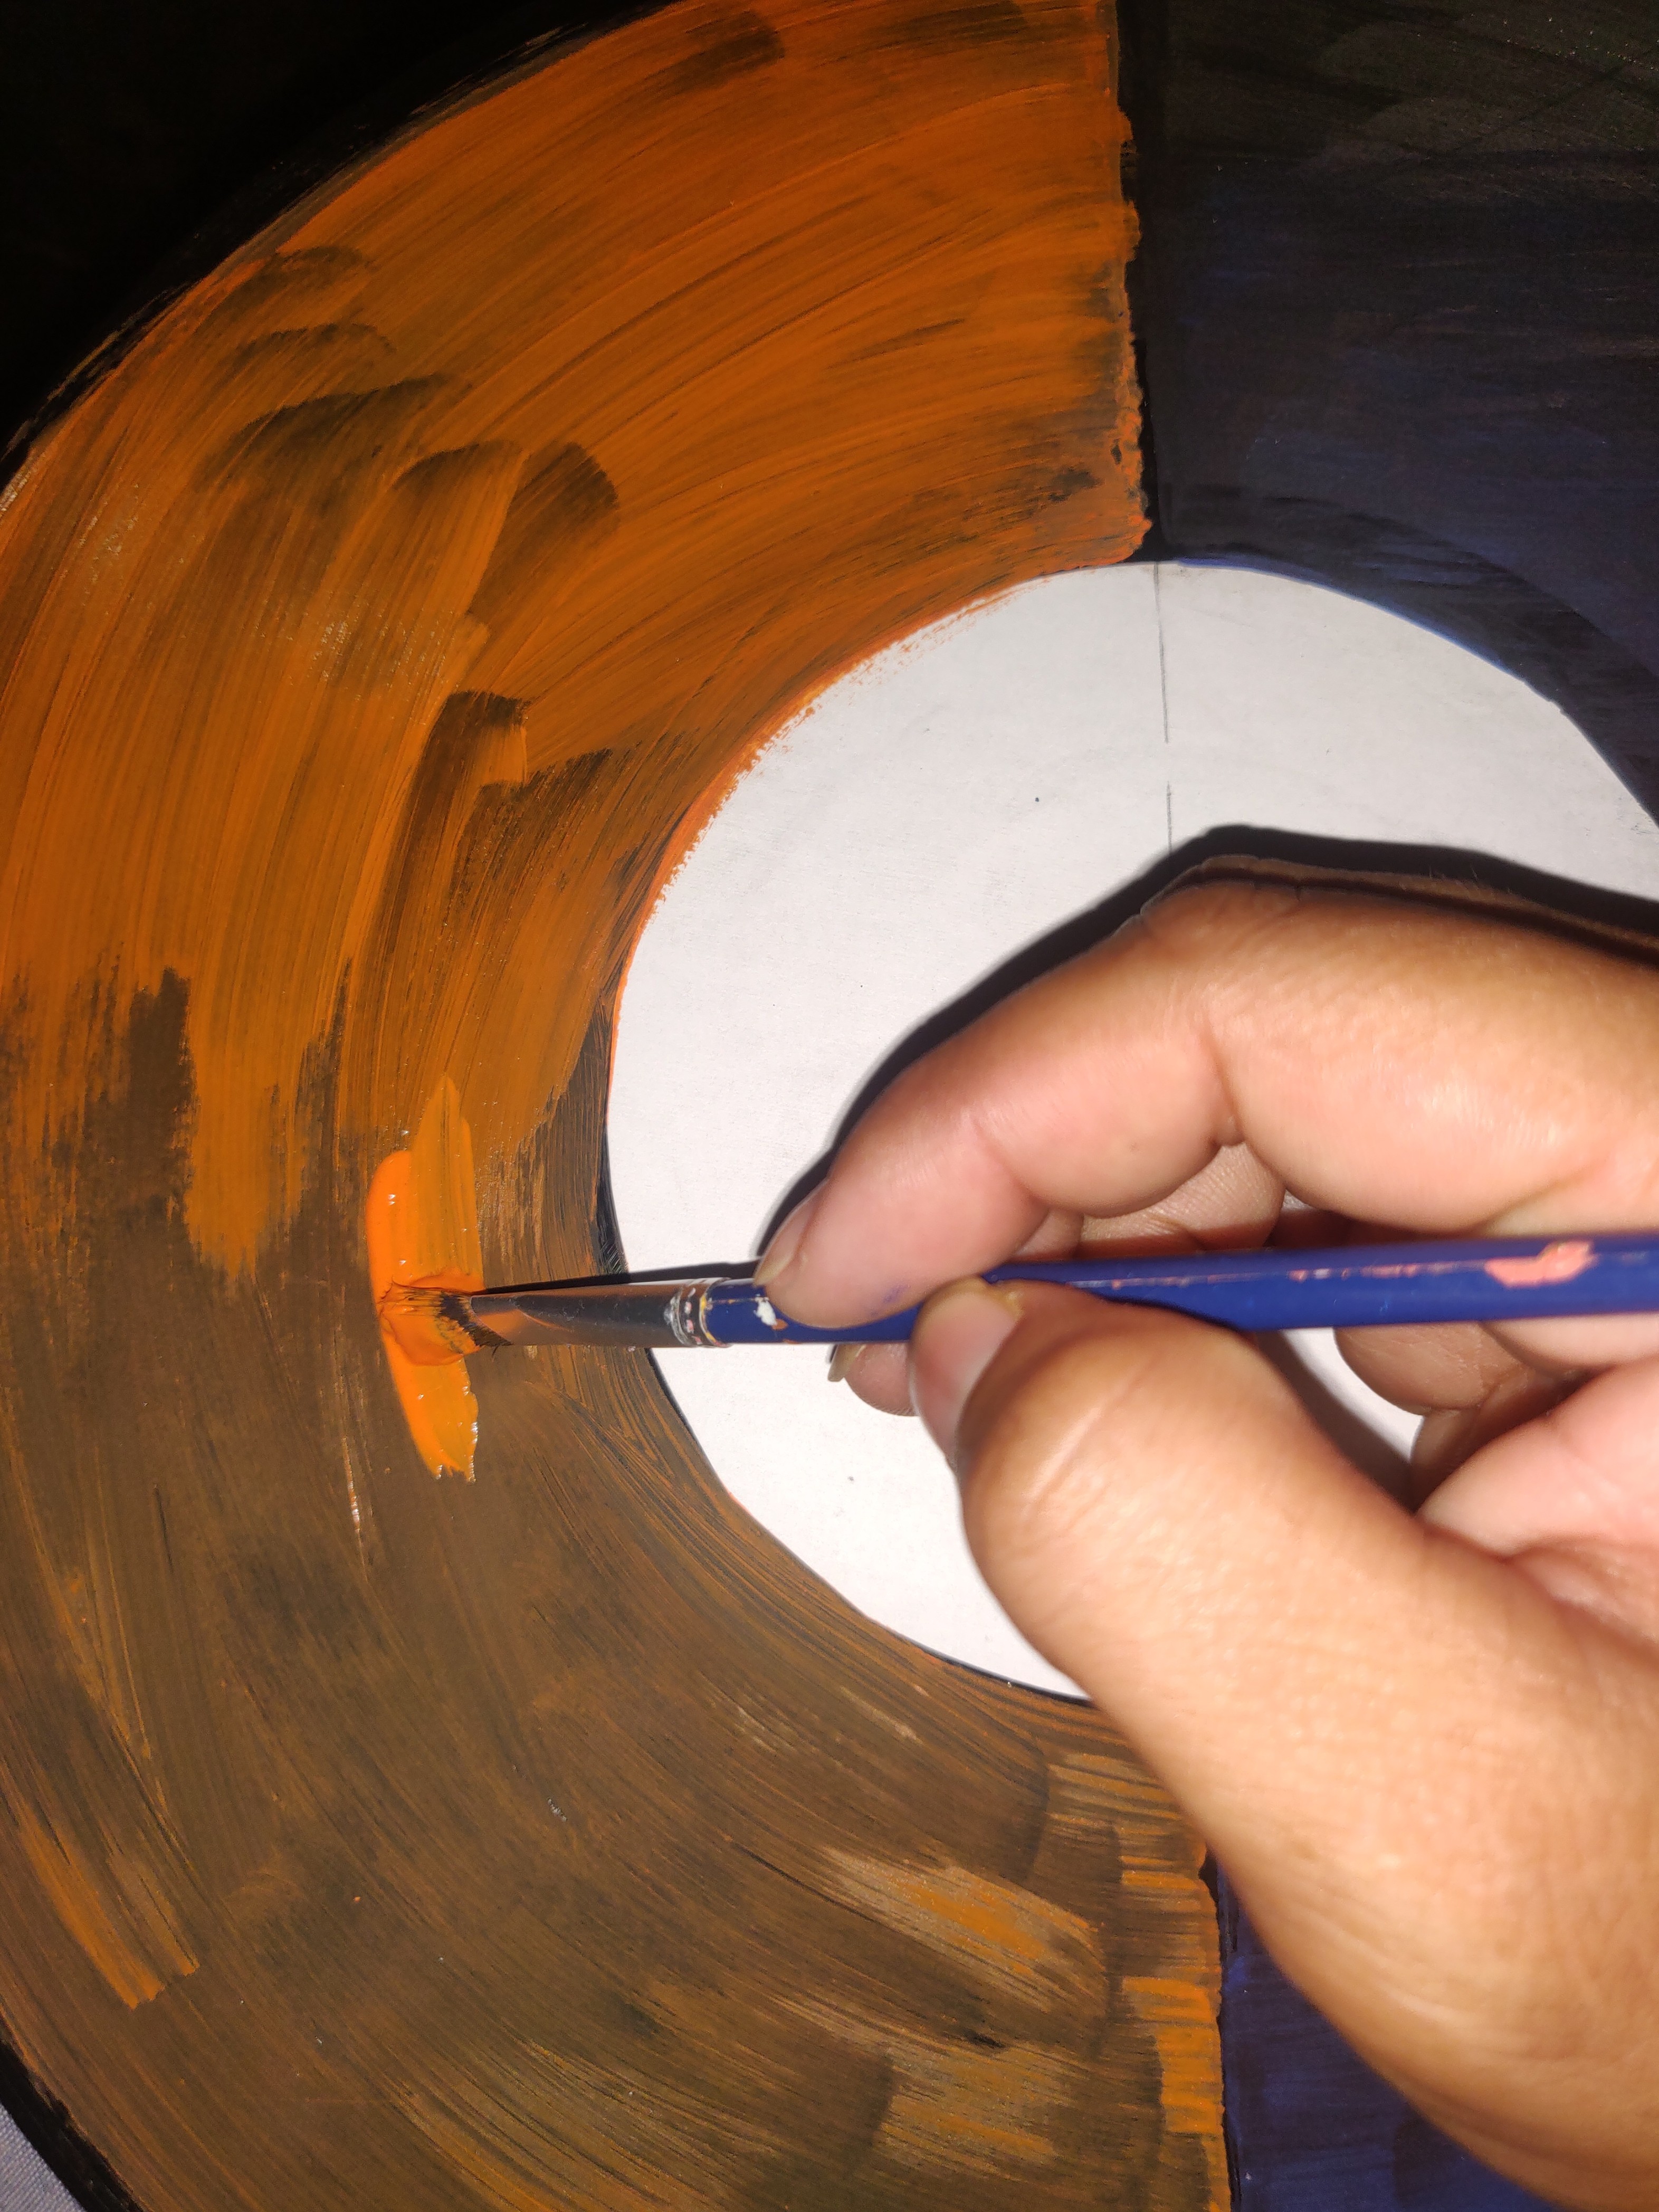
Pasaré del otro lado pala aplicar pintura color naranja,este procedimiento tuve que repetirlo 3 veces casi me acabe la pintura 😂 una vez que seco agregué rojo en la parte de arriba quiero hacer un efecto de atardecer aplicando el rojo pero que se mezcle o asemeje al naranja.
Step 01:
First I started by dividing the disk with an equal distance,next I applied black and blue color paint,I took the brush and starting from the top down I went mixing both colors giving an effect of dark but turned blue.I will continue applying on the same side blue color until the final part.
I will apply orange paint on the other side, I had to repeat this procedure 3 times I almost ran out of paint 😂 once dry I added red on the top I want to make a sunset effect by applying red but that blends or resembles the orange.
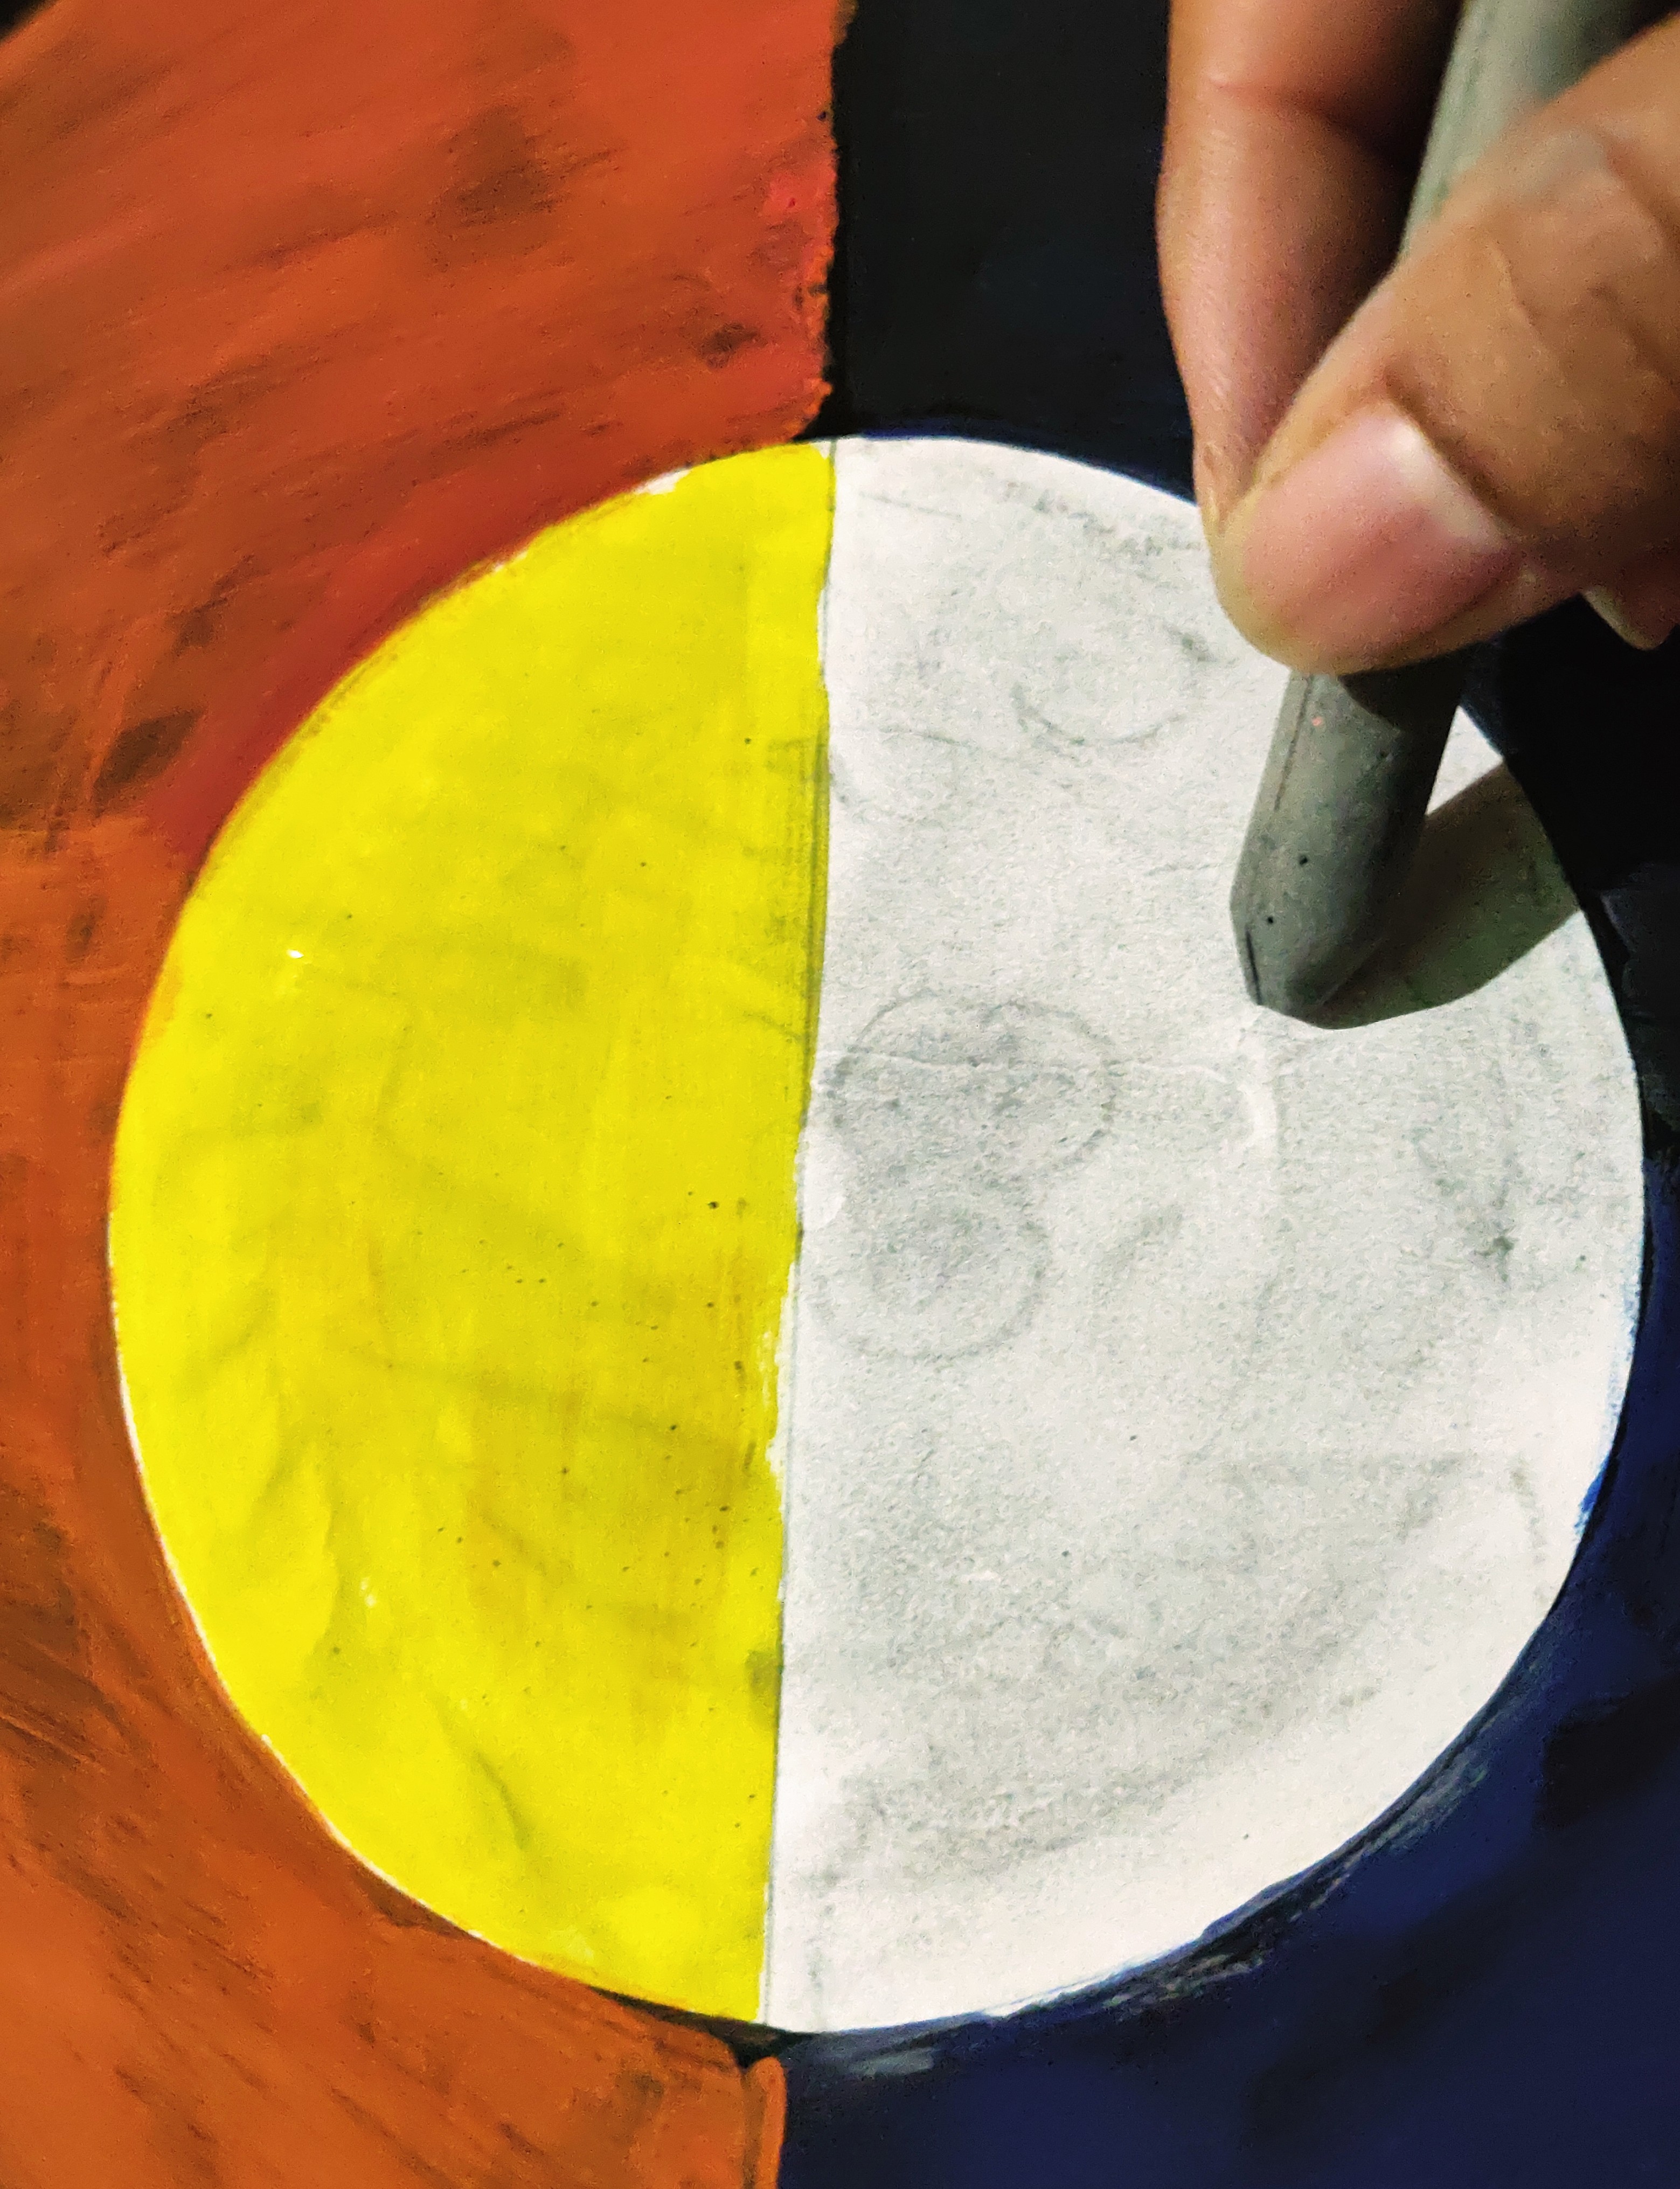
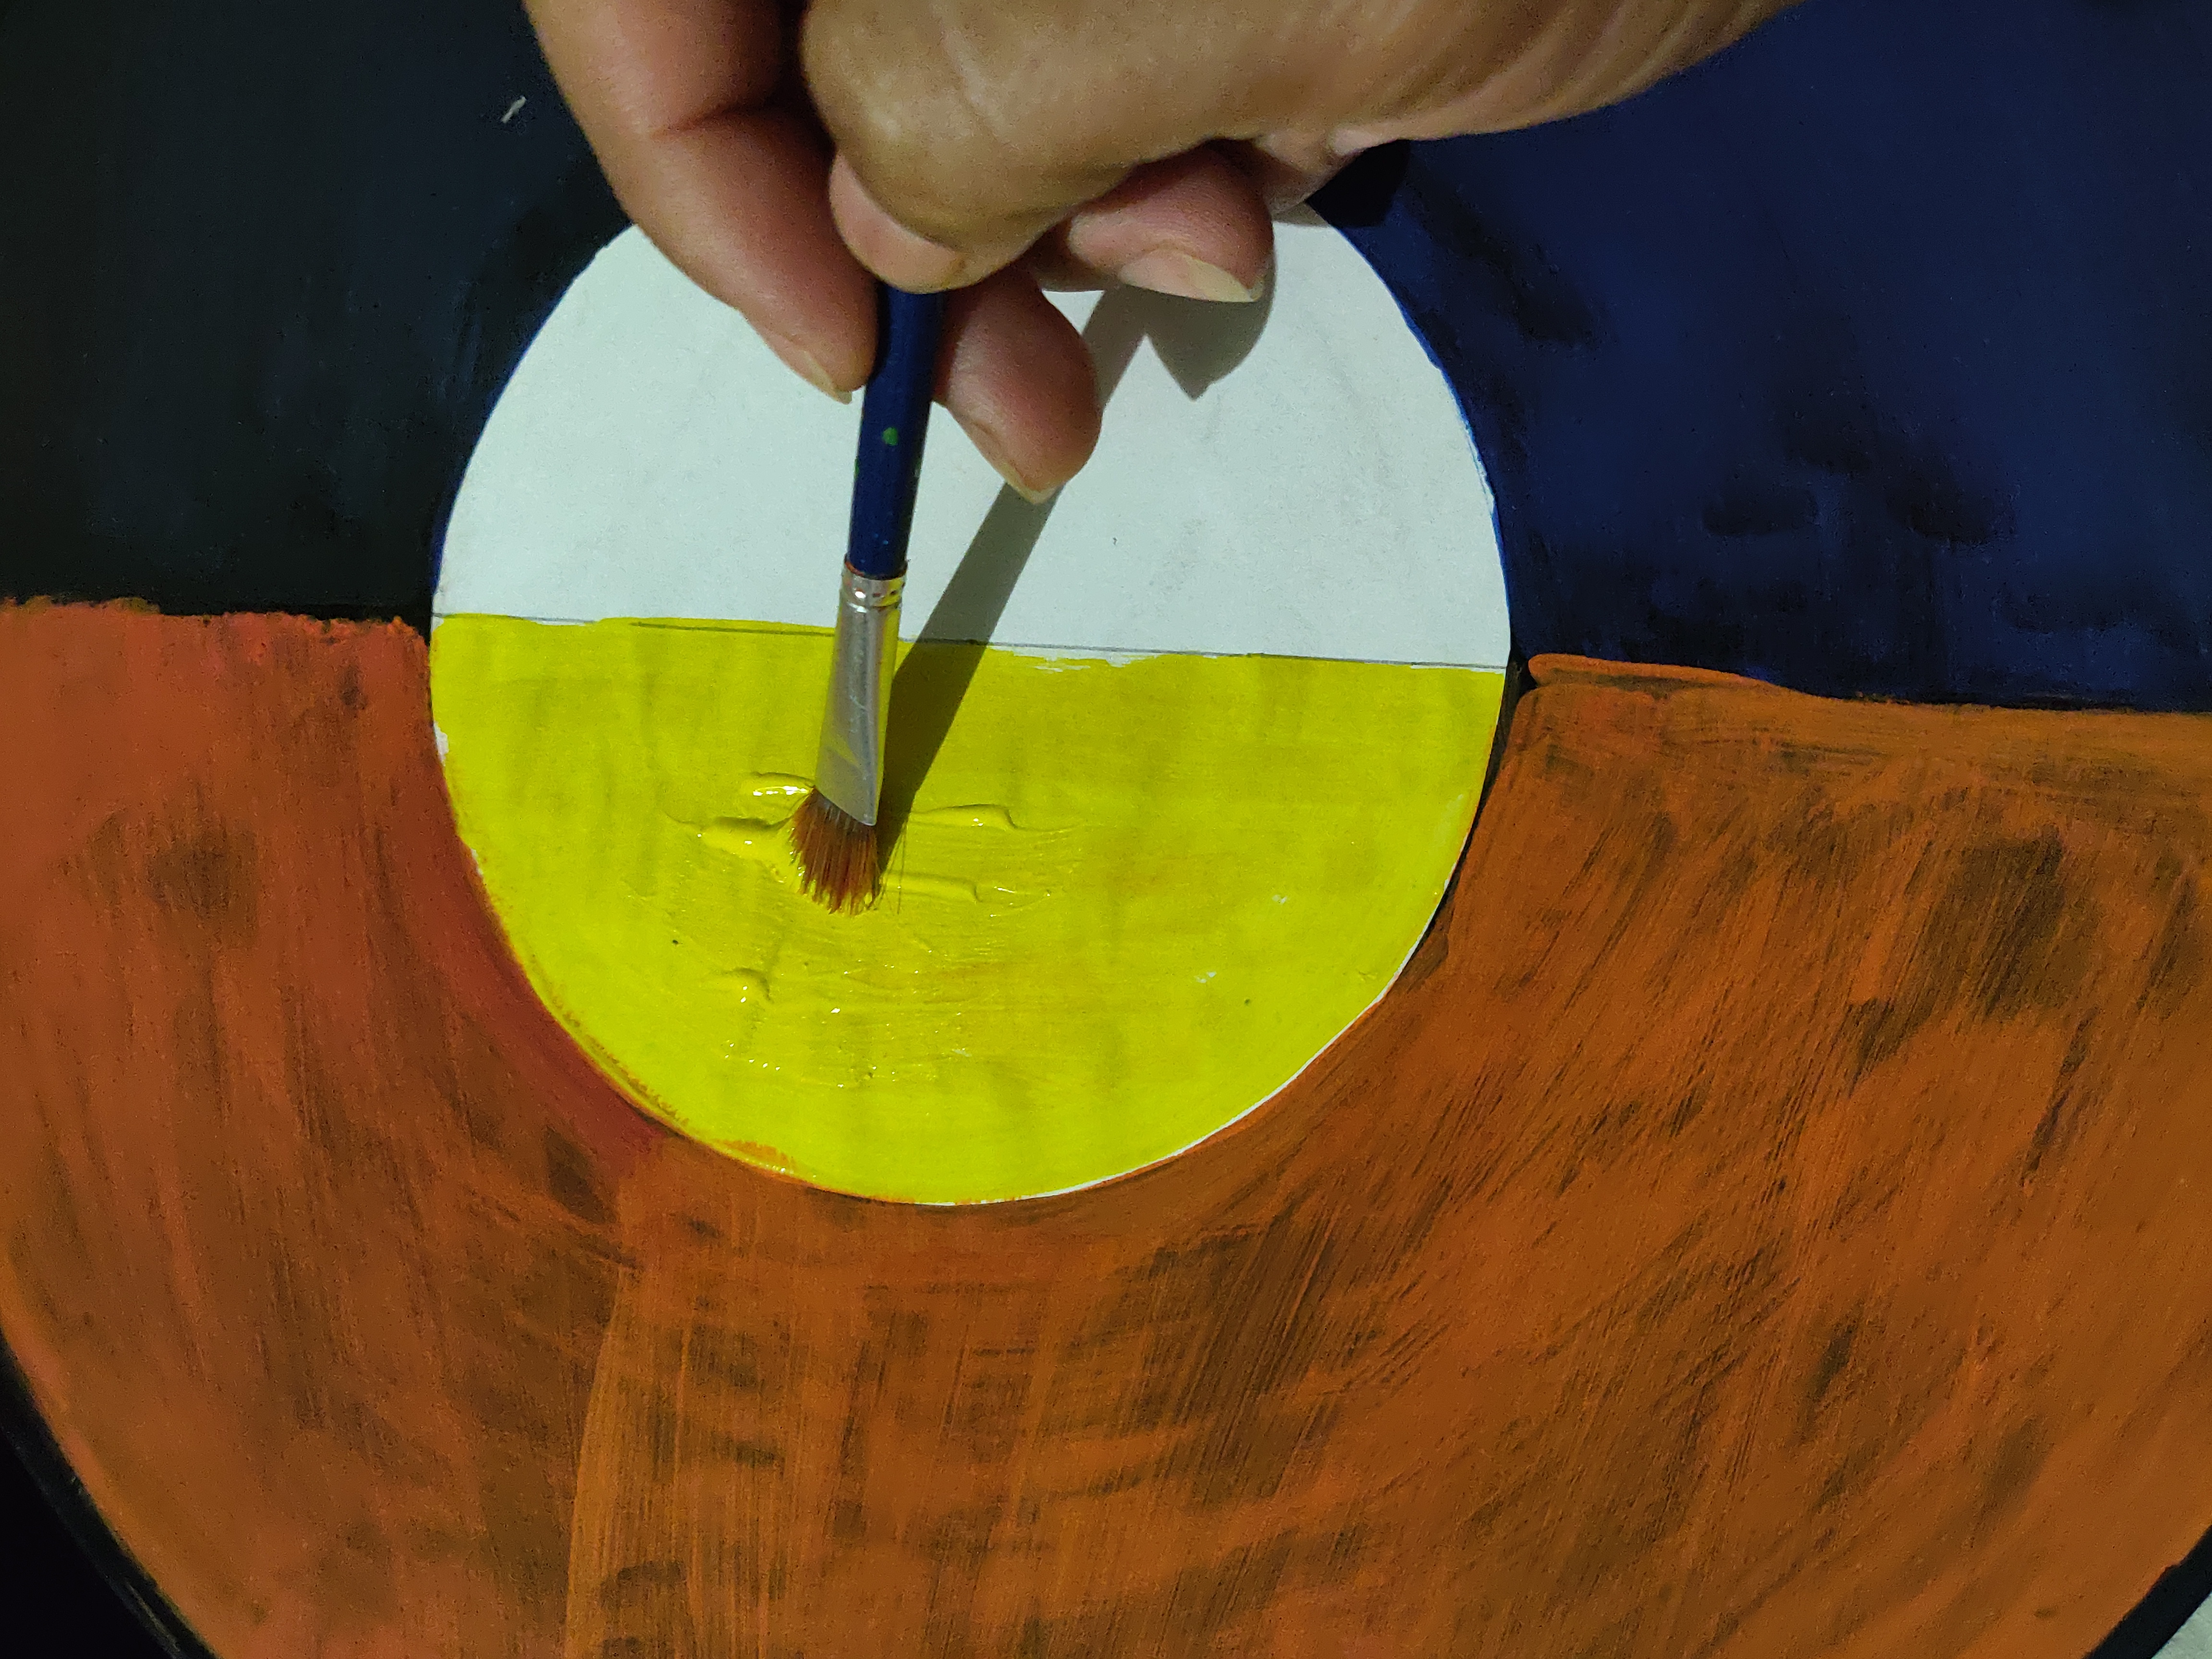
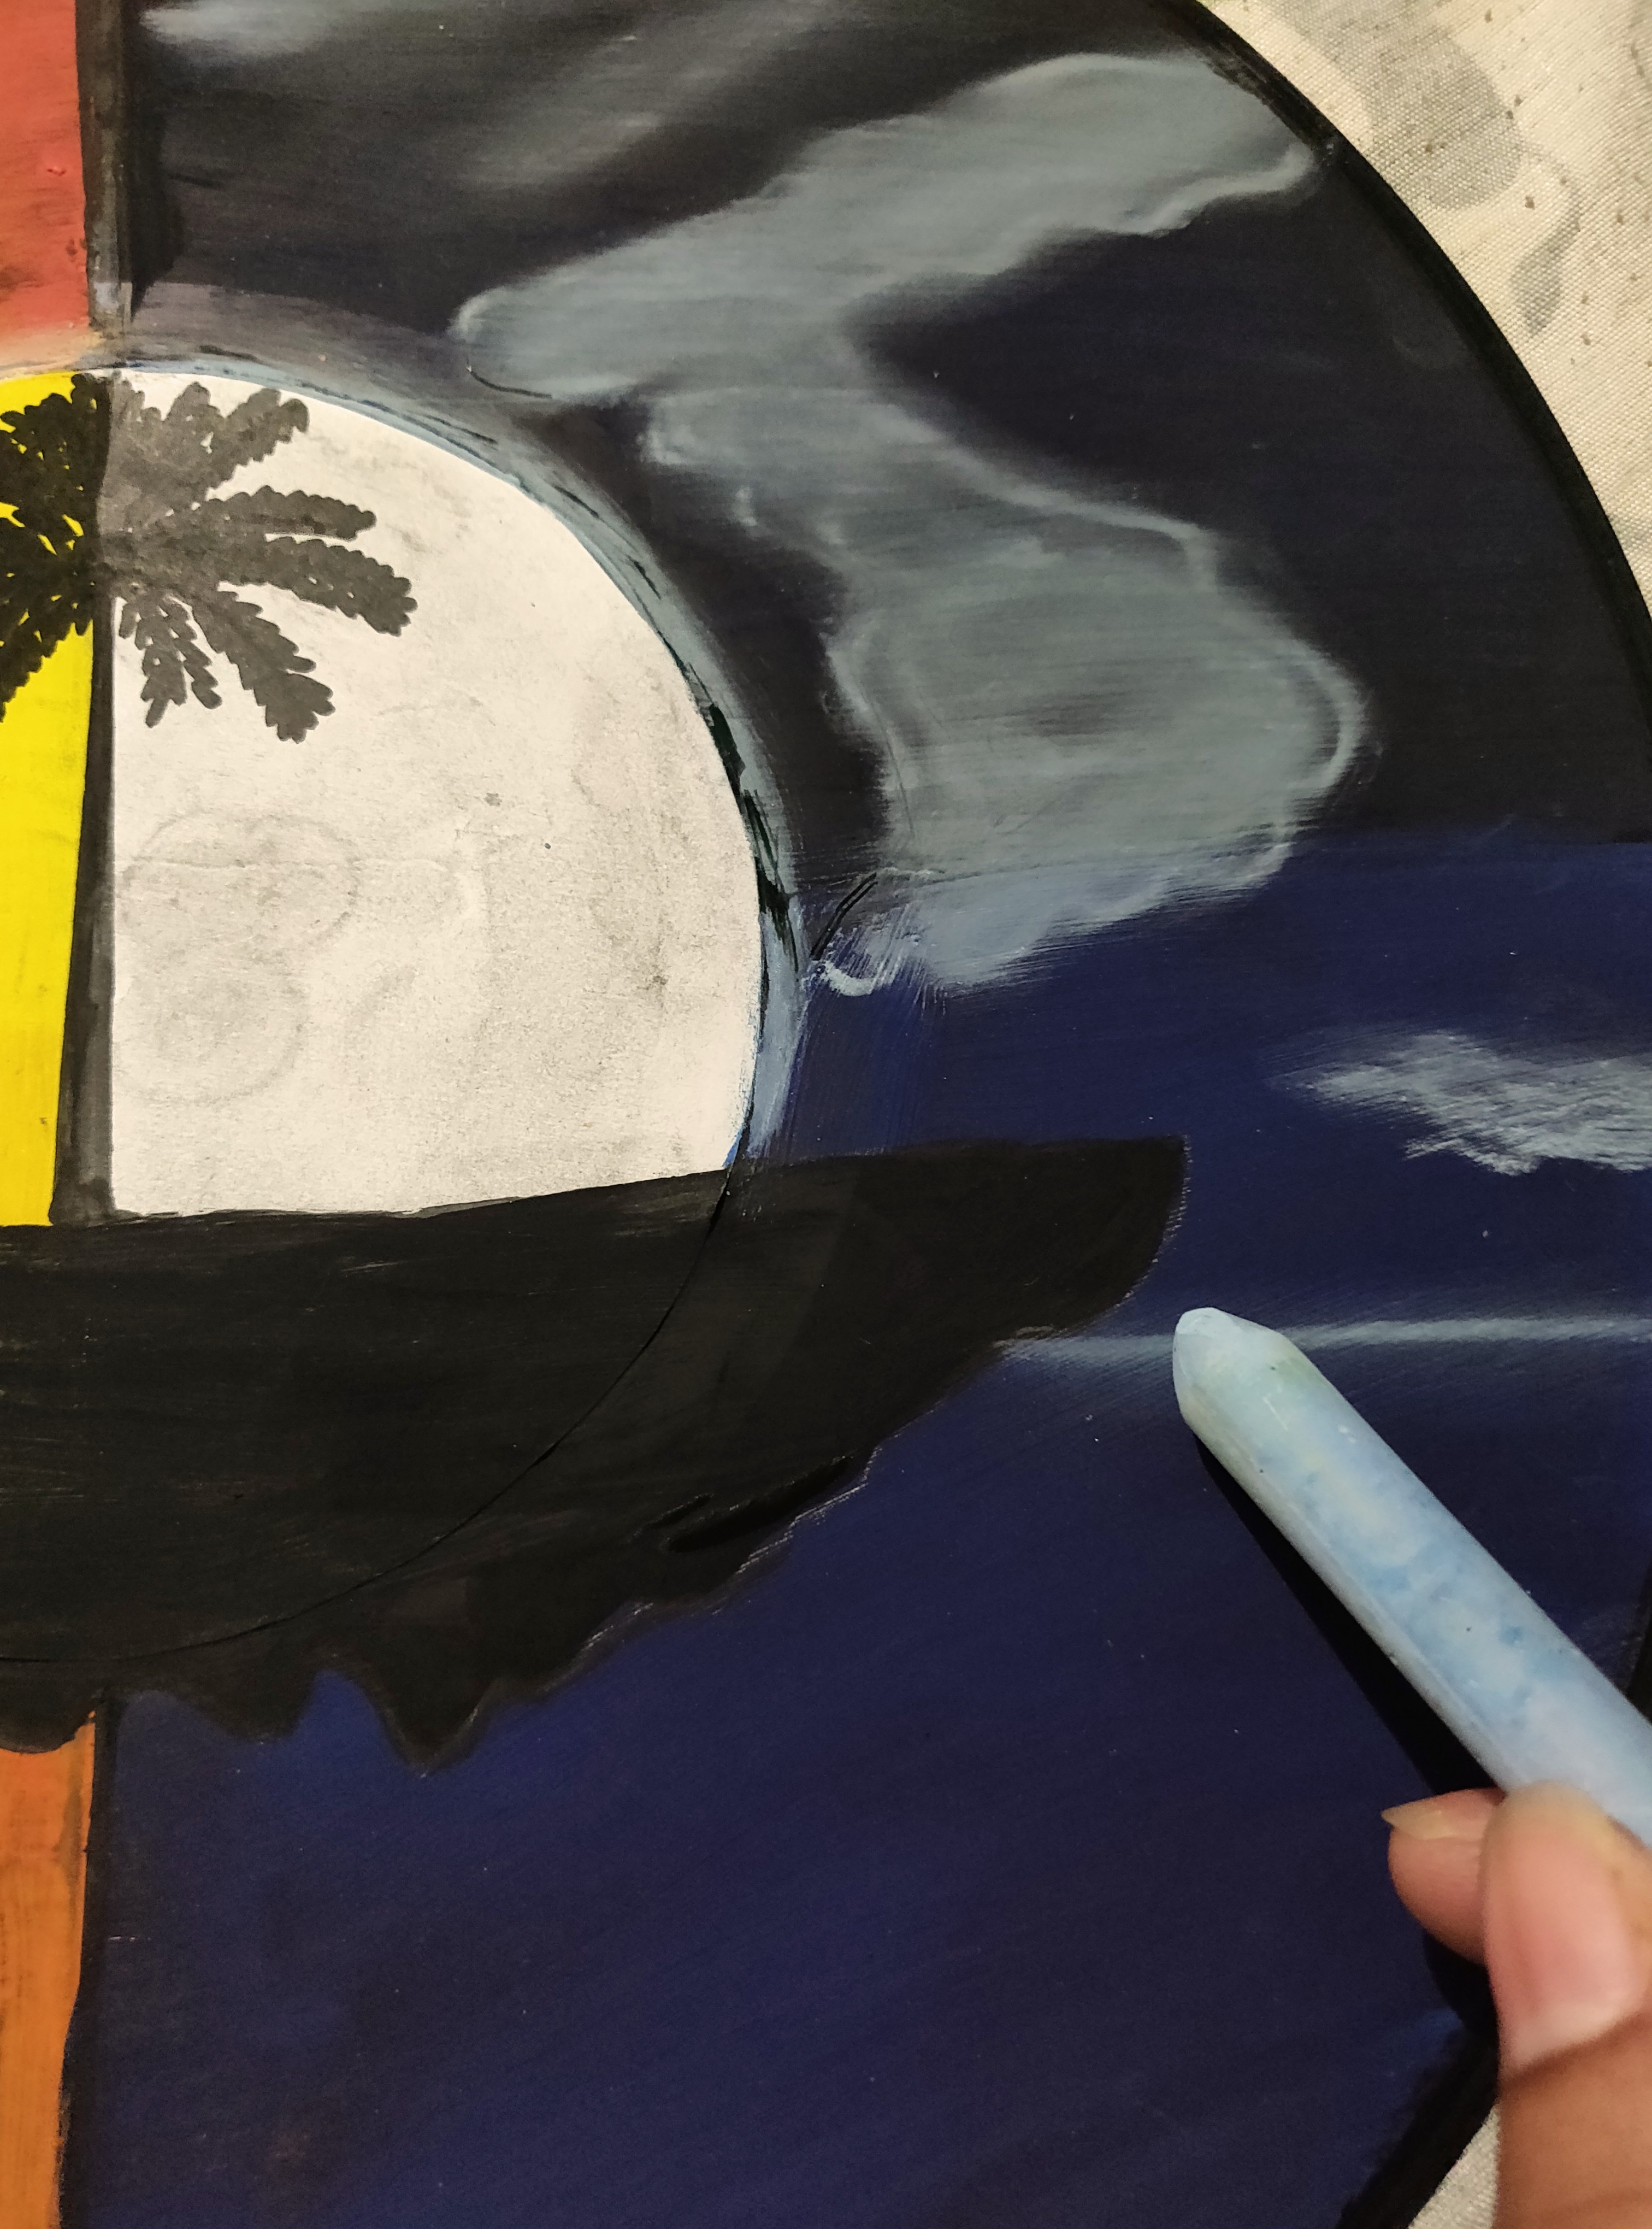
Paso 02: Realización de la luna.
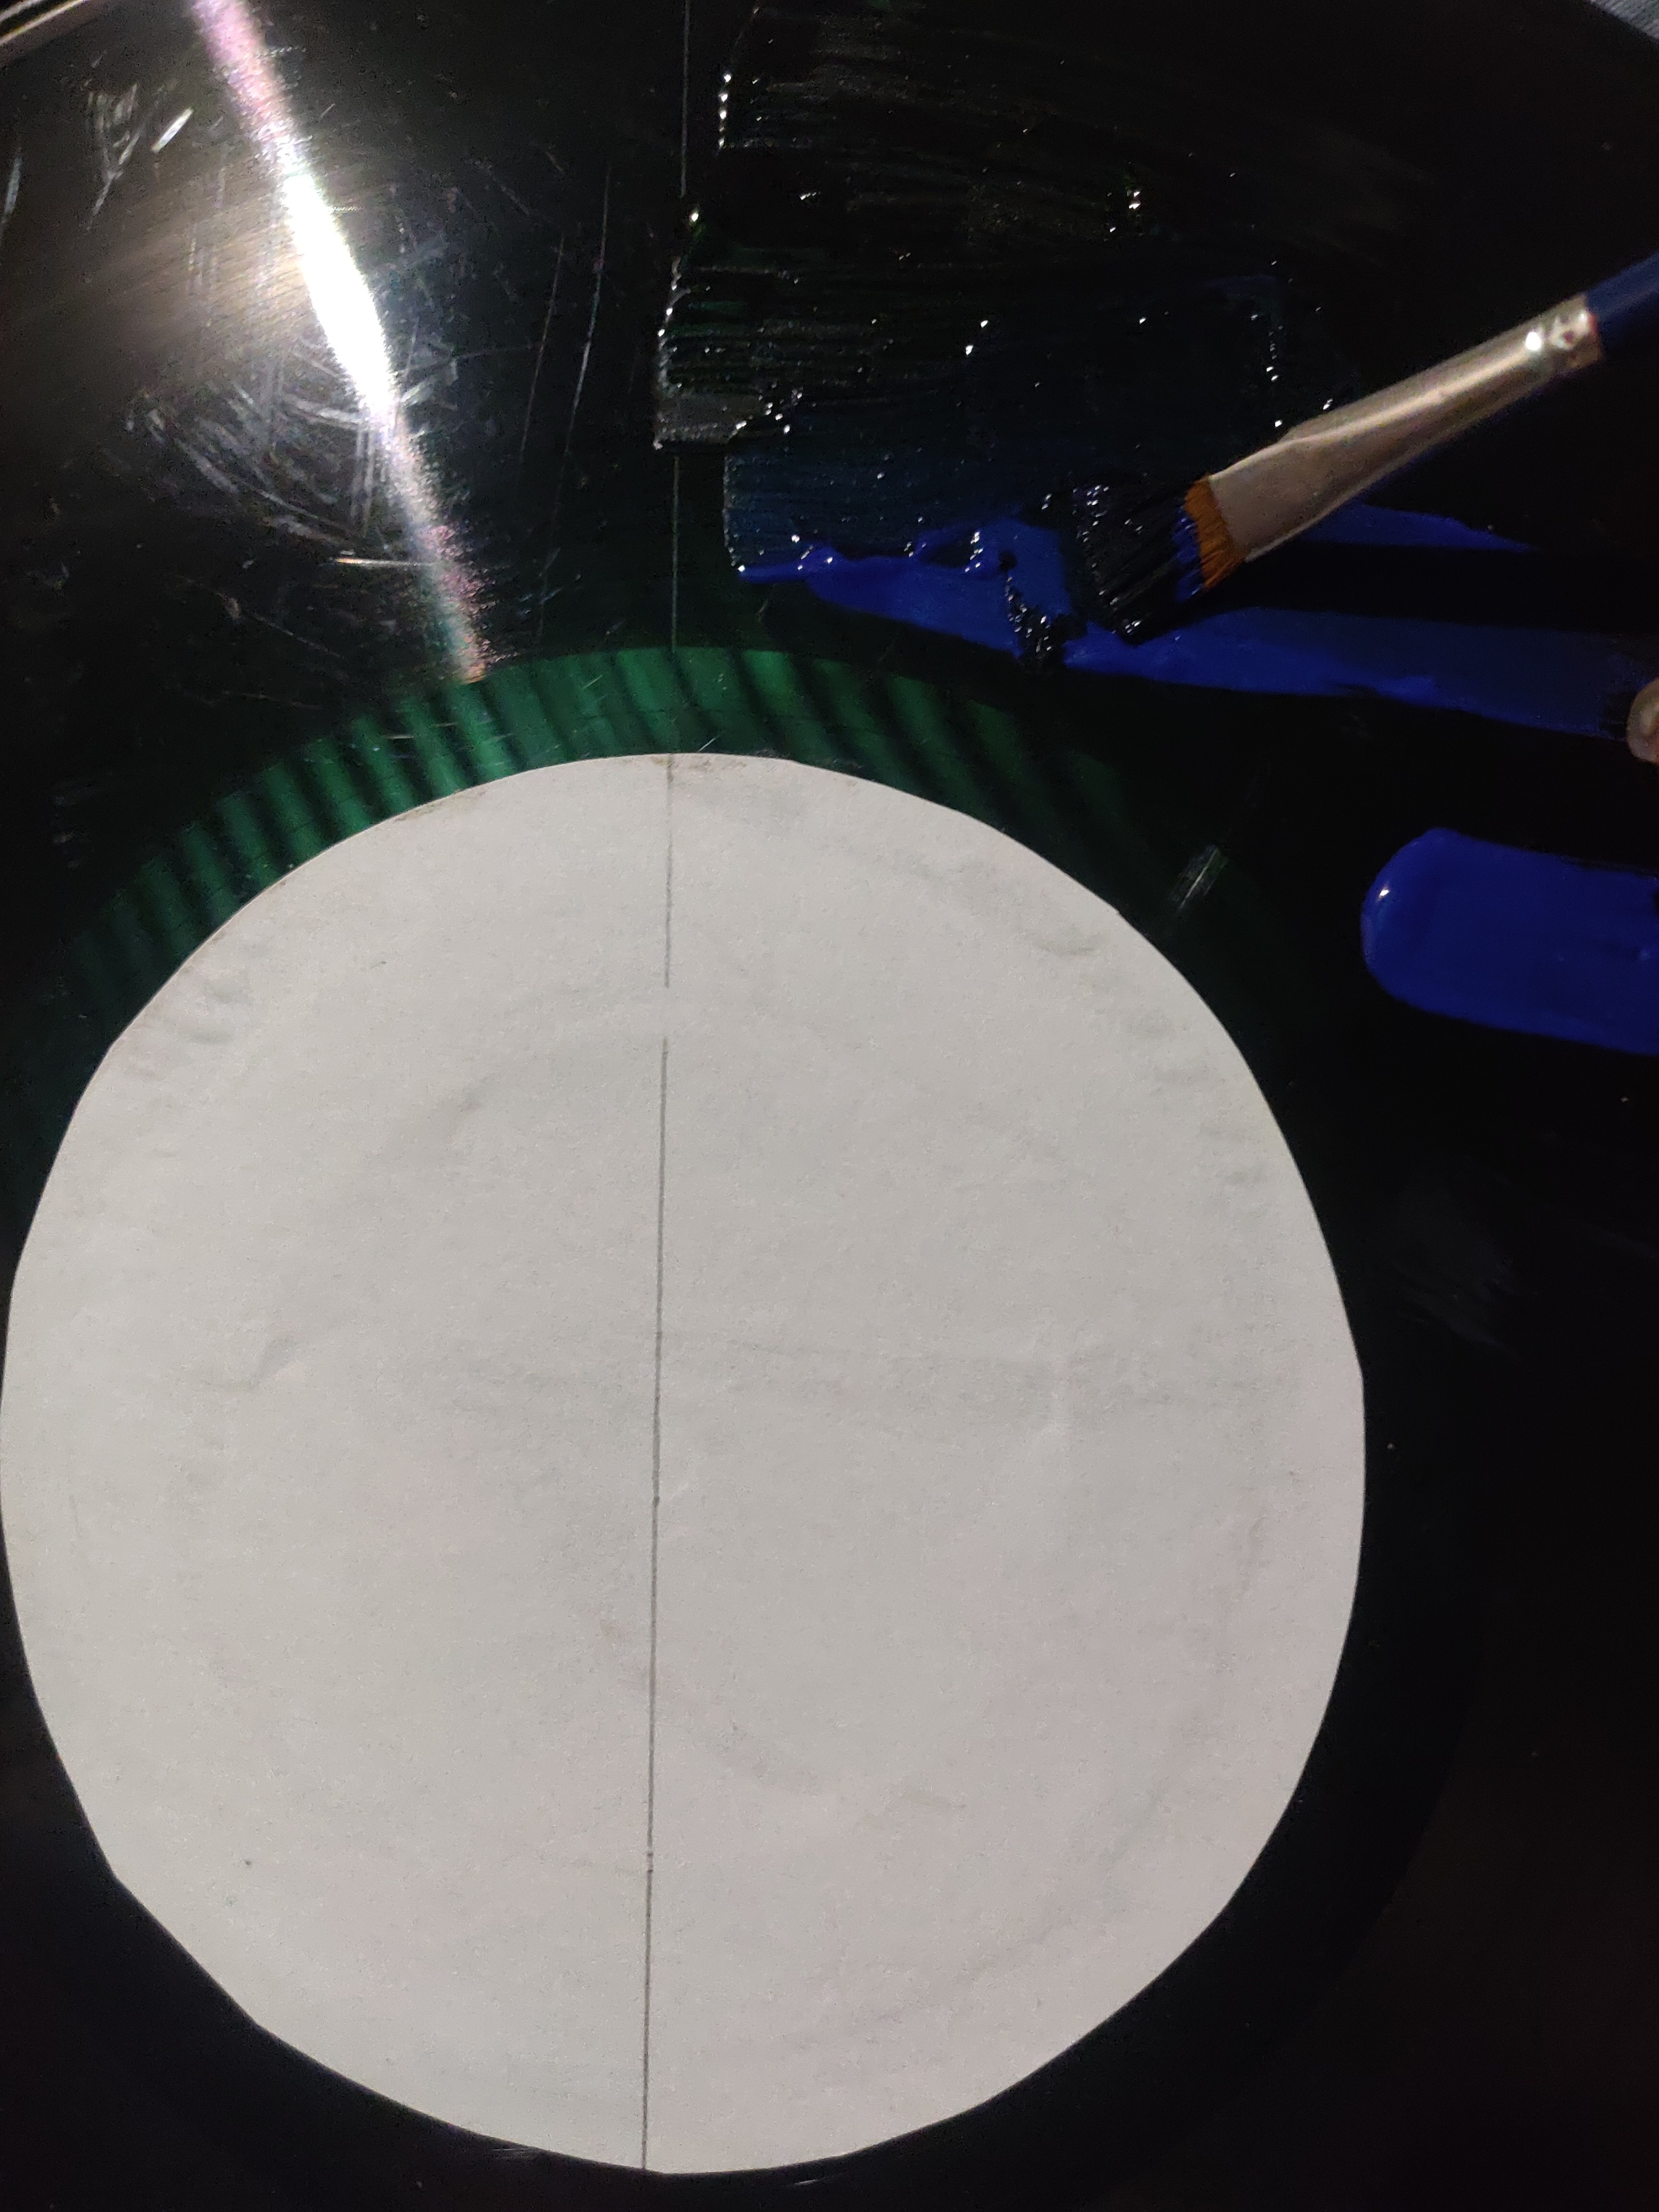
Recorte un círculo a la medida del círculo del disco para poder pintar bien , ya que esa parte la pintura no la agarra, después de eso pinte la parte de la luna en amarillo , es el reflejo del atardecer en ella y la otra mitad solo le agregué tiza color gris como efecto de nubes y difumine con los dedos.
Step 02: Making the moon.
Cut a circle to the size of the circle of the disk to be able to paint well, since that part the paint does not grab it, after that I painted the part of the moon in yellow, it is the reflection of the sunset on it and the other half I only added gray chalk as an effect of clouds and blurred with my fingers.
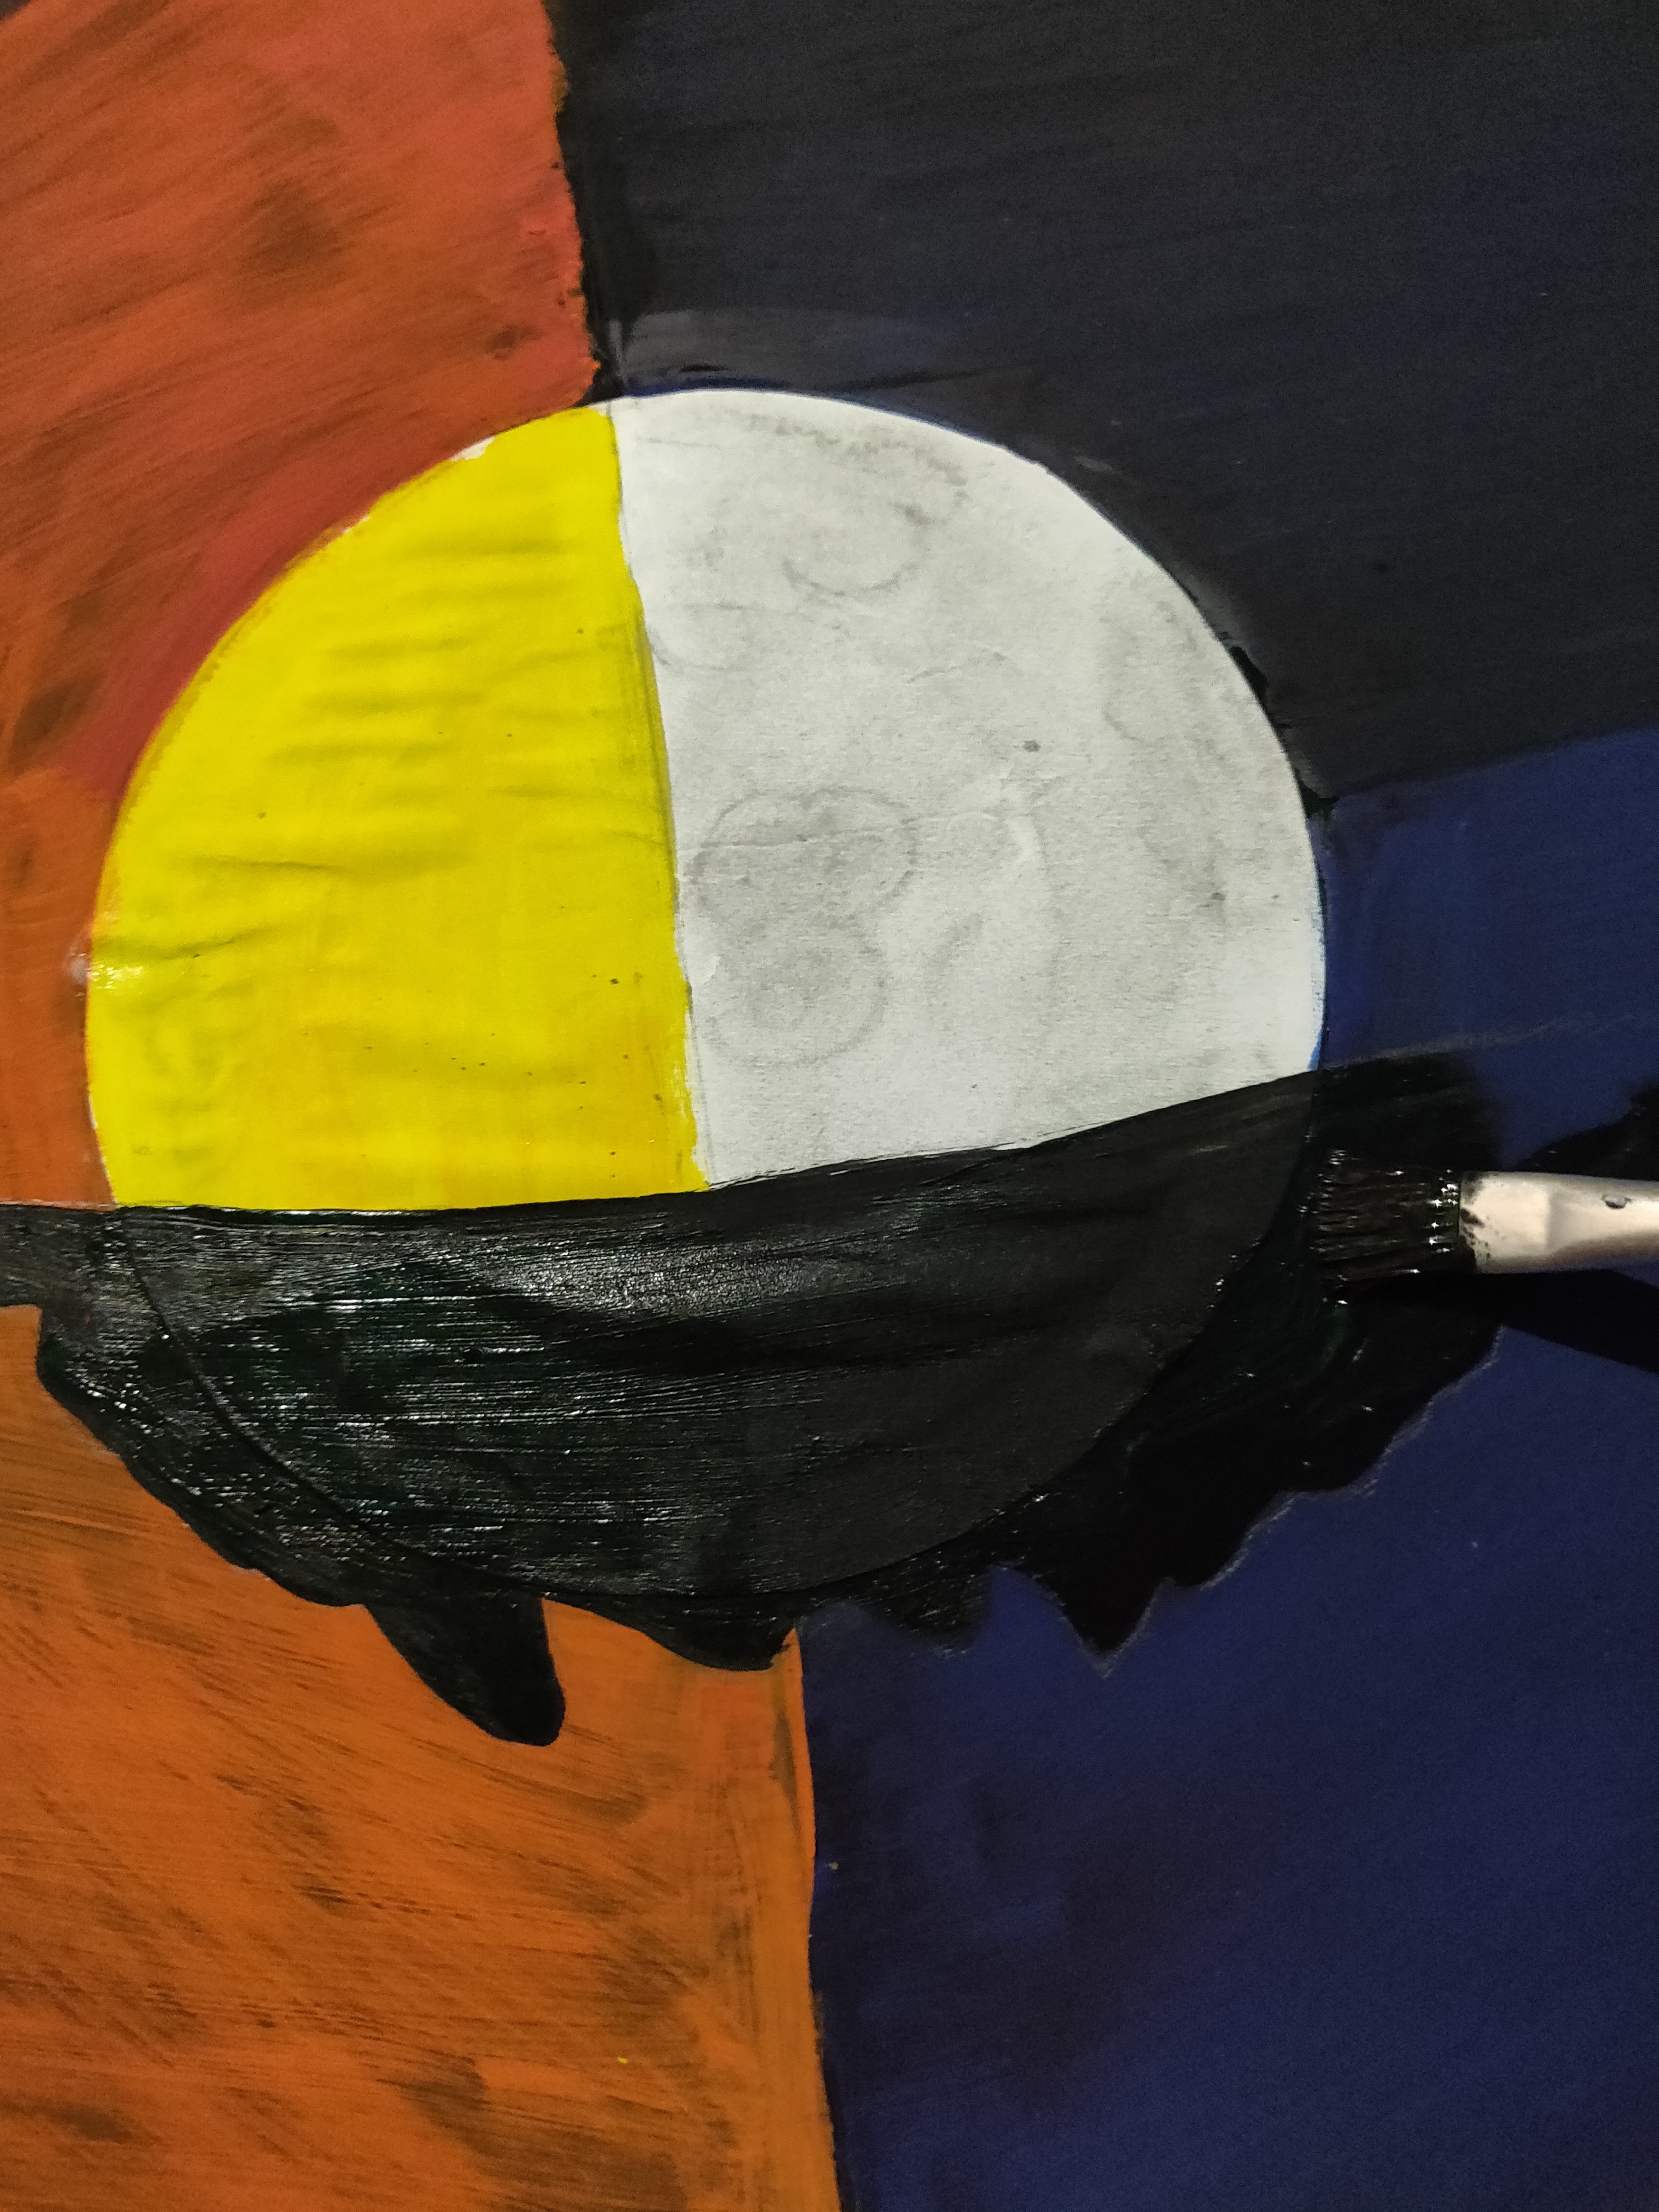
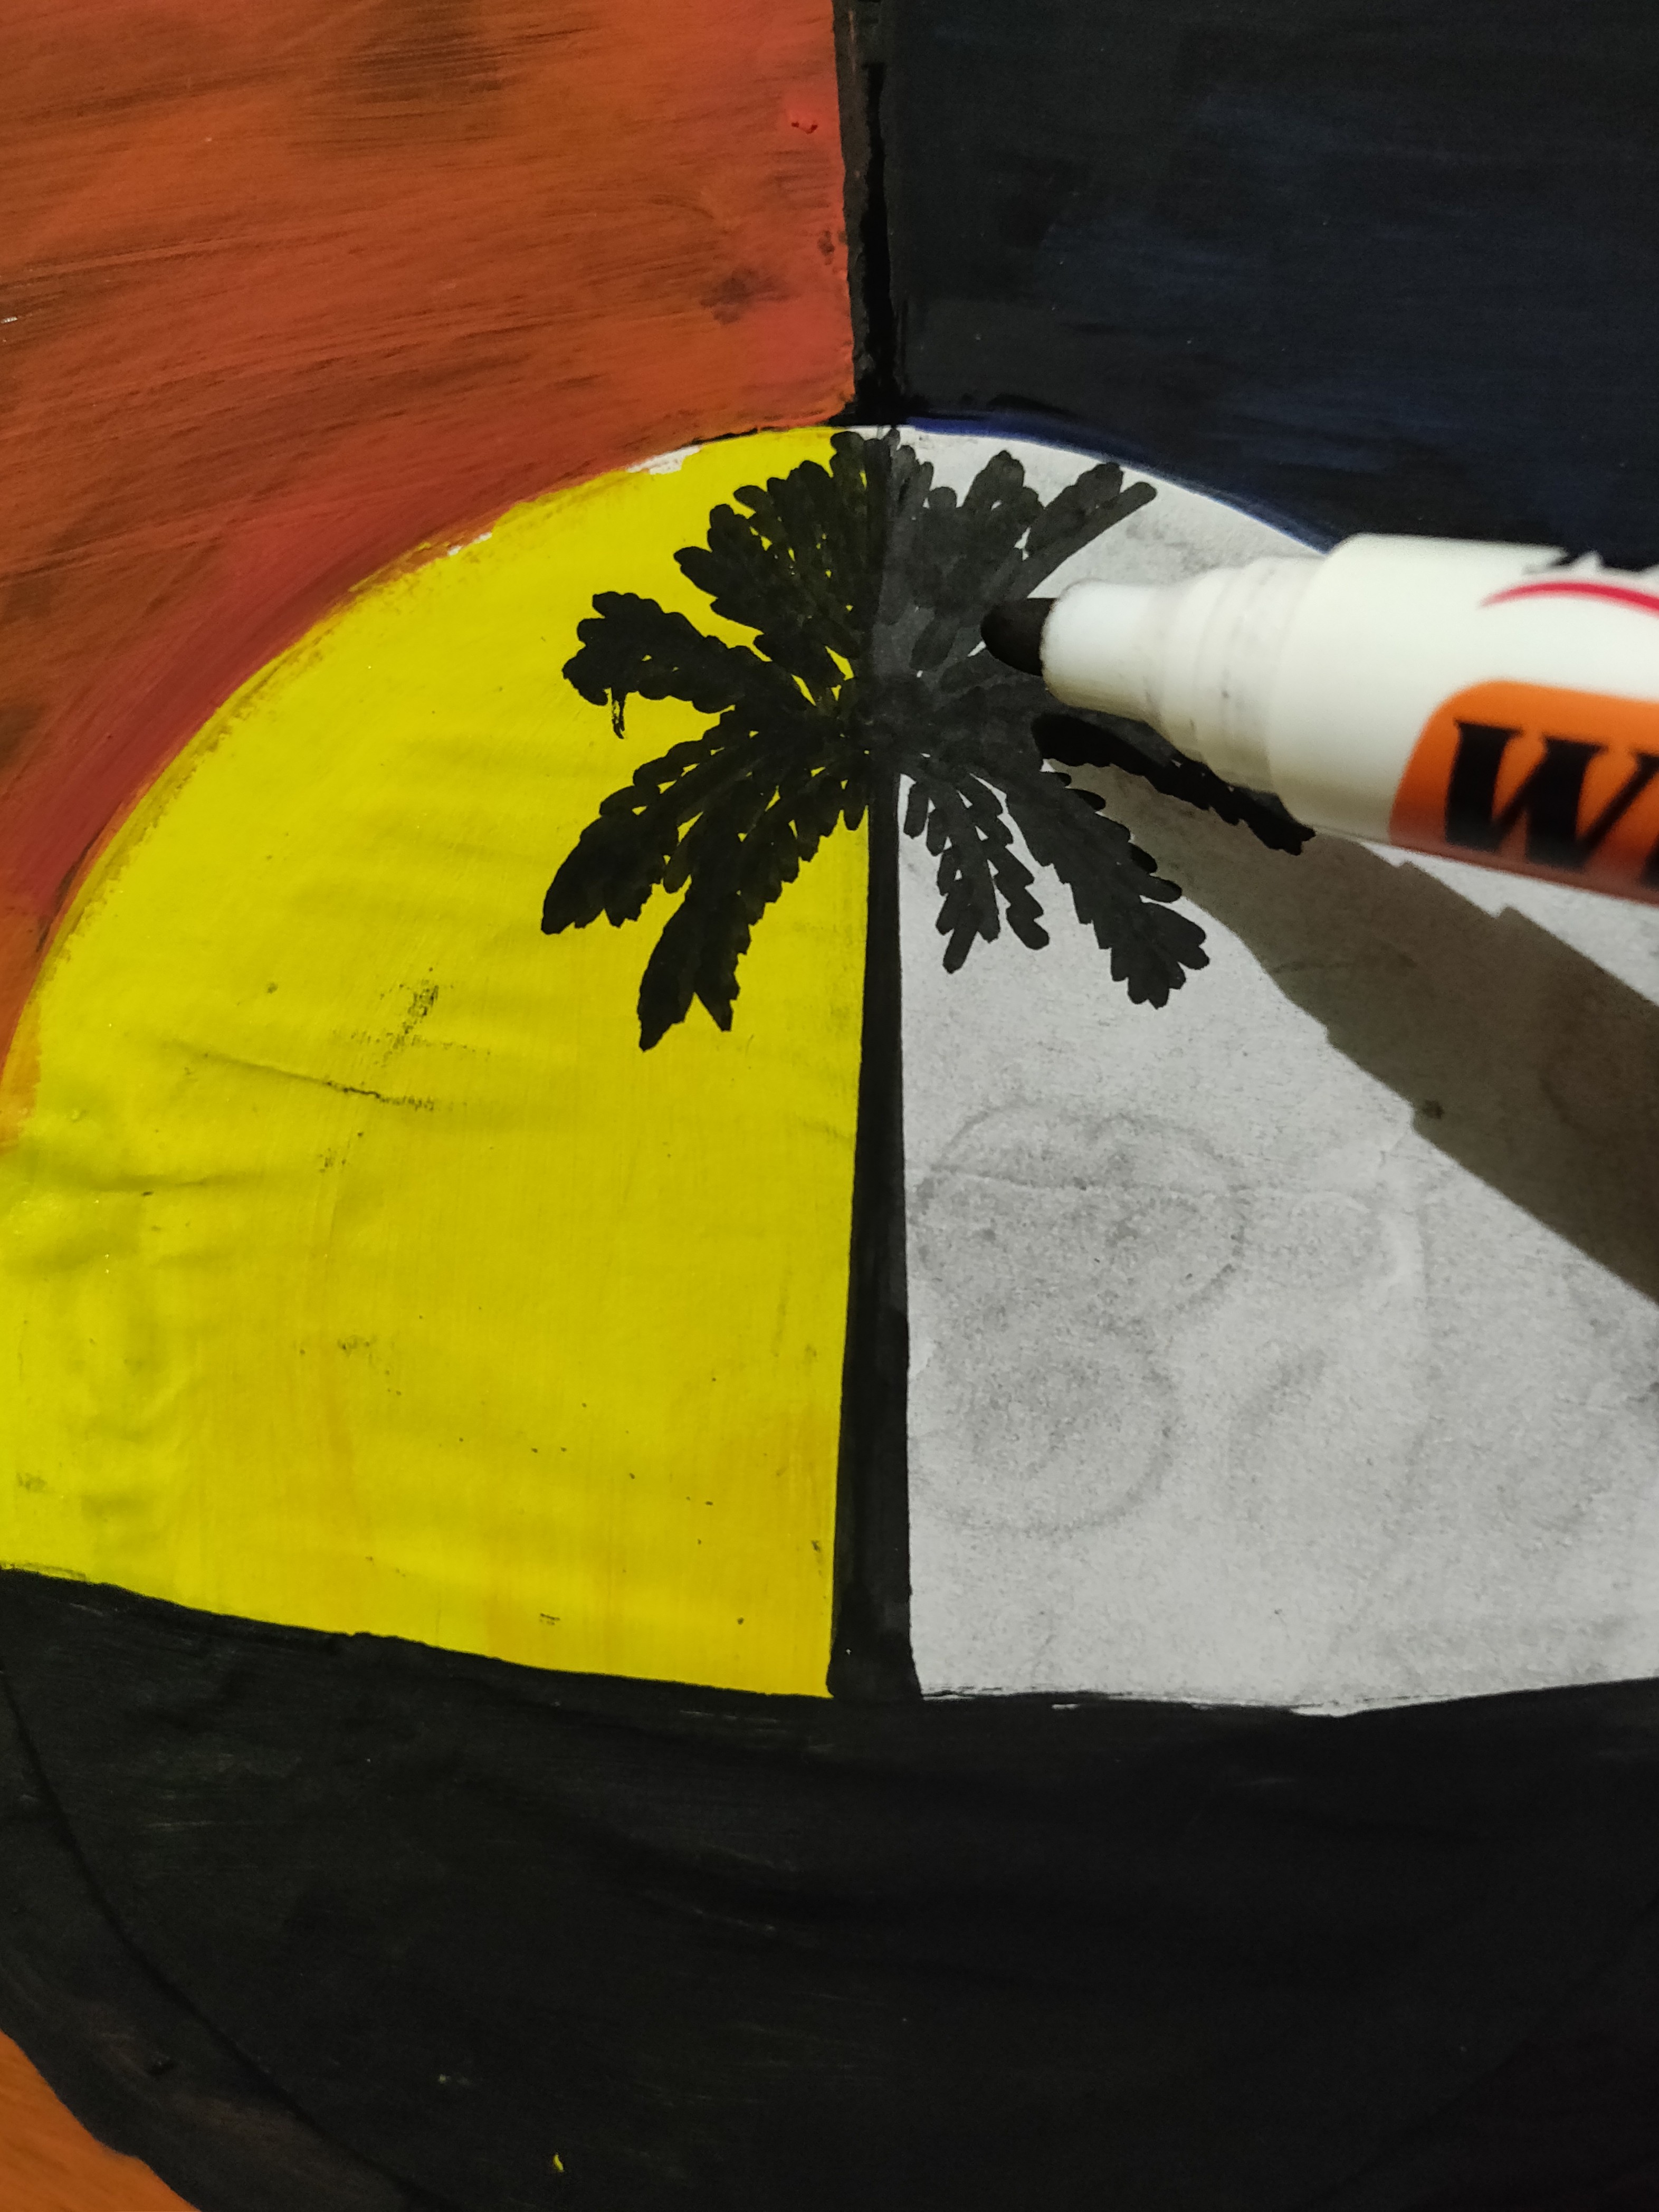
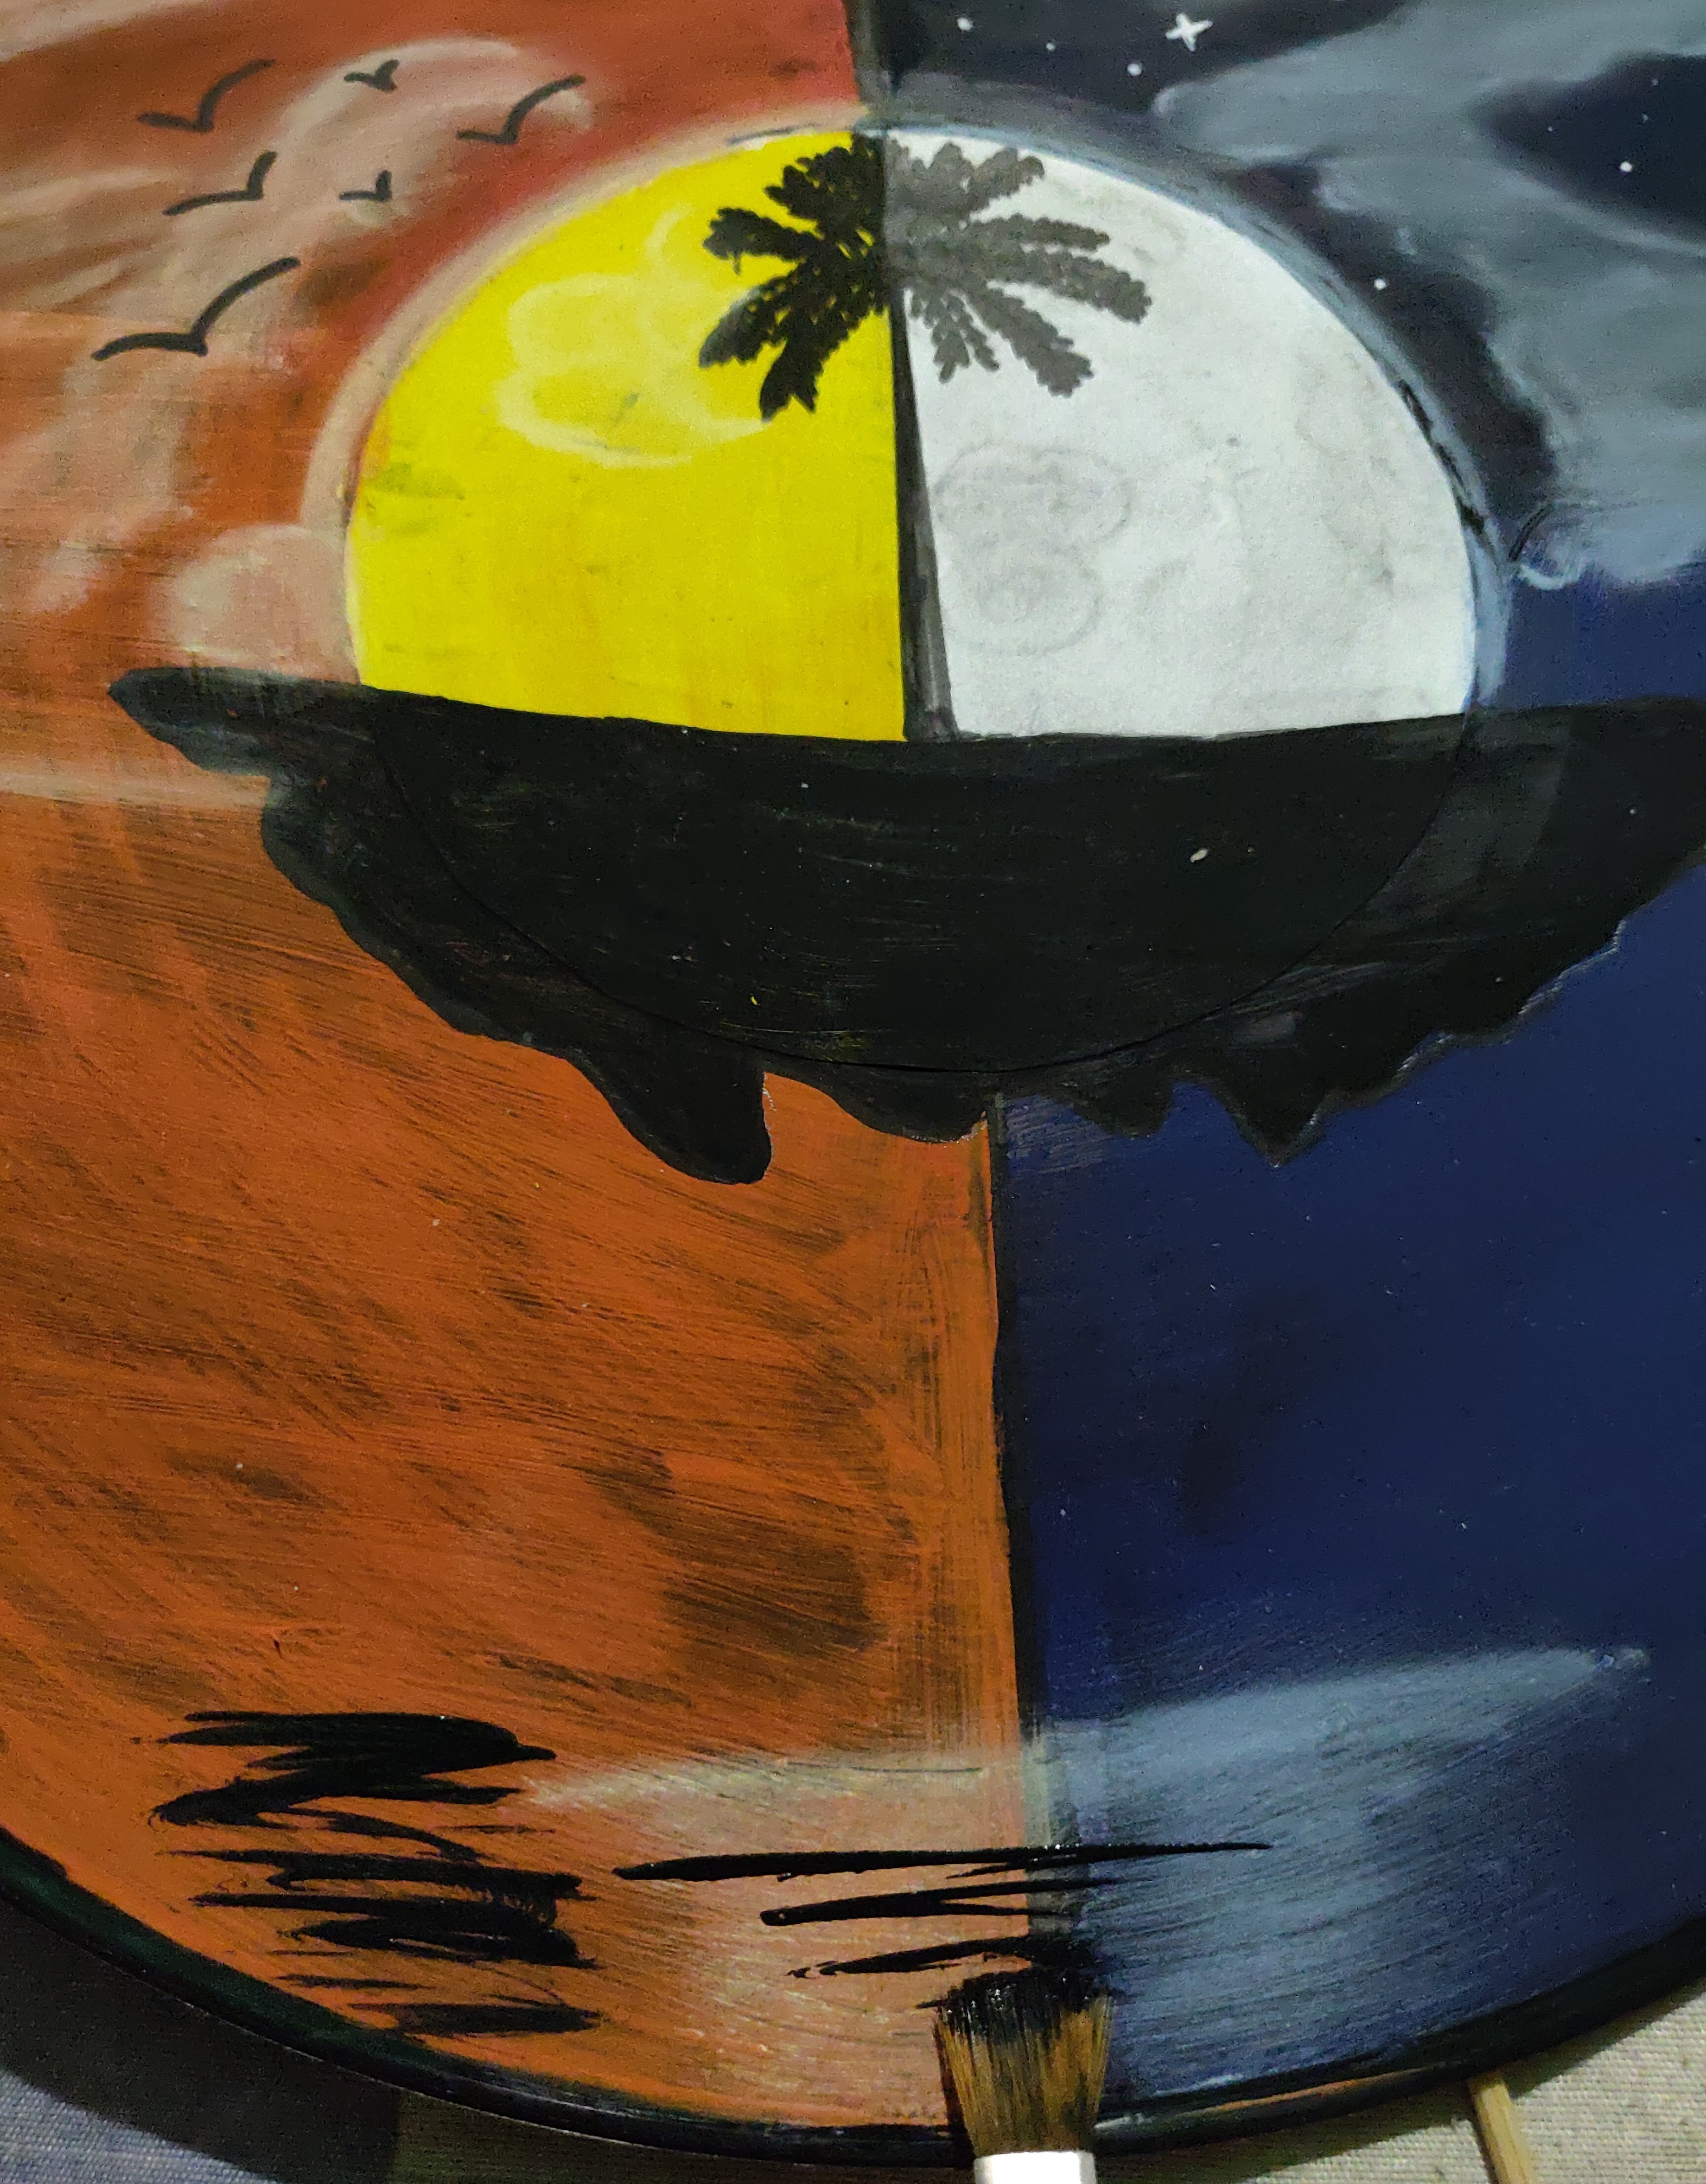
Paso 03:
Tome mi lápiz y realice tipo una isla flotante o mejor dicho el efecto hace que flota, pero no, está centrada en el mar de
ambos paisajes luego con el pincel lo pinte en color negro y con un marcador hice una palmera casi al tope de la luna, ojo no es que sea inmensa jaja sino que el efecto de luz la hace ver grande los dibuje en negro porque imagino que, porque está cayendo la tarde y en el otro paisaje ya es de noche, solo la iluminación de la luna y el sol hace énfasis en la sombra .
Step 03:
Take my pencil and make kind of a floating island or rather the effect makes it floats, but no, it is centered in the sea of
then with the brush I painted it in black color and with a marker I made a palm tree almost to the top of the moon, eye is not that it is immense haha but that the effect of light makes it look big I drew them in black because I imagine that, because it is falling the afternoon and in the other landscape it is already night, only the illumination of the moon and the sun emphasizes the shadow.
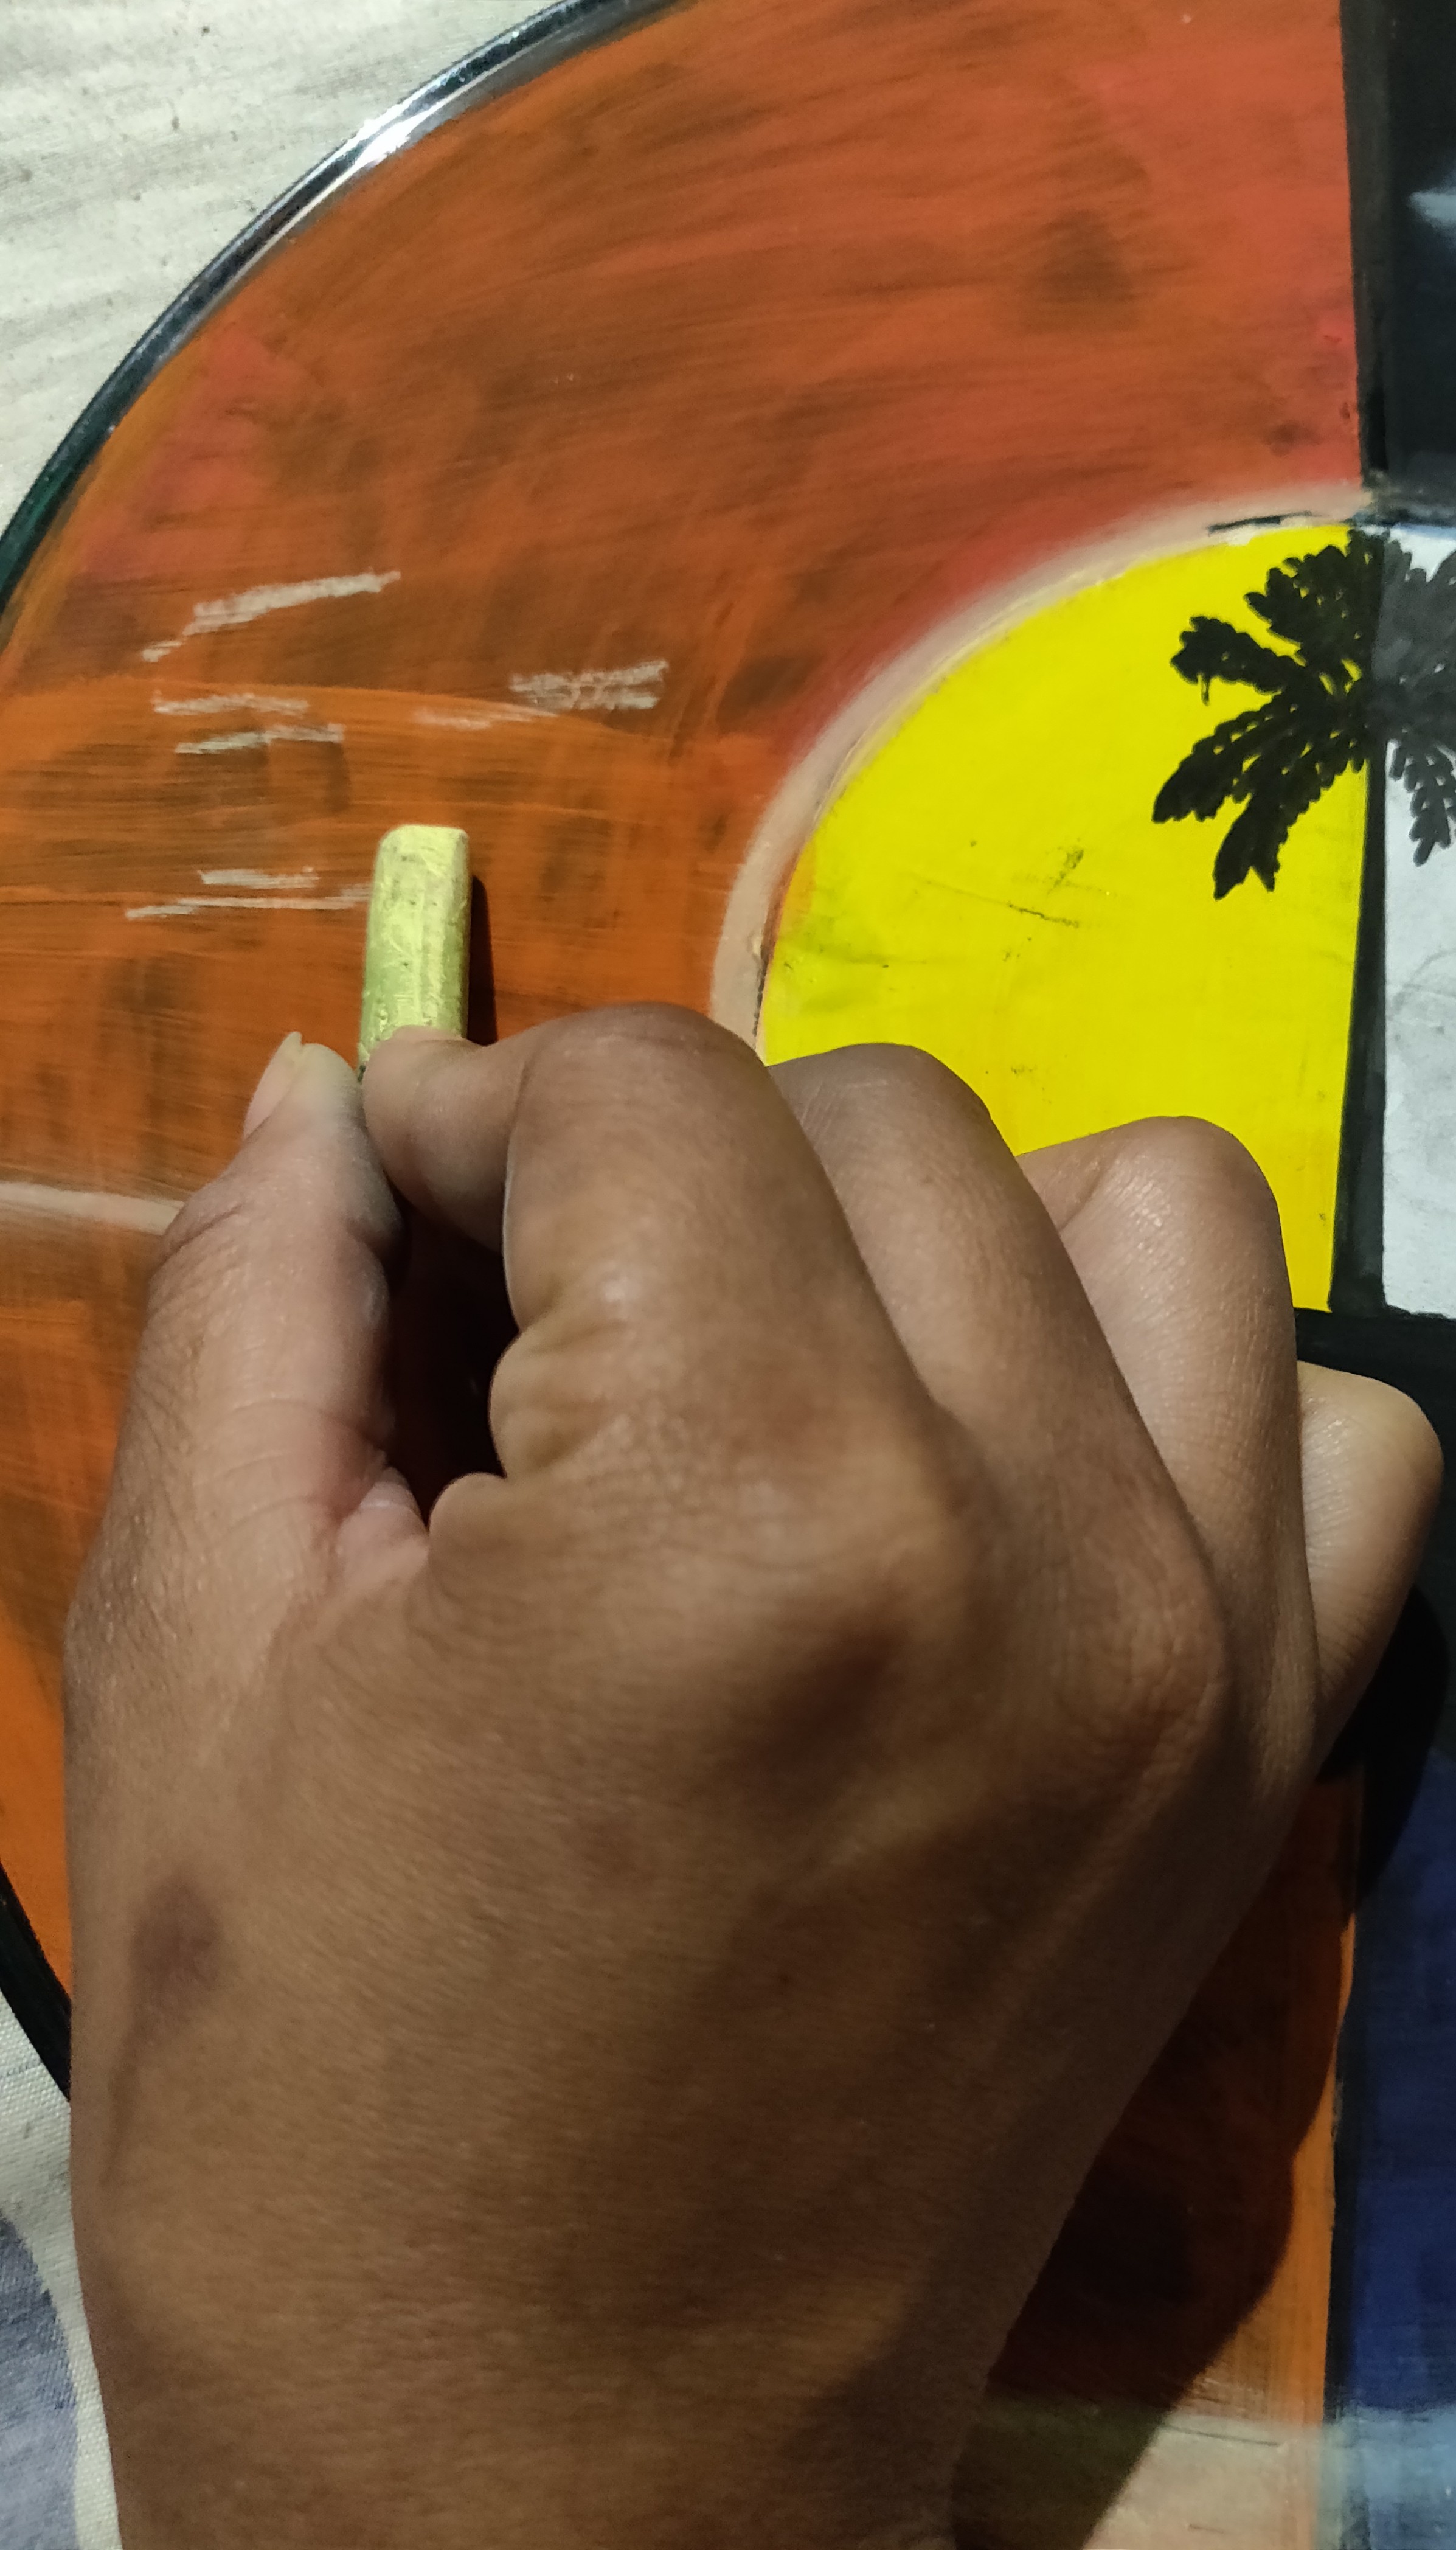
Paso 04:
Siempre me eh percatado y me gusta como la tiza y la pintura van de la mano , osea se ayudan para dar unos efectos brutales en los dibujos que realizo, tome una tiza color gris ya que blanca no tenía 😭😞, pero no hizo falta ya que obtuve el resultado que quería, hice forma de nubes y difumine con el dedo en ambos paisajes.
También aplique un poco de puntitos blancos para realizar estrellas con la ayuda de un palito de altura y del otro lado con marcador realizar pajaritos!(este momento no lo fotografíe 🙈)
Step 04:
I have always noticed and I like how chalk and paint go hand in hand, osea help each other to give some brutal effects in the drawings I do, I took a gray chalk because I didn't have white 😭😞, but it was not necessary because I got the result I wanted, I made clouds and blur with my finger in both landscapes.
I also applied some white dots to make stars with the help of a high stick and on the other side with a marker to make little birds!(I didn't photograph this moment 🙈).
Paso 05:
Para finalizar con todo, con tiza gris hice sombra del sol y la luna Luego tome pintura negra y al final del dibujo de ambos paisajes hice movimientos en forma de zic-zac para el reflejo de la isla en el agua .
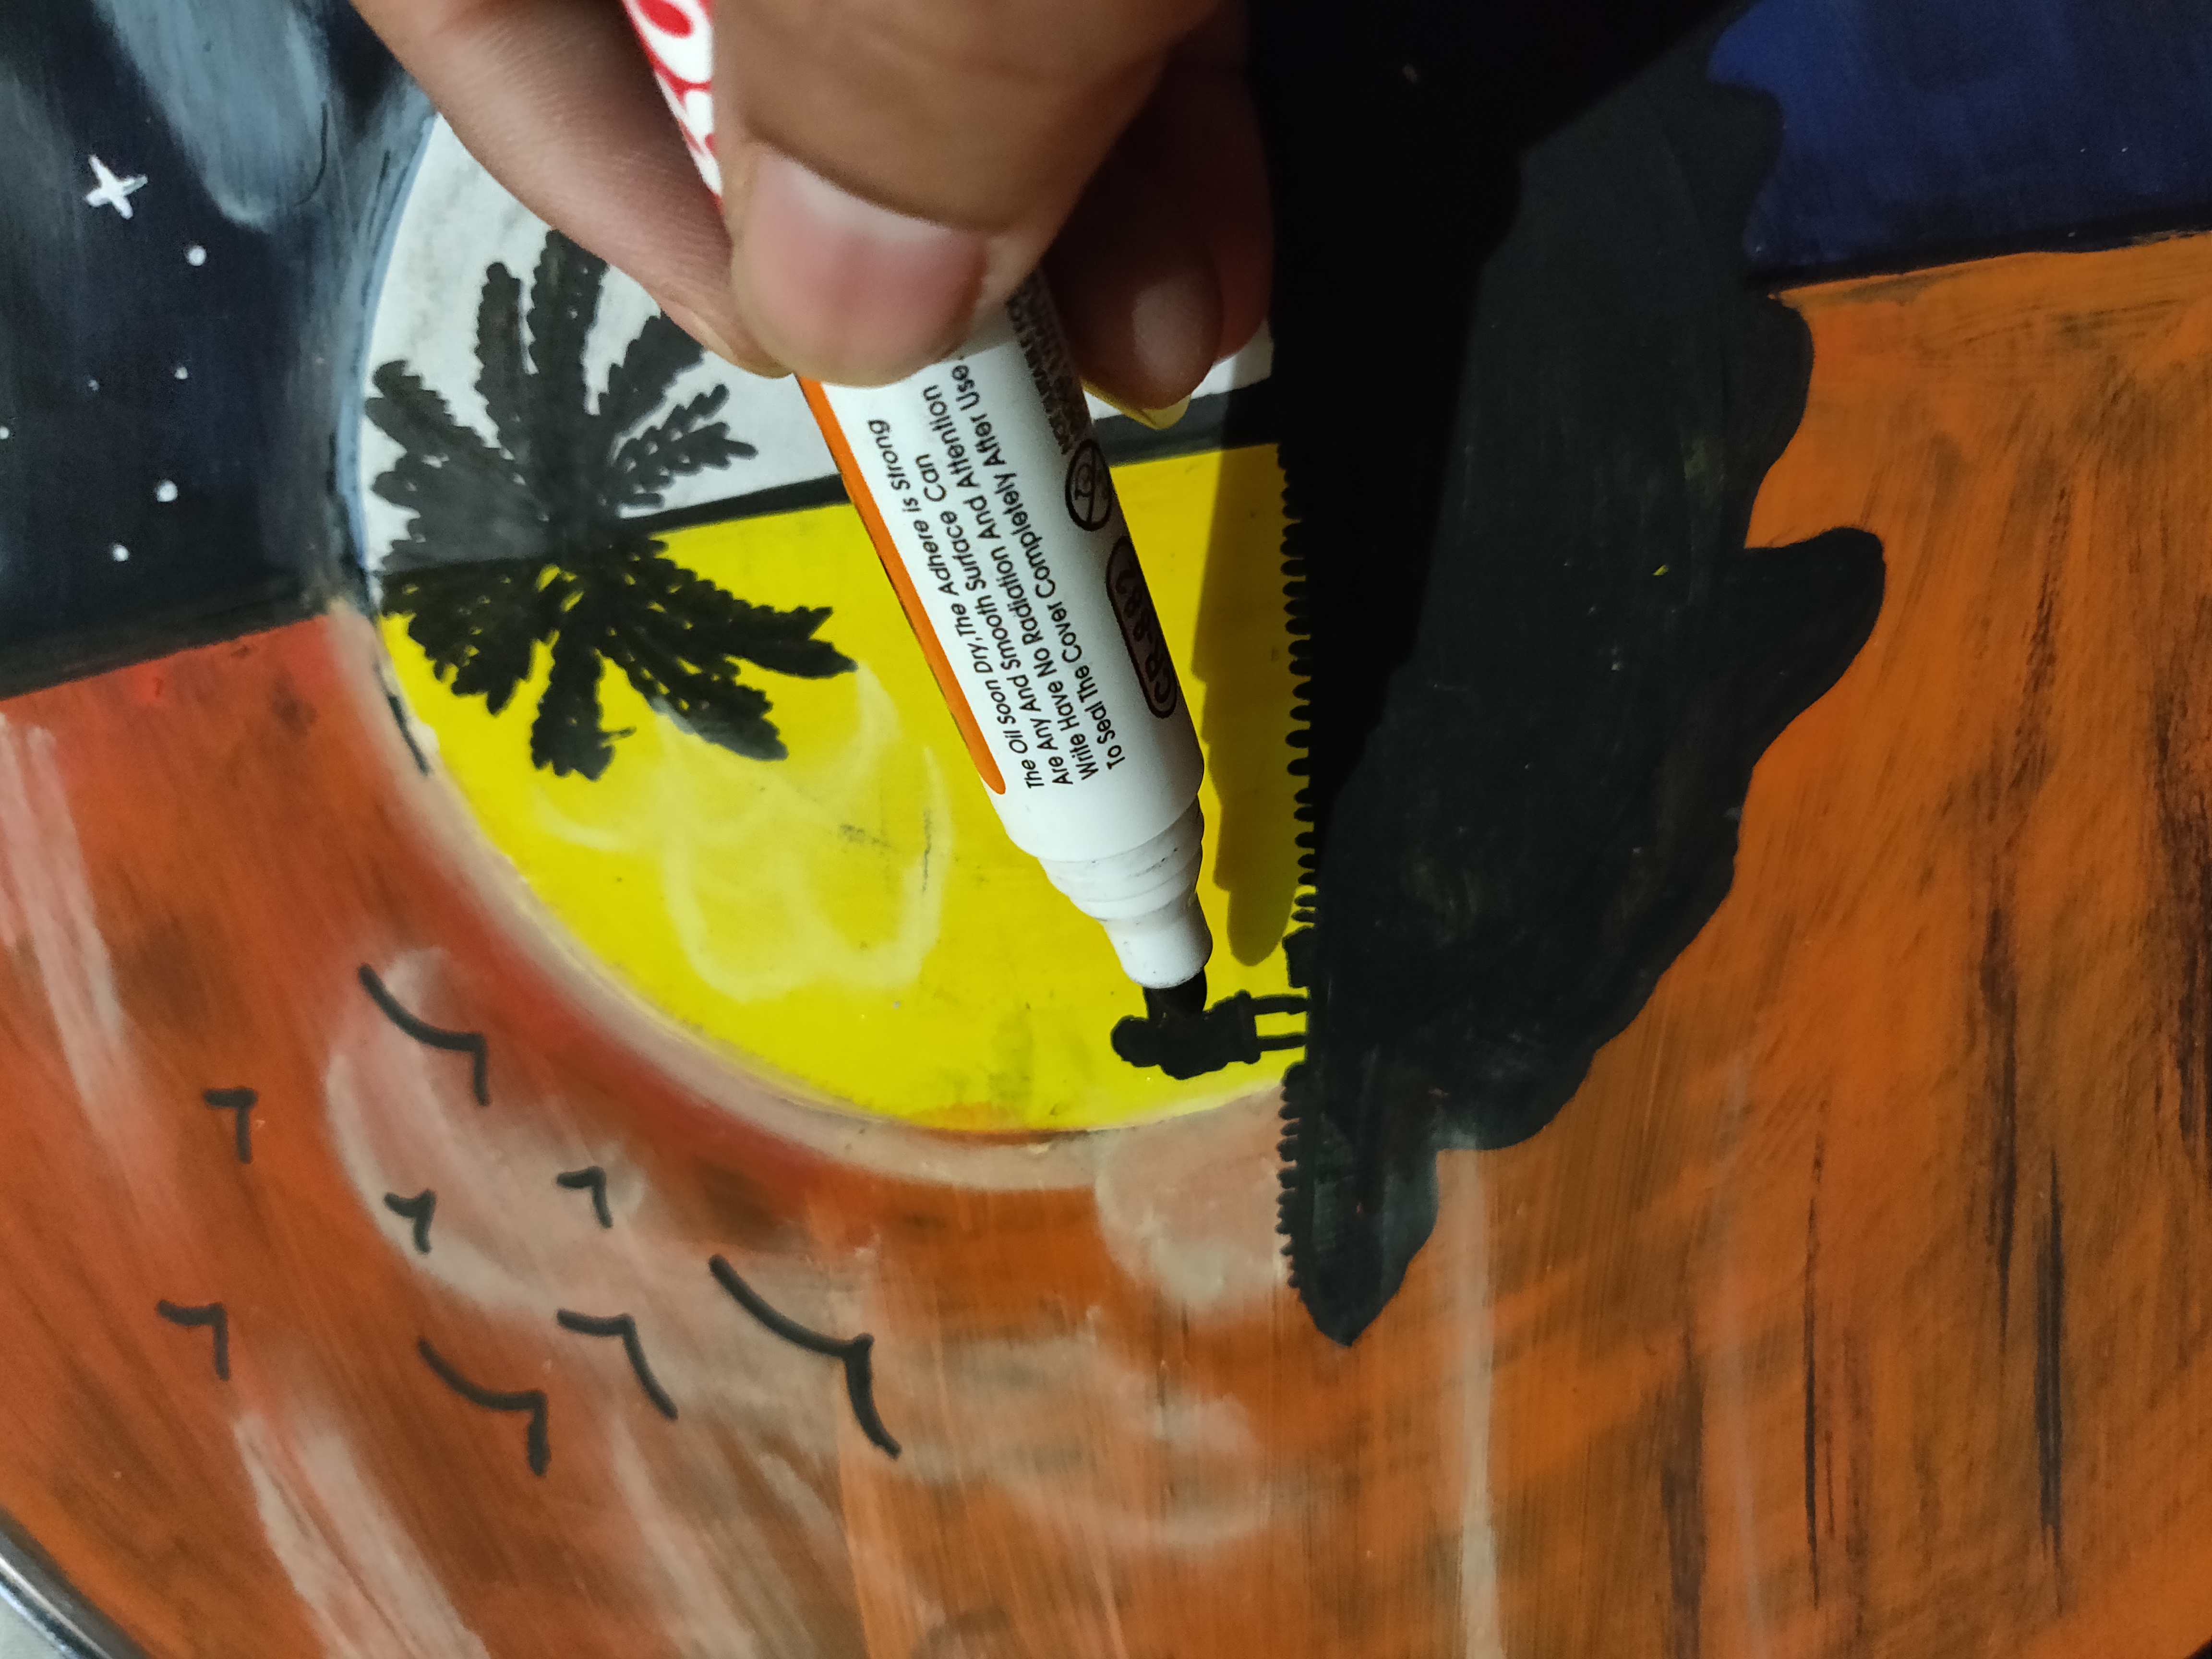
Finalice dibujando con el marcador negro dos personas a una distancia,como pueden ver en el atardecer está una estirando su brazo como llamando al que está del otro lado sentado disfrutando de ver las estrellas. ❤️
Step 05:
To finish with everything, with gray chalk I made shadow of the sun and the moon Then I took black paint and at the end of the drawing of both landscapes I made zic-zac movements for the reflection of the island in the water .
I finished by drawing with the black marker two people at a distance,as you can see in the sunset is one stretching his arm as if calling the one on the other side sitting enjoying watching the stars. ❤️
Espero de corazón que les guste,me auto-aplaudo y me auto-felicito porque veo en mi el esfuerzo de querer mejorar cada día. Dios me los Bendiga 🙏. cuidense nos vemos en mi próximo blog.
I hope from the bottom of my heart that you like it, I self-applaud and self-congratulate myself because I see in me the effort of wanting to improve every day. God Bless you 🙏. take care and see you in my next blog.