
Que tal están mis lindos amigos, primero que nada espero que se encuentren muy bien, en esta tranquila tarde he decidido realizar una rosa y mostrarles mi trabajo, en realidad no son muchos materiales, he querido hacer algo muy sencillo, sirve para adornar tu mesa o algún lugar de tu hogar, donde la coloques se verá bonita, también se puede realizar del color de tu preferencia, en mi caso, decidí hacerla rosada, no quedó perfecta pero para ser la primera vez, quedó muy bien, espero puedan aprender un poco más cada día, al igual que yo, empecemos... ⚘🤗
How are my beautiful friends, first of all I hope you are very well, in this quiet afternoon I have decided to make a rose and show you my work, in reality there are not many materials, I wanted to do something very simple, it serves to decorate your table or somewhere in your home, where you place it, it will look pretty, it can also be done in the color of your choice, in my case, I decided to make it pink, it was not perfect but for the first time, it turned out very well, I hope you can learn a little more every day, just like me, let's start... ⚘🤗
Materiales:
●2 foami tipo carta (rosado, verde)
●1 barra de silicón
●1 tijera
●1 palito de altura
●1 pedacito de alambre
Materials:
●2 letter-type foami (pink, green)
●1 silicone bar
●1 scissors
●1 tall stick
●1 piece of wire

Proceso / Process
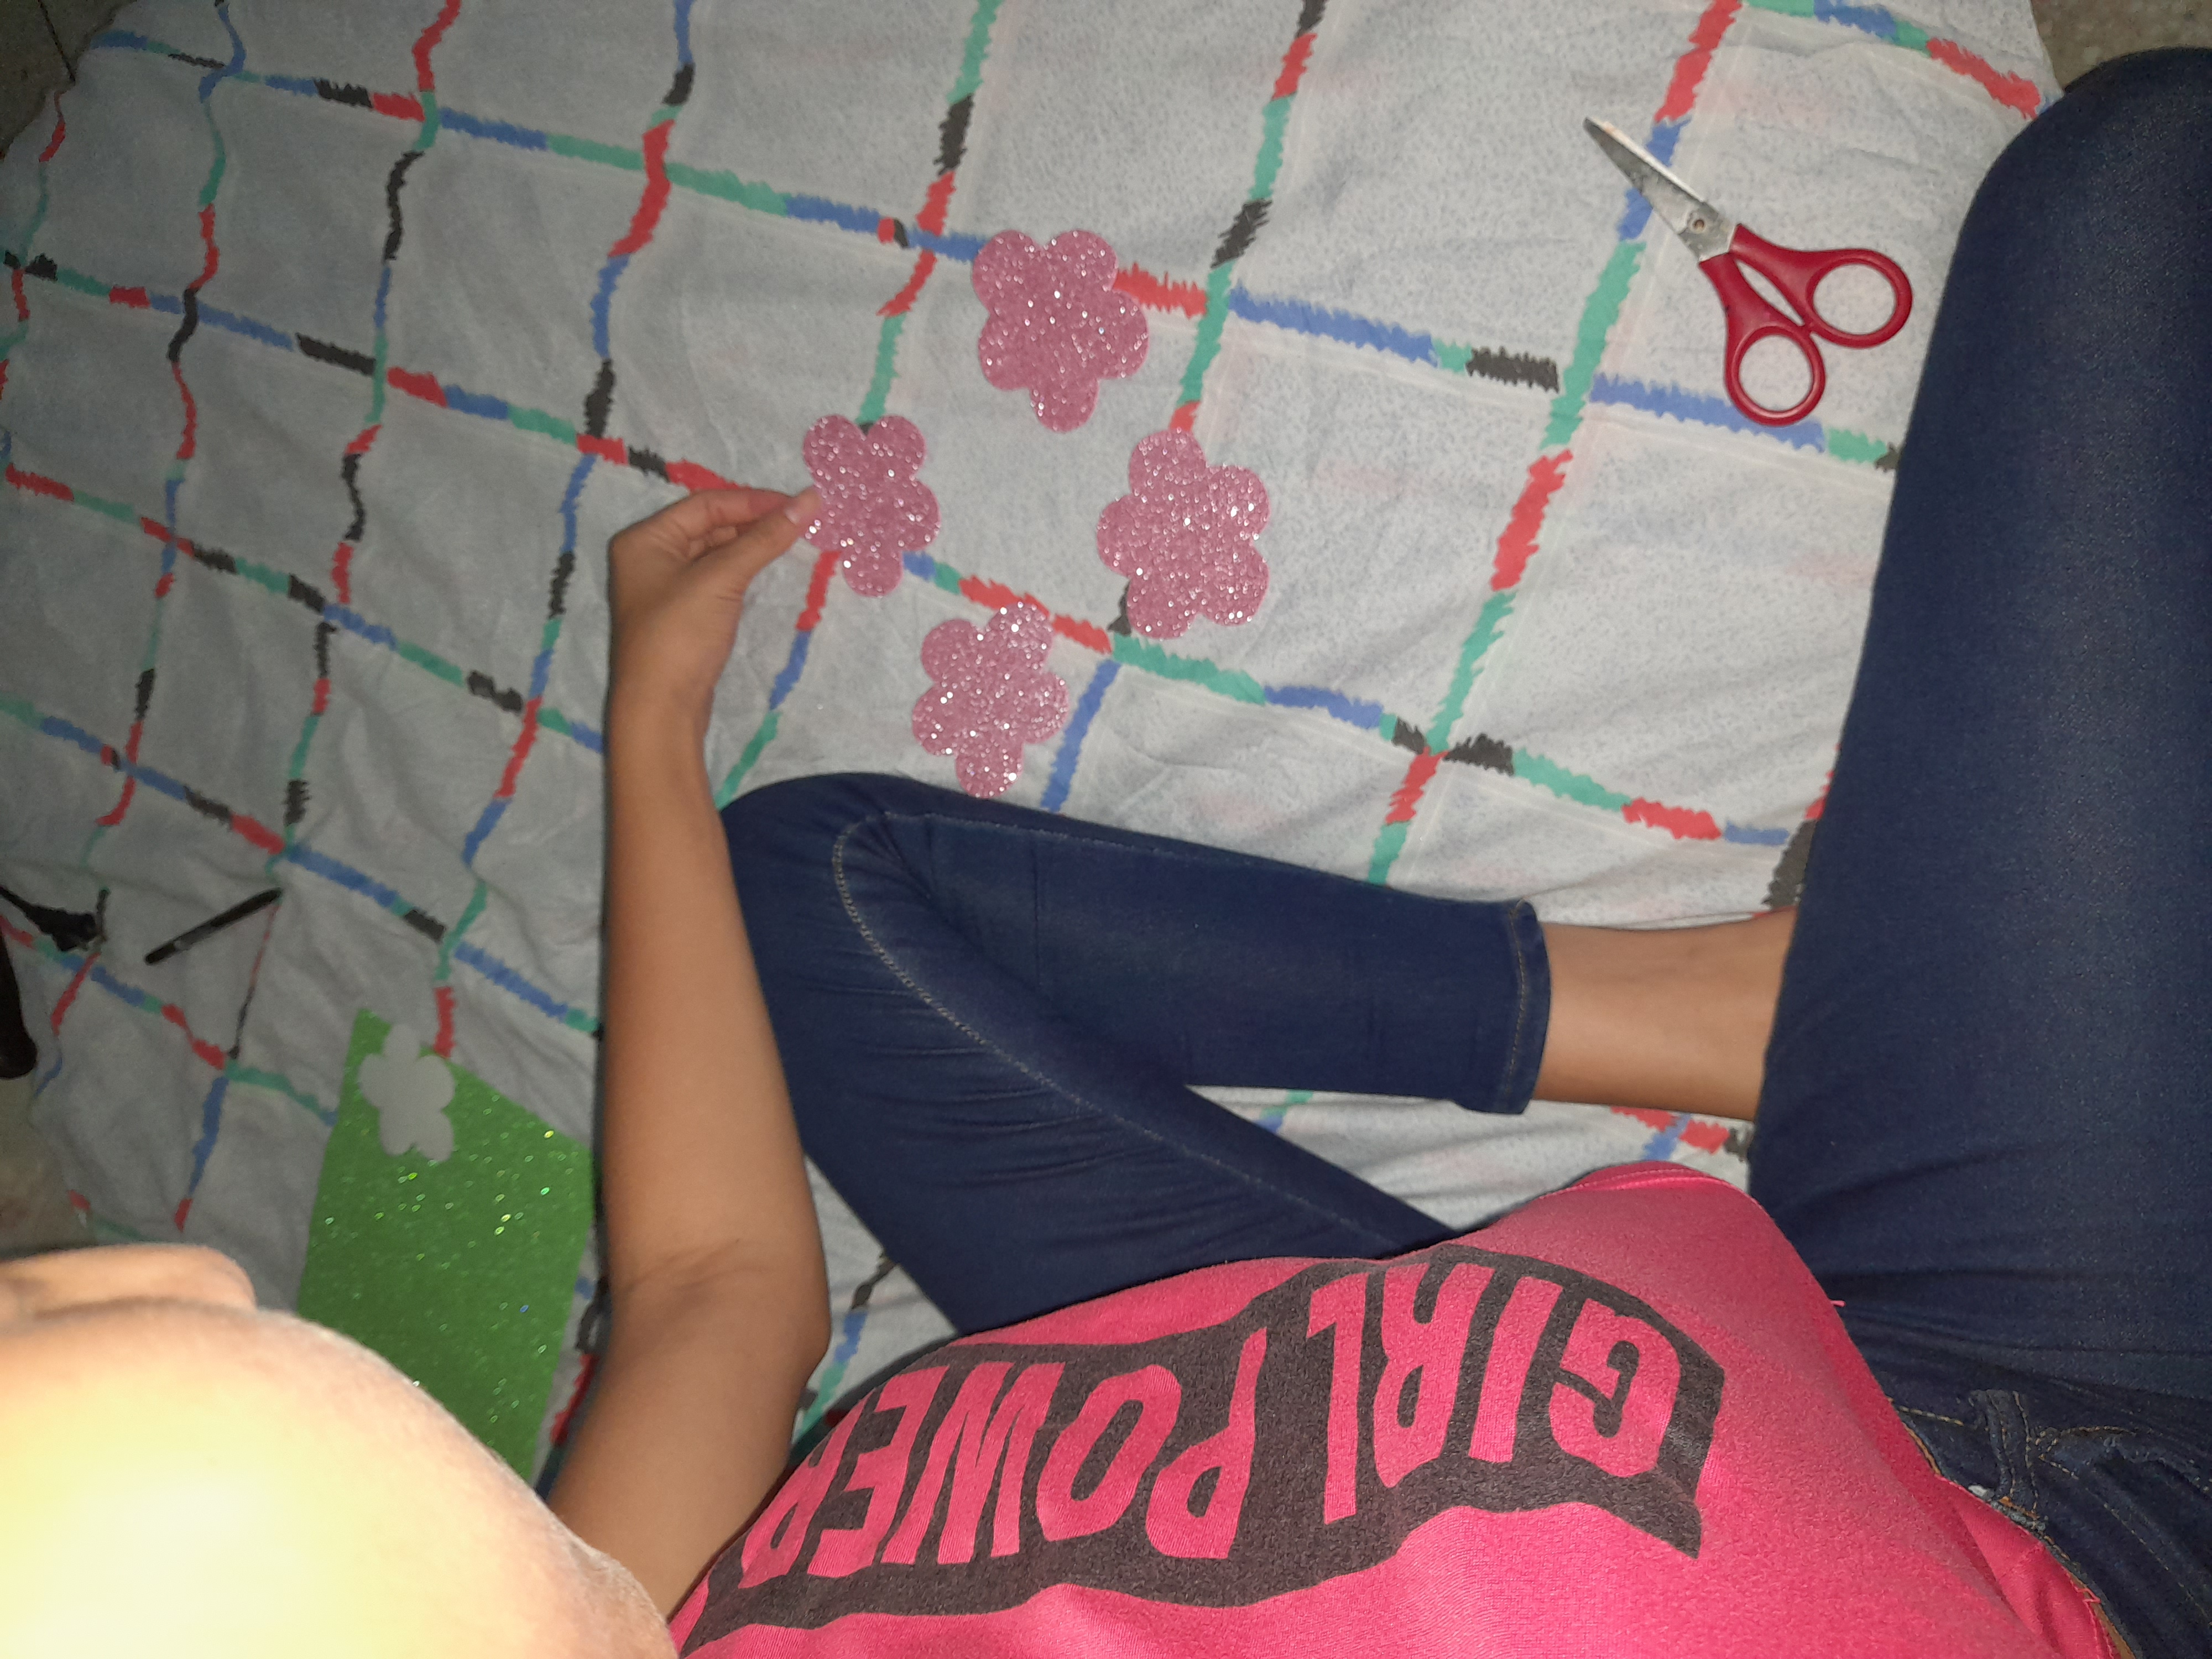
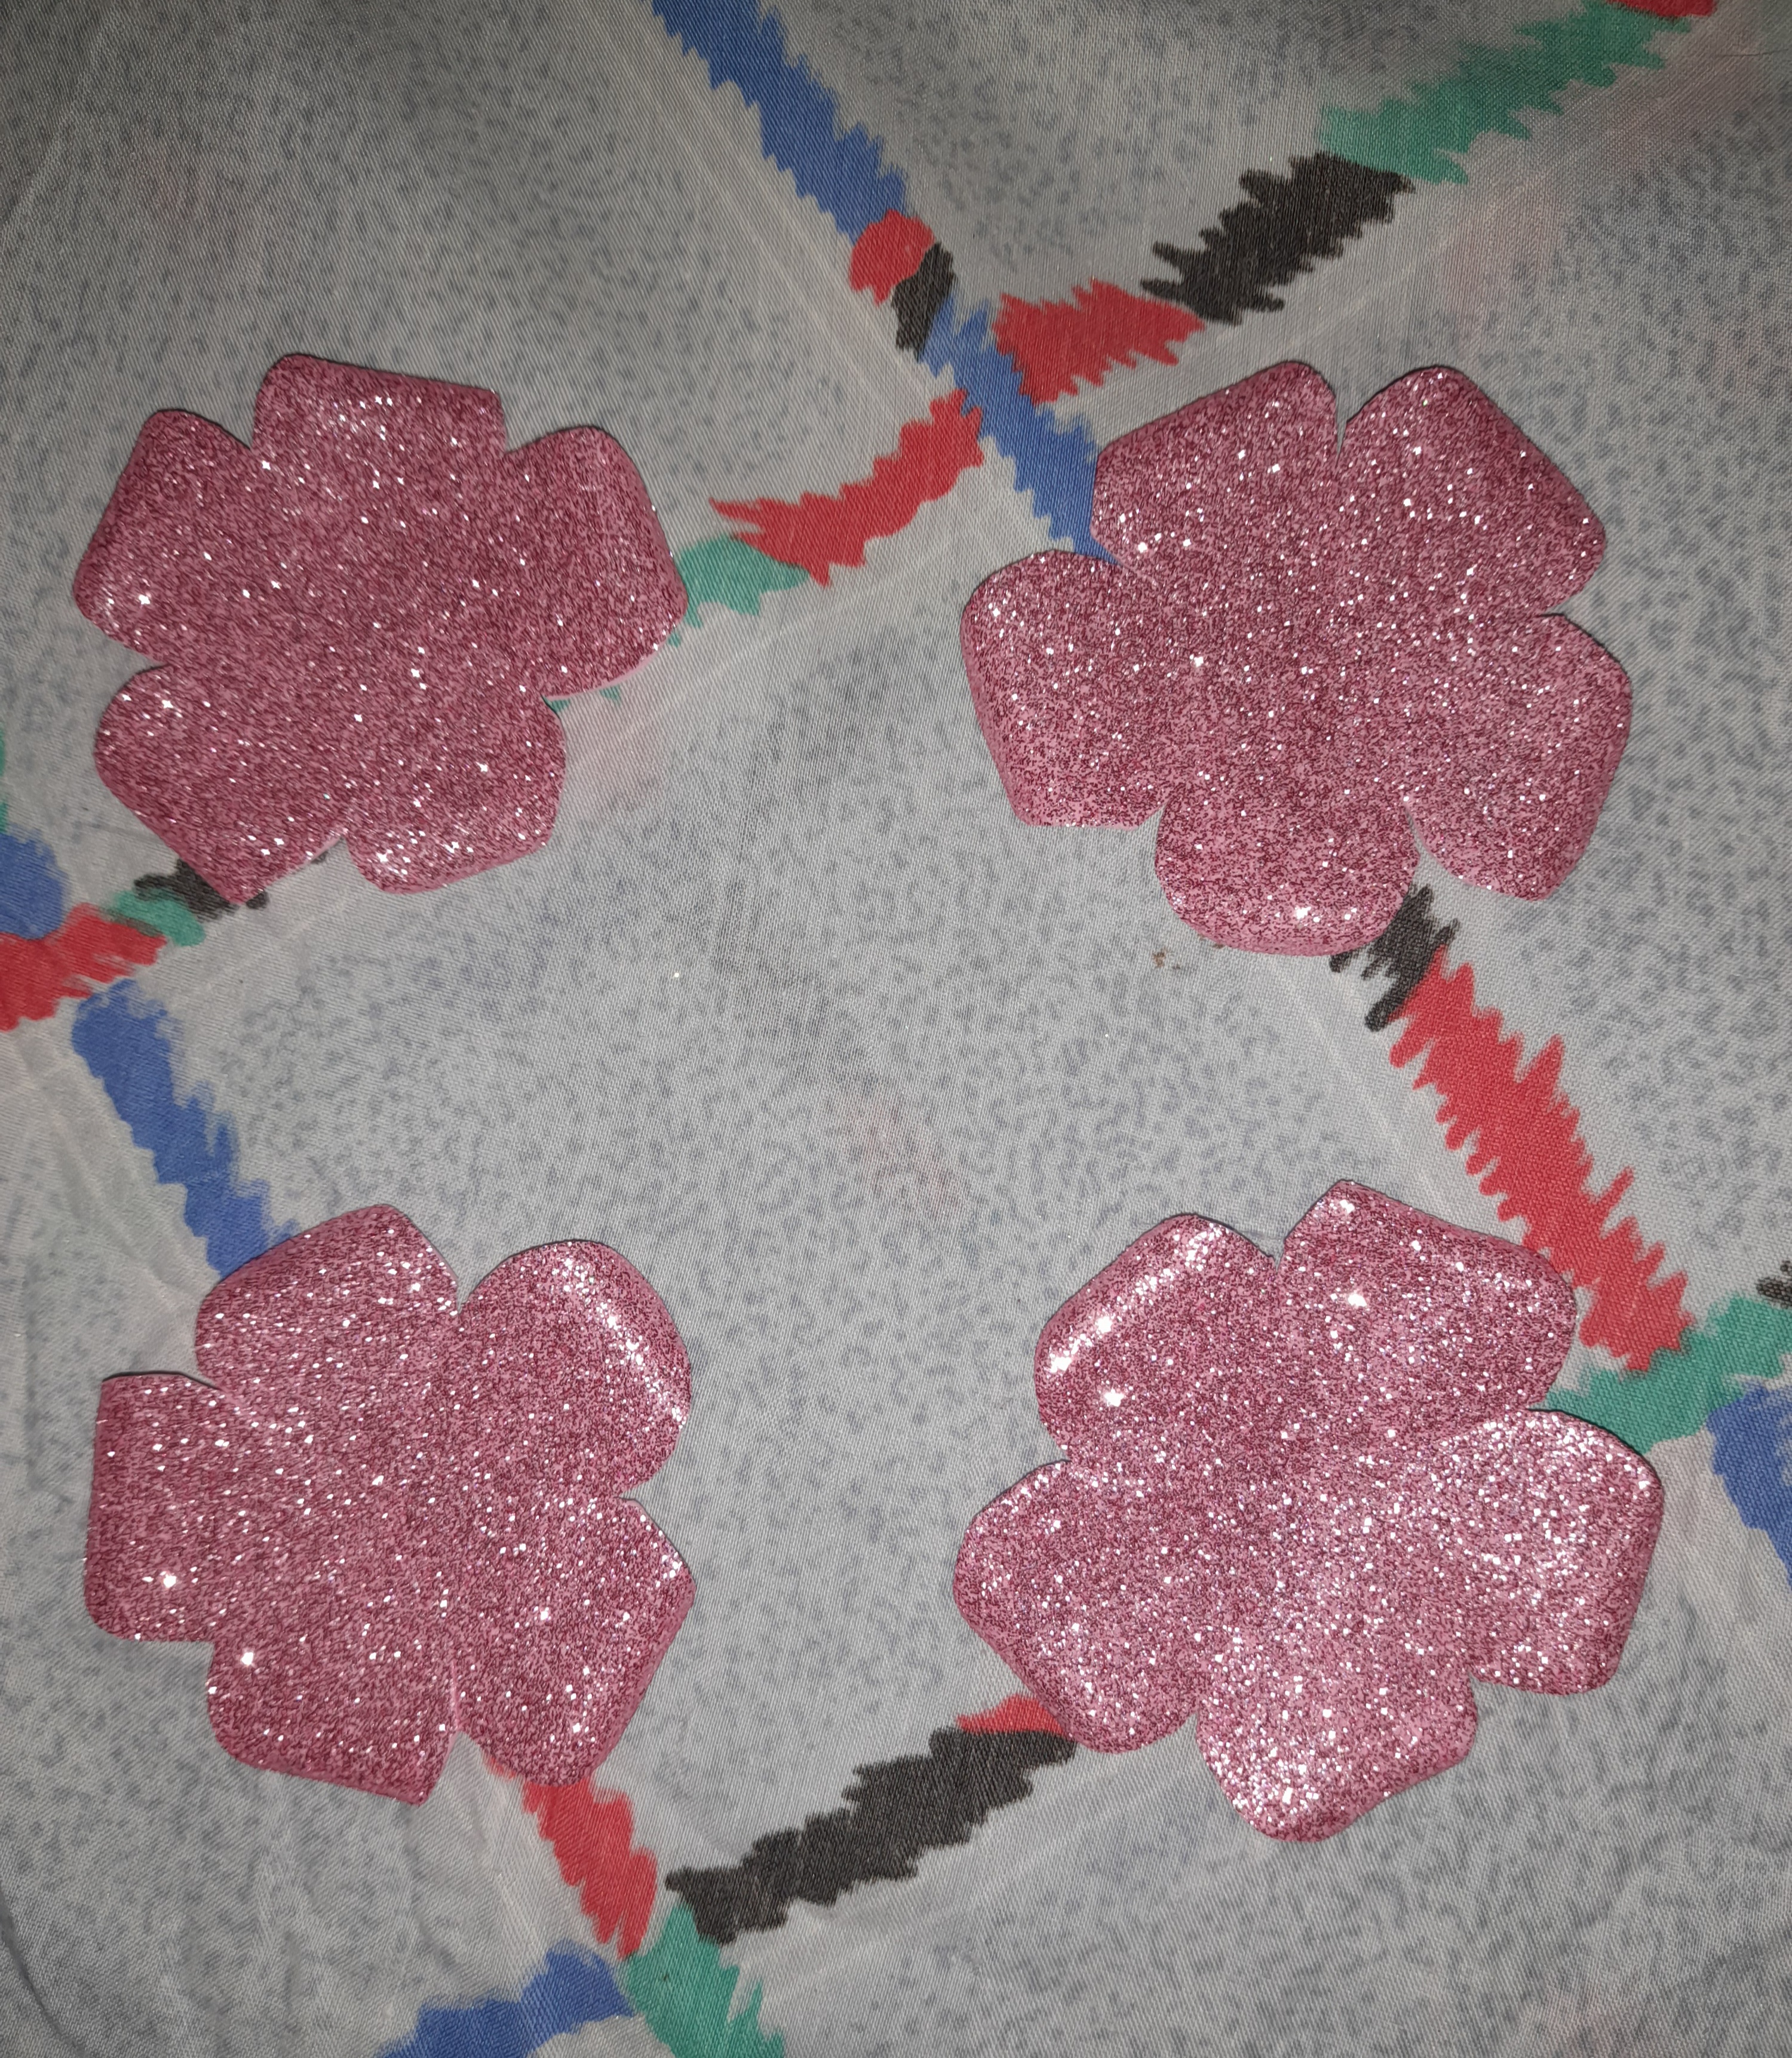
paso 1: Primeramente he agarrado una hoja en blanco y he echo un molde, luego de haberlo echo lo coloqué en el foami rosado y lo remarqué con un palito de altura para así no mancharlo, hice eso 4 veces y lo recorté.
Step 1: First I took a blank sheet and made a mold, after having made it I placed it in the pink foami and highlighted it with a stick so as not to stain it, I did that 4 times and cut it out.
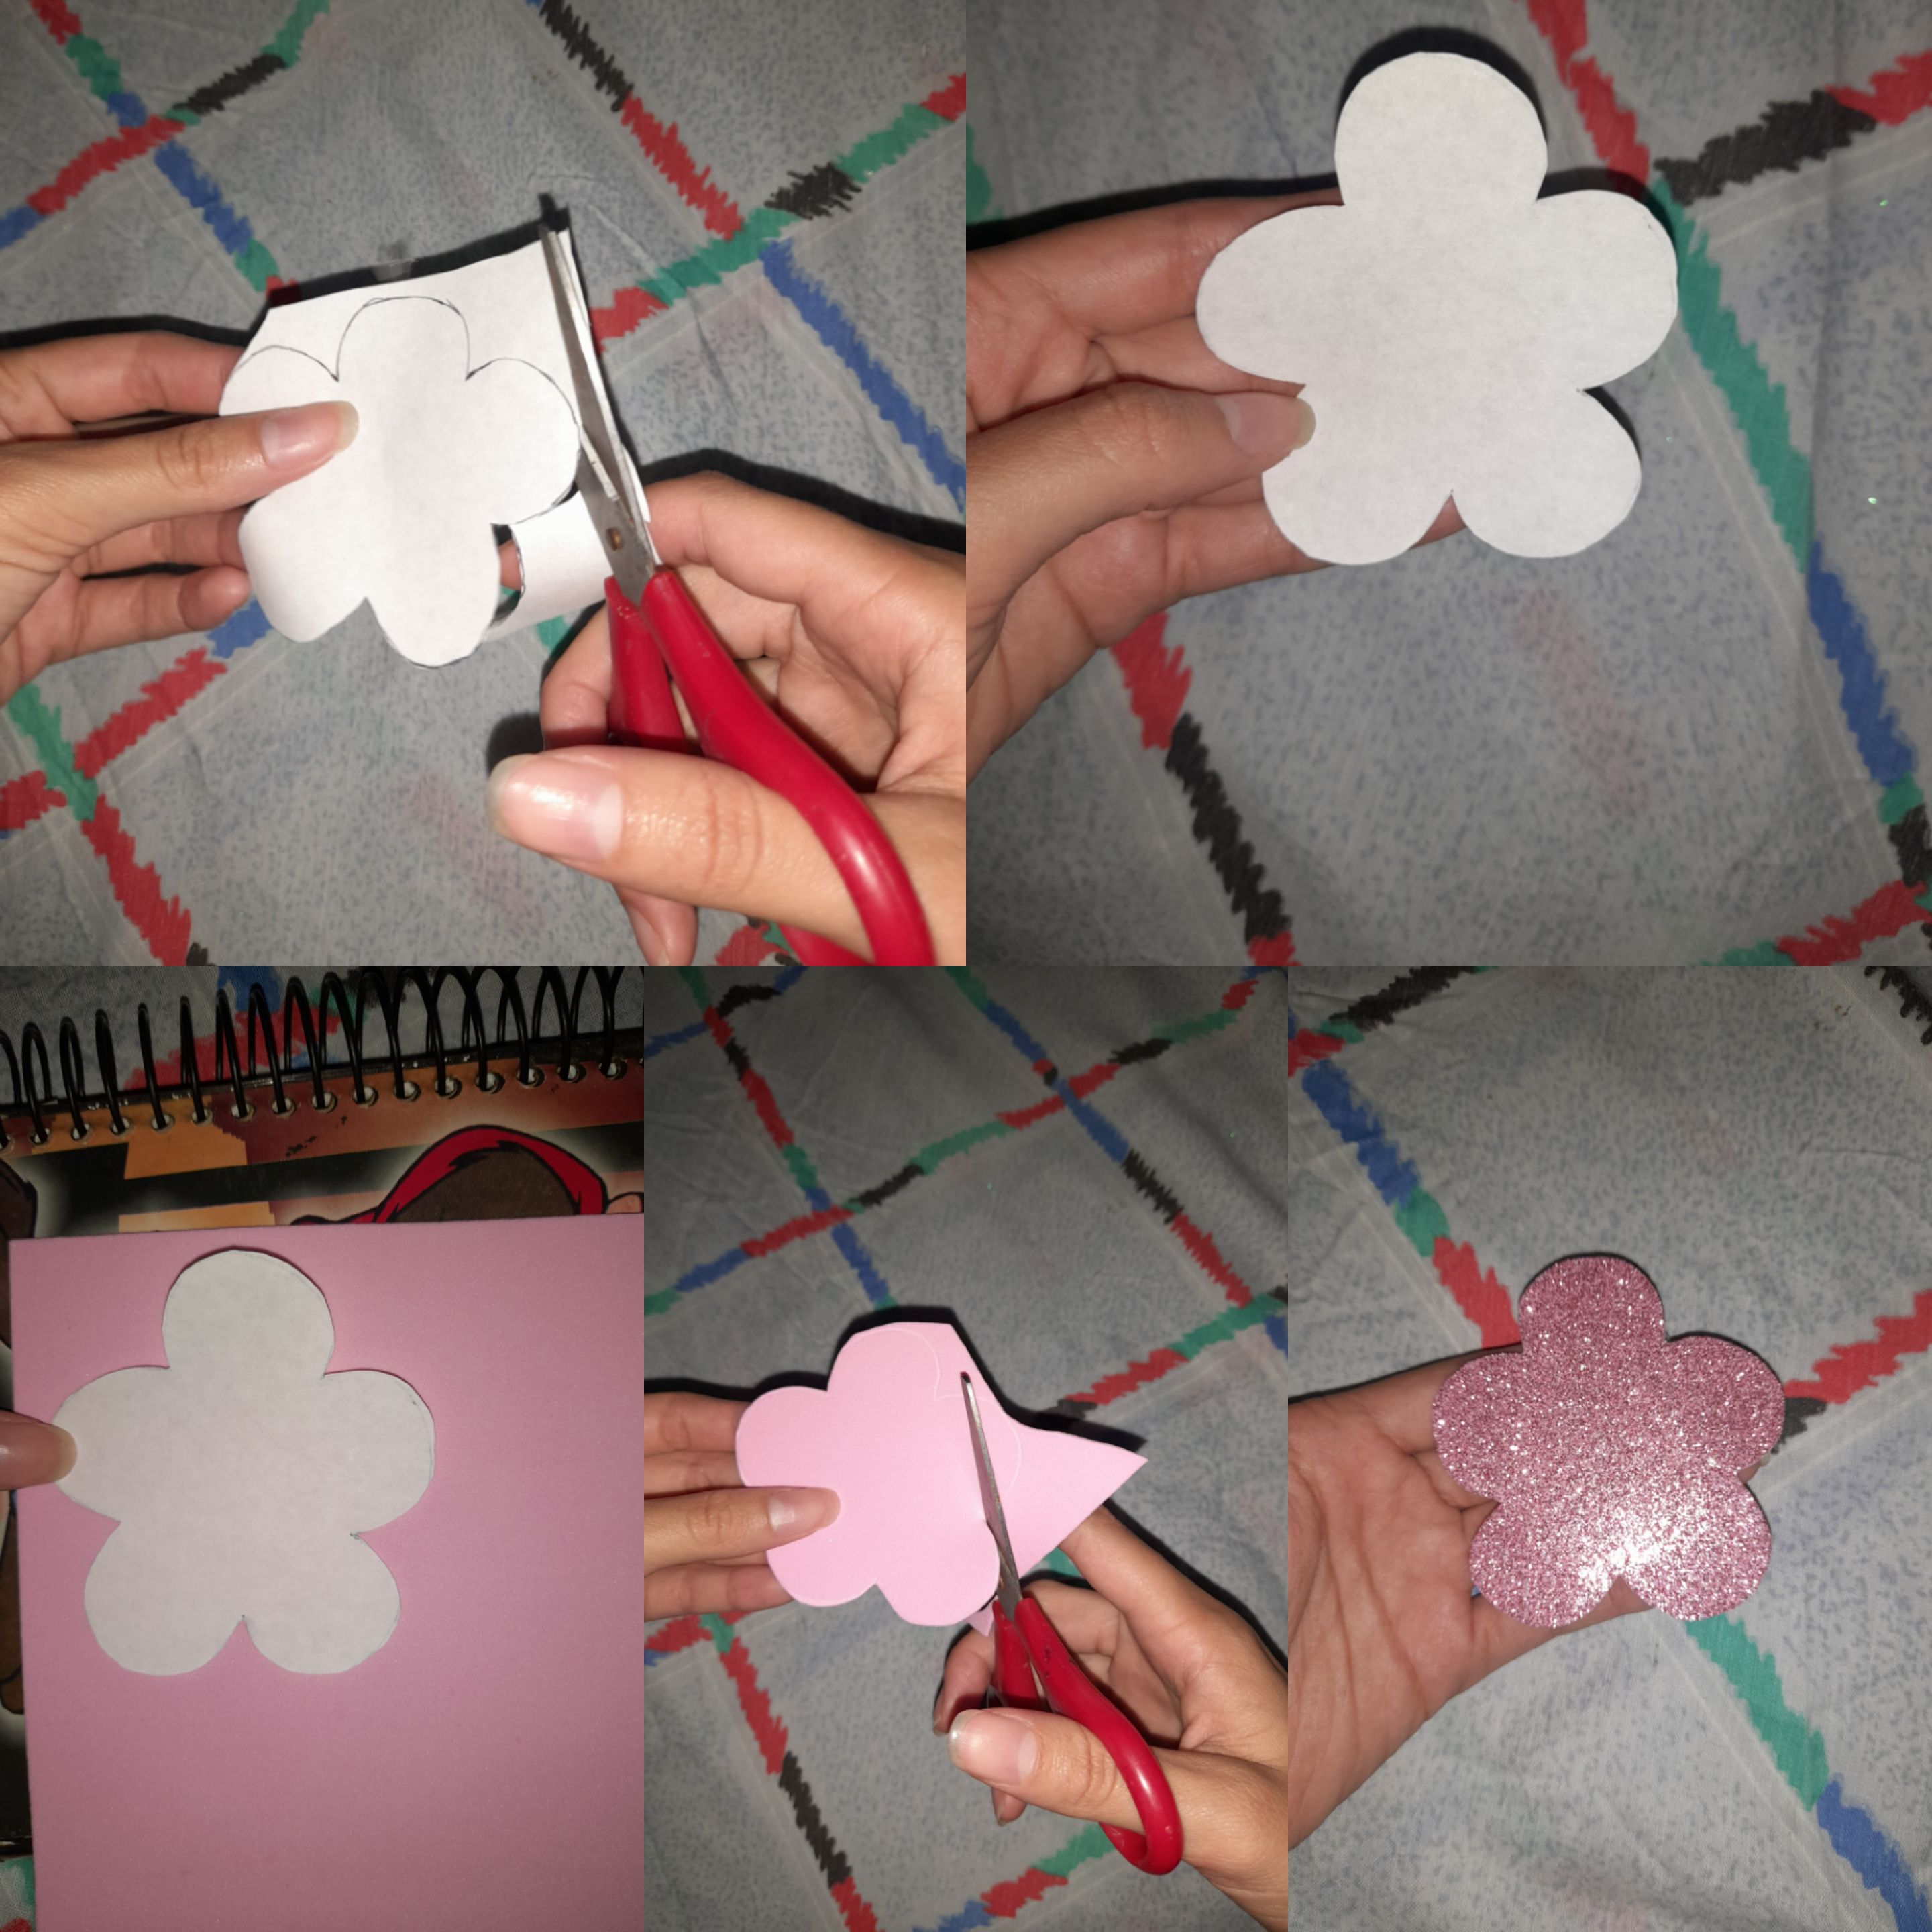
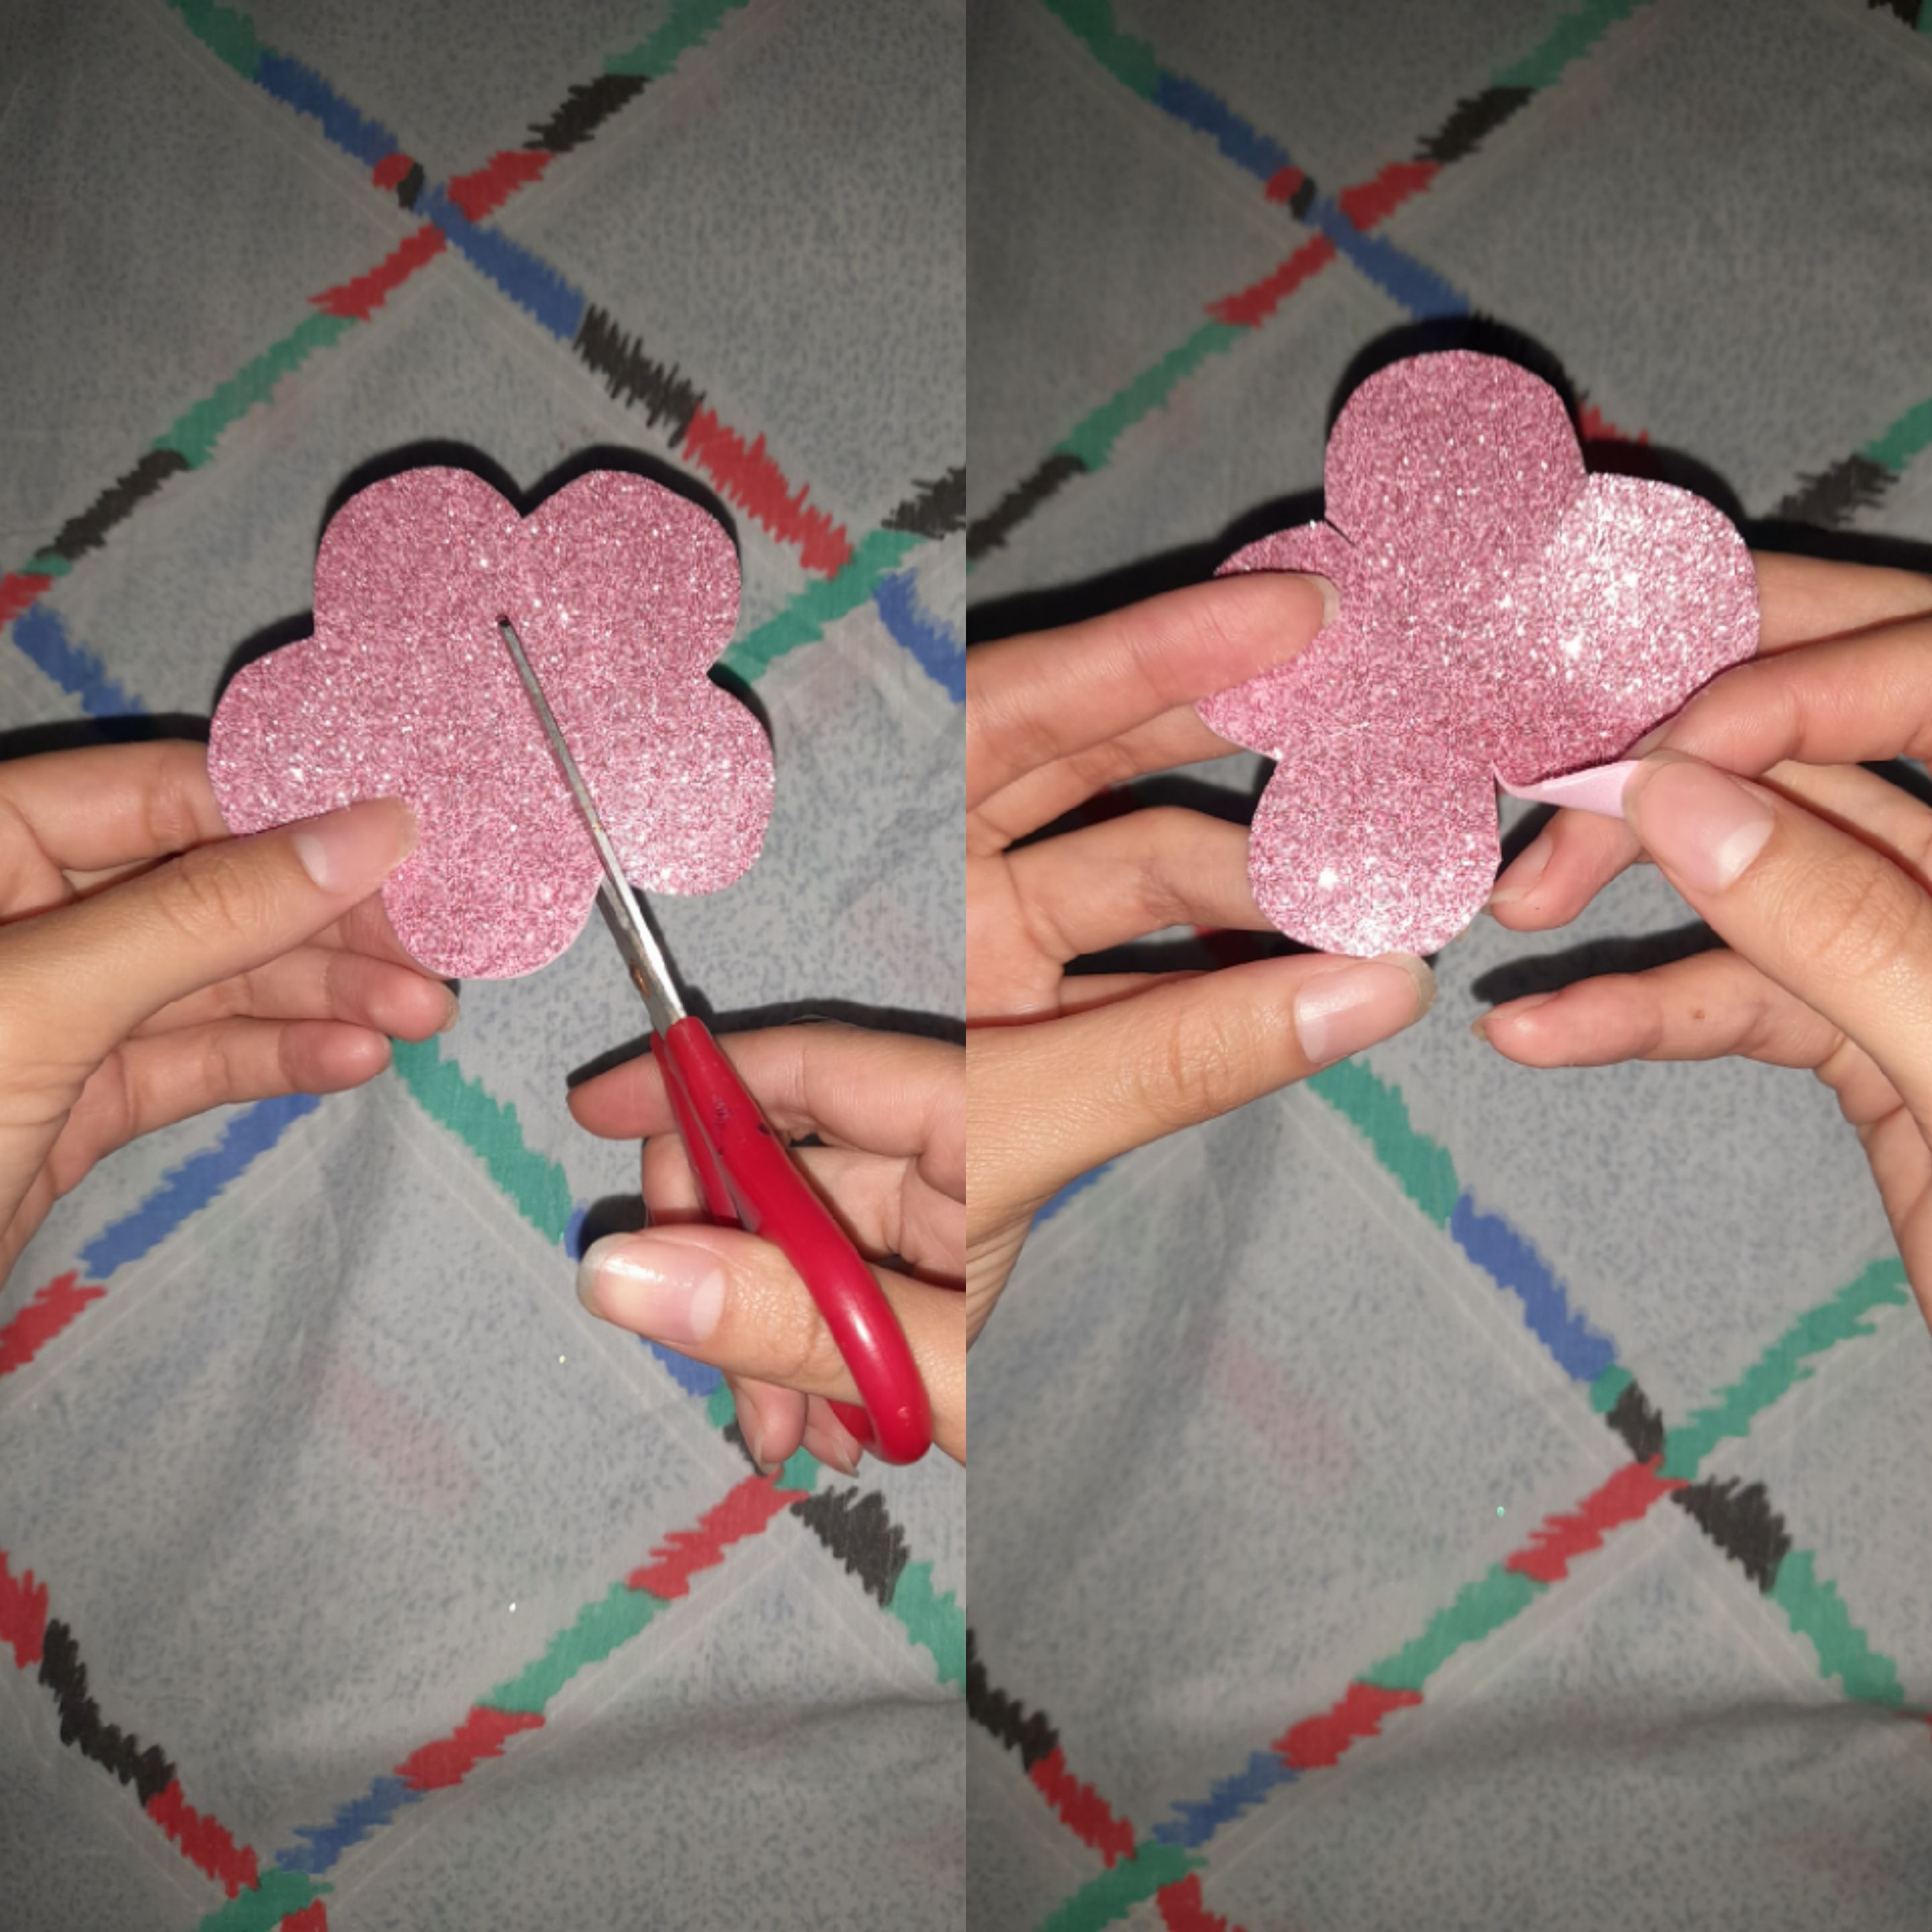
Paso 2: he agarrado las formas que ya hice anteriormente y las recorté un poco más para que así se hiciera más fácil el trabajo de envolver.
Step 2: I've taken the shapes I've already made before and cut them out a bit more to make the wrapping job easier.
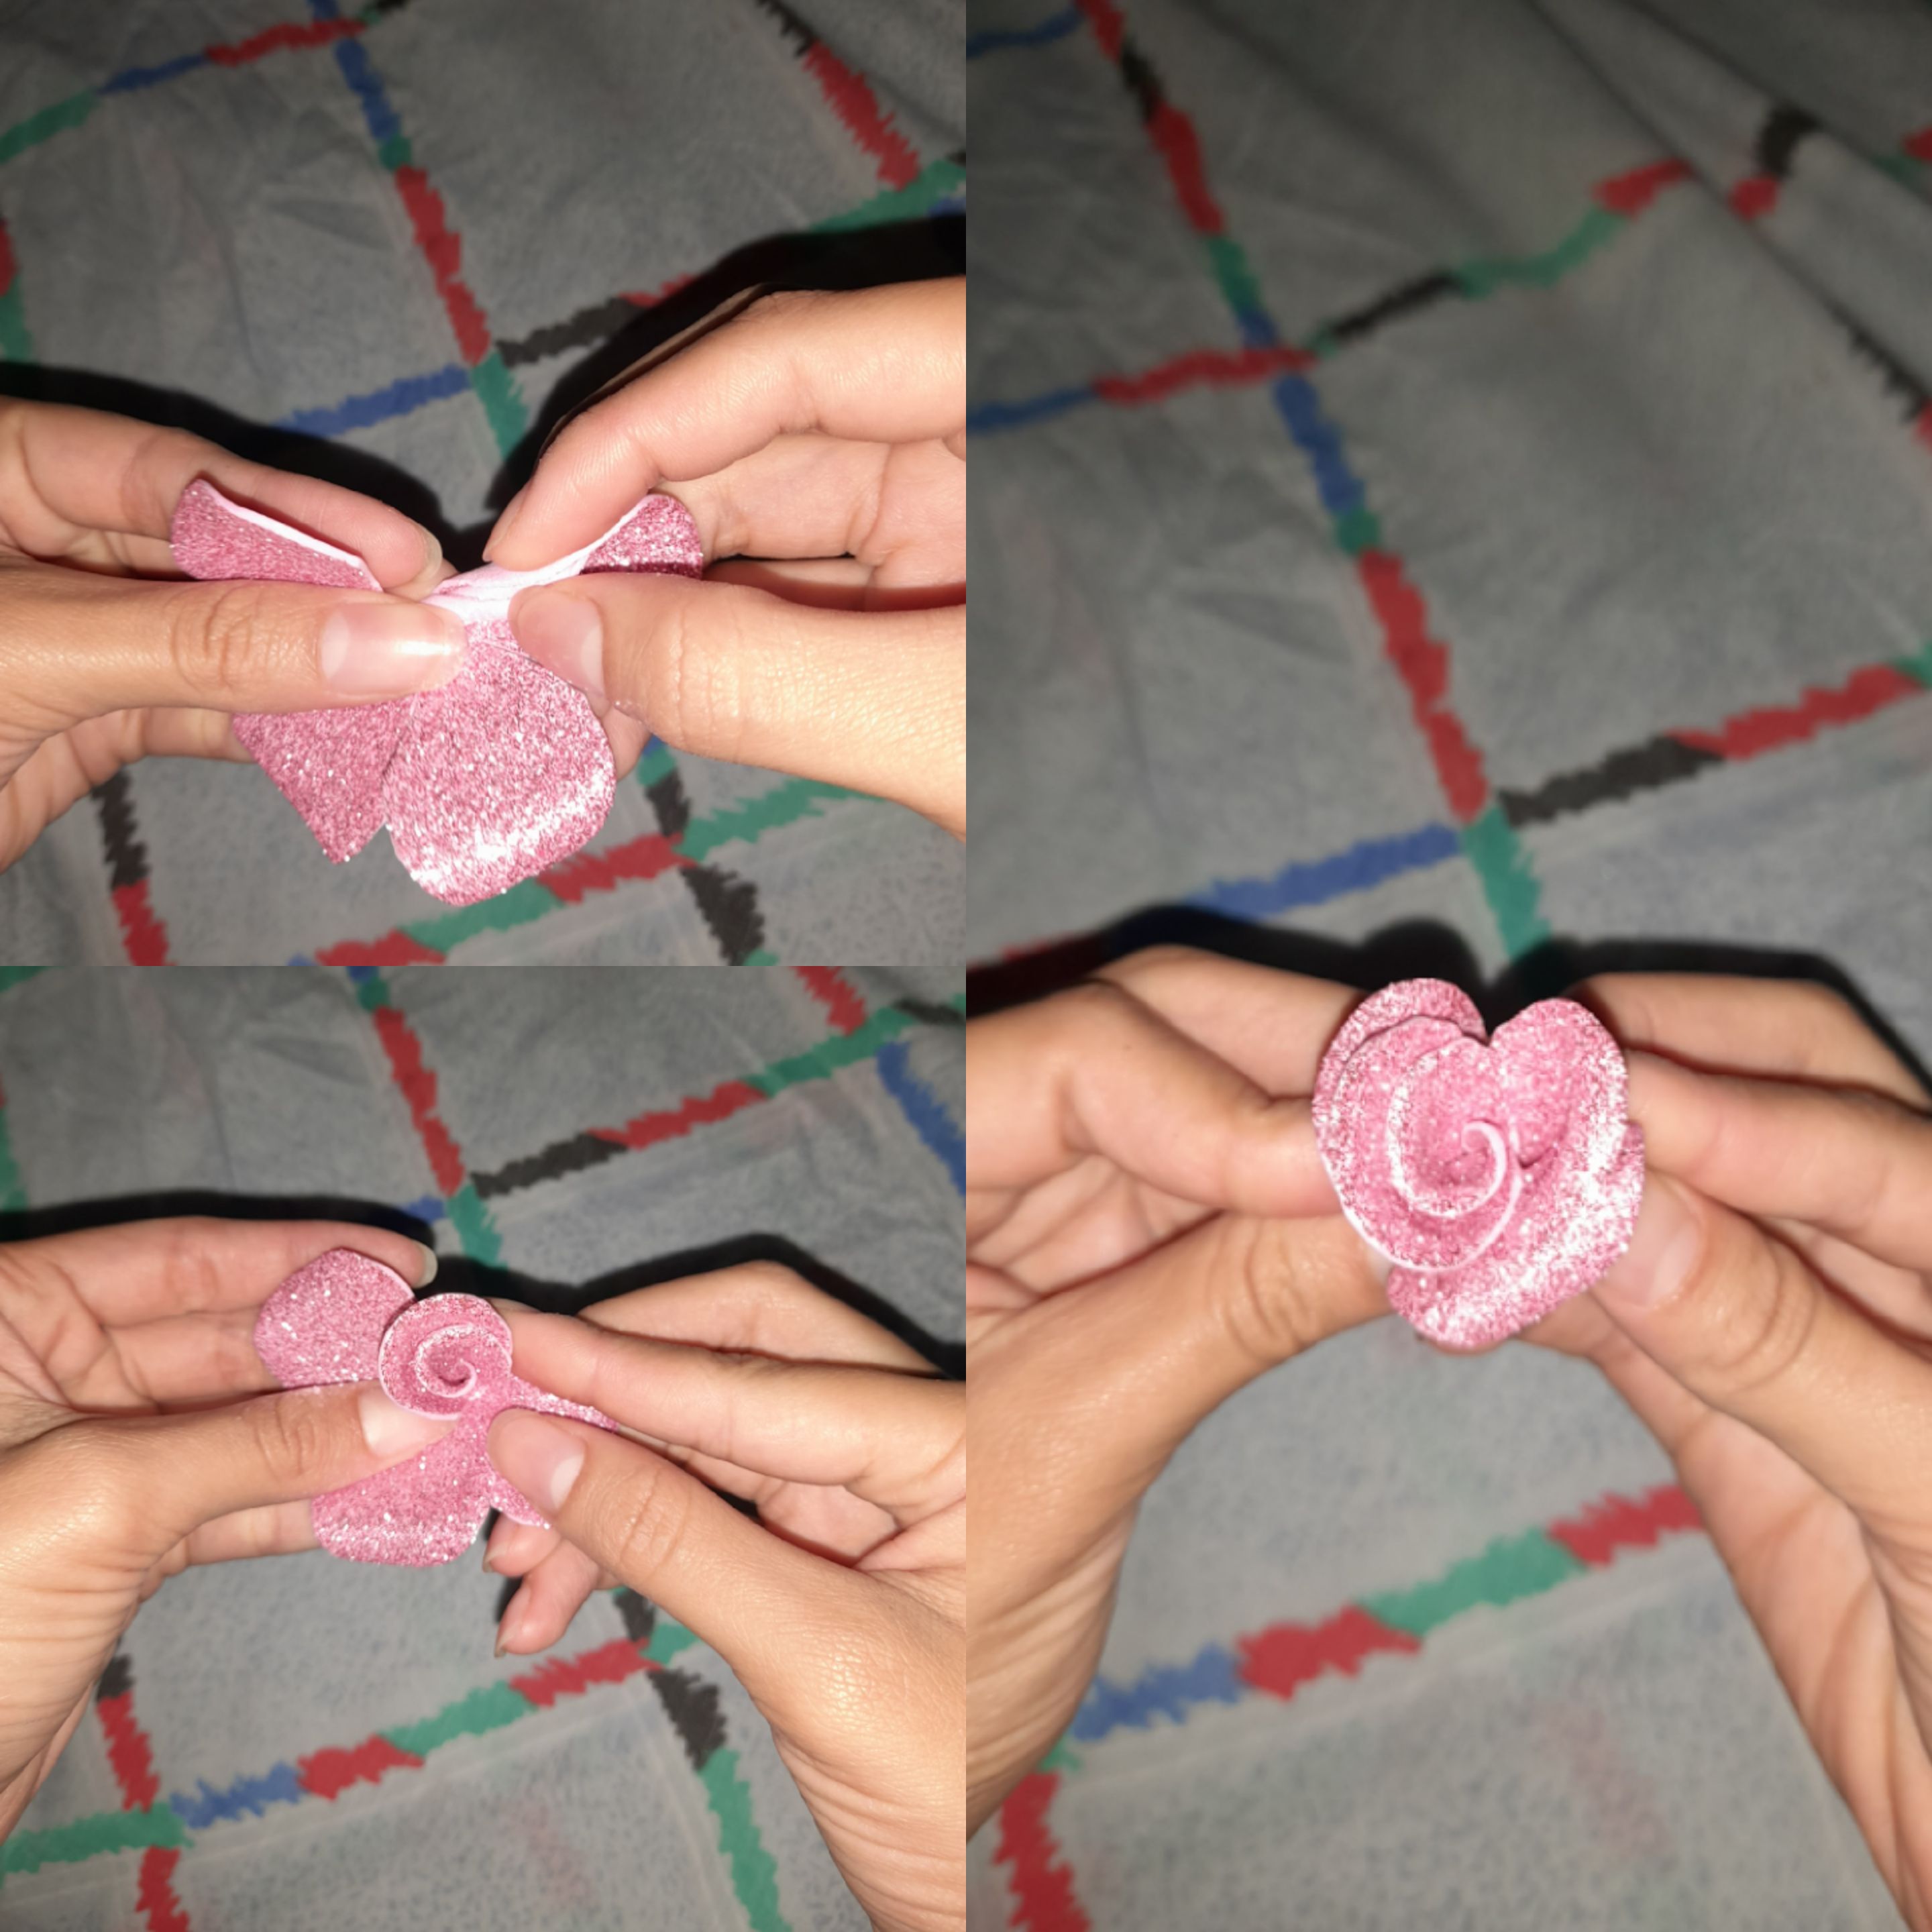
Paso 3: puse a calentar una plancha de pelo por que no tengo plancha de ropa en casa, pero esa me sirvió, coloqué la punta de los pétalos en la plancha y le fuí dando forma con un palito de altura.
Step 3: I put a hair iron to heat because I don't have a clothes iron at home, but that one worked for me, I placed the tip of the petals on the iron and shaped it with a tall stick.
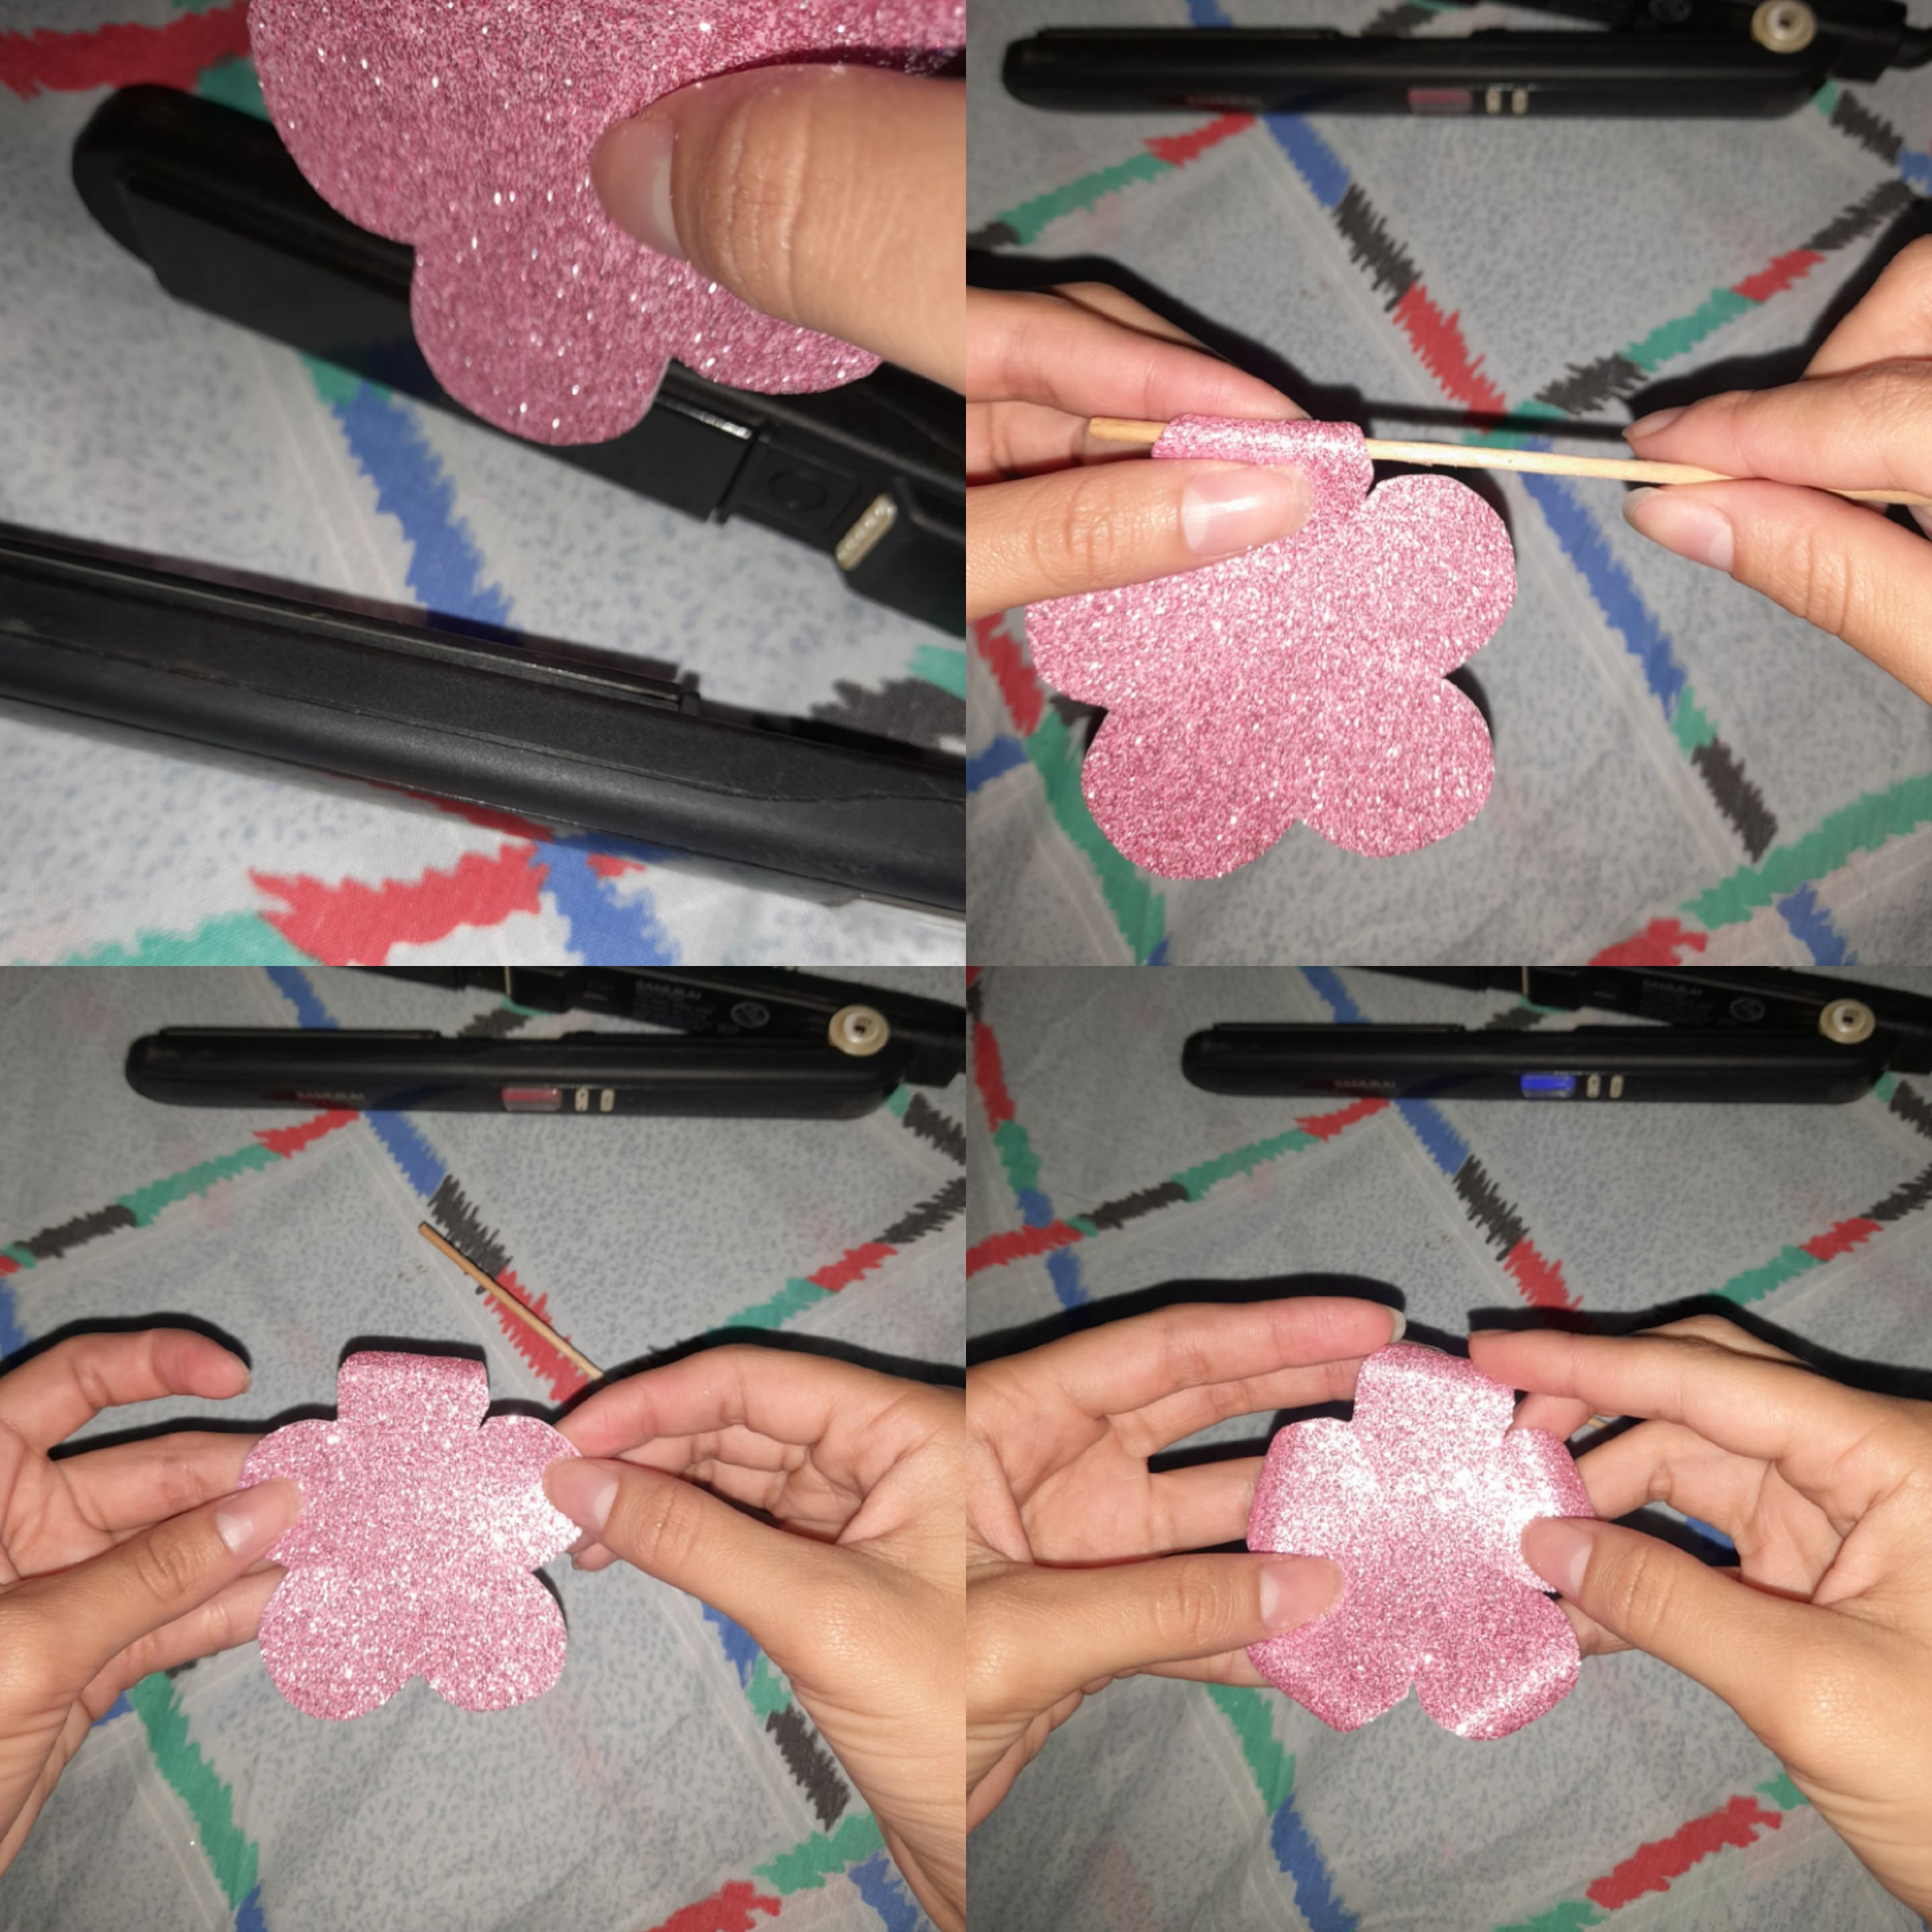
Paso 4: Luego le fuí dando vuelta a cada pétalo mientras lo pegaba con silicón, lo coloqué en un palito de altura para así sostenerla, y así se fué notando la flor.
Step 4: Then I turned each petal around while I glued it with silicone, I placed it on a tall stick to hold it, and that's how the flower became noticeable.

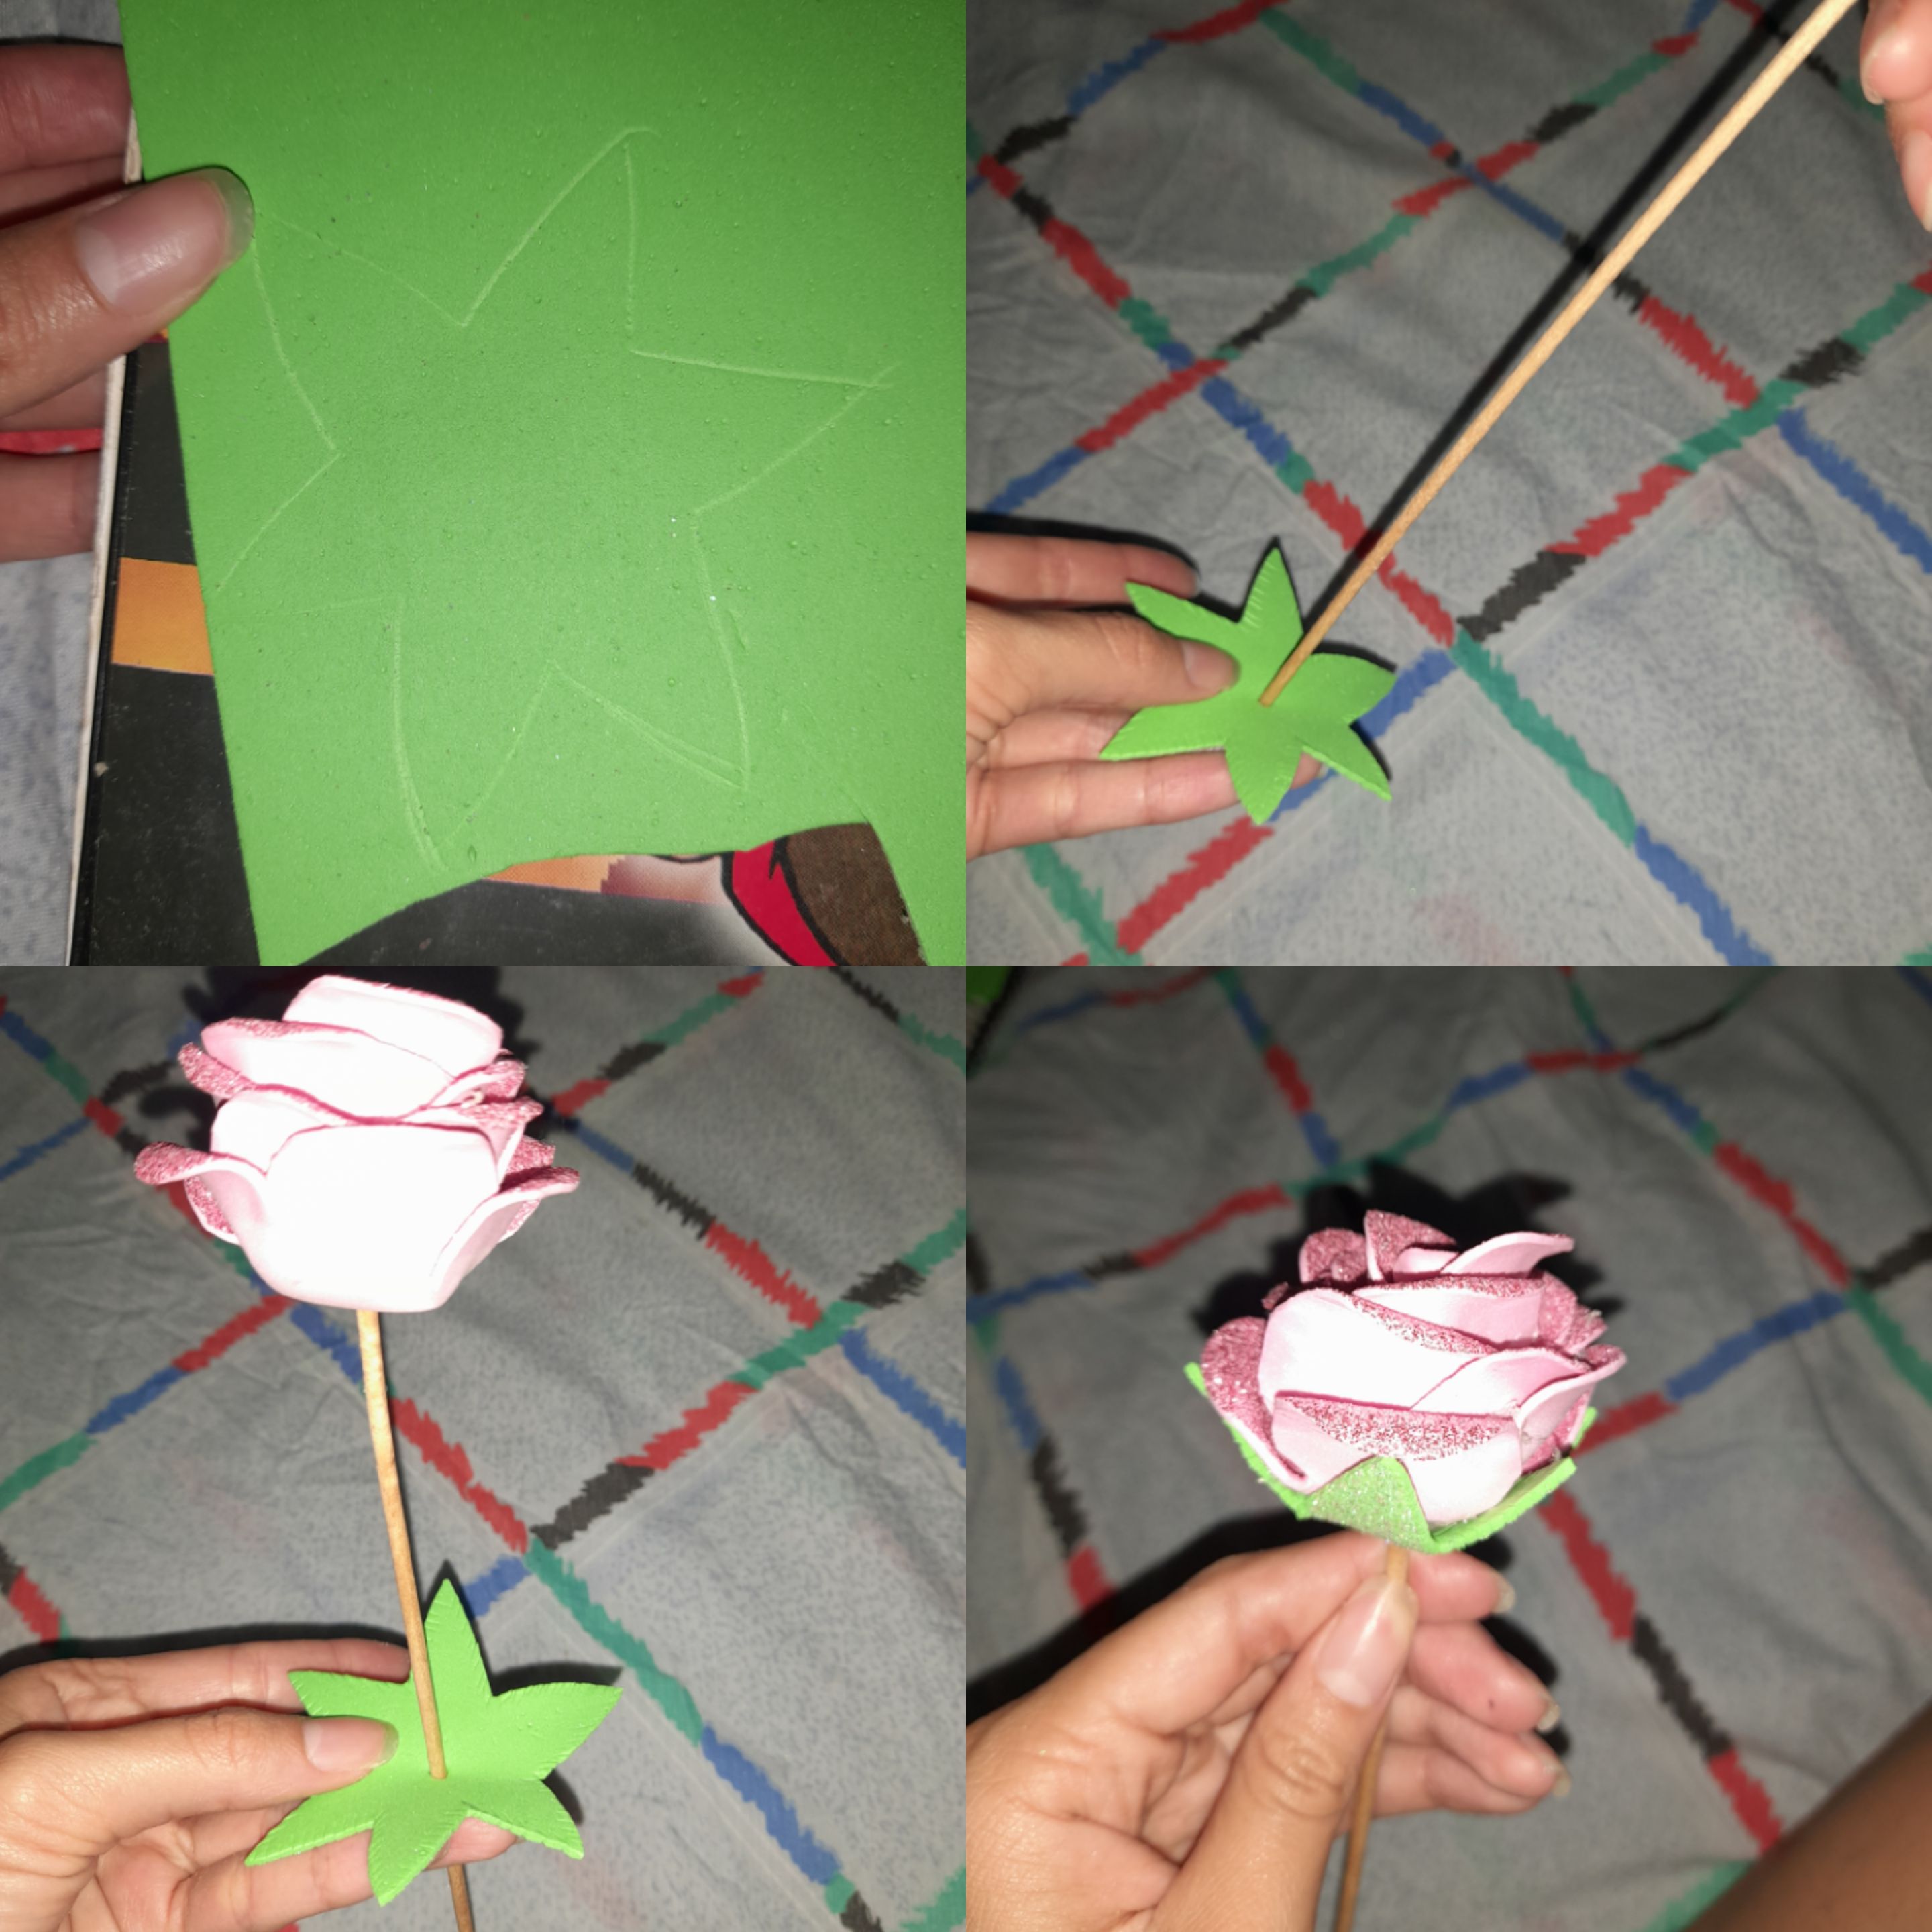
Paso 5: hice otro molde en una hoja blanca, pero esta vez era diferente, luego de eso lo coloqué en el foami verde y lo remarqué, recorté y lo puse debajo de la flor.
Step 5: I made another mold on a white sheet, but this time it was different, after that I placed it on the green foami and highlighted it, cut it out and put it under the flower.
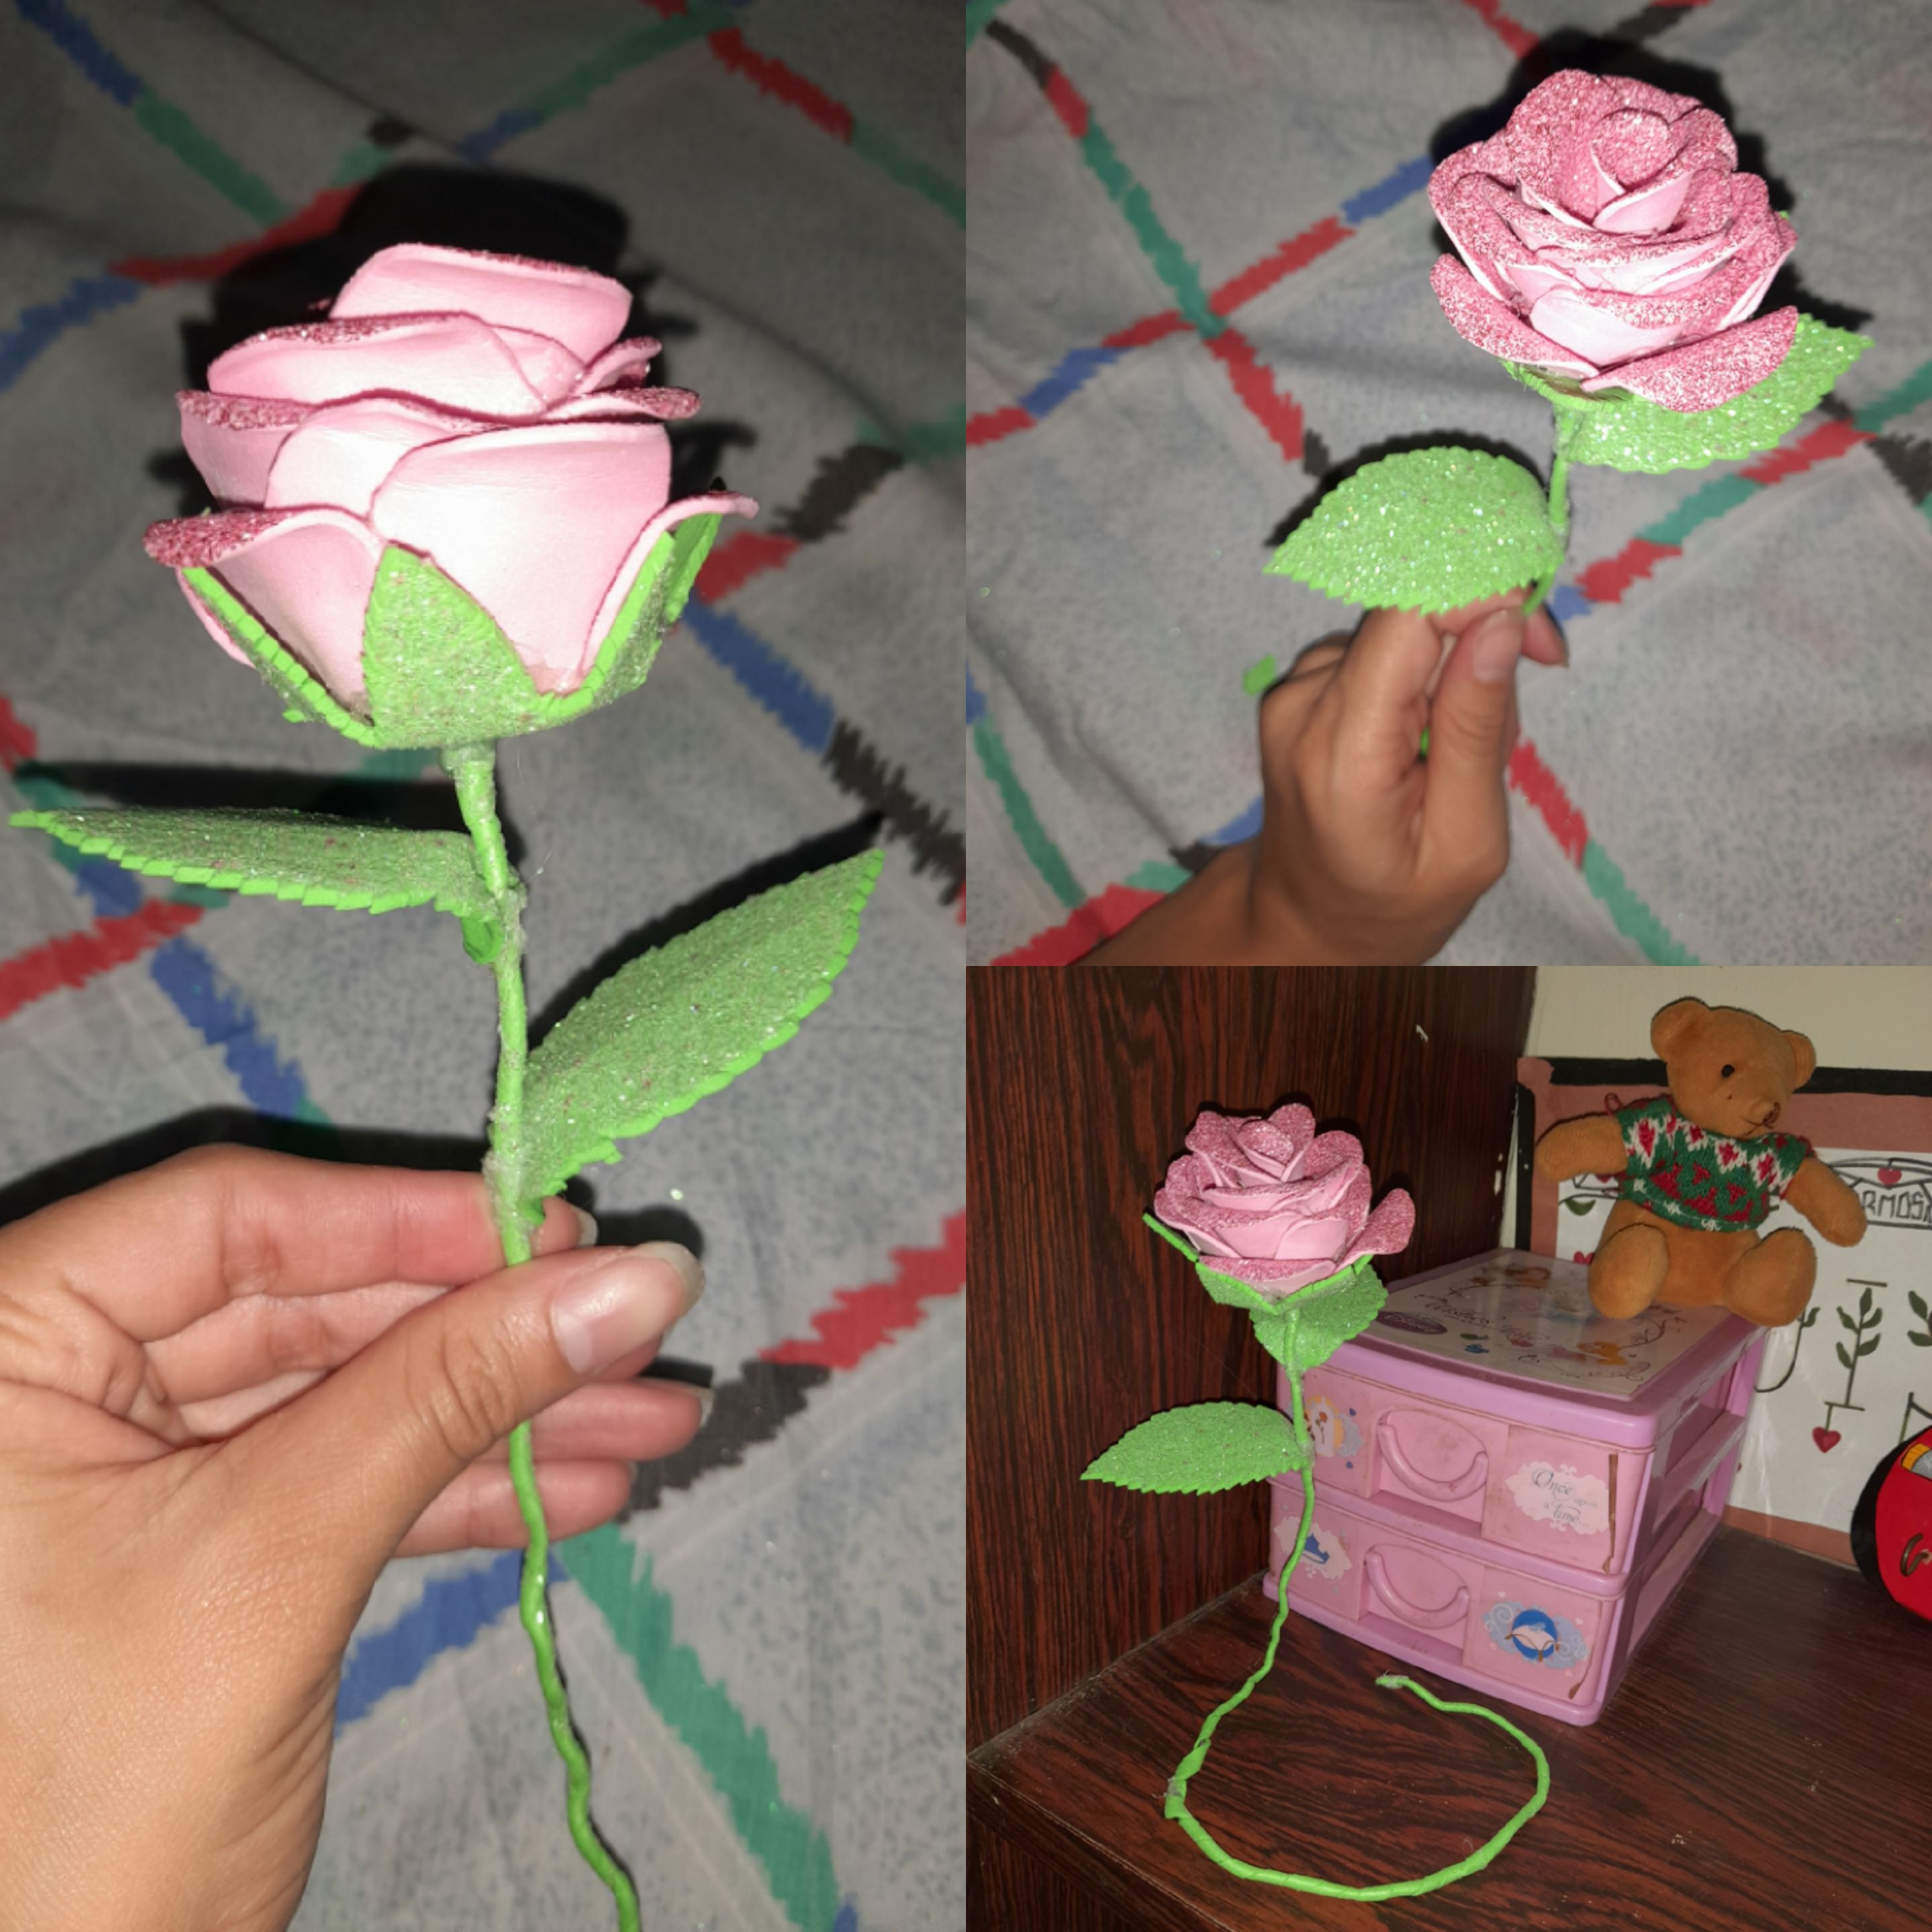
Paso 6: Esta vez recorté una telita del foami verde, luego hice unas hojas verdes.
Step 6: This time I cut out a small piece of green foam, then I made some green leaves.
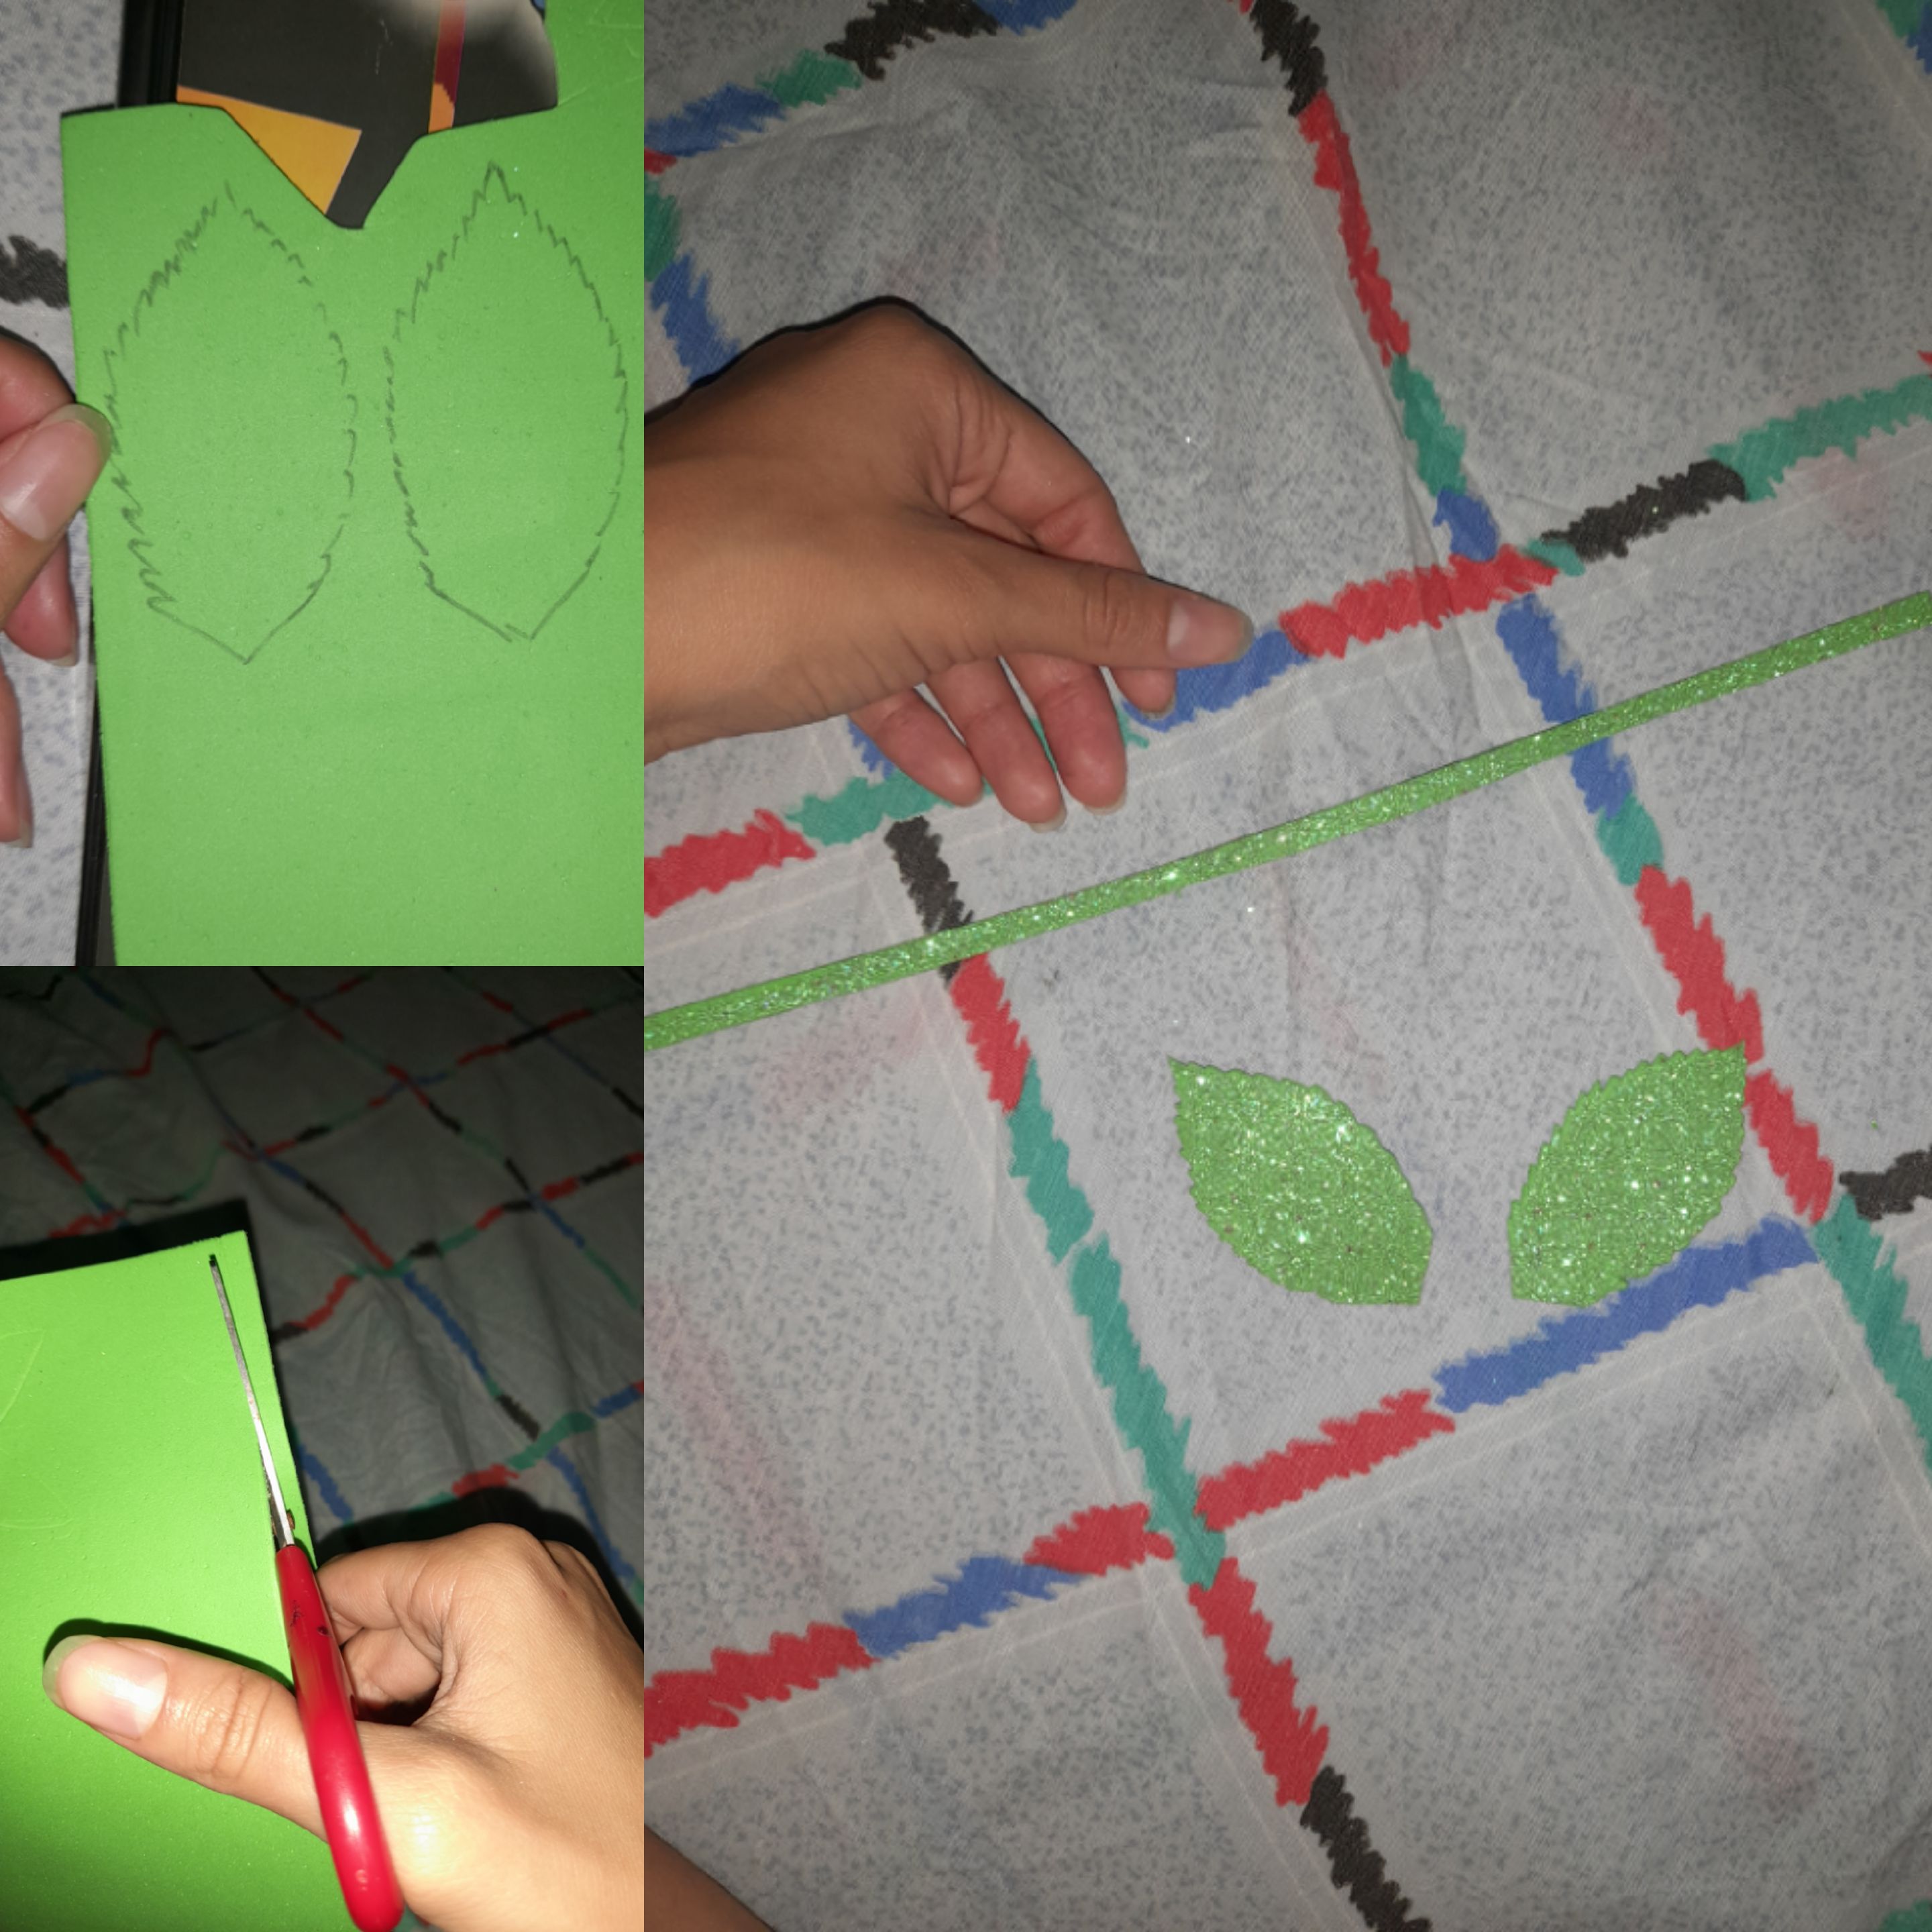
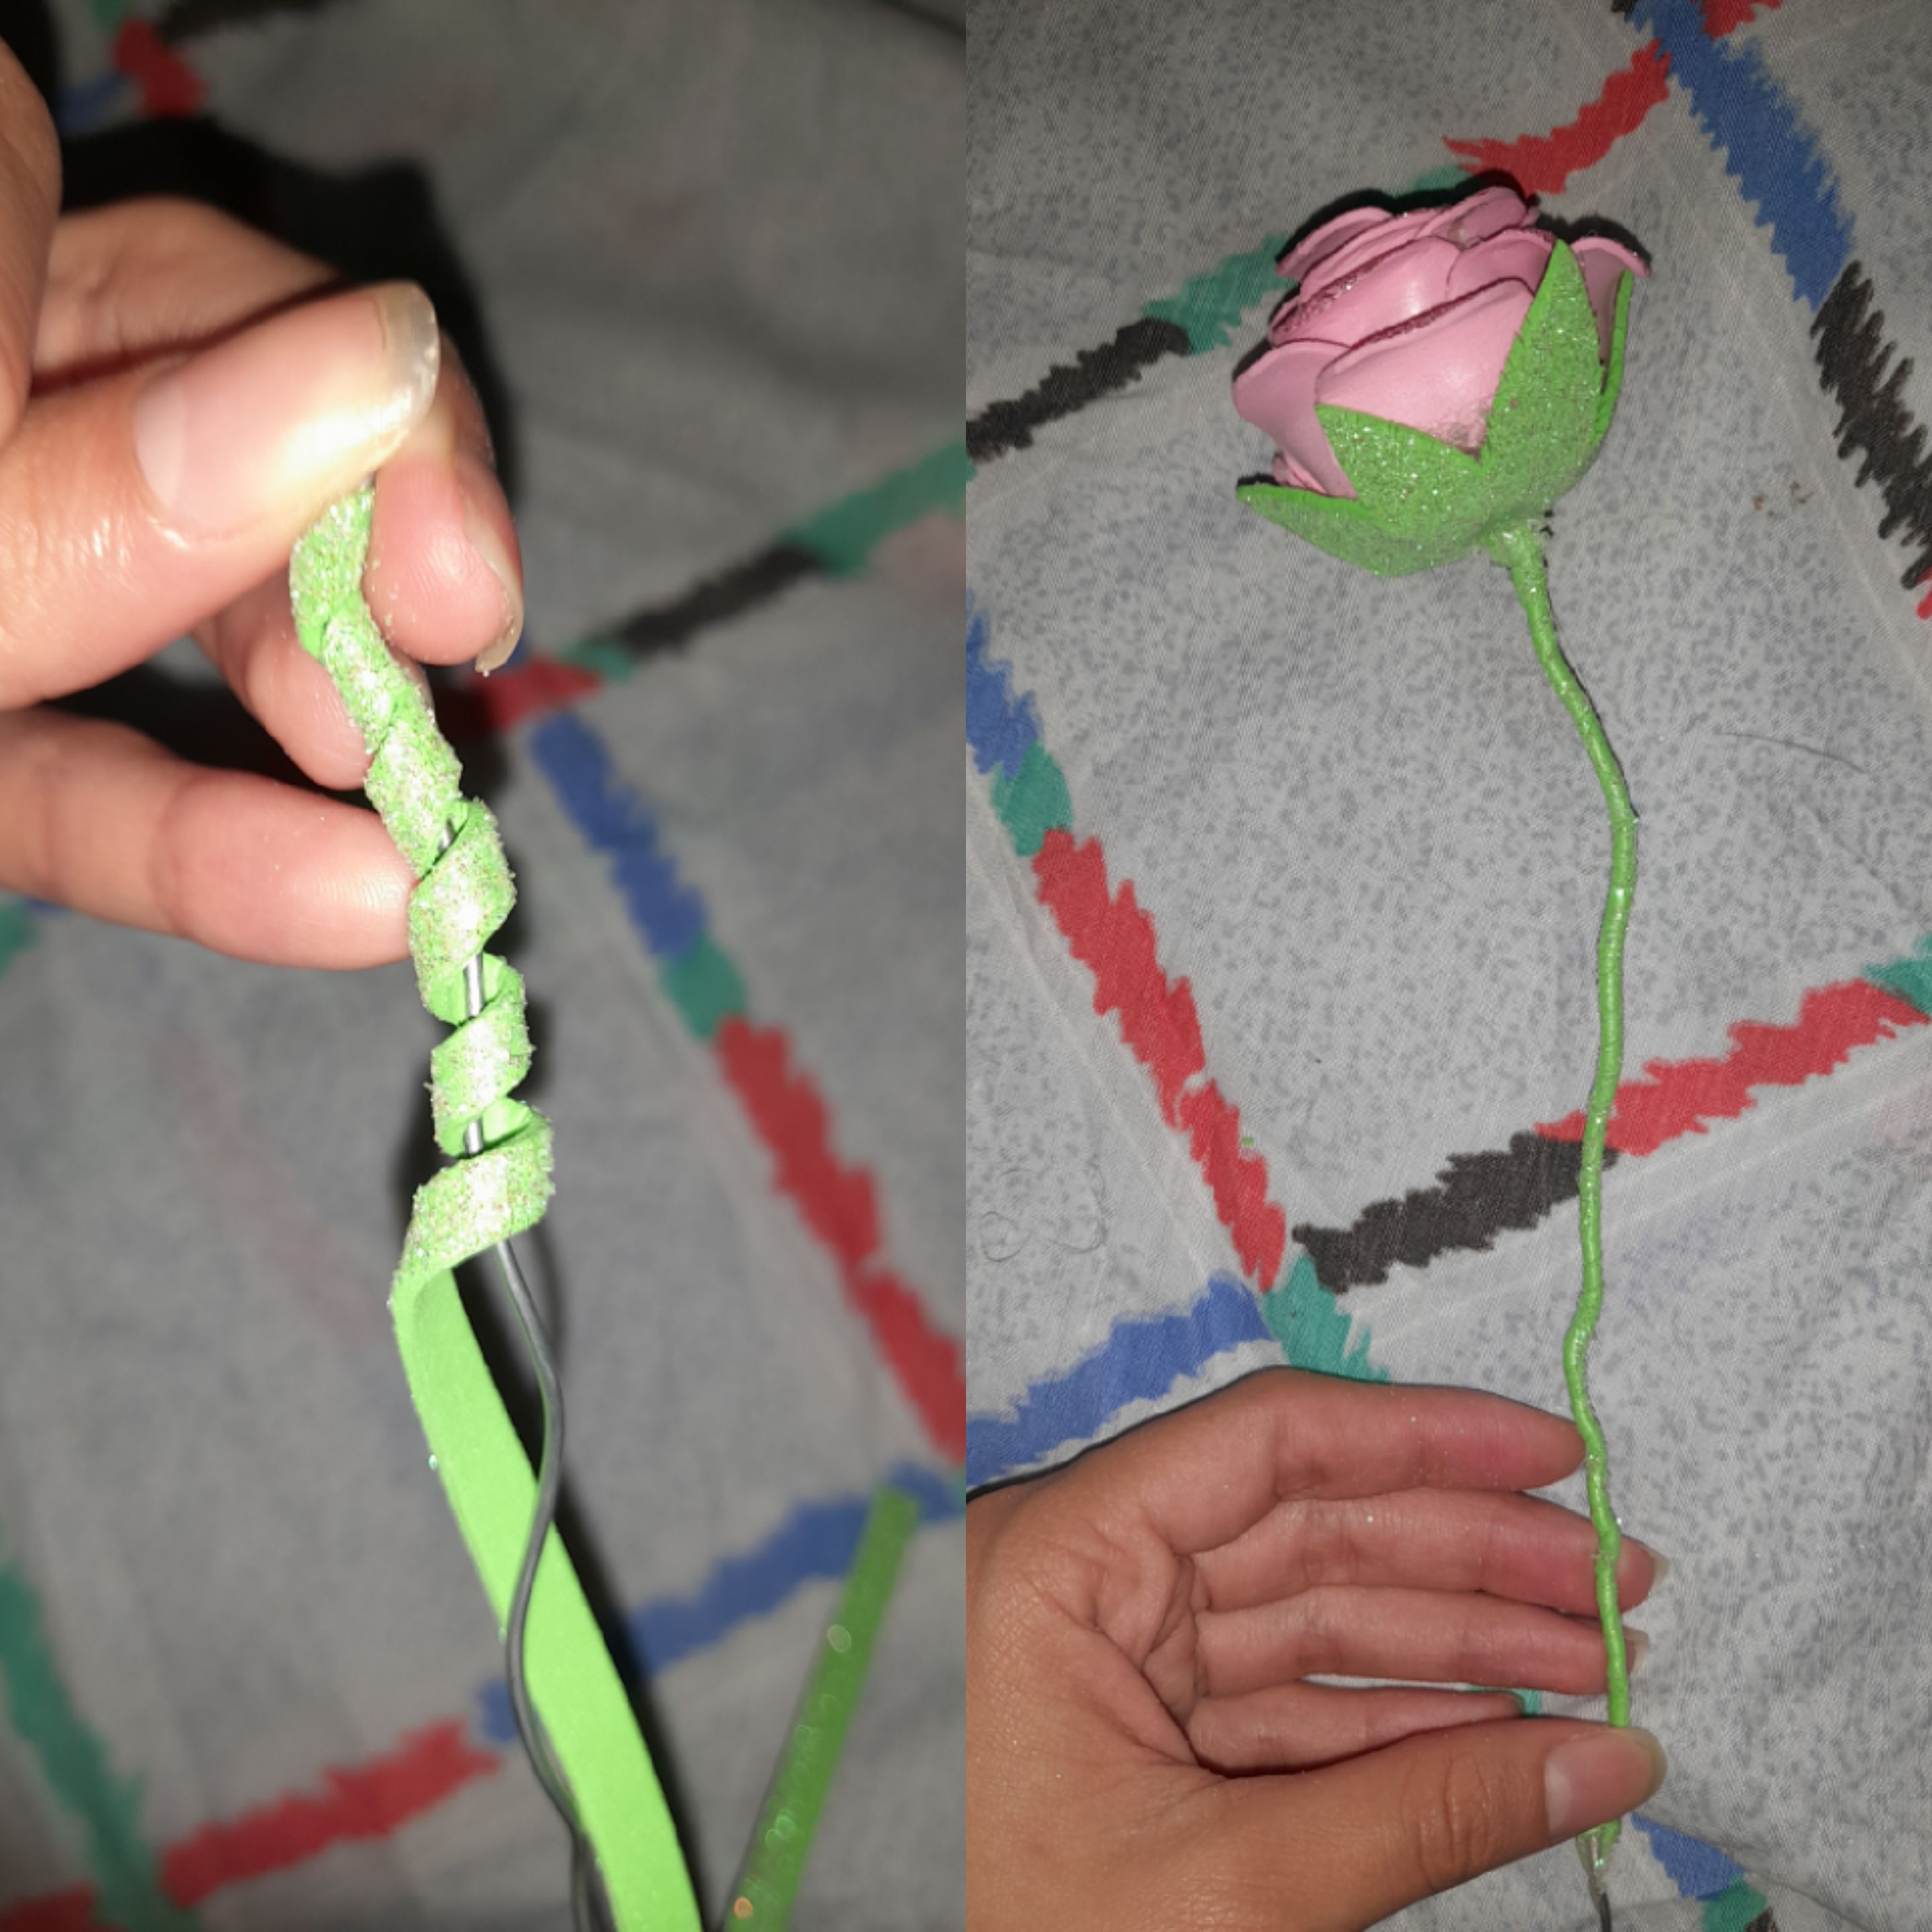
Paso 7: forré el pedacito de alambre y lo coloqué en la rosa, puse cada punta de las hojas en la plancha, doblé para así pegarla en el palito de la flor.
Step 7: I wrapped the little piece of wire and placed it on the rose, I put each end of the leaves on the iron, I folded it to stick it on the flower stick.

Paso 8: Y por último la coloqué en una parte de mi cuarto para adornar ese pedacito, luego probaré con otros colores a ver que tal quedan.
Step 8: And finally I placed it in a part of my room to decorate that bit, then I'll try other colors to see how they look.
Todo el contenido es de mi autoría y las imágenes son de mi propiedad @luisangelis
All content is my own and the images are my property @luisangelis
Interesting and creative as well. Now you have a rose for life 😃
I see you're not commenting much. Hopefully this is going to change in the near future as engagement on Hive is key.
Thank you very much for informing me, and for seeing my content 😊
Que linda te quedo, siempre digo que me gustan mas para decoracion del hogar las flores artificiales y las reales en el jardin en la tierra, no conocia el foami, o quiza aqui se le dice de otra forma pero me gusto el material porque es brillante jajaja parezco como los niños que se asombran con las cositas brillantes jeje
Gracias por el tutorial, pintorezca florcita 🌹
Muchas gracias, me alegra mucho que le haya gustado mi trabajo😅🤗