Improvising a Christmas Wreath. / Improvisando una Corona Navideña. 🎄🌟😉

🎄🌟🎄🌟🎄🌟🎄🌟🎄🌟🎄🌟🎄🌟🎄🌟
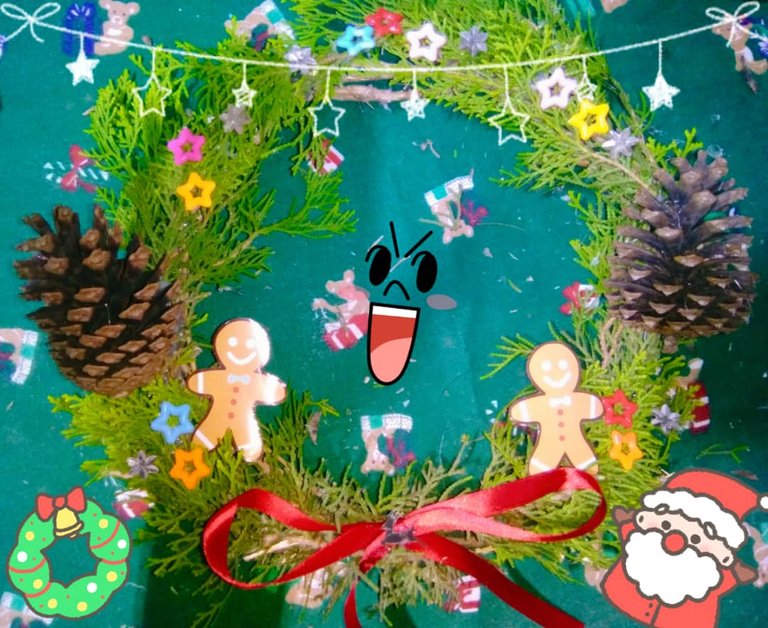
🎄🌟🎄🌟🎄🌟🎄🌟🎄🌟🎄🌟🎄🌟🎄🌟
Hello all the creative minds, I hope you are very well and have the muse of active creativity hehe.
Today I want to share with you the beautiful and simple Christmas wreath that I made in just a few minutes with little things I had at home. Because it's not enough to have so many materials to create something.
Here is a step-by-step look at the creation process.
The materials I had on hand were:
- Rosemary sticks or sprigs
- Hot Silicone Bars
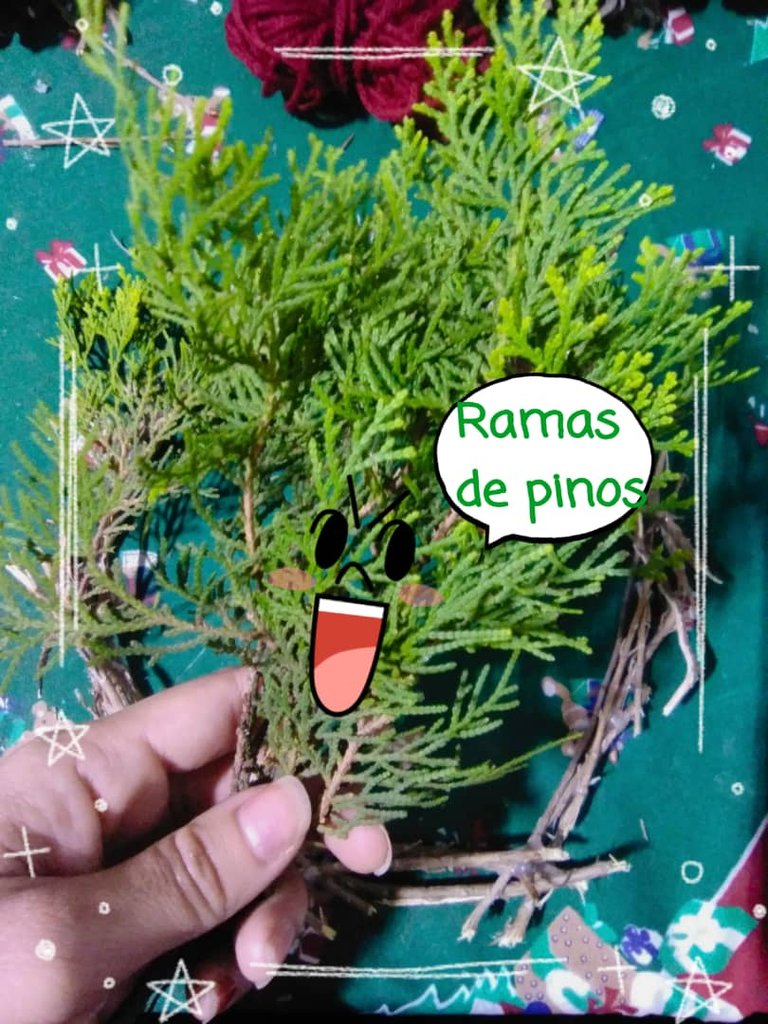
- Pine branches
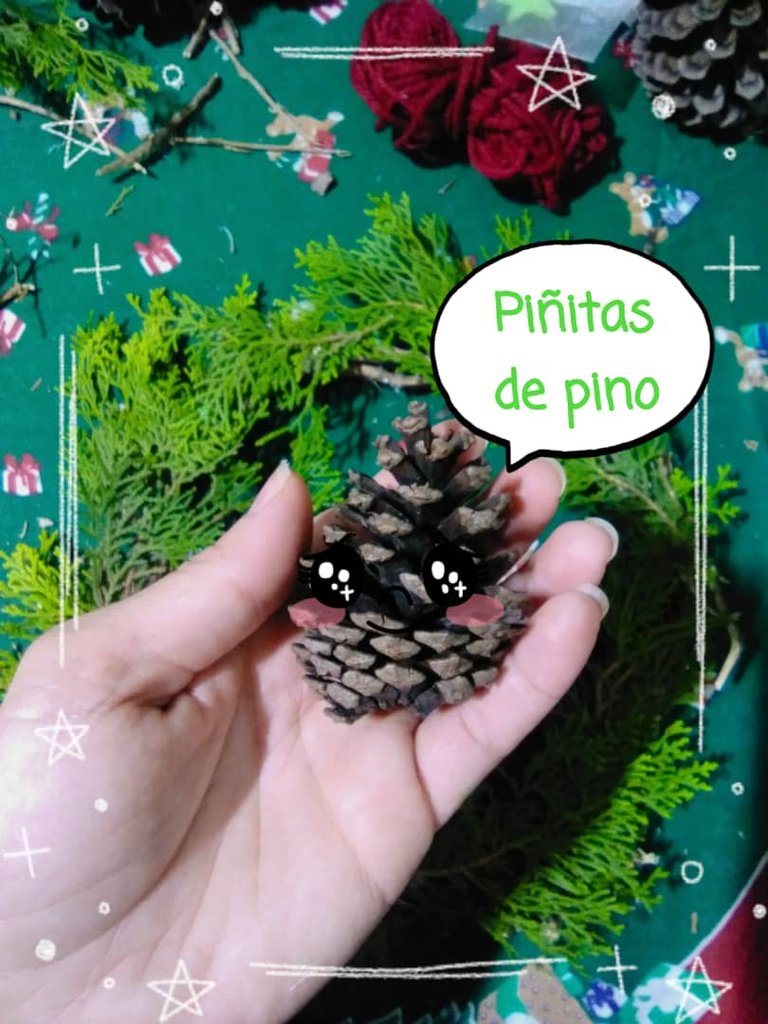
- Pine nuts
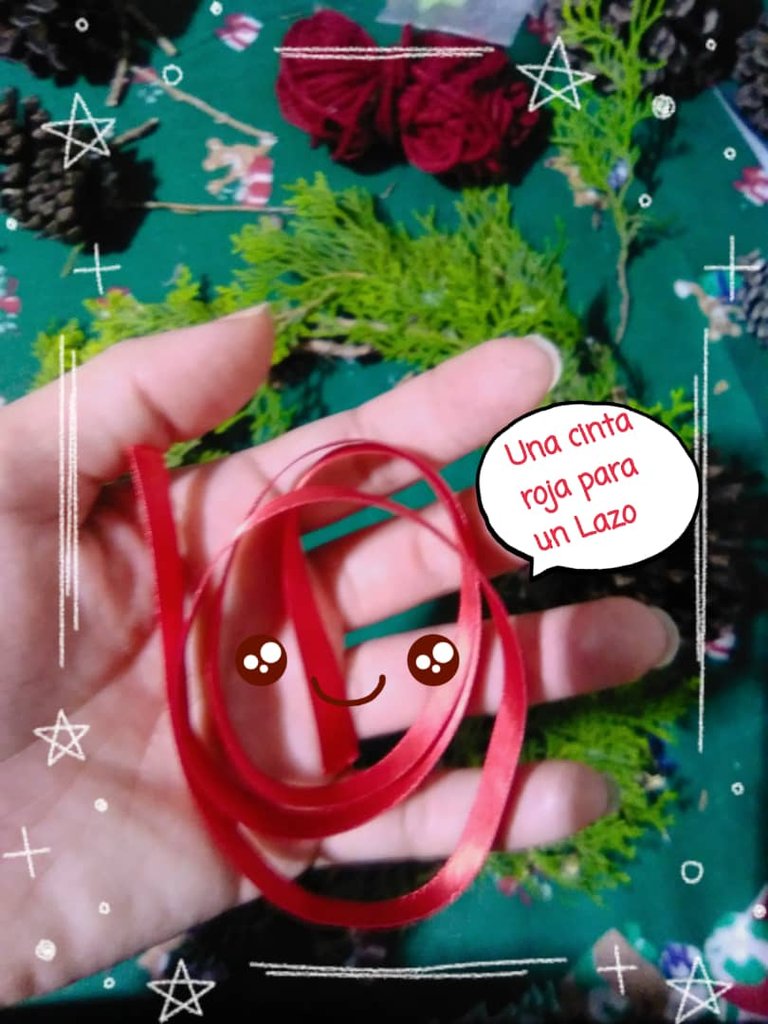
- A ribbon
- And most importantly, creativity.
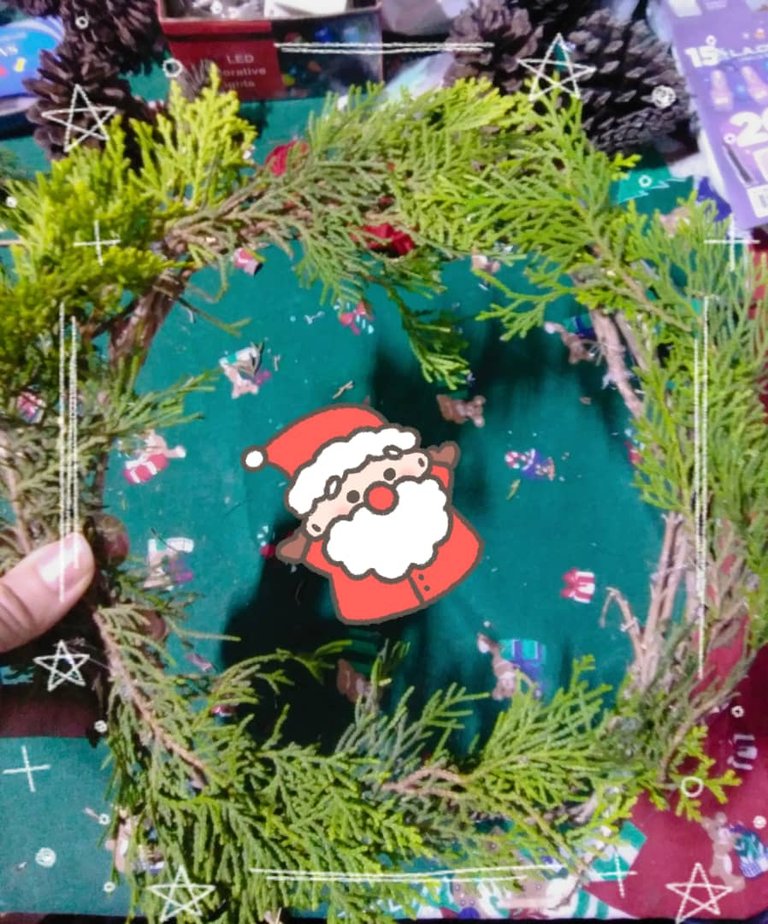
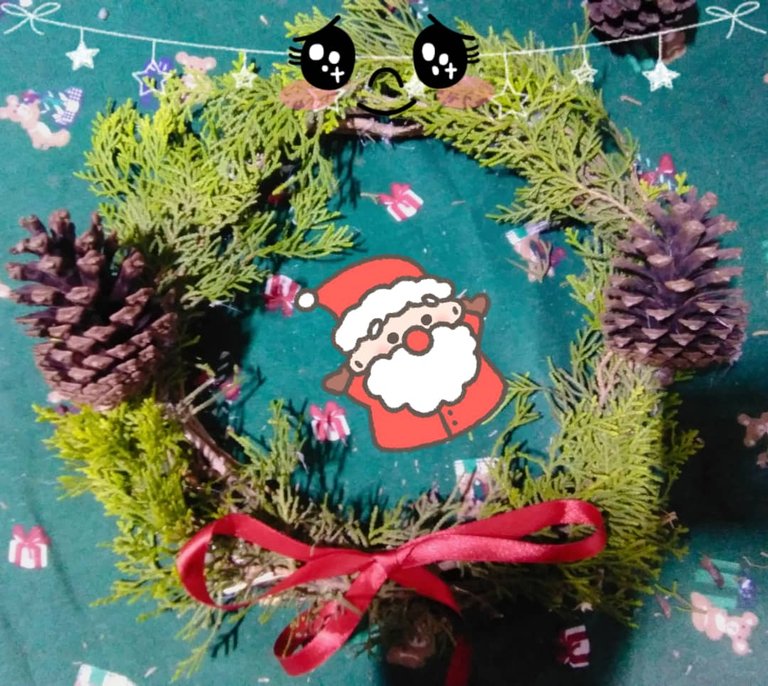
Once I had everything, I started to join the sticks and formed the base of the crown, as circular as I could. Then I placed the pine branches on it, so that it would hide the branches at the base a little.
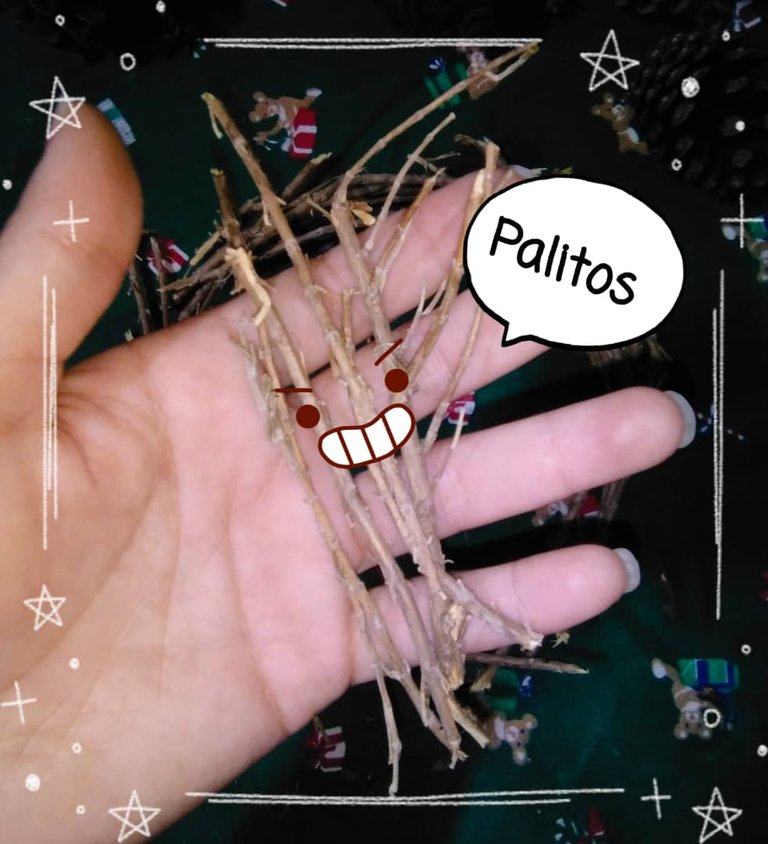
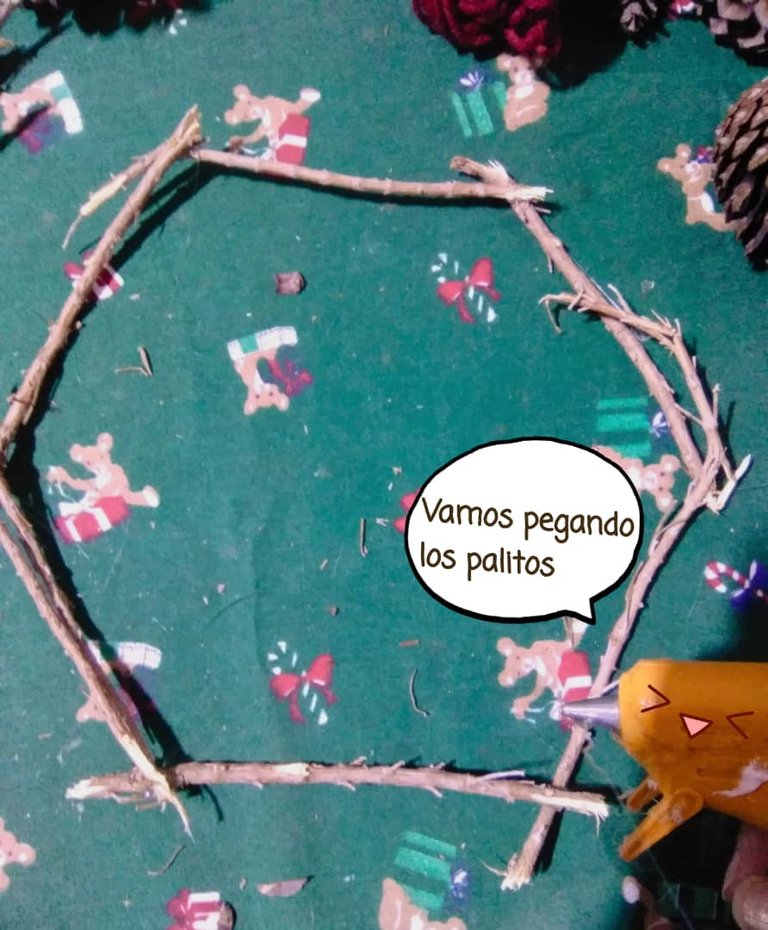
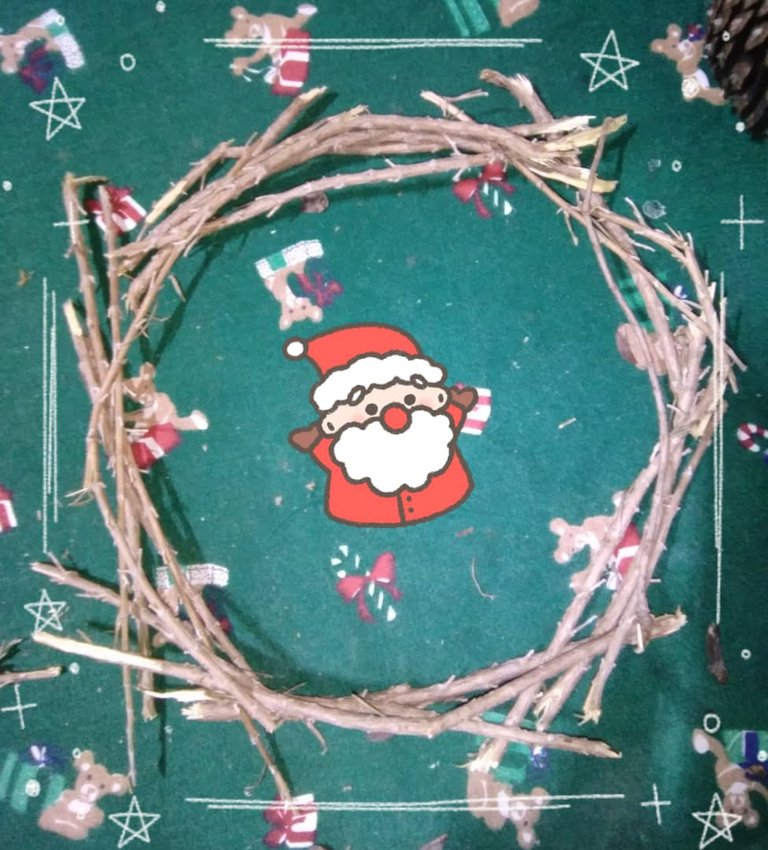
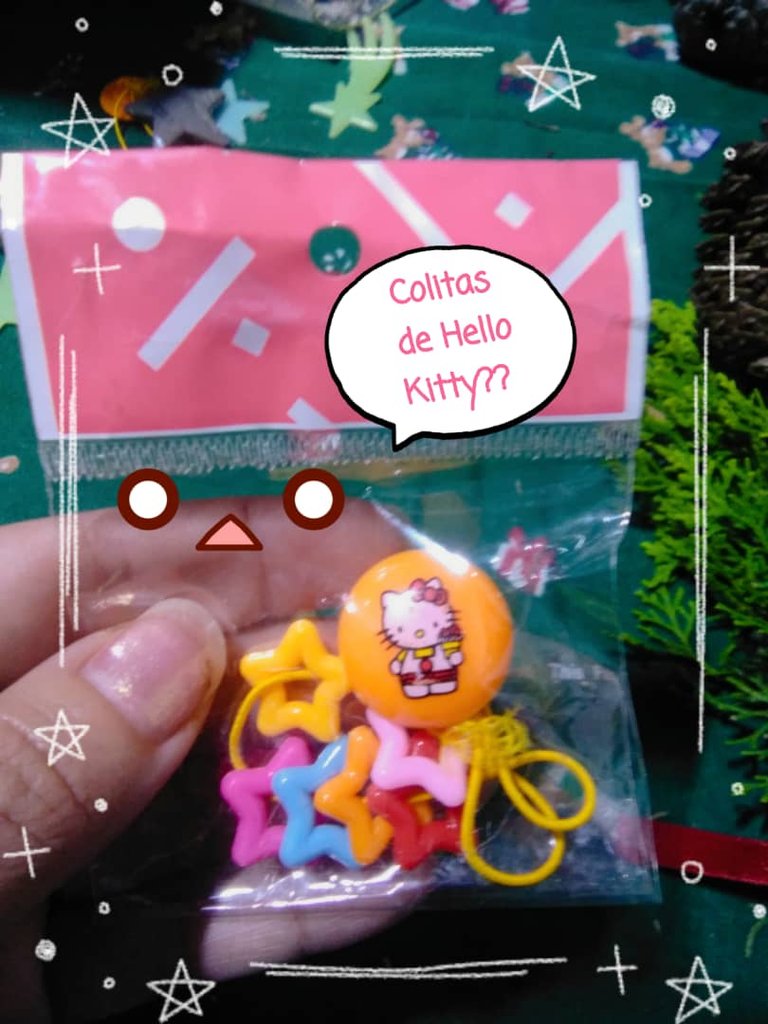
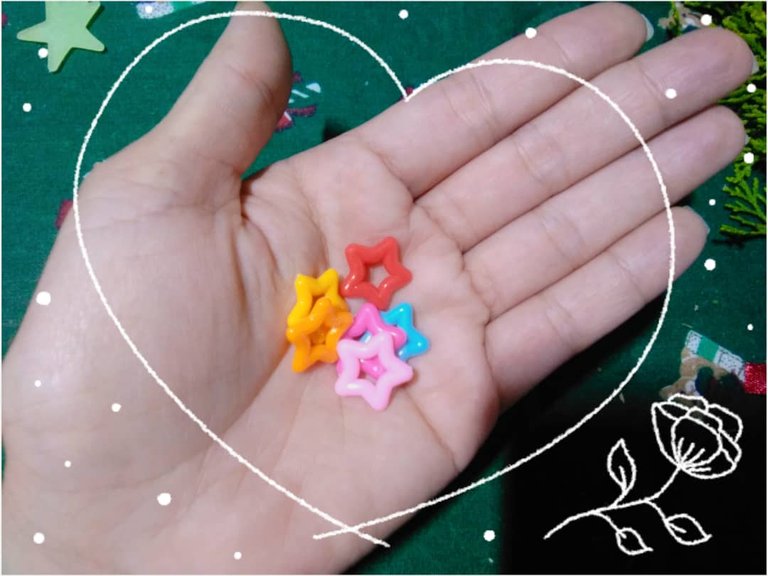
When the crown was already assembled I proceeded to place the details that I had at hand, such as the pinitas, a bow that I made with a ribbon and some stars that I found from an old hello Kitty tail hehe.
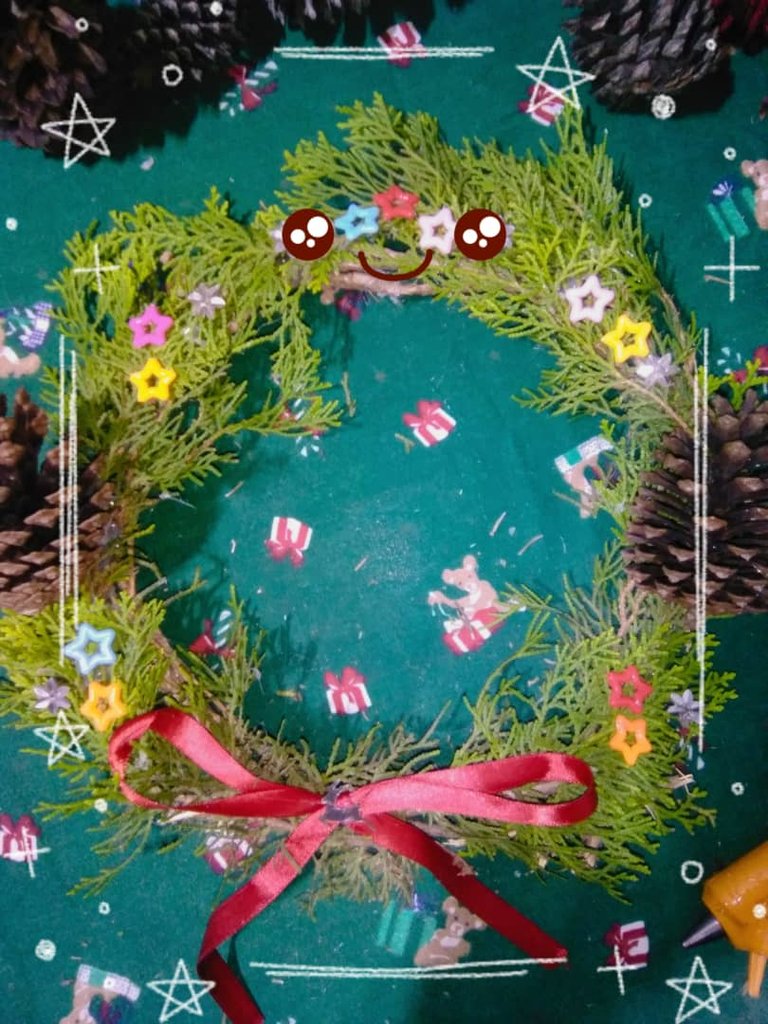
I also got some gingerbread cookie labels that I thought were very nice and I put them on it.
And that's it!! We have a cute Christmas wreath ready to decorate our door or any part of the house.
It doesn't take much, just creativity and Christmas spirit. 😉
🎄🌟🎄🌟🎄🌟🎄🌟🎄🌟🎄🌟🎄🌟🎄🌟
ESPANOL
🎄🌟🎄🌟🎄🌟🎄🌟🎄🌟🎄🌟🎄🌟🎄🌟
🌟
🎄🌟🎄🌟🎄🌟🎄🌟🎄🌟🎄🌟🎄🌟🎄🌟
Hola q todas las mentes creativas, espero se encuentren muy bien y tengan la musa de la creatividad activa jeje.
Hoy les quiero compartir la linda y sencilla corona navideña que elabore en tan solo unos minutos con pequeñas cosas que tenía en casa. Ya que no basta tener tantos materiales para crear algo.
Aquí les dejo el paso a paso de lo que fue el proceso de creación.
Los materiales que tenía a la mano eran:
- Palitos o ramas de romero
- Barras para silicón caliente
- Ramas de pino
- Piñitas
- Una cinta
- Y lo más importante, la creatividad.
Una vez teniendo todo comencé a unir los palitos y fui formando la base de la corona, lo más circular que pude. Luego fui colocándole las ramas de pino, de manera que ocultara un poco las ramas de la base.
Cuando ya la corona estuvo armada procedí a colocar los detalles que tenía a la mano, como las piñitas, un lazo que hice con una cinta y unas estrellitas que encontré de una vieja colita de Hello Kitty jeje.
También conseguí unas etiquetas de galletitas de jengibre que se me hicieron muy bonitas y se las coloqué.
¡¡Y listo!! Tenemos una linda corona navideña lista para decorar nuestra puerta o cualquier parte de la casa.
No se necesita mucho, solo creatividad y espíritu navideño. 😉
🎄🌟🎄🌟🎄🌟🎄🌟🎄🌟🎄🌟🎄🌟🎄🌟
Increíble, esas son las buenas!!!
Muchas gracias 😘
Se ve muy bonita tu corona, yo tengo un pino en casa, no se me habia ocurrido esta idea
Aww muchisimas gracias por pasar a ver mi corona jeje aprovecha y crea tu propia corona a tu estilo 🤗 Saludos.
Super bonita amiga ☺️
Looks so cool! Loved the outcome!
Me encantó tu proyecto. Muy original y hermoso. Saludos.