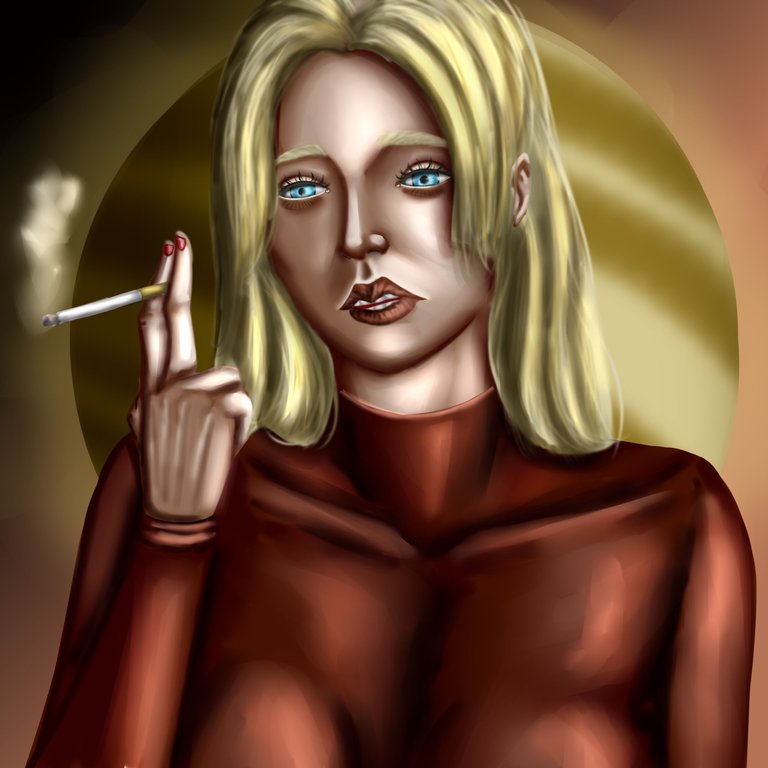
Daniella, The Smoke of a Sad Memory.
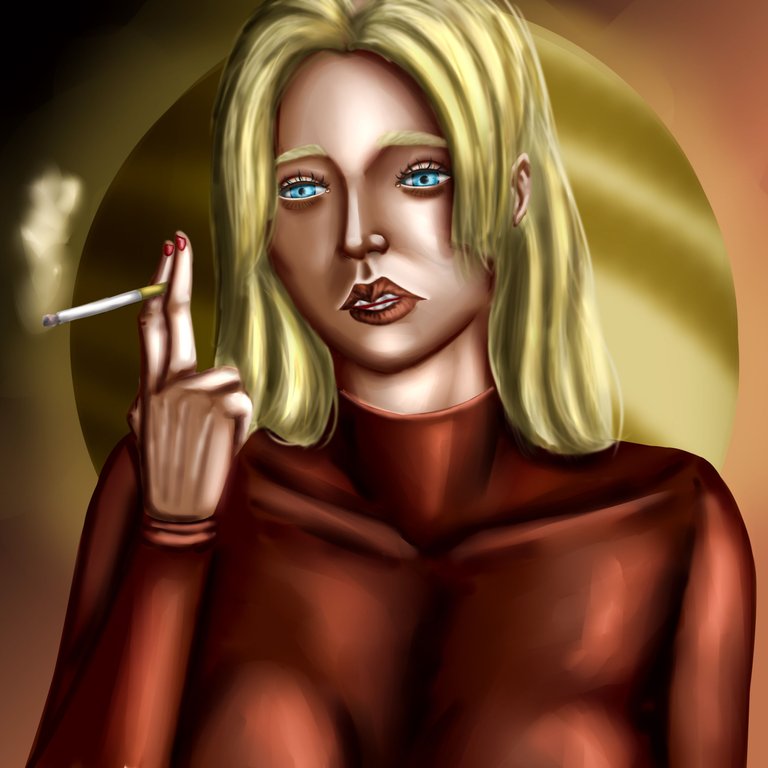
What's up my art lover people, happy day and I hope you are very very well, today I want to share a work in which I focus a little on applying yellowish and warm tones to test the result a little, so I want to share this work which I decided to title Daniella, The Smoke of a Sad Memory and here I will share the process of how I did it:
Qué onda mi gente amante del arte, feliz día y espero se encuentren muy muy bien, el día de hoy les quiero compartir una obra en la cual me centre un poco en aplicar tonalidades amarillentas y cálidas para probar un poco el resultado, por ello les quiero compartir esta obra a la cual decidí titular Daniella, El Humo de un Triste Recuerdo y aquí les compartiré el proceso de como la hice:
PROCESS / PROCESO
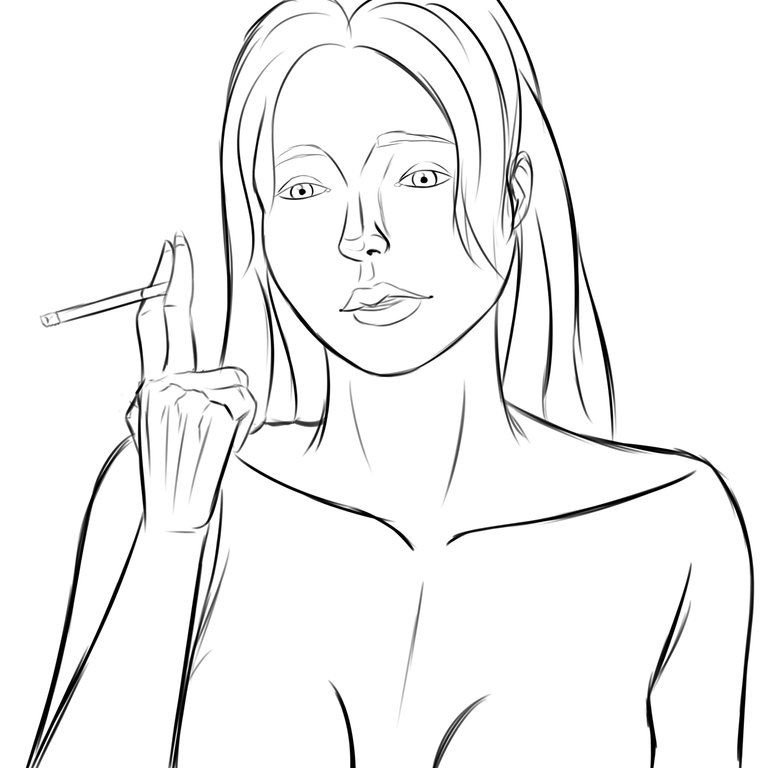
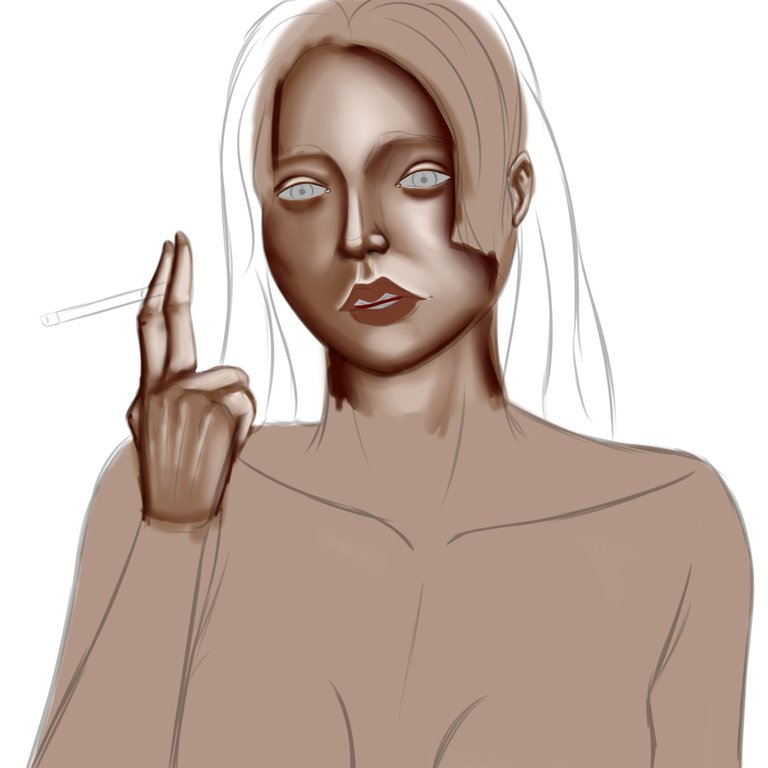
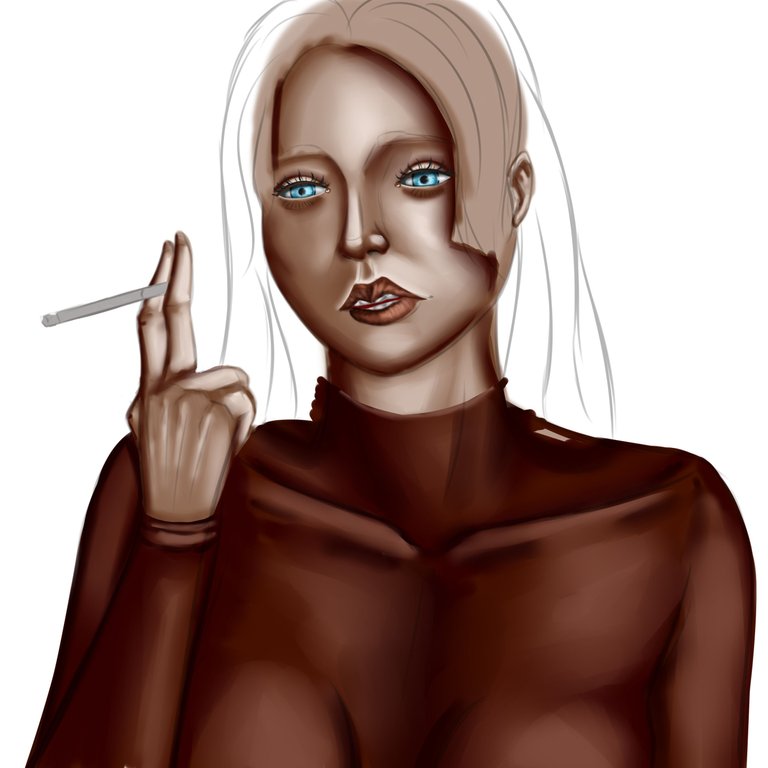
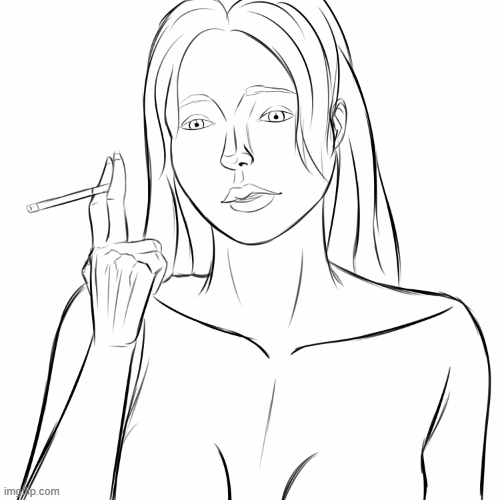
To start building my work I focused on forming a structure in which Daniella's character would give the impression of being sad and at the same time thoughtful because of some memory of her past which she can't erase; this didn't take me much time since with the comic brush it is easier for me to make longer and more defined strokes on my tablet. After finishing with the primary sketch the next step was to apply colors and for this as I said before I would use warm tones.
Para comenzar a construir mi obra me enfoque en formar una estructura en la cual el personaje de Daniella diera la impresión de estar triste y a la vez pensativa por algún recuerdo de su pasado el cual no consigue borrar; esto no me tomo mucho tiempo ya que con el pincel de comic se me facilita el hacer trazos más largos y definidos en mi tableta. Luego de terminar con el boceto primario el siguiente paso fue el de ir aplicando colores y para esto como les dije antes usaría tonos cálidos.
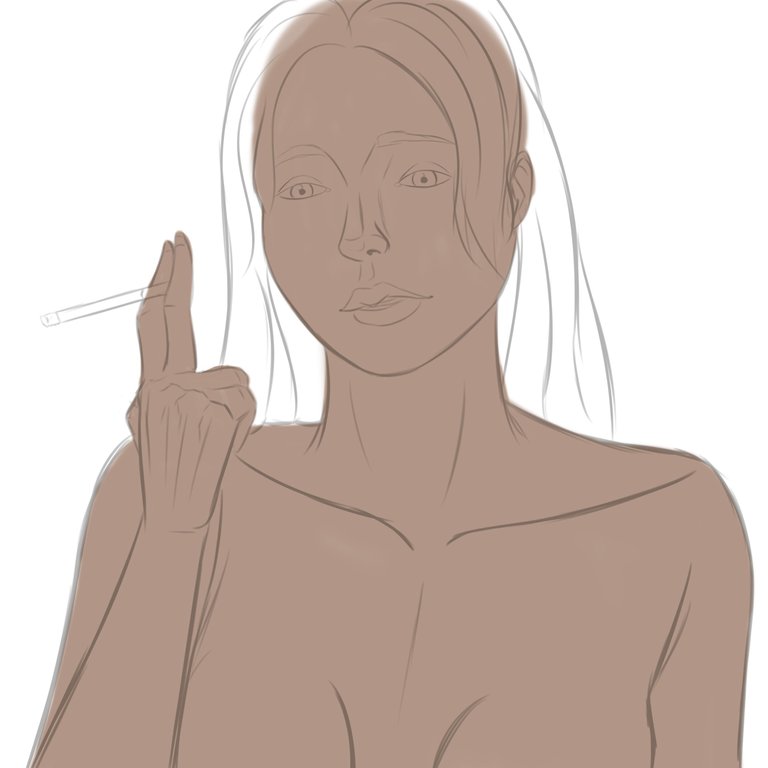
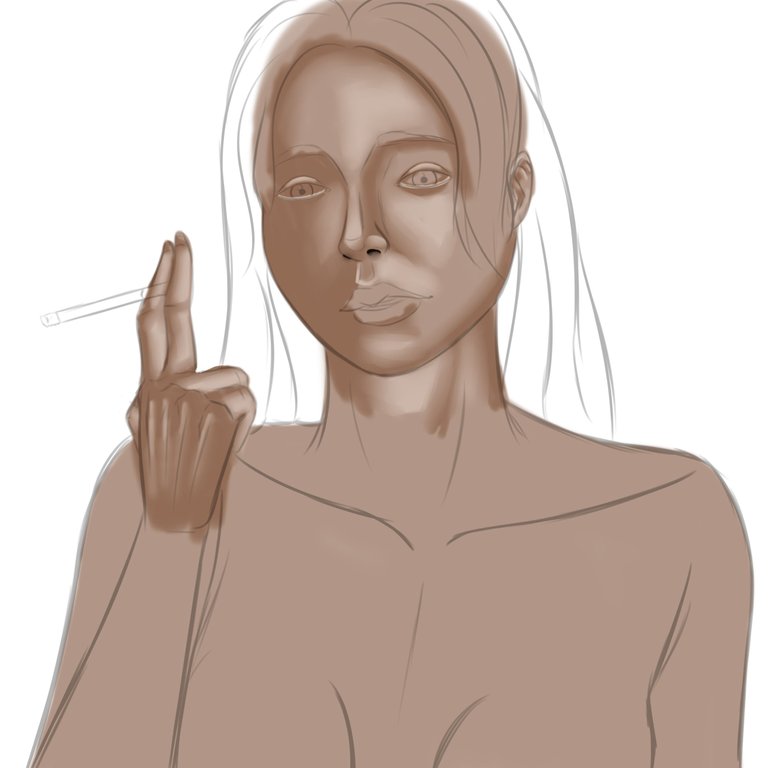
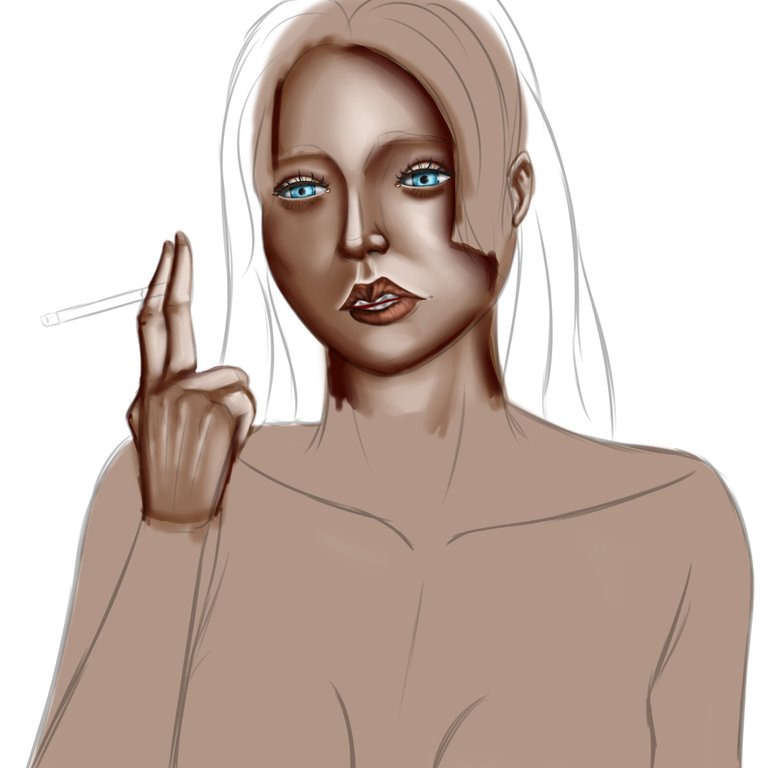
I structured the volume of the skin little by little with colors a little more intense than the original to establish a little depth and closeness in the face. After finishing with the details of the skin on the face and the hand, the next thing I did was to give color to the eyes and lips; for the eyes I used a quite striking shade of sky blue to build the iris and then I gave the appropriate volume to achieve a little realism.
Fui estructurando el voluminado de la piel poco a poco con colores un tanto más intensos que el original para ir estableciendo un poco de profundidad y también de cercanía en el rostro. Luego de terminar con de establecer los detalles de piel en el rostro y la mano lo siguiente que hice fue darle color a los ojos y labios; para los ojos usé un tono de azul cielo bastante llamativo para construir el iris y luego le fui dando el volumen adecuado para conseguir un poco de realismo.
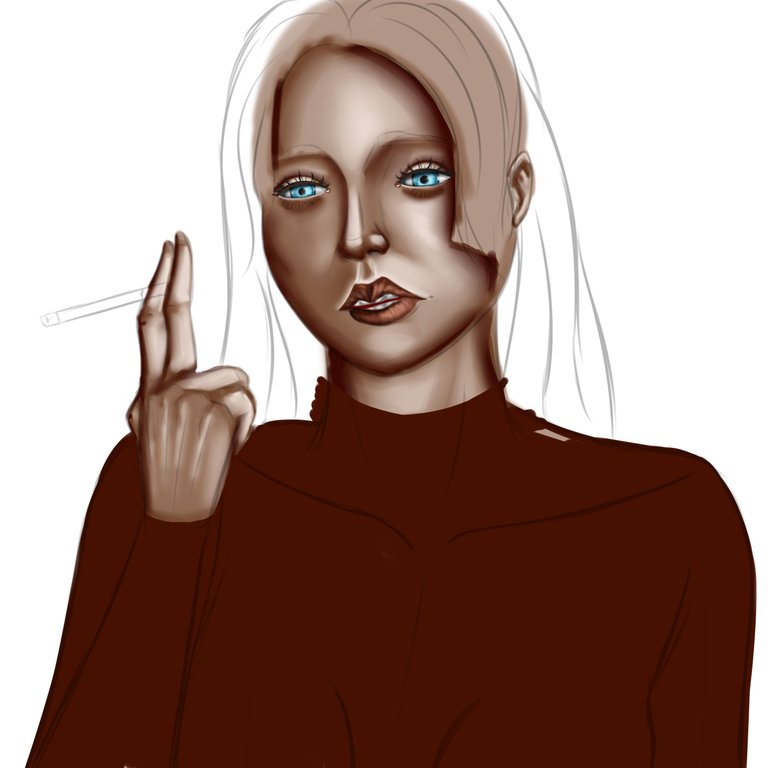
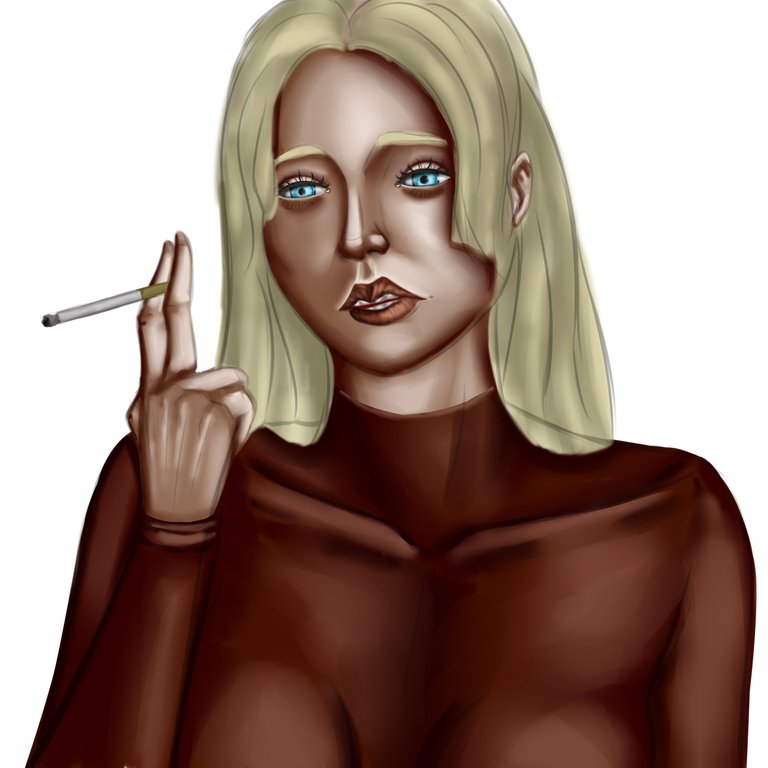
For the construction of Daniella's clothes I decided to create a kind of body-fitted sweater in scarlet red to a red wine shade, to this sweater I added details such as high shines and deep shadows in the lower areas to create a kind of shiny silk-like texture.
Para la construcción de la ropa de Daniella decidí crear una especie de Suéter ajustado al cuerpo en tonalidad roja escarlata hasta llegar a una tonalidad como vino tinto, a este suéter le añadí detalles como brillos altos y sombras profundas en las zonas bajas para crear una especie de textura como de seda brillante.
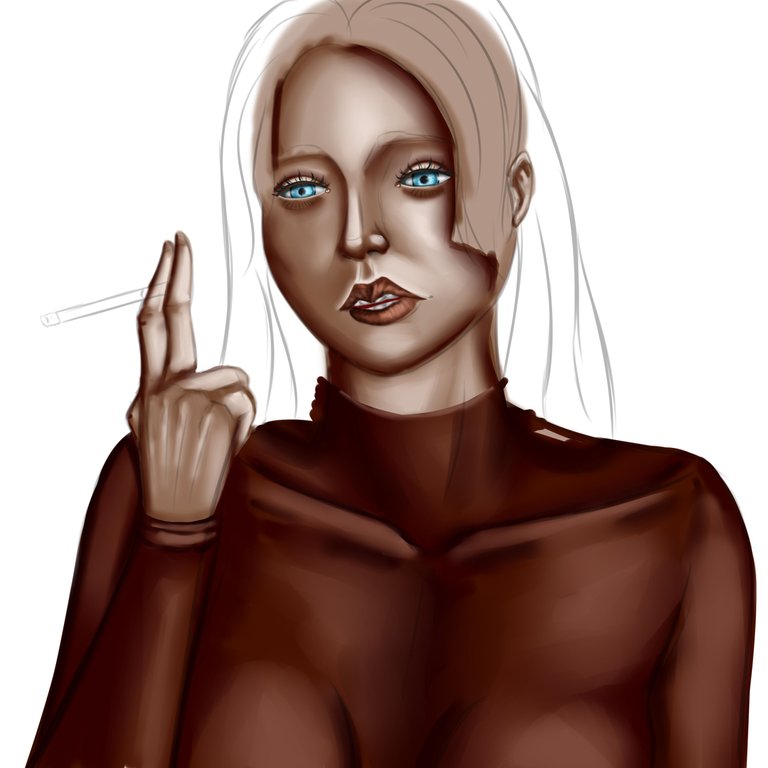
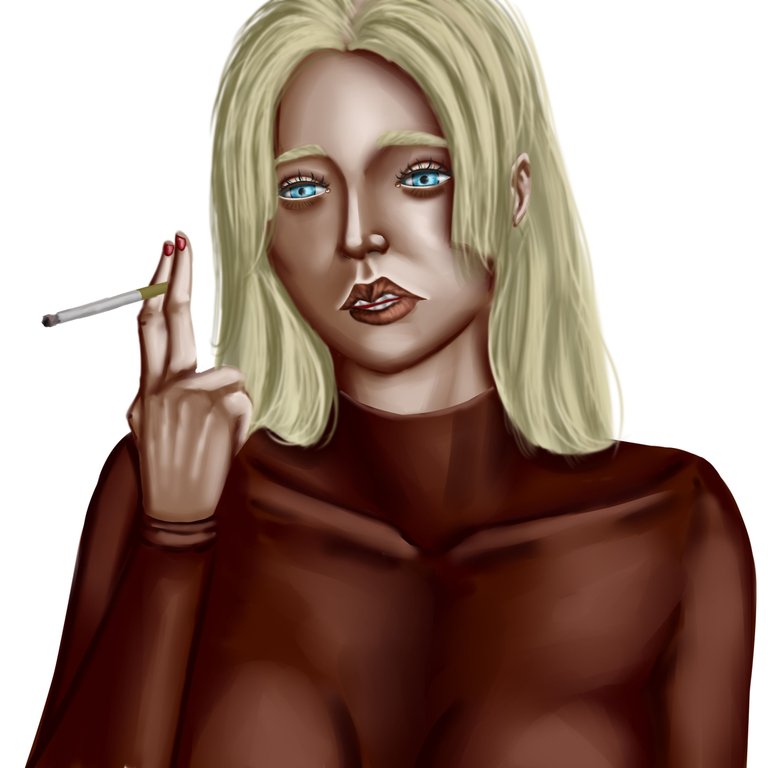
For the hair I decided to use yellowish tones to create a blonde look that I thought would look pretty good with the skin tone and above all with the color of the dress; first I traced wavy lines with the airbrush until I gradually reduced the size of the brushes and used much stronger and more striking tones to create a uniform relief for the hair.
Para el cabello me animé a usar tonos amarillentos para ir creando una apariencia rubia que me pareció que se verían bastante bien con la tonalidad de la piel y sobre todo con el color de la vestimenta; primero fui trazando líneas onduladas con el aerógrafo hasta que poco a poco fui reduciendo el tamaño de los pinceles y usando tonos muchos más fuertes y llamativos para crear un relieve bien uniforme para el pelo.
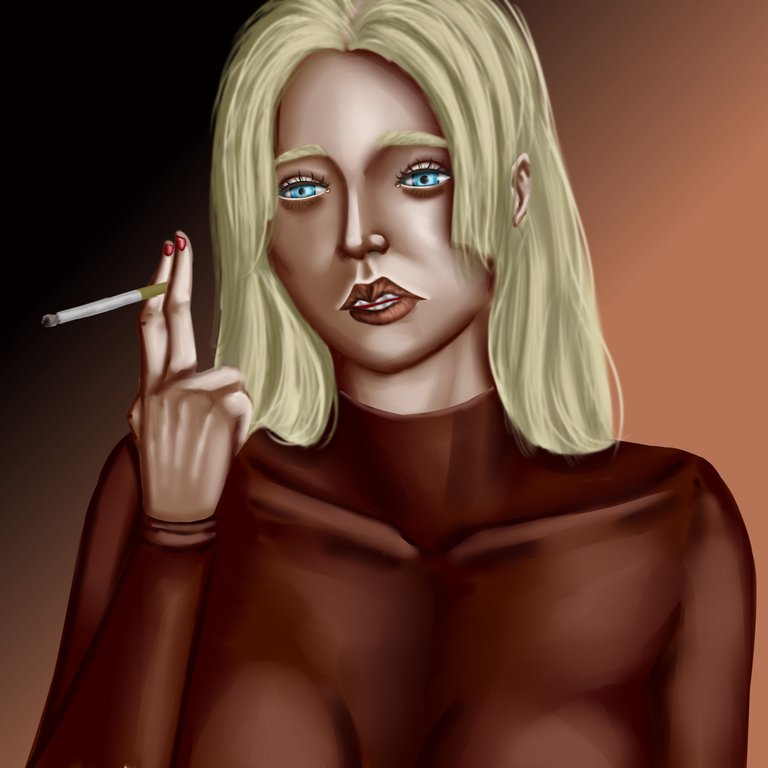
Finally I created a background quite new but that I really liked to try, first I used the Degradation brush in 2 shades of orange and then in a new layer I built a circle to give the shape of a kind of moon in yellowish color with some texture of diagonal lines; finally with a couple of layer modes I decided to add some final touches to give a little more illumination to the whole work.
Finalmente cree un fondo bastante nuevo pero que me gustó mucho intentar, primero use el pincel de Degradación en 2 tonos de naranja y luego en una nueva capa construí un circulo que diera la forma de ser una especie de luna en color amarillento con cierta textura de líneas diagonales; finalmente con un par modos de capa decidí añadir unos toques finales para darle un poco más de iluminación a toda la obra.

MATERIALS / MATERIALES
- Sai Paint Tool Program
- Huion inspiroy h610 v2 tablet
- Programa Paint Tool Sai
- Tableta Huion inspiroy h610 v2
Well my dear art loving community this has been all for today, thank you very much for having arrived here and for seeing the process of my work; I really hope you liked it a lot and I wait for you in the comments box as always and there I will read you with pleasure. A big greeting to all and we will see each other again in a next drawing my people...Happy afternoon!!!.
Bueno mi querida comunidad amante del arte esto ha sido todo por hoy, muchas gracias por haber llegado hasta aquí y por ver el proceso de mi obra; espero realmente que les haya gustado mucho y los espero en la caja de comentarios como siempre y allí los leeré con gusto. Un gran saludo a todos y nos veremos de nuevo en un próximo dibujo mi gente…Feliz tarde!!.