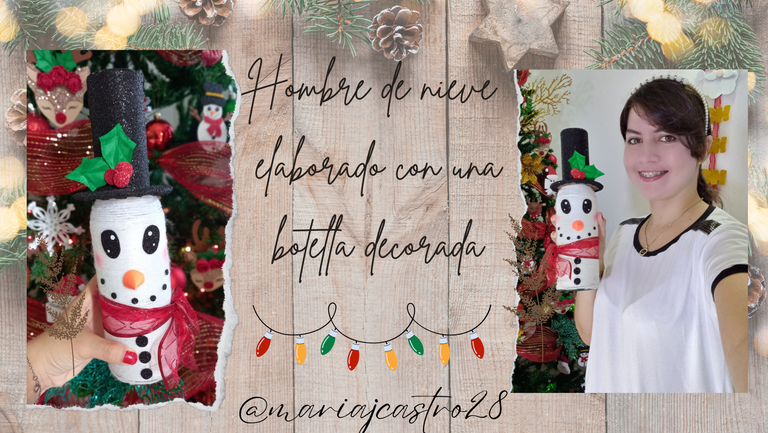
Snowman made with a decorated bottle ❄☃ | Hombre de nieve elaborado con una botella decorada ❄☃
¡Saludos Comunidad Creativa! 🎄 | ¡Greetings Creative Community! 🎄
¡Feliz inicio del mes más bonito del año! Finalmente llegó diciembre y ya falta poco para navidad y es por ello que hoy les quiero compartir un tutorial navideño de uno de mis adornos favoritos, he hecho muchos últimamente pero debo decir que este ha sido de los que más me han gustado y hoy les mostraré como lo hice, espero como siempre que les guste tanto como a mí, sin más, ¡vamos a crear!
¡Happy start of the most beautiful month of the year! December finally arrived and Christmas is almost here and that is why today I want to share a Christmas tutorial of one of my favorite decorations, I have made many lately but I must say that this has been one of the ones I have liked the most and today I will show you as I did, I hope as always that you like it as much as I do, without further ado, ¡let's create!

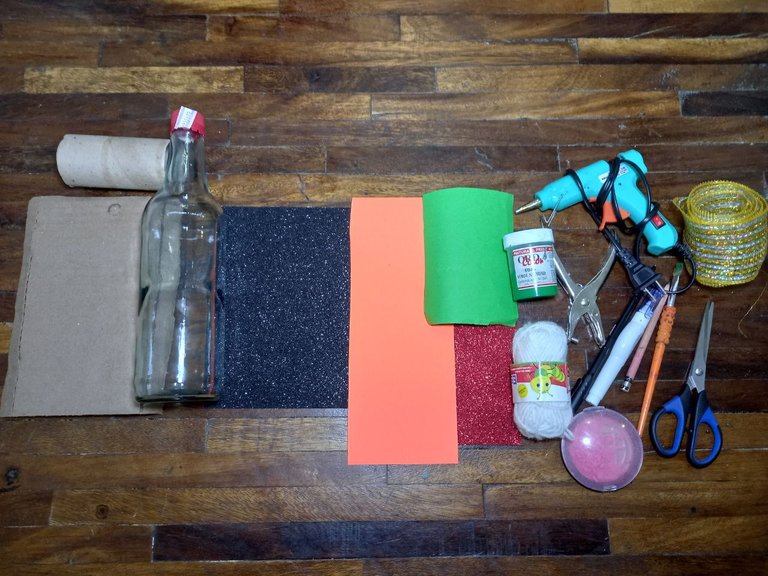
❄ 1 Botella mediana de vidrio.
❄ 1 Tubo de cartón.
❄ Cartón.
❄ Cartulina escolar verde y naranja.
❄ Estambre blanco.
❄ Silicón caliente.
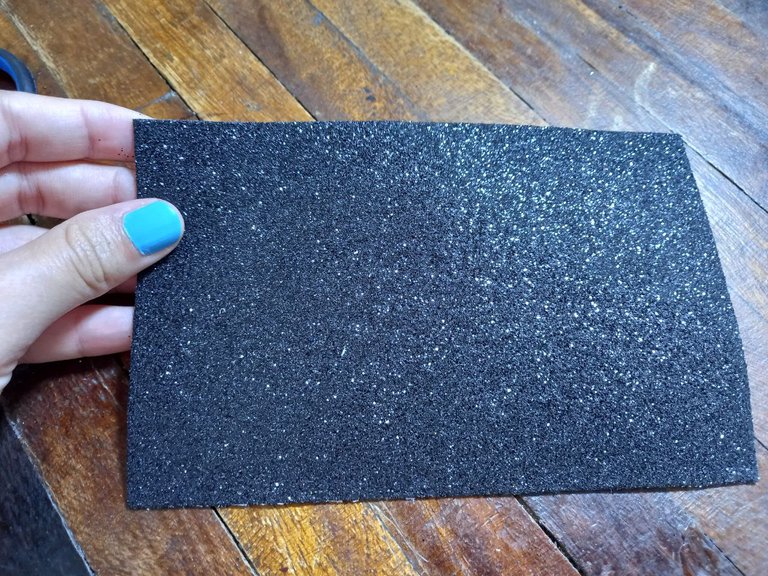
❄ Foami escarchado negro y rojo.
❄ Cinta navideña de tela.
❄ Corrector de tinta.
❄ Pintura verde.
❄ Rubor.
❄ Pincel.
❄ Abre huecos.
❄ Lápiz.
❄ Tijera.
❄ Regla.
❄ 1 Medium glass bottle.
❄ 1 Cardboard tube.
❄ Cardboard.
❄ Green and orange school cardboard.
❄ White stamen.
❄ Hot silicone.
❄ Black and red frosty foami.
❄ Christmas fabric ribbon.
❄ Ink concealer.
❄ Green paint.
❄ Blush.
❄ Brush.
❄ Open holes.
❄ Pencil.
❄ Scissors.
❄ Ruler.

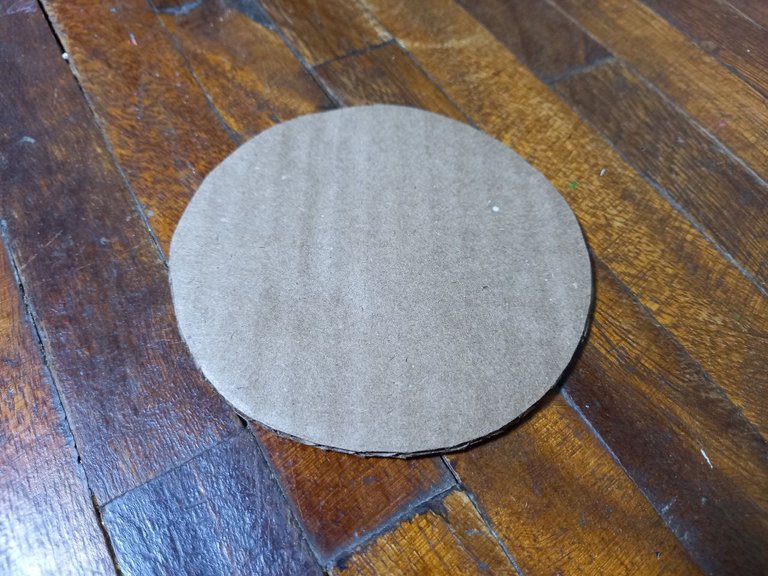
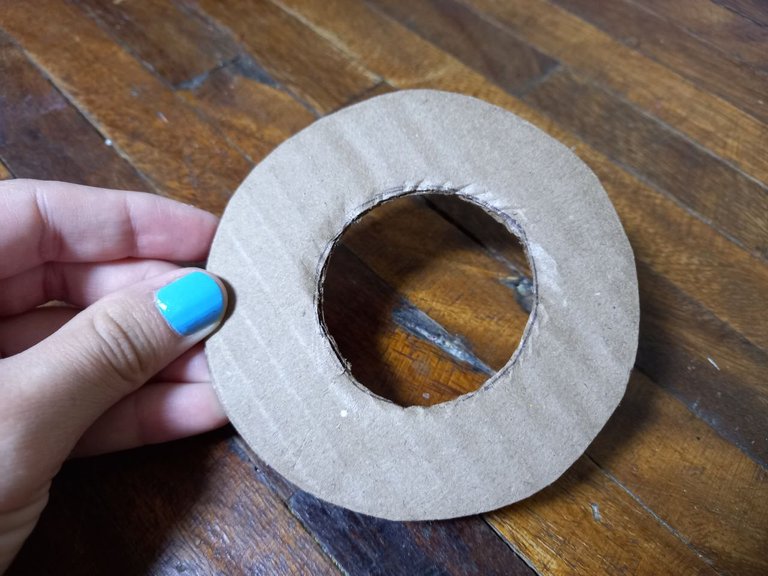
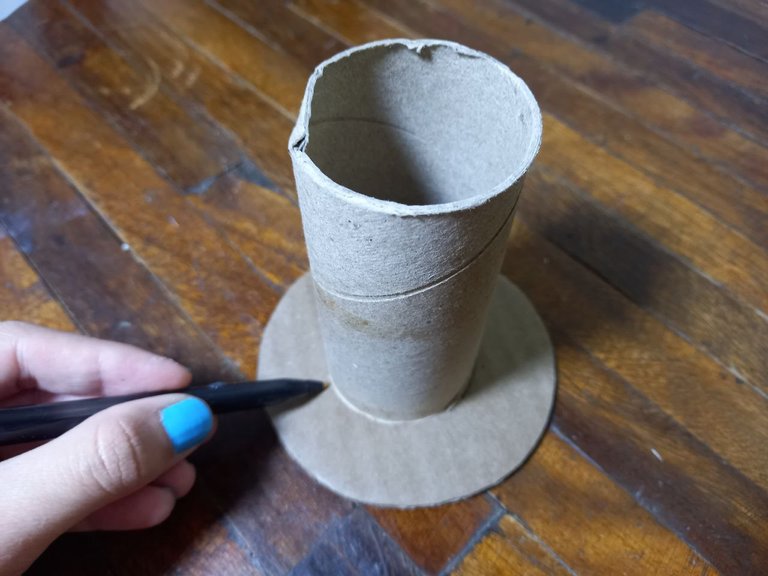
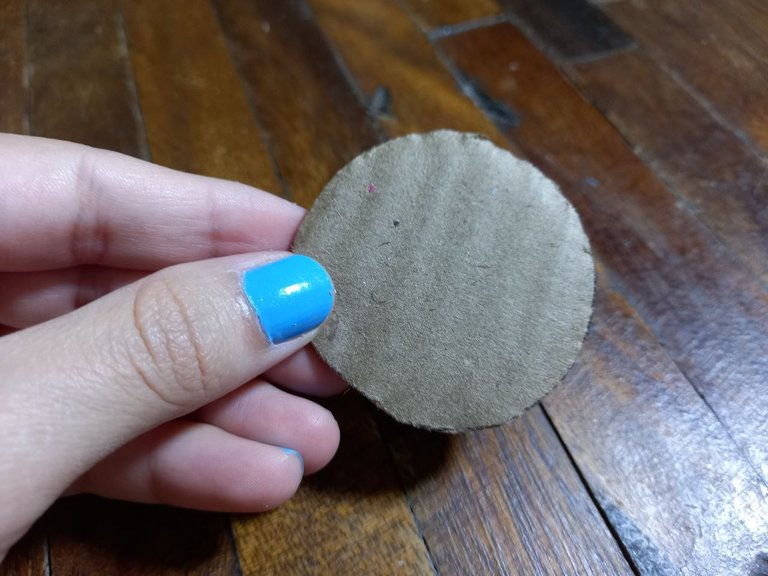
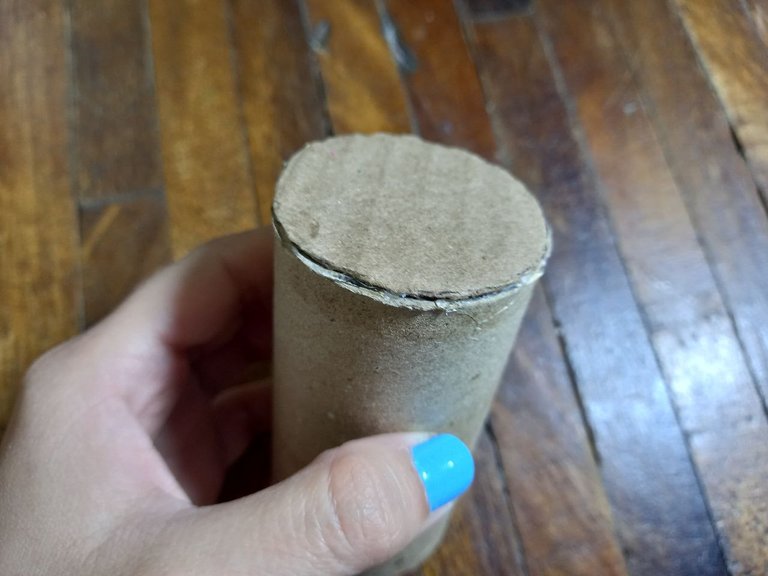
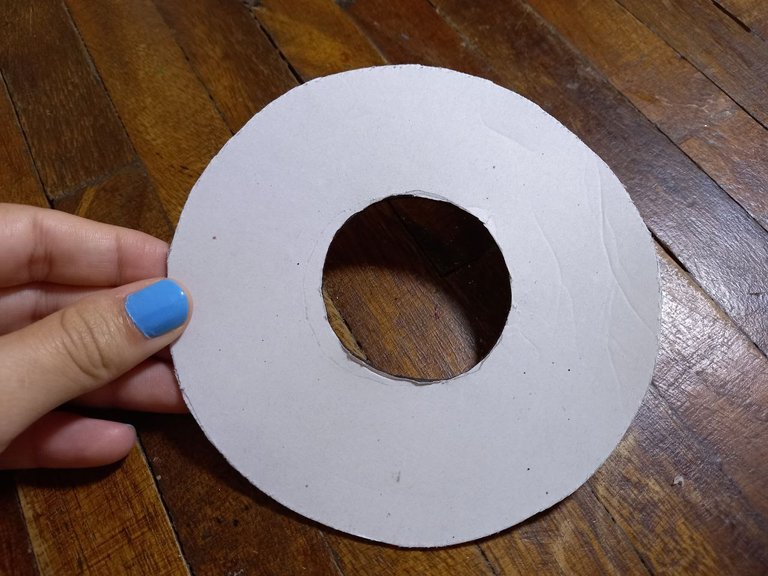
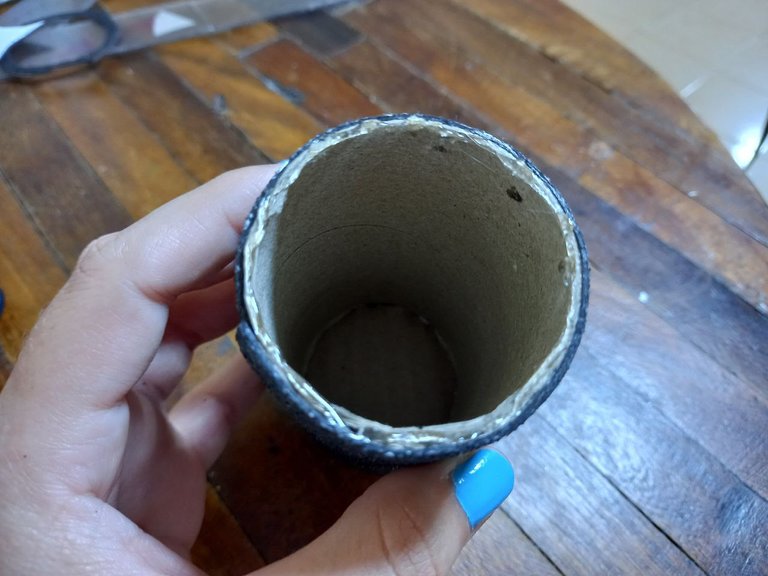
❄ PASO 1. Comenzaremos haciendo el gorro del hombre de nieve, para ello hacemos un circulo en el cartón y lo recortamos, luego situamos el tubo de cartón justo en el centro y lo marcamos, seguidamente recortamos el centro dejándolo hueco, luego hacemos un circulo de cartón del tamaño de tubo de cartón y lo pegamos en uno de los extremos dejando el otro descubierto.
❄ STEP 1. We will start making the snowman's hat, for this we make a circle in the cardboard and cut it out, then we place the cardboard tube right in the center and mark it, then we cut the center leaving it hollow, then we make a cardboard circle the size of a cardboard tube and glue it on one end, leaving the other exposed.

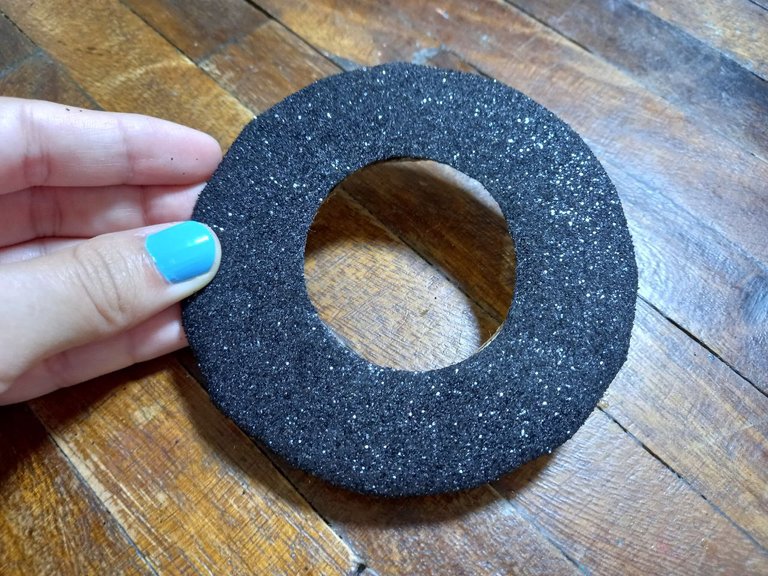
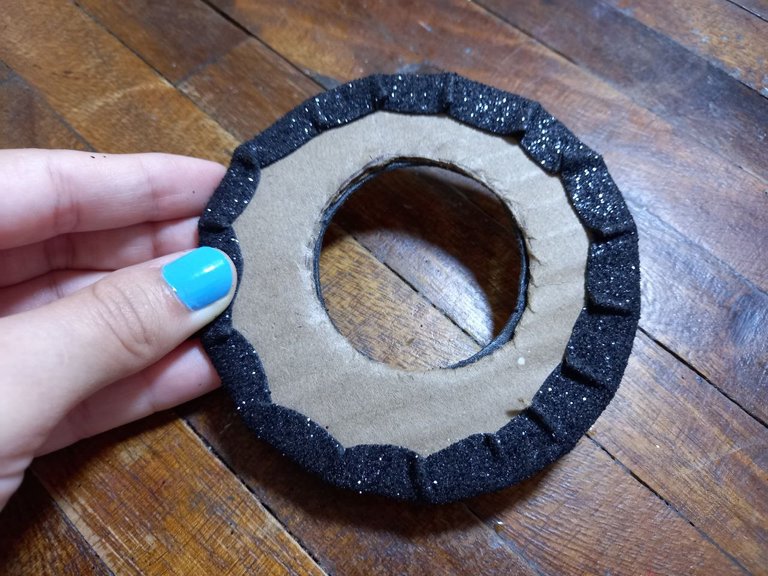
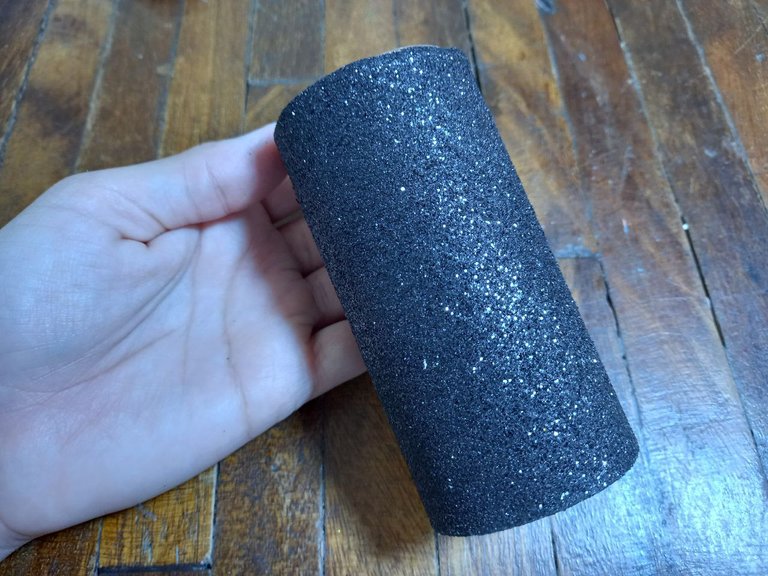
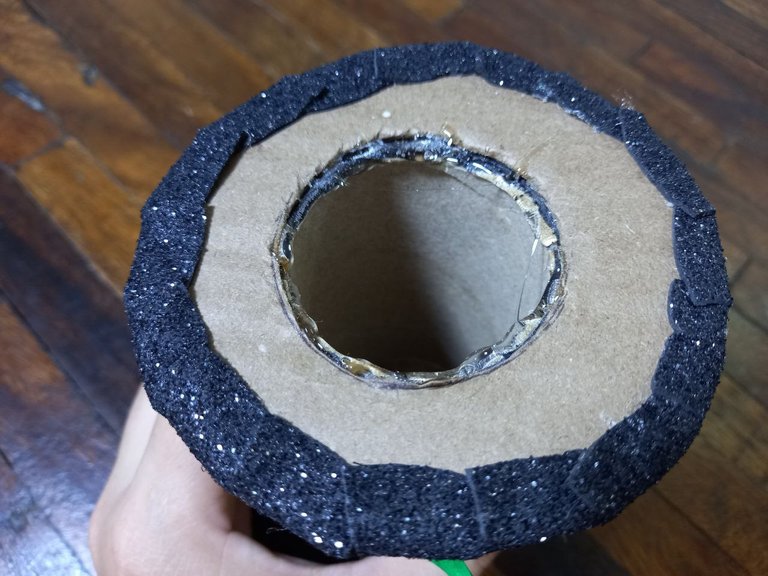
❄ PASO 2. Recortamos un circulo de foami negro escarchado del tamaño del circulo grande de cartón y le retiramos el centro, luego forramos el cartón con el foami pegando los bordes sobrantes en la parte inferior, tomamos la medida del tubo de cartón y recortamos una pieza de foami negro escarchado con esas medidas para luego cubrir el tubo de cartón con esta.
❄ STEP 2. Cut a circle of frosty black foami the size of the large cardboard circle and remove the center, then we line the cardboard with the foami, gluing the excess edges to the bottom, we take the measurement of the tube of cardboard and cut a piece of black frosted foam with those measurements and then cover the cardboard tube with it.
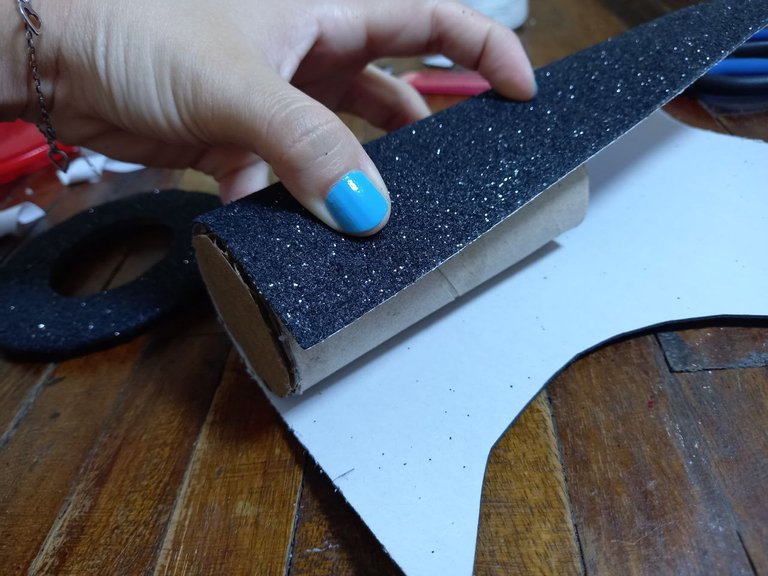
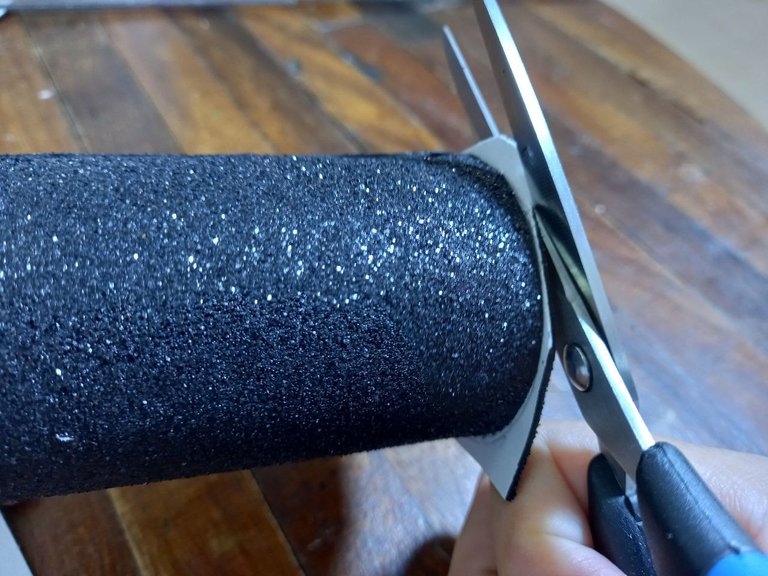
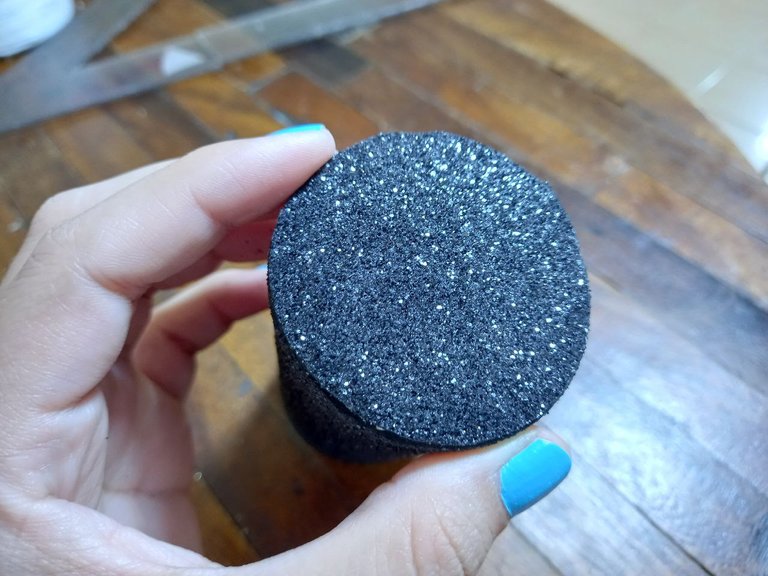
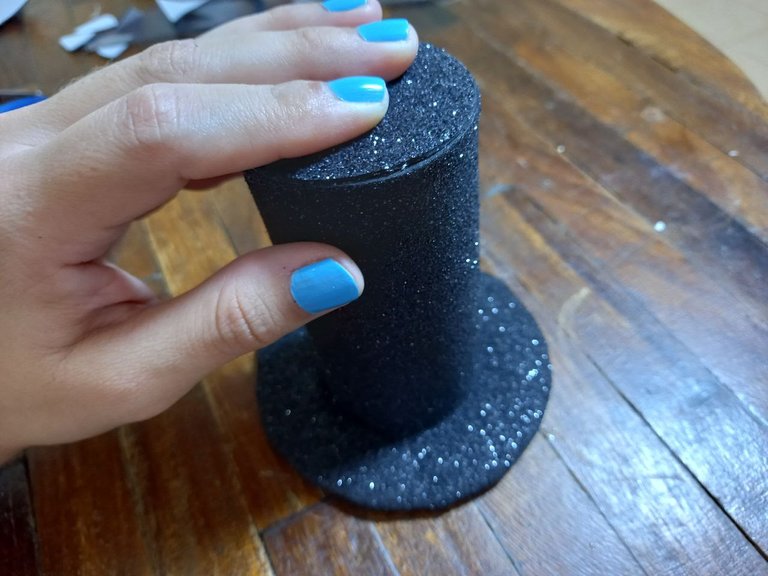
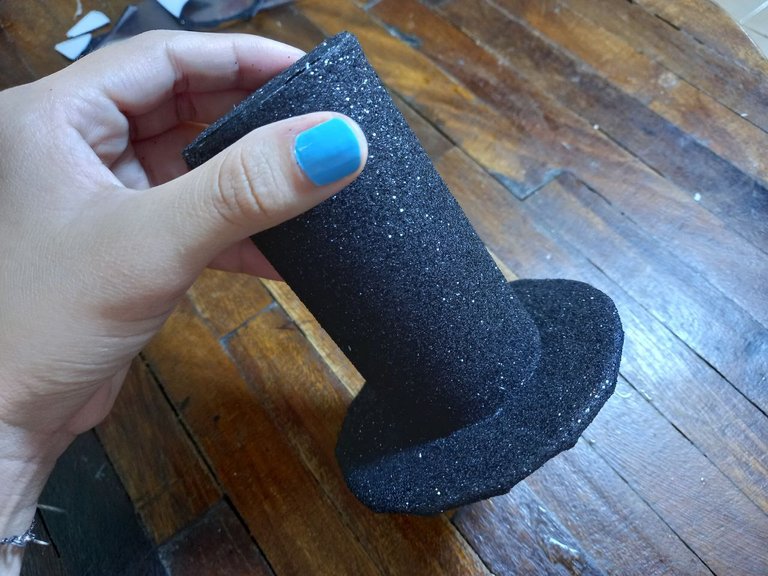
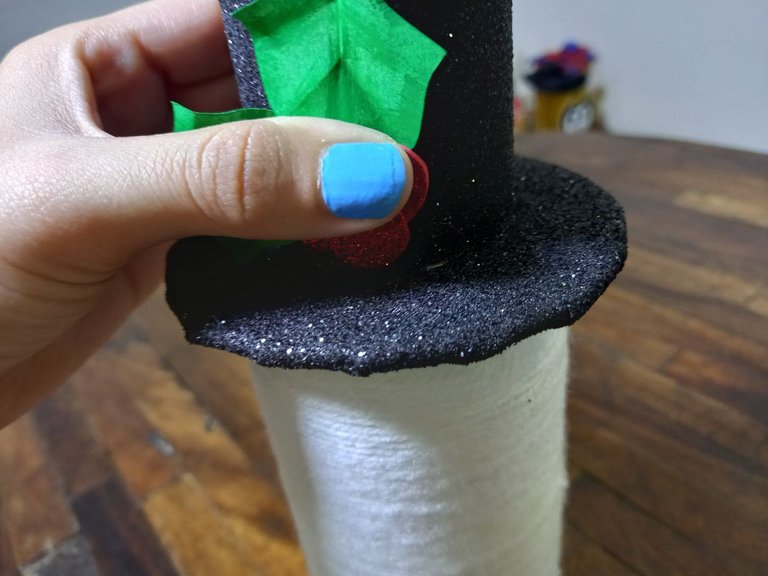
❄ PASO 3. Cubrimos el extremo del tubo de cartón que tiene cartón con foami escarchado negro, recortamos el borde dejando al ras con el tubo de cartón, luego pegamos el otro extremo del tubo de cartón sobre la pieza redonda de cartón que forramos con foami escarchado negro justo en el centro.
❄ STEP 3. We cover the end of the cardboard tube that has cardboard with black frosted foam, we cut the edge leaving it flush with the cardboard tube, then we glue the other end of the cardboard tube on the round piece of cardboard that we lined with black frosted foam right in the center.
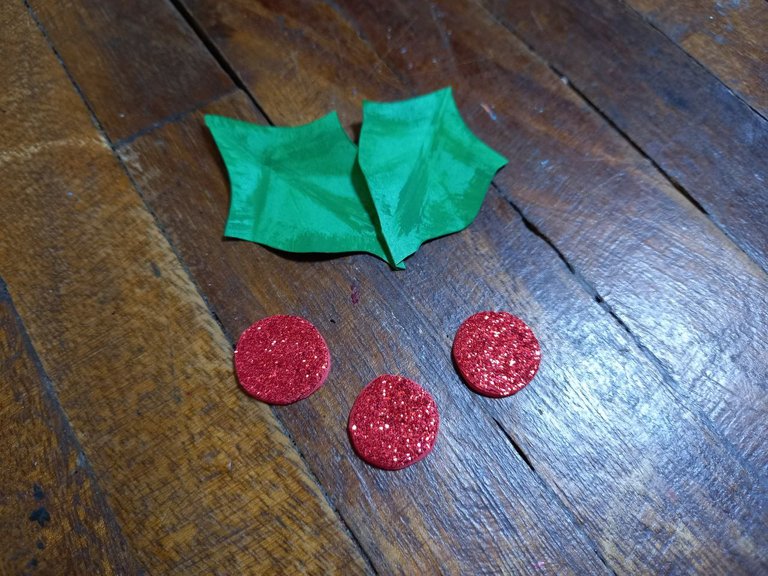
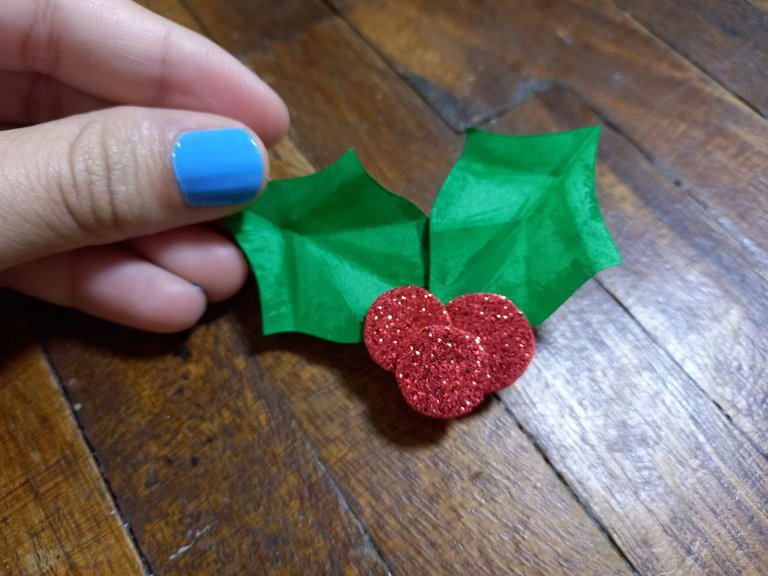
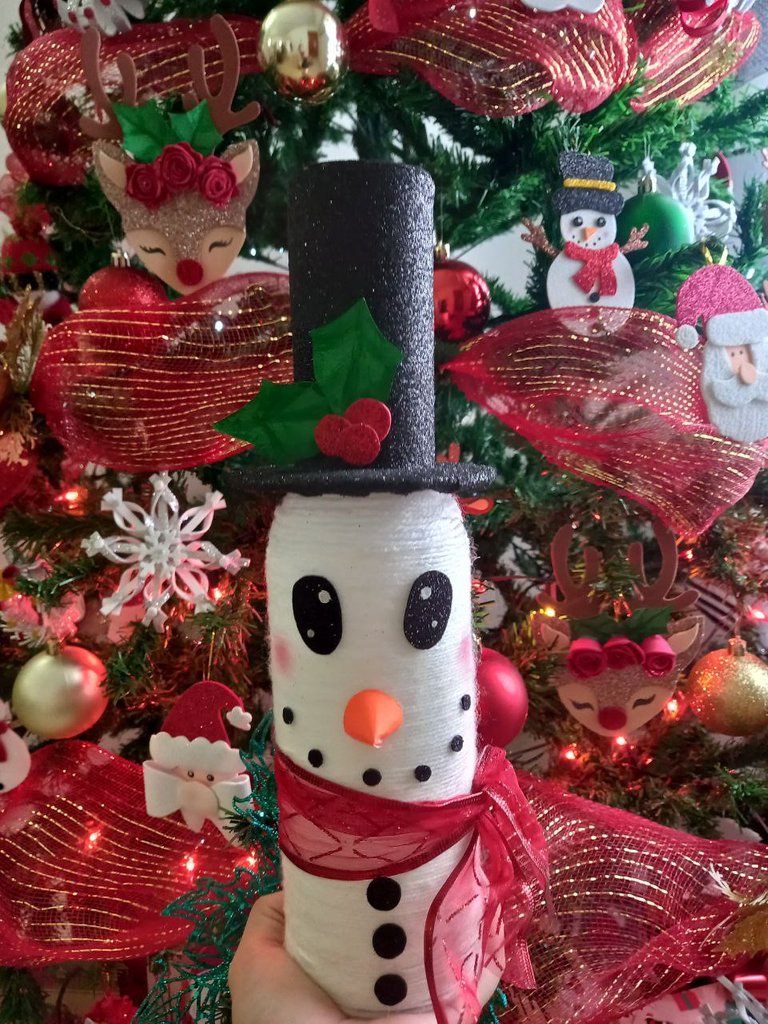
❄ PASO 4. Recortamos 3 círculos pequeños de foami escarchado rojo y hacemos 3 hojitas de muérdago en cartulina verde, estas las doblaremos a la mitad y le haremos unos dobleces a los lados para darle mejor forma, luego con el pincel y un poquito de pintura verde marcamos las orillas y los dobleces para darle un mejor aspecto, pegamos los 3 círculos entre sí y los pegamos sobre las hojas, luego estas las pegaremos sobre el sombrero encima de la visera.
❄ STEP 4. Cut out 3 small circles of red frosted foam and make 3 mistletoe leaves on green cardboard, we will fold these in half and make some folds on the sides to give it a better shape, then with the brush and Mark the edges and folds with a little bit of green paint to give it a better appearance, glue the 3 circles together and glue them on the sheets, then we will glue these on the hat on top of the visor.

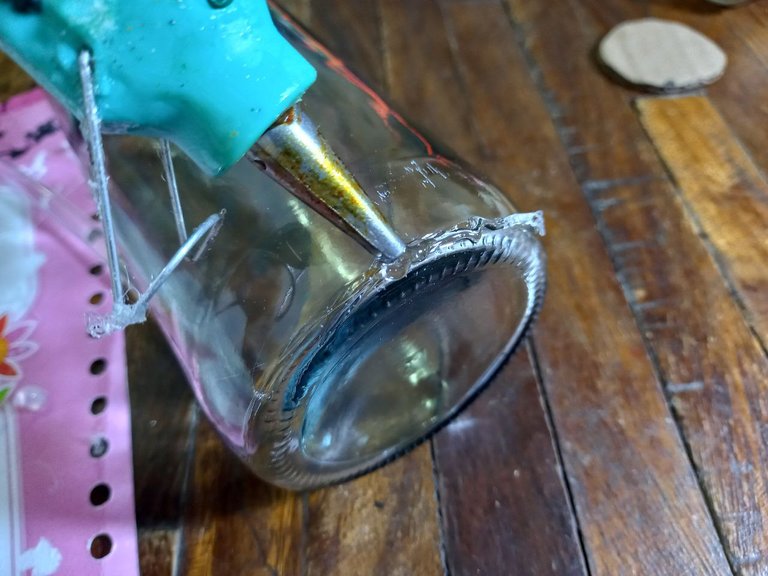
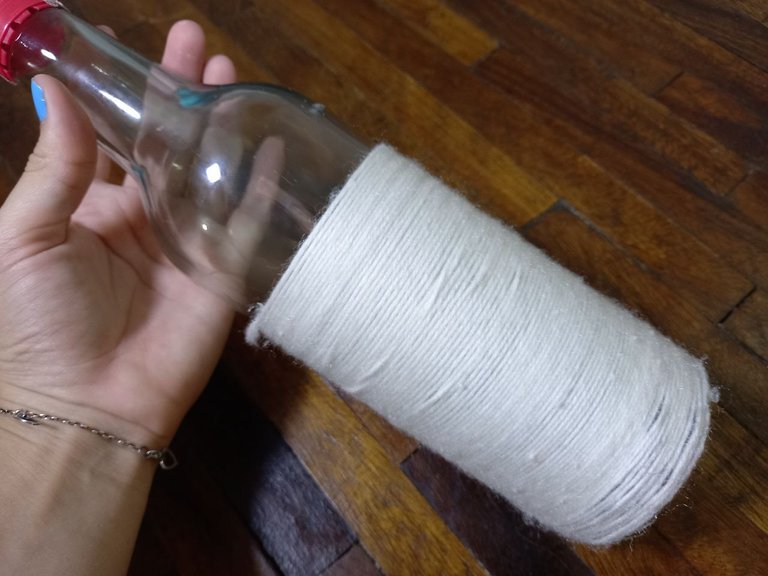
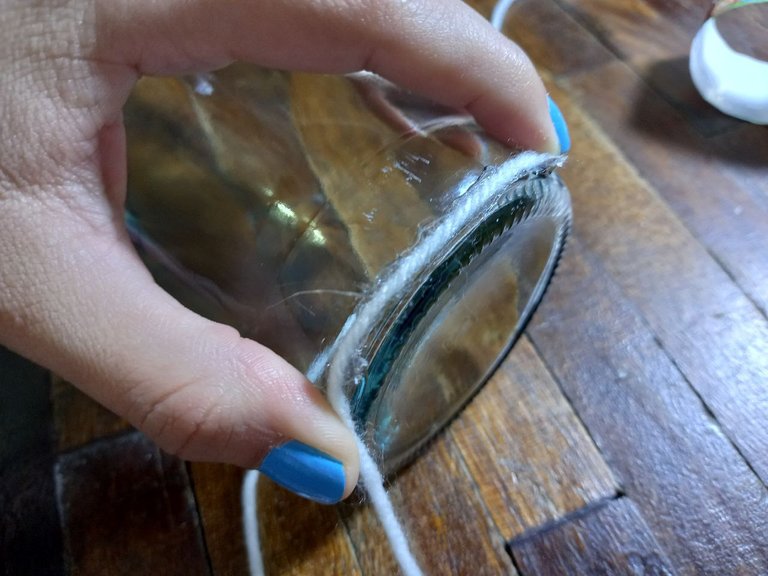
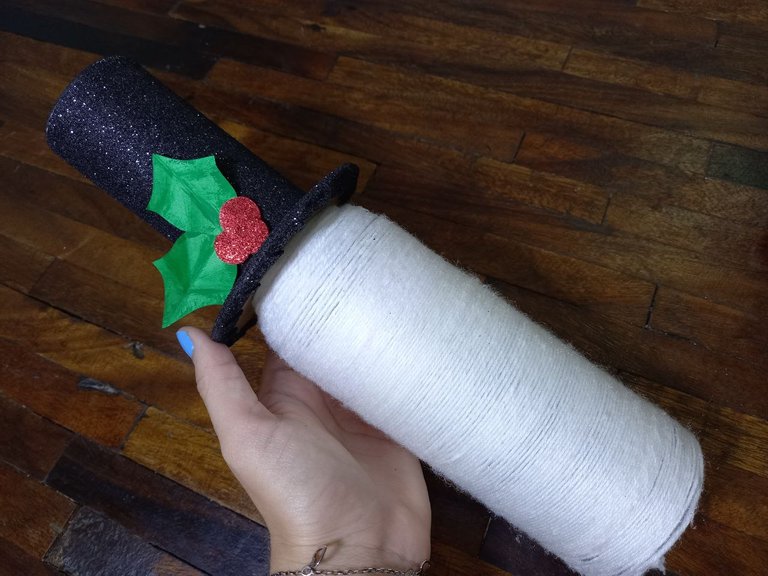
❄ PASO 5. Comenzamos a forrar la botella de vidrio y para ello vamos a aplicar un punto de silicón en la orilla inferior de la botella y pegamos uno de los extremos del estambre, comenzamos a envolver la botella con el estambre aplicando silicón cada cierta distancia para que no pierda su forma y la cubrimos hasta la mitad del cuello, luego aplicamos silicón en el borde del centro del sombrero y lo pegamos en la botella cubriendo el resto del cuello.
❄ STEP 5. We begin to line the glass bottle and for this we are going to apply a point of silicone on the lower edge of the bottle and glue one of the ends of the yarn, we begin to wrap the bottle with the yarn applying silicone every certain distance so that it does not lose its shape and we cover it up to the middle of the neck, then we apply silicone to the edge of the center of the hat and glue it to the bottle covering the rest of the neck.

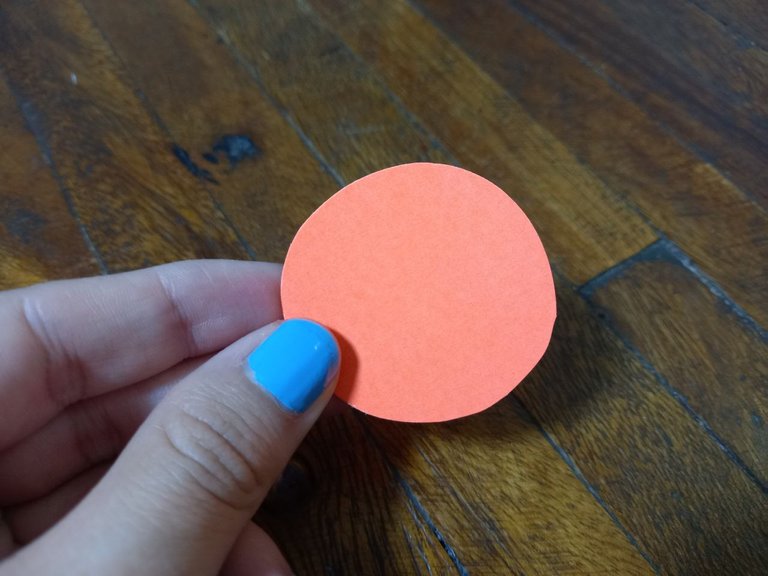
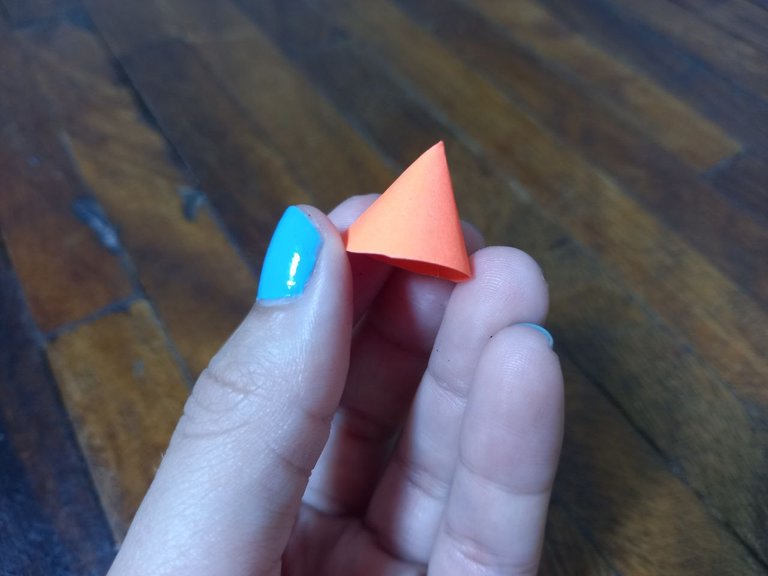
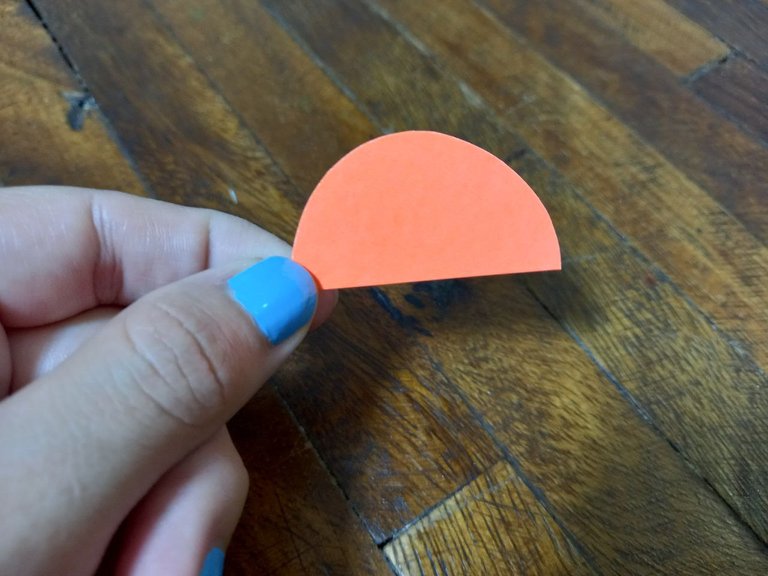
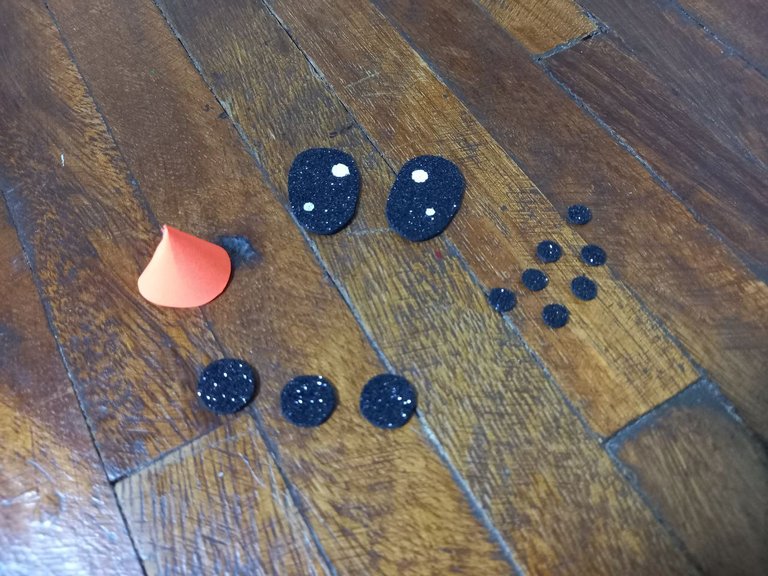
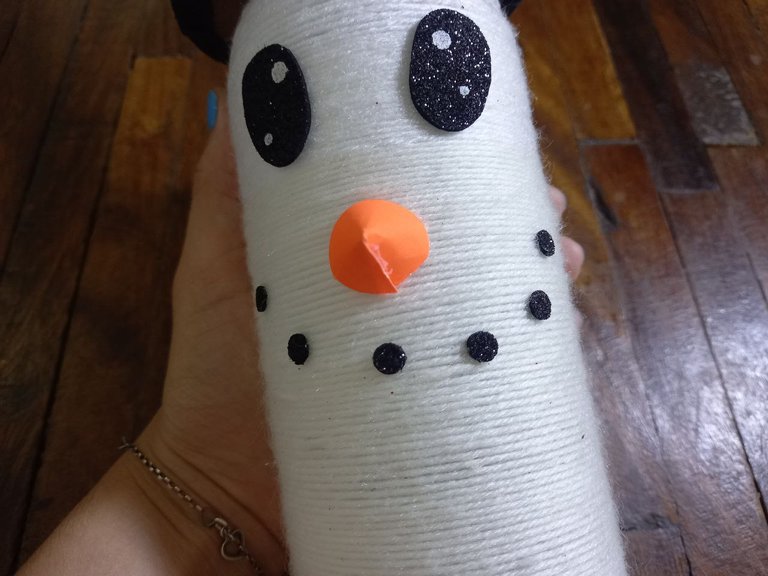
❄ PASO 6. Recortamos un circulo mediano de cartulina naranja, lo cortamos por la mitad y una de estas la doblamos hacia el centro uniendo ambos extremos con silicón formando un cono, esta será la nariz, hacemos los ojos, 3 botones y la sonrisa en foami negro escarchado, esta ultima la haremos con circulas pequeños ayudándonos con el abre huecos.
❄ STEP 6. Cut out a medium circle of orange cardboard, cut it in half and fold one of these towards the center joining both ends with silicone forming a cone, this will be the nose, we make the eyes, 3 buttons and the smile in black frosted foam, we will do this last one with small circles helping us with the hole opener.
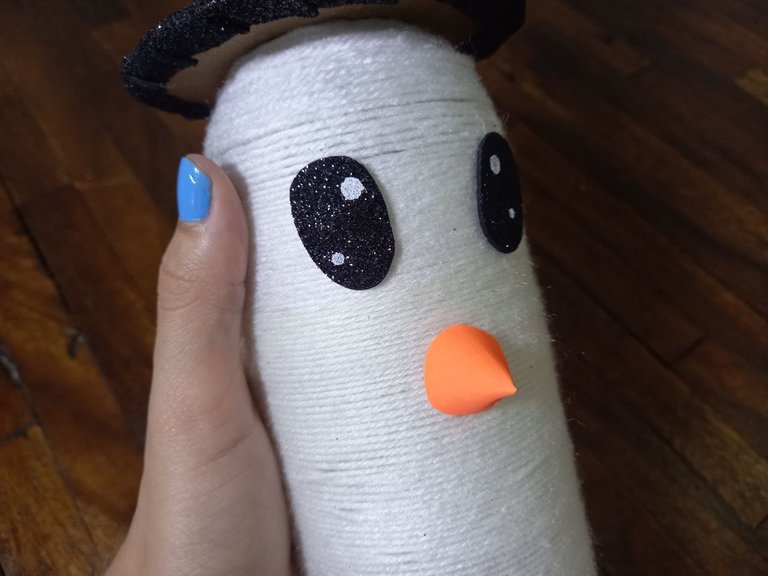
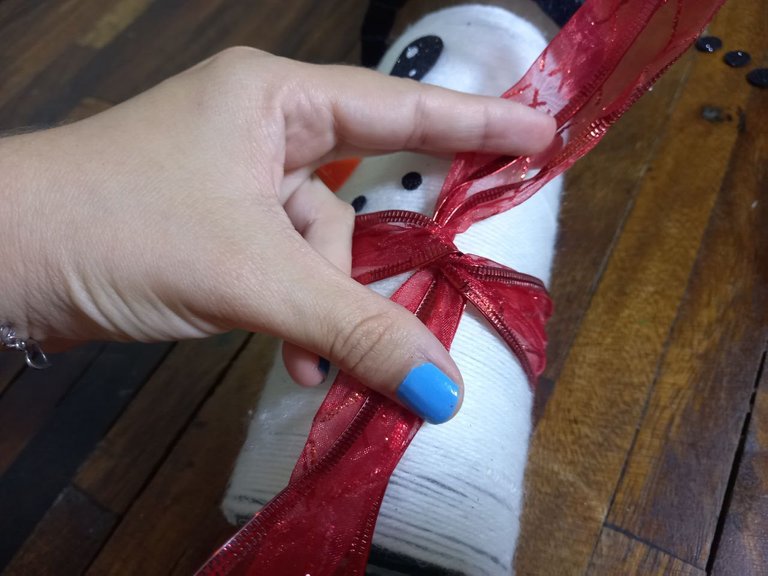
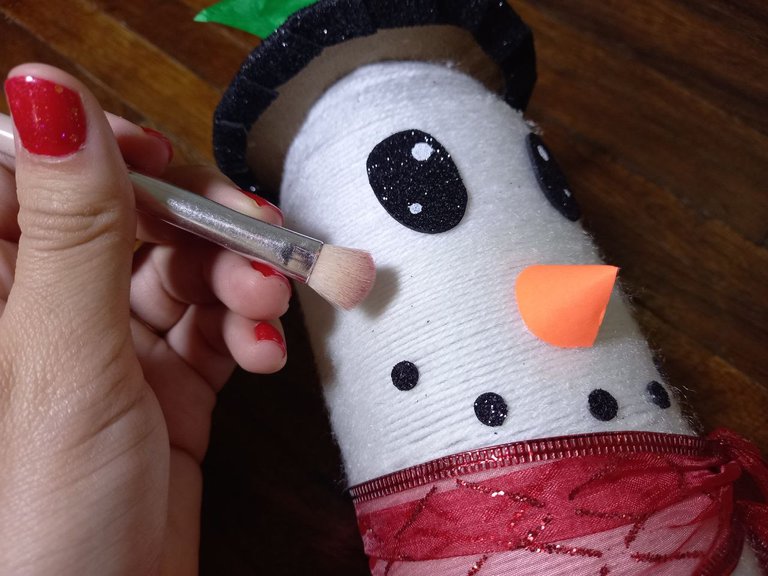
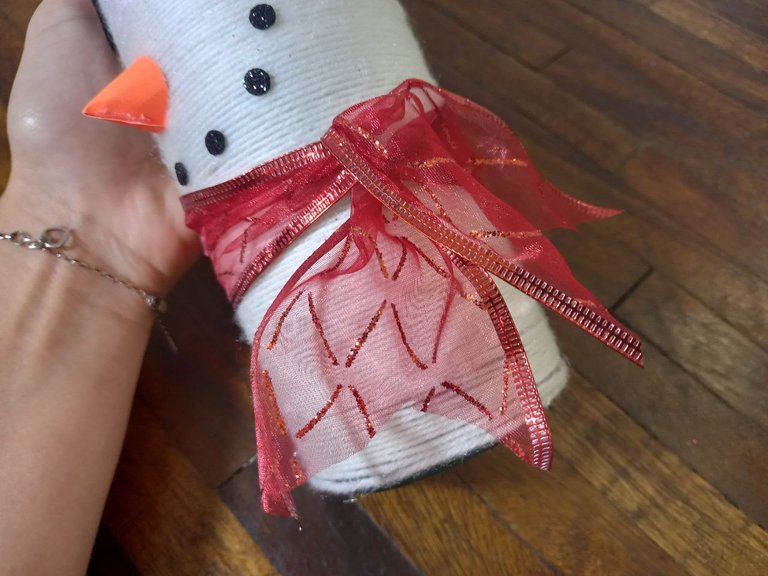
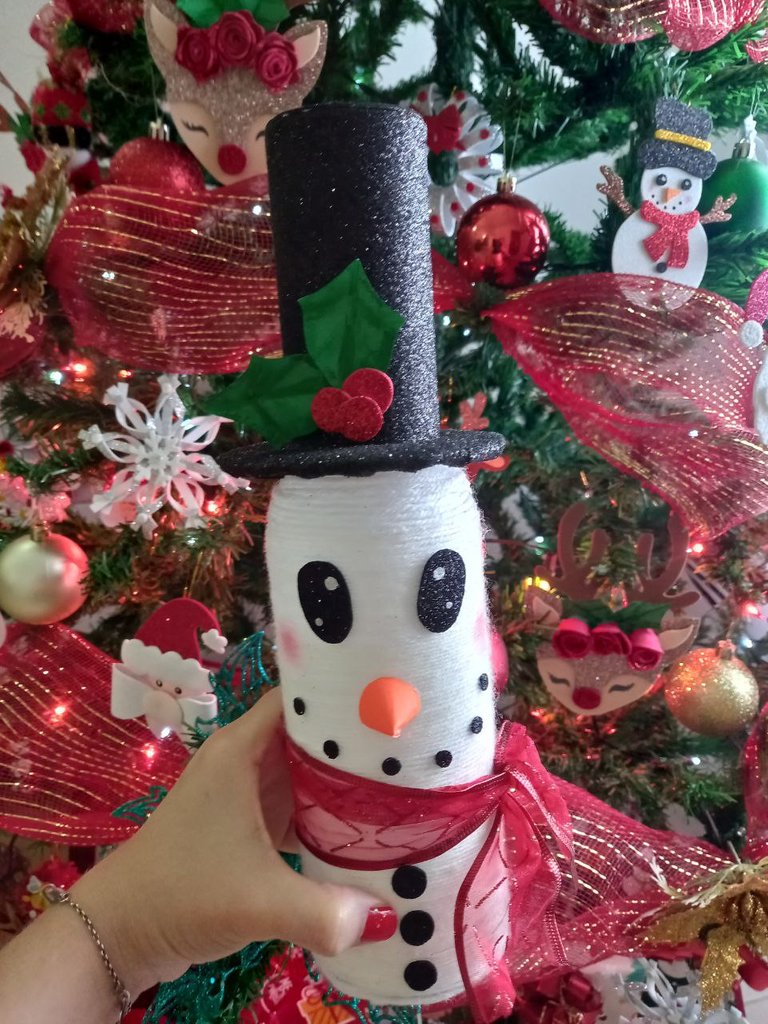
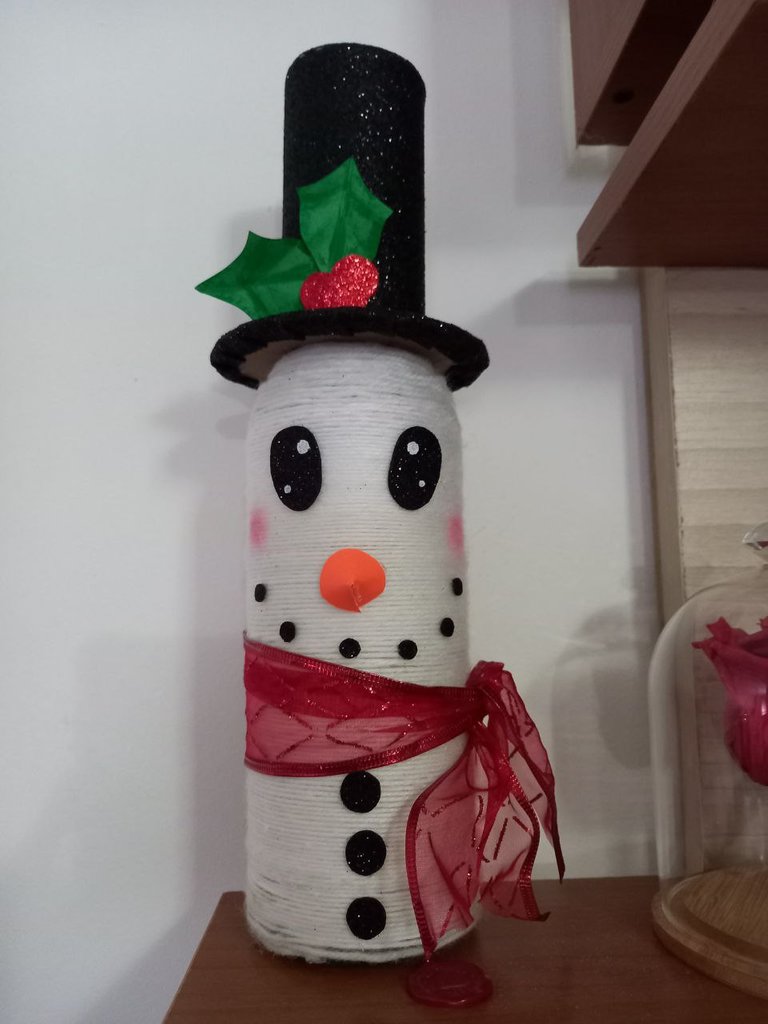
❄ PASO 7. Comenzamos a formar el rostro pegando las piezas, primero los ojos luego ubicamos la nariz debajo en el centro, y luego la sonrisa, debajo de la sonrisa colocaremos la cinta navideña de tela alrededor de la botella y le hacemos un nudo dándole forma de bufanda, como detalle final aplicamos rubor para dibujar las mejillas.
❄ STEP 7. We begin to form the face by gluing the pieces, first the eyes then we place the nose below in the center, and then the smile, under the smile we will place the Christmas cloth ribbon around the bottle and we make a knot giving it the shape of a scarf, as a final detail we apply blush to draw the cheeks.

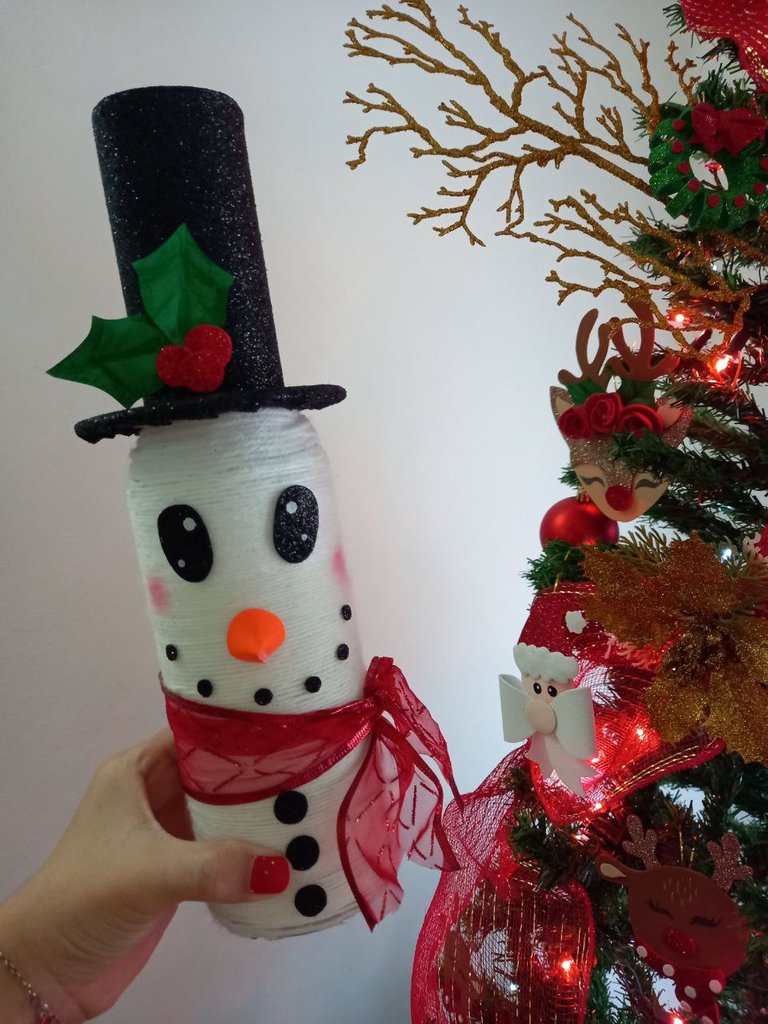
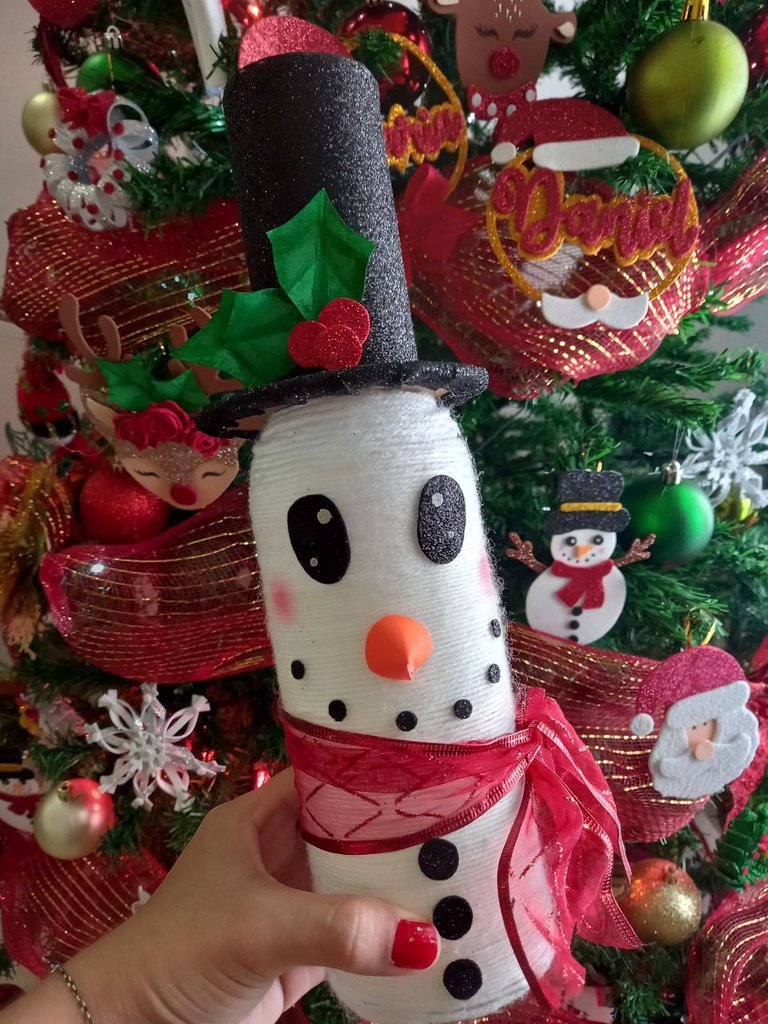
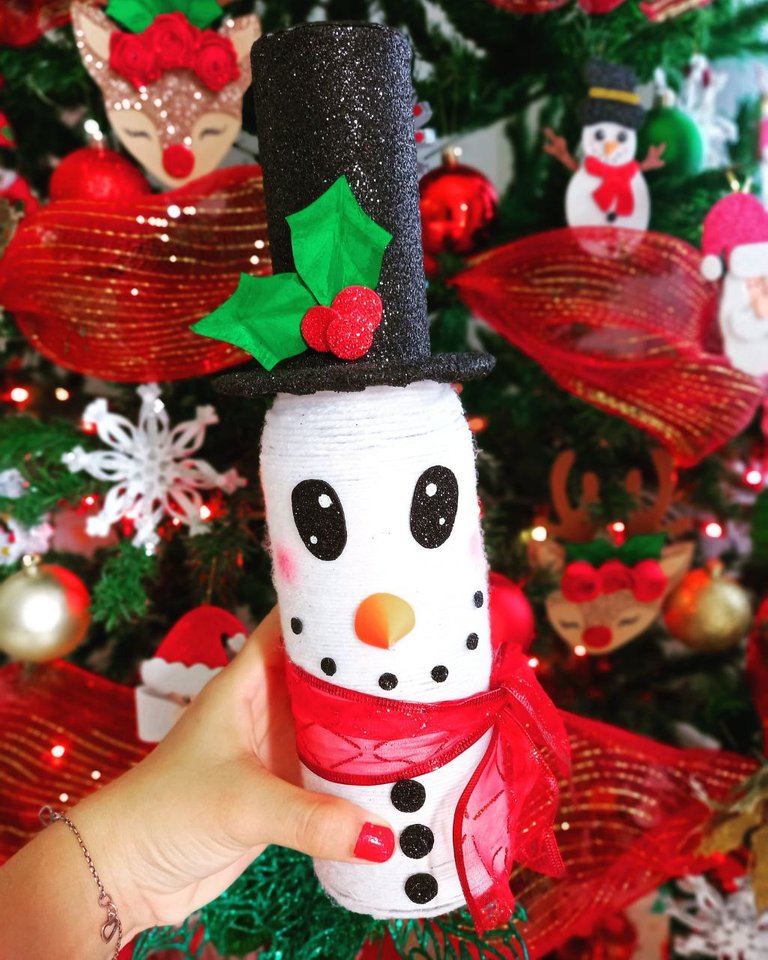
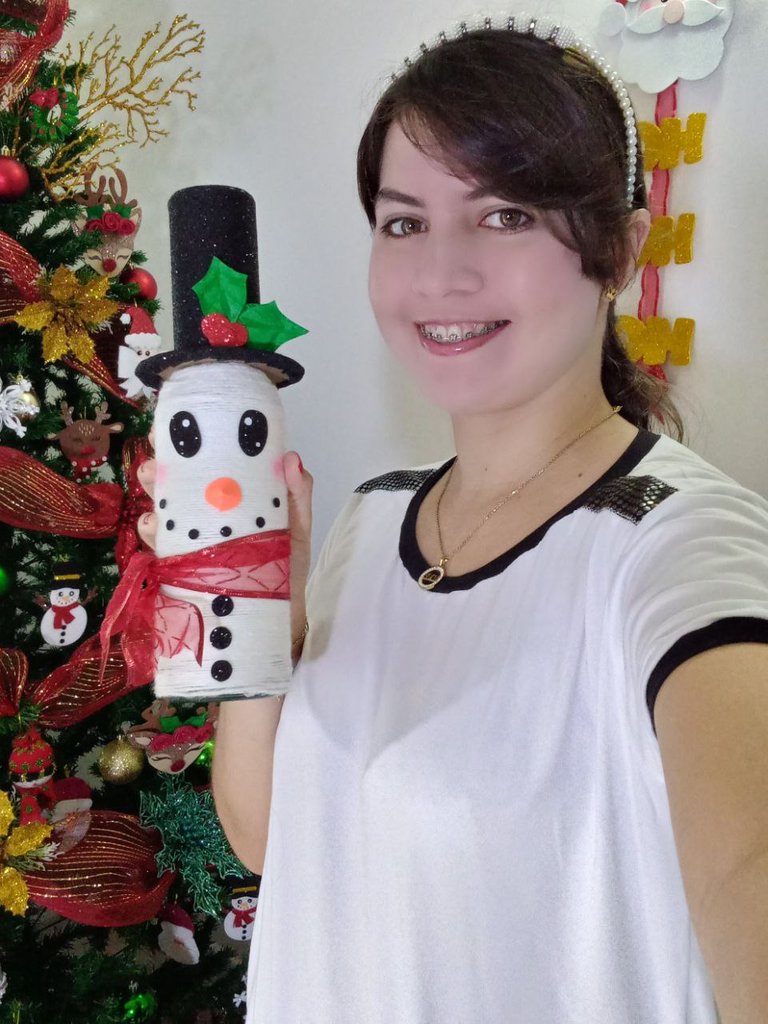
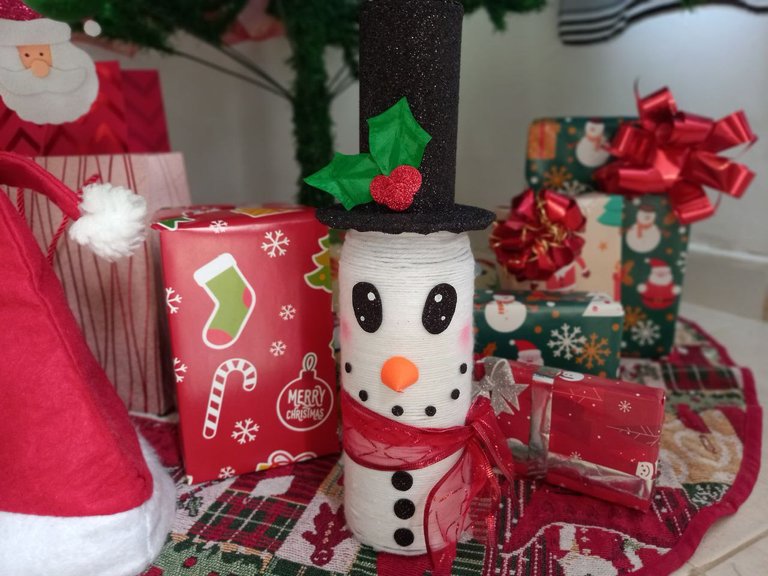
¡Y listo! De esta forma fue como hice un hermoso adorno de hombre de nieve decorando una botella de vidrio, puede parecer difícil pero no lo es, es muy sencillo de elaborar y podemos decorarlo como más nos guste, espero que les haya gustado este tutorial y el resultado de este lindo hombre de nieve, les cuento que luce muy bien en mi sala y cumple su función adornando el espacio donde lo coloqué, espero que puedan intentarlo en casa, gracias por su visita, ¡hasta la próxima!
And ready! This is how I made a beautiful snowman ornament decorating a glass bottle, it may seem difficult but it is not, it is very easy to make and we can decorate it however we like, I hope you liked this tutorial and the result about this cute snowman, I tell you that it looks great in my living room and fulfills its function decorating the space where I placed it, I hope you can try it at home, thanks for your visit, see you next time!


Todas las fotografías son de mi propiedad.
Fotografías capturadas con mi Samsung Galaxy A12
Separador de texto elaborado en Canva.
Nos vemos en mi próxima publicación.
¡Tengan un feliz día!
All photographs are my property.
Photos captured with my Samsung Galaxy A12
Text separator made in Canva.
See you in my next post.
¡Have a happy day!
Está súper lindo siempre guardo las botellas para hacer algún proyecto y no termino haciendo nada 😅 así que es una idea muy hermosa y ya puedo hacer algo con las botellas que tengo guardadas
Hola amiga graciasss! A mi me gusta decorar las botellas, quedan lindas, tengo mas ideas pero hasta ahora esta es la unica que he hecho, me alegra que te gustara y espero que decores las tuyas también ♥️
Que belleza! Definitivamente lo tuyo es la creatividad, todo te queda hermoso 😍
Gracias mi Vane ♥️♥️ Aprecio mucho tu comentario, eres muy amable 😃
https://twitter.com/1422413915275812864/status/1598437254875484160
https://twitter.com/1528472292866629637/status/1598440867303460865
The rewards earned on this comment will go directly to the people( @mariajcastro28, @bluevibes ) sharing the post on Twitter as long as they are registered with @poshtoken. Sign up at https://hiveposh.com.
Los pequeños detalles hacen grandes diferencias, el toque de pintura en las hojas me encantó le da un acabado realmente hermoso, gracias por compartir tus trucos ajajaja.
Hola amiga de verdad que si hacen la diferencia, antes hacía los ojos con foami o cartulina pero quedan muchísimo mejor con pintura y su respectivo puntito blanco, la mirada les queda adorable, espero que te sirva ese pequeño truco, saludos y gracias por visitar! ♥️
Muy lindos tus trabajos gracias por compartirlos
Muchas gracias a ti por visitar y comentar 😃
Me parece fantástico que hayas utilizado estambre para cubrir la botella, me parece que le da un toque especial ✨🎄✨🎄
Holaaa, pues si, con estambre queda bastante bien y le da una buena textura, espero compartir en los próximos días mas ideas así con botellas, gracias por leer, saludos! ♥️
Great way to get in the Christmas spirit
☃️
Also, you can share your works in the DIYhub community on hive.
!DIY
Thanks for the comment and support.
Thank you for sharing this post in the DIYHUB Community!
Your content got selected by our fellow curator stevenson7 & you just received a little thank you upvote from us for your great work! Your post will be featured in one of our recurring compilations which are aiming to offer you a stage to widen your audience within the DIY scene of Hive. Stay creative & HIVE ON!
Please vote for our hive witness <3
Thank you very much for your support, I really appreciate it!
Esta manualidad está espectacular, en realidad todas las manualidades hechas con botellas me encantan porque hay muchas posibilidades.
Tu hombre de nieve quedó muy bonito y se ve un resultado de calidad. Felicitaciones.
Hola muchas gracias, de verdad me alegra muchísimo que sea de tu agrado, a mi también me encantan las manualidades con botellas, puedes hacer muchas cosas con ellas y decorarlas de muchas maneras, gracias por tu amable comentario, te envío un abrazo!
Wow Christmas is by here again with full of decorations and special pages. I love your decoration work it really looks nice if be you can ask me.
Thank you, I'm glad you like it, I love Christmas and it's inevitable for me to make decorations and decorations at this time.
Oye, buena idea navideña, en seguida le digo a mi nieta que lo vea, porque son manualidades que se hacen con pocos materiales y lucen bien, saludos.
Hola, que buenos saber que ha sido de su agrado, y pues si, cosas como esta se pueden hacer con pocos materiales y económicos, el resultado luce muy bien y decora bastante cualquier espacio, espero que mi tutorial les sirva para recrearlo, saludos!
Que linda manera de re usar las botellas. Te felicito por ese don tan magnífico que tienes para hacer las manualidades
Hola amiga, muchas gracias por tu comentario, me alegra mucho saber que te ha gustado, eso me motiva a seguir creando cosas nuevas para compartir ♥️ Te envío un fuerte abrazo!
Really wonderful 💟💟💟I think I will do it myself 😉
It's good to know that you like me, I hope you can do it 😃
Thank you very much ♥️