[ESP - ENG] Elaboración de preciosa cajita minimalista perfecta para dar obsequios // Making of a beautiful minimalist box perfect for gift giving🎁.
(Edited)
¡Hola Hivers! espero que se encuentren muy bien el día de hoy, es un placer saludarlos nuevamente💛.
Hi Hivers! I hope you are doing well today, it is a pleasure to greet you again💛.
El día de hoy en este nuevo post quiero compartir con ustedes como elaborar en su hogar, una linda cajita donde pueden dar obsequios a sus seres queridos o incluso, hacerla para ustedes mismos y guardar cositas ahí. Es una manualidad super sencilla, con pocos pasos a seguir y económica de hacer, estoy segura de que les gustara muchísimo y querrán tenerla. Sin mas que decir, !Empecemos con el paso a paso!📝
Today in this new post I want to share with you how to make at home, a nice little box where you can give gifts to your loved ones or even make it for yourself and keep little things there. It is a super simple craft, with few steps to follow and inexpensive to make, I'm sure you will love it and want to have it. Without further ado, let's start with the step by step!📝
Para realizar nuestra cajita minimalista, vamos a necesitar los siguientes materiales:
To make our minimalist box, we will need the following materials:
🍀 Cajita de cartón, esta la tenia yo de un mouse que compre hace mucho tiempo. (también les muestro acá otro modelo de cajita) realmente pueden escoger el tipo y tamaño que deseen.
🍀 Pega o silicon frío
🍀 Hojas secas
🍀 Ramitas secas
🍀 Cartulina
🍀 Cinta adhesiva decorativa (si no tienen, pueden usar cualquier cosita para decorar su cajita)
🍀 Cardboard box, I had this one from a mouse I bought a long time ago. (I also show you here another model of cardboard box) you can really choose the type and size you want.🍀 Glue or cold silicone
🍀 Dried leaves
🍀 Dried twigs
🍀 Cardboard
🍀 Decorative tape (if you don't have any, you can use anything to decorate your box)'
Proceso de elaboración:Elaboration process:
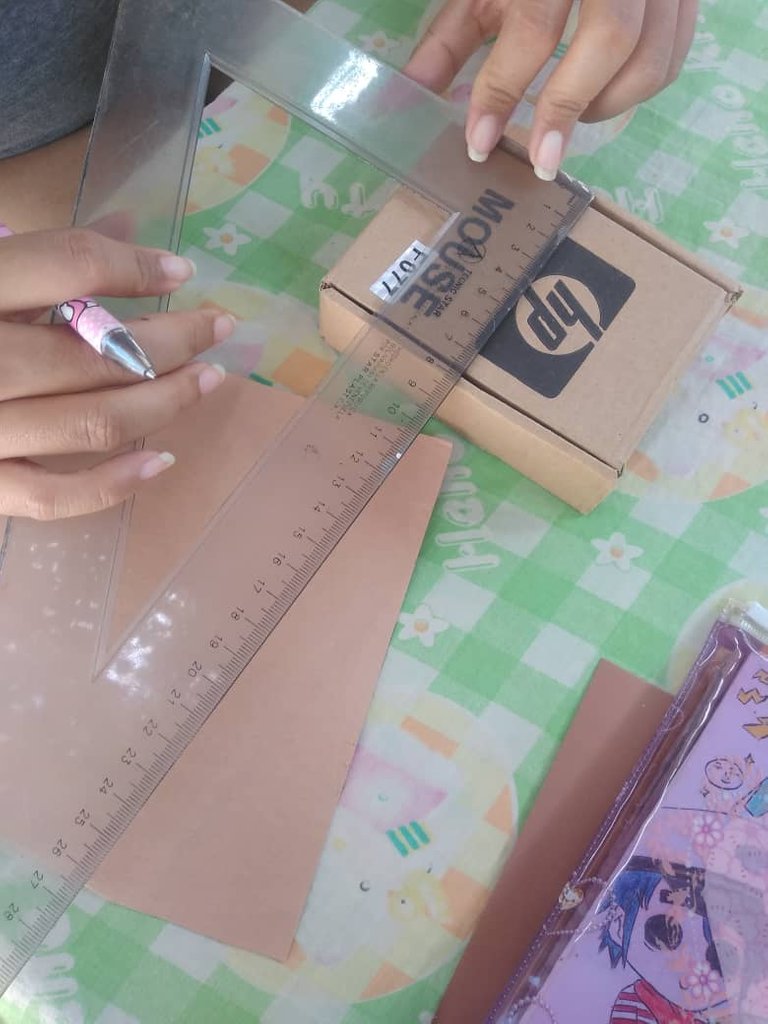
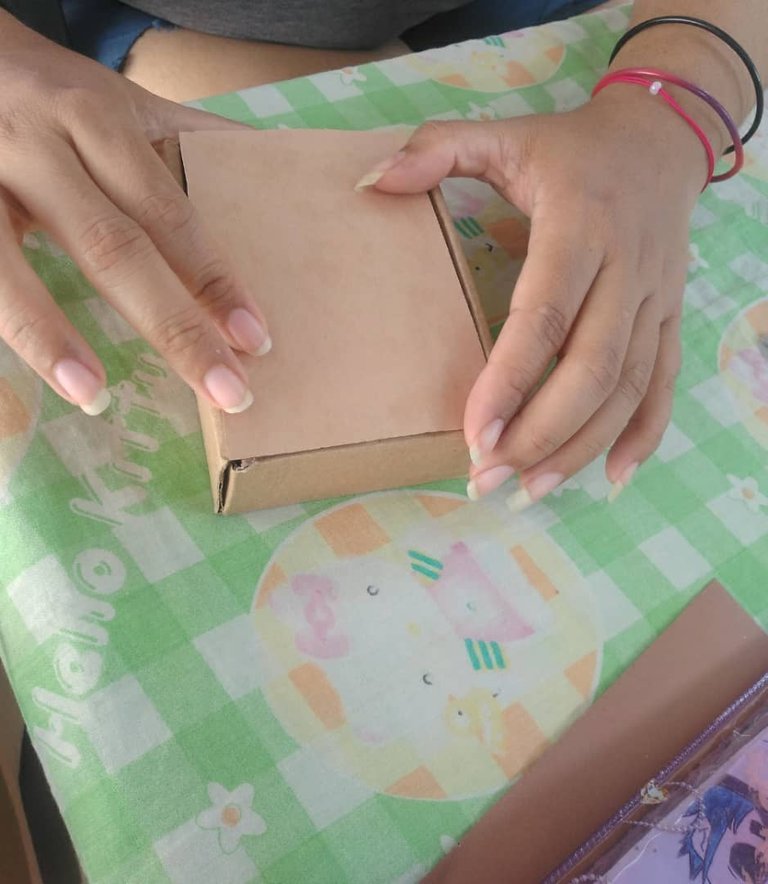
1.- Agarramos nuestra cajita y le tomamos medidas.1.- We take our little box and measure it.
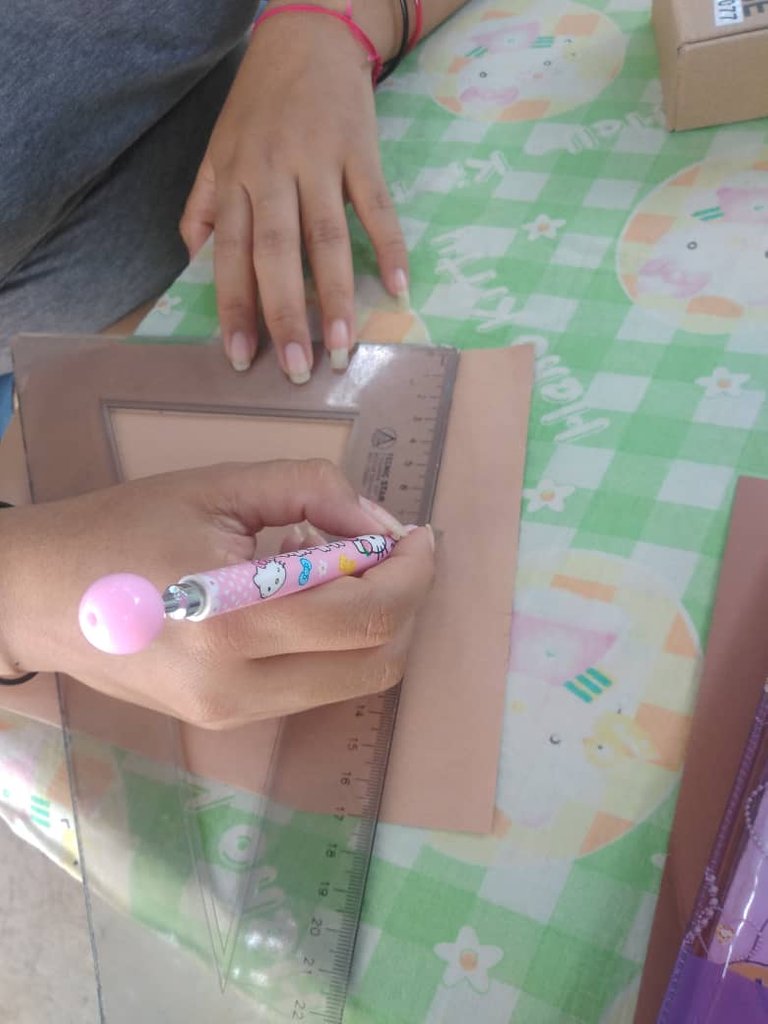
2.- Ya al tener nuestras medidas, nos vamos a la cartulina y las plasmamos allí, esto nos servirá a la hora de recortar.2.- Once we have our measurements, we go to the cardboard and we shape them there, this will help us when cutting.
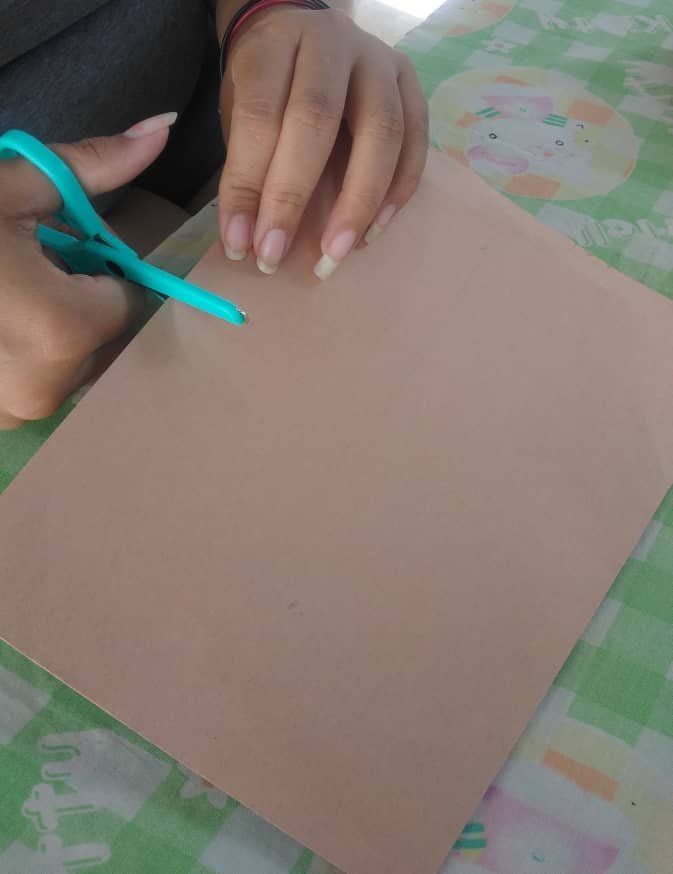
3.- Recortamos nuestro cuadrito.3.- We cut out our little square.
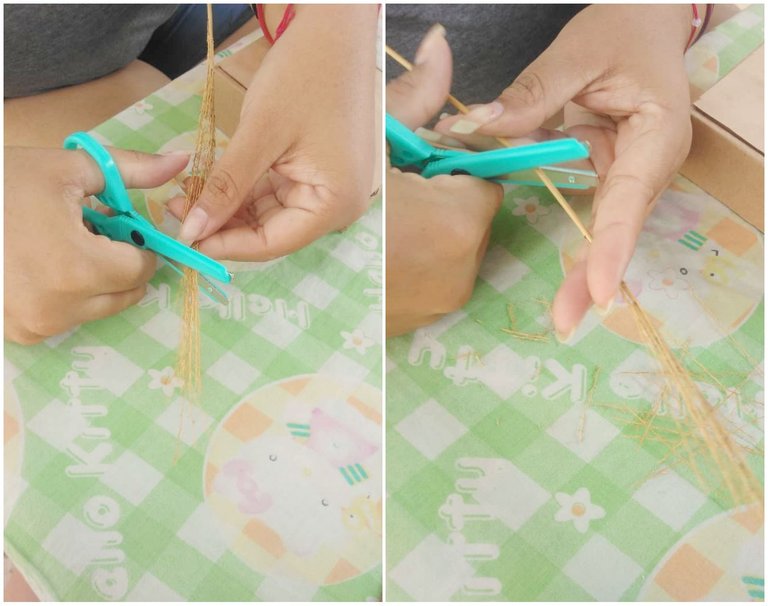
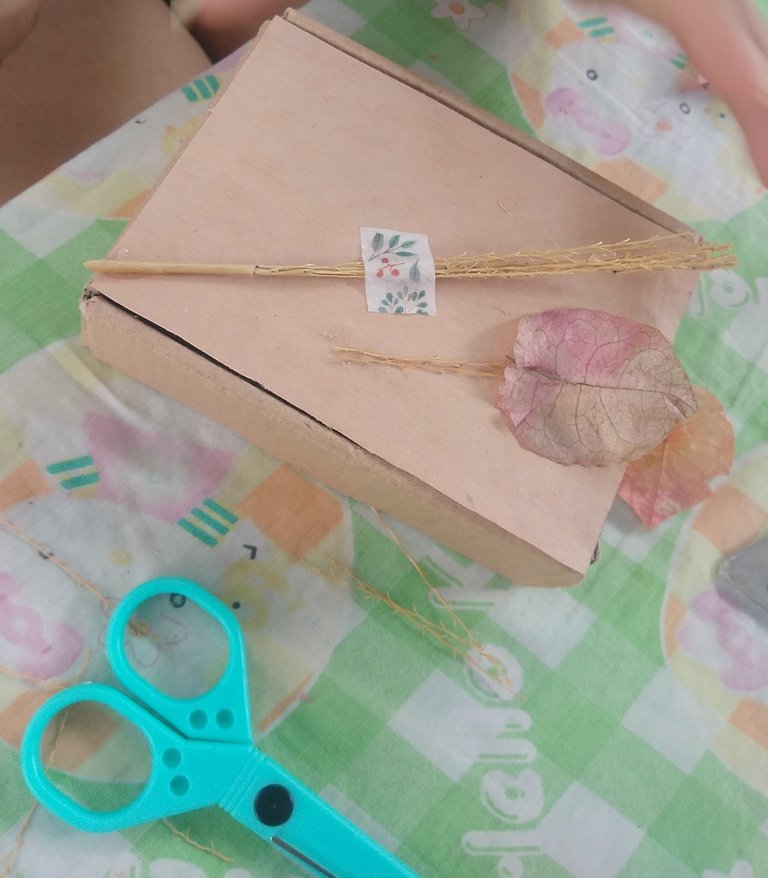
4.- Luego agarramos nuestras ramitas secas, como las mías eran muy largas, las recorte un poco para que se viera mas lindo y mas estético a la hora de pegarlas a mi cajita.4.- Then we took our dry twigs, as mine were very long, I trimmed them a little to make them look nicer and more aesthetic when it was time to glue them to my box.
5.- Agarramos el cuadrito de cartulina que anteriormente habíamos recortado y se lo pegamos en la tapa a nuestra cajita.5.- We take the cardboard square that we had previously cut out and glue it to the lid of our box.
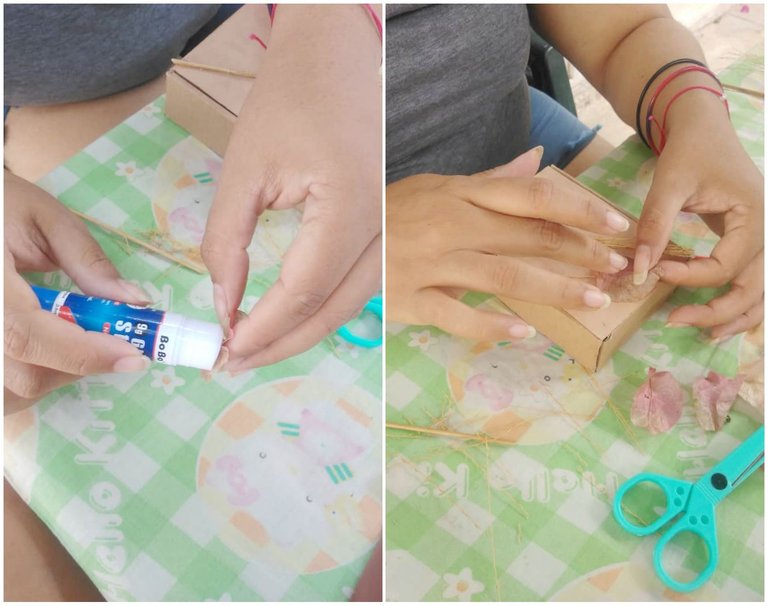
6.- Pegamos nuestras ramitas y hojitas a la tapa de la caja.6.- We glue our twigs and leaves to the lid of the box.
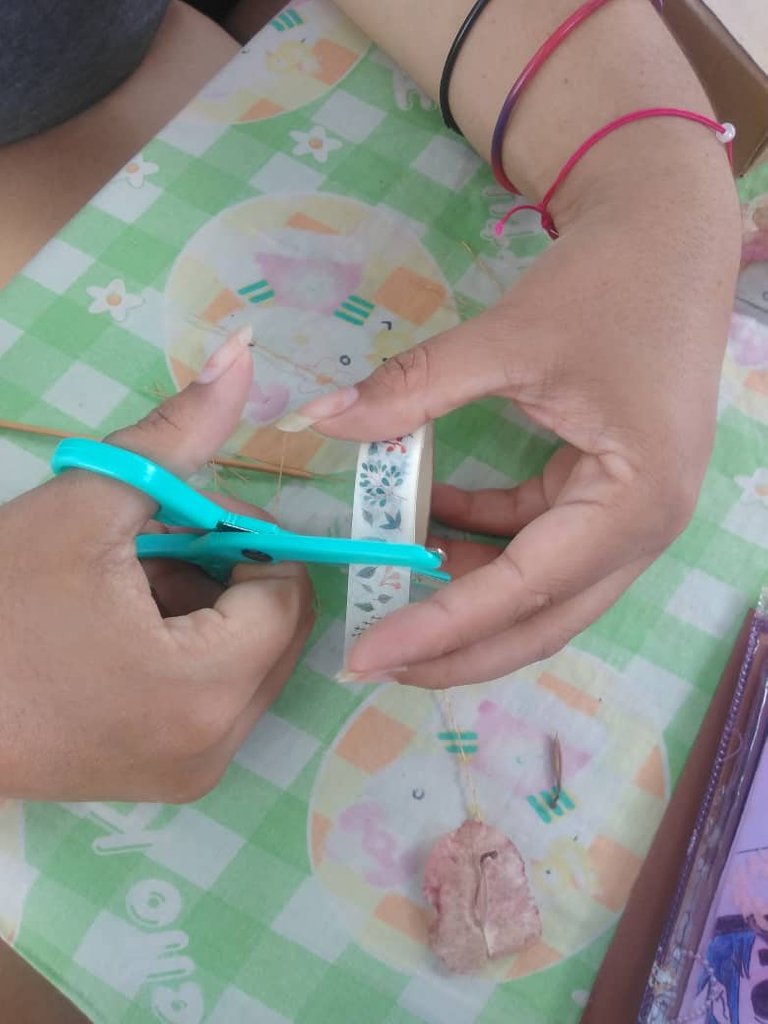
7.- Recortamos nuestra cinta adhesiva decorada, yo en mi caso la coloque a las ramitas, ustedes pueden ponerlas donde deseen.7.- We cut our decorated adhesive tape, in my case I put it on the twigs, you can put them wherever you want.
8.- De esta forma nos irá quedando.8.- In this way it will be left.
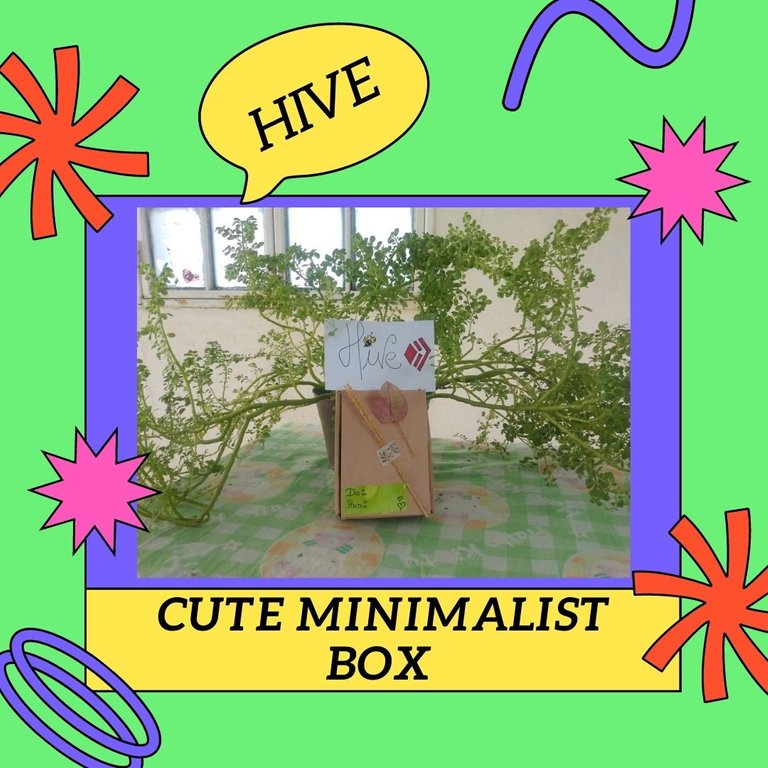
9.- Para ya finalizar, le coloque un pedacito de cartulina verde para hacer el trabajo de una tarjeta distintiva, donde podemos colocar de quien y para quien es el obsequio.9.- To finish, I put a little piece of green cardboard to make a distinctive card, where we can place who and for whom is the gift.
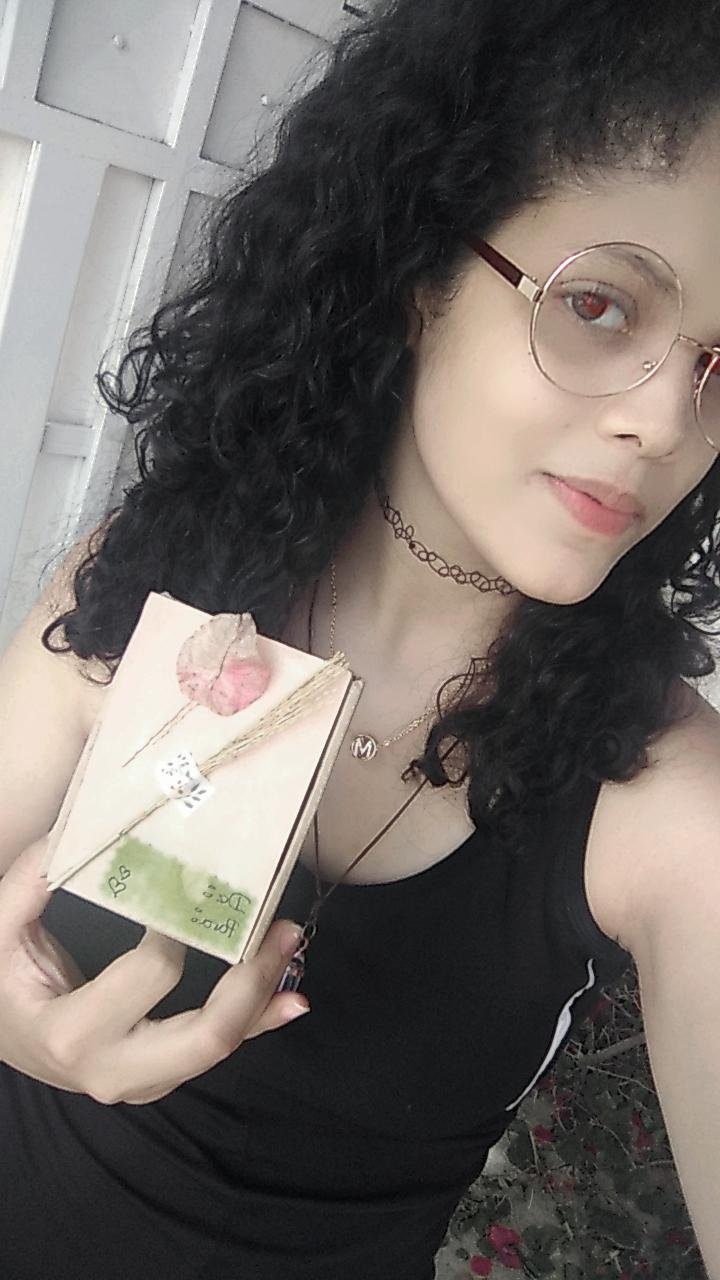
¡Y listo! Así nos queda nuestra cajita, super fácil, rápido, sencillo y económico de hacer. La cual podemos utilizar para darle un lindo obsequio a un ser querido o como anteriormente ya mencione, dejarla para nosotros y así guardar algunas cositas en ella.And that's it! This is how our little box looks like, super easy, fast, simple and economical to make. Which we can use to give a nice gift to a loved one or as mentioned above, leave it for ourselves and keep some things in it.
Mil gracias por tomarse el tiempo de visitar mi nuevo post, espero haya sido del agrado de todos! Si hacen la cajita, no duden en mostrármela, me hará tan feliz ver como les quedo♥Thank you so much for taking the time to visit my new post, I hope you liked it! If you make the box, don't hesitate to show it to me, I will be so happy to see how it looks♥
¡Saludos y mil bendiciones, será hasta una nueva oportunidad!✨Greetings and a thousand blessings, it will be until a new opportunity!✨
📸Todas las fotos son de mi autoría.
📝Tradución: https://www.deepl.com/es/translator
📌Separador: https://www.tutorialesteemit.com/recomendaciones/separadores-de-texto-para-blog/


0
0
0.000
Ayyy quedo lindisimo, me encanta 🥺❤️. Sigue así, un saludo y un abrazo
Graciaaas, un abrazo para ti también♥
Con productos reciclados podemos hacer tantas cosas, es increible! te quedo muy linda amiga, a veces vamos y compramos algo nuevo y sin pensar que tenemos todo lo que necesitamos para hacerlo nosotros mismos en casa.