[ESP/ENG] Técnica maquillaje: pestañas grumosas y labios clásicos rojos 💋Makeup technique: clumpy lashes and classic red lips ✨️

Proceso ✨️
Step by step
Hola amigos de esta comunidad hermosa, hoy vengo con unos tips para hacer que nuestras pestañas se vean cargadas, pesadas y más largas sin uso de extensiones y unos lindos labios rojos clásicos que combinan con este look.
Hi friends of this beautiful community, today I come with some tips to make our eyelashes look full, heavy and longer without using extensions and some cute classic red lips to match this look.
Paso a paso
Step-by-step
- Como de costumbre llenamos de corrector la zona de los ojos del rostro, para aplicarnos con la esponja la base a toquesitos.
- As usual, fill the eye area of the face with concealer and apply the foundation with the sponge in small touches.
- Sombreamos las cejas y las peinamos con el cepillo, las definimos las oscuras al final y las difuminamos en su principio.
- Shade the eyebrows and comb them with the brush, define the dark ones at the end and blend them at the beginning.
- Con una brocha para difuminar grande aplicamos bronzer sobre nuestra línea del cabello y sobre pómulos.
- With a large blending brush we apply bronzer on our hairline and cheekbones.
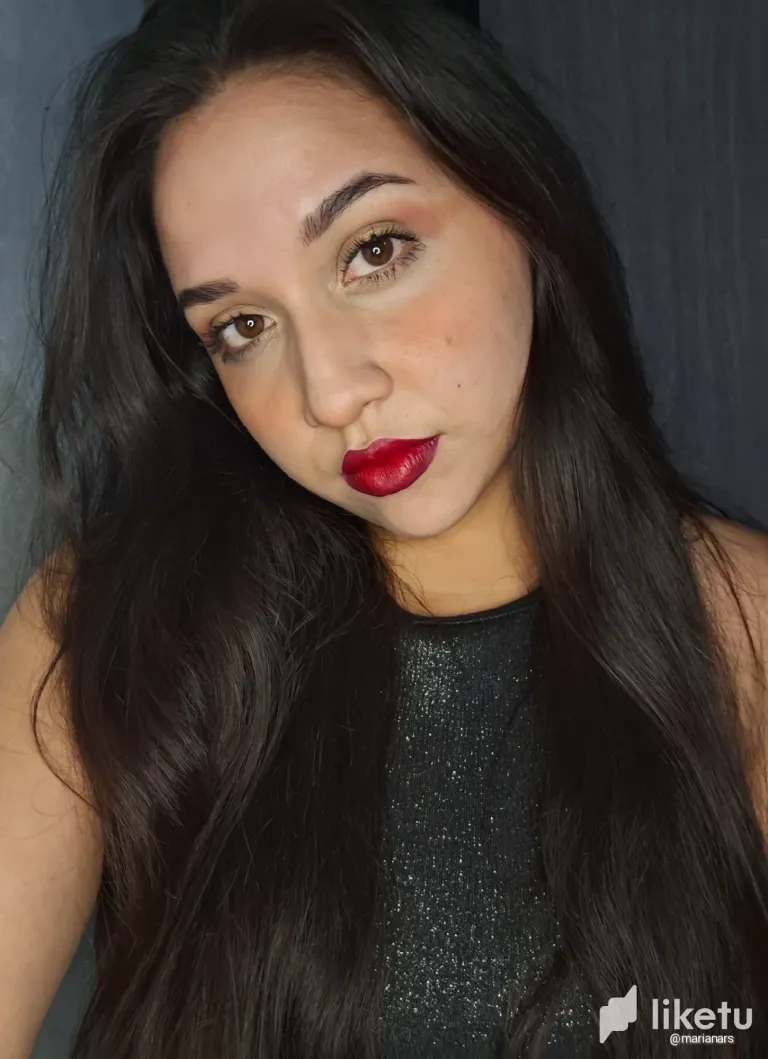
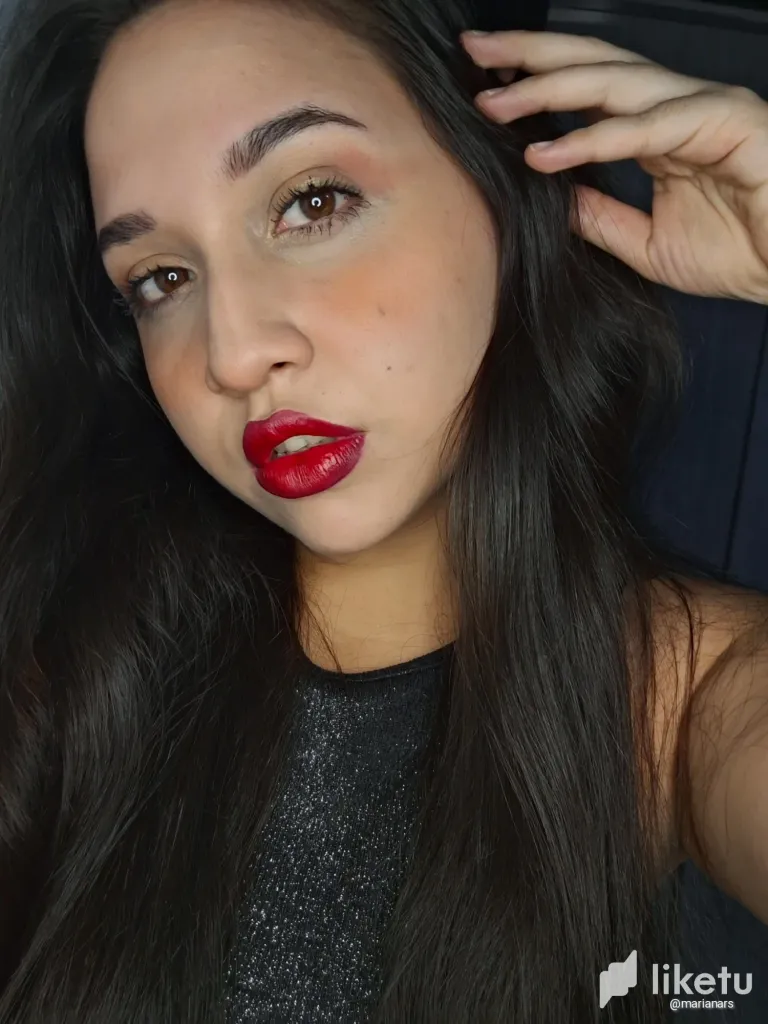
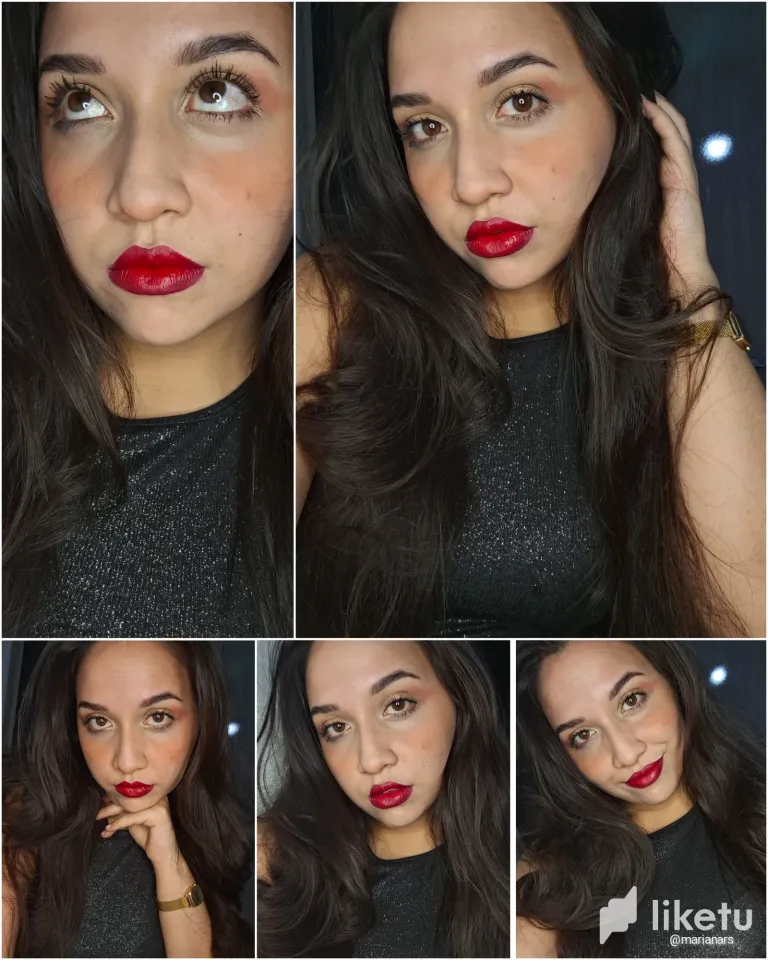
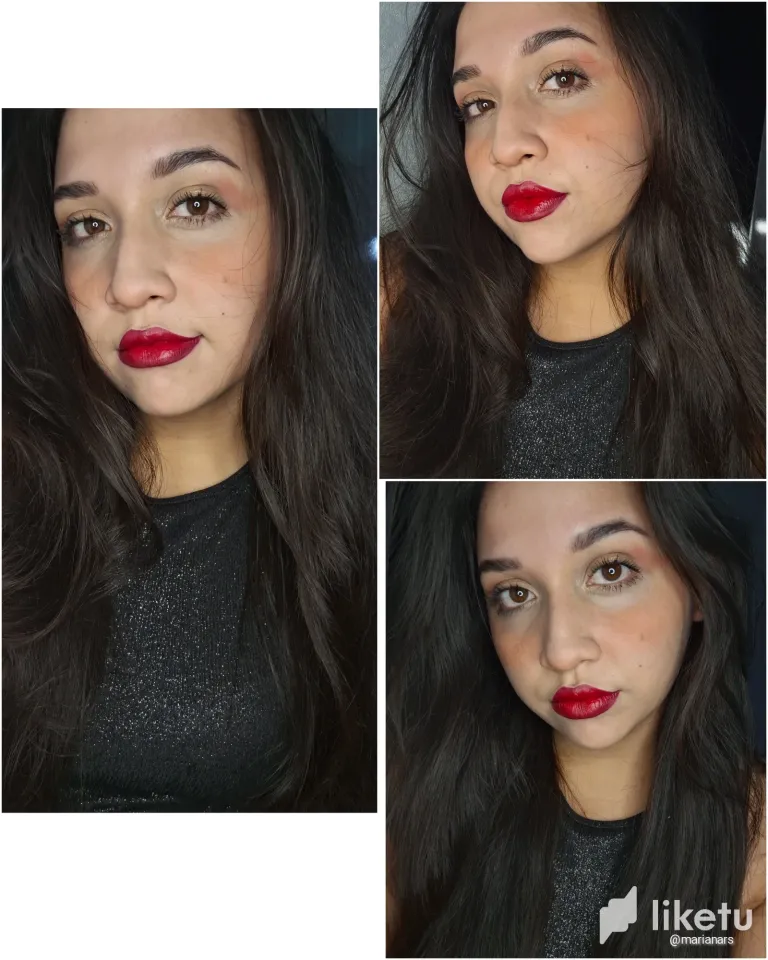
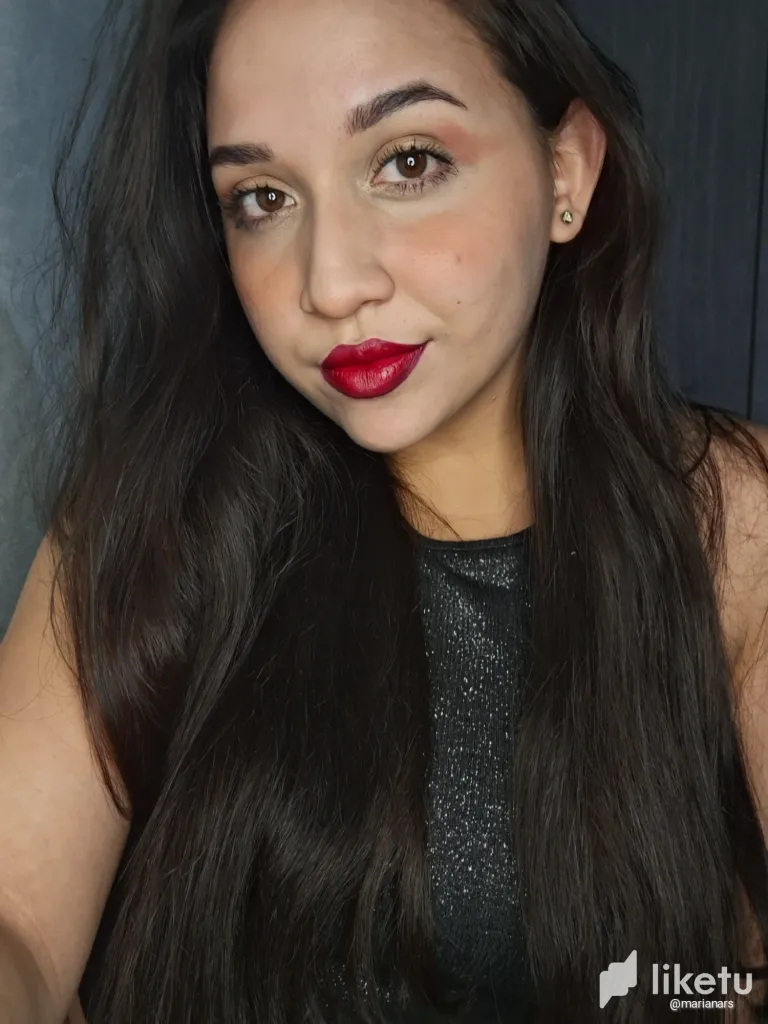
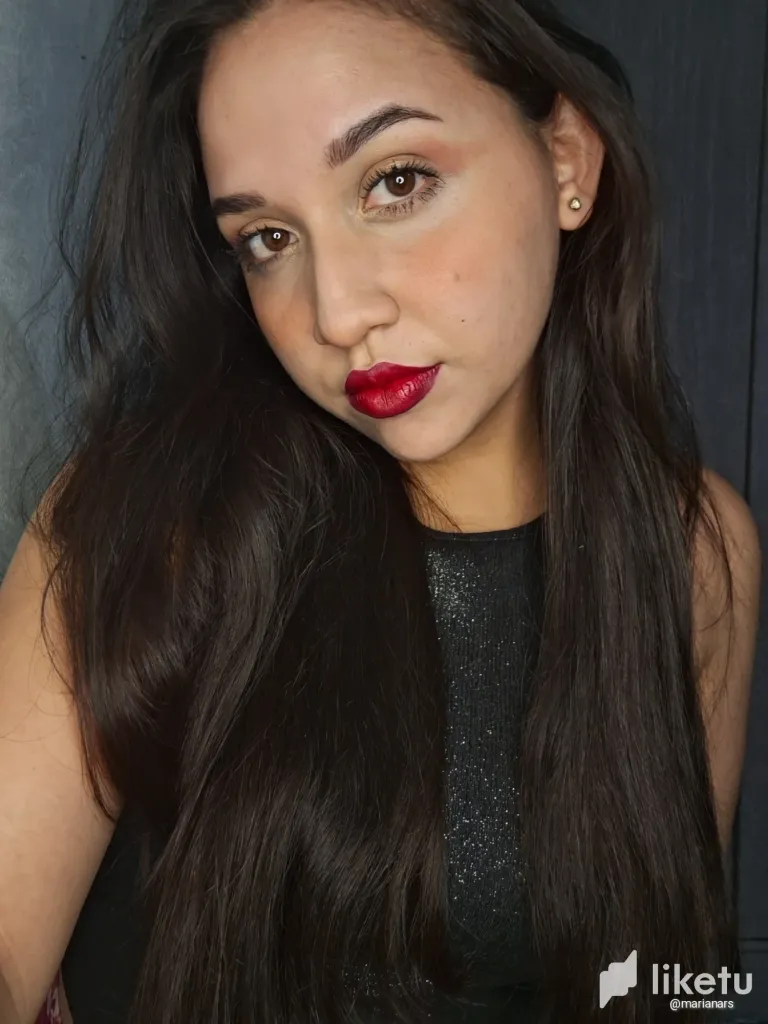
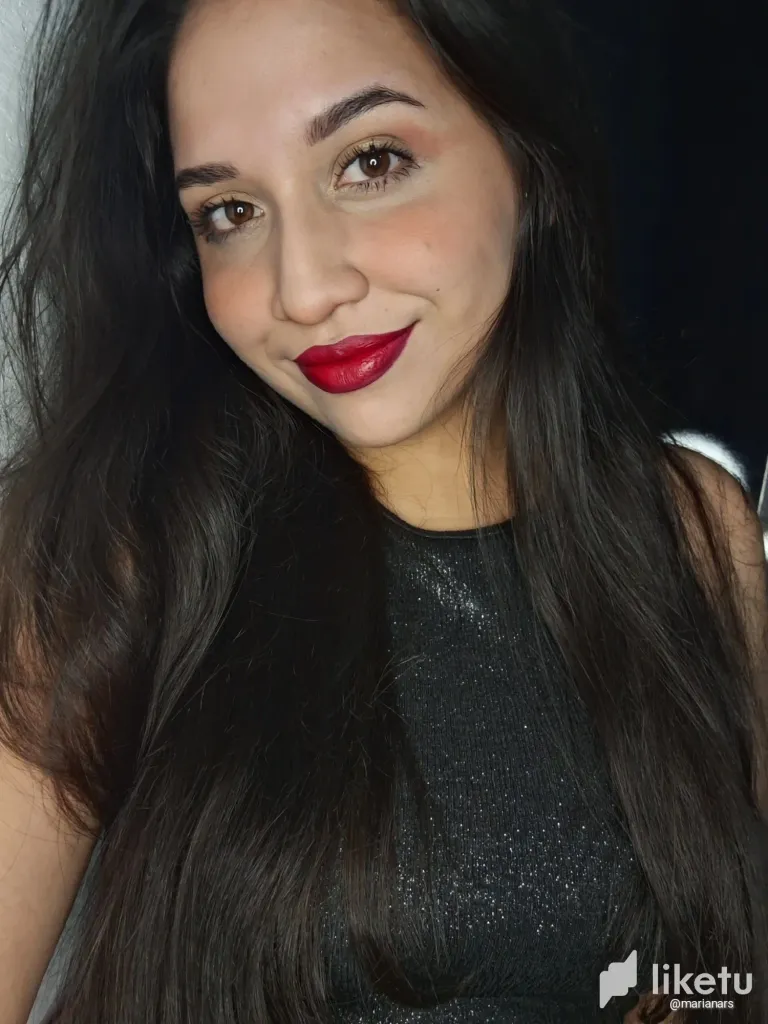
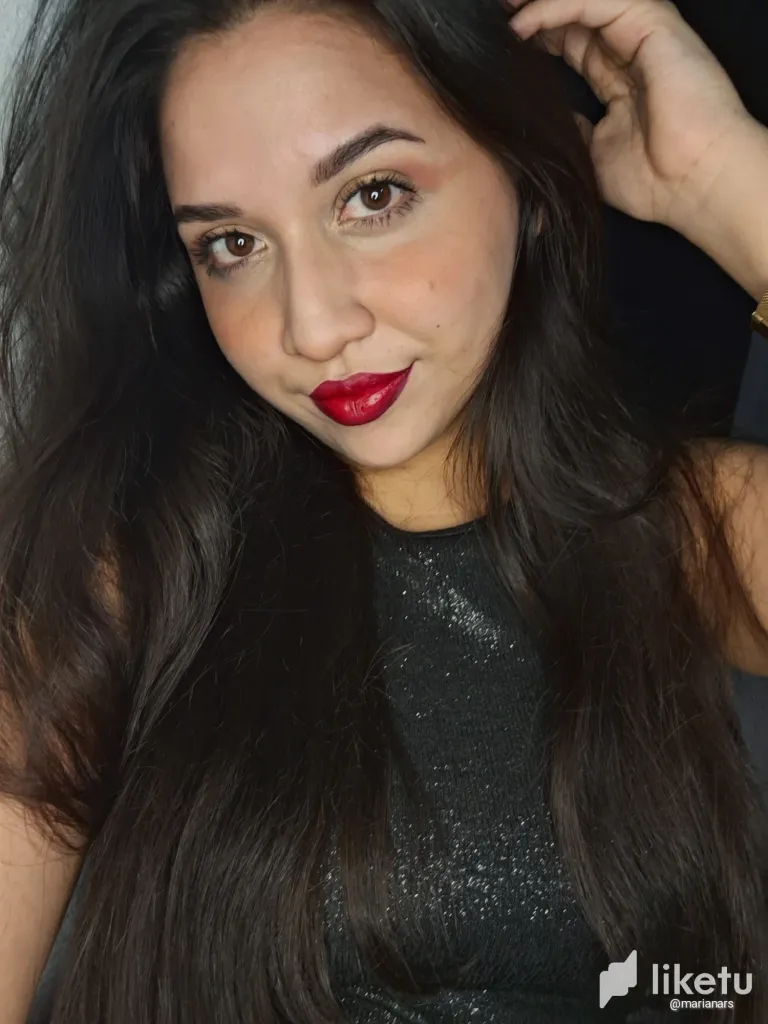
- Vamos con las protagonistas de hoy : ✨️las pestañas✨️, y es usaremos el rizador de pestañas en el principio de las mismas presionando lo más cercano a la raíz esto lo haremos en dos secciones de principio a mitad de párpado de mitad a final, levantando todas las pestañas, pasamos a la primera aplicación de máscara de pestaña de raíz a punta, esto lo haremos en tres ocasiones, con una brocha aplicamos sobre las pestañas ya pintadas polvo traslúcido (esto hará que se vean grumosas) luego de esto repetimos la aplicación de máscara de pestañas unas tres veces más y vamos juntando las puntas de algunas de ellas para hacerlas ver más estilizadas, damos color a la cuenca del ojo usando el mismo bronzer y difuminando, aplicamos iluminador en la zona del lagrimal y sobre el medio del párpado móvil y listo.
- Let's go with today's protagonists: ✨️las pestañas✨️, and is we will use the eyelash curler at the beginning of the eyelashes pressing as close to the root this we will do it in two sections from beginning to middle of eyelid from middle to end, lifting all the lashes, we move to the first application of mascara from root to tip, this we will do it three times, with a brush we apply translucent powder on the lashes already painted (this will make them look clumpy) after this we repeat the application of mascara about three more times and we will join the tips of some of them to make them look more stylized, we give color to the eye socket using the same bronzer and blending, we apply illuminator in the area of the tear and on the middle of the eyelid and ready.
- Para los labios el truco está en delinearlos antes de proceder a rellenarlos, usaremos un color más oscuro de rojo para el delineado y rellenamos con un color de rojo más potente, más claro y vivo.
- For the lips the trick is to outline them before proceeding to fill them in, we will use a darker color of red for the outline and fill in with a more powerful, lighter and more vivid color of red.
Tenemos una imagen sencilla y clásica, sin recargar el rostro, las pestañas son el foco se ven abundantes y esa es la idea, habría querido que se vean más largas por lo que practicare para perfeccionar esto ❤️
We have a simple and classic look, without overloading the face, the eyelashes are the focus, they look abundant and that's the idea, I would have wanted them to look longer so I will practice to perfect this ❤️
.
.
.
• Photos taken of a galaxy a54.
• Traductor/translator: DeepL.
• Collage Editor: Polish.
For the best experience view this post on Liketu