[ESP-ENG] 🟨 Como hacer de forma fácil y rápida un Cubo en cartulina, Paso a Paso 🟥/How to make a cardboard Cube easily and quickly, Step by Step
Buenas noches gente hermosa de Hive, como siempre un verdadero gusto saludarles y compartir con todos ustedes, para esta oportunidad les mostraré mi técnica para hacer un cubo en cartulina, en vez de medir cuadrado por cuadrado, vamos a tener un patrón del cuadrado, el cual vamos a usar como plantilla y trasferir a la cartulina o papel donde vamos a realizarlo.
Good evening beautiful people of Hive, as always a real pleasure to greet you and share with all of you, for this opportunity I will show you my technique to make a cardboard cube, instead of measuring square by square, we are going to have a pattern of the square, the which we are going to use as a template and transfer to the cardboard or paper where we are going to do it.
Esta clase de proyecto siempre lo mandan a realizar a nuestros hijos en la escuela, cuando están aprendiendo las figuras geométricas, pero en esta ocasión lo he realizado como un adorno con el logo de la plataforma Hive, es muy fácil de realizar, aquí les muestro el paso a paso.
This kind of project is always sent to our children at school, but this time I have done it as an ornament with the Hive platform logo, it is very easy to do, here I show you the step by step.
🟨 Como hacer de forma fácil y rápida un Cubo de cartulina 🟥
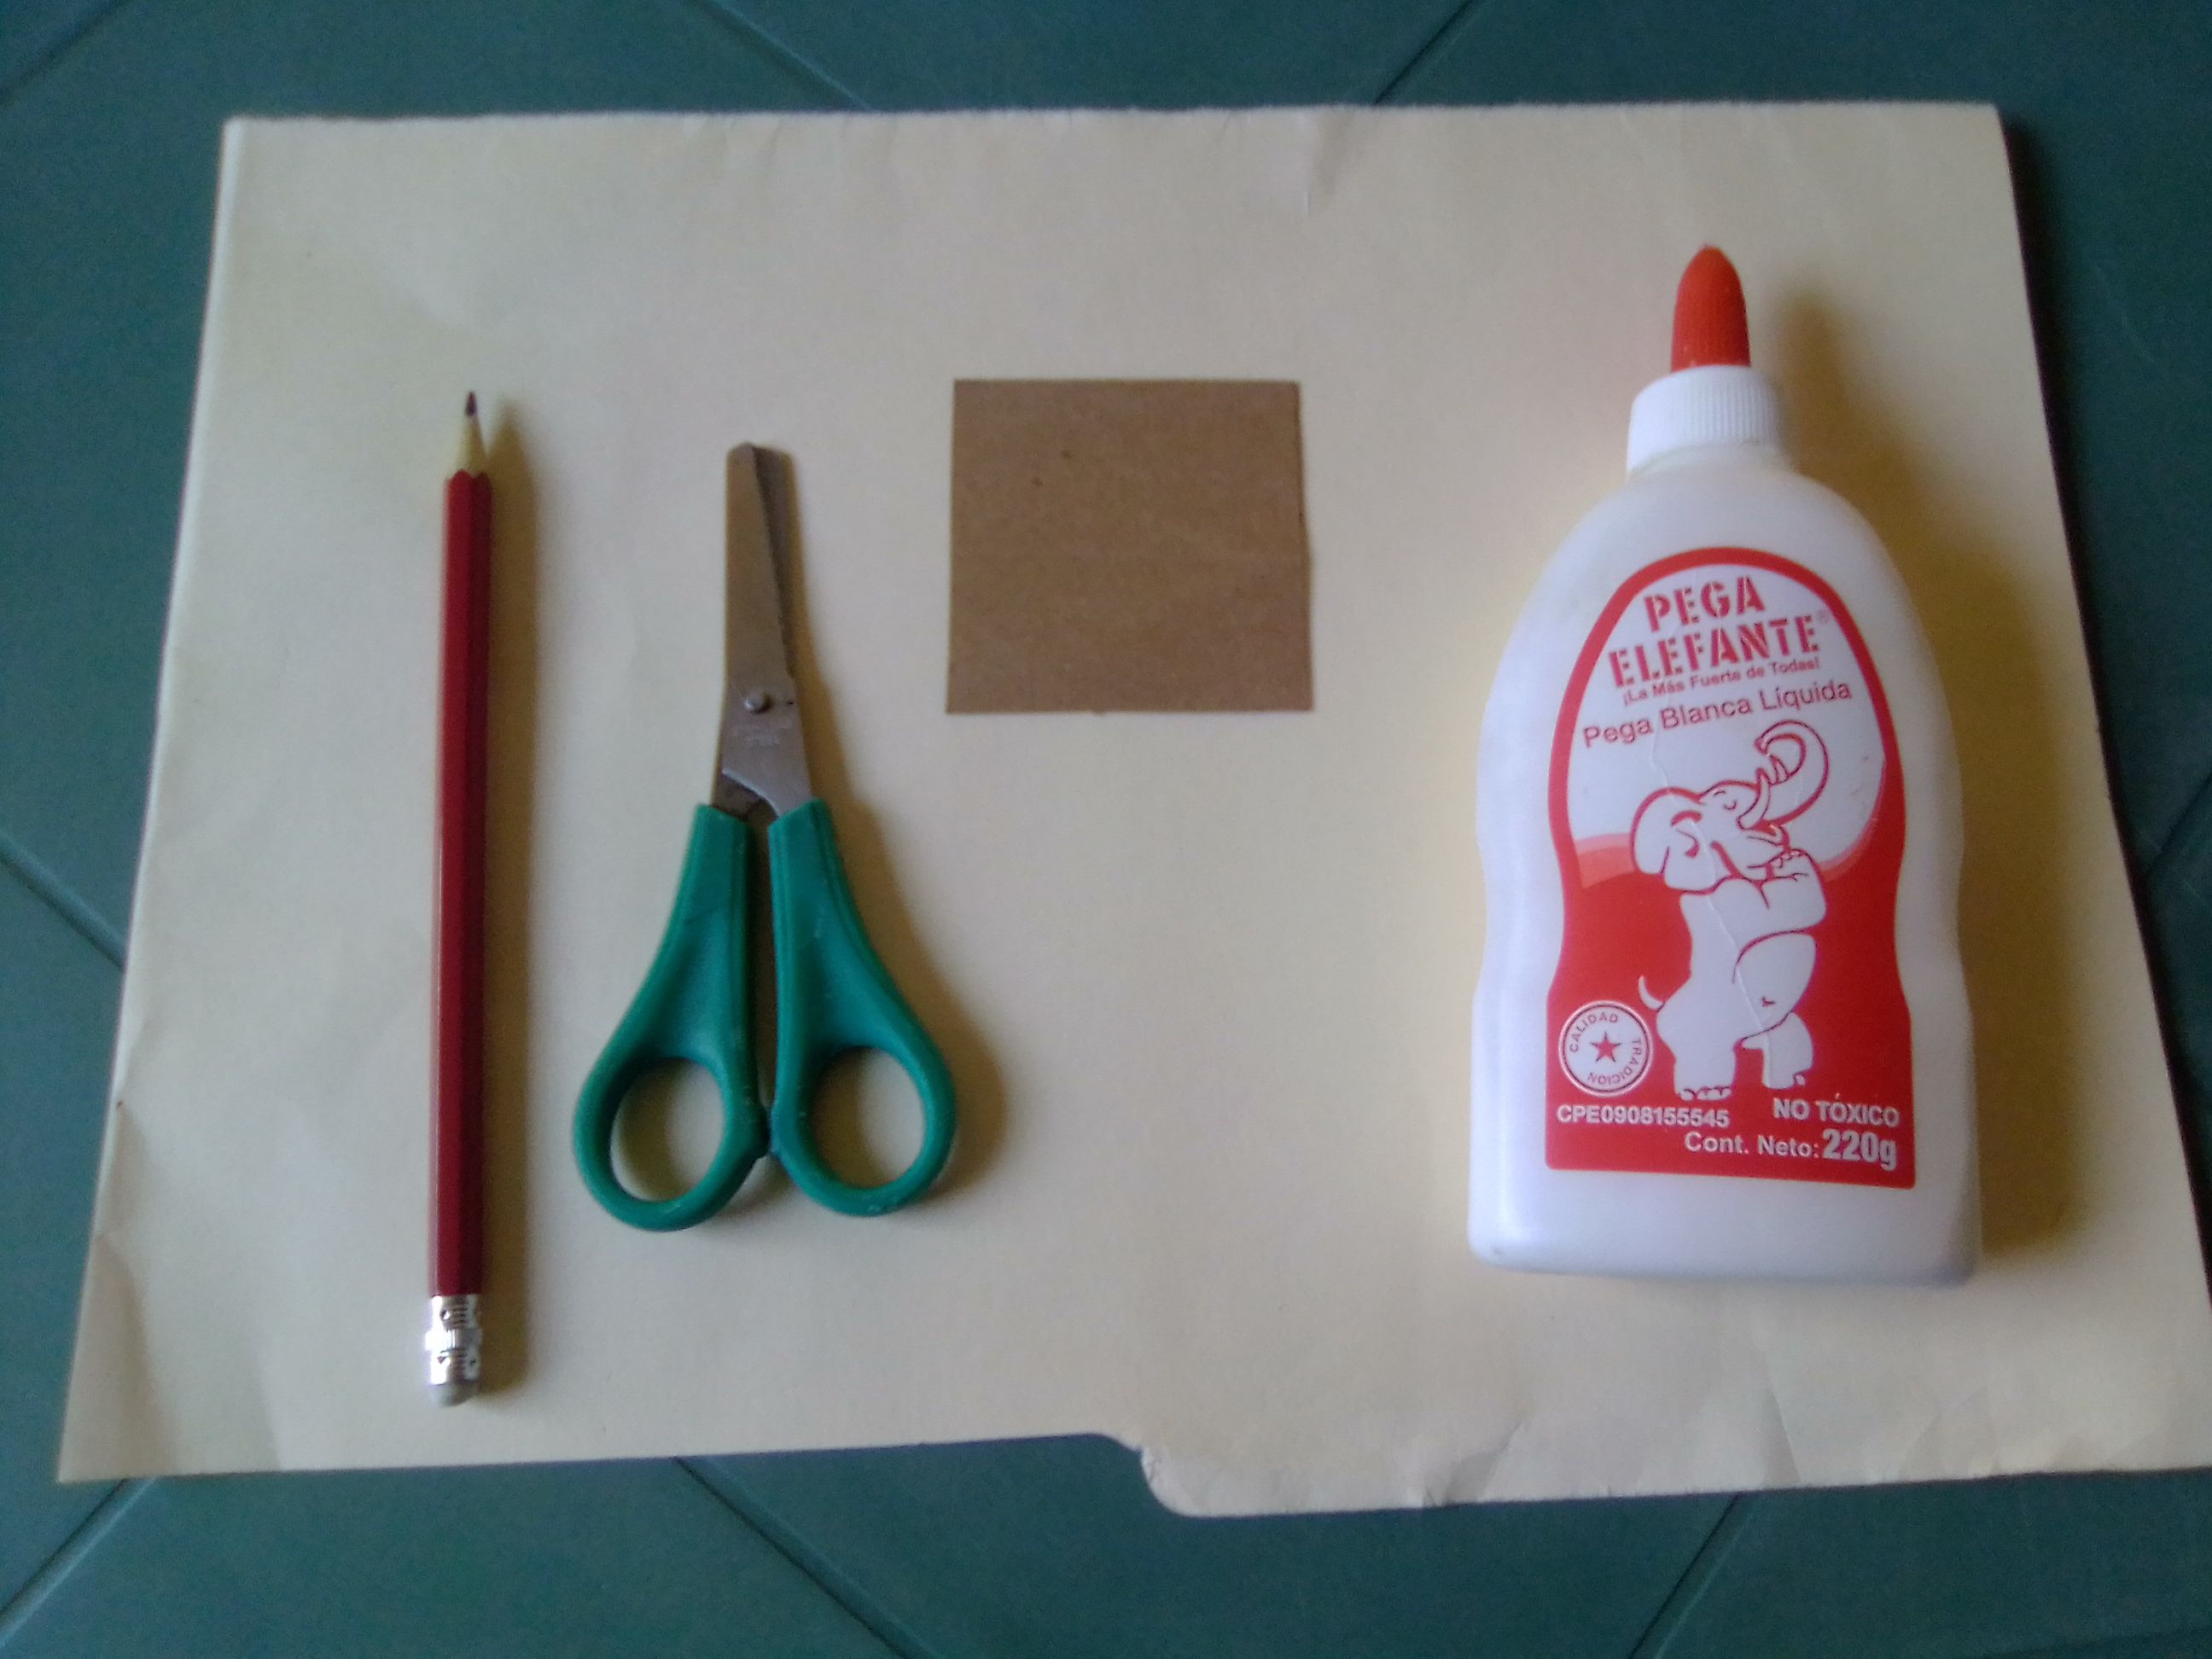
Materiales
🟨 1 carpeta de cartulina reciclada
🟨 Tijera
🟨 Pega blanca
🟨 Lápiz
🟨 Un cuadrado en cartulina tamaño de su preferencia, la muestra es de 6 cm
🟨 How to make a cardboard cube easily and quickly 🟥
Materials
🟨 1 recycled cardboard folder
🟨 Scissor
🟨 White glue
🟨 Pencil
🟨 A square in cardboard size of your preference, the sample is 6 cm
Paso a Paso
Step by Step
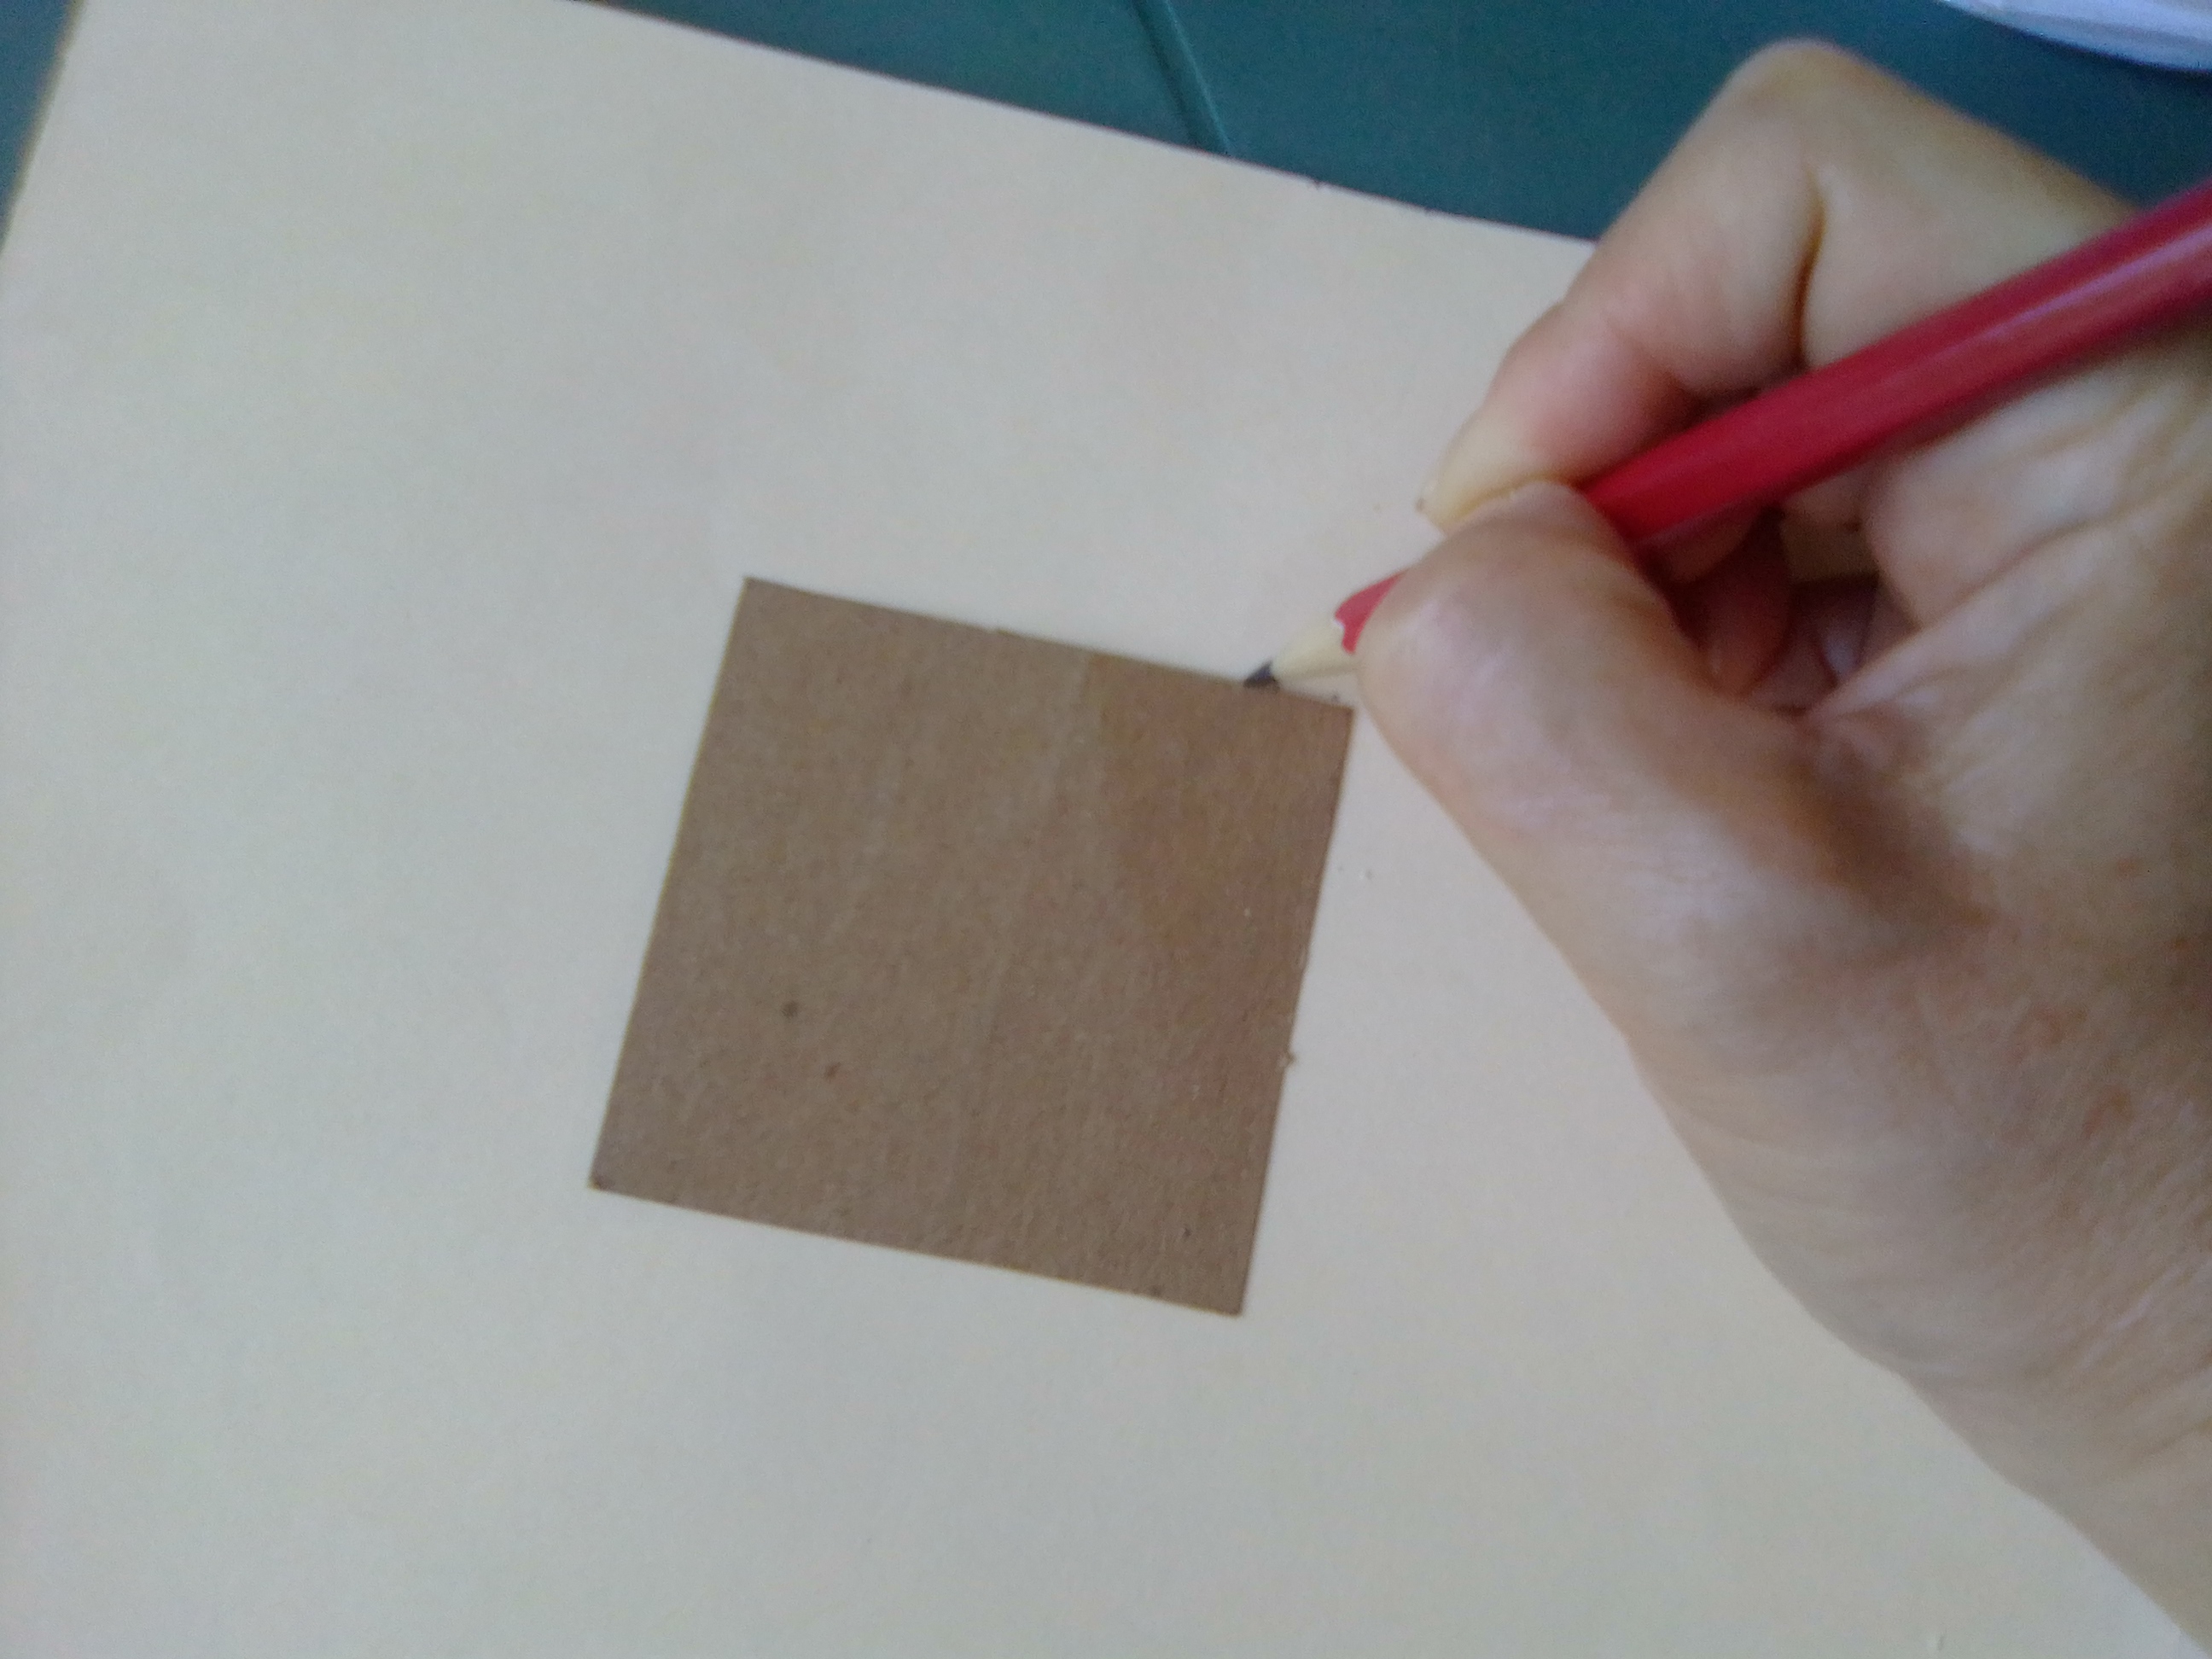
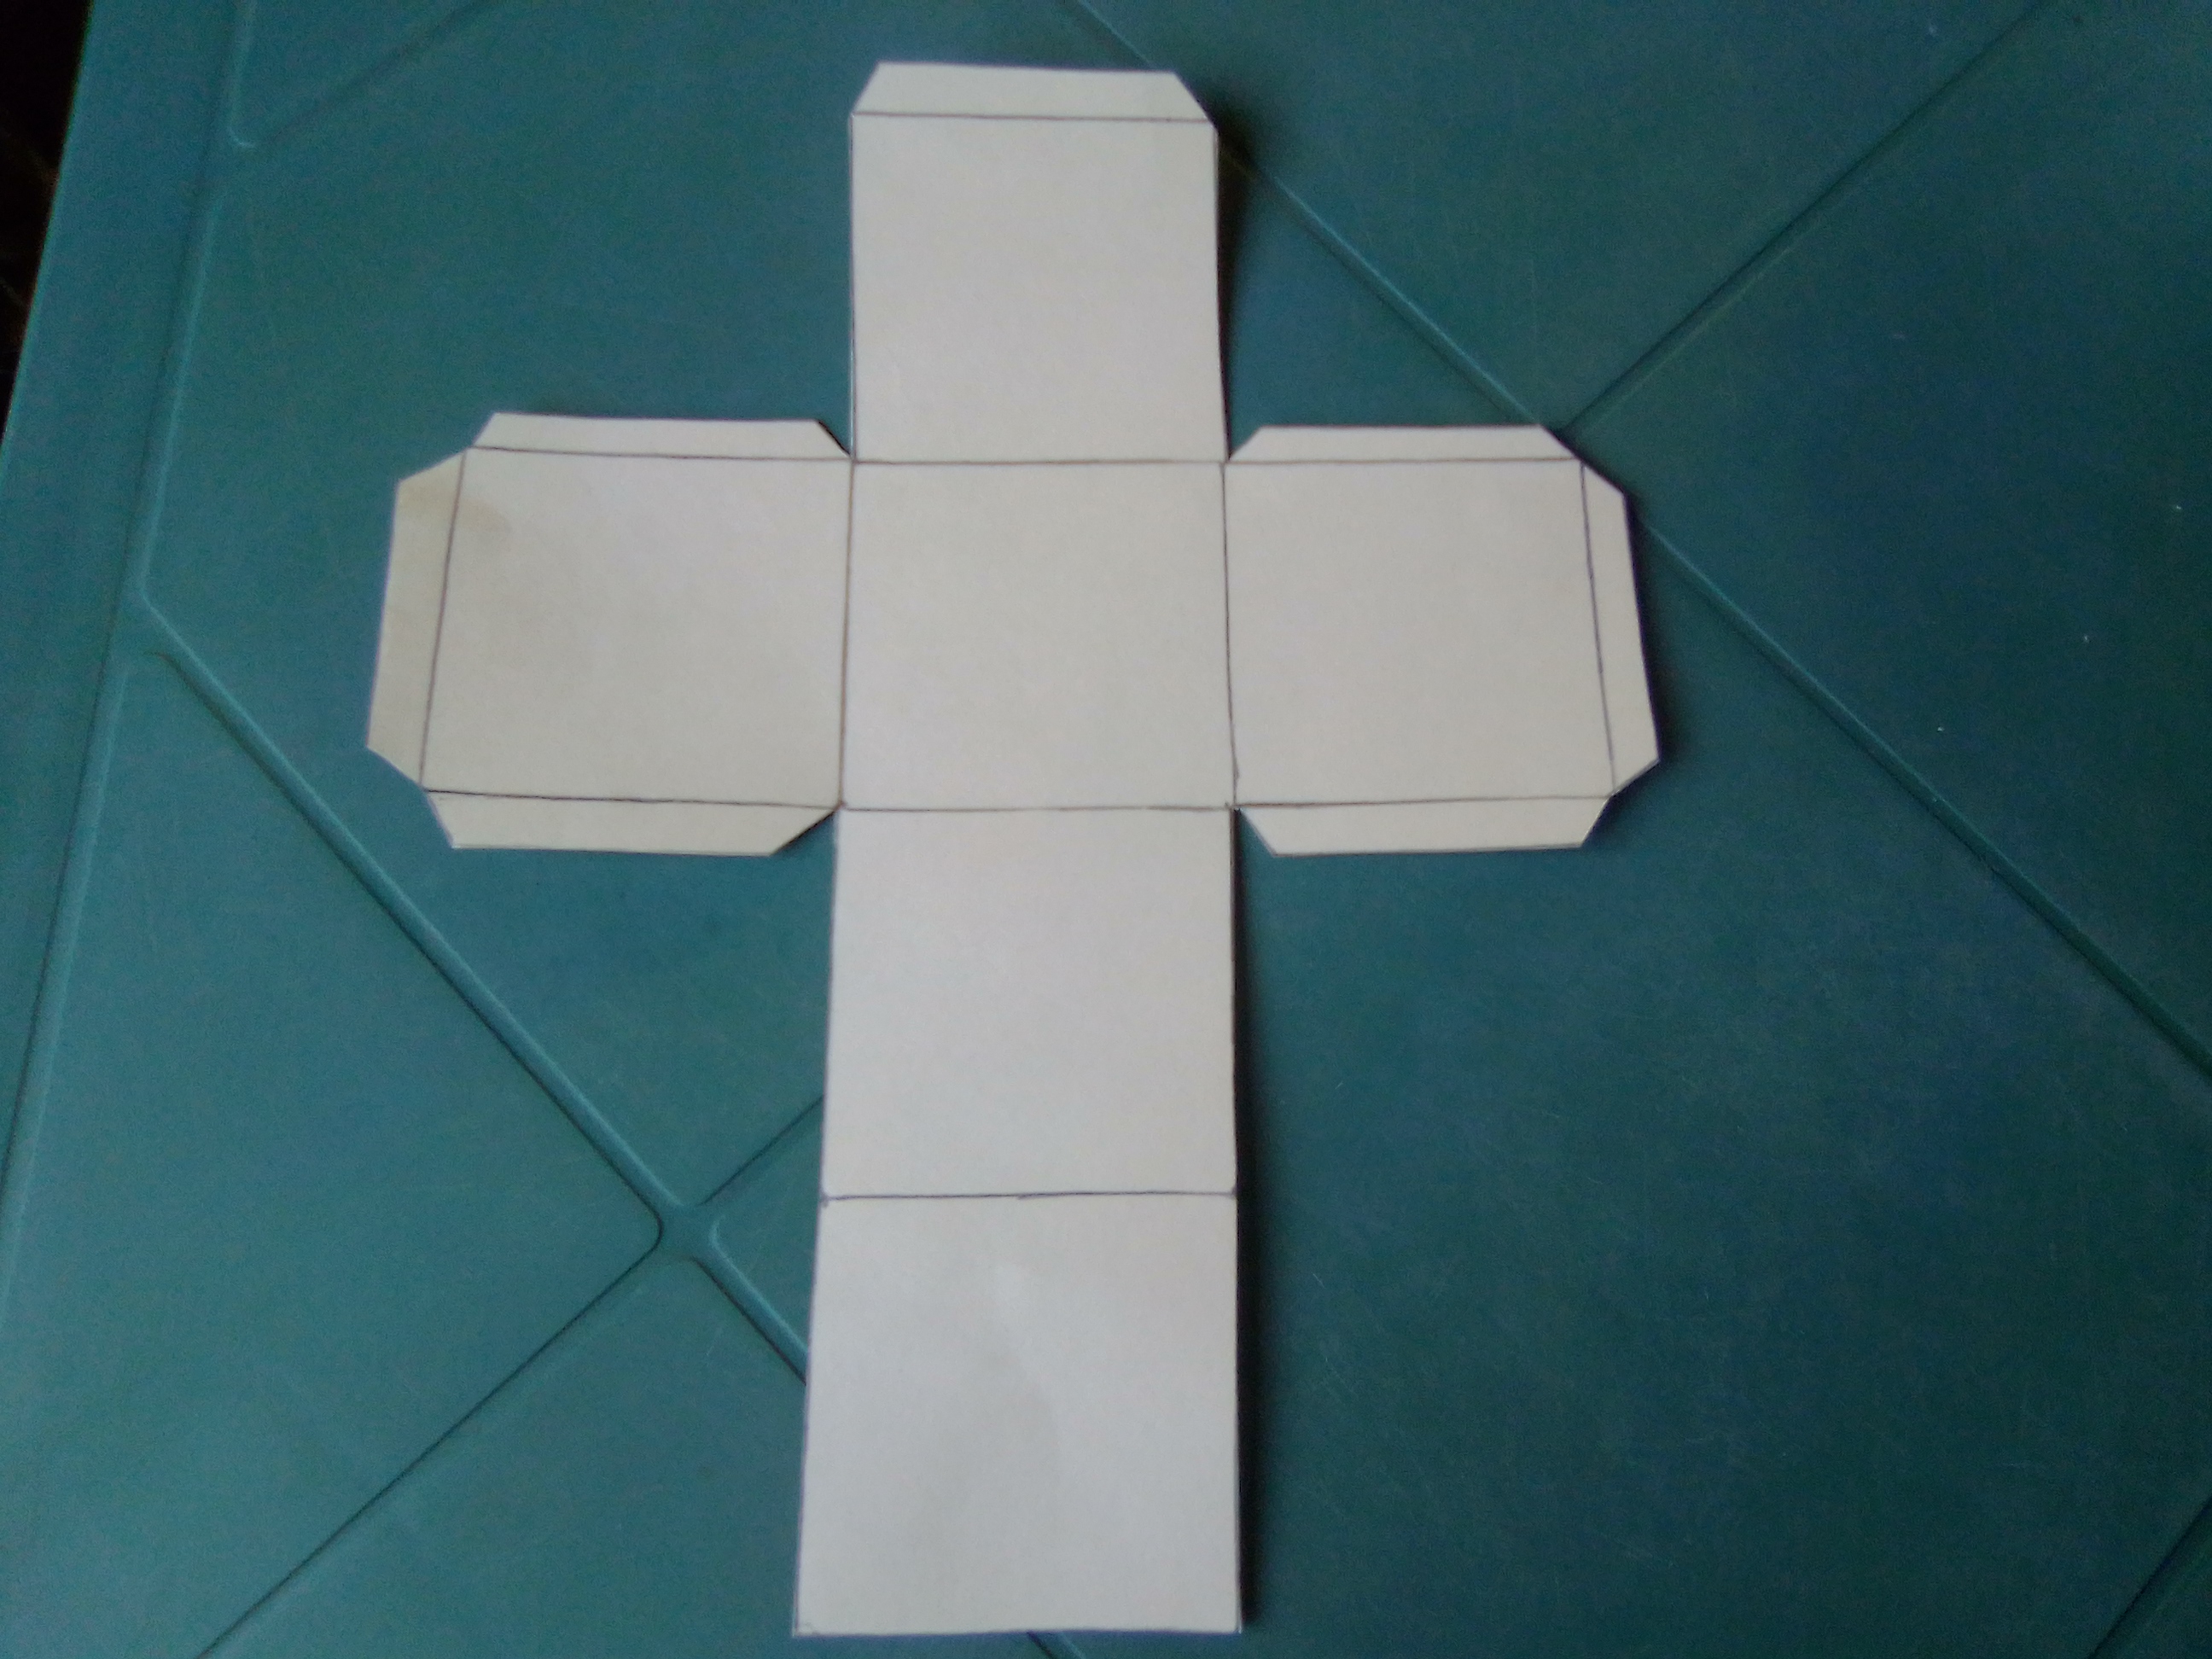
Paso 1
Lo primero que debemos hacer es marcar en la carpeta y con ayuda del cuadrado en cartulina, como especie de una cruz, con 4 cuadrados vertical y 2 horizontal.
Step 1
The first thing we must do is mark on the folder and with the help of the cardboard square, as a kind of cross, with 4 vertical squares and 2 horizontal.

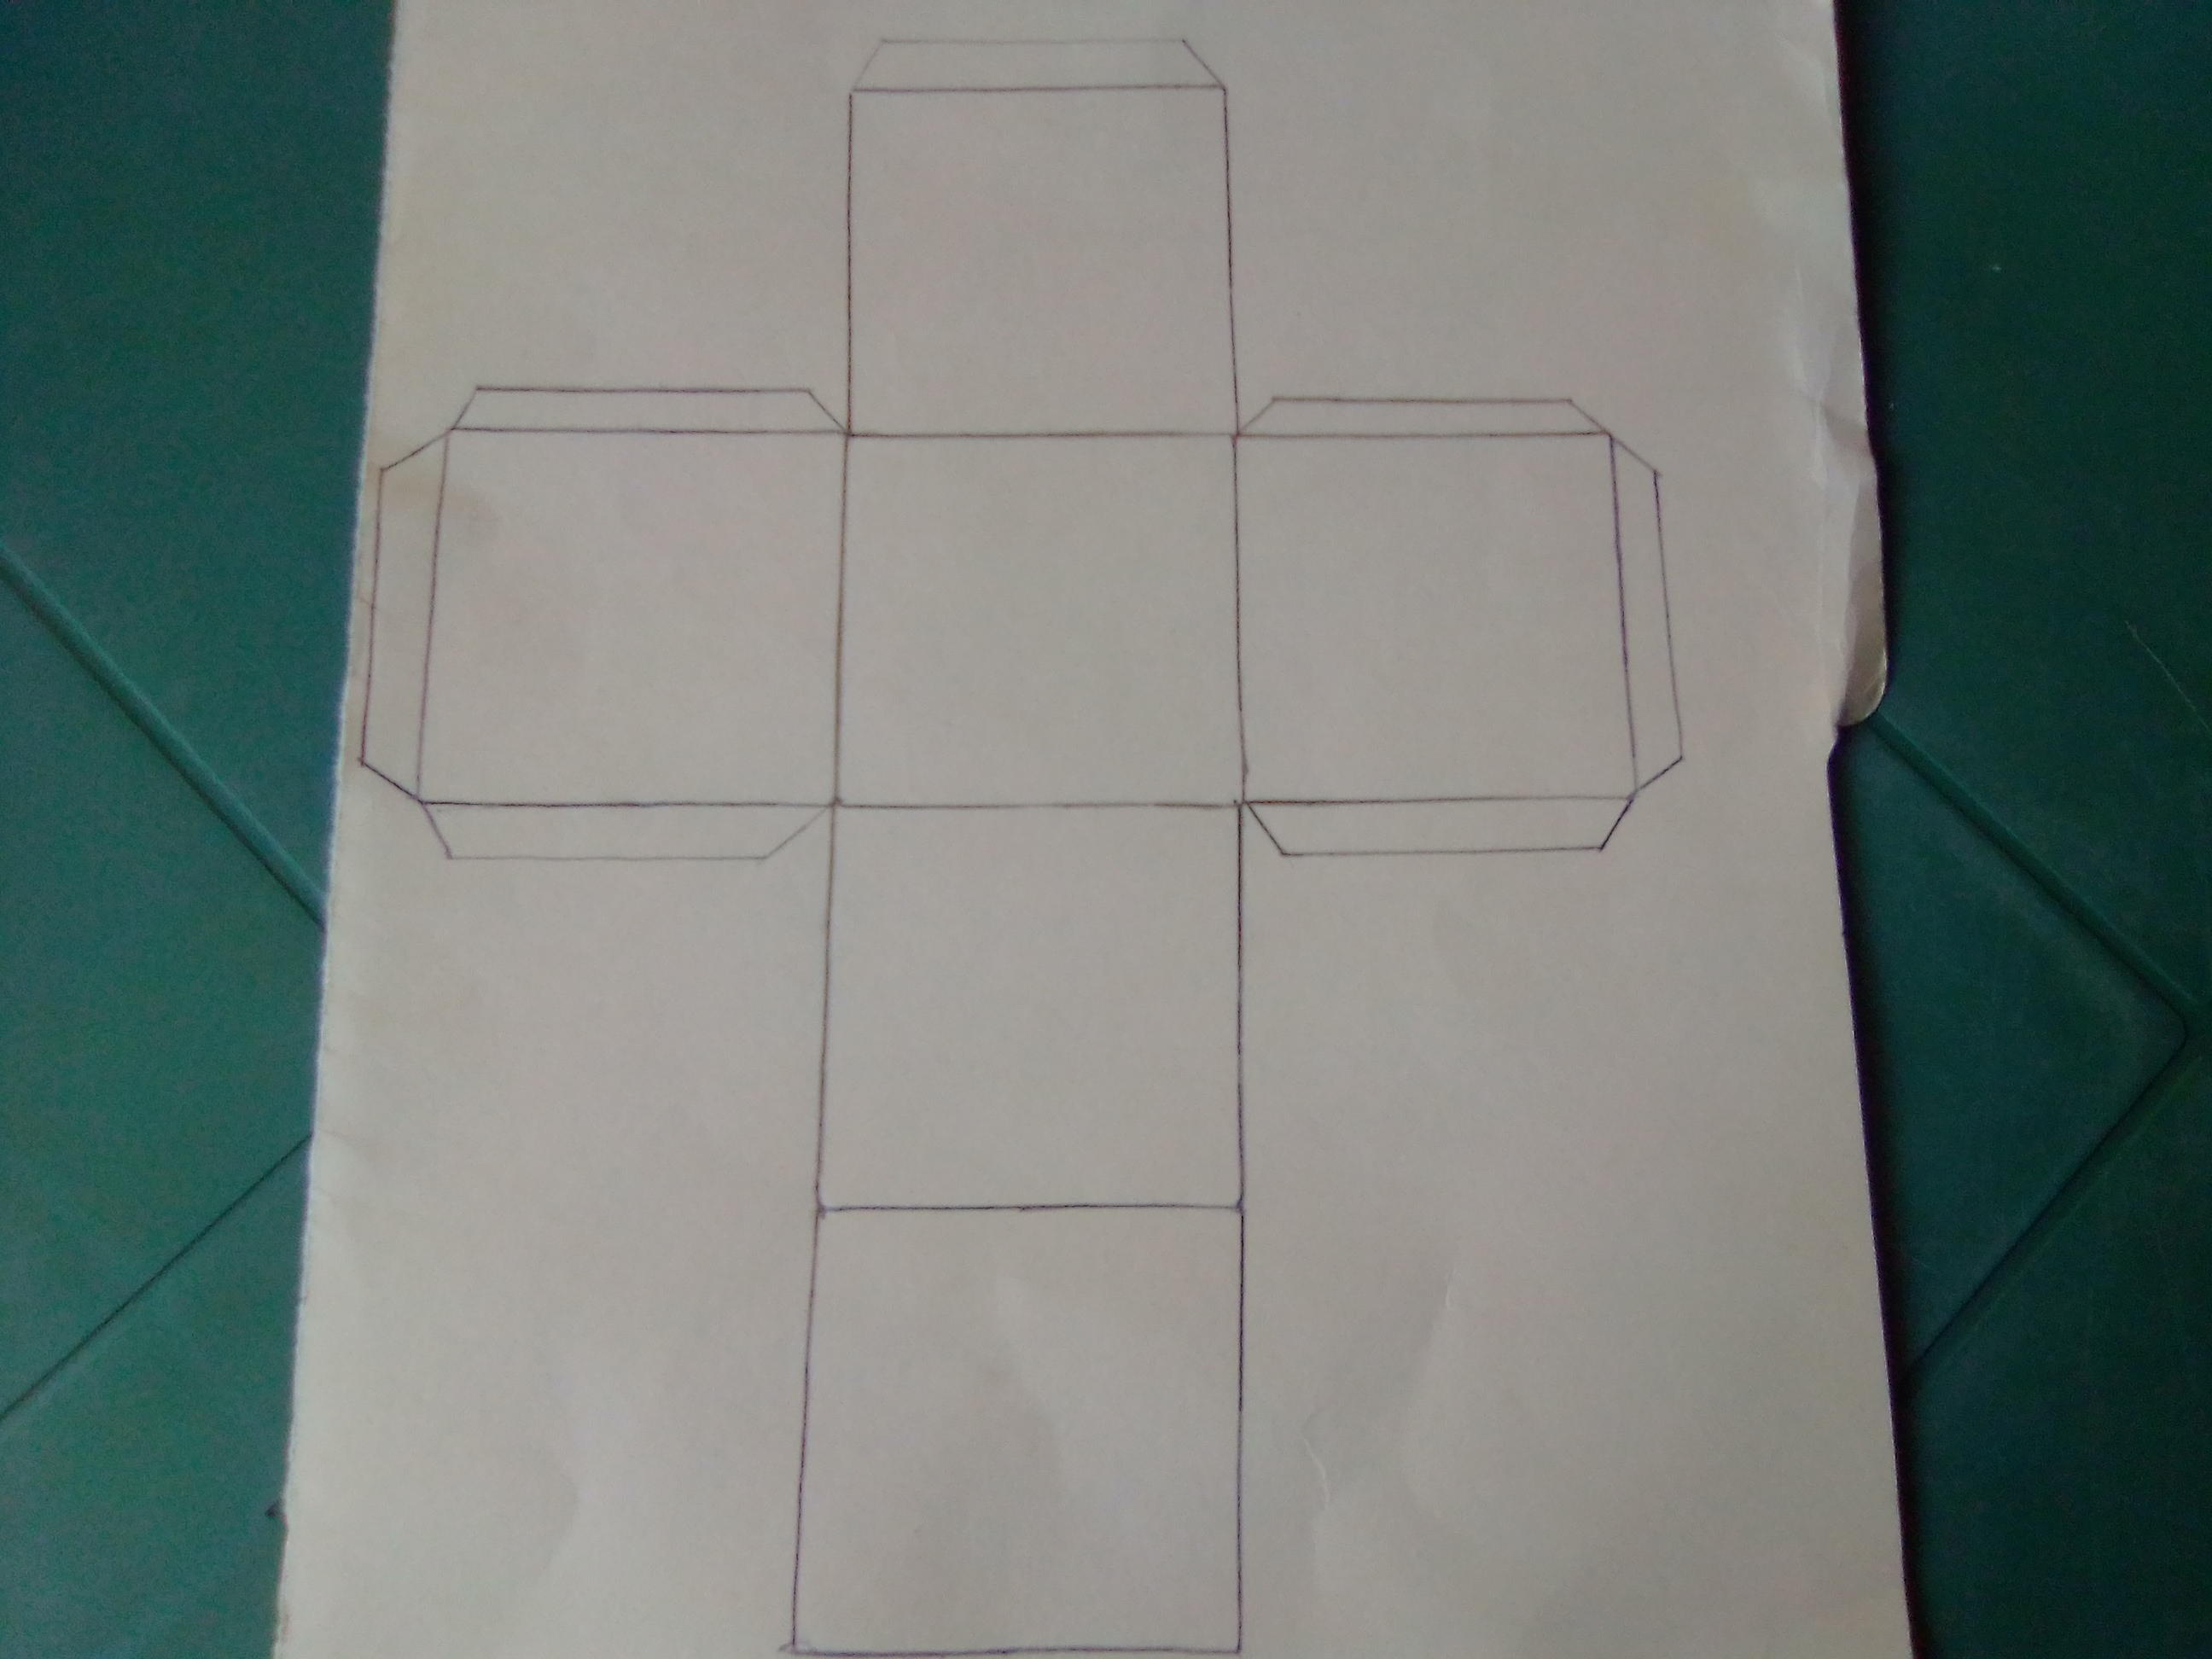
Paso 2
Luego vamos a marcar en los cuadrados horizontales, en todos sus bordes, unas líneas las cuáles serán como unas pestañas con la cual vamos a pegar el cubo y también haremos una en el primer cuadrado vertical.
Step 2
Then we are going to mark on the horizontal squares, on all their edges, some lines which will be like tabs with which we are going to glue the cube and we will also make one on the first vertical square.
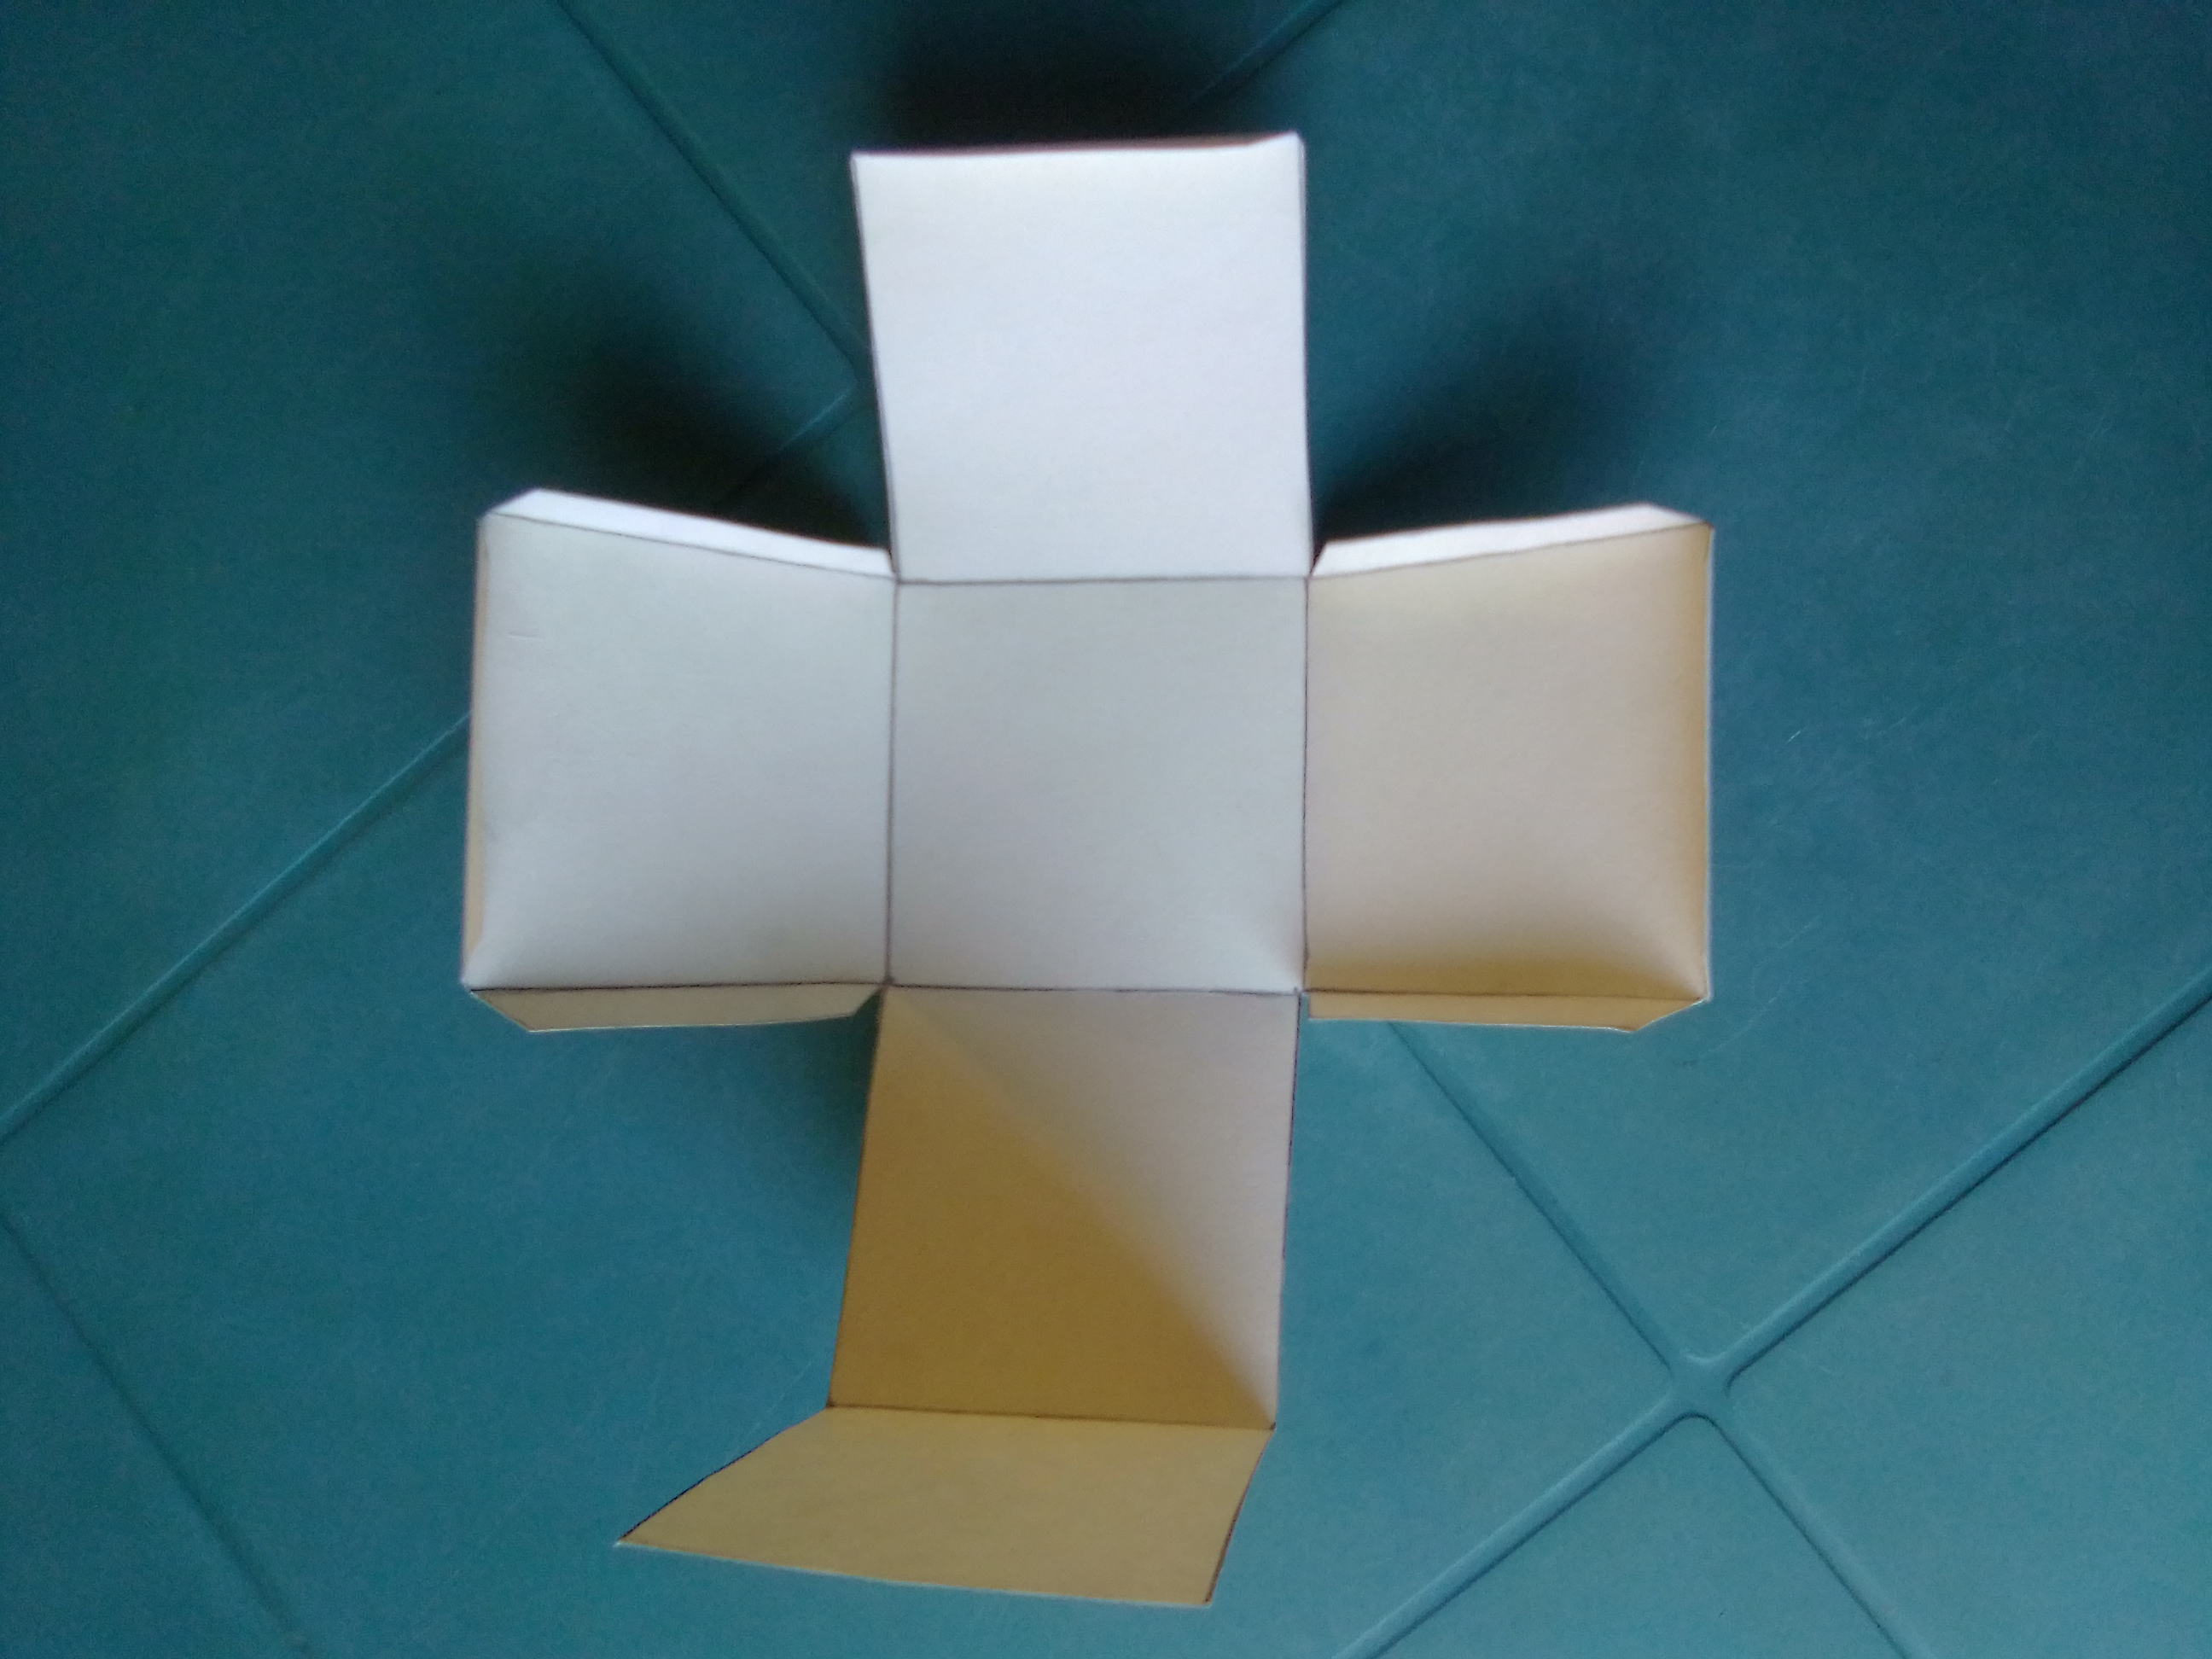
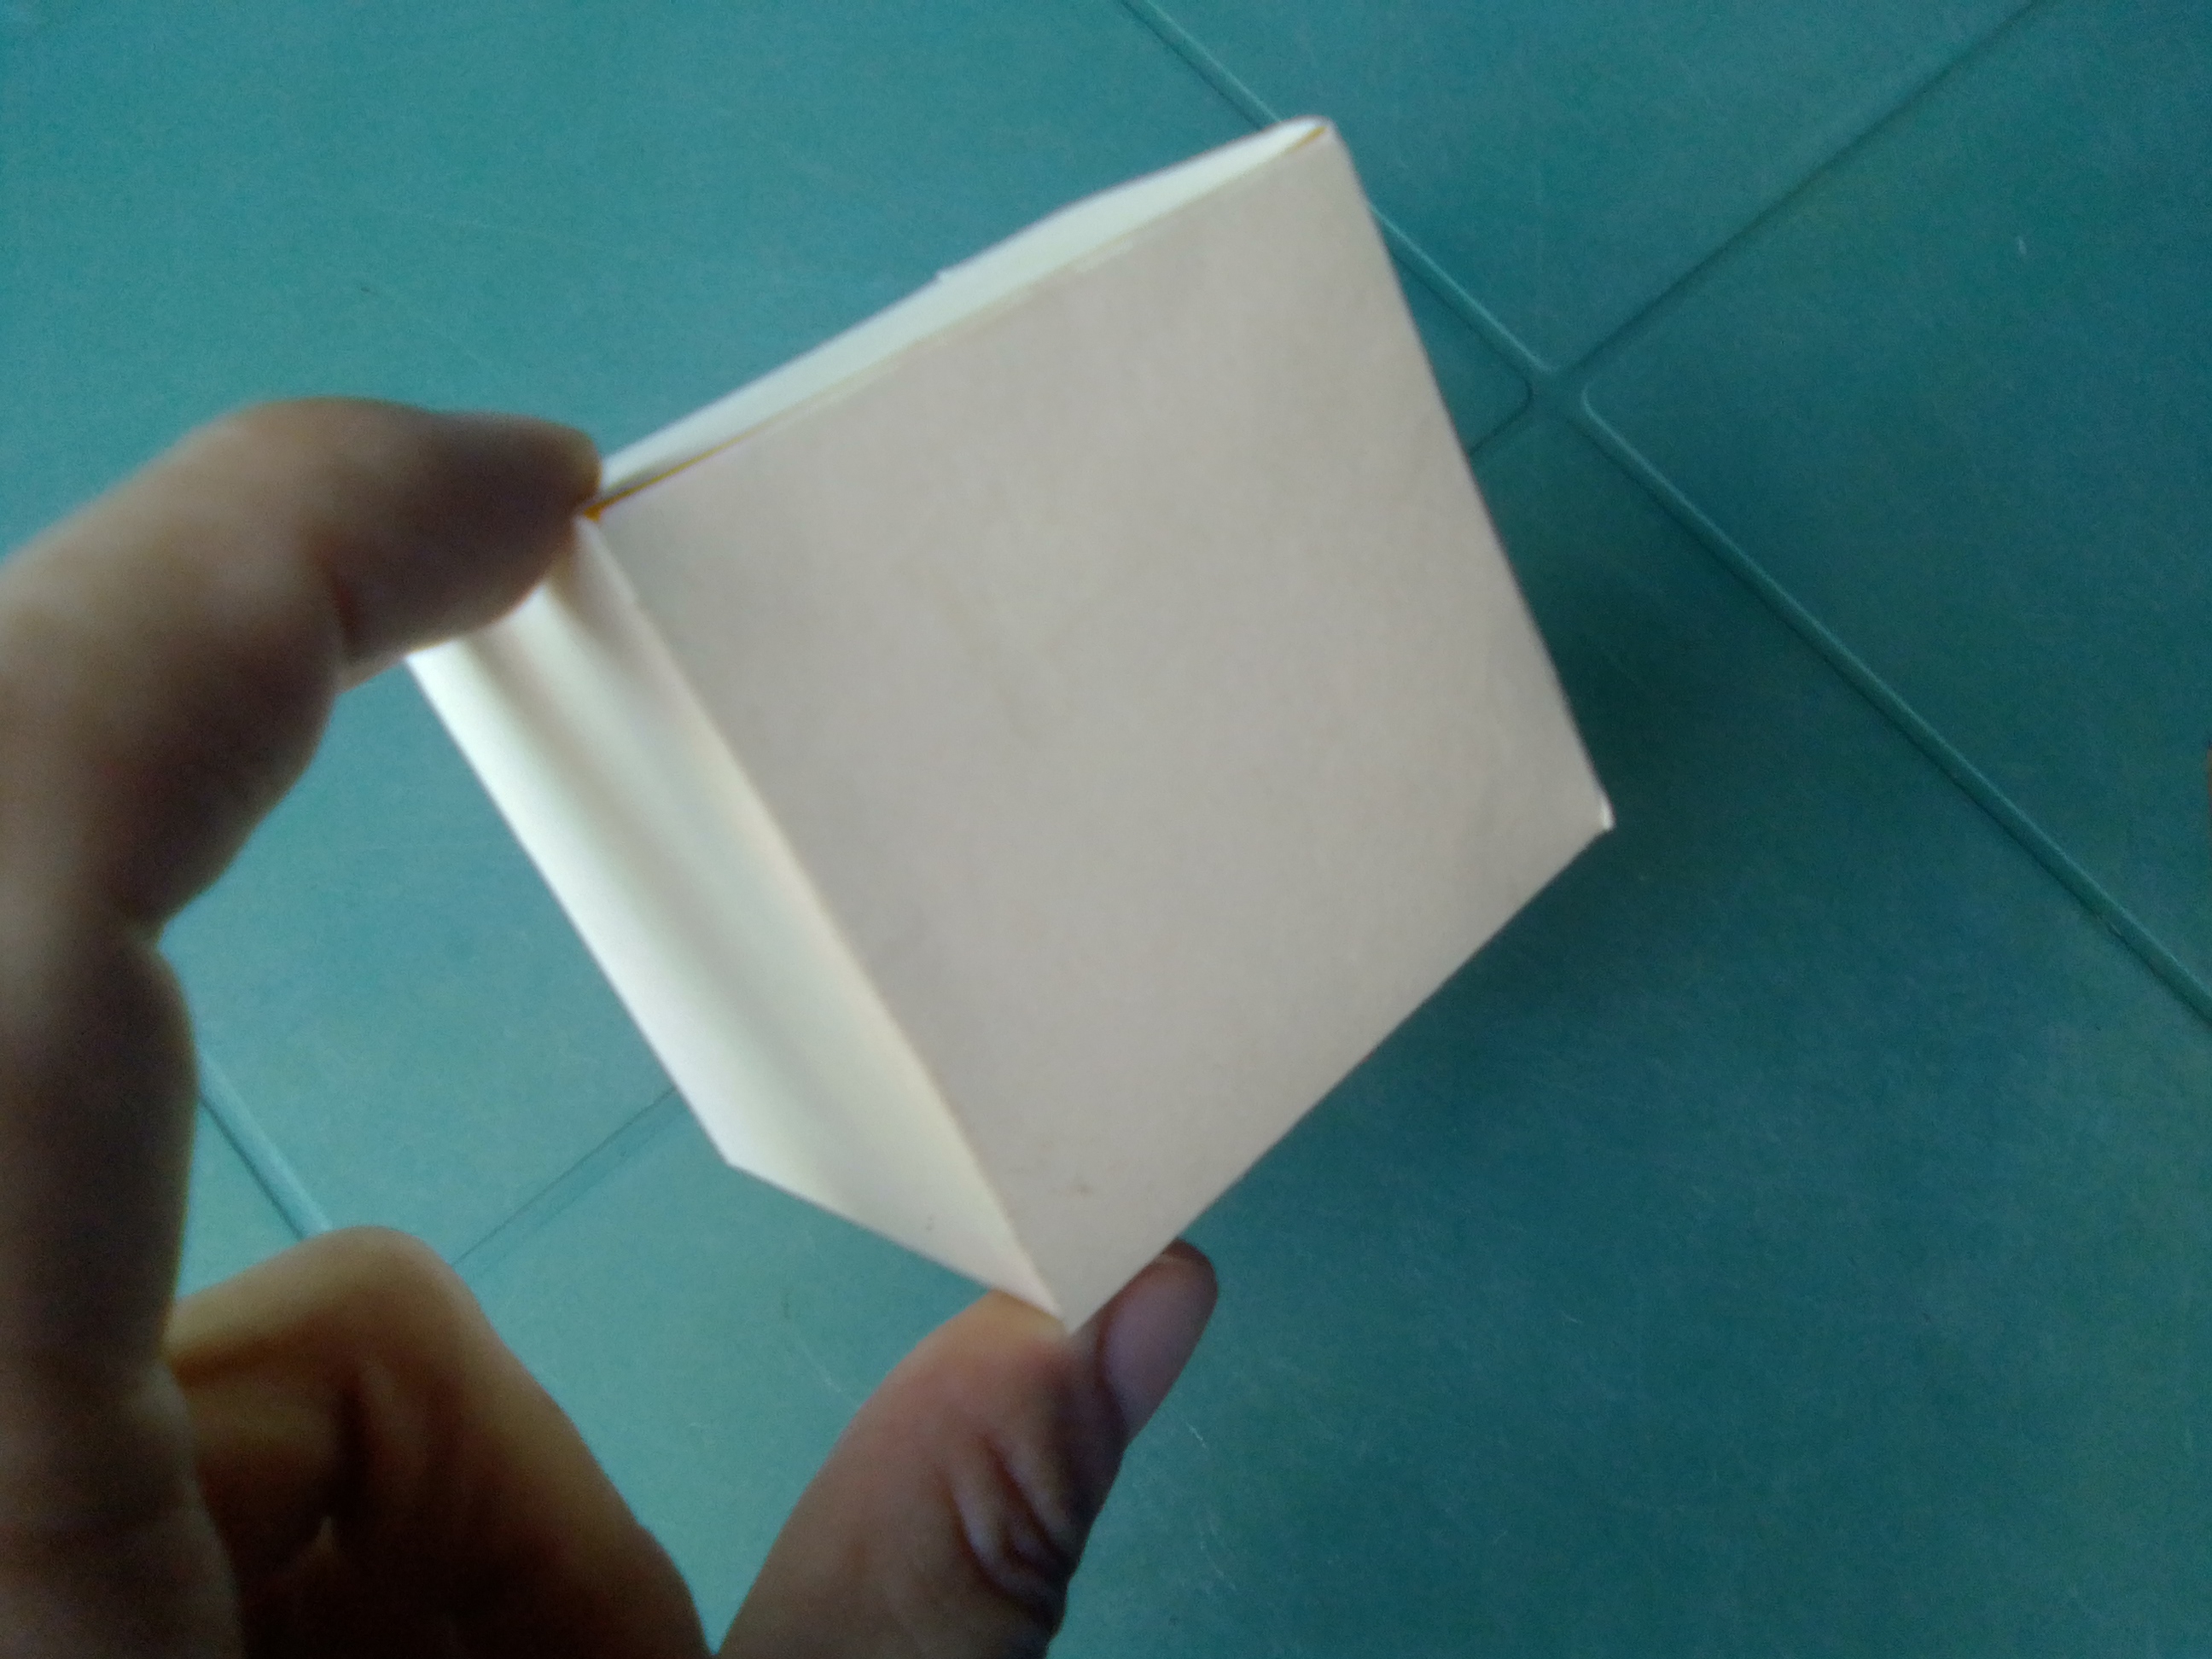
Paso 3
Seguidamente vamos a recortar con mucho cuidado por todo el alrededor, obteniendo la siguiente forma.
Step 3
Next we are going to cut very carefully all around, obtaining the following shape.
Paso 4
Luego vamos a doblar muy bien por todas las líneas, incluyendo las pestañas.
Step 4
Then we are going to fold very well along all the lines, including the tabs.
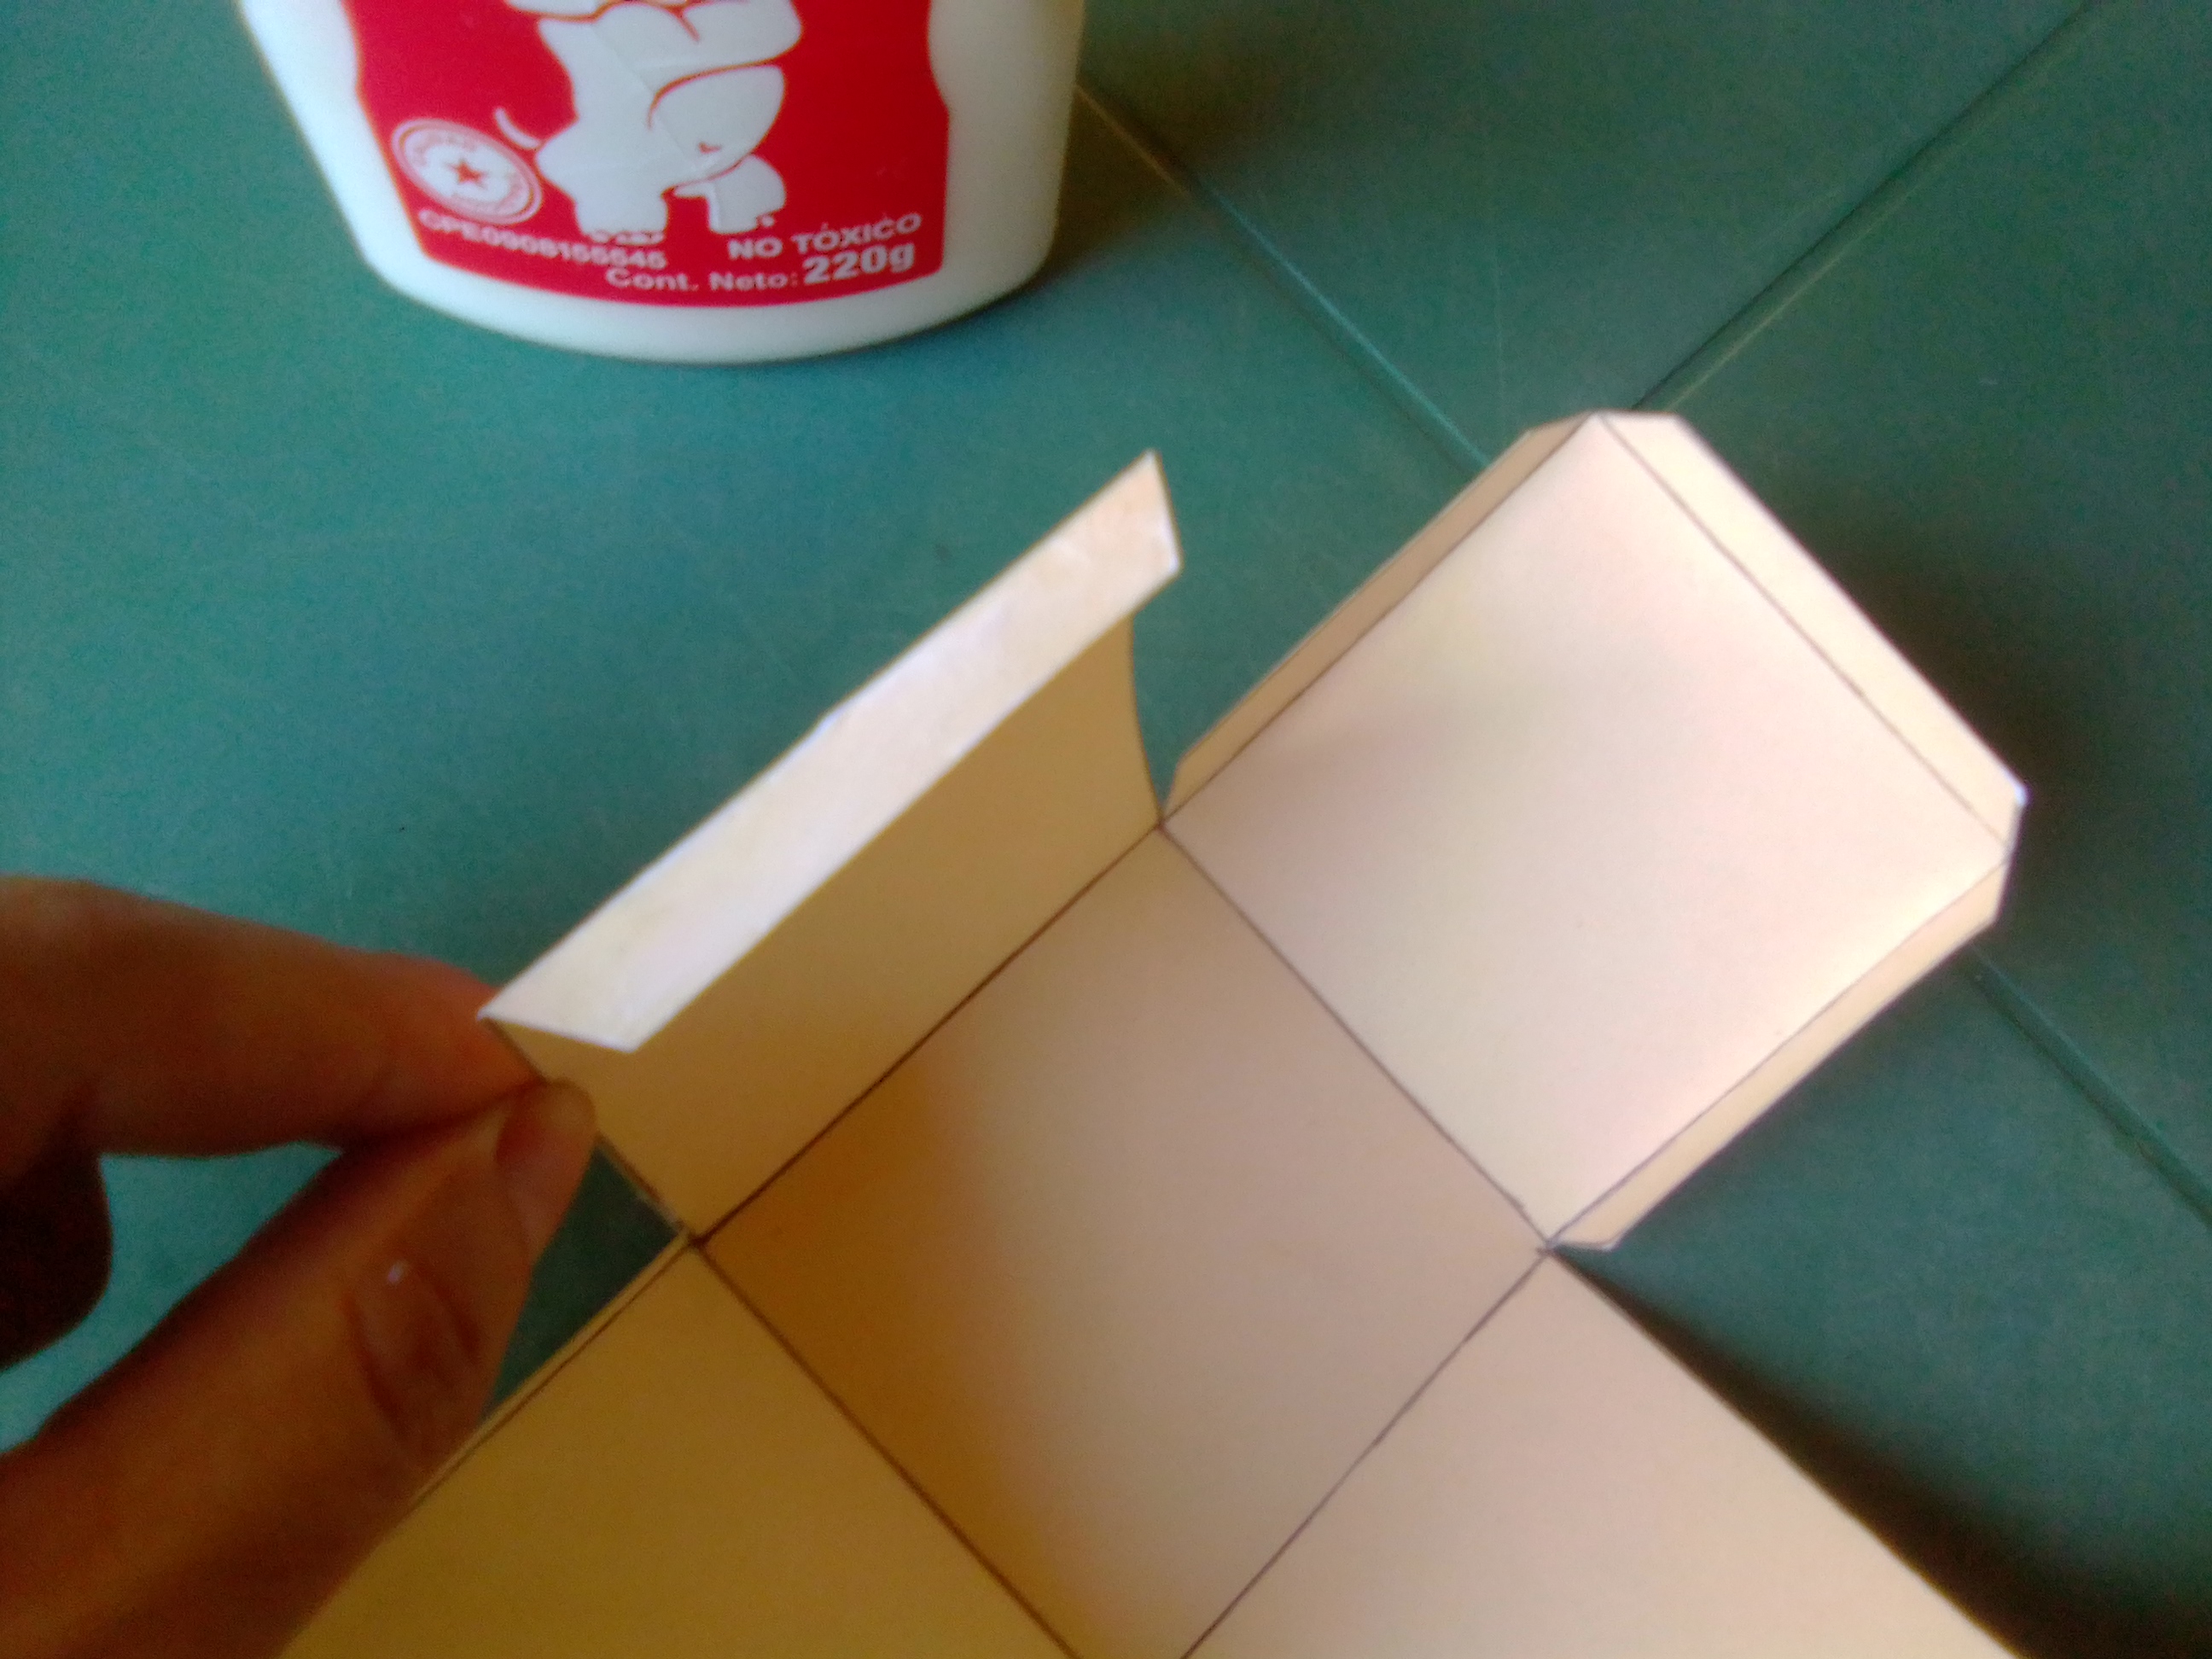
Paso 5
Por último vamos a agregar la pega blanca solo en las pestañas que hemos dejado y vamos doblando y pegando para dar forma al cubo.
Step 5
Finally we are going to add the white glue only in the tabs that we have left and we are folding and gluing to shape the cube.
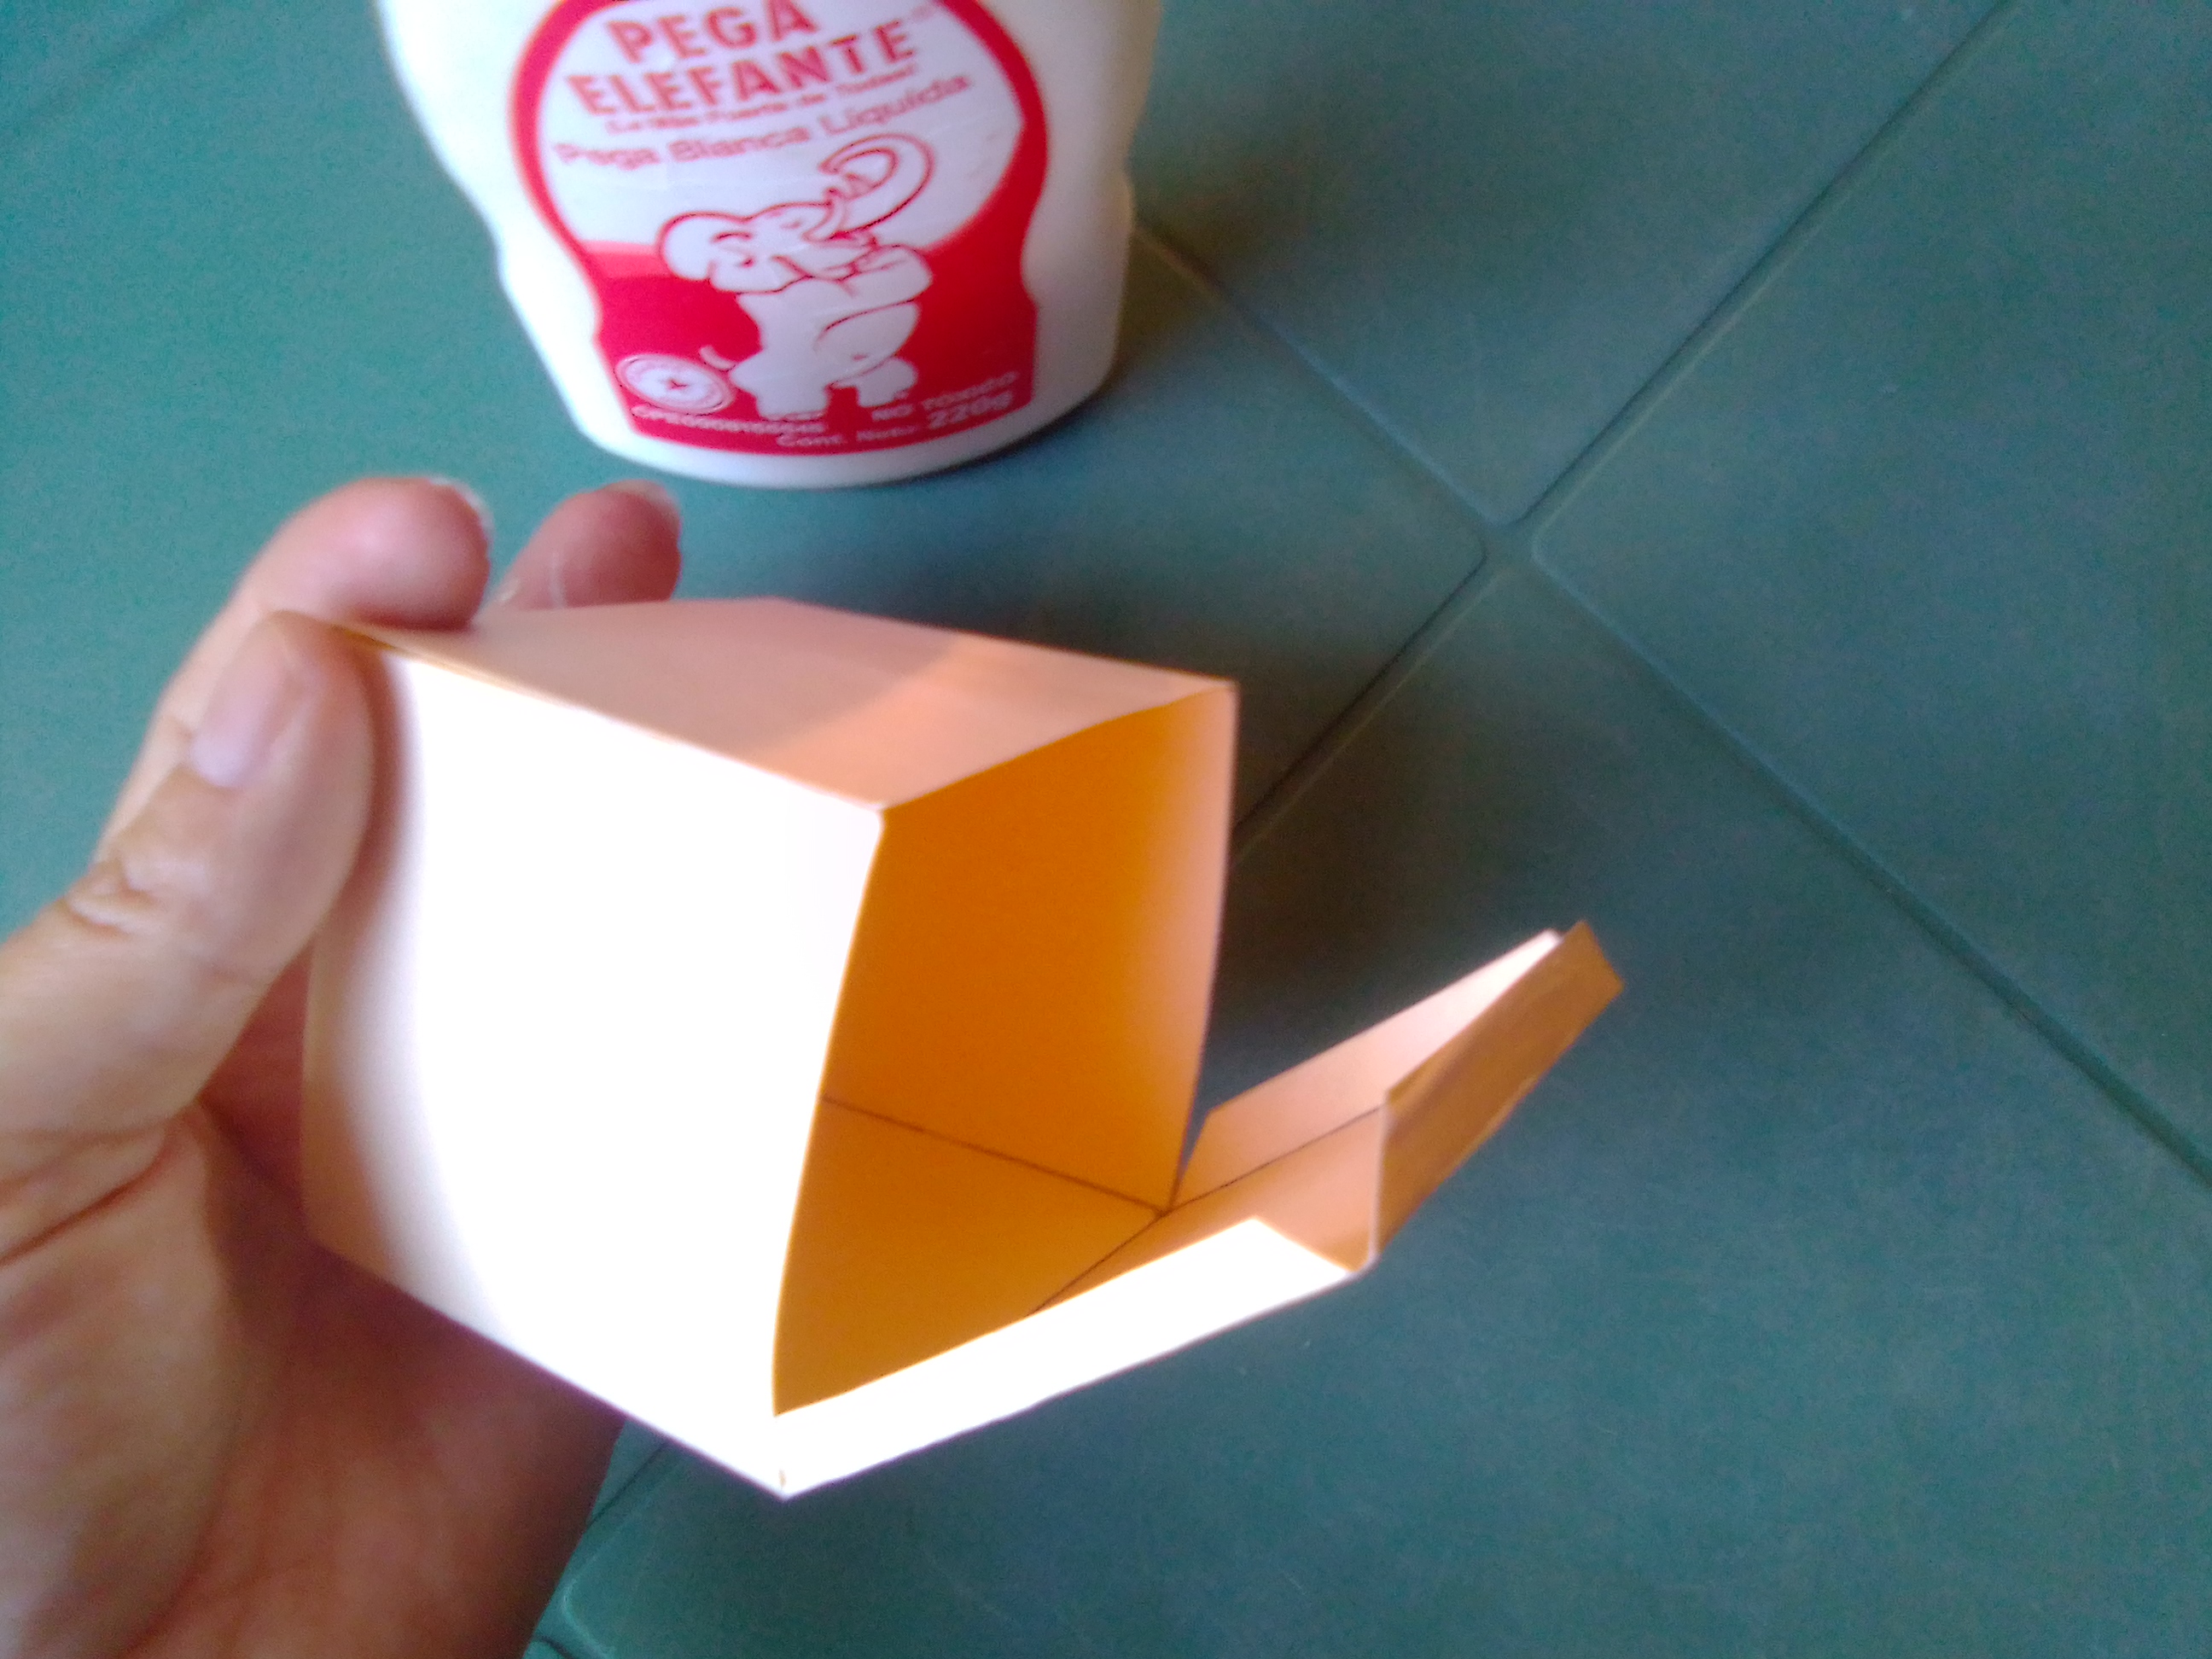
Y listo un cubo elaborado de forma fácil y rápido en cartulina.
And ready a cube made easily and quickly in cardboard.
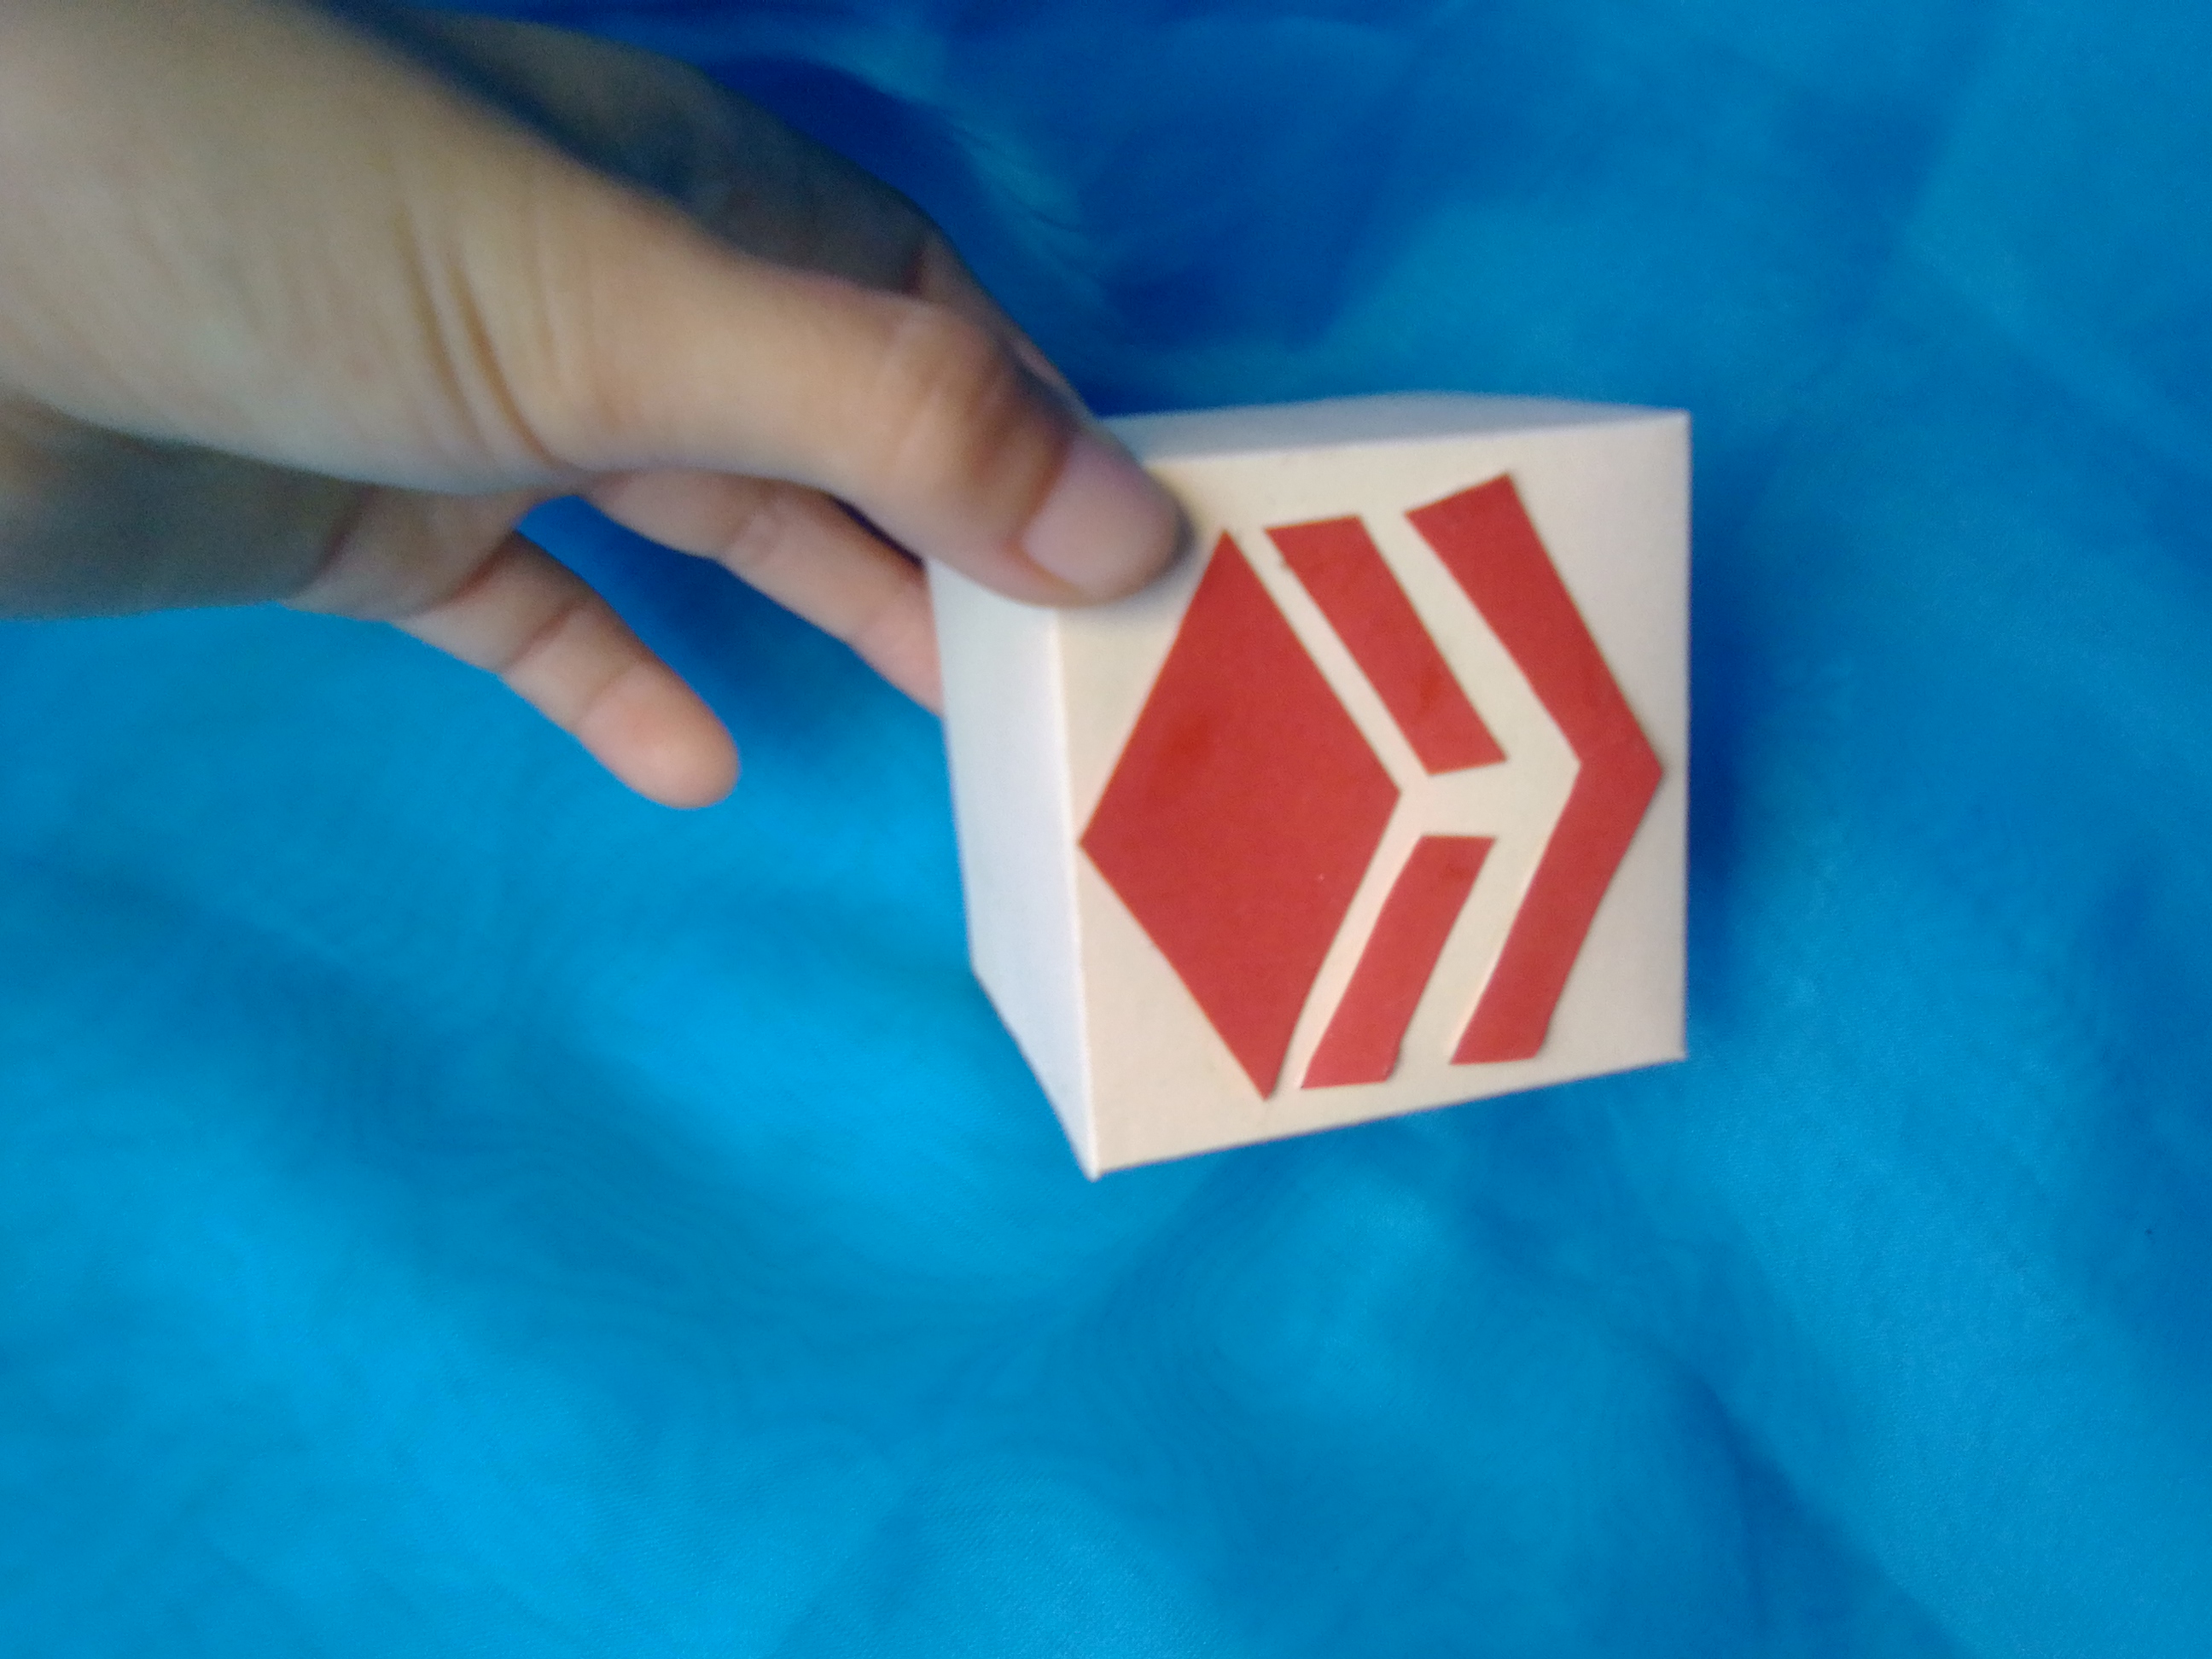
A una de sus partes le he colocado el logo de HIVE, así que en este caso lo podemos tener como un cubo decorativo.
I have placed the HIVE logo on one of its parts, so in this case we can have it as a decorative cube.

Hasta aquí mi publicación de este día, espero les haya gustado, muchas gracias por leer y por su especial apoyo. Saludos.
So far my publication of this day, I hope you liked it, thank you very much for reading and for your special support. Greetings.
Todas las imágenes son de mi autoria por @mariarodriguez, tomadas especialmente para esta publicación.
All images are my own by @mariarodriguez, taken especially for this publication.