Lindo y Útil Tarjetero Rosa 🌷🦩🌷Cute and Useful Pink Card Holder
🌸Hola Comunidad HIVE🌸
Hello HIVE Community
Hola a todos, feliz y bendecido día queridos amigos (as). Creo que a todos nos encantan que nos hagan regalos y mi hija me sorprendió con una cartera tipo bandolero ya que me quejaba mucho por tener que salir con mis carteras grandes o de tamaño normal, cuando sólo necesitaba llevar mis tarjetas del banco o mi identificación y el dinero en efectivo, para pagar mi pasaje en bus.
Esta linda cartera es de un tamaño muy pequeño pero que satisface las necesidades antes descritas pero, y es que nunca falta un pero, debido a su tamaño debía llevar mis tarjetas sueltas dentro de ella, ya que mi monedero es muuuuy grande.
Hello everyone, happy and blessed day dear friends. I think we all love to be given gifts and my daughter surprised me with a bandolero wallet since I used to complain a lot about having to go out with my big or normal size wallets, when I only needed to carry my bank cards or my ID and cash, to pay my bus fare.
This nice wallet is a very small size but it meets the needs described above but, and there is never a but, because of its size I had to carry my loose cards in it, since my purse is soooo big.
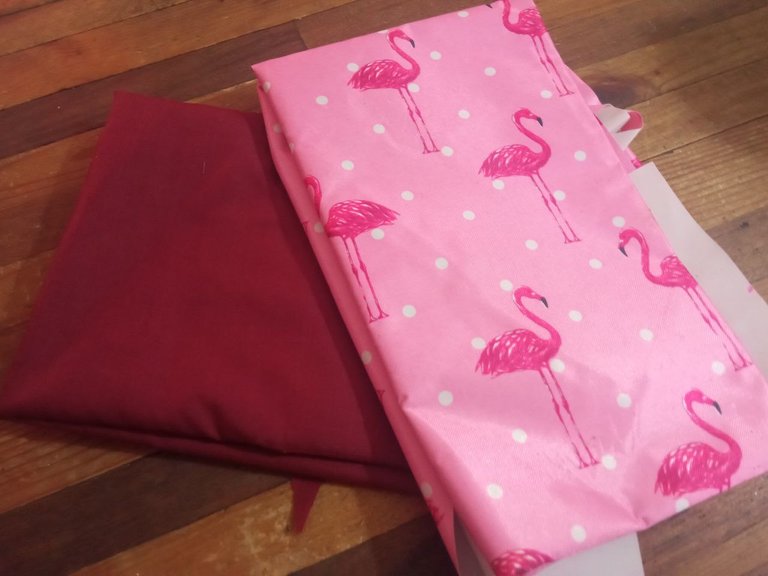
Esto me llevo a buscar una idea de monedero o tarjetero que pudiera realizar y llevar en orden mis documentos. Encontré un modelo que me gustó mucho y lo mejor con un poco de tela o retazos pude iniciar mi creación que hoy les vengo a mostrar. Tenía un trozo de loneta sintética estampada rosa y fucsia con motivos de flamencos, tafeta para el forro y un poco de pelón para aportar un poco de dureza.
This led me to look for an idea of a purse or card holder that I could make and carry my documents in order. I found a model that I really liked and with a little bit of fabric or scraps I could start my creation that I am going to show you today. I had a piece of synthetic canvas printed pink and fuchsia with flamingo motifs, taffeta for the lining and a little bit of fur to give it a little bit of hardness.
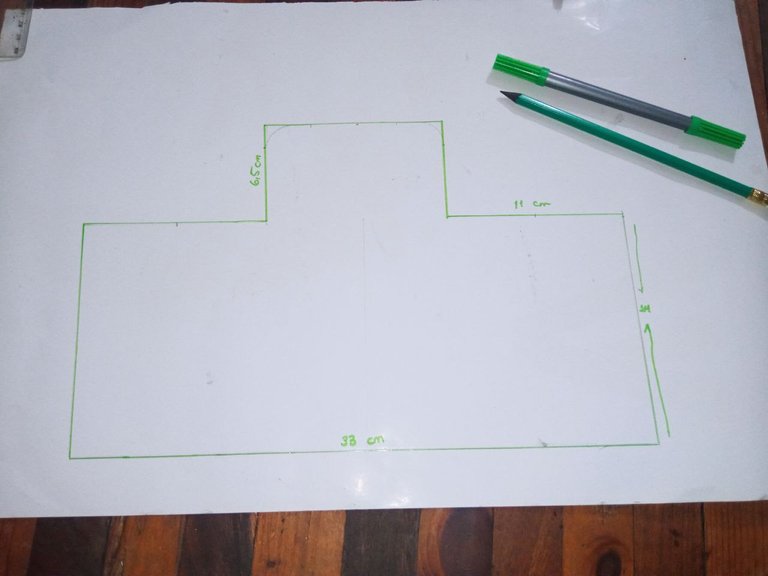
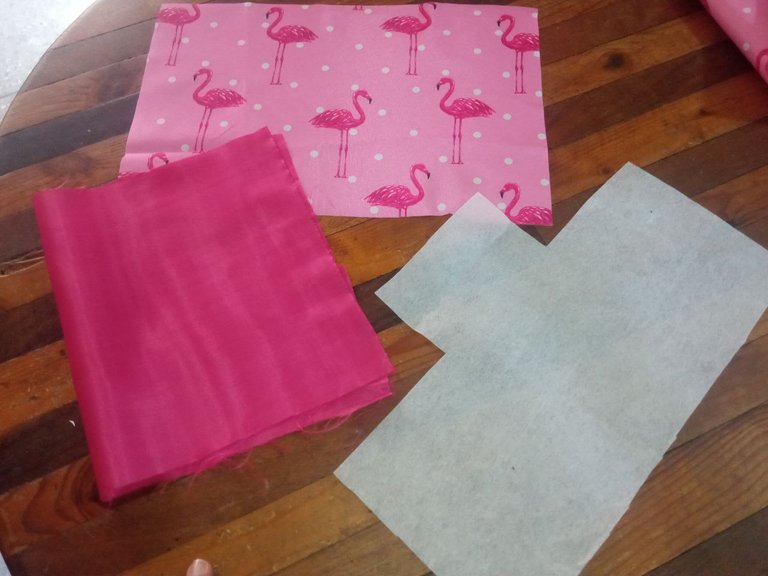
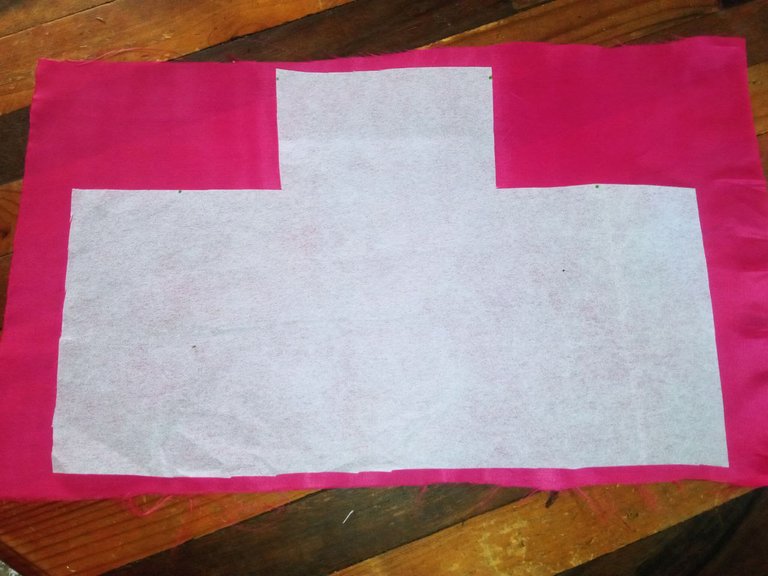
Comencé realizando el patrón que consta de un rectángulo de 33 x 14 cm, con una solapa de unos 6.5 cm. Listo el patrón corté un rectángulo en estampado, un rectángulo para el forro y el pelón o entretela lo corté según el patrón.
I started by making the pattern that consists of a rectangle of 33 x 14 cm, with a flap of about 6.5 cm. Once the pattern was ready, I cut a rectangle for the pattern, a rectangle for the lining and the interlining I cut according to the pattern.
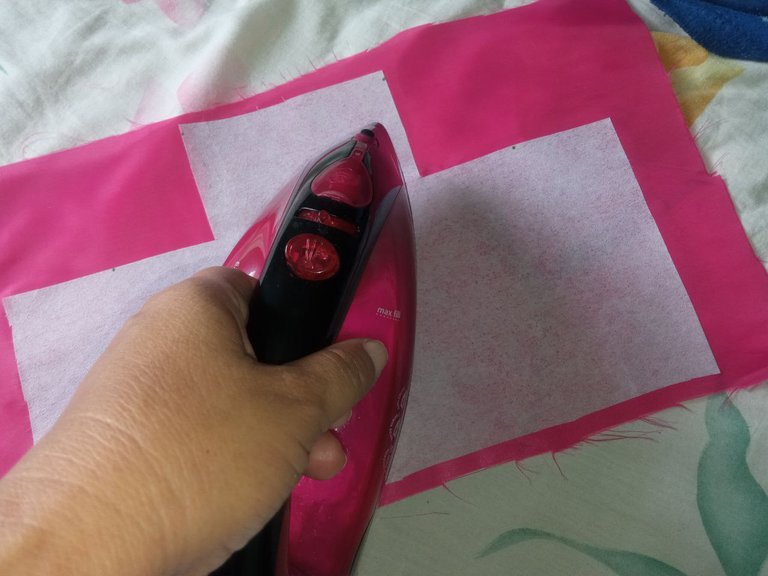
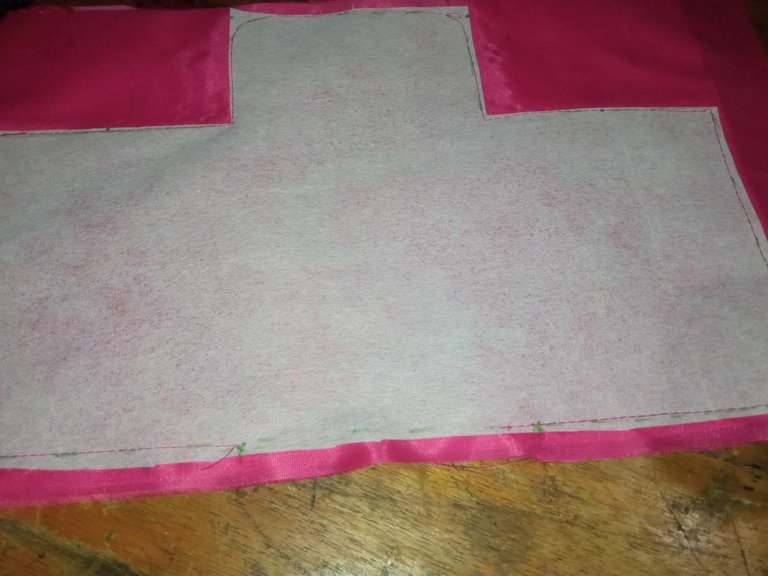
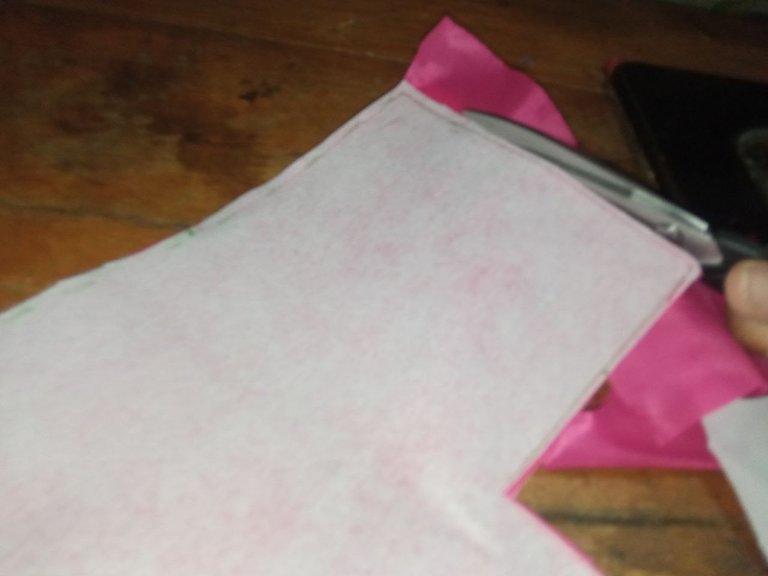
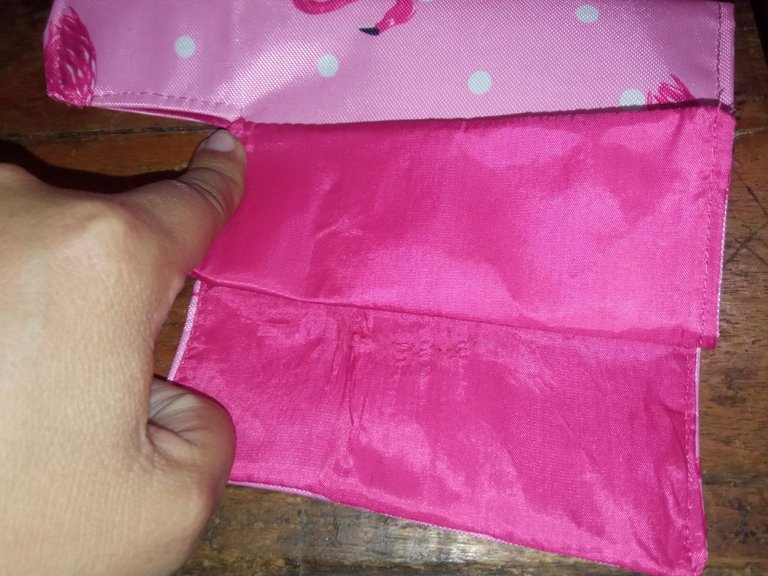
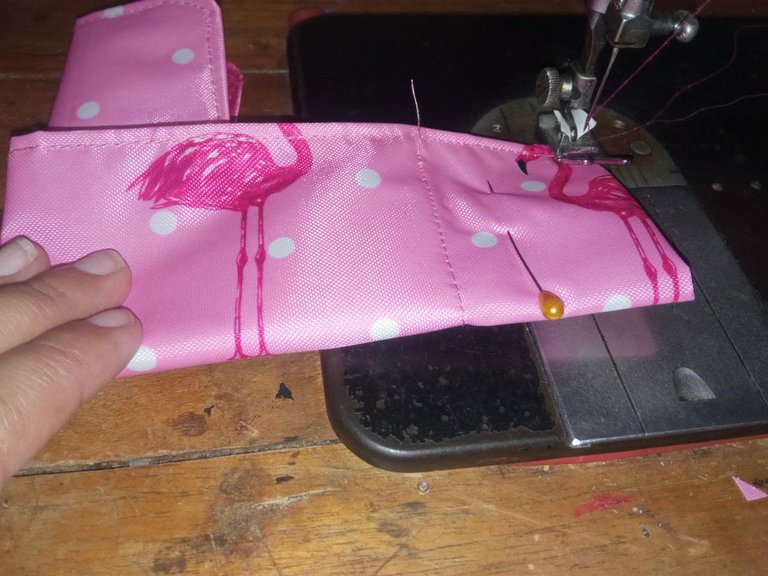
Con ayuda de la plancha fije el patrón en pelón a la tela de forro, luego coloqué la tela estampada enfrentando su derecho con el derecho de la tela de forro que tiene adherido el pelón. Como lo muestra la imagen y pasé costura por todo el borde, asegurando que la costura pase por las tres piezas (pelón, forro y loneta) y dejando un espacio sin coser para poder voltear la pieza. Cortamos los excesos de tela.
With the help of the iron I fixed the pattern to the lining fabric, then I placed the printed fabric facing its right side with the right side of the lining fabric that has the lining fabric adhered to it. As shown in the picture, I sewed all around the edge, making sure that the seam goes through the three pieces (lining, lining and canvas) and leaving a space without sewing to be able to turn the piece over. Cut the excess fabric.
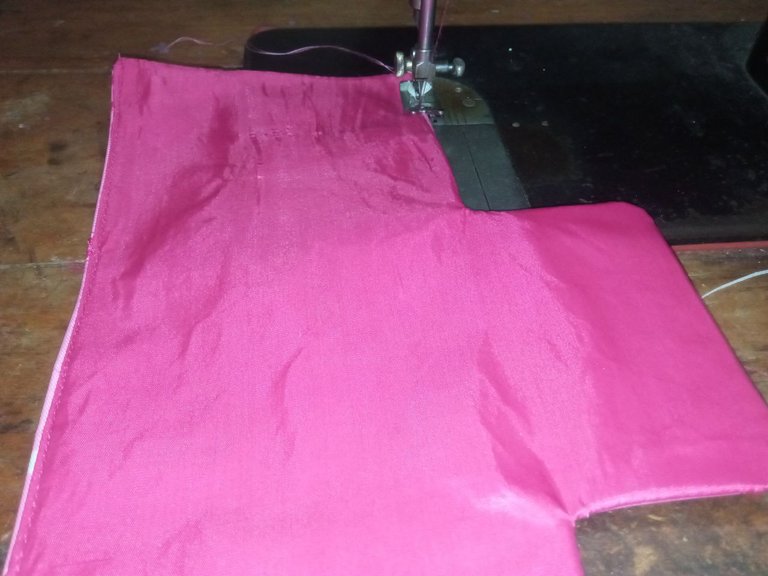
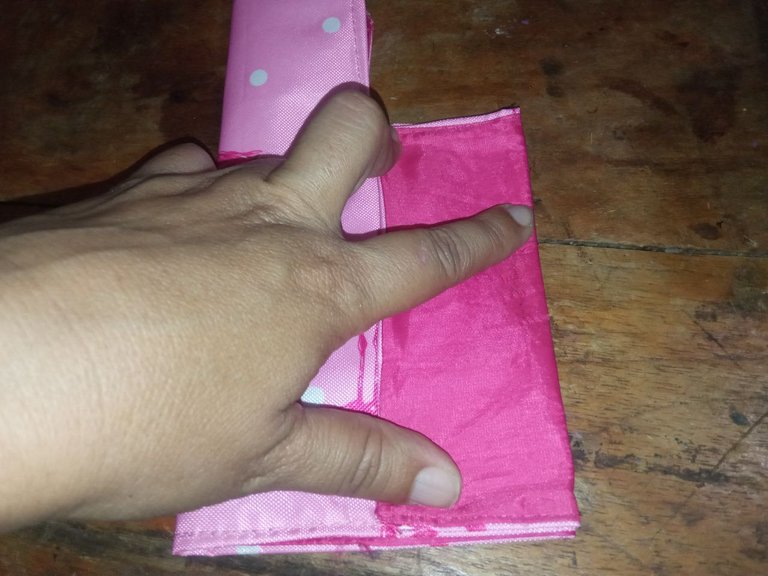
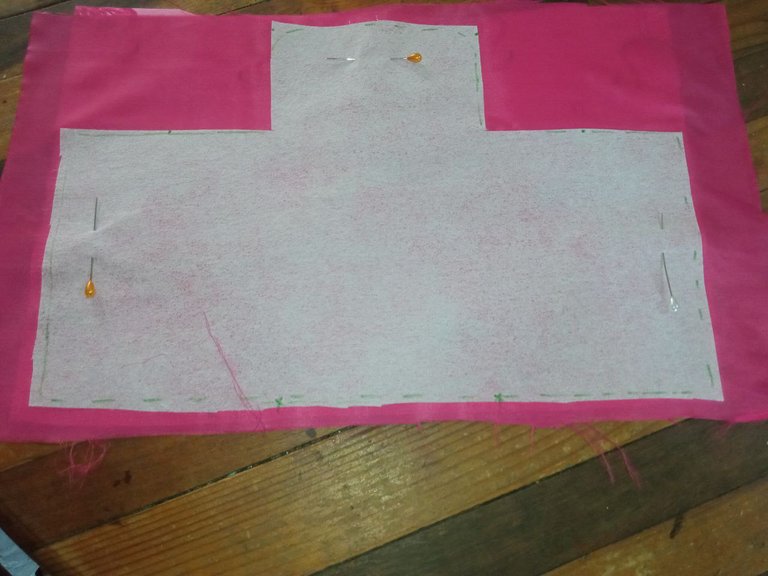
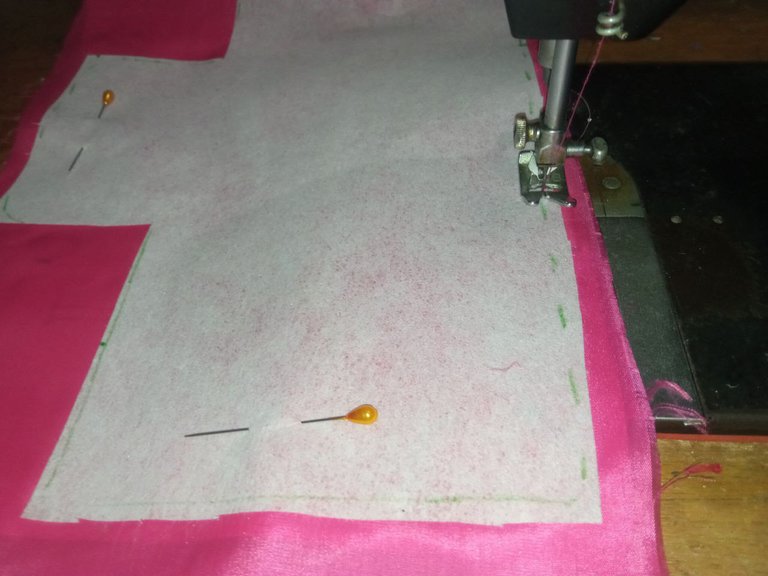
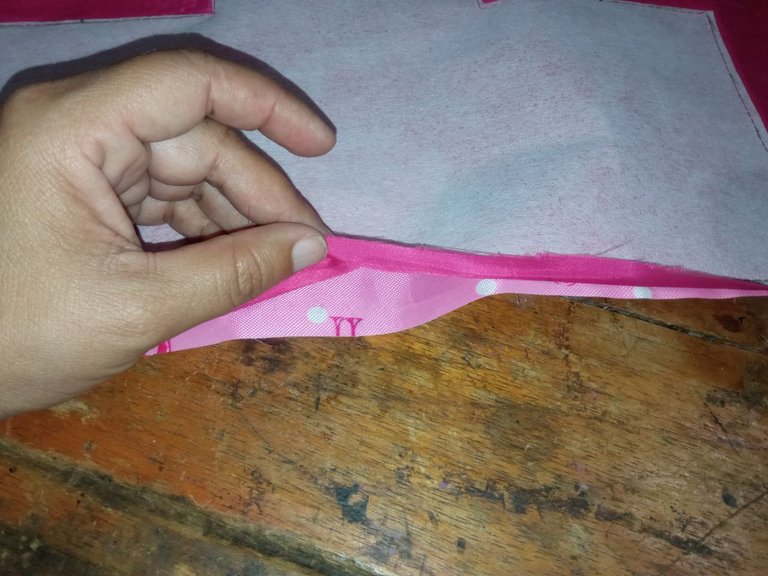
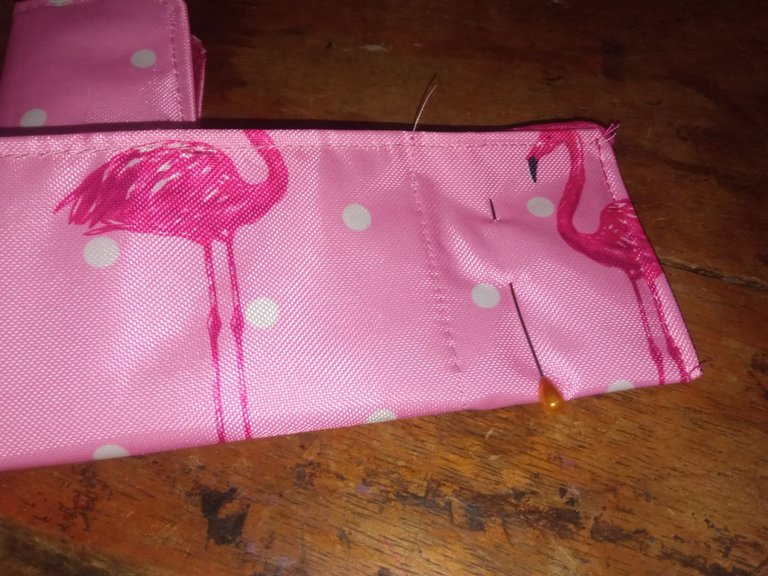
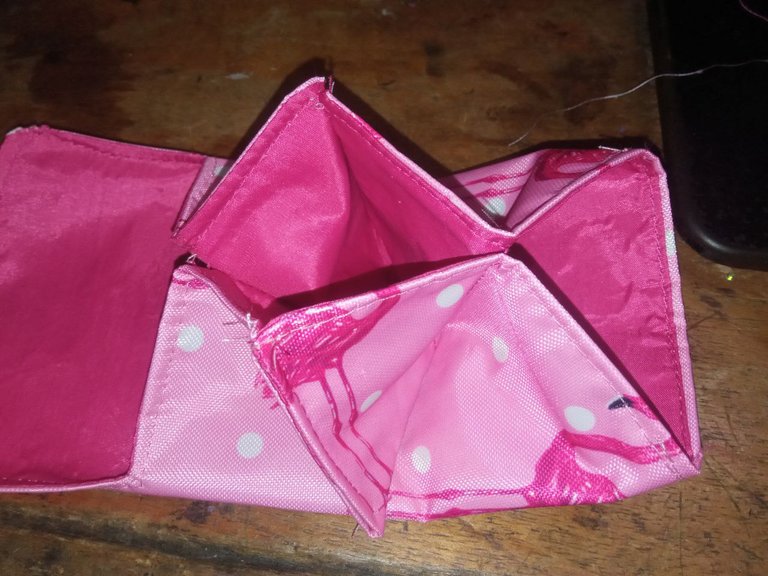
Volteamos y pasamos costura por el borde inferior y superior solamente. Doblamos a la mitad de manera horizontal y doblamos los extremos hacia adentro para marcar por donde pasaremos una costura vertical.
Turn the piece over and sew along the top and bottom edges only. Fold in half horizontally and fold the ends inward to mark where we will pass a vertical seam.
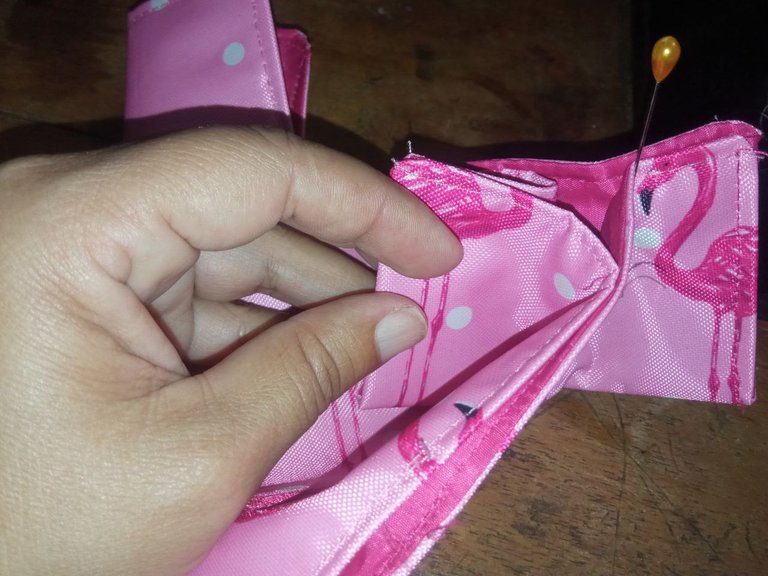
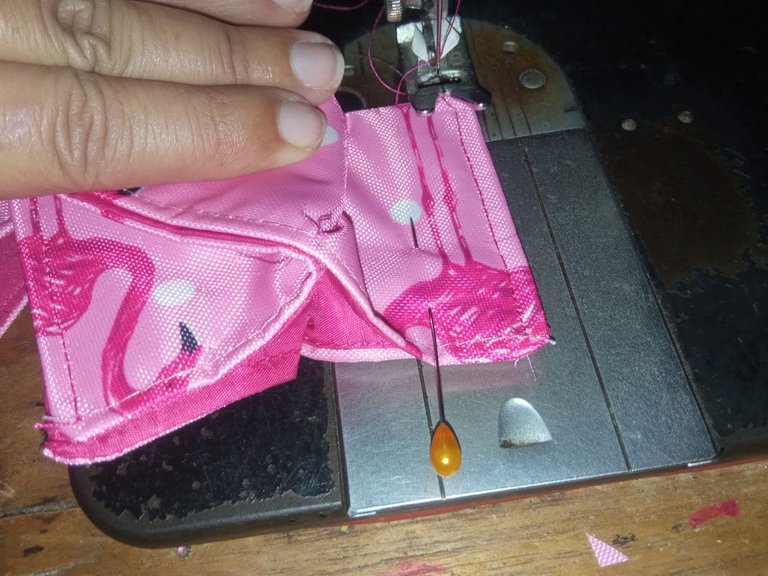
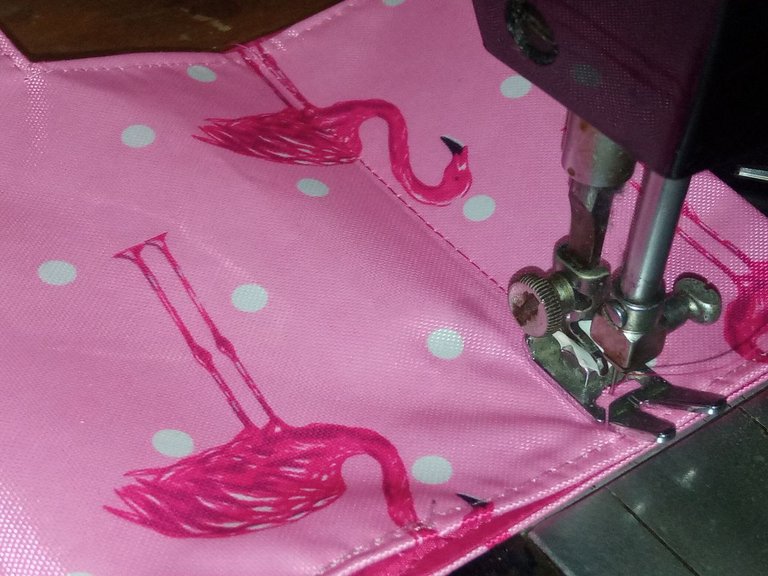
Luego doblamos y pasamos costura en los extremos primero uno y luego otro. Así como muestra la imagen.
Then we fold and sew the ends first one and then the other. As shown in the picture.

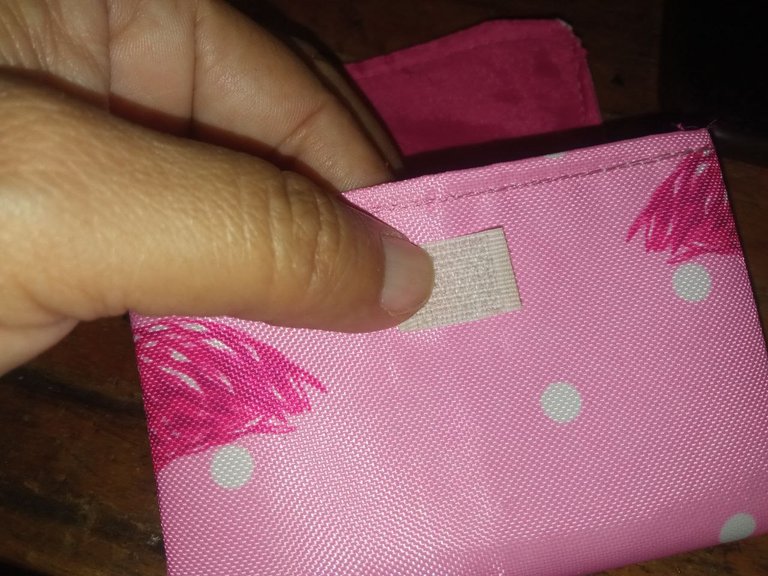

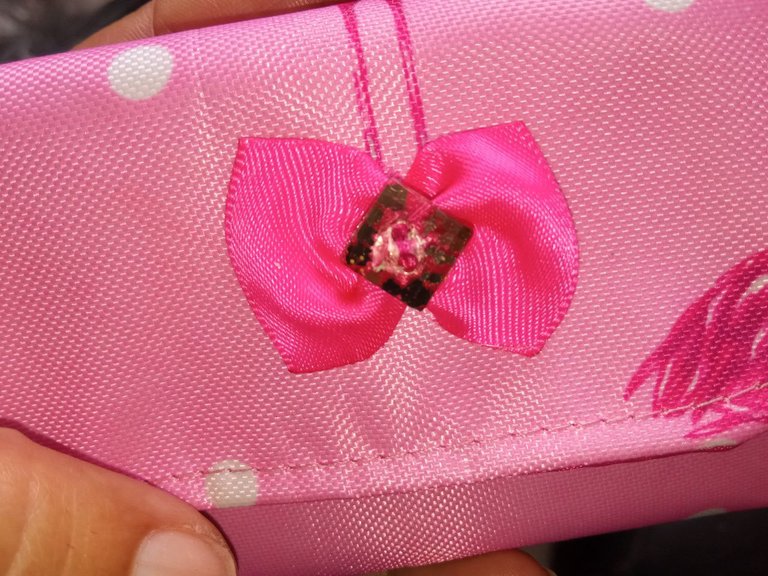
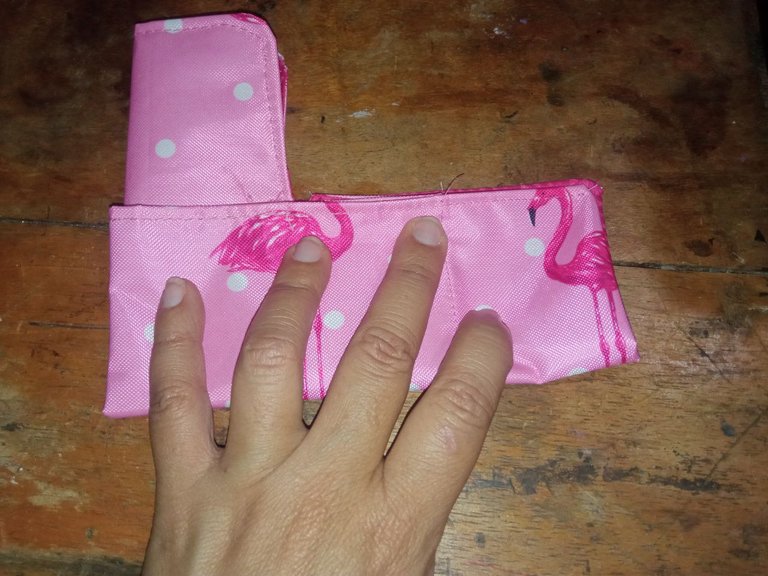
Arreglamos de manera que las divisiones internas queden bien ajustadas. Colocamos un poco de cierre mágico ya que no tengo broche que sería lo ideal. Decoramos en el exterior con un lazo o algún aplique.
Arrange so that the internal divisions are well adjusted. We place a little magic clasp since I don't have a brooch, which would be ideal. Decorate the outside with a ribbon or some applique.
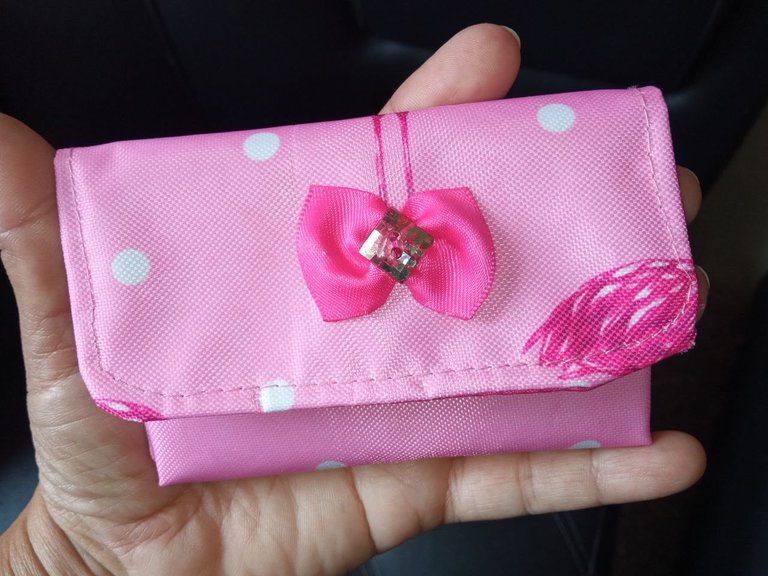
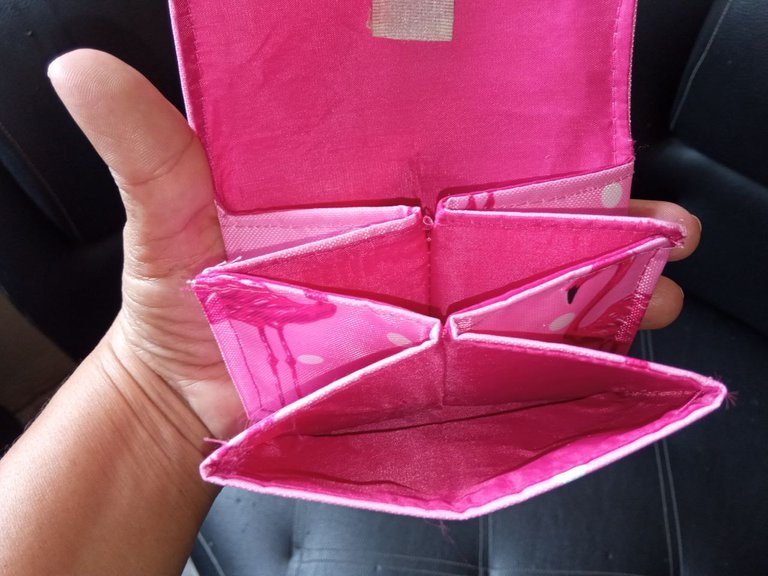
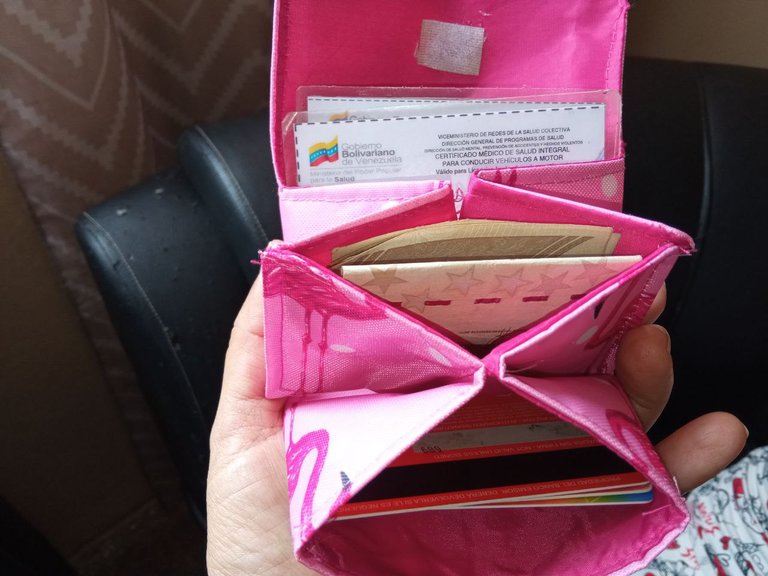
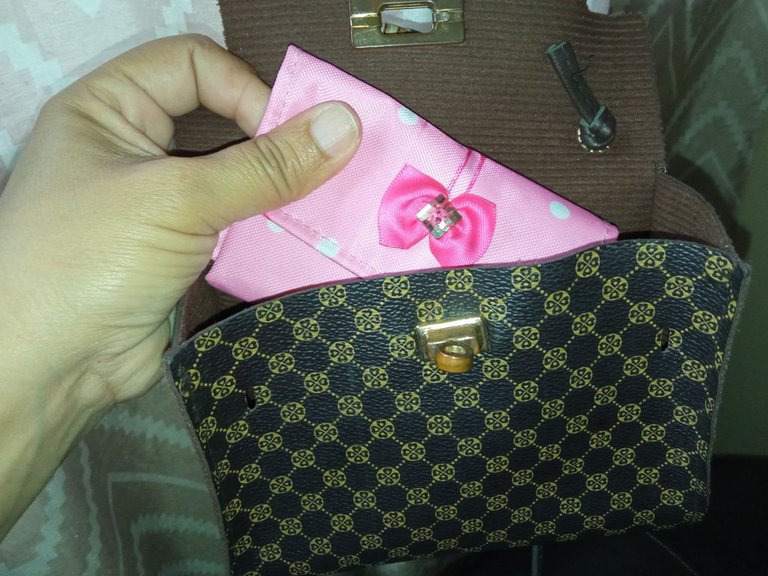
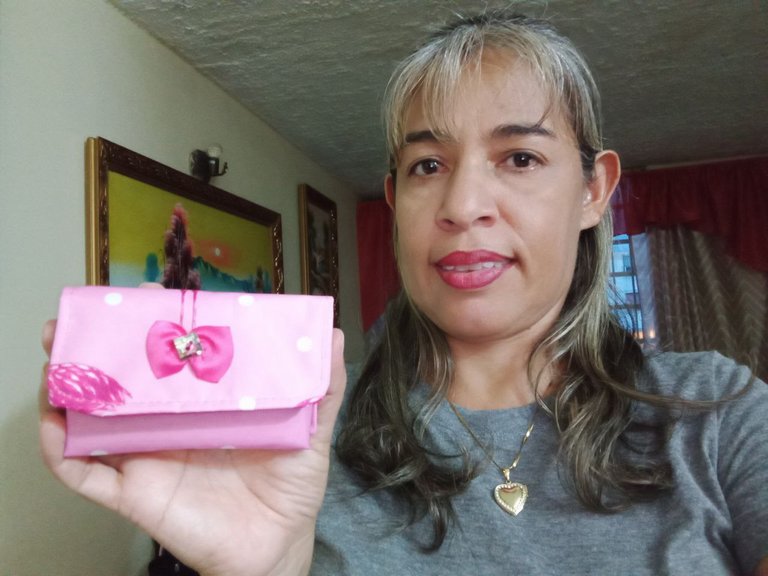
Terminamos y ya tengo mi tarjetero para usar con mi lindo bandolero y ya mis tarjetas no estarán regadas y desordenadas.
We finished and now I have my card holder to use with my cute bandolier and my cards will no longer be scattered and messy.
Como ven un proyecto muy útil, con poco material y un final muy lindo. Espero les haya gustado y les pueda servir para aquellas que como yo, no tenían tarjetero. Saludos y nos seguimos leyendo.
As you can see, this is a very useful project, with little material and a very nice finish. I hope you liked it and that it can be useful for those who, like me, didn't have a card holder. Greetings and we'll keep reading.
🌸🌸🌸🌸Fotos de mi Propiedad, tomadas con un Redmi 9🌸🌸🌸🌸
Photos of my Property, taken with a Redmi 9

Hola Mariela, te quedó hermosa este tarjetero, me encanta la combinación de colores con el estampado de la tela interna.
Que bueno que te ha gustado @gabimramirez. Muy cierto, la combinación de ambas telas ha quedado muy bien. Gracias por pasar y comentar.
Hola amiga! Me encanta la idea! El color de tu tarjetero es hermoso! Me encanta el detalle del lazo! Le da un toque especial! 🤗🤗
Si, el lazo le ha dado su toque final fantástico. Gracias por tu comentario, que bueno que te gustó. Saludos.
Hola @mariela-b, me gustó la tela está muy linda, el tarjetero te quedó hermoso, gracias por el tutorial se ve sencillo de elaborar, ahora puedes salir cómoda con tu bandolero y tener las tarjetas en orden con tu nueva creación.
Bendiciones!
Si, ya tengo mis tarjetas organizadas. Este tipo de telas tiene estampados muy lindos para echar a volar nuestra imaginación. Muy rápido de hacer espero te sea útil el tutorial. Saludos.
Me gustó mucho este tarjetero, necesito uno, buscaré las telas y me iré a coser.. Excelente trabajo, felicidades!!
Anímate @mariamglow y elabora tu propio tarjetero, de seguro te quedara muy lindo también. Gracias por comentar. Saludos.