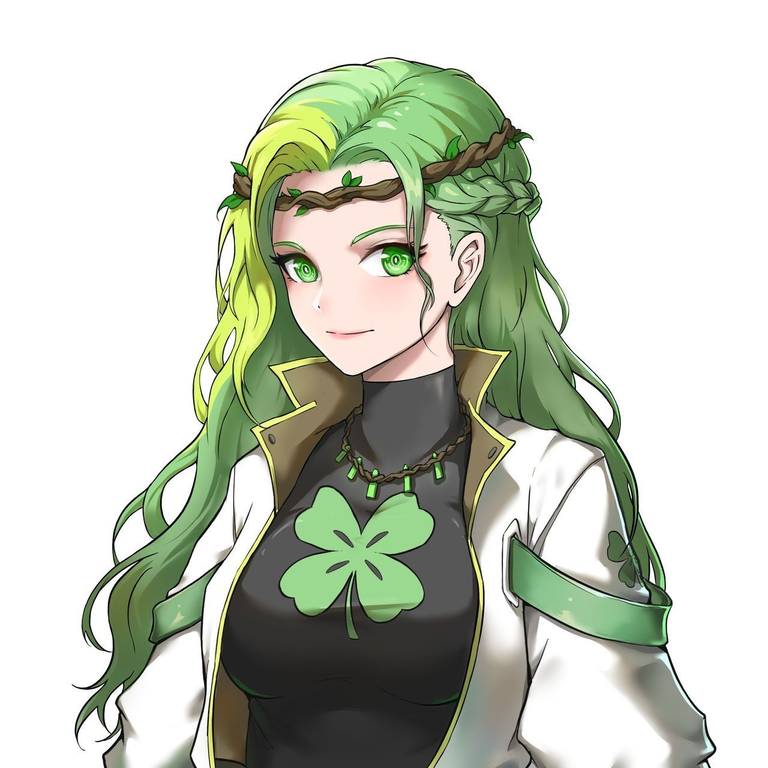
Female Forest Healer. Holozing Fan-Art.
Hello Everyone
How are you?
I hope you are well and leading a sound life with your loved ones. I'm here amongst you all again to share another one of my digital drawings. This one is a drawing of a holozing character called the Female Light Healer. And this is not it, this one is a collaboration of two characters from Holozing. I tried combining the Female Forest Healer and the Grass Racoon to create this new design. The original characters are amazing and good-looking. And I decided to present them to you with a new look. I hope you will like it.
I used my laptop, graphics tablet, stylus touch pen, and a drawing software called ibis Paint. I'll add all the steps of my drawing including gif files for each step so that I can explain the whole process easily.
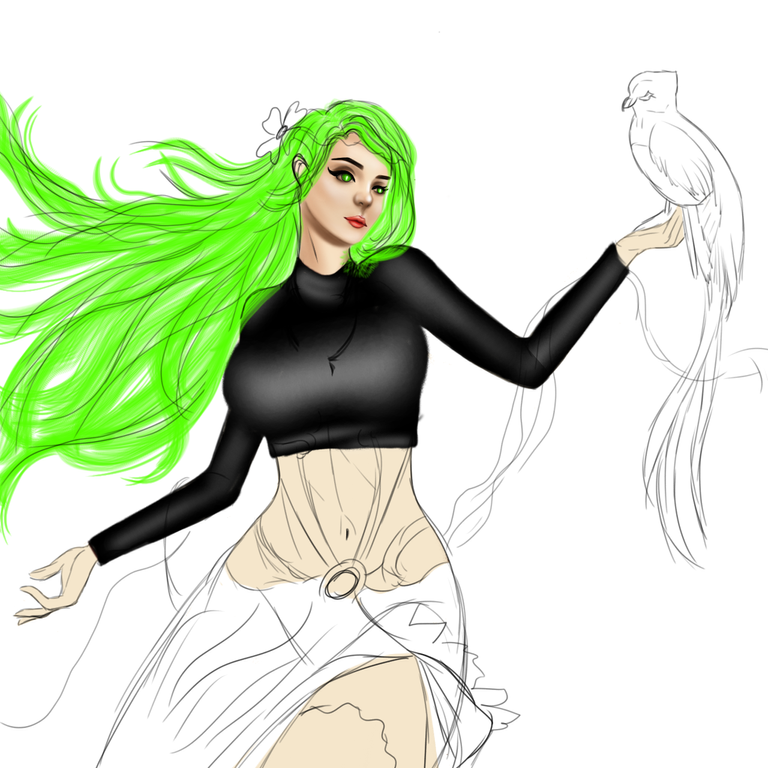
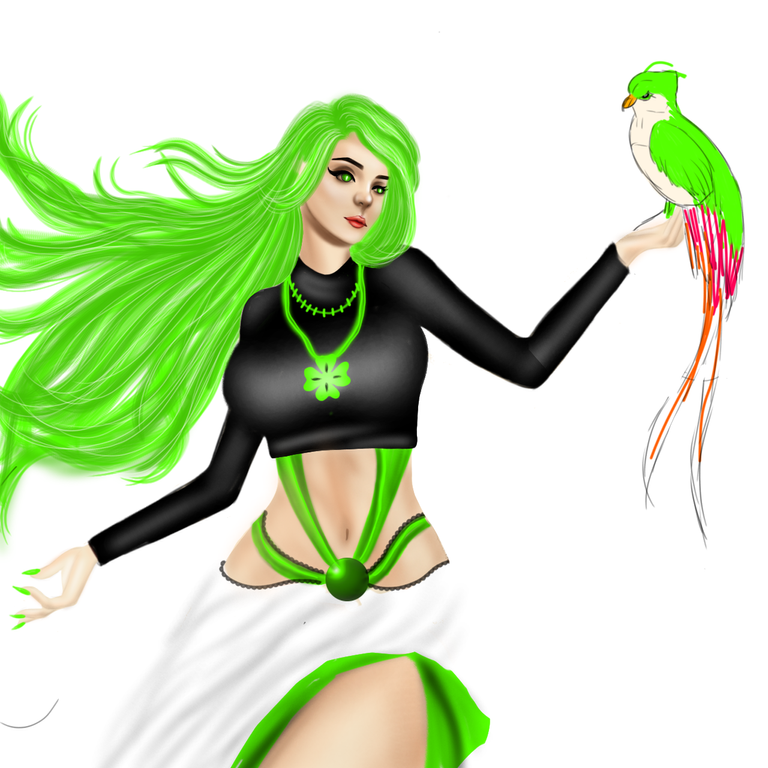
Original Image
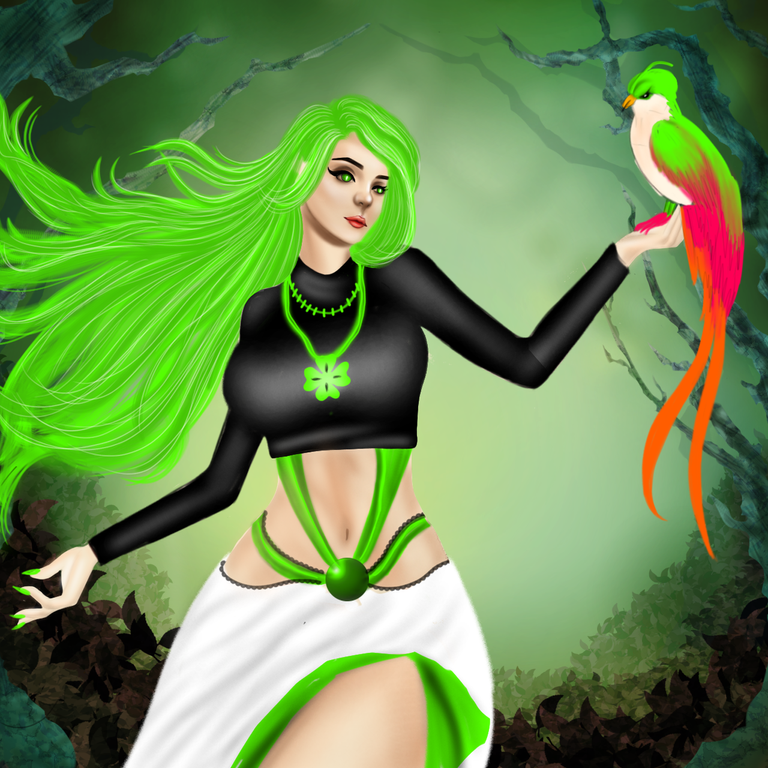
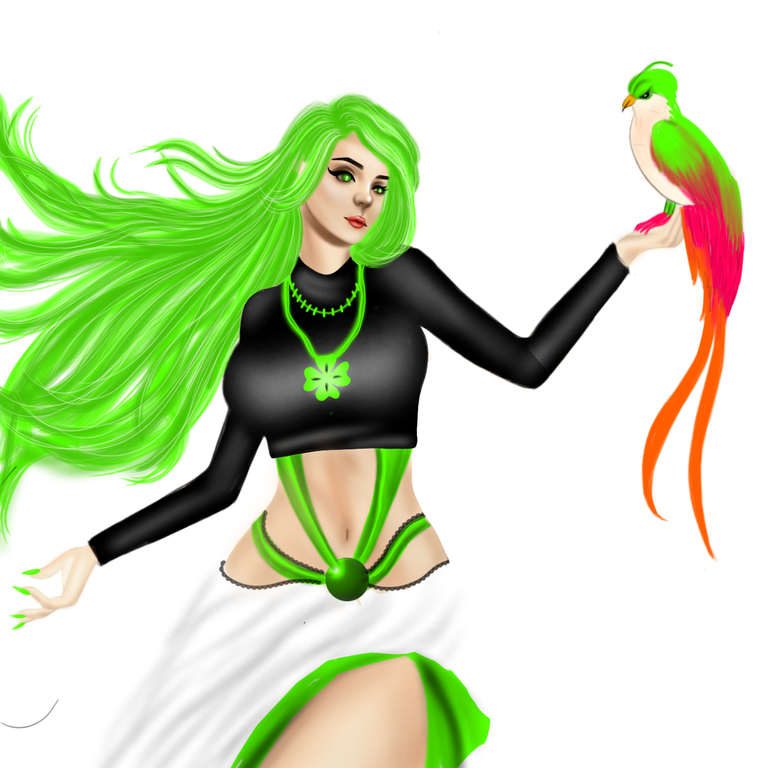
My Drawing
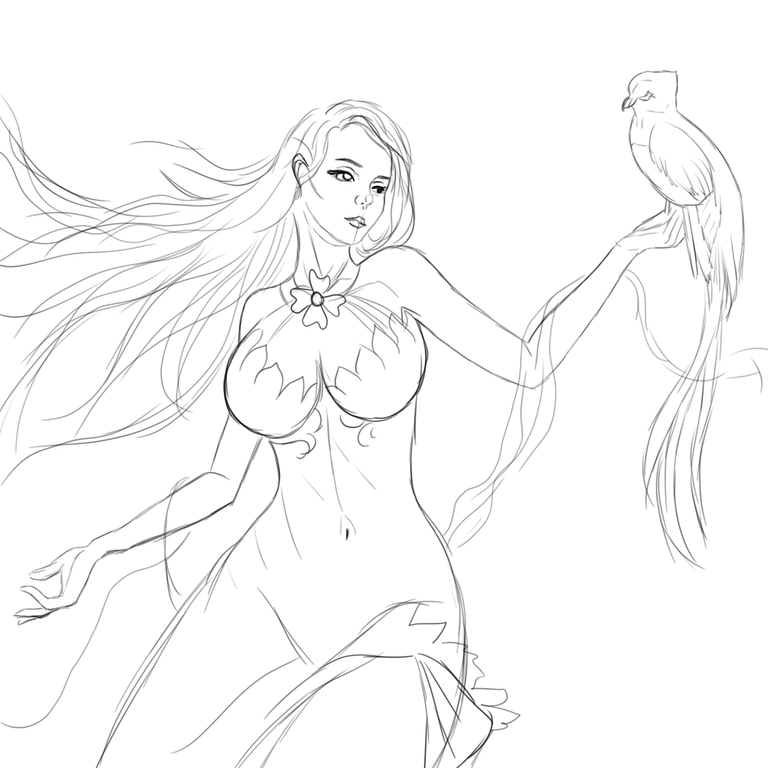
I began the drawing by sketching her body. After that, I drew her hair and the parrot sitting on her hand. And then added the other details such as her dress and body parts one by one. I saw many art of this character with a parrot and I really liked this idea. The parrot goes perfectly with the green theme of this character. I used an HB pencil on the border areas so that I could use the fill tool to put the colours.
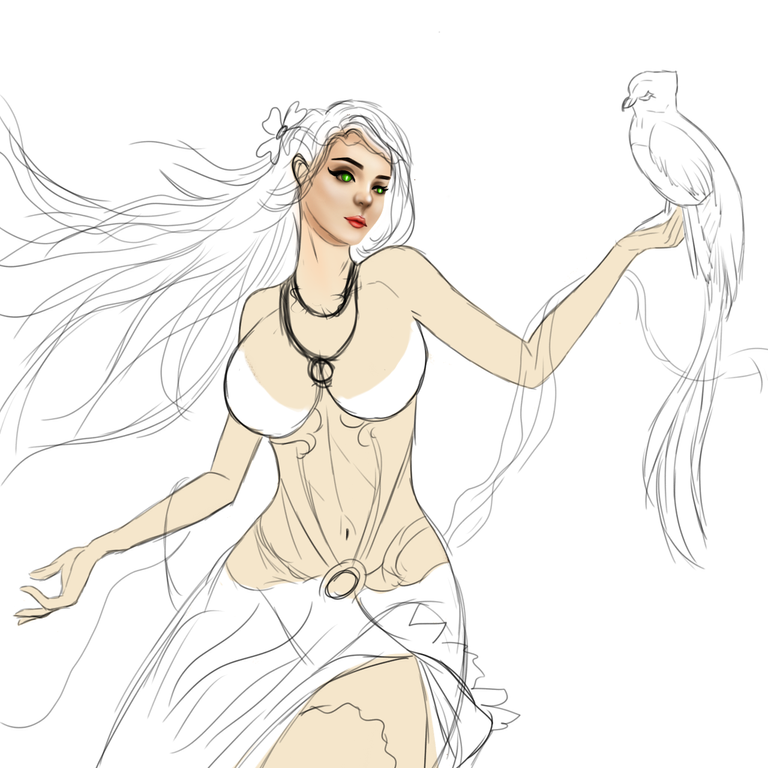
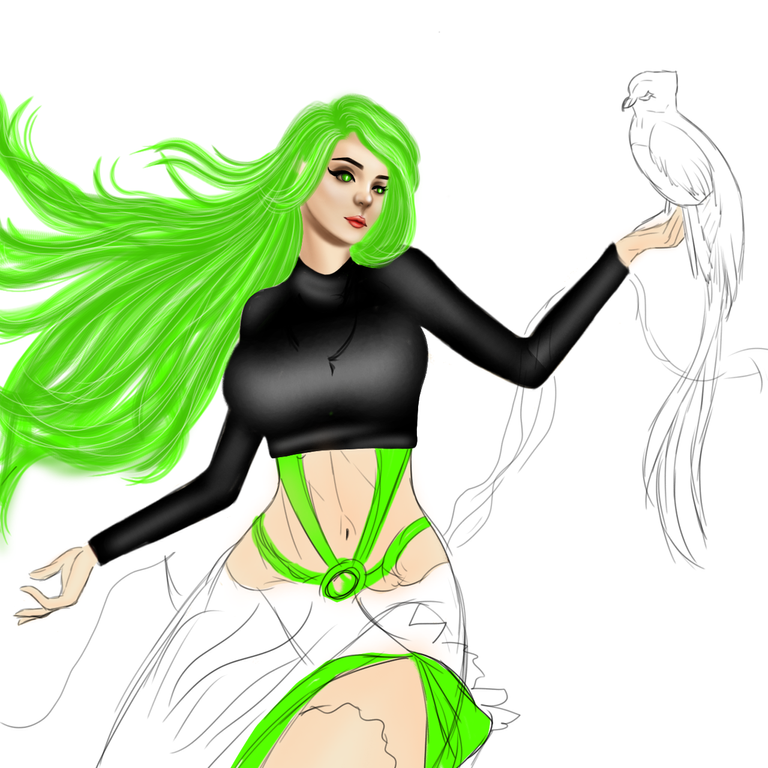
Now begins the colouring part, I used the fill tool to add the primary colours to her body part. This one was for her skin tone. You'll also notice that I changed the sketch a bit in this step. I first drew a flower as the main character on her neck but changed it to a necklace later. I think this one suits her better.
After that, I started to add the shades to her skin. I started with her facial area. The first step was to draw her eyebrows and then I added darker colour layers and a deeper version of that same colour to draw the shades on her nose and cheeks and also around her eyes. Then I coloured her eyes and lips too.


Then in the second step of the colouring process, I started with adding the black colour for her dress part. There were no borderlines for this part so I had to draw it with my hand using a brush. Then I put some white strokes on those parts that I want to be glowing. This is to create the reflection effect of light. After that, I used a blender brush and the spray brush tool to make the strokes even and make it smooth. Then I blent both of the colours on the edges.


For her hair, I first put a primary light green colour following the sketch lines. Then drew some strokes with deeper colours and then in the end drew a lot of thin white strokes as the final process.

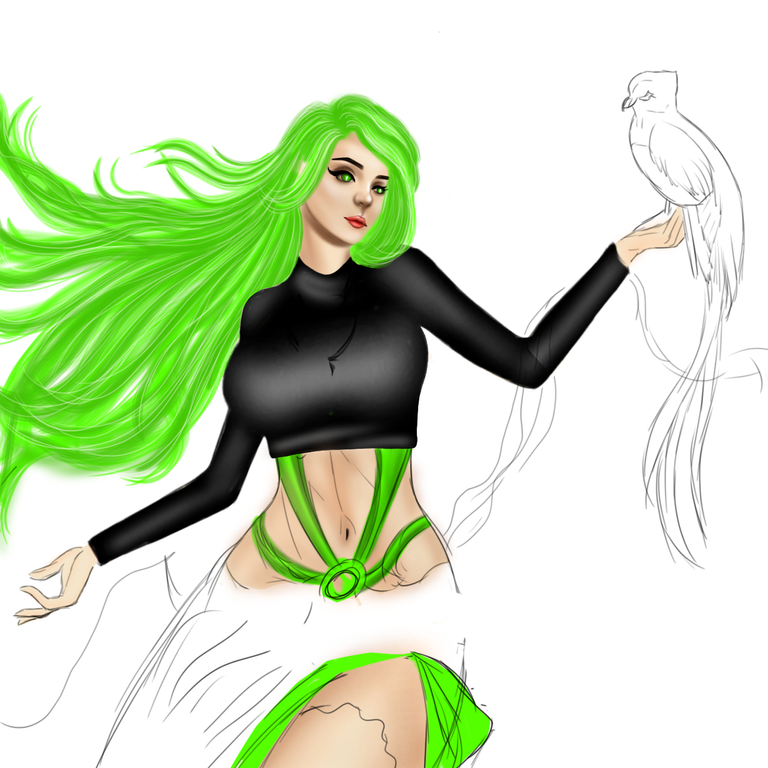
In this step I did two things, first of all, I drew the green belt-type parts of her dress and also worked with the skin tone of her lower body part. I began by putting the primary colour on her dress and then added the shades to it and left the other lower part for later. Then I completed the drawing of her belly by adding the shades to it. Perfectly visualizing the curves took me a while but the time was worth it.
Then I completed the lower part of her dress and her thigh too. I also drew her necklace at the end. The locket was looking small. So, I added the flower as a locket to her necklace again. This one looks better than the previous two versions.
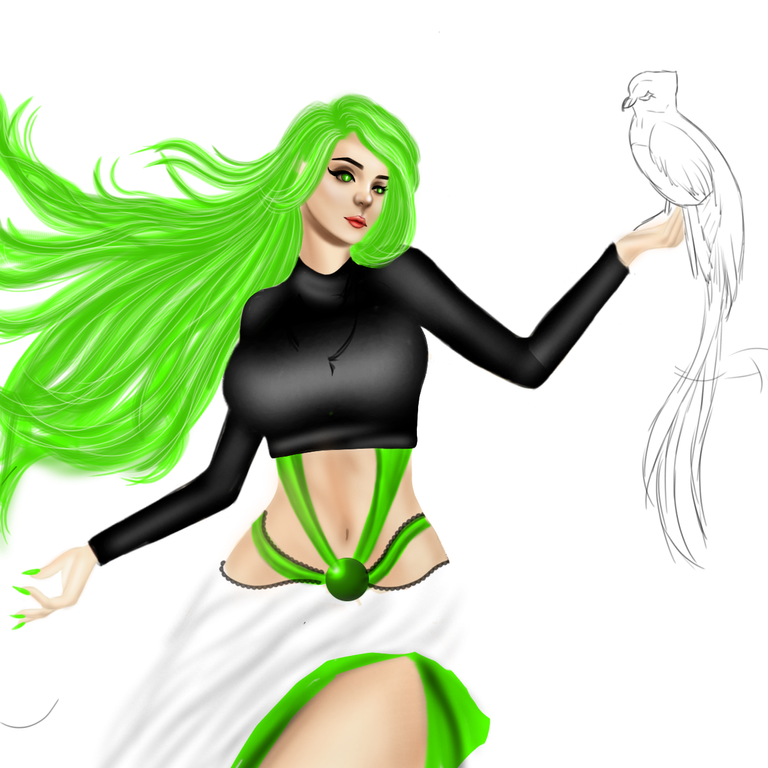

And in the end, I completed the work by drawing the parrot on her hand.
Final Image
Here's the final image with the background that I added in the last:-
I hope you liked my work and thanks a lot for your time and effort to read my post. And here's a gif file below with all my work steps so that you can enjoy the whole process in seconds.

Greetings,
The sketches showed the detailed work you put in and the style of drawing
your digital art production skills are impressive
Thank you for sharing this masterpiece in the community
Regards
I love it, oi love your gif with the process
@tipu curate 8
!1UP
Upvoted 👌 (Mana: 0/75) Liquid rewards.
You have received a 1UP from @fsc69!
@oneup-curator, @neoxag-curator
And they will bring !PIZZA 🍕.
Learn more about our delegation service to earn daily rewards. Join the Cartel on Discord.
$PIZZA slices delivered:
@curation-cartel(2/20) tipped @martina-sigulin