A Portrait Photograph Of A Male Model
Hello Photography Lovers! How're you all doing today? Here is another photograph having diverse of skintones which I would love to share with you all. Photographically speaking, the act of tweaking colour-sliders in Photoshop (PS) to achieve a particular skintone can be a bit challenging most times. However, there are some hitches and hurdles that can exterminate one's morale and avidness; in spite of all circumstances, ‘relentless spirit to keep the passion burning immensely in what you love doing,’ is the prayer to keep to heart closely.
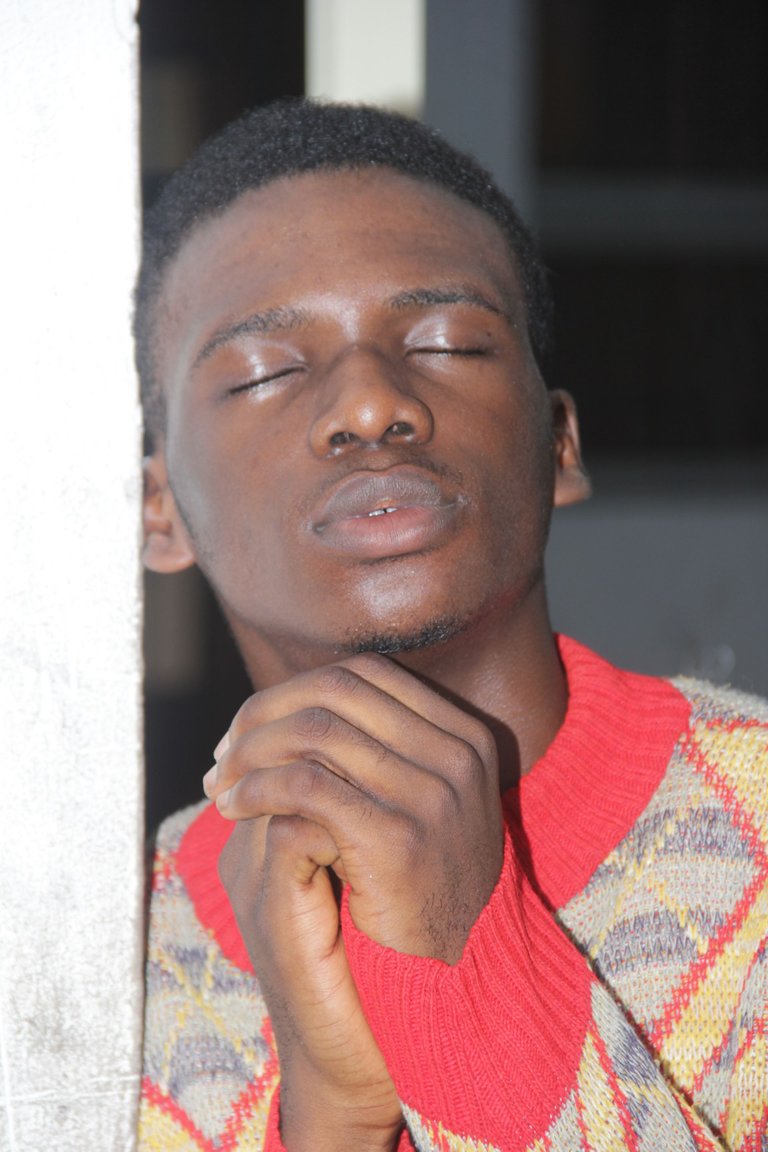
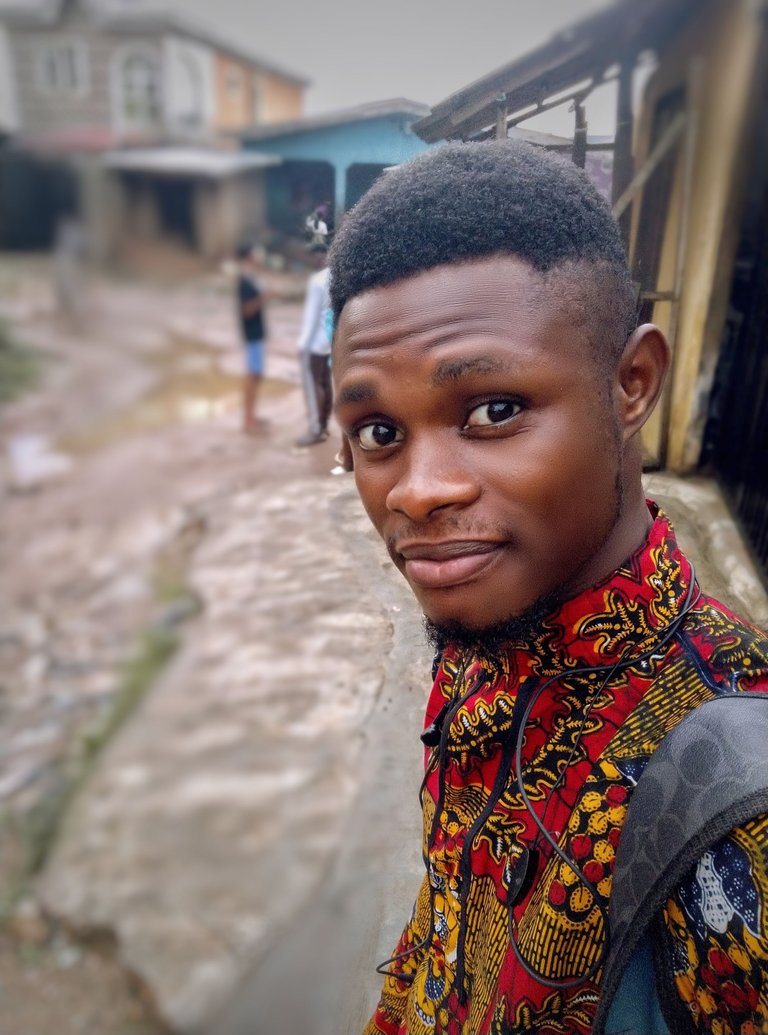
My last outing with some of my friends brought about this image. And It was a bit difficult in processing my editing skills on this image due to its elapses and laxities in terms of detail and vibrancy look. It was shot while the external flash was facing the subject; instead of facing up so there'd be light diffusion and light-softness. Here the light is somehow hard on the subject, making the picture looks awkward — this particular image (original one) lacks tones and so many things. It wasn't shot on a Raw Format — that was one of the reasons why it paved a hitch for me while editing it at first. I decided to choose this image to edit and achieve a particular skintone and test-run my editing skills in terms of colour-grading — did that for me to know if I've actually improved on my editing skills using the colour-sliders to achieve a particular set of skintone. I love this image because of the style and positioning of the male model. Though, the picture is overly exposed, yet I chose to work on this because of my love for this particular image. The style which the model exhibited is really gratifying. To me, the picture paints different stories — it can fit into any issues, blogs and all.
Here, I have the same picture with different skin-tone. The tonality of skintone can be dispiriting when you set to achieve a particular set of skintone and the thing keeps bouncing back at you — it can be frustrating sometimes. It actually took me time to achieve this brownish skin, using photo-filter and colour-picker tool and so on.
Please let me know in the l comment section which one is your favourite.
The Original Picture Before The Main Editing
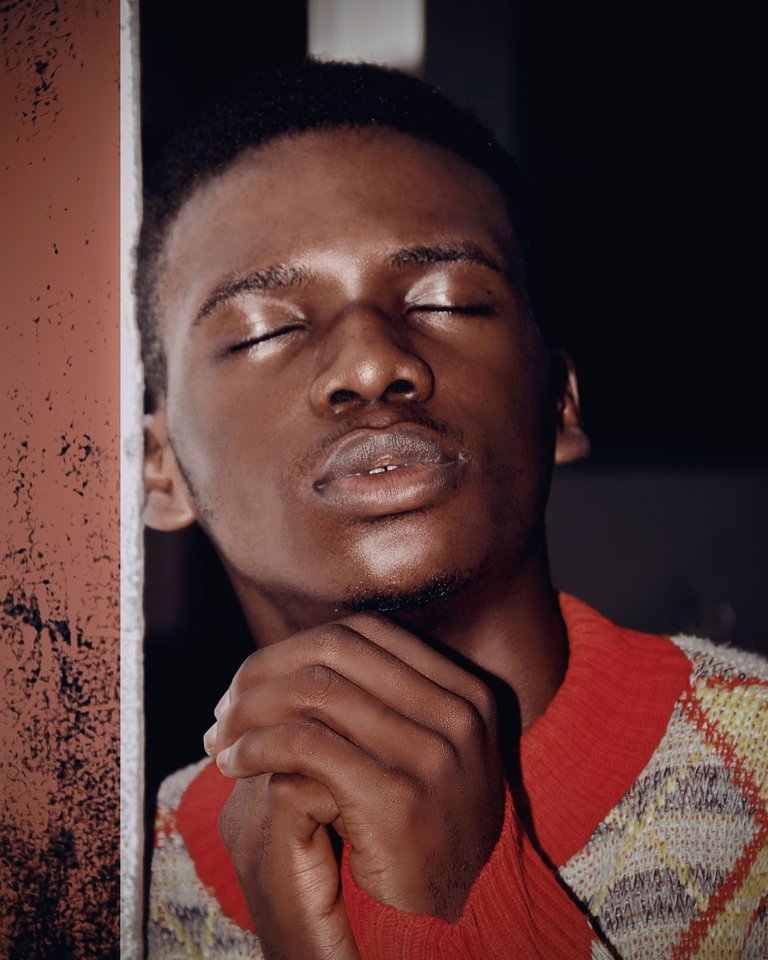
Here are the Edited Versions of this Photograph
1

2
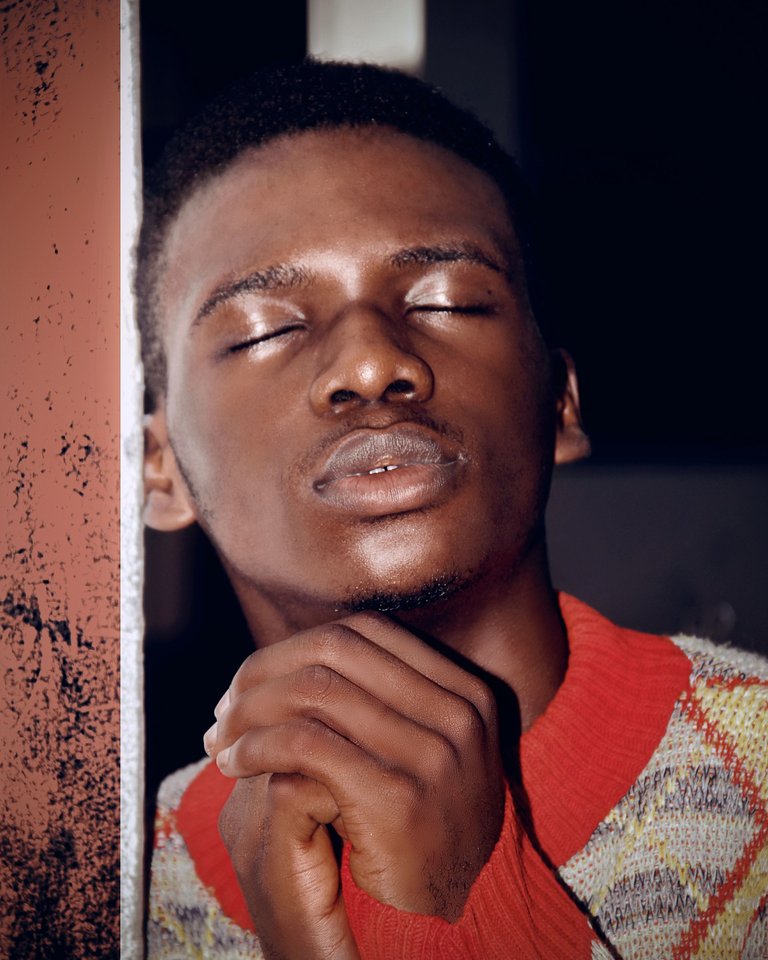
3
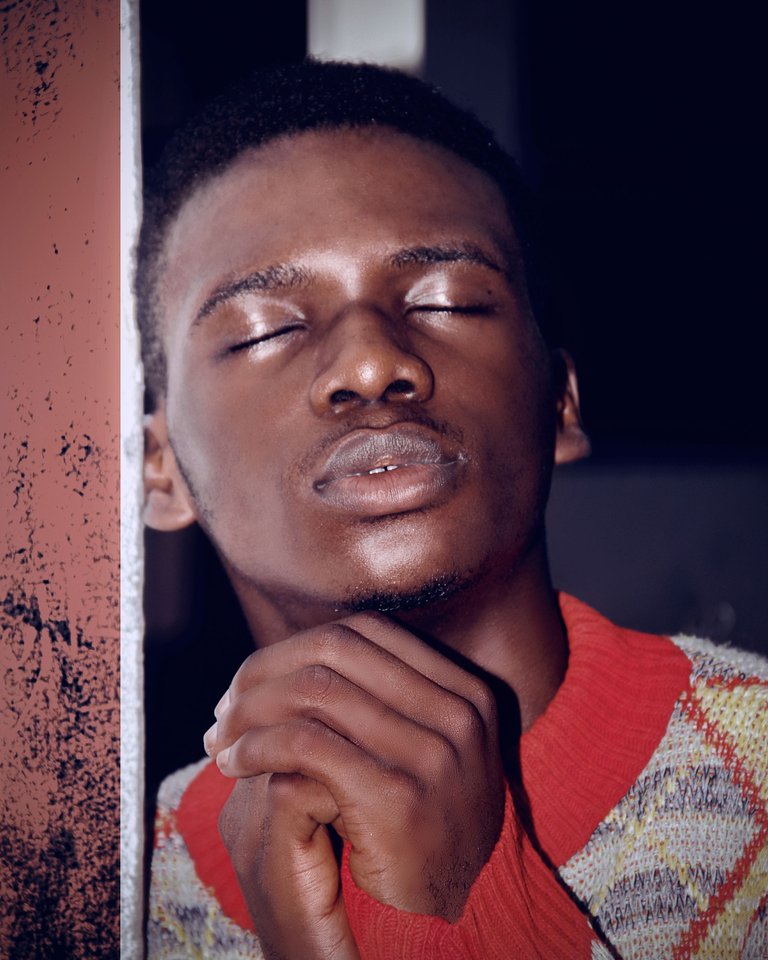
4 (The Last Version)
The last version seems good to me, because of the exact skin-tone I was seeking initially.
This is its black and white mode.

I noticed the image has noise which is not pleasing enough. This is visible on the model's skin This noise made the picture looks pathetically odd. In Photography, Noise is a grainy veil in a photograph — it obscures details and makes the picture outlook to appear significantly worse. Here, I had to reduce the noise and increase sharpness using Noiseware from the Image-Filter.
The second part of my editing is the workout on the overexposure and picture outlook and clarity before the main process. I tweaked the colour-sliders to make the picture outlook looks good. Worked on its overexposure and temperature with the help of Camera Raw Filter I made a tweak on the HSL panel to get the model's real skin-colour. I also reduced the yellowness and redness of the image since the model has a brown skin. From the same colour-slider I added a tinge of contrast and sharpness and others, thereafter, I clicked “Okay” for further retouching.
If you take a look at the original image, the object in which the model is leaning on is overly exposed, since I wanted to make the subject stands out from the background, I decided to apply my skills on it. Painted that with the aid of new empty layer, brush and picker tool. The colour looks like brownish. Meanwhile, I realised his hands around the fingers seemed odd, I had to blend them with his skin colour. I blended that part to match up with his body skintone. I must say, the main editing starts from the Retouching Part. After retouching his face, I added selective colour, using SELECTIVE COLOUR SLIDER to tone the image, and rocked it with Gradient Map Colour Palette that has almost same tone with the model's.
Thanks for reading
This post is totally plagiarism free & all the photographs were shot & edited by @martinstomisin (15/10/2021)
Interested in some of my write-ups?
A Beautiful Portrait Picture
Accreditation of Poetic Convention and License Exhibition by Poets
Music — A Natural Therapy For Upliftment Of Mood And Alleviation Of Stress
An Overview of a Song “The Sound of Silence” covered by Disturbed
Some Reasons Why most People Shy Away from Poetry which Led to the Fall of Demand [for Poetry] in the Market
The Flawlessness of your Body(Poetry)
This black and white photo is outstanding to me. Keep it up
Thanks a lot dear brother for your Beautiful comment @alovely088
You are welcome Sir
Cheers brother @alovely088
Stay cool
The final monochrome effect was lit. Stunning. Love the process of editing too. @tipu curate
Upvoted 👌 (Mana: 60/80) Liquid rewards.
Yeah, it's a matter of choice or taste too, brother, @josediccus. The picture seems cool.
I'm glad my pictures, especially the final monochrome appeals wonderfully to you. And I really appreciate my dear brother, for your lovely comment and the tipu upvote, too.
Hi! If I can give a suggestion as a photographer, always have the eyes of the subject on focus, even if they are closed
Yeah, thanks for the suggestion dear friend, and your comment is appreciated @krusty81
Lovely portrait
Thanks a lot for the lovely comment @robertdouglass
Congratulations @martinstomisin! You have completed the following achievement on the Hive blockchain and have been rewarded with new badge(s) :
Your next target is to reach 2000 comments.
You can view your badges on your board and compare yourself to others in the Ranking
If you no longer want to receive notifications, reply to this comment with the word
STOP