[Esp-Eng].- 🐈⬛Un hermoso gancho gatuno para el cabello.// A beautiful cat hair clip.🐈⬛

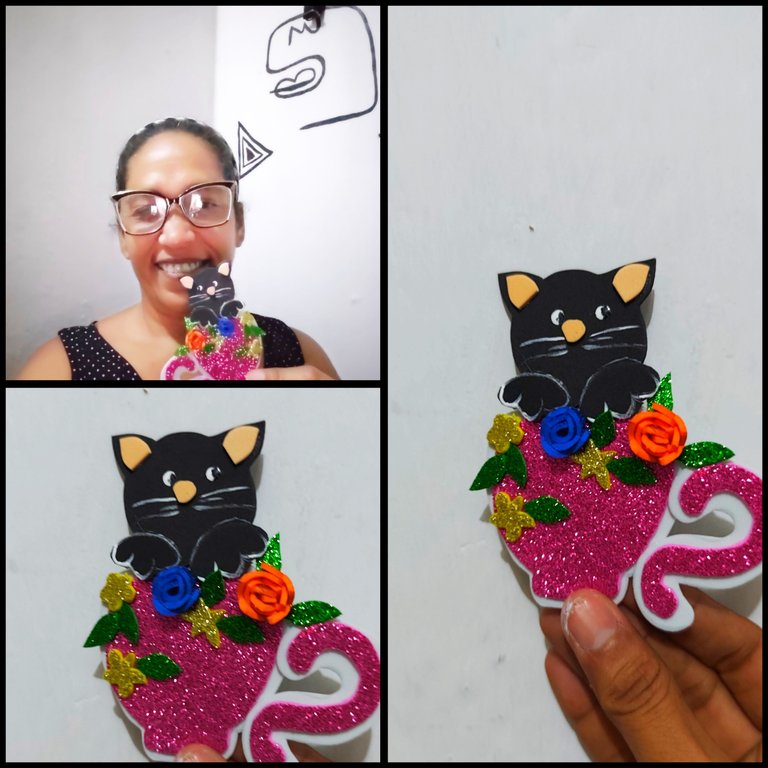
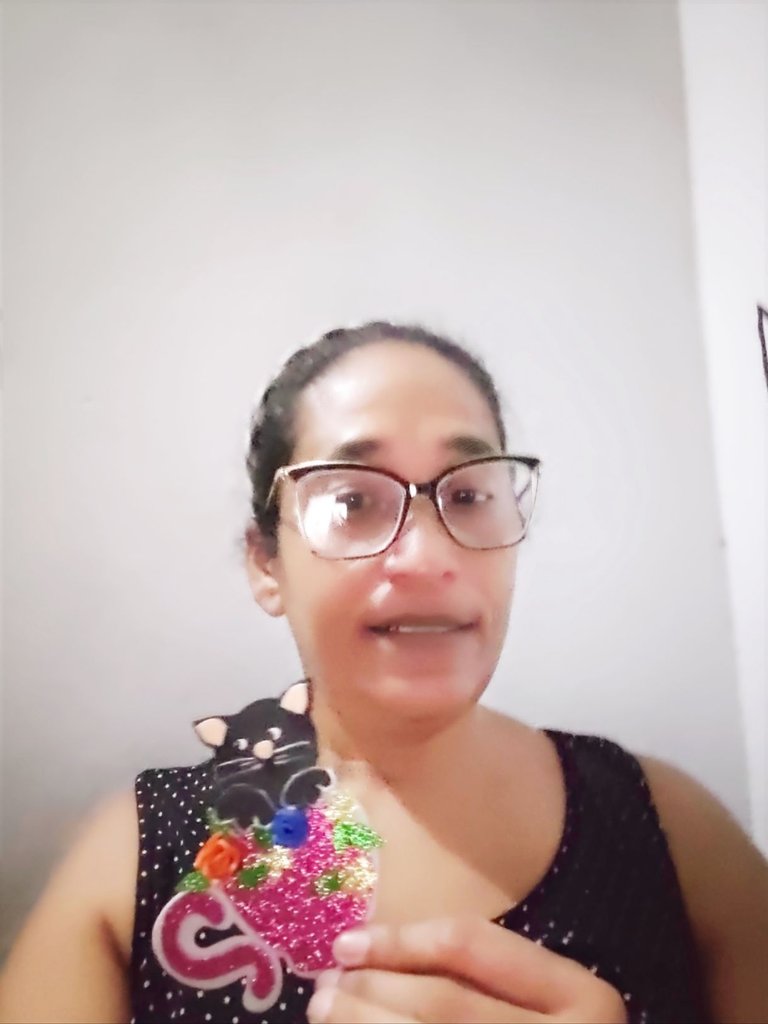
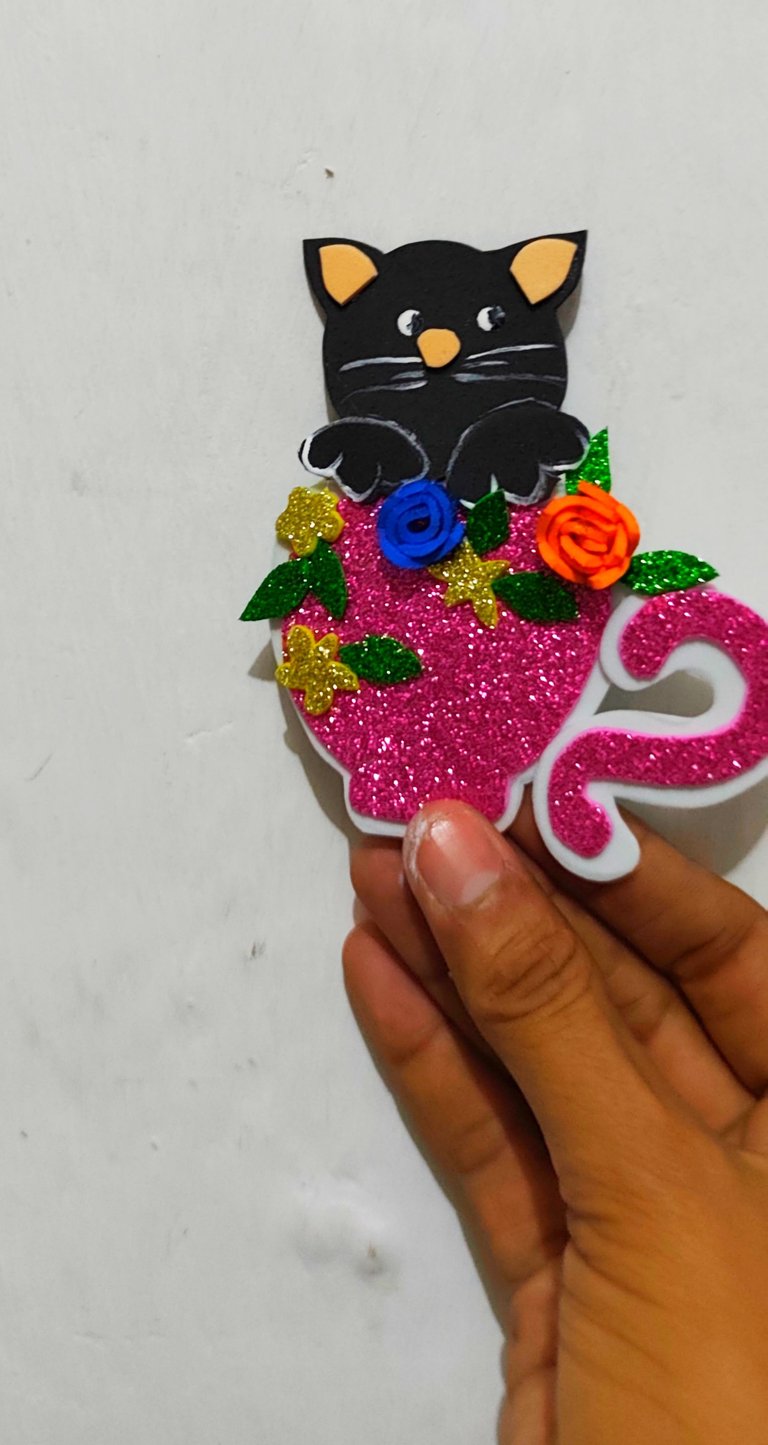
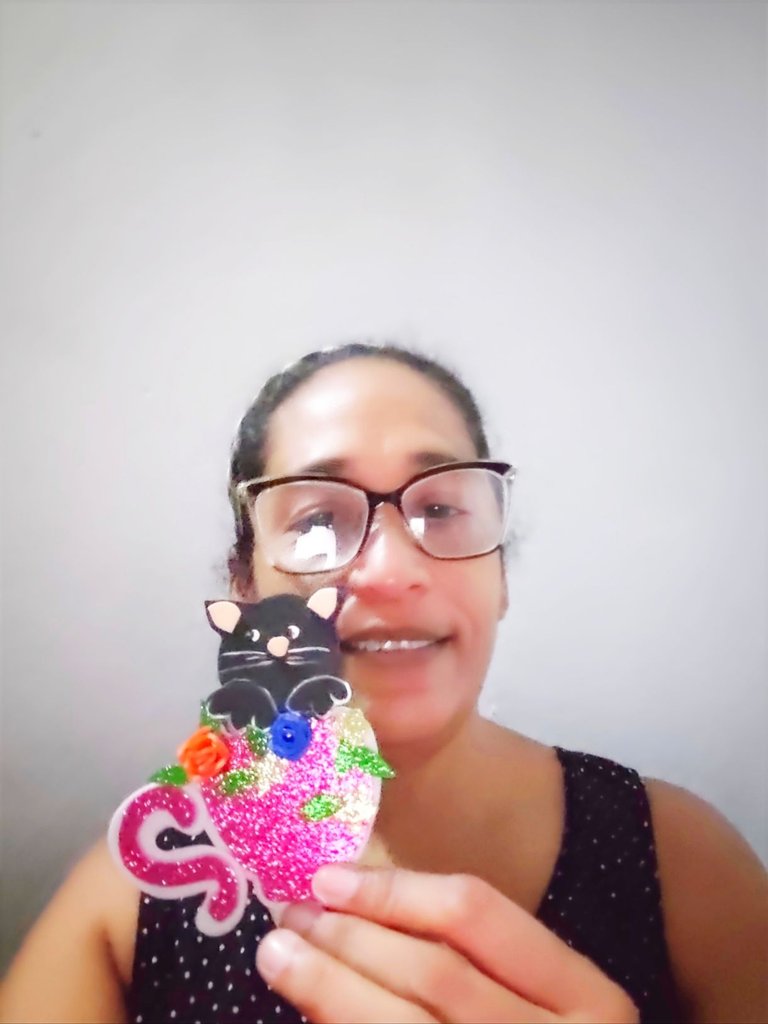
Hola mis apreciadas abejitas laboriosas de #hivediy nuevamente por acá para traerles el proceso creativo paso a paso de un lindo ganchito para el cabello con temática de gatito.
Yo soy amante de los gatos y podría usar sus imágenes para hacer arte de cualquier tipo, por eso cada vez que puedo las hago, acá les dejo los materiales que utilicé para su elaboración, también el paso a paso de manera detallada, y por supuesto el proceso ya finalizado, que les va a servir para darse cuenta de lo fácil que es elaborar esos pequeños detalles para nuestras princesas de la casa de manera creativa y práctica, Pero sobretodo con nuestras manos, pero sin más vamos a darle.
🐈⬛ MATERIALES 🐈⬛
🐈⬛ Foami escarchado fucsia.
🐈⬛ Foami blanco.
🐈⬛ Foami negro.
🐈⬛ Foami color piel.
🐈⬛ Foami verde.
🐈⬛ Foami amarillo.
🐈⬛ Foami naranja.
🐈⬛ Foami azul.
🐈⬛ Pintura al frio blanca.
🐈⬛ Pintura al frío negra.
🐈⬛ Silicón líquido.
🐈⬛ Gancho para el cabello.
🐈⬛ Lápiz.
🐈⬛ Hoja blanca.
🐈⬛ Tijera.
🐈⬛ Pincel.
🐈⬛ PASO A PASO 🐈⬛
🐈⬛ PASO 1:
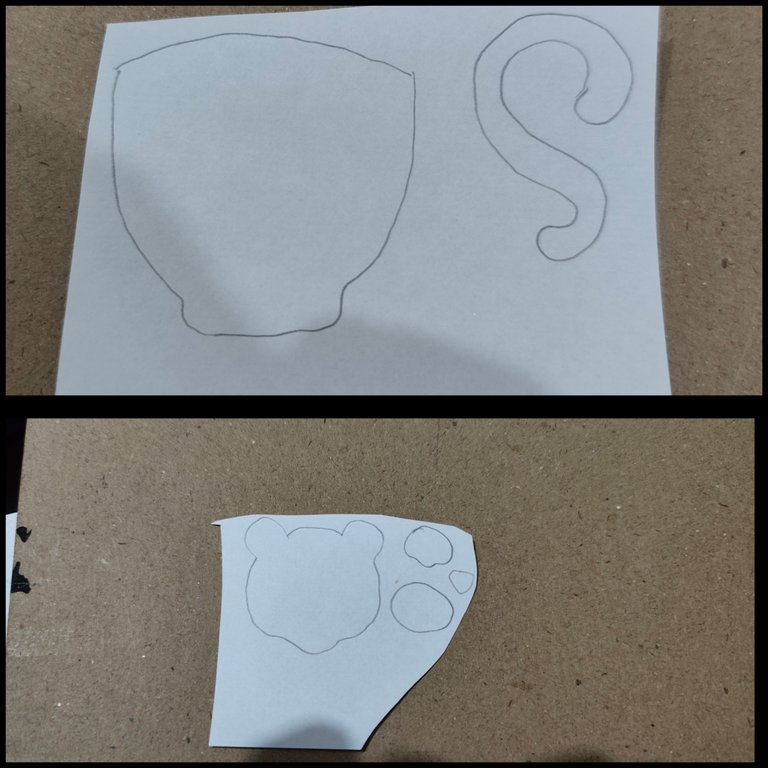
Primero que nada tome el lápiz y la hoja blanca y dibuje los patrones con los que voy a trabajar y recorté con la tijera.
🐈⬛ PASO 2:
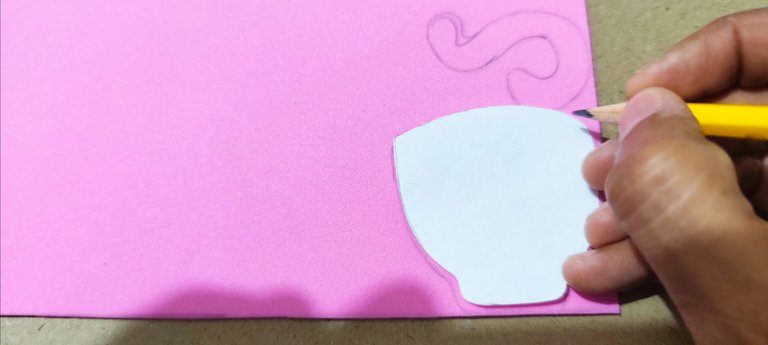
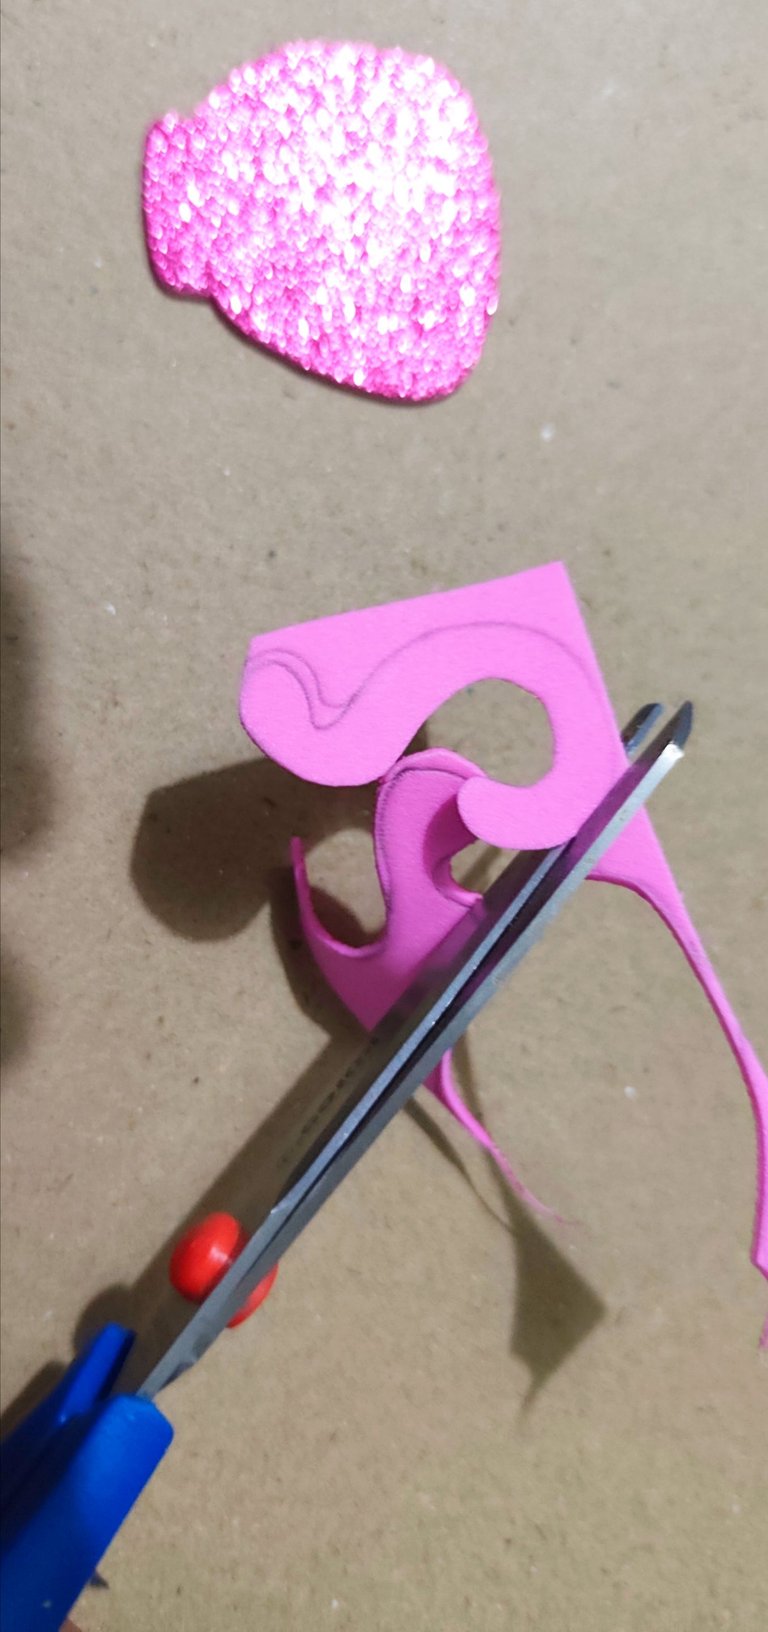
Ya con los patrones recortados, los coloco encima del foami fucsia y y con el lápiz dibujo la taza y el asa, luego con la tijera recortamos.
🐈⬛ PASO 3:
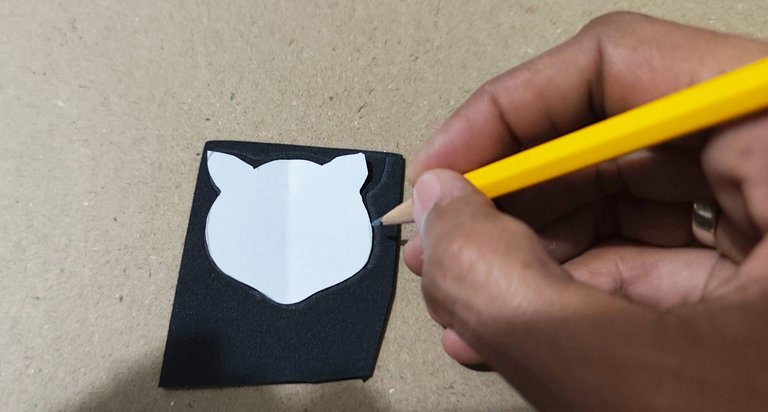
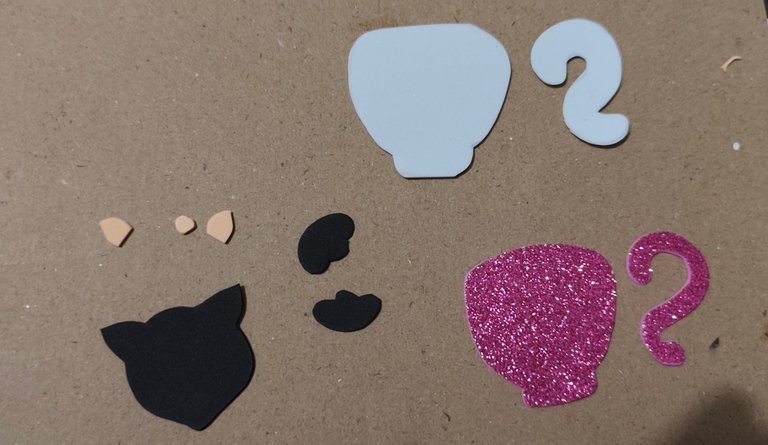
Ahora en el foami de color negro coloco el patrón de la cara del gato, dibujo, también sus patitas y recortó, seguidamente marco en el foami blanco una forma de la taza y del asa pero más grande.
🐈⬛ PASO 4:
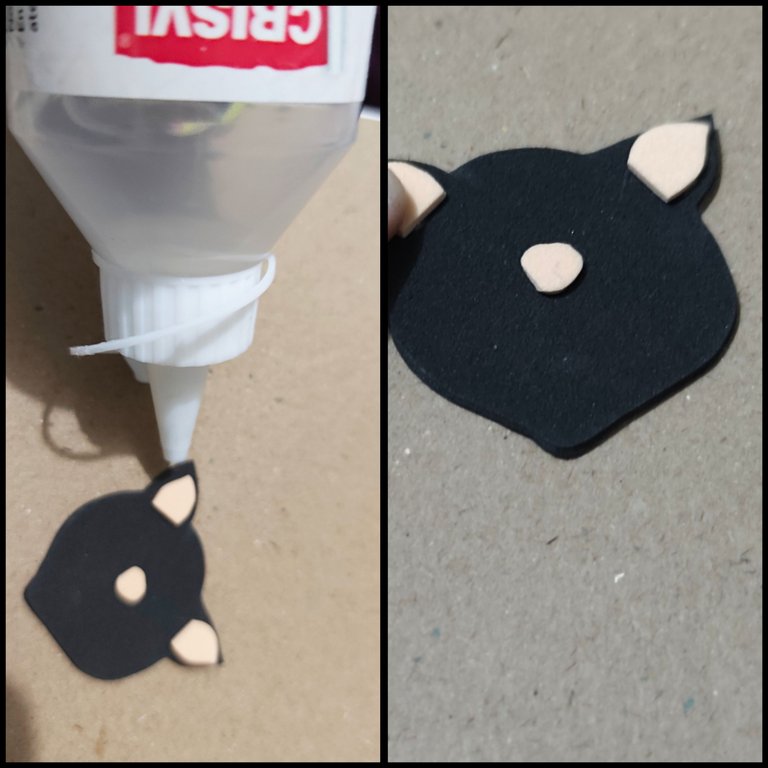
Ahora nos toca ensamblar las piezas recortadas, así que tomé el rostro del gato y con silicón líquido pegamos la nariz y la parte interna de las orejas, estás serían las piezas de color piel.
🐈⬛ PASO 5:
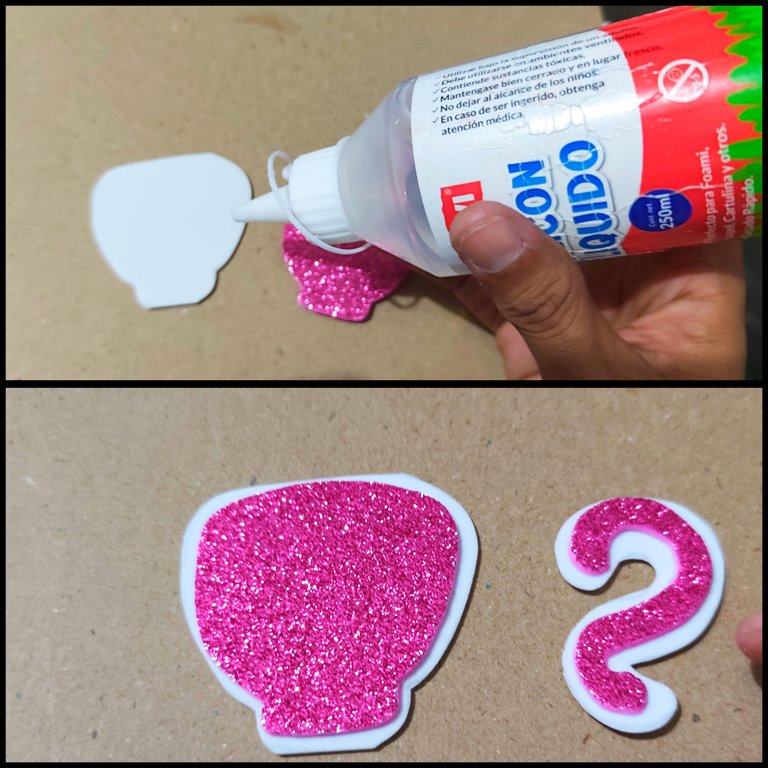
Ahora en la pieza de color blanco aplicó silicón líquido y pegamos la pieza recortada de color fucsia de la taza y repetimos el procedimiento en el asa y dejamos secar.
🐈⬛ PASO 6:
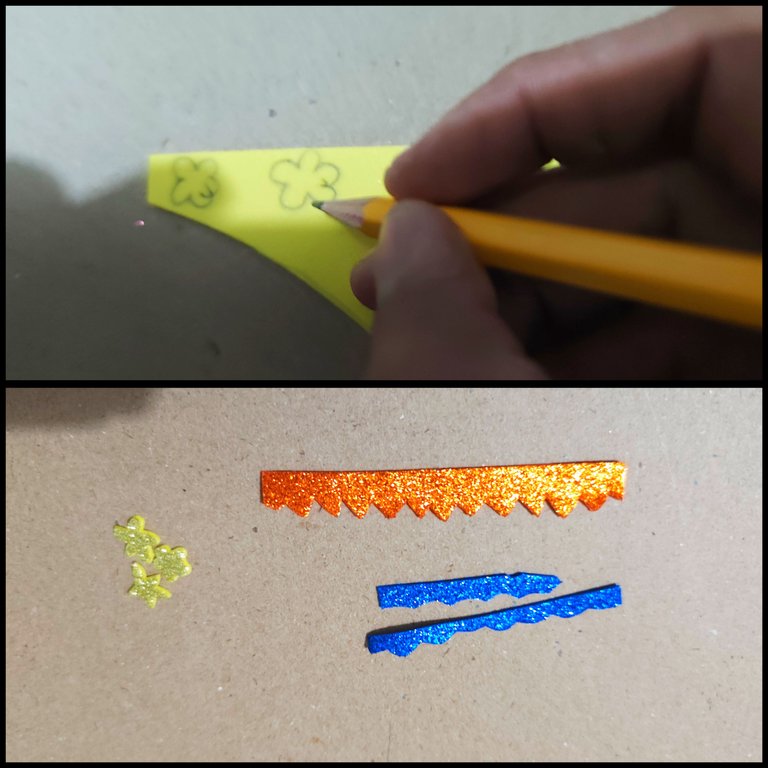
En los retazos de foami escarchado amarillo dibujo pequeñas flores, también en el foami azul y naranja escarchado dibujo y recortó una linea a la que le recortamos un extremo en forma de zigzag.
🐈⬛ PASO 7:
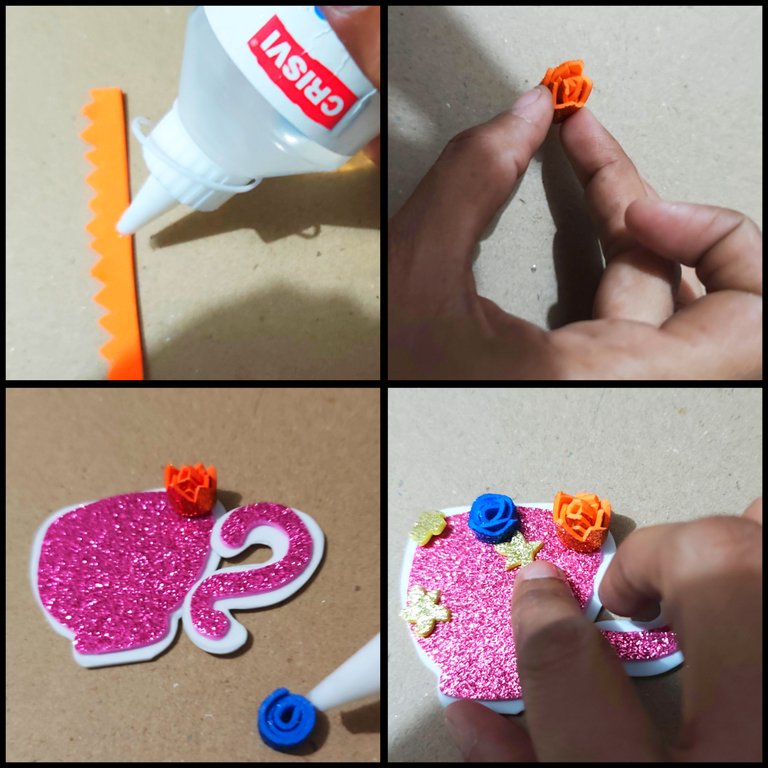
En las tiras aplicó silicón líquido y enrollamos para formar otro tipo de flores, y repito en todas las tiras, luego aplicó silicón líquido y pegamos encima de la pieza de la taza.
🐈⬛ PASO 8:
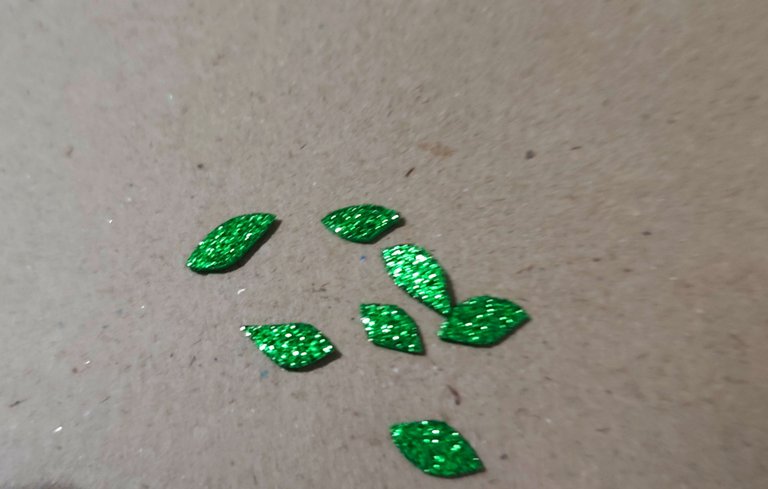
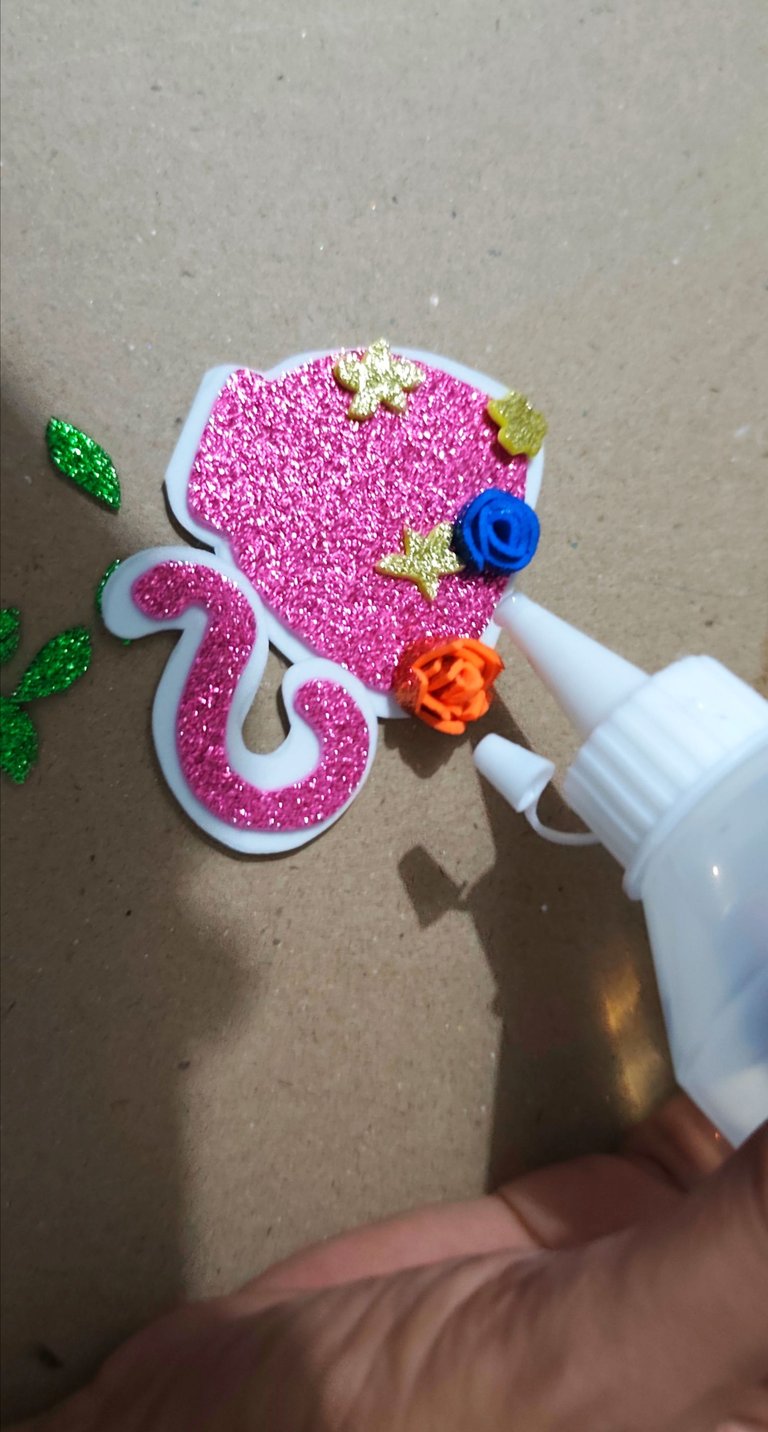
Ahora del foami escarchado verde recortó pequeñas hojitas, las cuales pegamos a nuestra pieza con el silicón líquido y dejamos secar bien.
🐈⬛ PASO 9:
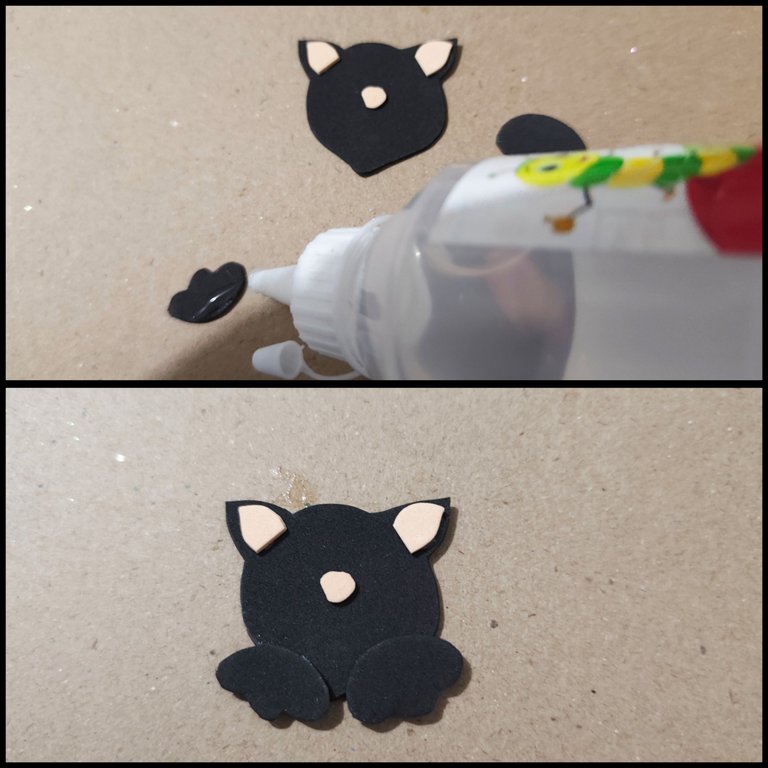
Ahora pegamos las patitas del gato a la pieza de la cabeza.
🐈⬛ PASO 10:
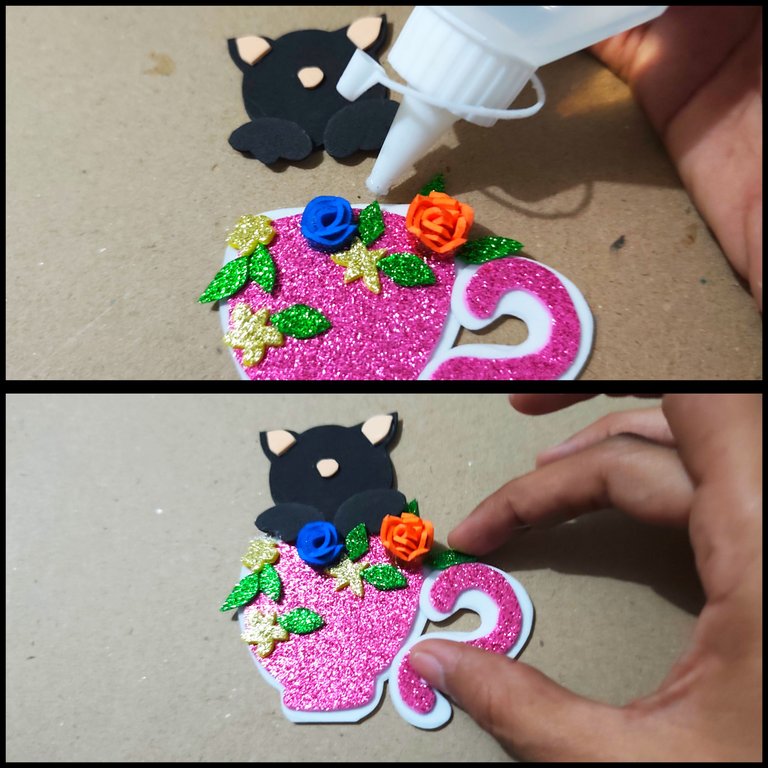
Aplicó silicón líquido a la pieza del gato y pegamos encima de la taza y dejamos secar bien.
🐈⬛ PASO 11:
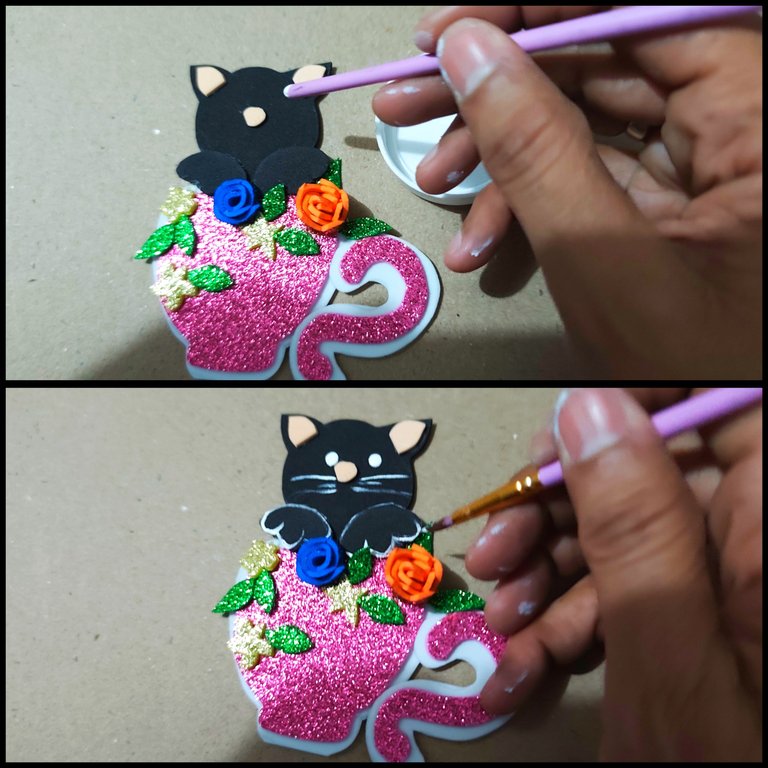
Con la pintura blanca y la negra dibujamos los ojos, los bigotes, y delineamos la pieza negra para darle mayores detalles.
🐈⬛ PASO 12:
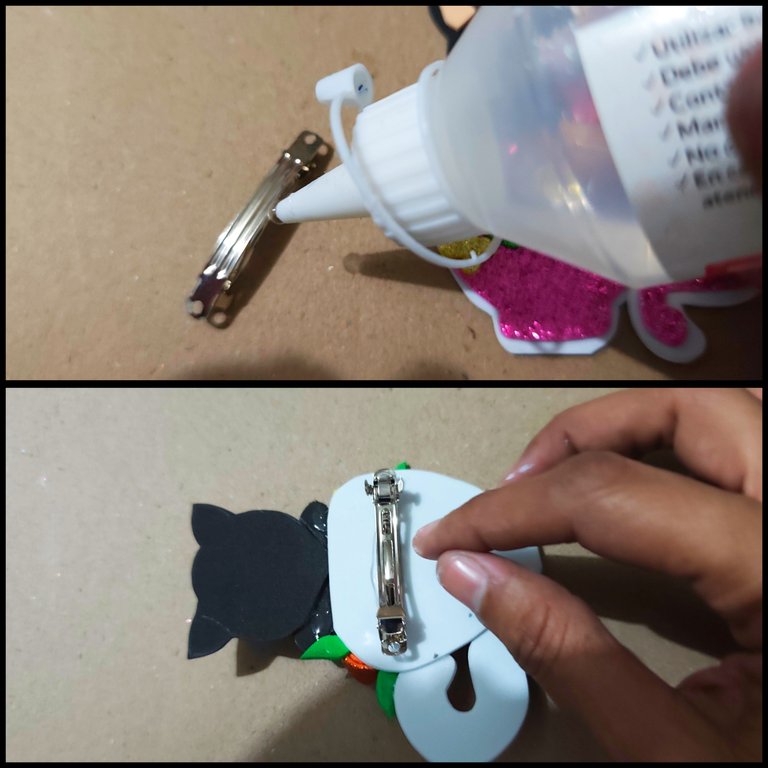
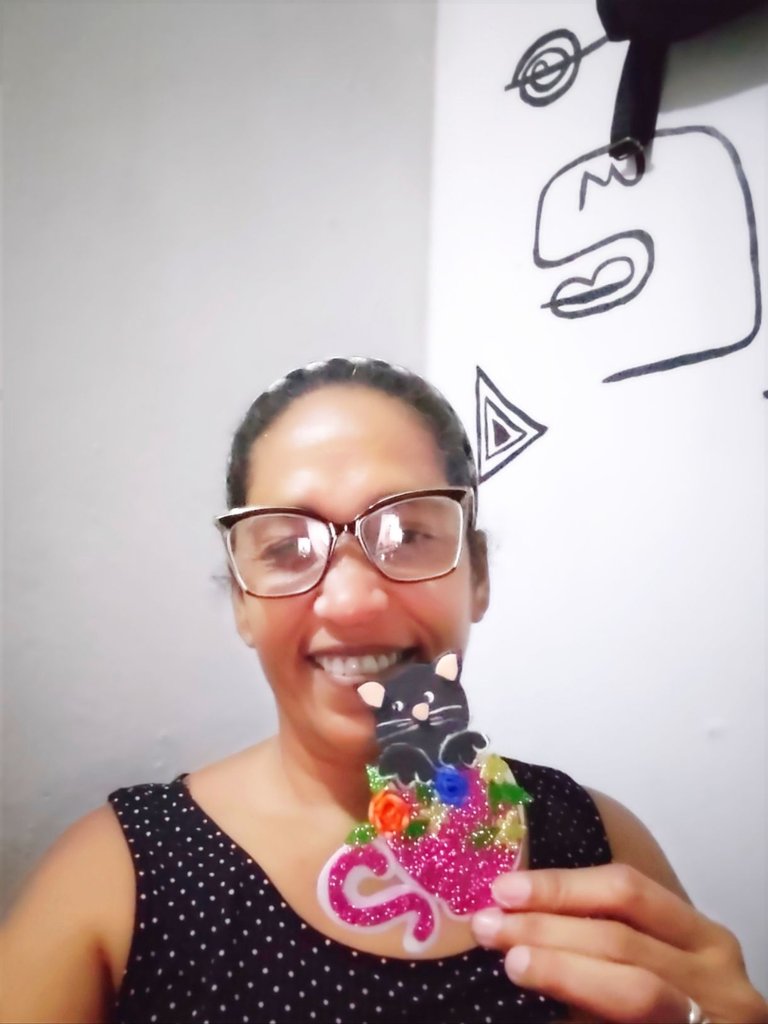
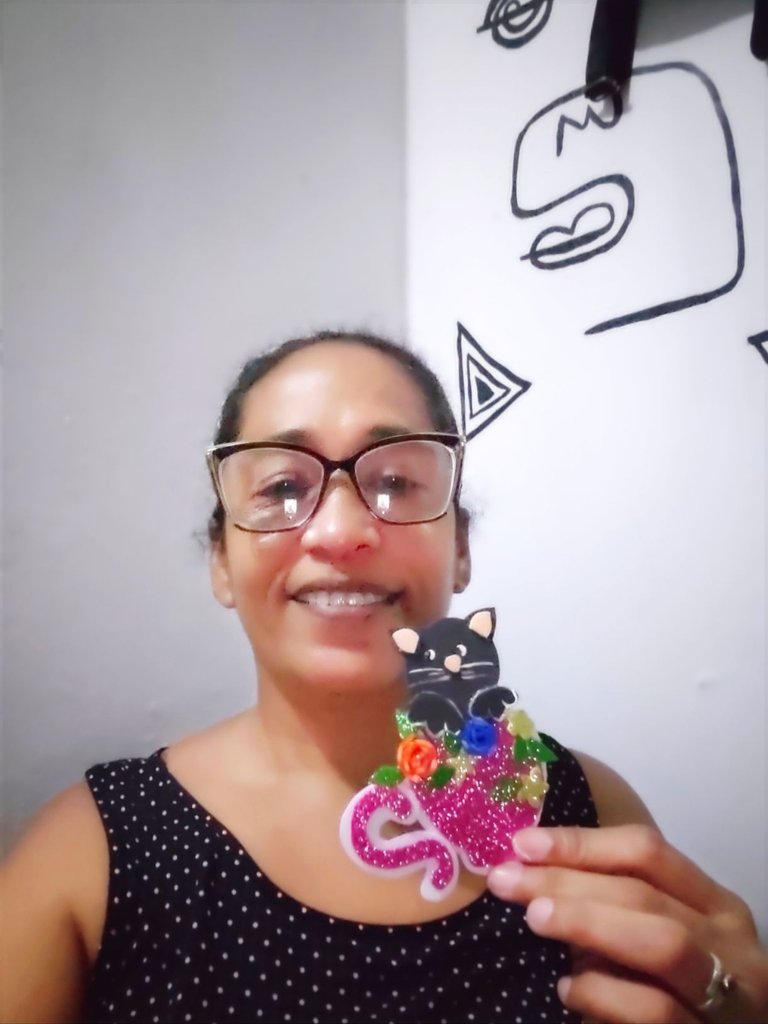
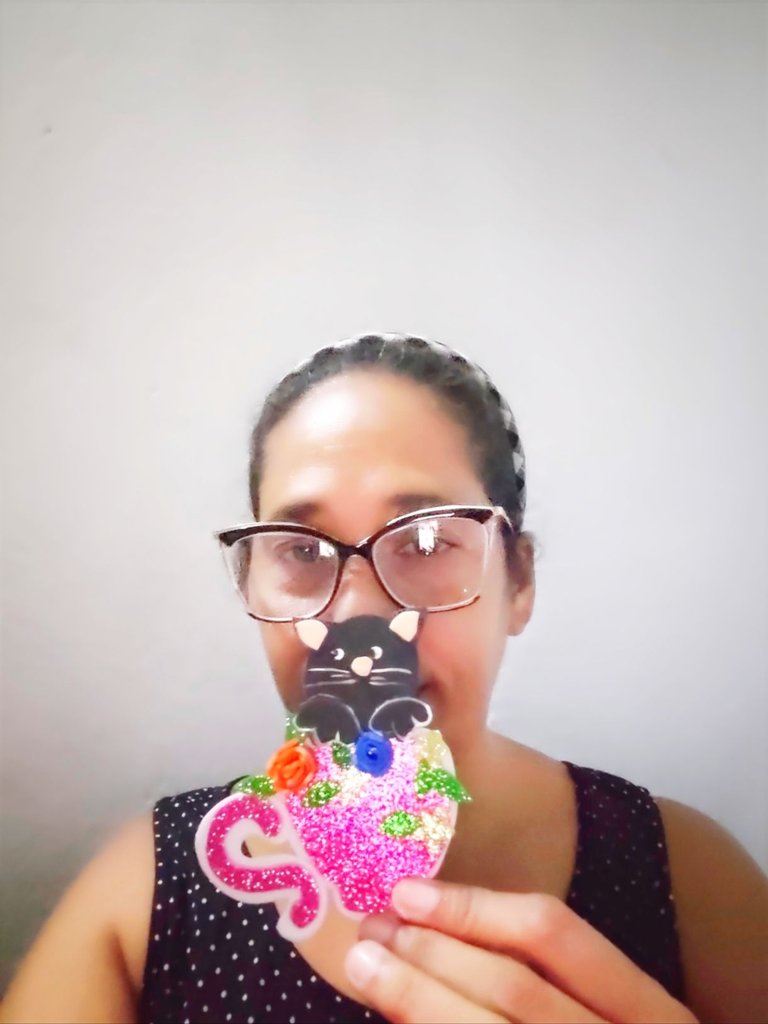
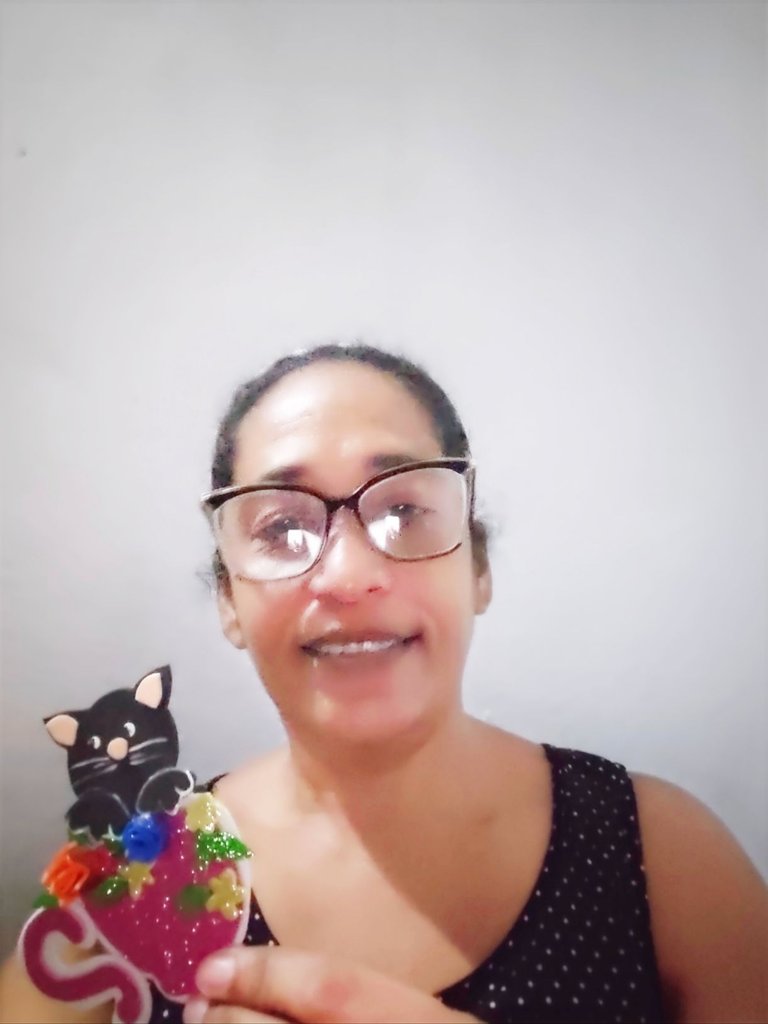
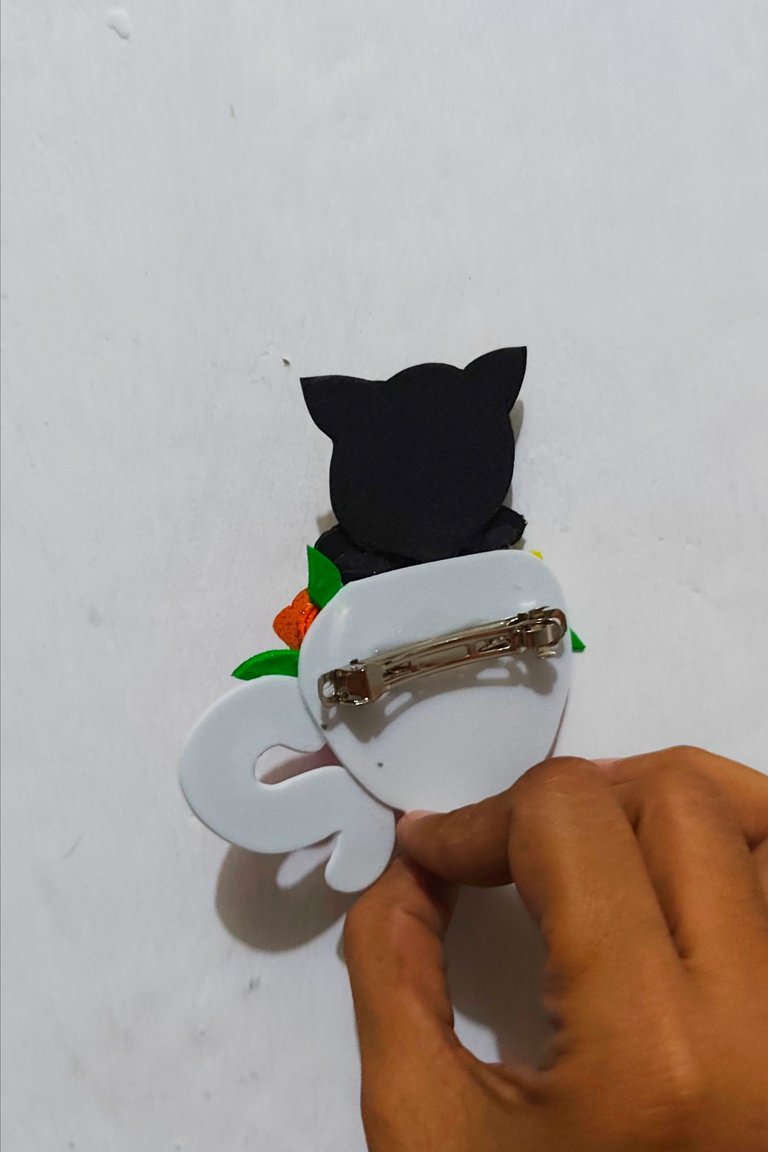
Cuando ya la pieza está lista y seca aplicamos silicón líquido y pegamos el gancho de cabello y dejamos secar bien y listo trabajo culminado.
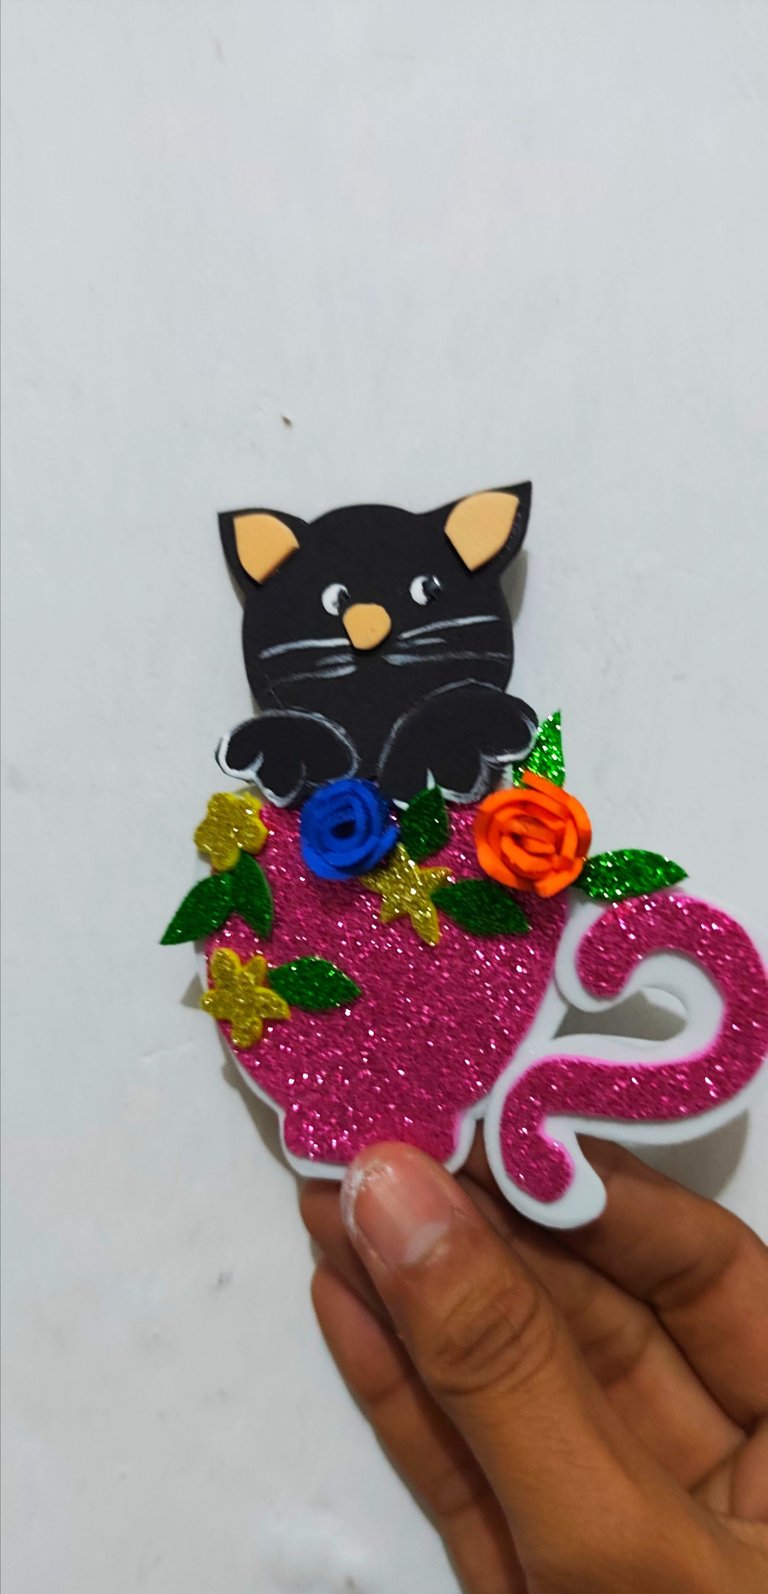
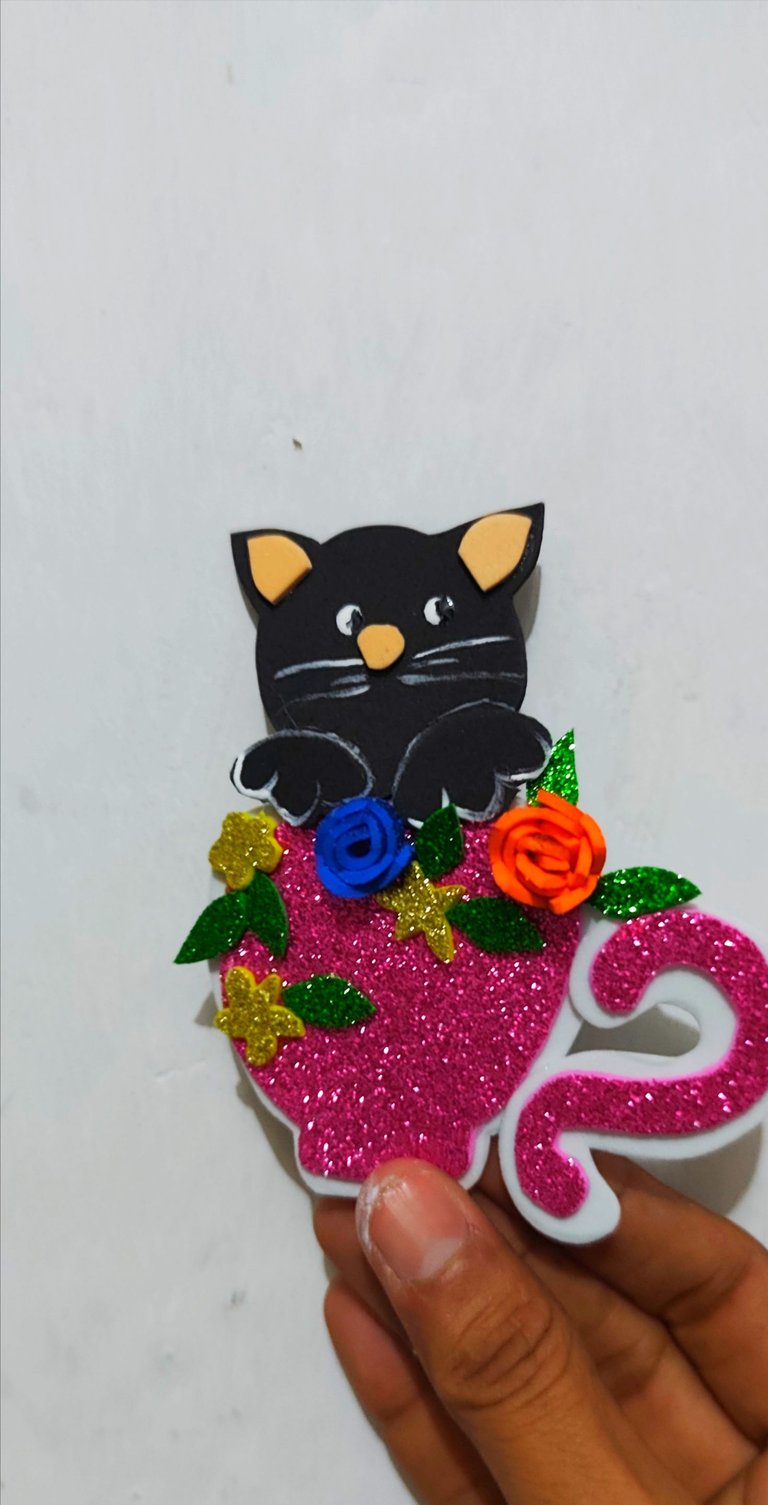
🐈⬛ CRÉDITOS 🐈⬛
Todas las fotografías fueron tomadas con mi teléfono Xiaomi redmi y son de mi propiedad utilice el programa polish y el traductor Deepl.


Hello my dear industrious #hivediy bees here again to bring you the step by step creative process of a cute kitty themed hair clip.
I am a cat lover and I could use their images to make art of any kind, so whenever I can I make them, here I leave the materials I used for its elaboration, also the step by step in detail, and of course the finished process, which will serve to realize how easy it is to develop these small details for our princesses of the house in a creative and practical way, but above all with our hands, but without further ado we will give it.
🐈⬛ MATERIALS 🐈⬛
🐈⬛ Fuchsia frosted Foami.
🐈⬛ White foami.
🐈⬛ Black foami.
🐈⬛ Skin color foami.
🐈⬛ Green foami.
🐈⬛ Yellow foami.
🐈⬛ Orange foami.
🐈⬛ Blue foami.
🐈⬛ White cold paint.
🐈⬛ Black cold paint.
🐈⬛ Liquid silicone.
🐈⬛ Hair clip.
🐈⬛ Pencil.
🐈⬛ White sheet.
🐈⬛ Scissors.
🐈⬛ Brush.
🐈⬛ STEP BY STEP 🐈⬛
🐈⬛ STEP 1:
First of all take the pencil and the white sheet and draw the patterns I am going to work with and cut them out with the scissors.
🐈⬛ STEP 2:
Once the patterns are cut out, I place them on top of the fuchsia foami and with the pencil I draw the cup and the handle, then with the scissors I cut them out.
🐈⬛ STEP 3:
Now on the black foami I place the pattern of the cat's face, draw, also its paws and cut it out, then I mark on the white foami the shape of the cup and the handle but bigger.
🐈⬛ STEP 4:
Now we have to assemble the cut out pieces, so I took the face of the cat and with liquid silicone we glued the nose and the inner part of the ears, these would be the skin colored pieces.
🐈⬛ STEP 5:
Now apply liquid silicone on the white piece and glue the fuchsia piece cut out of the cup and repeat the procedure on the handle and let it dry.
🐈⬛ STEP 6:
In the scraps of yellow frosted foami I draw small flowers, also in the blue and orange frosted foami I draw and cut a line to which we cut one end in the form of a zigzag.
🐈⬛ STEP 7:
On the strips applied liquid silicone and rolled to form another type of flowers, and repeat on all the strips, then applied liquid silicone and glued on top of the cup piece.
🐈⬛ STEP 8:
Now from the green frosted foami cut out small leaves, which we glued to our piece with the liquid silicone and let them dry well.
🐈⬛ STEP 9:
Now we glue the cat's paws to the head piece.
🐈⬛ STEP 10:
He applied liquid silicone to the cat piece and glued it on top of the cup and let it dry well.
🐈⬛ STEP 11:
With the white and black paint we draw the eyes, the whiskers, and outline the black piece to give it more details.
🐈⬛ STEP 12:
When the piece is ready and dry we apply liquid silicone and glue the hair clip and let it dry well and the job is done.
🐈⬛ CRÉDITS 🐈⬛
All pictures were taken with my Xiaomi redmi phone and are my own, I used the polish program and Deepl translator.
0
0
0.000
https://x.com/Mayelin2021/status/1916259924323274886?t=O4i3lvbnSDy8SB41Kd1NKg&s=19
Quedó demasiado tierno 😍 se parece a mi hija gatuna 🐈⬛
Jajajaja si yo me inspire en mi gato Ramón, un negrito hermoso, jajaja es muy tierno tu bebé.
Ellos son demasiado hermosos ❤️ está divertido el nombre del tuyo, así se llamaba el gato de unos amigos, la mía se llama Merlina tiene 6 meses y medio y ando asustada con su primer celo que creo está por llegar y su hermano Renato anda detrás de ella, el veterinario no quiso esterilizarla antes de que pasara el 1er celo y me dijo que en el primer celo no la inyectara el anticonceptivo y andamos con los nervios nerviosos
Mi Ramón es un cascarrabias, tiene 4 años y es un amargado, pero igual lo amo.
Jejeje el sabe que es un consentido y se aprovecha, Merlina es medio odiosa, no le gusta mucho el cariño y se lava apenas la tocan jajajaja
Ramón ya ni se deja tocar y cuando me le acerco me ve feo, jajajaja un amargado
No quieren cariño ellos jejeje Pero igual así los amamos como tú dices 🥰
Nada más cierto
Muy bonito, aunque yo no soy muy fan de los gatos, prefiero los perros jajaja, te quedo lindo y tierno, saludos.
Gracias amiga, somos diferentes a mi no me gusta mucho los perros aunque igual los cuido y ayudó a los de la calle, saludos.
Una hermosa y muy práctica manualidad
La curación manual del testigo de @hispapro valorando tu contenido
Muchísimas gracias por el apoyo 🌹🩷🌹
Wow, so beautiful, the cat's expression is so adorable.
Oh glad you liked it, hehehe cats are my passion.
Que bonito Mayi! Esta muy curioso 💛💕
Muchísimas gracias
Te felicito, quedó hermoso y tierno el gatito. Saludos 🌻🌹💐🌻🌷🌺🌞
Gracias amiga hermosa 🌹🩷🌹