[Eng/Esp] Drawing and coloring an emoji /Dibujando y coloreado un emoji
English Version
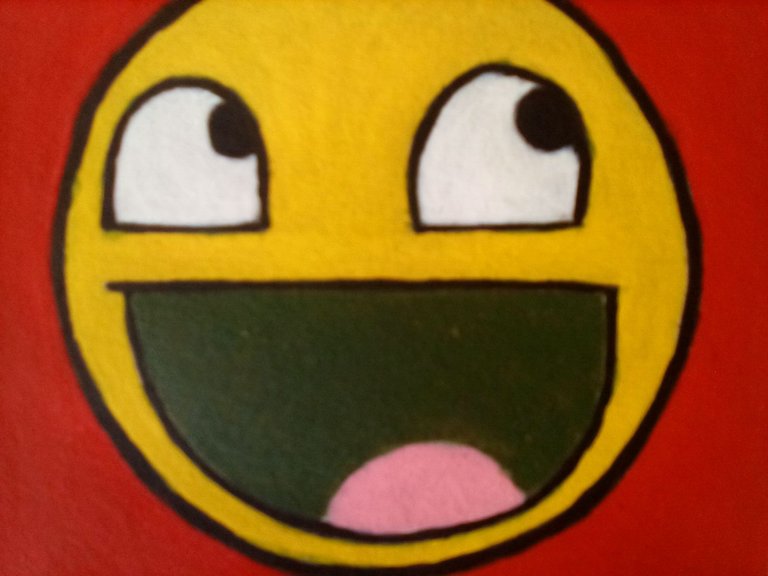
We continue with this special of drawings made with tempera, which I started to make them as a practice since it is the first time I use this kind of material, and focusing on simple drawings. For this occasion I selected an emoji. And I will explain the step by step below.
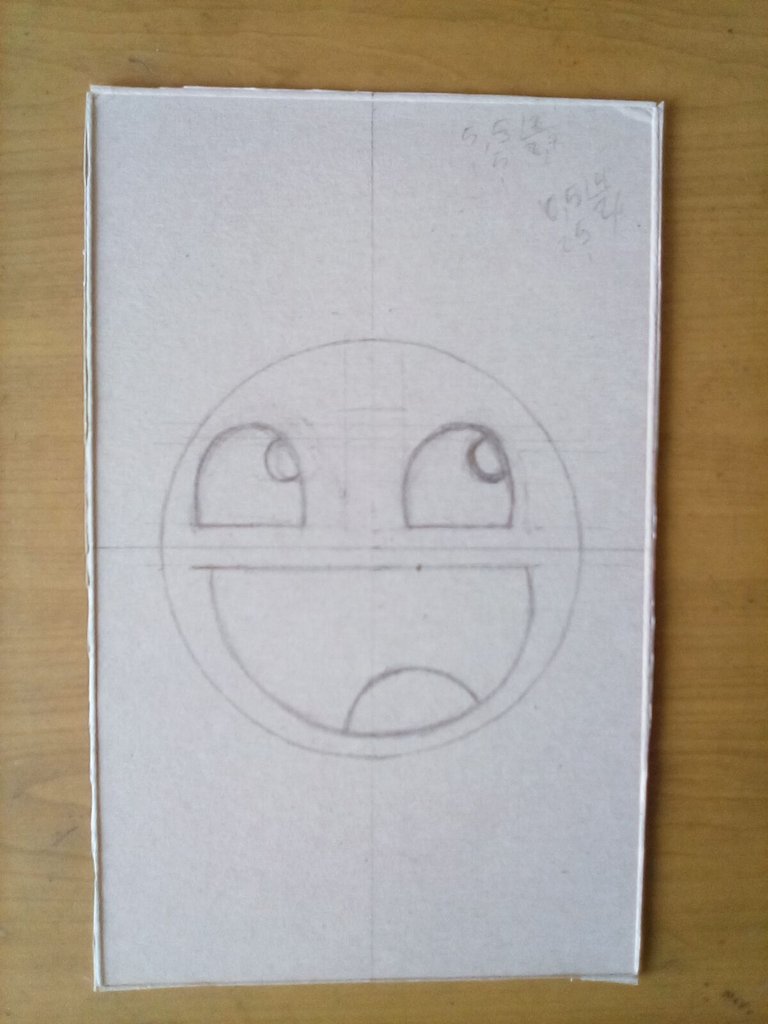
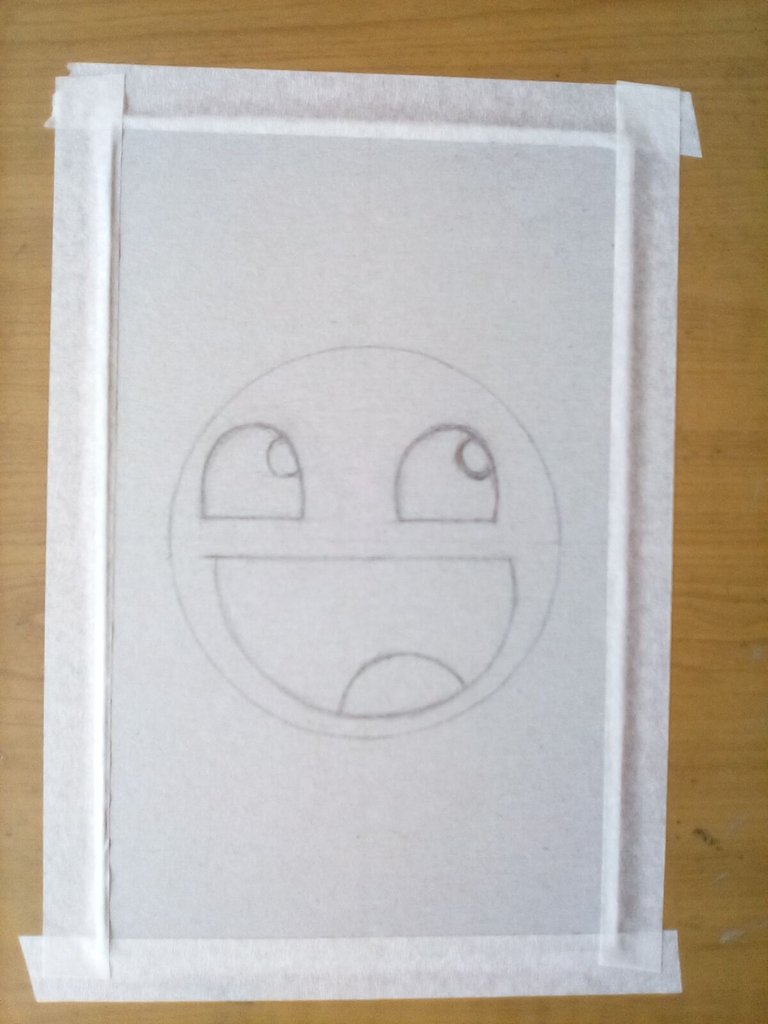
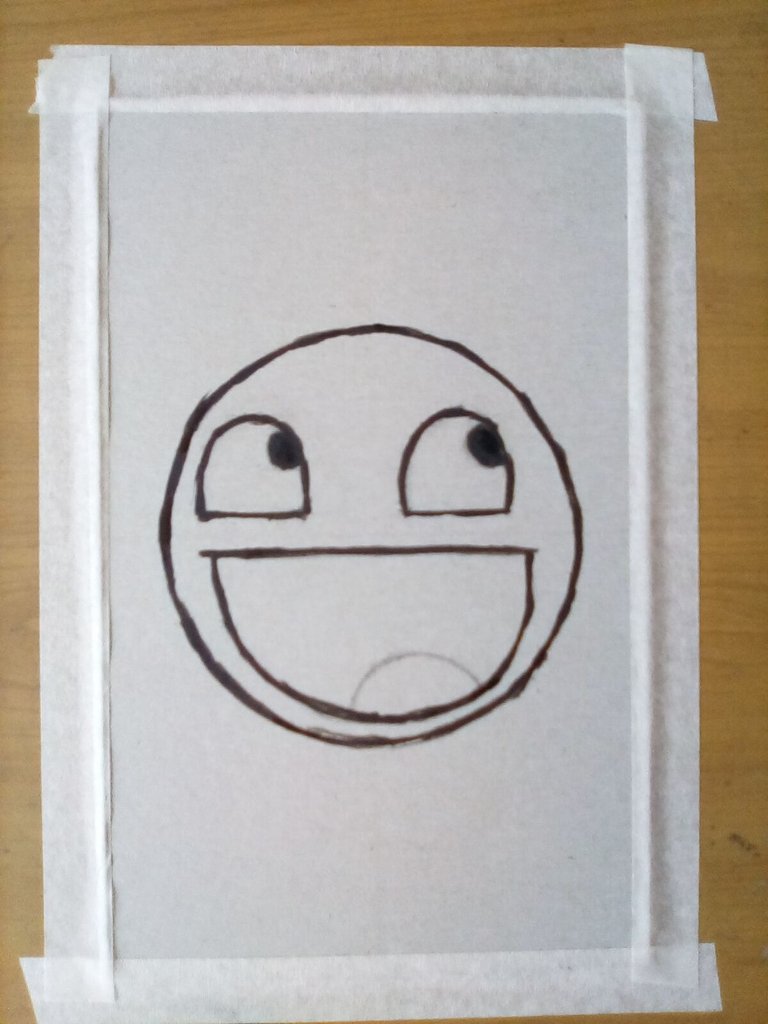
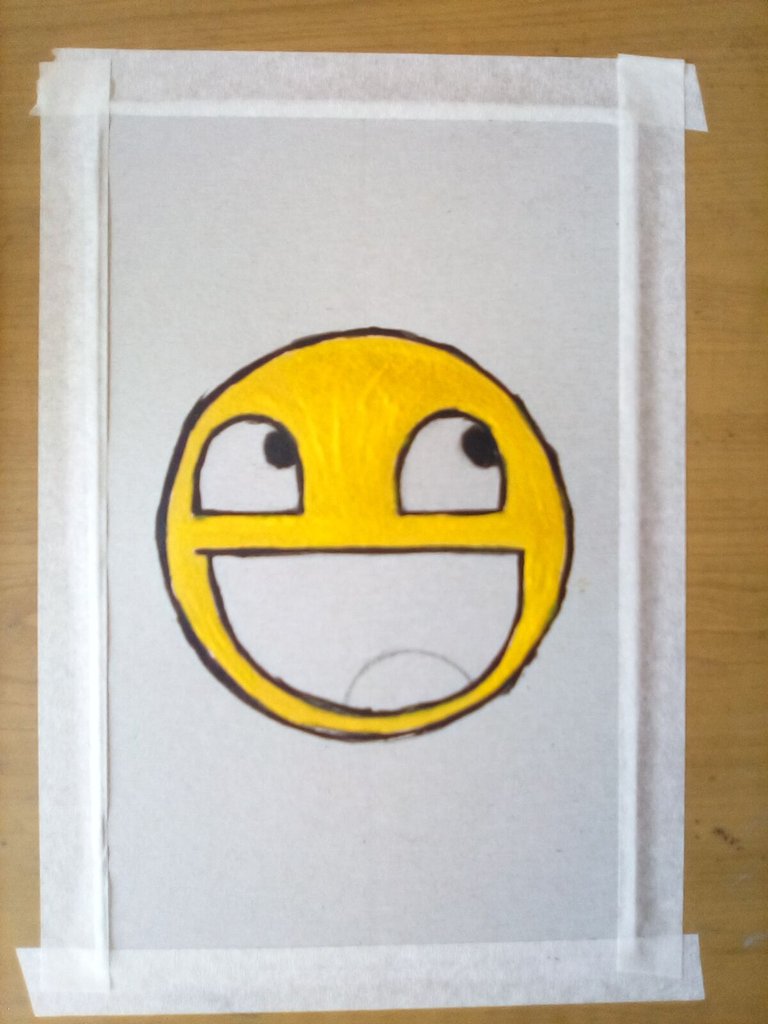
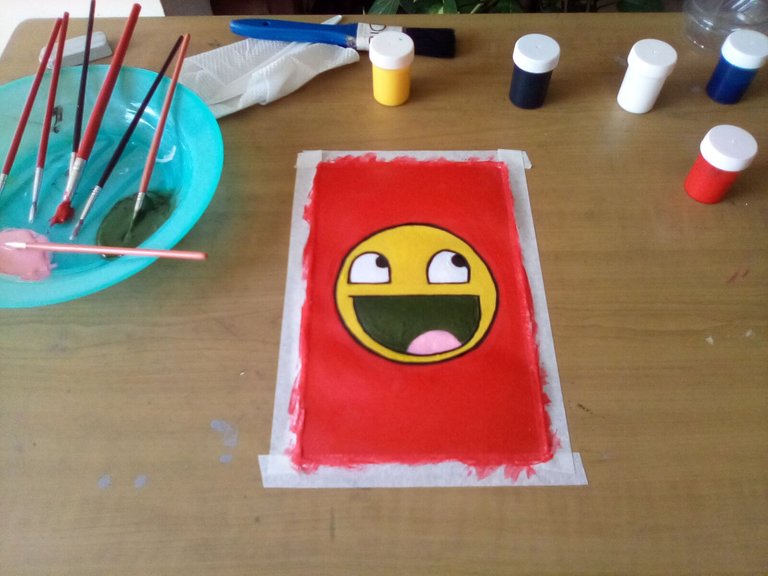
We begin with the elaboration of a sketch in a cardboard (a cut out of a cereal box, this because the thickness allows to hold the paint), fixing it on the table with adhesive paper tape. Then, we will use a ruler and a compass to mark the reference lines. Once we have the sketch in its entirety, we will begin to go over each line with a brush using the color black; from here on we will color the eyes with white, the face with yellow, the tongue with light pink and the inside with brown. Finally, the background will be only red.
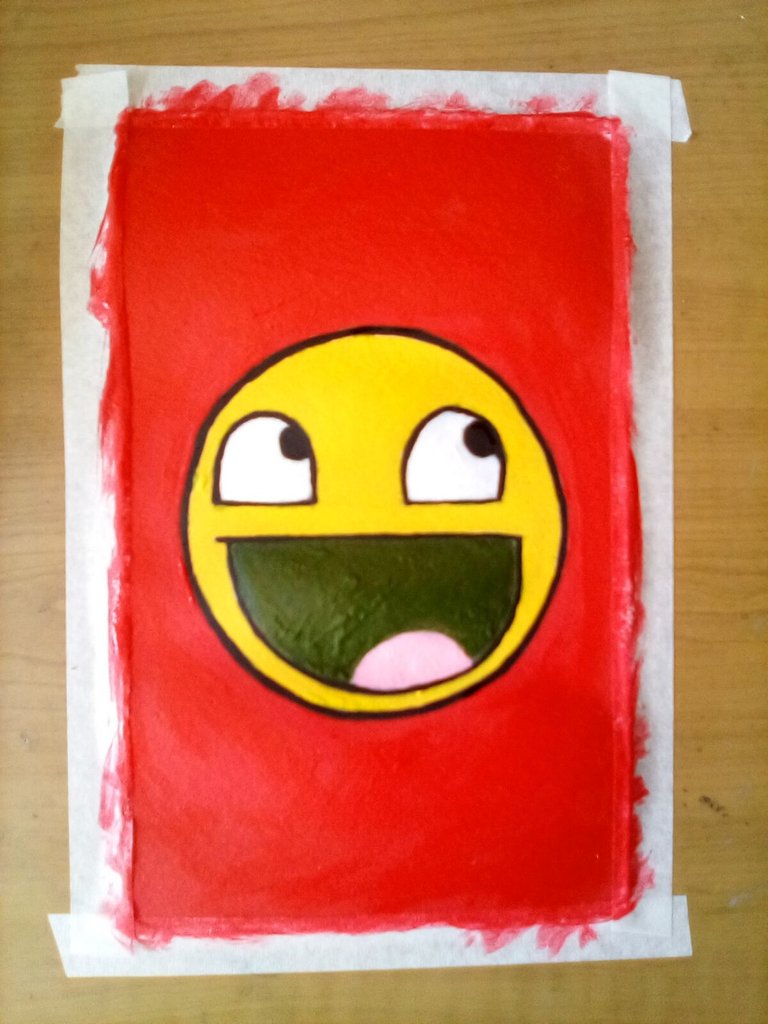
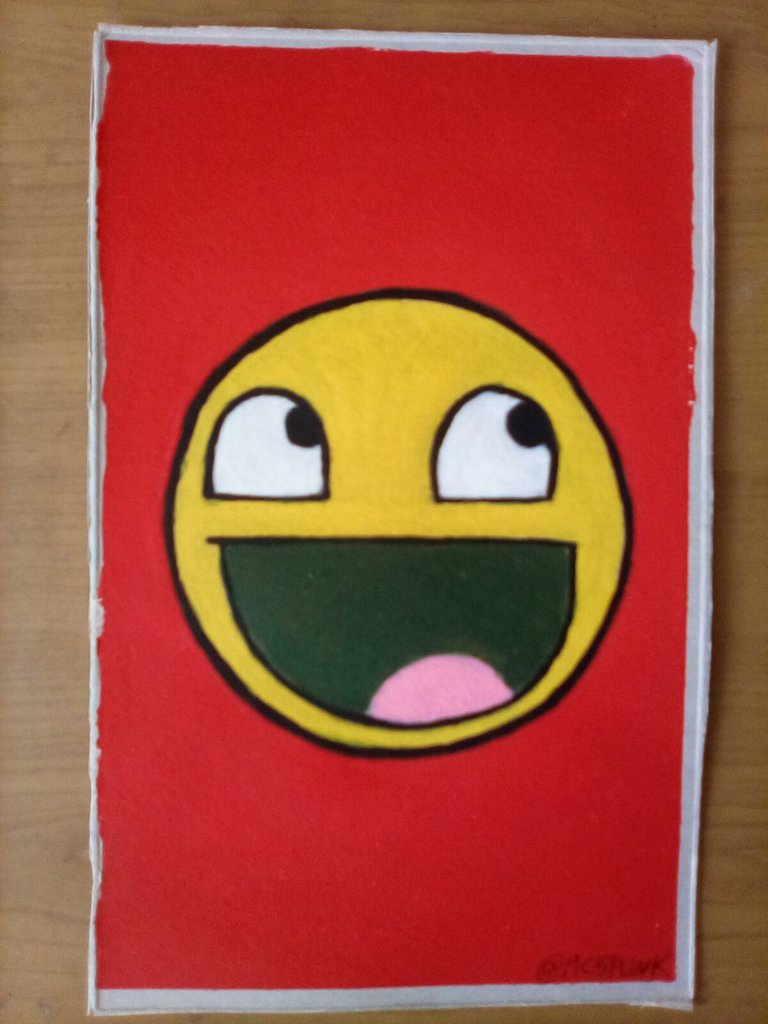
And that's it! We are done with our work 😃 What do you think? 😁
I hope this will motivate you to do it. And remember that you can comment at the end of this post, I'll be reading them and giving feedback. I also appreciate all the support received from all of you.
Without more to say I'll see you in a next installment.
Until then 😎👍.
Materials used:
- Cardboard;
- Eraser;
- HB 2 pencil;
- Pencil sharpener;
- Brushes;
- Tempera;
- Paper tape;
- Compass;
- Ruler.
Source of the images
Images captured with my Amazon Fire 8 tablet.
Versión en Español
Continuamos con este especial de dibujos hechos con témpera, los cuales empecé a realizarlos a modo de práctica ya que es la primera vez que uso está clase de material, y centrandome en dibujos sencillos. Para esta ocasión seleccione un emoji. Y el paso a paso lo explicaré a continuación.
Iniciamos con la elaboración de un boceto en un cartón (un recorte de una caja de cereal, esto debido a que el grosor permite aguantar la pintura), fijandola encima de la mesa con cinta adhesiva de papel. Luego, usaremos una regla y un compás para marcar las líneas de referencia. Al tener el boceto en su totalidad comenzaremos a repasar cada linea con un pincel usando el color negro; ya a partir de acá coloreados los ojos con blanco, el rostro de amarillo, la lengua con rosa claro y su interior de marrón. Por ultimo, el fondo será únicamente rojo.
Y listo! Hemos concluido con nuestro trabajo 😃 Que les parece? 😁
Espero que esto les sirva de motivación para hacerlo. Y recuerden que pueden comentar al final de esta publicación, los estaré leyendo y dando respuesta. También agradezco todo el apoyo recibido por parte de todos ustedes.
Sin más que decir nos vemos en una próxima entrega.
Hasta entonces 😎👍
Materiales usados:
- Cartulina;
- Borrador;
- Lápiz HB 2;
- Afilador de lápiz;
- Pinceles;
- Témpera;
- Cinta adhesiva de papel;
- Compás;
- Regla.
Fuente de las imágenes
Imágenes capturadas con mi tableta Amazon Fire 8.
@tipu curate
Upvoted 👌 (Mana: 0/58) Liquid rewards.
Se ve genial!
Gracias 😀