[Eng/Esp] Drawing and coloring Luigi (Super Mario)/Dibujando y coloreando a Luigi (Super Mario)
English Version
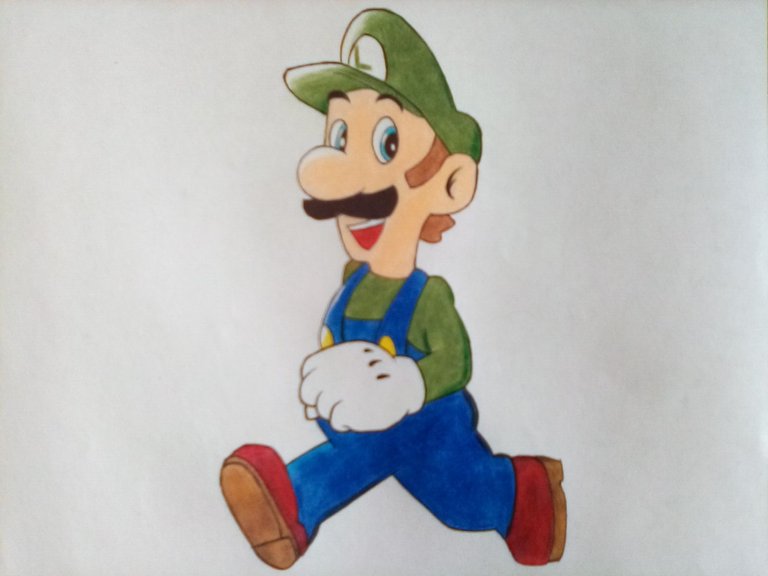
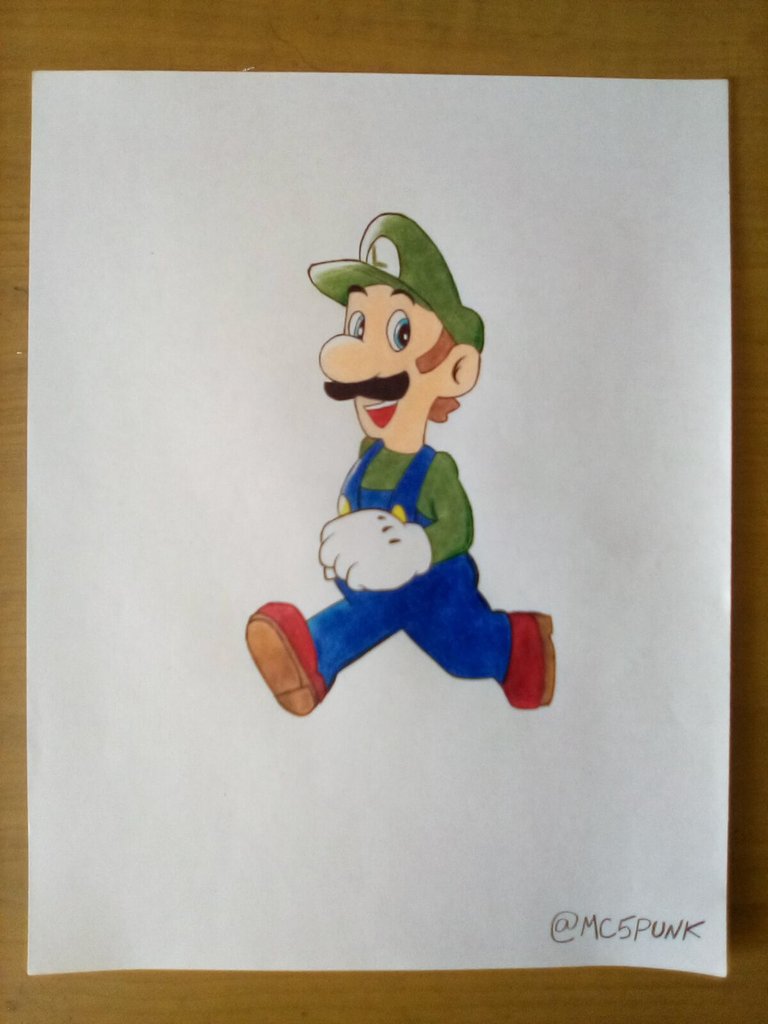
Previously I brought you Super Mario, now, I come to show you the realization for the drawing of Luigi, who is nothing more than Mario's brother and companion in his adventures in video games.
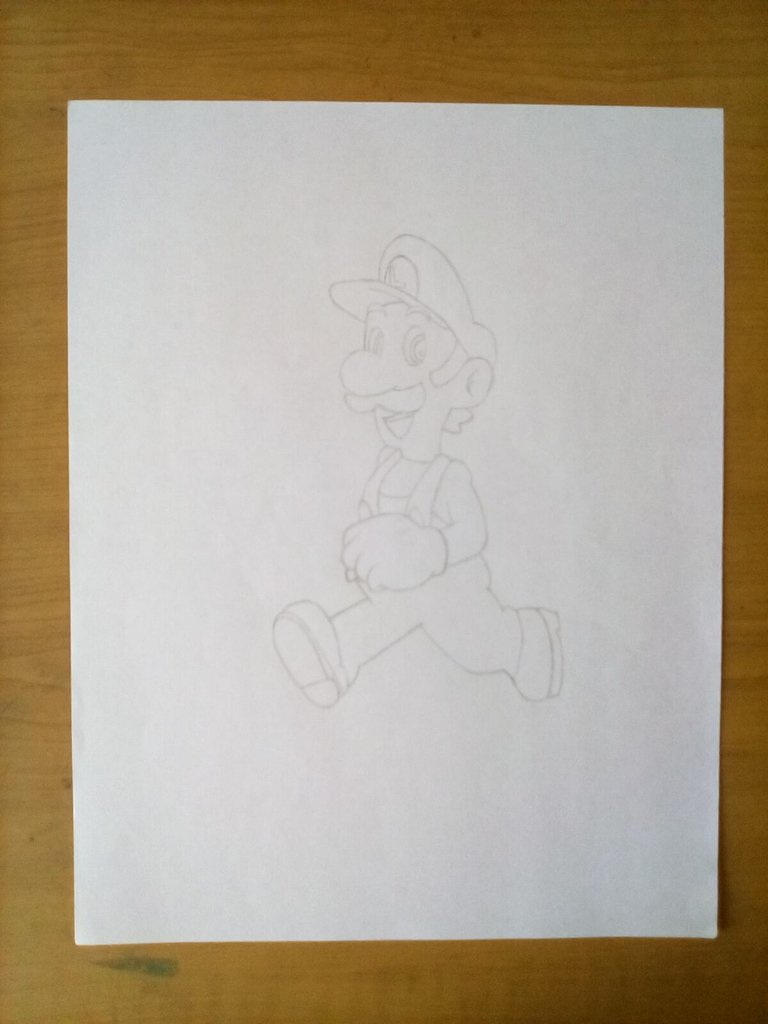
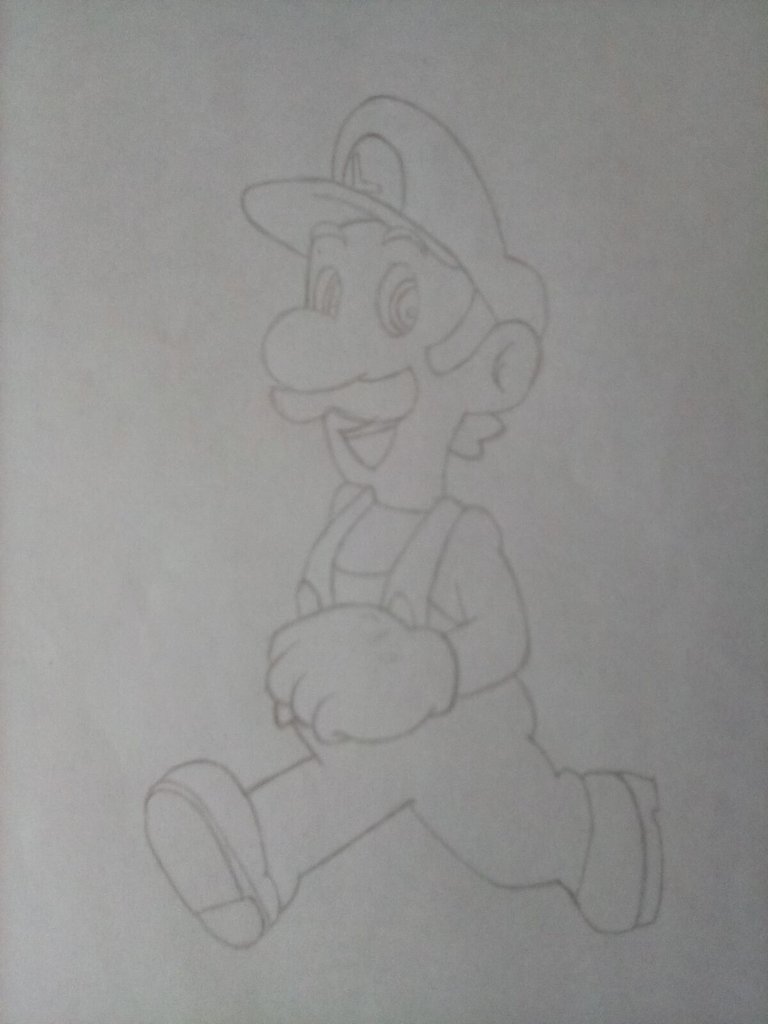
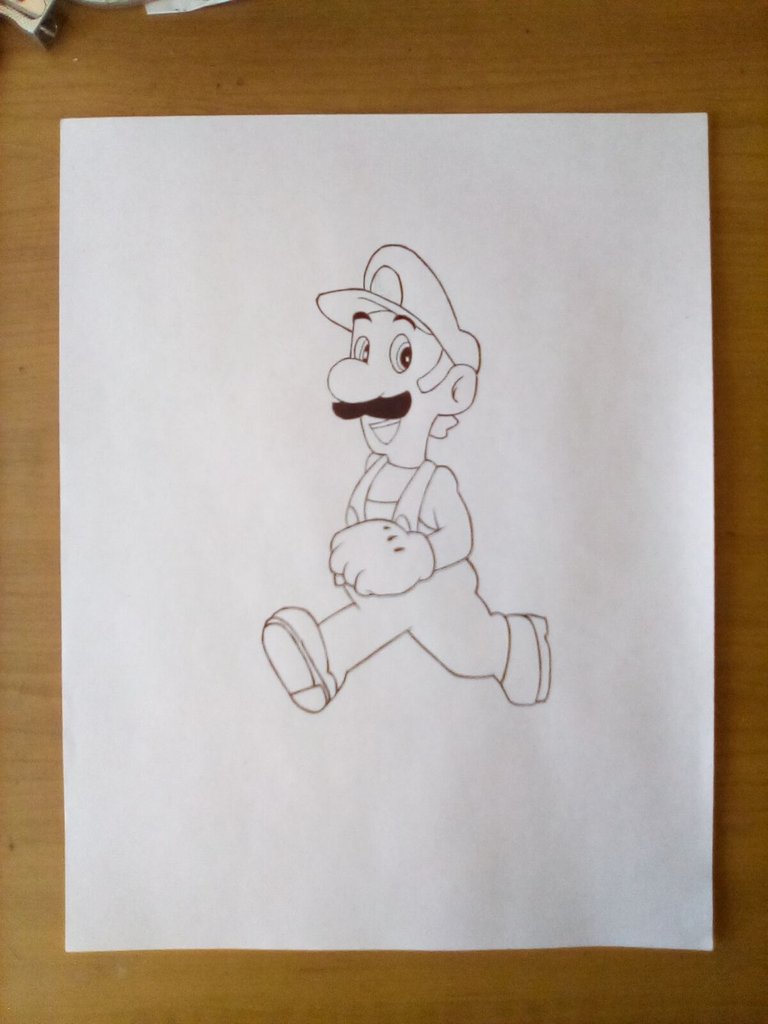
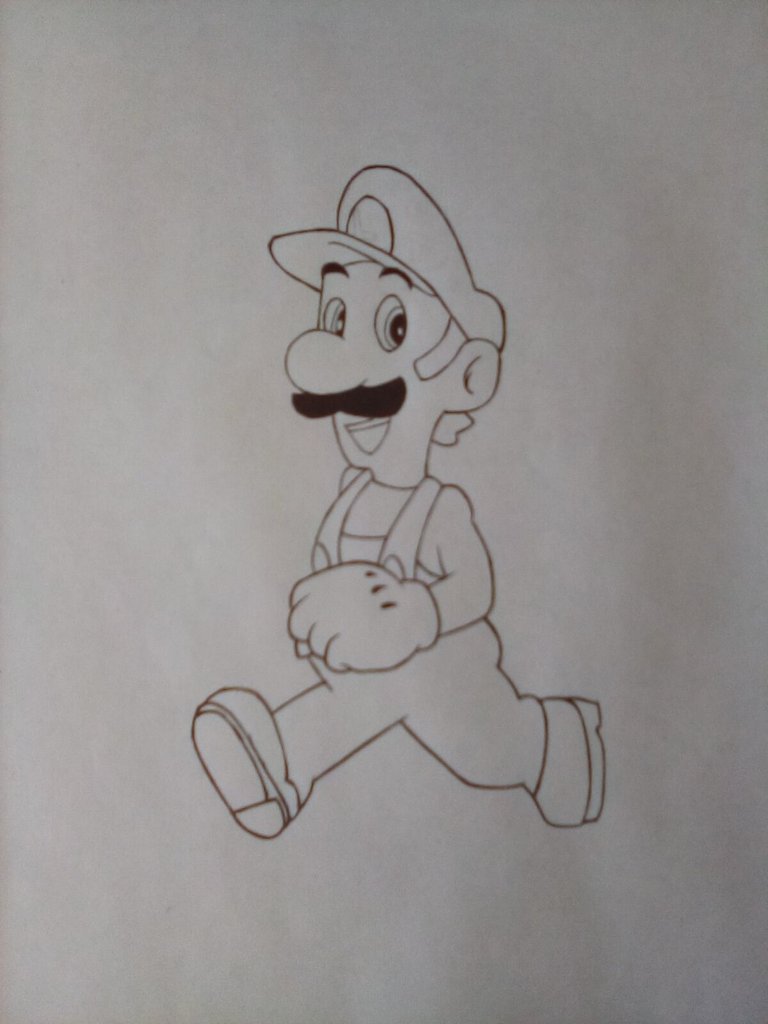
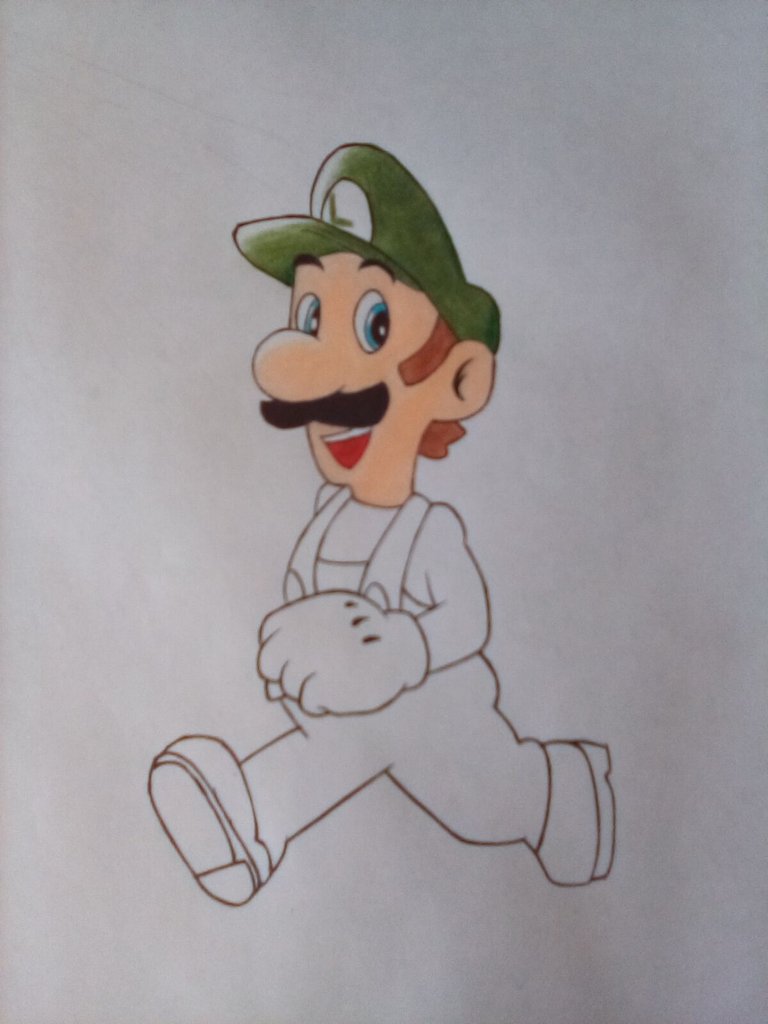
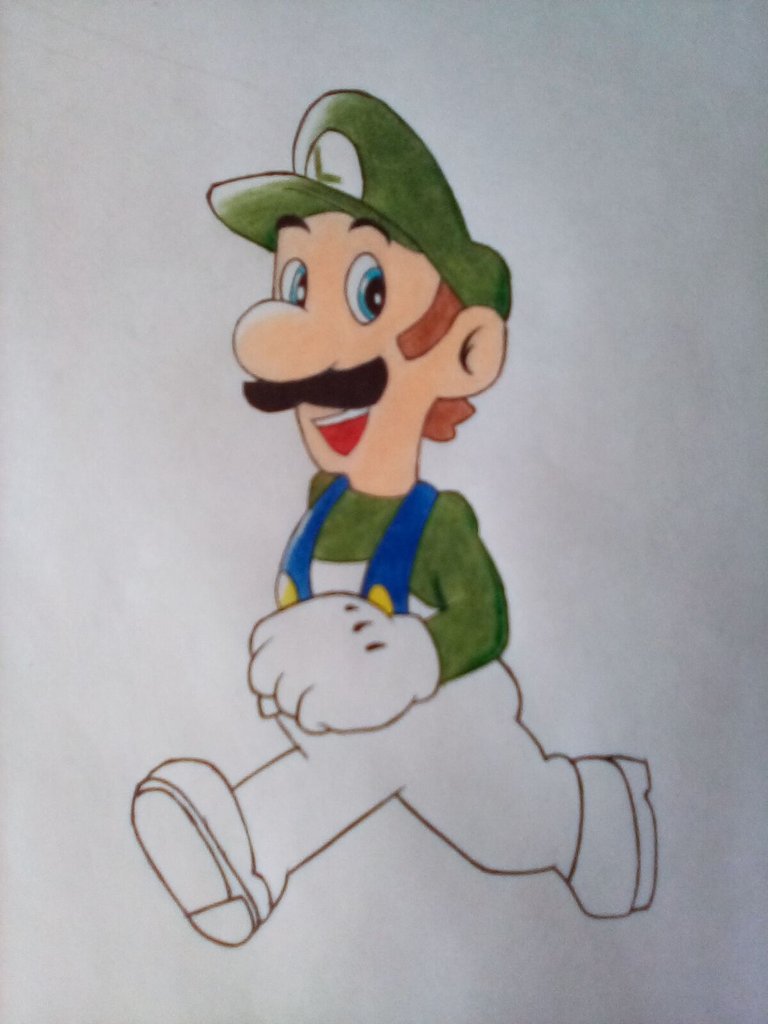
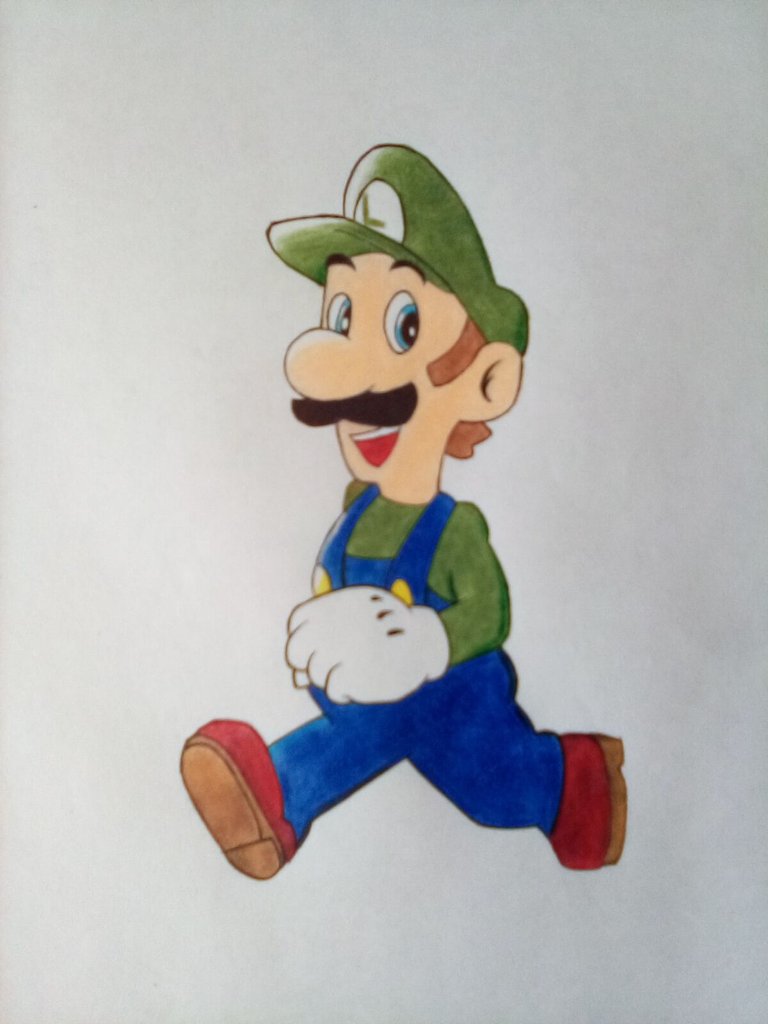
For this drawing we will proceed with the following steps: we will create a sketch on a sheet of paper with an HB pencil. Then we mark with a black ink pen all the lines and then pass the eraser to remove the graphite. From now on we colored as follows: jade green for the cap; peach on the face; light brown on the hair; and blue on the overalls; red with blue on the shoe cover, and on the brown sole. The blanks are to give the feeling of brightness.
And that's it! We have concluded with our work 😃 What do you think? 😁
I hope this will motivate you to do it. And remember that you can comment at the end of this post, I'll be reading them and giving feedback. I also appreciate all the support received from all of you.
Without more to say I'll see you in a next installment.
Until then 😎👍.
Materials used:
- A4 type white sheet;
- Eraser;
- Brush;
- Pencil sharpener;
- Crayola colored pencils; Crayola colored pencils;
- HB pencil;
- Ballpoint pen.
Source of images
Images captured with my Amazon Fire 8 tablet.
Versión en Español
Anteriormente les traje a Super Mario, Ahora, les vengo a mostrar la realización para el dibujo de Luigi, quien no es más que el hermano y compañero de Mario en sus aventuras en los videojuegos.
Para este dibujo procederemos con los siguientes pasos: crearemos un boceto sobre una hoja con un lápiz HB. Después remarcamos con un bolígrafo de tinta negra todas las líneas para luego pasar el borrador con el fin de retirar el grafito. A partir de ahora coloreados de la siguiente manera: verde jade para el gorro; durazno en el rostro; marrón claro en el cabello; y azul en el overol; rojo con azul en la cubierta de los zapatos, y en la suela marrón. Los espacios en blanco son para dar la sensación de brillo.
Y listo! Hemos concluido con nuestro trabajo 😃 Que les parece? 😁
Espero que esto les sirva de motivación para hacerlo. Y recuerden que pueden comentar al final de esta publicación, los estaré leyendo y dando respuesta. También agradezco todo el apoyo recibido por parte de todos ustedes.
Sin más que decir nos vemos en una próxima entrega.
Hasta entonces 😎👍
Materiales usados:
- Hoja blanca tipo A4;
- Borrador;
- Brocha;
- Afilador de lápiz;
- Lápices de colores Crayola.;
- Lápiz HB.;
- Bolígrafo.
Fuente de las imágenes
Imágenes capturadas con mi tableta Amazon Fire 8.
It looks great
Thank you.