[Eng/Esp] Drawing Rei Ayanami/Dibujando a Rei Ayanami
Greetings friends of the community. Again I come to present another of the drawings based on anime series, in which character we have for this occasion to Rei Ayanami, one of the protagonists of Neon Genesis Evangelion, series that is one of my favorite of all time.
Saludos amigos de la comunidad. Nuevamente les vengo a presentar otro de los dibujos basados en series anime, en que cuyo personaje tenemos para esta ocasión a Rei Ayanami, una de las protagonistas de Neon Genesis Evangelion, serie que es una de mis preferidas de todos los tiempos.
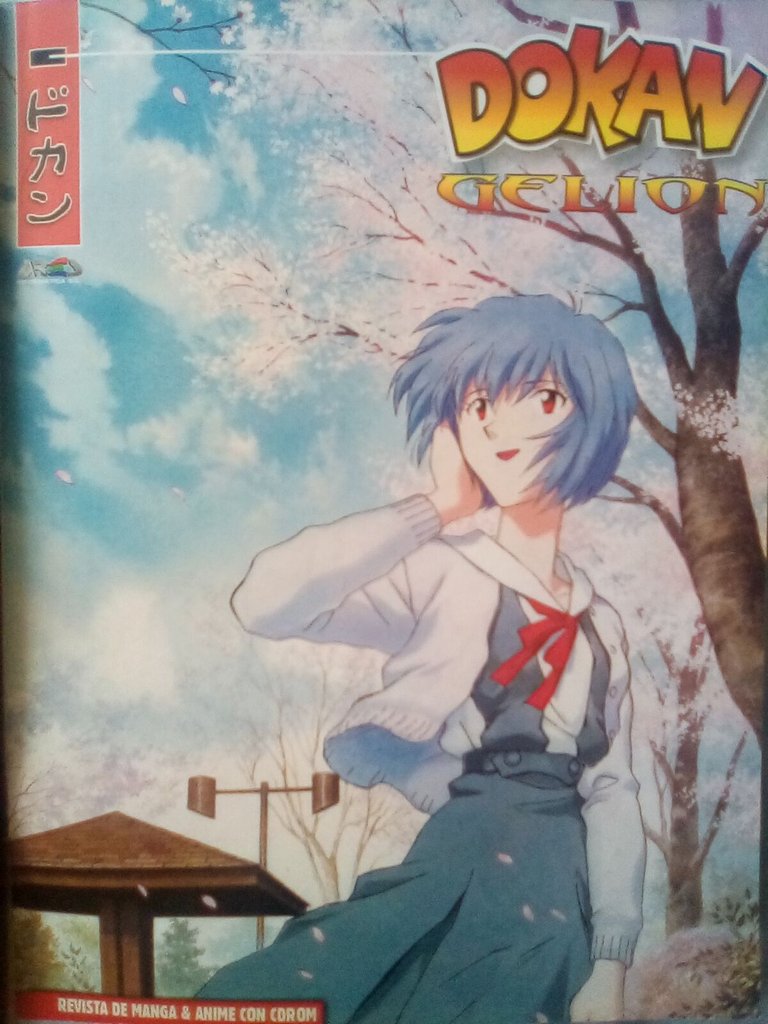
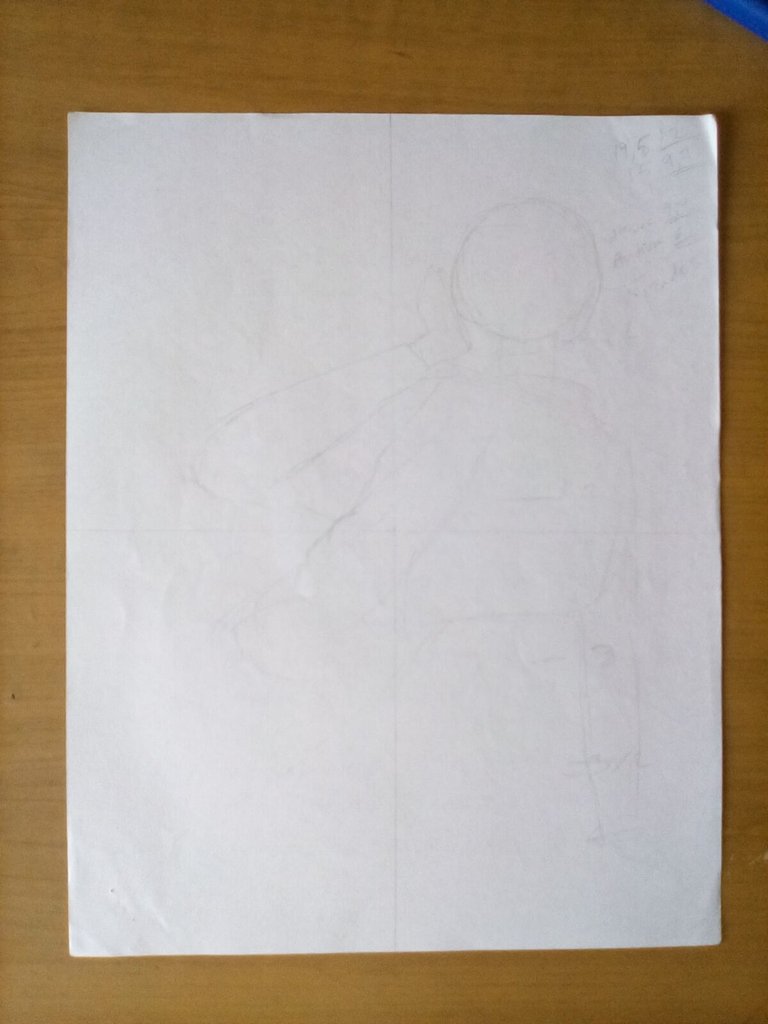
And for this drawing we will proceed in this way: I obtained the reference image from a magazine, from which I will make a replica to a larger scale, and for this I had to divide the sheet into four equal parts by drawing a line horizontally and another vertically, this in order to mark the middle of it and allow me to draw guide lines at the same time.
Y para este dibujo procederemos de esta manera: la imagen de referencia la obtuve de una revista, de la cual haré una réplica a una escalar mayor, y para ello tuve que dividir en cuatro partes iguales la hoja al trazar una línea en horizontal y otra en vertical, esto con el fin de marcar el medio de la misma y me permitiese a vez líneas guías.
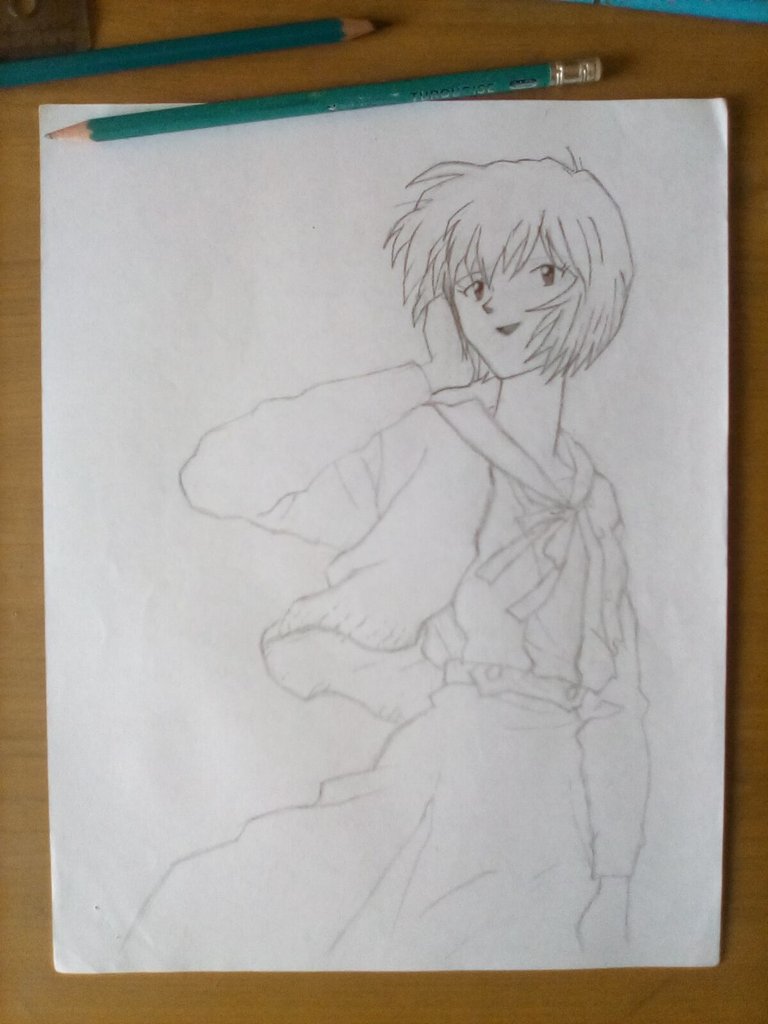
From here we can place the character by creating silhouettes in which it will change shape until it resembles the original as closely as possible. All this with a 3H pencil.
A partir de acá ya podemos situar al personaje al crear siluetas en que irá cambiando de forma hasta tener una semejanza lo más fiel al original. Todo esto con un lápiz 3H.
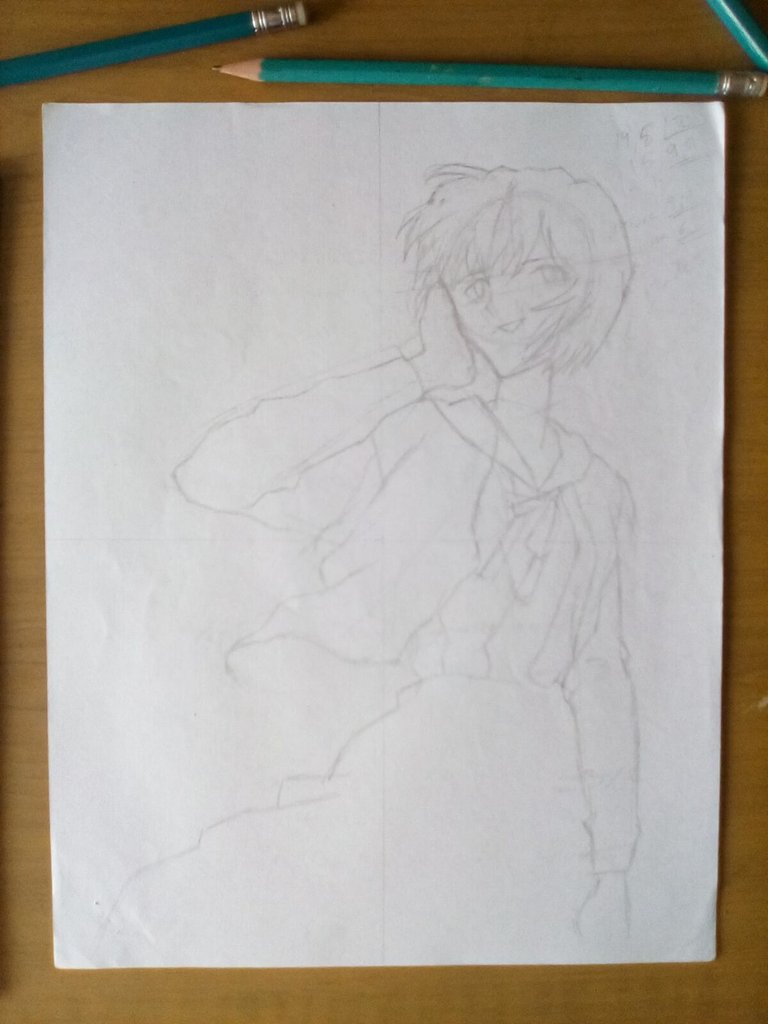
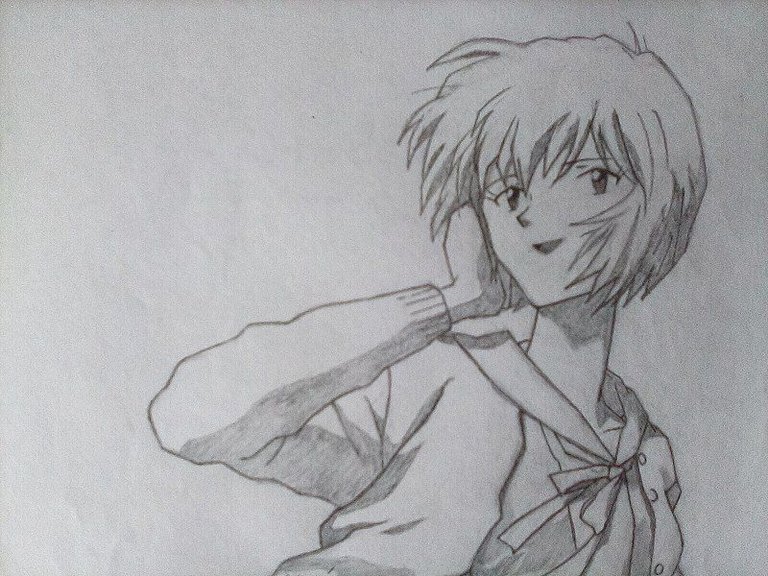
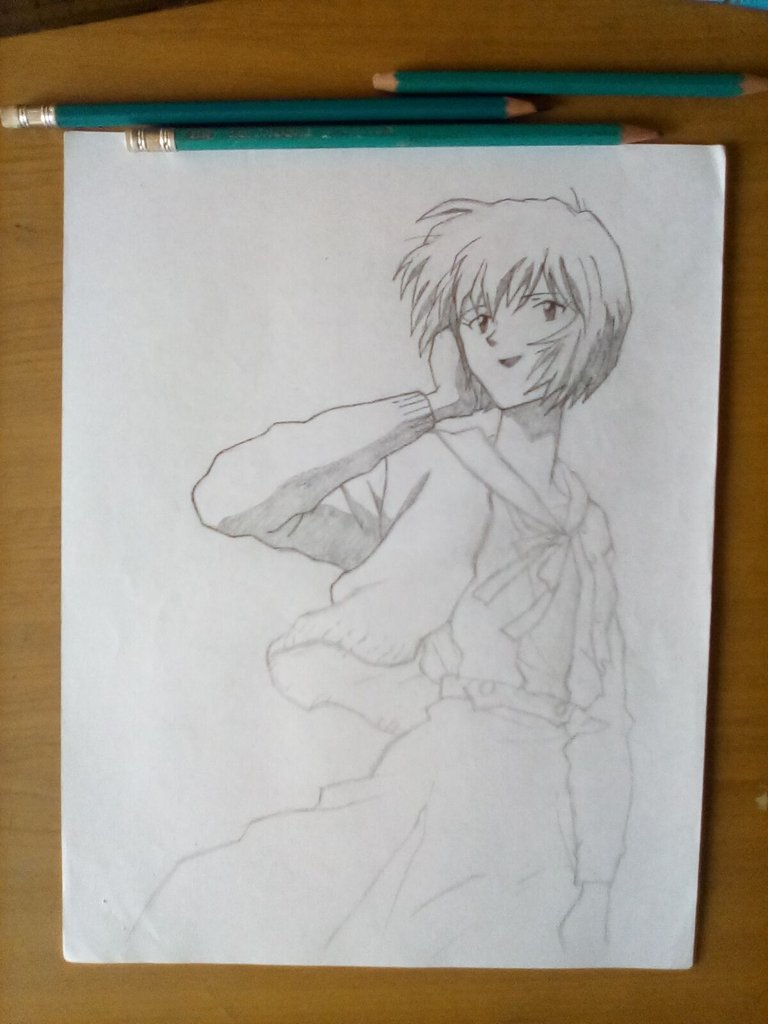
Once we have the image as we wish, we start to mark the lines with a 6B pencil. The 3B is for medium shadows. HB for light shadows.
Una obtenida la imagen como se desea se da inicio al remarcaje de las líneas con un lápiz 6B. El 3B es para las sombras medias. HB para sombras ligeras.
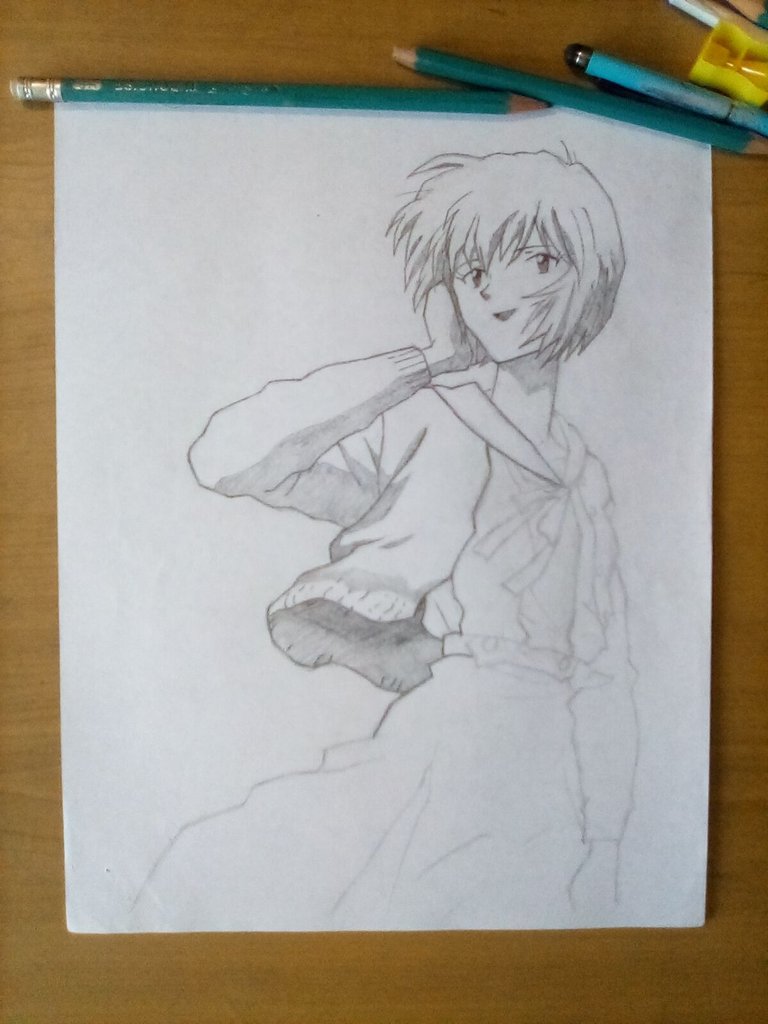
We proceed in this way until everything is completed.
Procedemos de esta forma hasta completar todo.
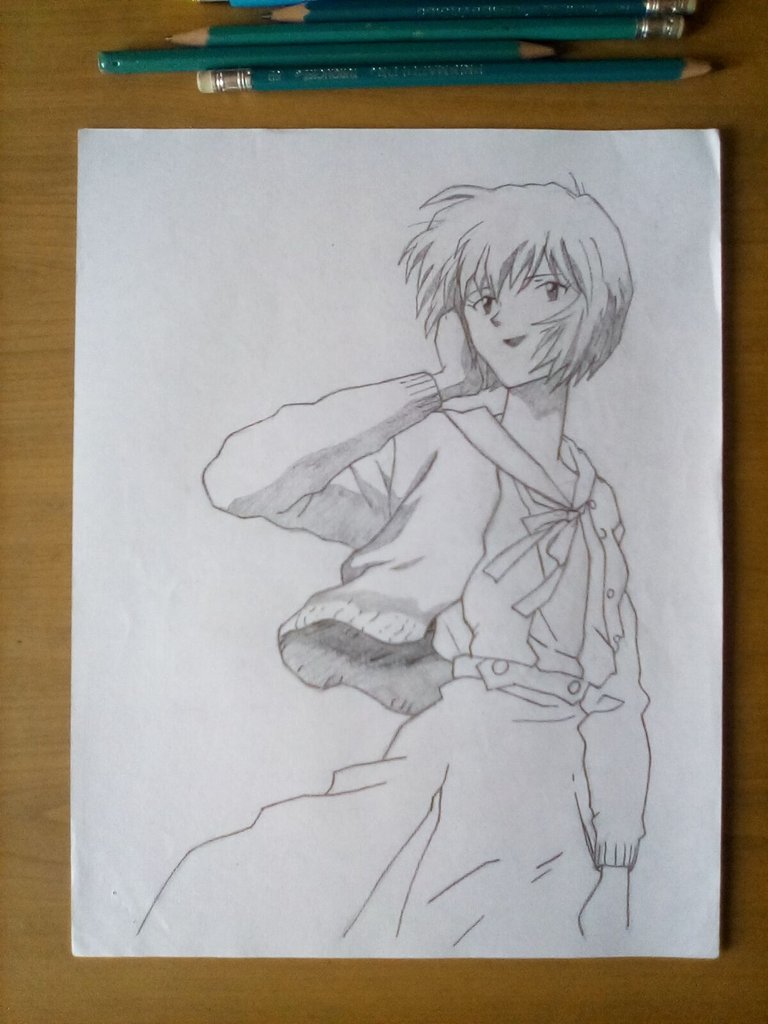
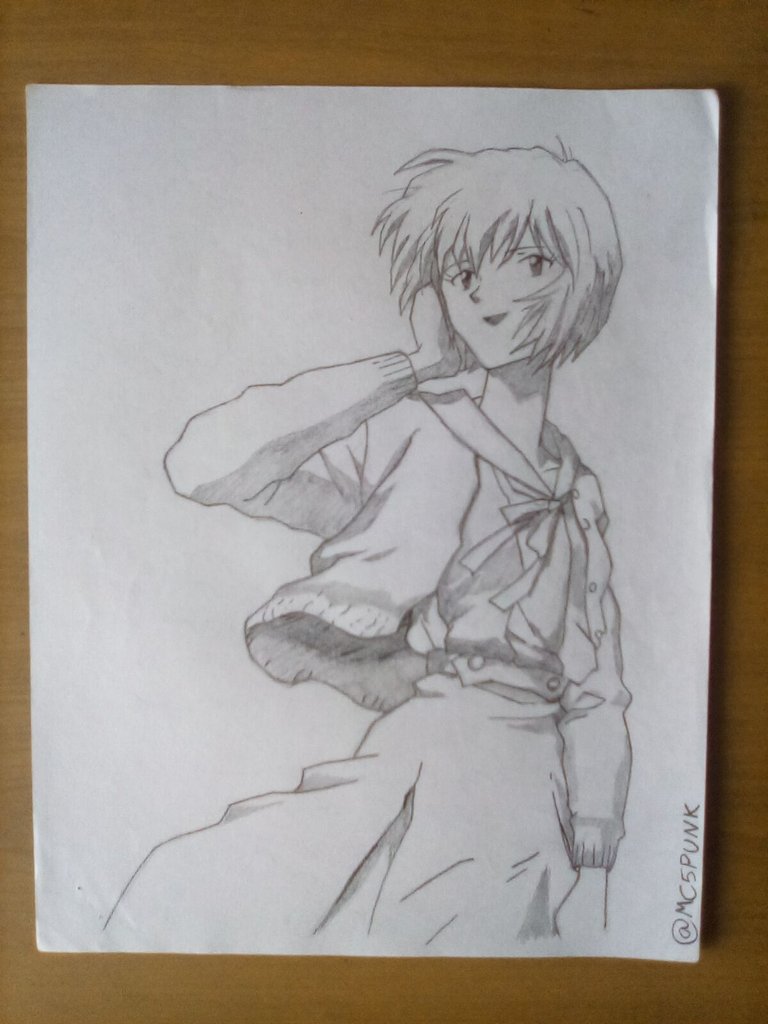
And that's it! We are done with our work 😃 What do you think?
Y listo! Hemos concluido con nuestro trabajo 😃 Que les parece? 😁
I hope this will motivate you to do it. And remember you can comment at the end of this post, I'll be reading and giving you feedback. I also appreciate all the support received from all of you.
Espero que esto les sirva de motivación para hacerlo. Y recuerden que pueden comentar al final de esta publicación, los estaré leyendo y dando respuesta. También agradezco todo el apoyo recibido por parte de todos ustedes.
Without more to say I'll see you in a next installment.
Sin más que decir nos vemos en una próxima entrega.
Until then 😎👍.
Hasta entonces 😎👍
Materials used/Materiales usados
- A4 white sheet;
- Eraser;
- Pencil sharpener;
- Graphite pencils 3H, HB, 3B, 6B;
- Ruler.
- Hoja blanca tipo A4;
- Borrador;
- Afilador de lápiz;
- Lápices de grafito 3H, HB, 3B, 6B;
- Regla.
Source of the images/Fuente de las imágenes
Images captured with my Amazon Fire 8 tablet.
Imágenes capturadas con mi tableta Amazon Fire 8.
Traducido con Deepl.com
¡Te quedó genial el dibujo, mi estimado @mc5punk ! Muy detallado, casi idéntico a la portada, excepto que es a lápiz, con sombras colocadas en lugares estratégicos. ¡Saludos, mi estimado y que tengas un bonito día!
Gracias, Vick 😀 apreció tu observación. Te mando un fuerte abrazo 🤗