[Eng/Esp] Painting with Gouache /Pintando con Témpera
English Version
A few weeks ago I bought a small box of gouache, which comes with 6 colors; in addition, I also bought a set of brushes, which are 12 in total. Because of that I want to make a simple drawing to practice with these materials that I have not used since I was very small. And then, in a brief explanation I will show you the steps I followed.
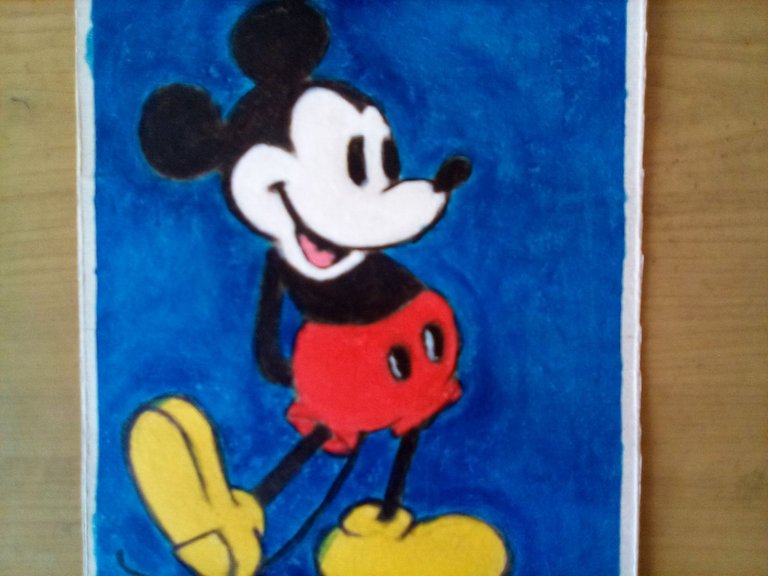
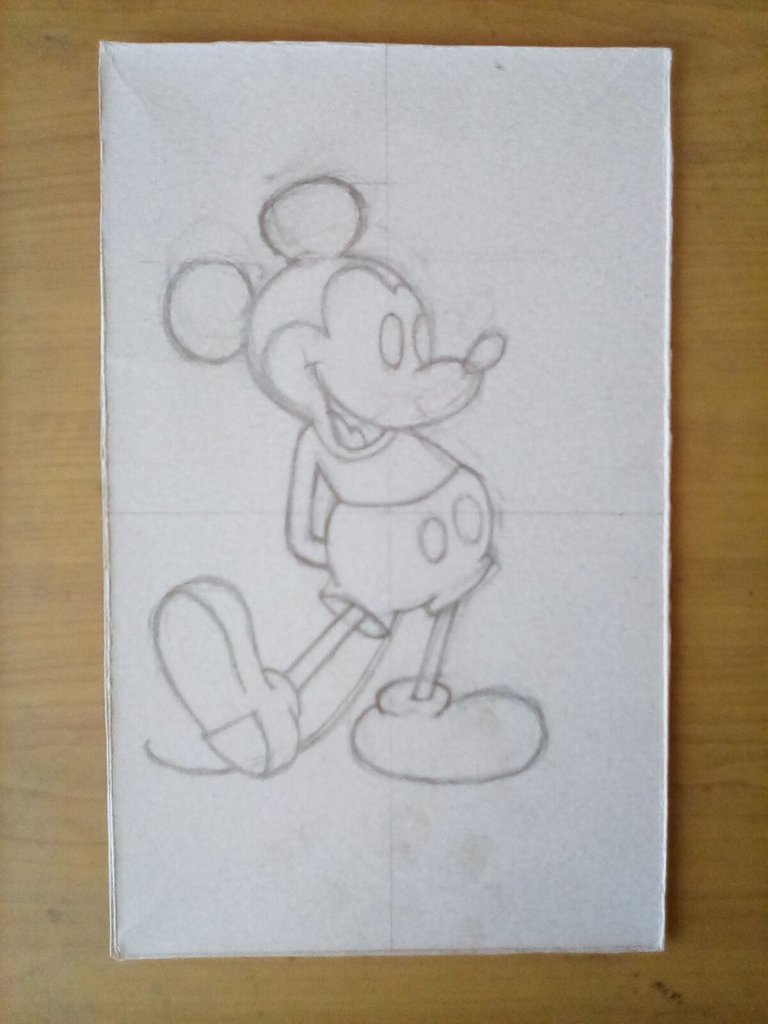
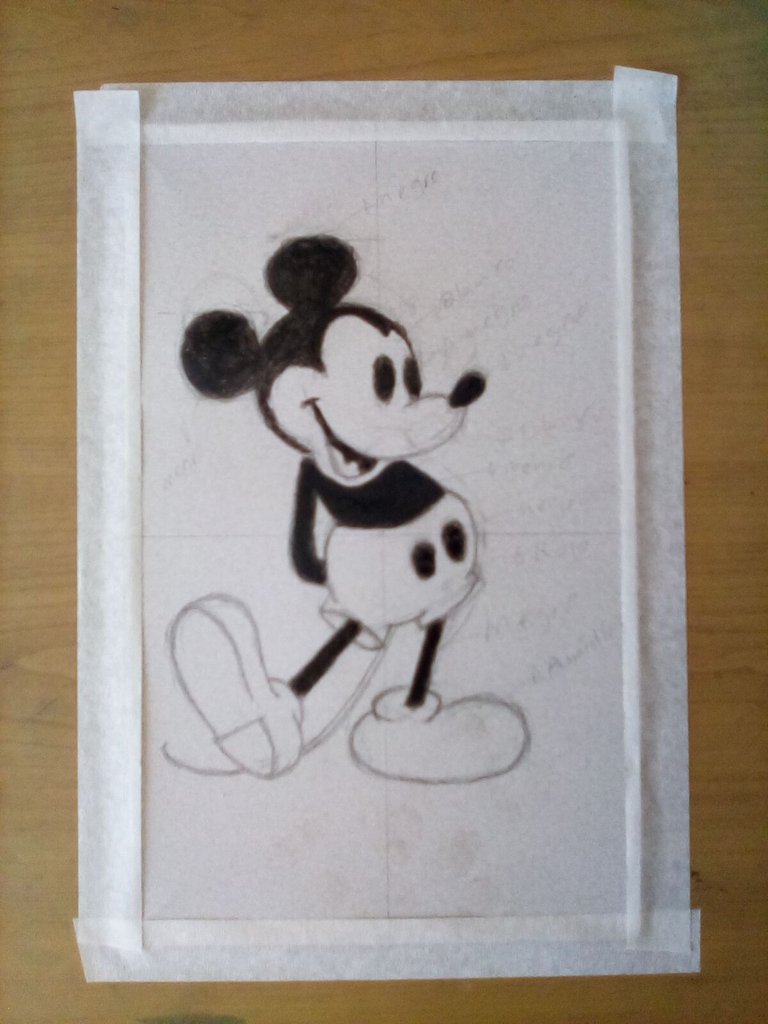
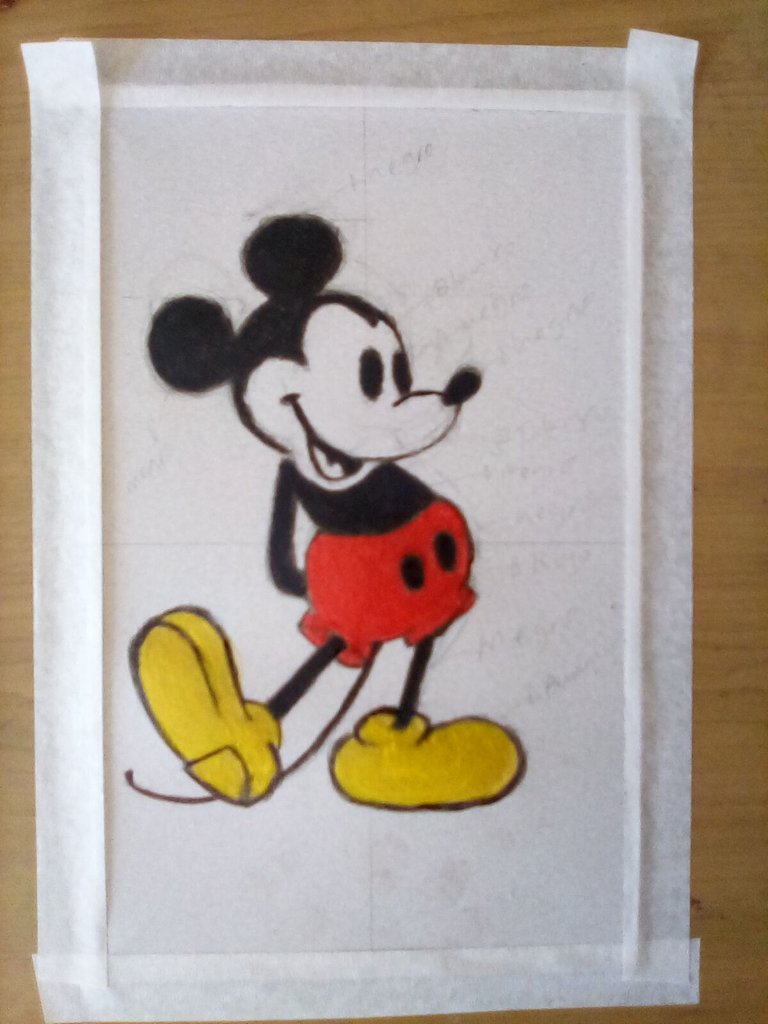
Take a piece of cardboard and hold it firmly on the table with paper tape. Then, create a sketch of the Mickey Mouse character. Once all that was done, I started coloring in the black color on the head, arms and chest. Red on his shorts. Yellow on his shoes. White on his face. And blue as background.
And that's it! We have concluded with our work 😃 What do you think? 😁
I hope this will motivate you to do it. And remember that you can comment at the end of this post, I'll be reading them and giving feedback. I also appreciate all the support received from all of you.
Without more to say I'll see you in a next installment.
Until then 😎👍.
Materials used:
- Cardboard paper;
- Eraser;
- Brush;
- Pencil sharpener;
- Cutter;
- Scissors;
- HB pencil;
- Tempera;
- Paper tape.
Source of the images
Images captured with my Amazon Fire 8 tablet.
Versión en Español
Hace unas semanas llegue a comprar una pequeña caja de Témpera, el cual trae 6 colores; además, adquirí también un juego de pinceles, los cuales vienen siendo 12 en total. Debido a eso he quiero hacer un dibujo sencillo para practicar con estos materiales que no he usado desde que era muy pequeño. Y continuación, en una breve explicación daré a conocer los pasos que seguí.
Tome un trozo de cartulina al que lo sujete firmemente sobre la mesa con cinta adhesiva de papel. Después, cree un boceto del personaje de Mickey Mouse. Una vez hecho todo eso comenzó a colorear con el color negro lo que viene siendo parte de cabeza, brazos y pecho. El rojo en su pantalón corto. Amarillo en sus zapatos. Blanco sobre su rostro. Y azul como fondo.
Y listo! Hemos concluido con nuestro trabajo 😃 Que les parece? 😁
Espero que esto les sirva de motivación para hacerlo. Y recuerden que pueden comentar al final de esta publicación, los estaré leyendo y dando respuesta. También agradezco todo el apoyo recibido por parte de todos ustedes.
Sin más que decir nos vemos en una próxima entrega.
Hasta entonces 😎👍
Materiales usados:
- Papel cartón;
- Borrador;
- Brocha;
- Afilador de lápiz;
- Cutter;
- Tijera;
- Lápiz HB;
- Temperas;
- Cinta adhesiva de papel.
Fuente de las imágenes
Imágenes capturadas con mi tableta Amazon Fire 8.

Por un momento cuando vi la imagen, pensé que habías pintado con crayones. Quedó excelente, también tengo eso de que me gustaría pintar un cuadro, sea con tempera, acuarela, o lo que tenga a la mano,
Estupendo, amigo, Ojalá puedas hacerlo pronto. Gracias por comentar. Te mando un fuerte abrazo 👍