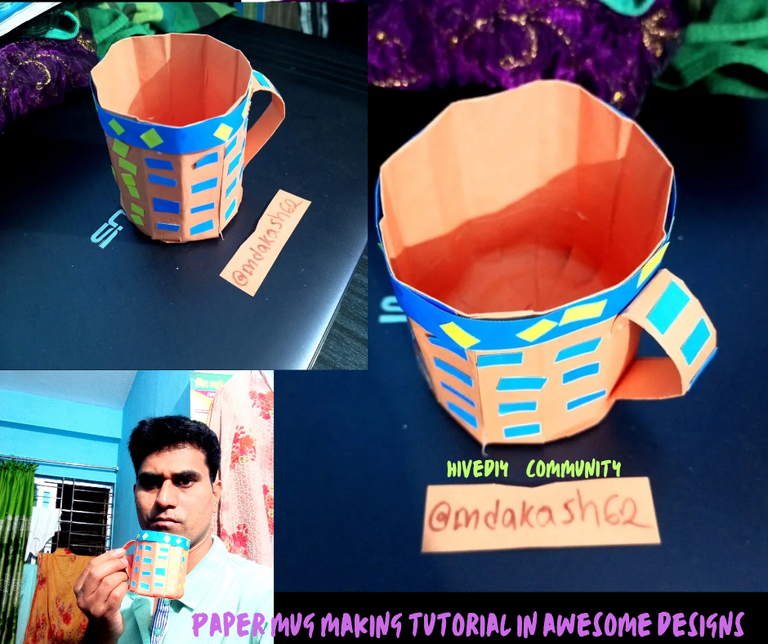
Paper mug making tutorial in awesome designs
Assalamualaikum
Everyone.I am @mdakash62
welcome to #hivediy
Friends,Grettings everyone
Hello origami lovers I hope everyone is doing well.Alhamdulillah I am also very well with the prayers of all of you.Today I bring you a wonderful origami.I hope you like this paper mug tutorial.Respect and love to all origami art lovers.I hope you all like this wonderful origami.I am hoping that the creator always gives everyone all the skills.Let's do a Canva aimed at making people look good.
 |
|---|
Art lovers you can see an amazing piece of art turned into a mug.Here I have taken the help of Favicol glue to shoot designs of different colors in drops with the help of color paper.I am always trying to show you some new art.We have always continued from the beginning.Also,how did you design the dandit of the mug? Combination of The Color Paper.A new mug like this is always welcome. But in paper plastic I tried to make it very fine.Which I am very happy and proud to present to you.Let us invent new industries.Which becomes a new technique for educating people.
Equipment:-
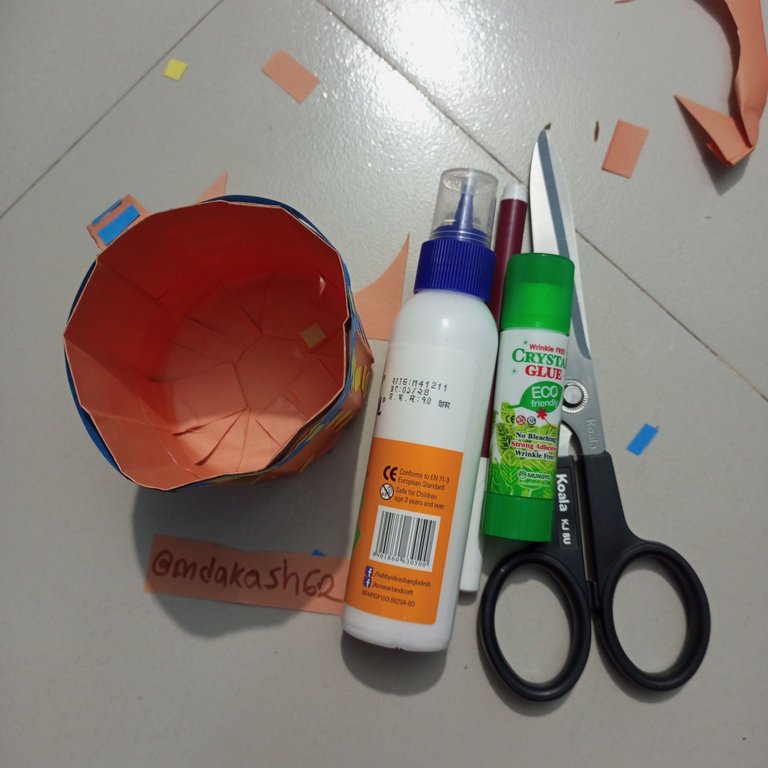
- scissor
- colour paper
- Fevicol Glue
- crystal glue
- paper cup
 |
|---|
Step by step making plan
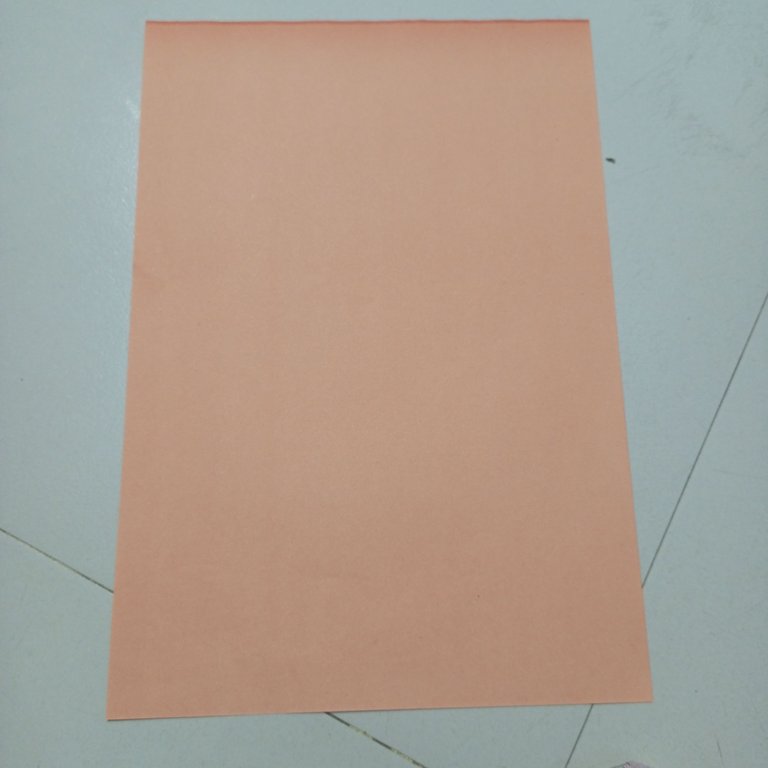
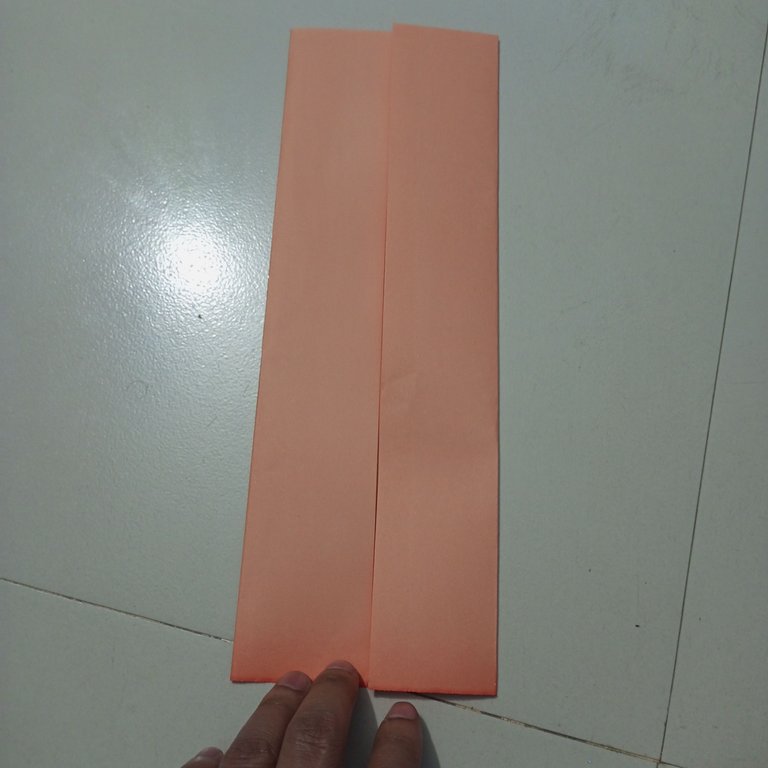
First I took all the necessary tools and color paper.After that I was able to cut the color paper into two pieces which I am presenting to you.
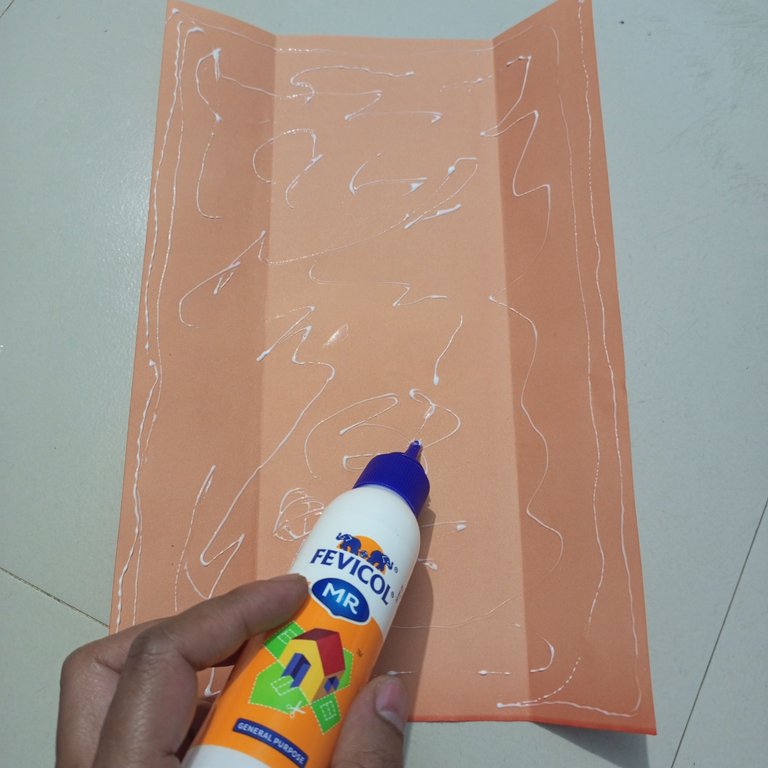
Then I applied Favicol glue to each corner of the color paper.Then I fried again according to that recipe
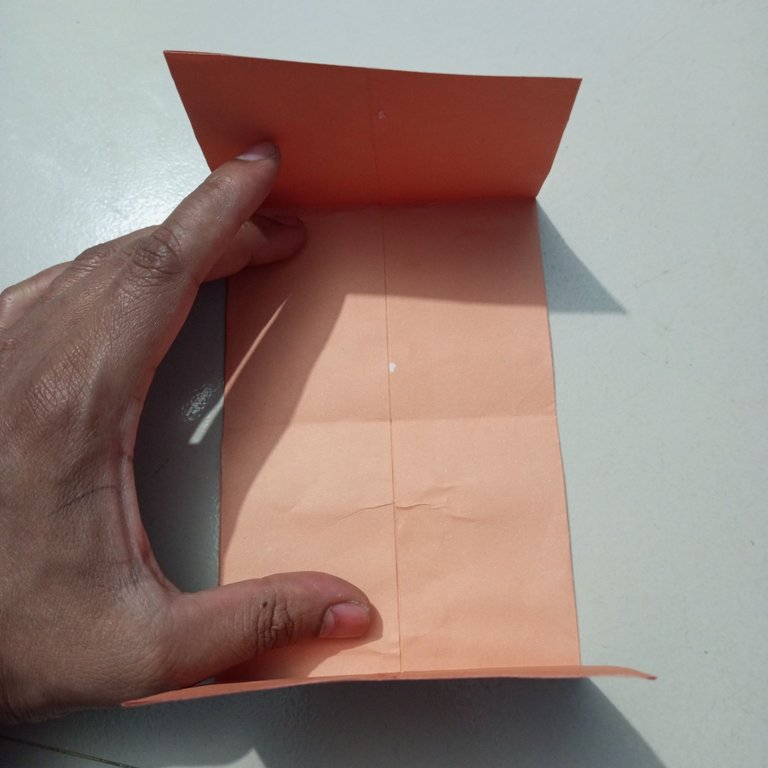
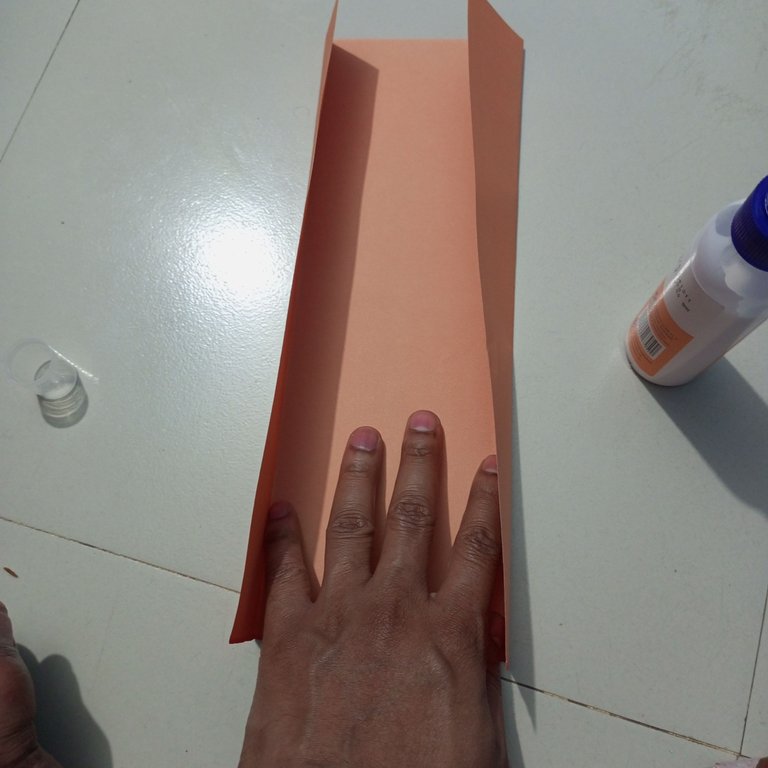
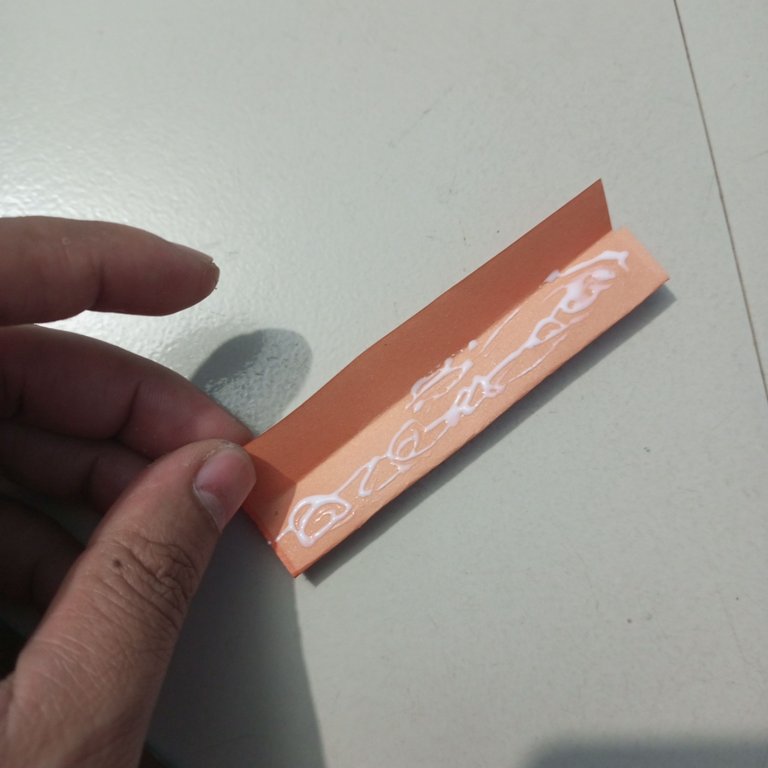
Then I folded the color paper in two from both sides.In the first varsity I folded small.After that I folded it again exactly evenly.Then I fried it in the middle.
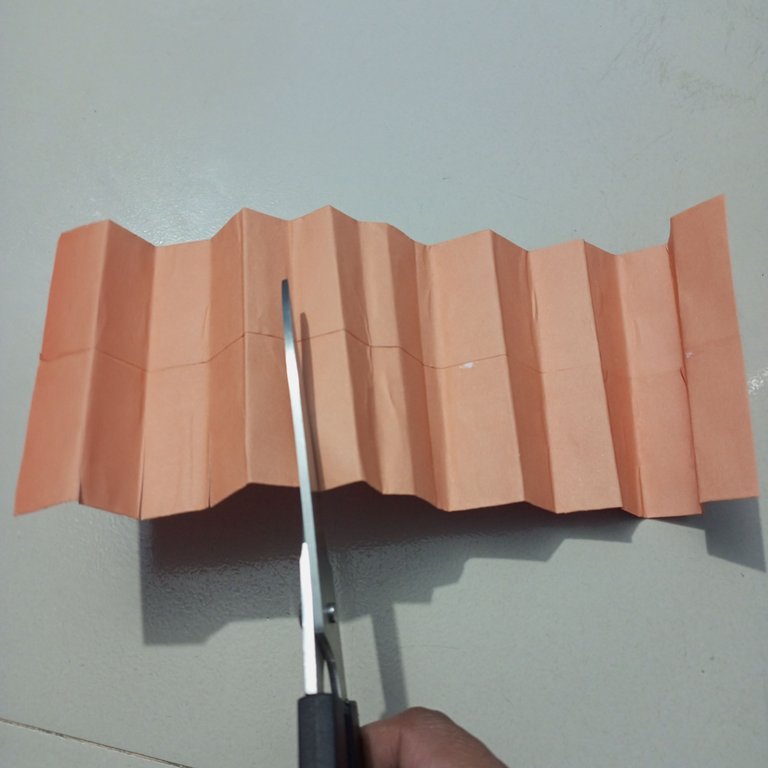
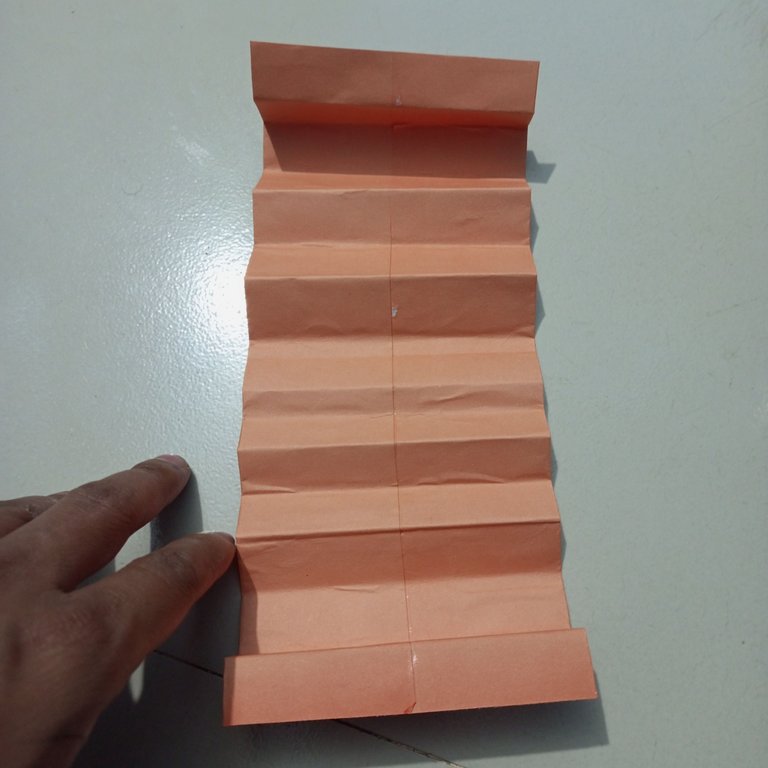
I then cut it into 5cm lengths with scissors. According to those folds.
Then I straightened the color paper with that crease.And I put the fevicol glue on top and fried it according to the cut.
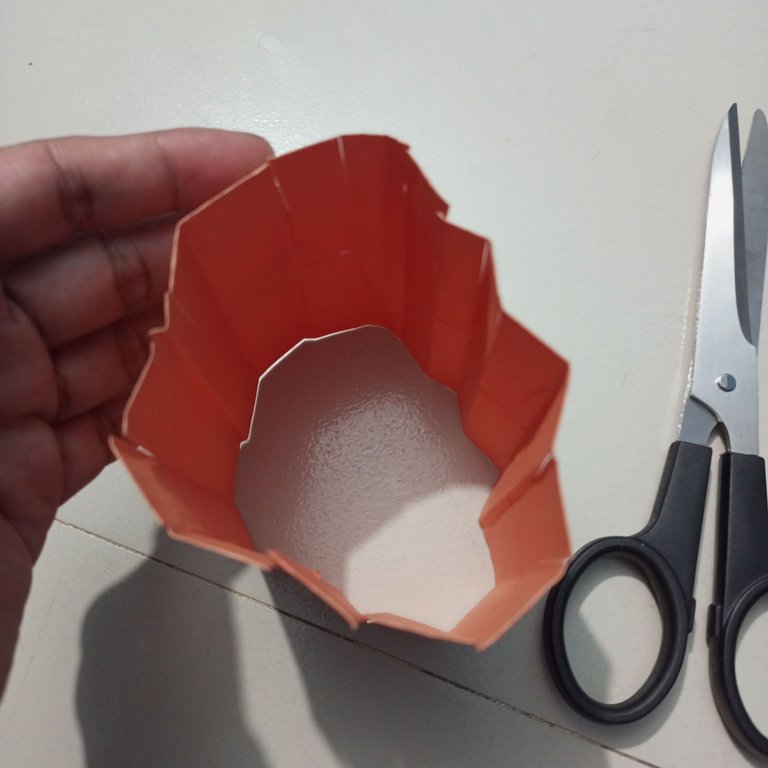
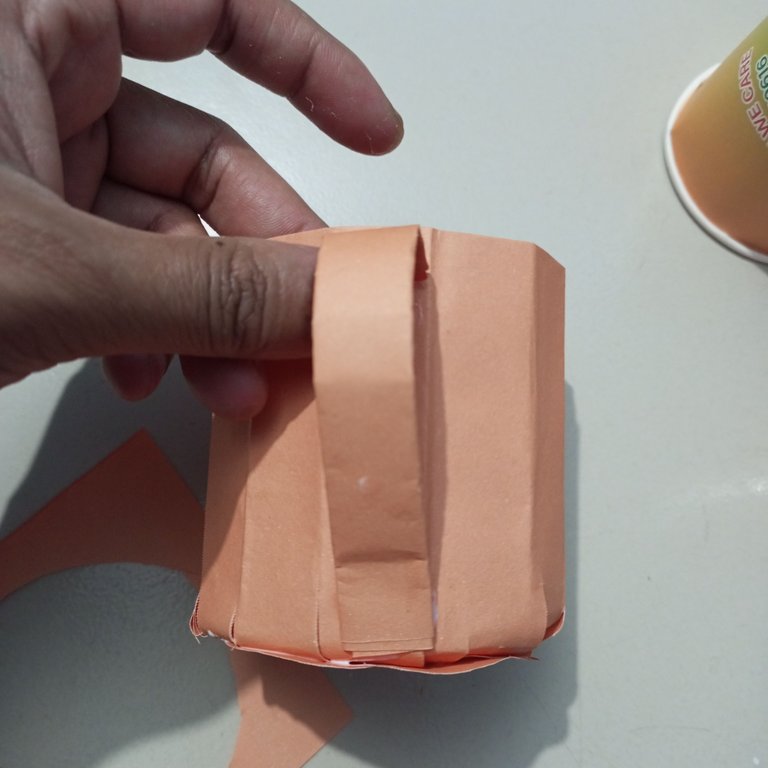
Next I took a square sized color paper. Folded paper and made it igluee shape of a mug with the help of Favicol glue
Twitter Discord
My introduced link
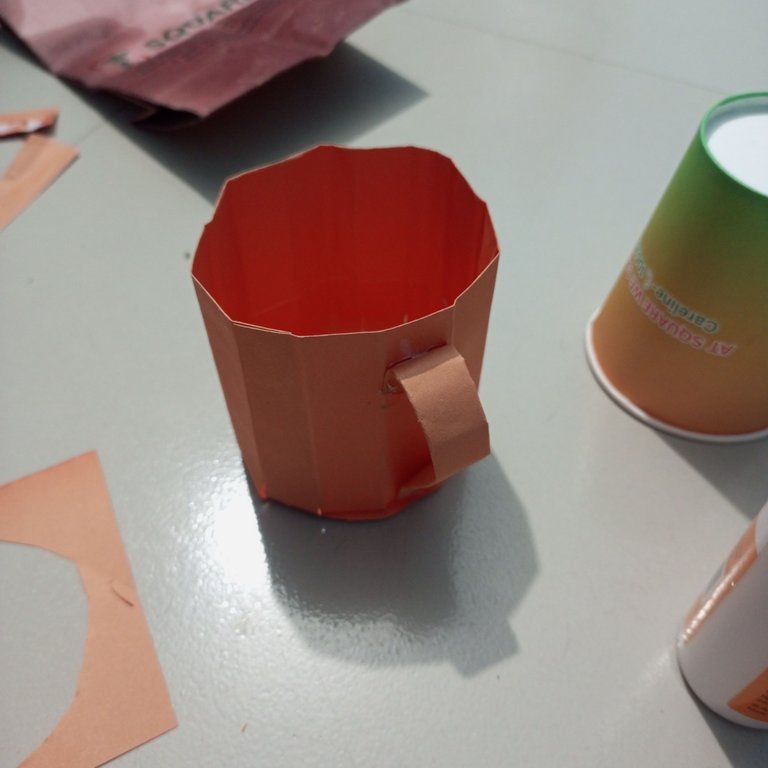
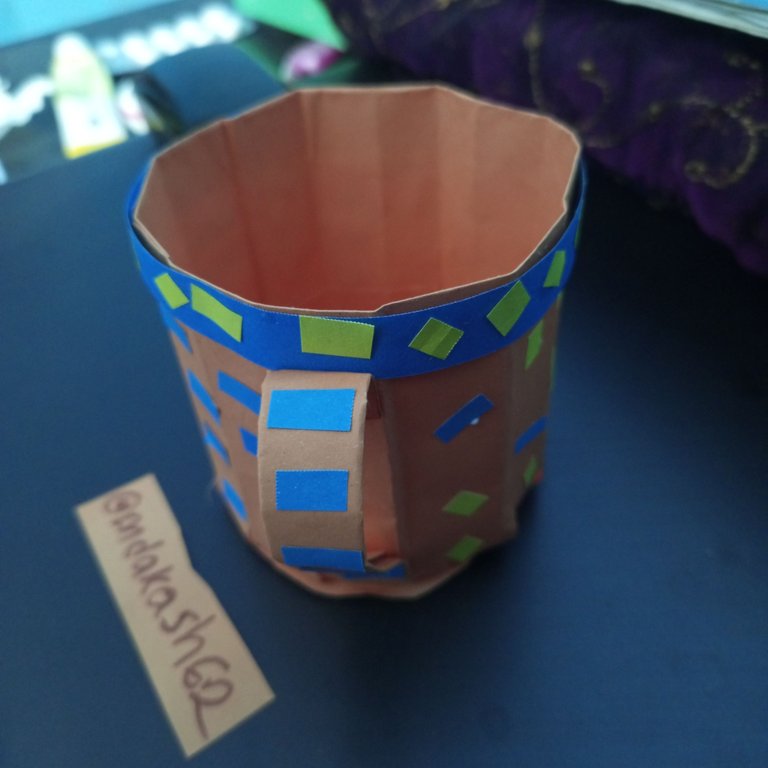
Next I attached the mug handle to one side of the mug.
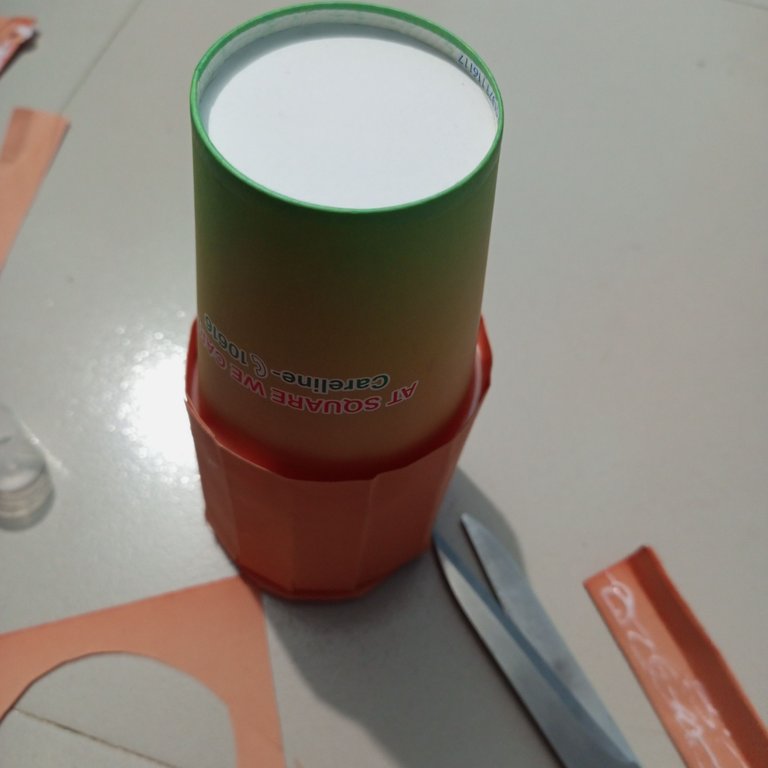
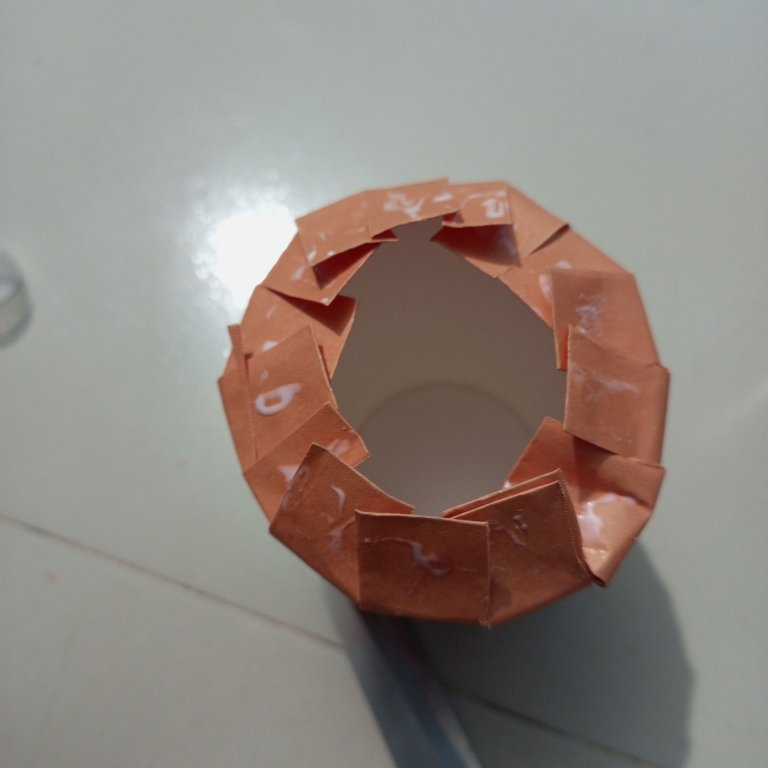
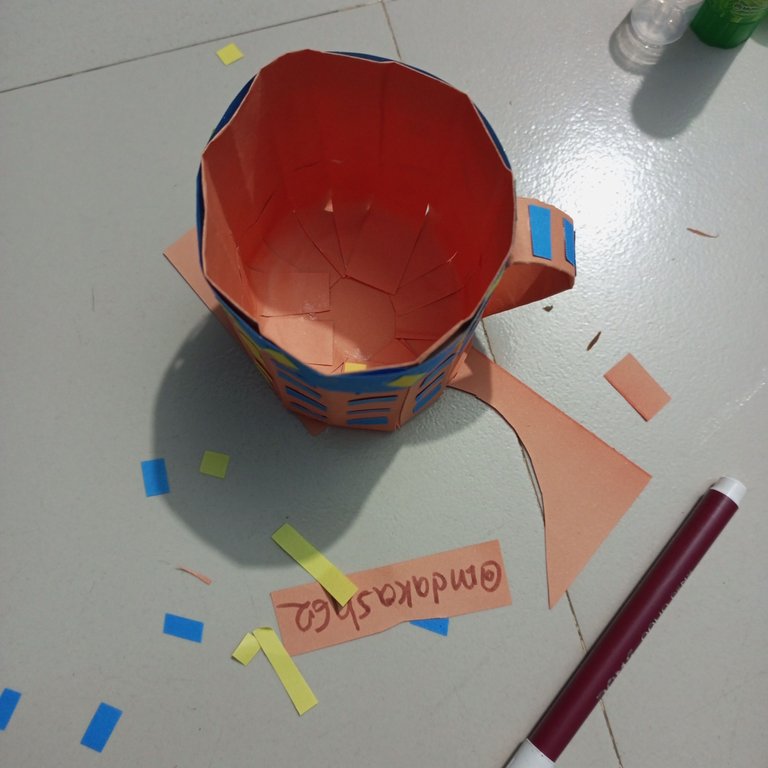
Next I put a paper cup inside the mug to straighten it.In your picture you can see a nice mug which looks very simple and beautiful.
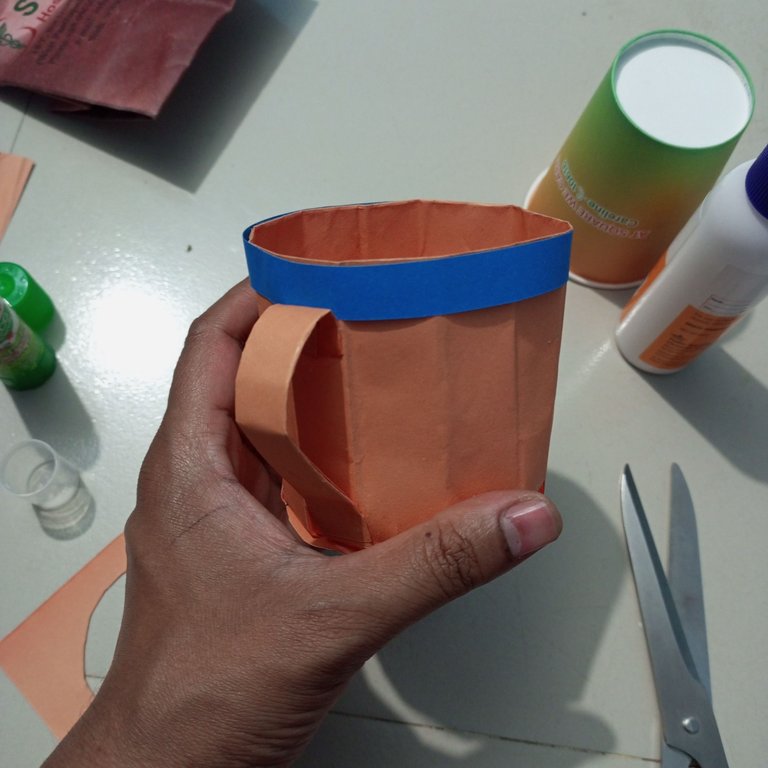
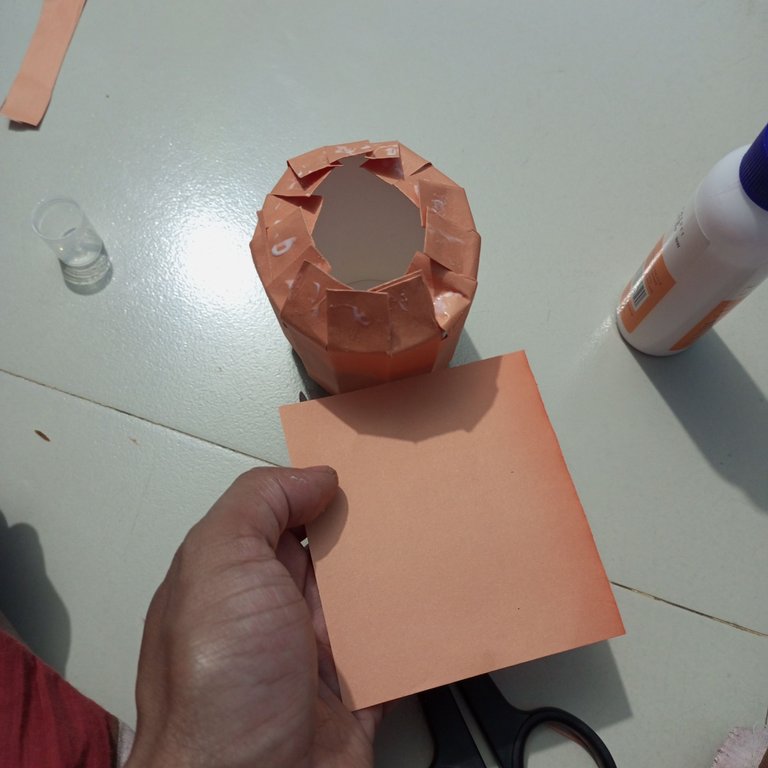
Next I took the blue color paper and attached it around the top of the mug with fevicol glue.
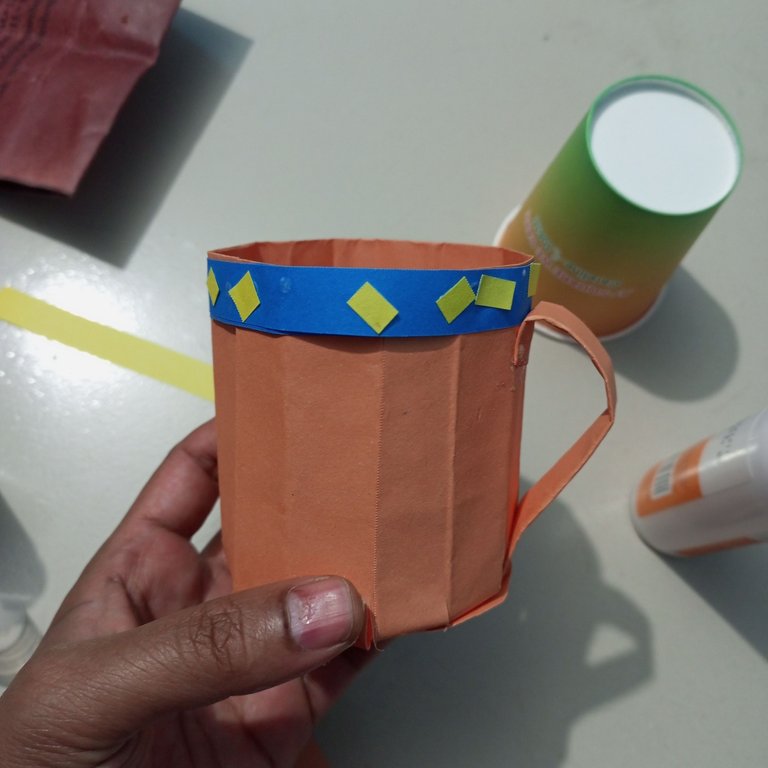
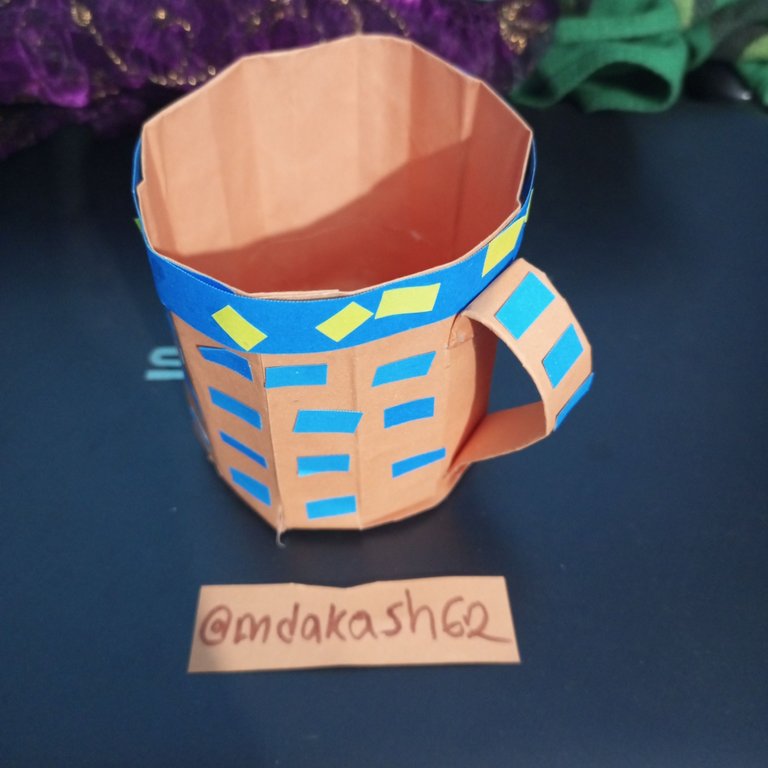
After that I made a design on the dainty of the mug with colored paper.
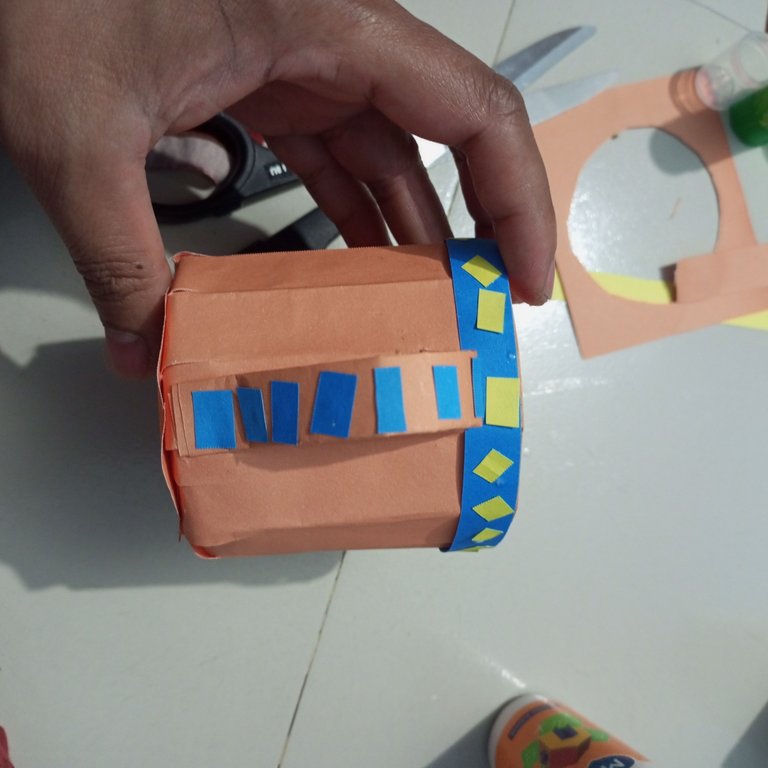
Then I designed the entire mug with colored paper and applied Favicol glue.
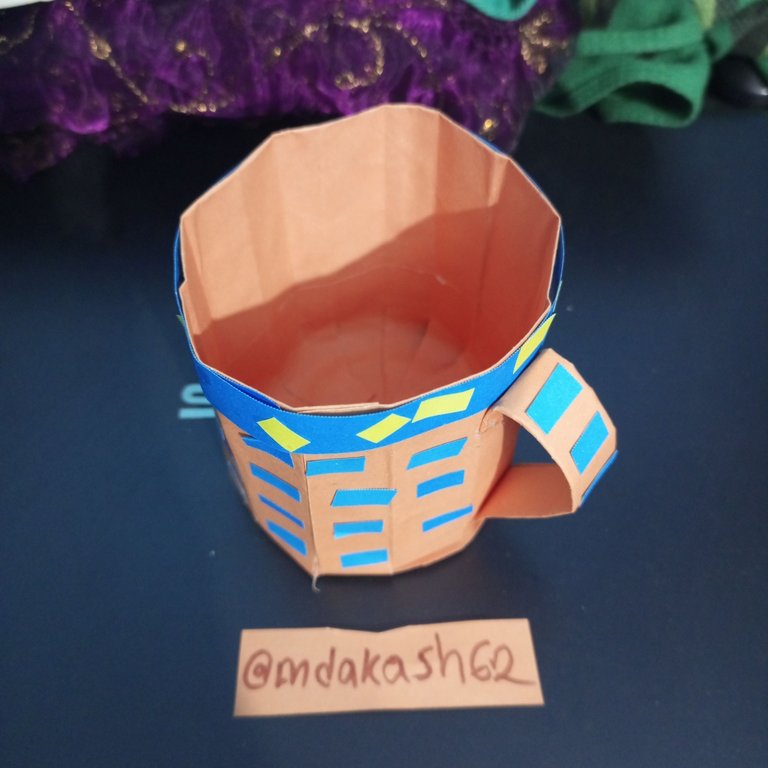
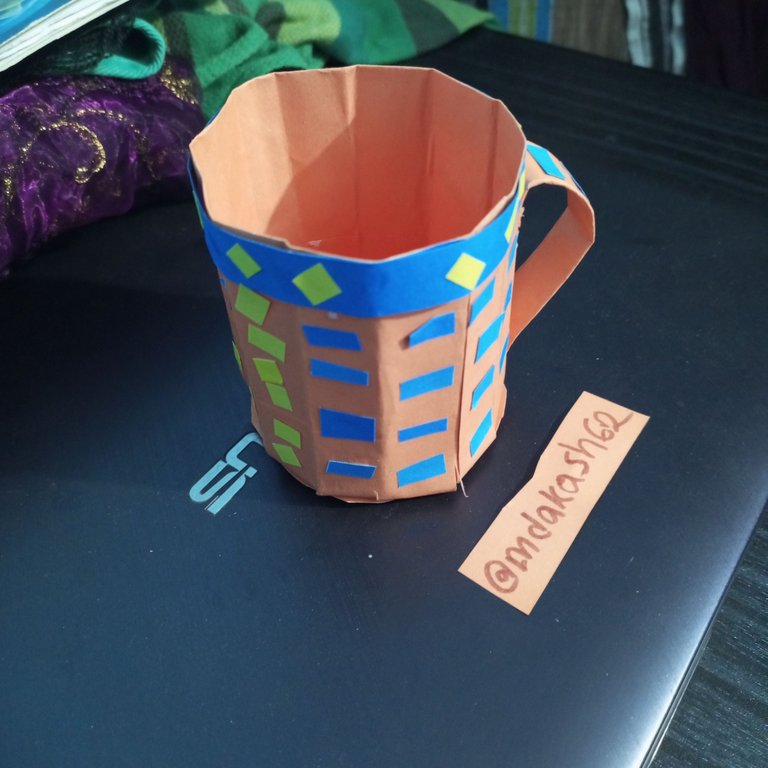
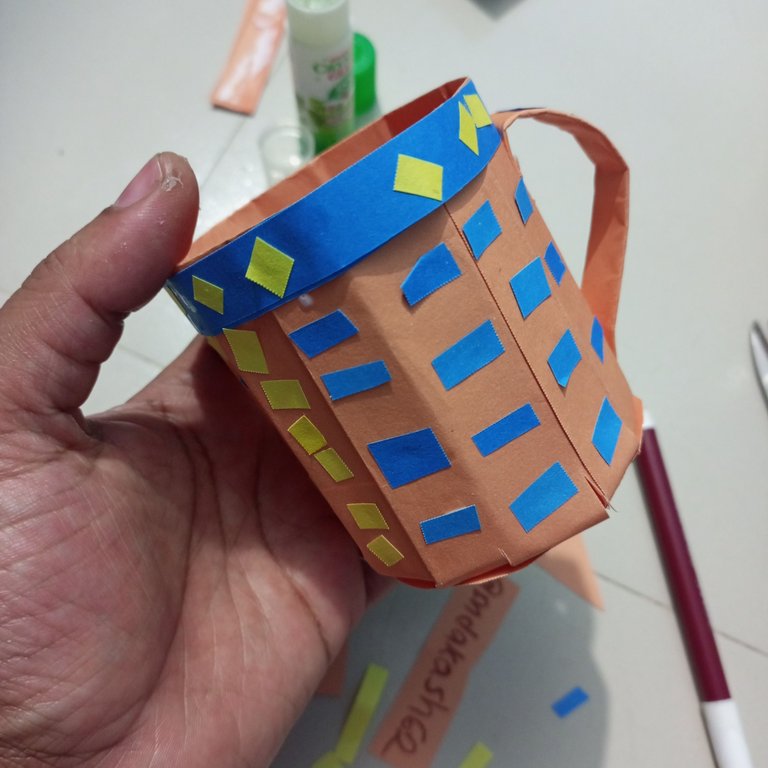
A nice mug is made.I have always tried to smooth each step and correct the wrong edges of the writing.By following all these steps you can prepare an amazing paper.I hope that the Creator will always bless you all with all abilities.I am so happy and inspired to share this wonderful paper mug with you.
 |
|---|
Thank you for reading my creative article blog .Stay safe,stay happy.i think if you find any mistake in writing or something. Please allow me to correct it.And find me on social media.
| Class | #origami #photography |
|---|---|
| Device | Tecno spark 48 Ultra sensing all camera |
| Photographer | @mdakash62 |
My introduced link
0
0
0.000
Una gran idea crear tazas de papel, me encanto.
thank you so much for your opinion my pleasure
Greetings @mdakash62, I liked the mug, it looks great and is perfect for crafting with the kids, thanks for sharing. 🍺🍺
You are most Wellcome