Bracelet elaborated in Chinese thread with macrame technique [Esp-Eng]
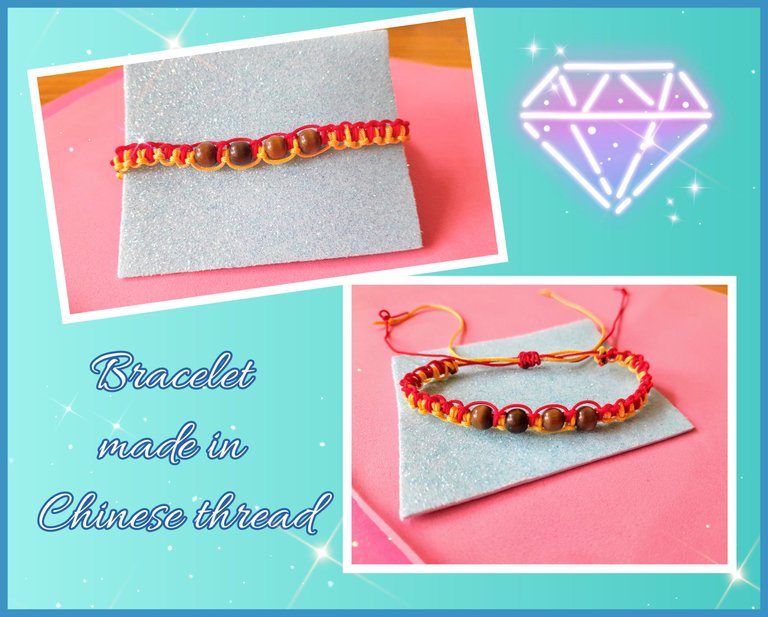
Hola amigos de Jewelry 💎, un cordial saludo para esta linda comunidad llena de creatividad y talento, como siempre es un placer poder compartir con ustedes, hoy le traigo la elaboración de una pulsera elaborada en hilo chino con técnica se macrame, una hermosa pulsera juvenil de tonos, rojo y amarillo, acompáñame en este nuevo proyecto.
Hello friends of Jewelry 💎, a warm greeting for this nice community full of creativity and talent, as always it is a pleasure to share with you, today I bring you the elaboration of a bracelet made in Chinese thread with macrame technique, a beautiful youthful bracelet in shades, red and yellow, join me in this new project.
Materiales| Materials
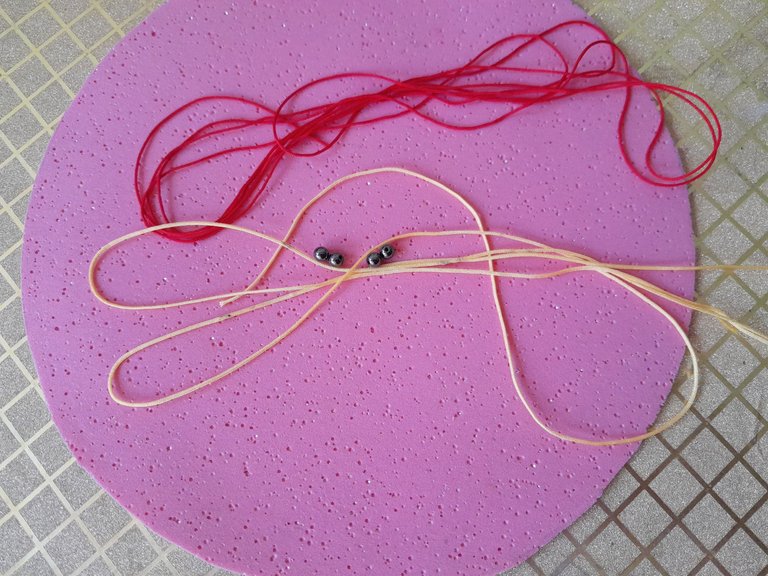
Para este trabajo necesitaremos los siguientes materiales 👇:
1 metro de hilo chino rojo
1 metro de hilo chino amarillo.
Perlas marrones.
For this work we will need the following materials 👇:
1 meter of red Chinese thread
1 meter of yellow Chinese thread.
Brown beads.
Paso 1| Step 1
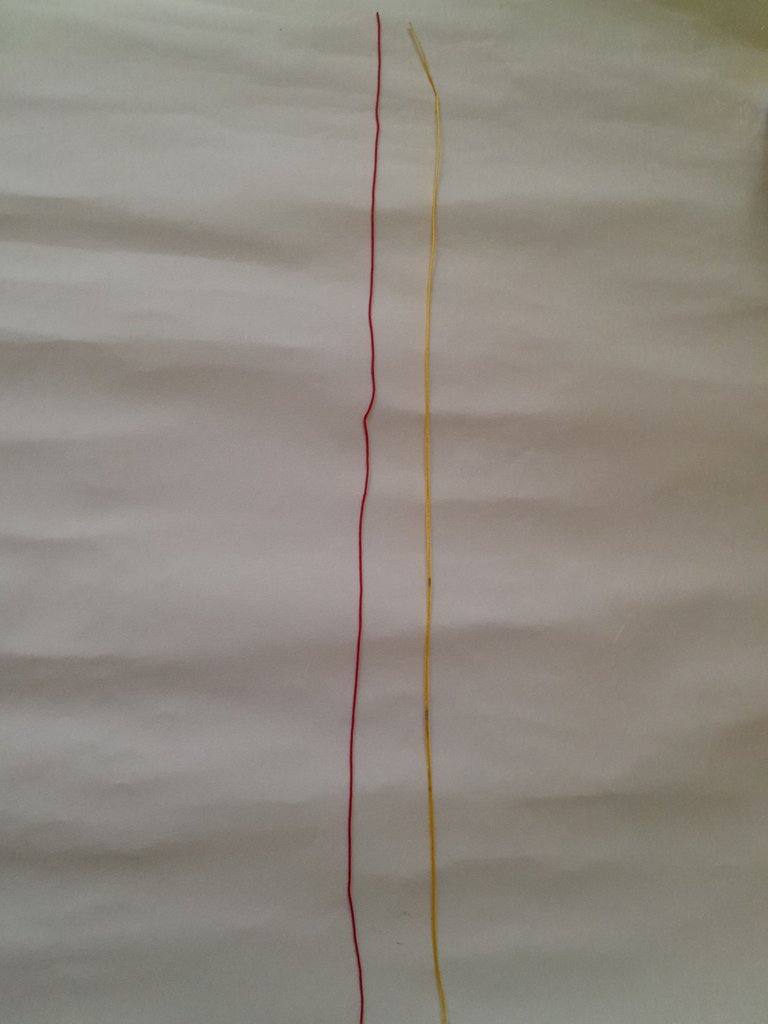
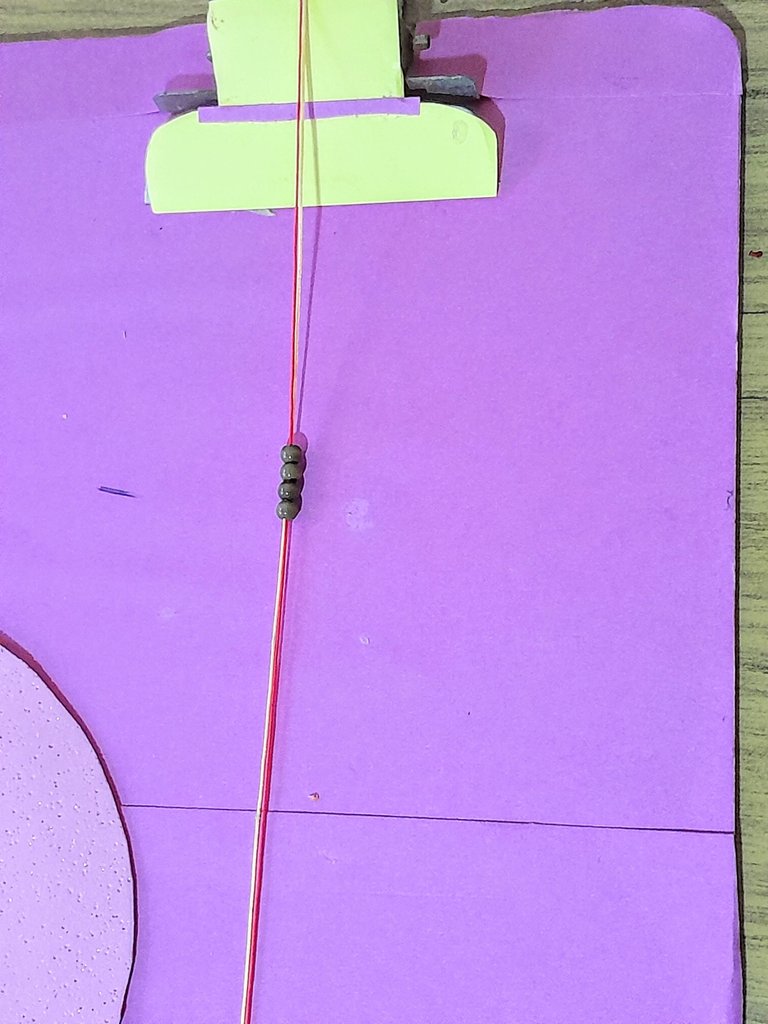
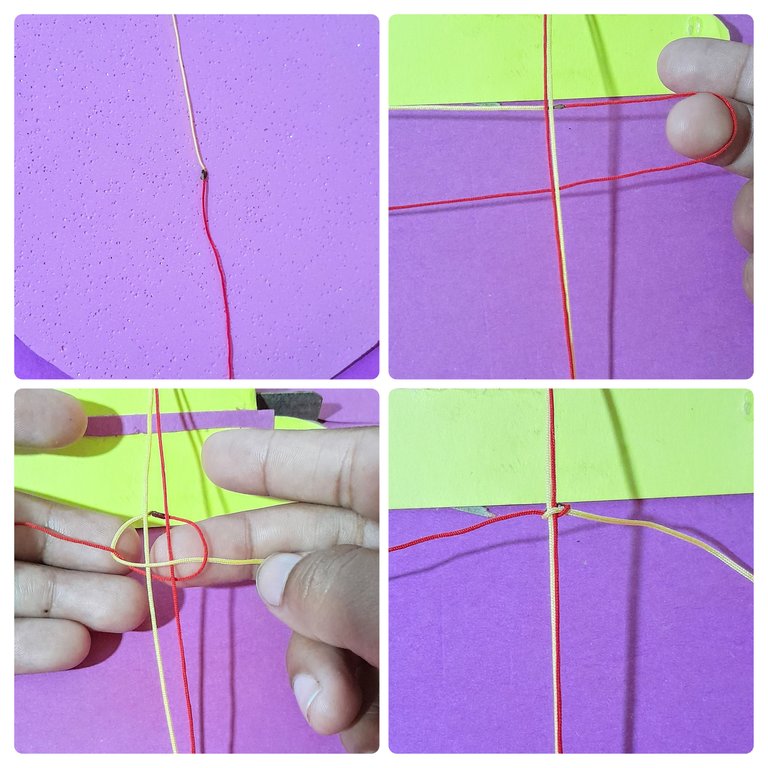
Para iniciar cortamos los dos hilos con una medida de 30 cm, ajustamos bien el hilo, yo lo hice en una tabla de apoyo, introduzco las perlas y ajusto también en la parte de abajo, esto nos facilitará hacer el tejido.
To start we cut the two threads with a measure of 30 cm, we adjust the thread well, I did it on a support board, I introduce the beads and adjust also at the bottom, this will make it easier to weave the fabric.
Paso 2| Step 2
Para el tejido utilizamos 70 cm de cada hilo, para pegar los dos hilos queme cada punta con un yesquero y lo pegamos mientras estaban caliente, pasamos el hilo rojo por debajo de los hilos centrales dejando un semicírculo, el amarillo lo paso por debajo del hilo rojo, luego lo pasamos por encima de los hilos centrales y por dentro del semicírculo del hilo rojo, halos los dos hilos y ajusto.
For the weaving we used 70 cm of each thread, to glue the two threads we burned each end with a tinder and glued it while they were hot, we passed the red thread under the central threads leaving a semicircle, the yellow thread passed it under the red thread, then we passed it over the central threads and inside the semicircle of the red thread, halos the two threads and adjusted.
Paso 3| Step 3
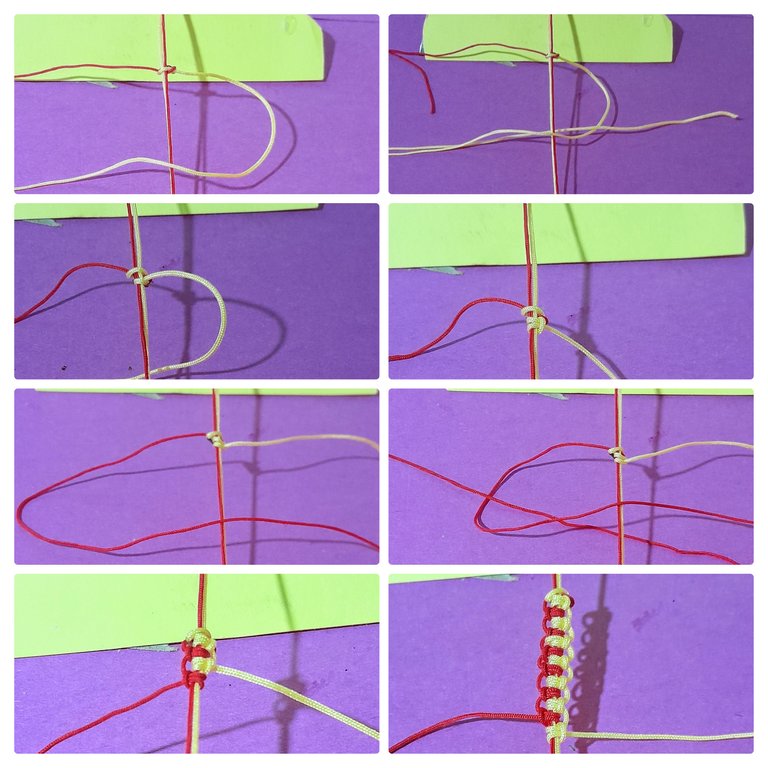
Pasamos el hilo amarillo por encima de los hilos centrales dejando un semicírculo, el mismo hilo amarillo lo pasamos por debajo y lo introducimos por el semicírculo, en como darle la vuelta por los hilos centrales, halamos y ajustamos, ahora pasamos el hilo amarillo por debajo de los hilos centrales y nuevamente dejamos un semicírculo, llevamos el hilo amarillo por arriba de los centrales e introducimos en el semicírculo, hacemos el mismo procedimiento con el hilo rojo, quedará un hermoso diseño con forma de zip zap.
We pass the yellow thread over the central threads leaving a semicircle, we pass the same yellow thread underneath and introduce it through the semicircle, in the same way we turn it over the central threads, we pull and adjust, now we pass the yellow thread underneath the central threads and again we leave a semicircle, we pass the yellow thread over the central threads and introduce it in the semicircle, we do the same procedure with the red thread, it will be a beautiful design with a zip zap shape.
Paso 4| Step 4
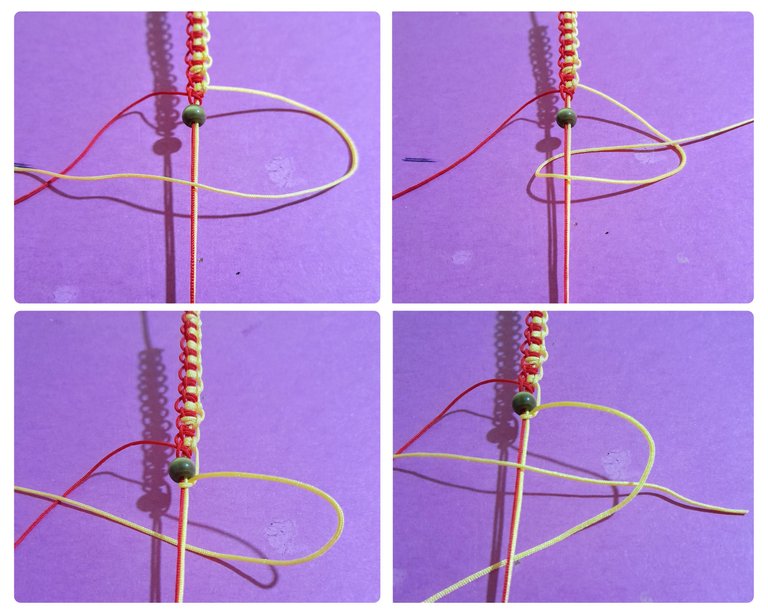
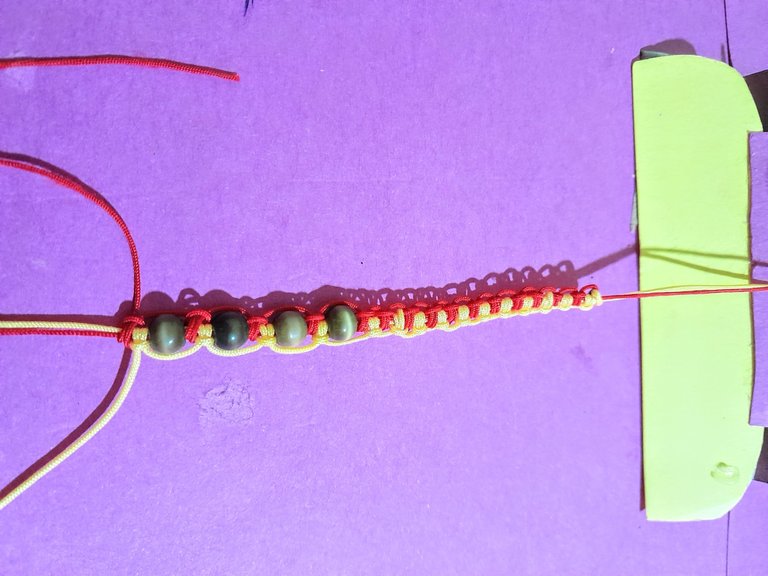
Seguimos tejiendo hasta llegar a la parte central, subimos una de las perlas, pasamos el hilo amarillo por delante de la perla y arriba de los hilos centrales dejamos un semicírculo, devolvemos el hilo por el semicírculo al igual que el paso anterior, hacemos lo mismo con el hilo rojo, de manera que quede uno y uno de cada color, las perlas queden dentro del tejido, unja vez tenemos las cuatro perlas en la pulsera, volvemos a tejer hasta finalizar.
We continue weaving until we reach the central part, we raise one of the pearls, we pass the yellow thread in front of the pearl and above the central threads we leave a semicircle, we return the thread through the semicircle as in the previous step, we do the same with the red thread, so that there is one and one of each color, the pearls are inside the weave, once we have the four pearls in the bracelet, we weave again until the end.
Paso 5| Step 5
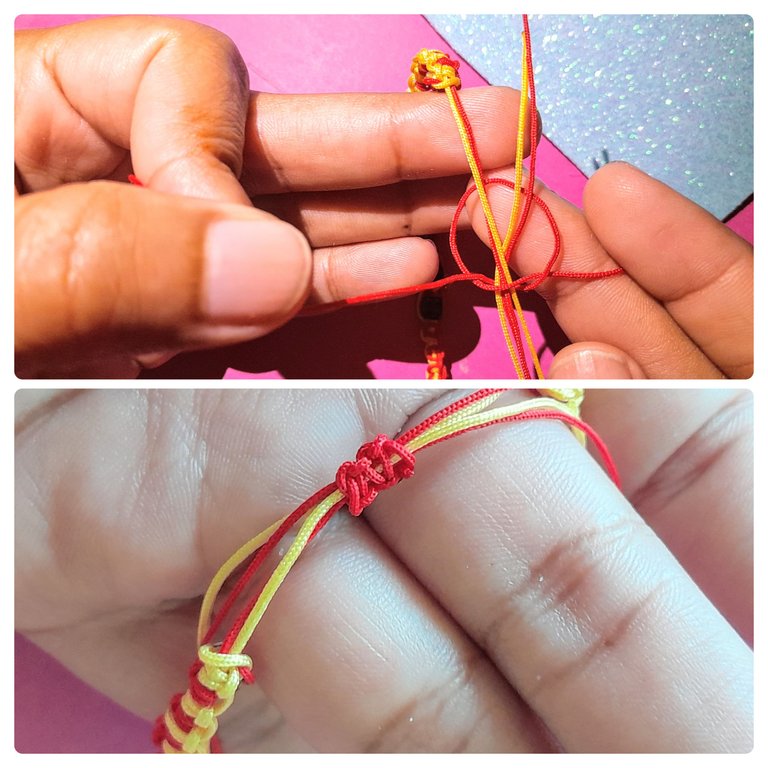
Para el cerrador hacemos un tejido plano, pasamos el hilo izquierdo por debajo de los hilos centrales y por arriba del derecho, llevamos el hilo derecho por arriba y luego por dentro del izquierdo, repetimos hasta completar un pequeño tejido, cortamos y quemo las puntas para evitar que se deshaga y a las puntas de los hilos le hacemos nudos simples, ya tengo lista mi pulsera.
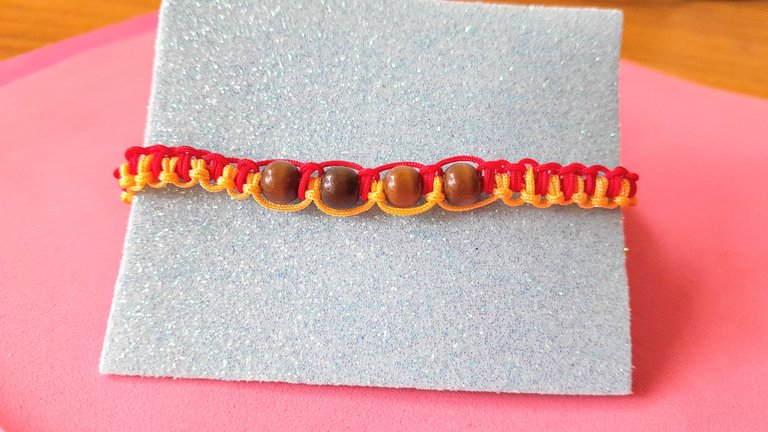
Me encanto la combinación del amarillo y el rojo da un aspecto de fuego, esta pulsera la pueden usar tanto chicos y chicas, espero les haya gustado este nuevo proyecto.
For the clasp we make a flat weave, we pass the left thread under the central threads and over the right one, we take the right thread over the top and then inside the left one, we repeat until we complete a small weave, we cut and burn the ends to avoid unraveling and the ends of the threads we make simple knots, I have my bracelet ready.
I love the combination of yellow and red gives a fiery look, this bracelet can be used by both boys and girls, I hope you liked this new project.
Muchas gracias por este lindo espacio, espero les haya gustado mi elaboración de hoy, mis mejores deseos, nos vemos pronto, saludos ☺️.
Thank you very much for this nice space, I hope you liked my elaboration today, best wishes, see you soon, greetings ☺️.
Fotos propias tomadas con mi teléfono Samsung A13, 50 mp. Edición de portada con Picsart collage en Gridart.
Own photos taken with my Samsung A13 phone, 50 mp. Cover editing with Picsart collage in Gridart.
Contenido exclusivo para hive. / Exclusive content for hive.
Traducción/ translation --->deepl
https://twitter.com/828970814/status/1623140948279537666
The rewards earned on this comment will go directly to the people( @meivys ) sharing the post on Twitter as long as they are registered with @poshtoken. Sign up at https://hiveposh.com.
Congratulations @meivys! You have completed the following achievement on the Hive blockchain And have been rewarded with New badge(s)
Your next target is to reach 90 posts.
You can view your badges on your board and compare yourself to others in the Ranking
If you no longer want to receive notifications, reply to this comment with the word
STOPTo support your work, I also upvoted your post!
Check out our last posts:
Support the HiveBuzz project. Vote for our proposal!
Thank you for sharing this post on HIVE!
Your content got selected by our fellow curator sharminmim & you just received a little thank you upvote from us for your great work! Your post will be featured in one of our recurring compilations which are aiming to offer you a stage to widen your audience within the DIY scene of Hive. Stay creative & HIVE ON!
Please vote for our hive witness <3