Accesorios con temática de fresa | fr themed accessories
Hola amigos de la colmena y gran familia jewelry , feliz inicio de semana para todos , les deseo mucha suerte y buenas energías , un abrazo fraternal desde distancias , hoy me encuentro activo feliz de compartir con ustedes , les traigo un nuevo tutorial el día de hoy unos accesorios inspirados en unas ricas fresas , fruta muy amada y deliciosa , seguro cien porciento que a las damas les quedará perfecto amigos
Hello friends of the hive and great jewelry family, happy start of the week for all, I wish you good luck and good energy, a fraternal embrace from afar, today I am active happy to share with you, I bring you a new tutorial today some accessories inspired by a rich strawberries, very beloved and delicious fruit, sure one hundred percent that the ladies will be perfect friends

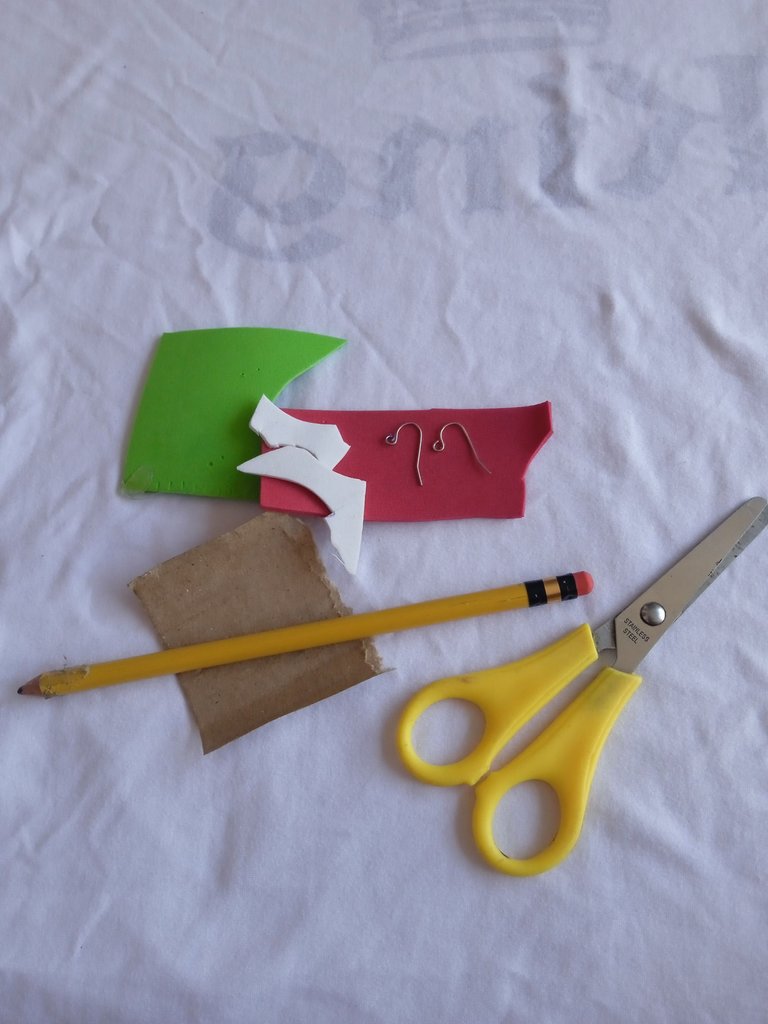
Materiales que utilice para mis accesorios con temática de fresa :
-Foamis : verde,rojo,y blanco
-Tijera
-Silicon
-Base de zarcillos
Materials I used for my strawberry themed accessories:
-Foamis: green, red and white
-Scissors
-Silicon
-Base for tendrils
Pasos para la creación de nuestros accesorios de fresa :
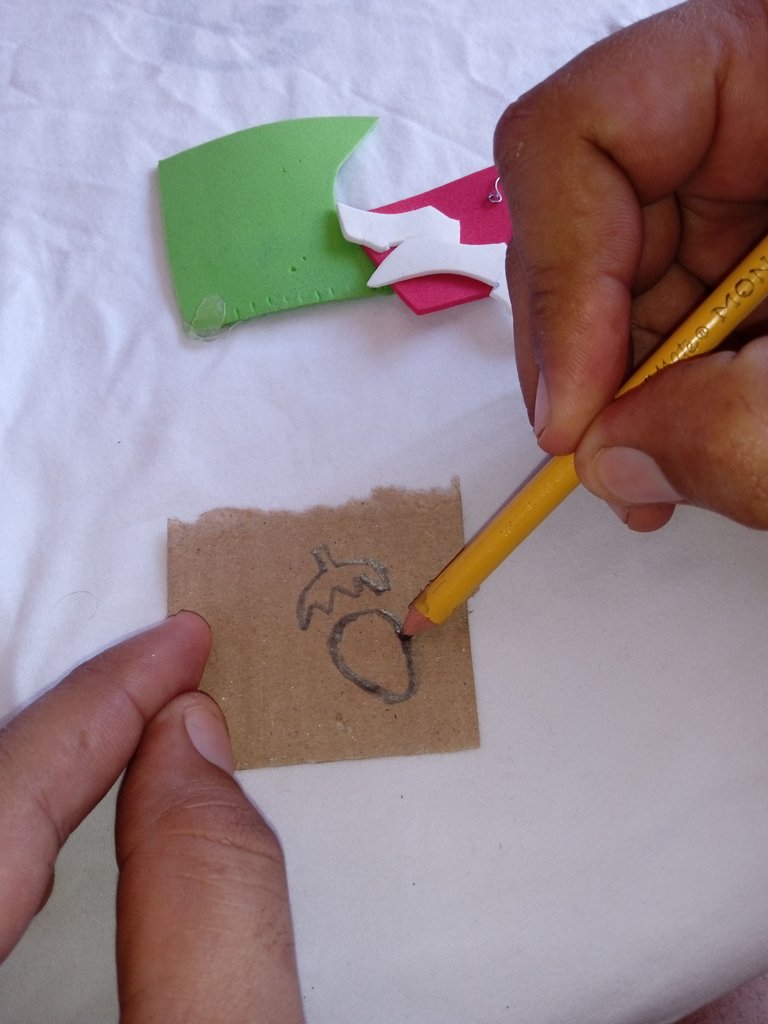
Paso número 1:En un recorte de cartón ,papel o cartulina vamos a iniciar dibujando un patrón , este estará inspirado en una deliciosa y nutritiva fresa , lo realice por separado la fresa en un lado y las hojas en el otro , cunado tengamos listo nuestro patrón lo dividimos o sacamos con la tijera
Steps for the creation of our strawberry accessories :
Step number 1: In a cardboard cutout, paper or cardboard we will start drawing a pattern, this will be inspired by a delicious and nutritious strawberry, do it separately the strawberry on one side and the leaves on the other, when we have our pattern ready we divide it or take it out with the scissors.
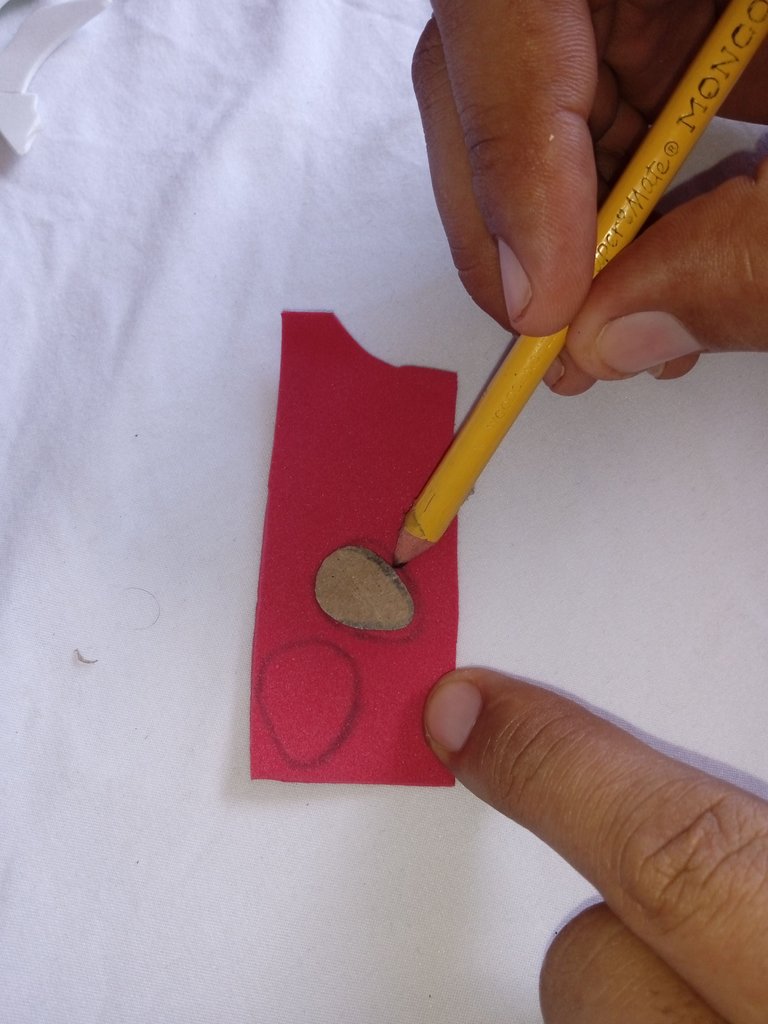
Paso número 2: Luego en nuestro segundo paso cuando tengamos el tema a trabajar en patrón , vamos a comenzar marcando la fresa en el foamis color rojo , debemos marcar dos de la misma ya que trabajaremos con un pars de accesorios amigos
Step number 2: Then in our second step when we have the subject to work on pattern, we will start marking the strawberry on the foamis red color, we must mark two of the same as we will work with a couple of accessories friends.
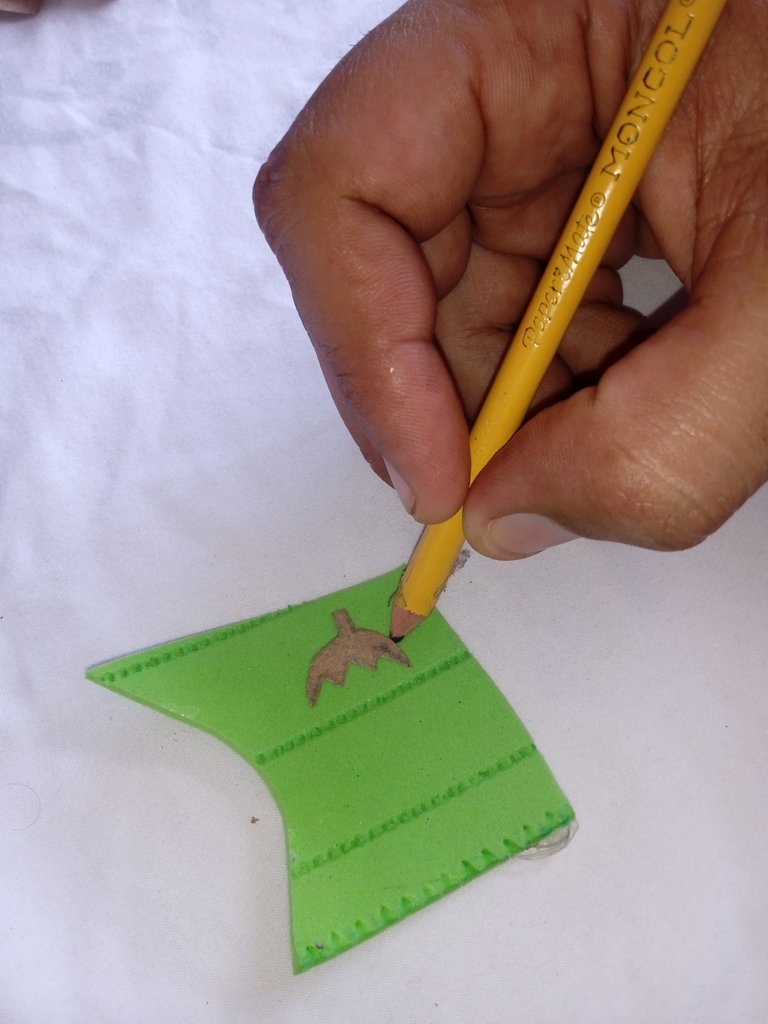
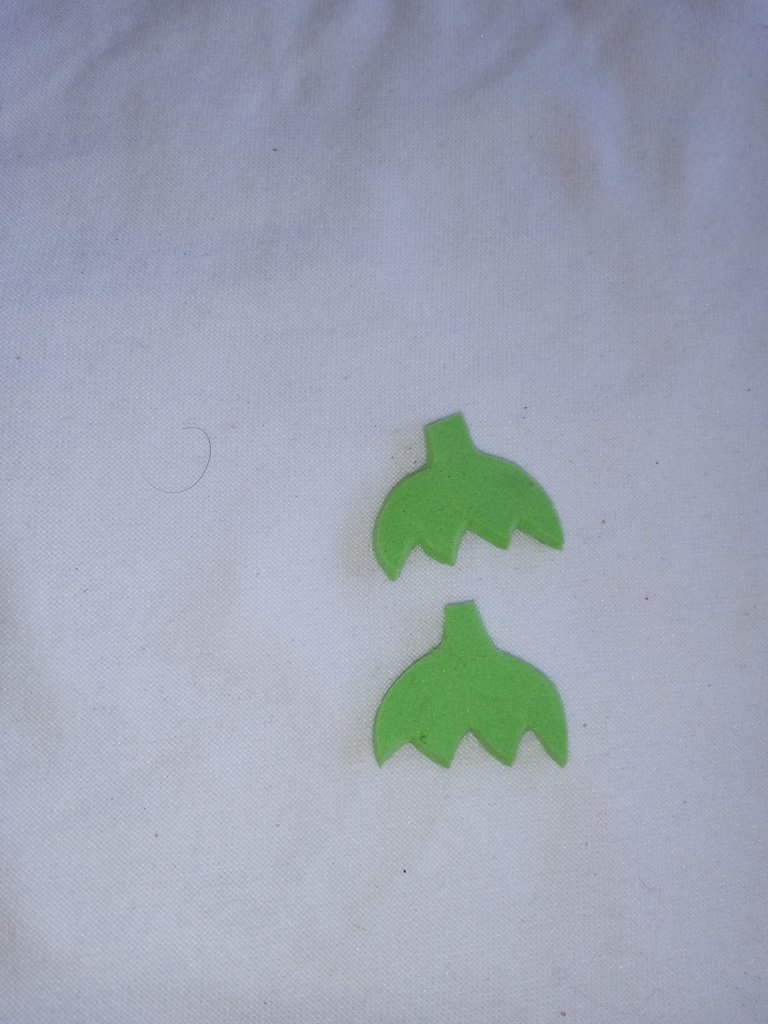
Paso número 3: en nuestro tercer paso vamos a tomar nuestro foamis color verde y marcaremos las hojas de nuestra fresa , como les mencioné anteriormente debemos realizar doble hoja ,ya que es un pars de zarcillo
Step number 3: in our third step we are going to take our green foamis and we will mark the leaves of our strawberry, as I mentioned before we must make double leaf, since it is a tendril pars.
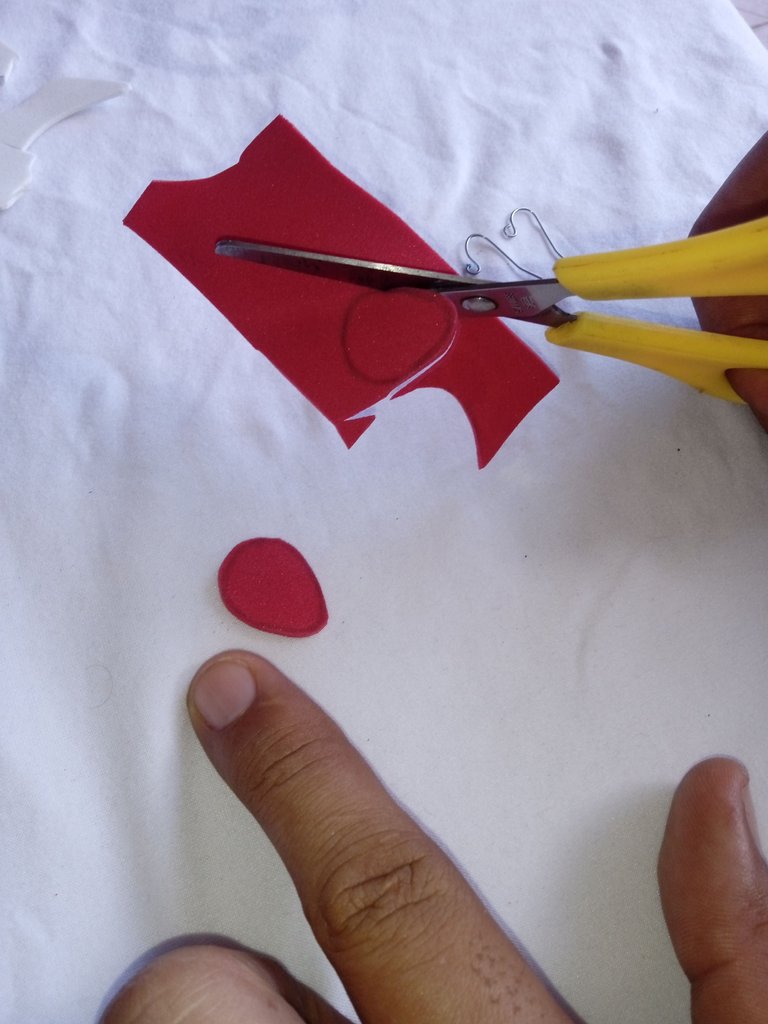
Paso número 4: A continuación vamos a proceder en nuestro cuarto paso recortando las dos fresa con mucho cuidado , la parte de abajo debe ser más delgada que la parte de arriba
Step number 4: Next we are going to proceed in our fourth step by trimming the two strawberries very carefully, the bottom part should be thinner than the top part.
Paso número 5: nuestro quinto paso vamos a proceder a recortar las dos hojas que marcamos de nuestra fresa
Step number 5: our fifth step we will proceed to cut out the two leaves that we marked from our strawberry.
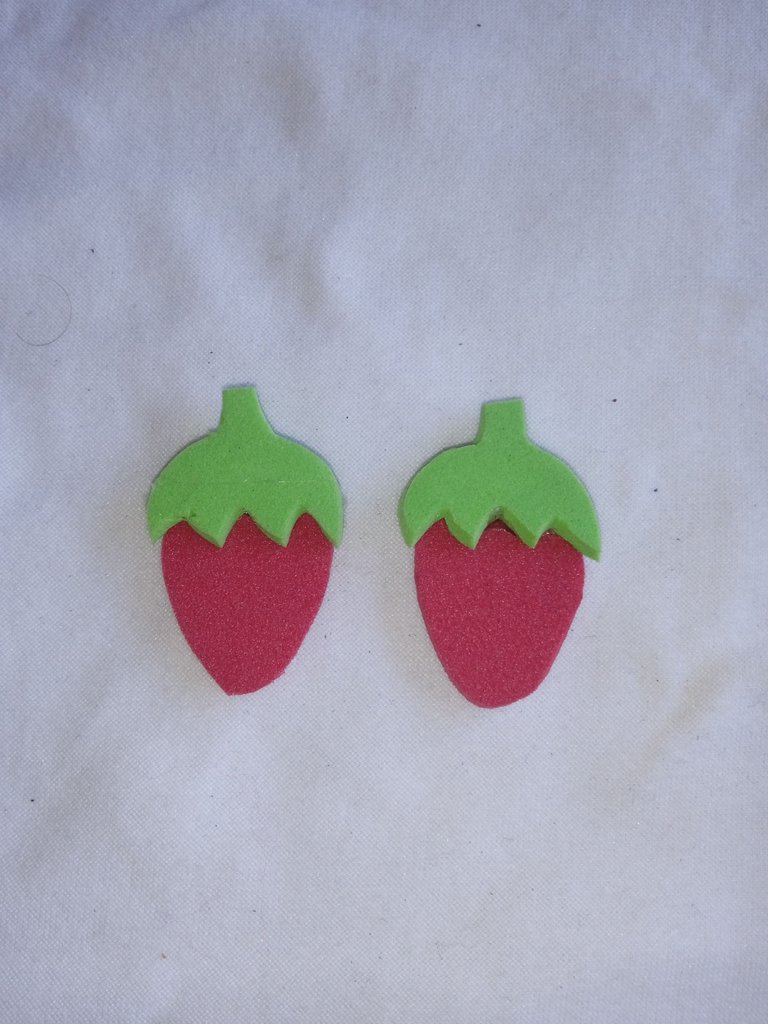
Paso número 6: en nuestro sexto paso una vez que tengamos las piezas para formar nuestra fresa , vamos a proceder pegando las hojas con junto la fresa , las hojas deben ir ubicadas en la parte de arriba
Step number 6: in our sixth step once we have the pieces to form our strawberry, we will proceed by gluing the leaves together with the strawberry, the leaves should be located at the top.
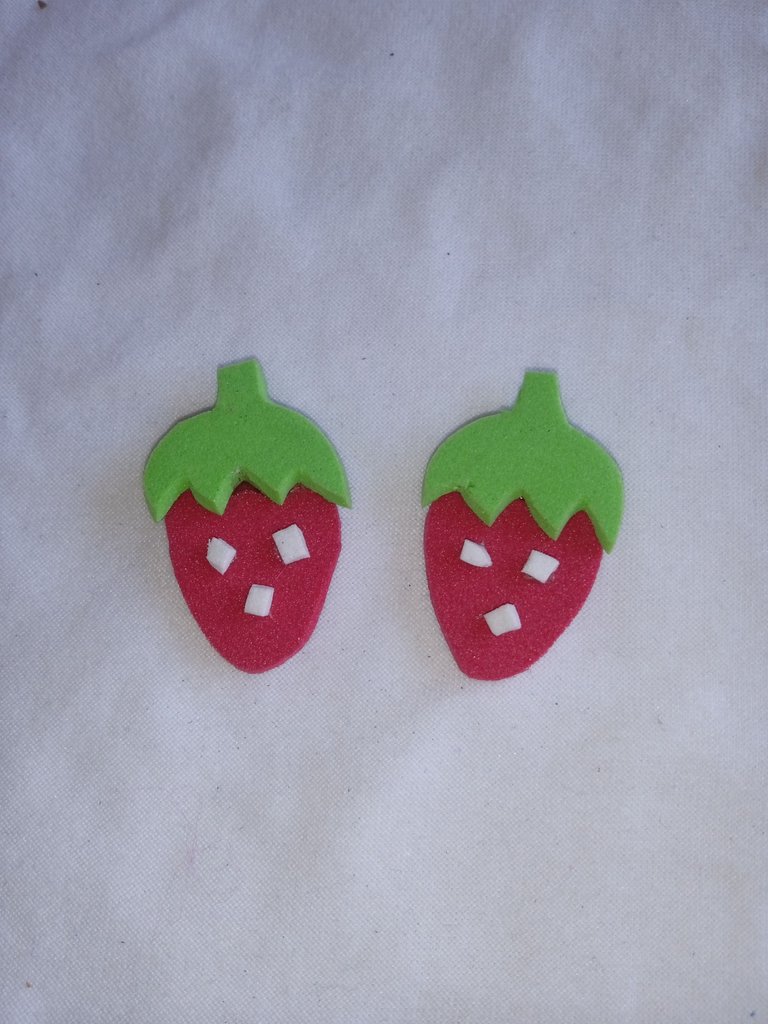
Paso número 7: luego vamos a continuar tomando un recorte de foamis blanco y realizaremos varios flequillos lo más pequeño que podamos y los pegaremos en el centro de la fresa separados ,tres para cada una , estás simbolizan las semillas que traen las fresas
Step number 7: then we will continue taking a cut of white foamis and make several bangs as small as we can and paste them in the center of the strawberry separated, three for each, these symbolize the seeds that bring strawberries.
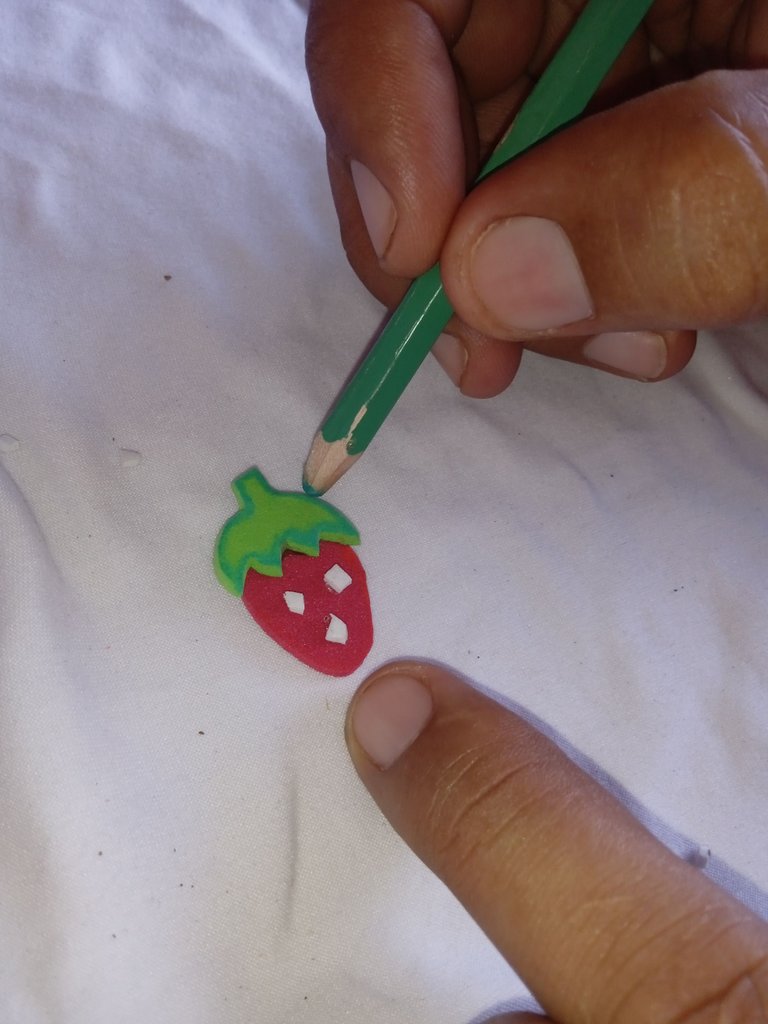
Paso número 8 : en nuestro octavo paso vamos a proceder marcando los bordes de la hoja de muestras fresas con la ayuda de un lápiz color verde oscuro
Step number 8: in our eighth step we will proceed by marking the edges of the strawberry sample sheet with the help of a dark green pencil.
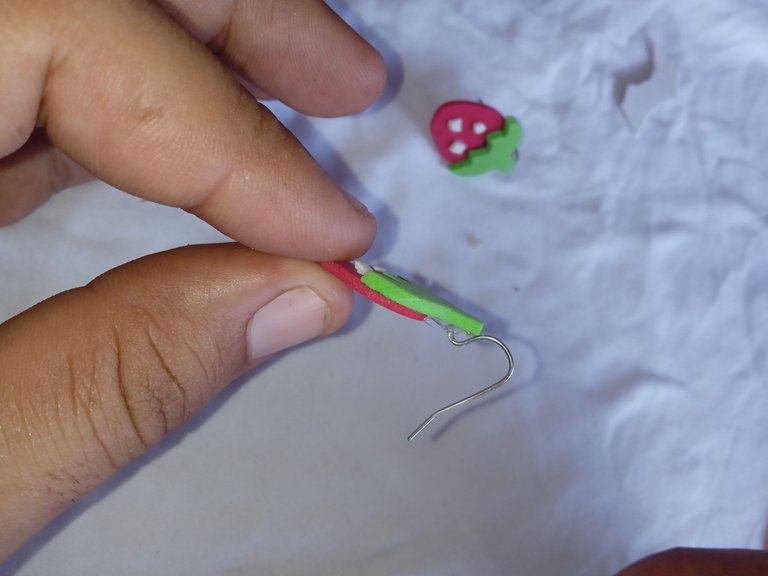
Paso número 9 : paso final , en esta ocasión tomaremos la base de los zarcillos y los pegaremos en la parte de arriba de nuestros accesorios en forma de fresa ,culminando nuestra decoración de hoy
Step number 9 : final step, this time we will take the base of the tendrils and glue them on the top of our strawberry shaped accessories, culminating our decoration today.
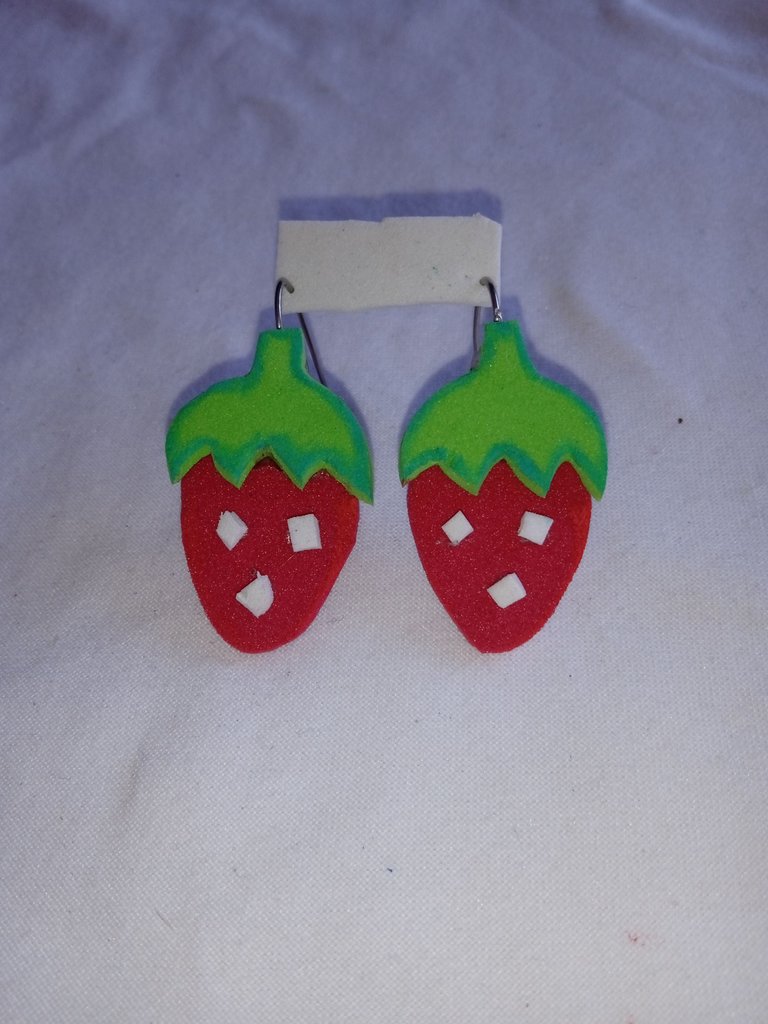
Resultado final : este es el resultado final de mis accesorios en el día de hoy , motivado ha que las damas luzcan siempre hermosas con cualquier temática , para su belleza no existe límites , las fotos las tomé con mi redmi 9A y los textos los traduje con el traductor deepl , que pasen bello día familia , gracias por la atención ,nos vemos en el siguiente post
Final result : this is the final result of my accessories today , motivated has that the ladies always look beautiful with any theme , for your beauty there are no limits , the photos were taken with my redmi 9A and the texts I translated with the translator deepl , have a beautiful day family , thank you for the attention , see you in the next post
Amigo, te quedo muy hermoso, este trabajo es super meticuloso y delicado... Me encantó el resultado, muchas gracias por compartir.
Un saludo.
Hola gracias que bueno q te gusto 🤗
Dios que creativo, bendiciones para usted, gracias por compartir.
Gracias amiga saludos