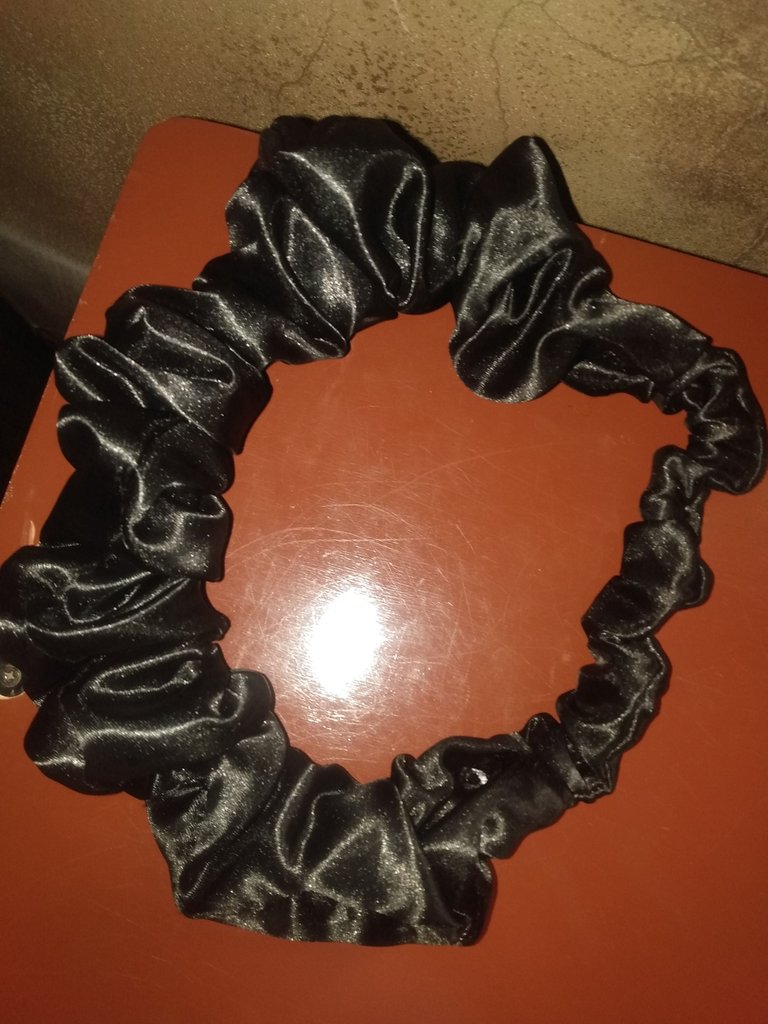
DIY: How To Sew Scrunchie Headband
Hello great people of hive, hope you have been doing good? This is my first time in this community and I will be sharing with you how to sew the trending Scrunchie Headband. Truly it's something you can do by yourself which can not take you up to 10mins if you get it right without much stress.
Let Get Started
I will be using a shiny face satin for this tutorial. You can as well use African print material called Ankara or any other suitable material that you have for sewing it.
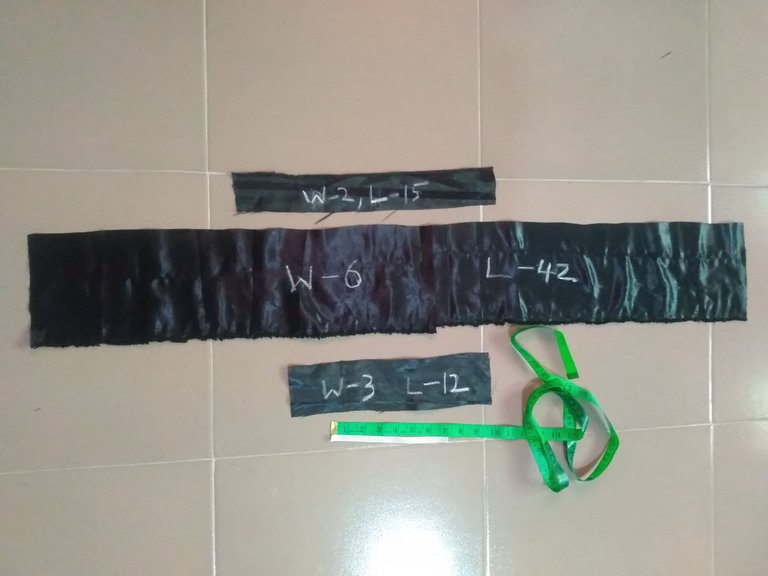
Note: W= width while L=length
Below are the steps to make the Scrunchie Headband.
Step 1
Cut 3 different lengths and width of straps for the band.
Strap (A) Cut a W= 2 inches by L=15inches
Strap (B) Cut a W= 6inches by L=42inches (Note: you can increase the width here, cause it determines how big the band will be)
Strap (C) Cut a W= 3inches by L=12inches
After cutting the 3 straps, then Cut a half inch elastic of 7inches
Step 2
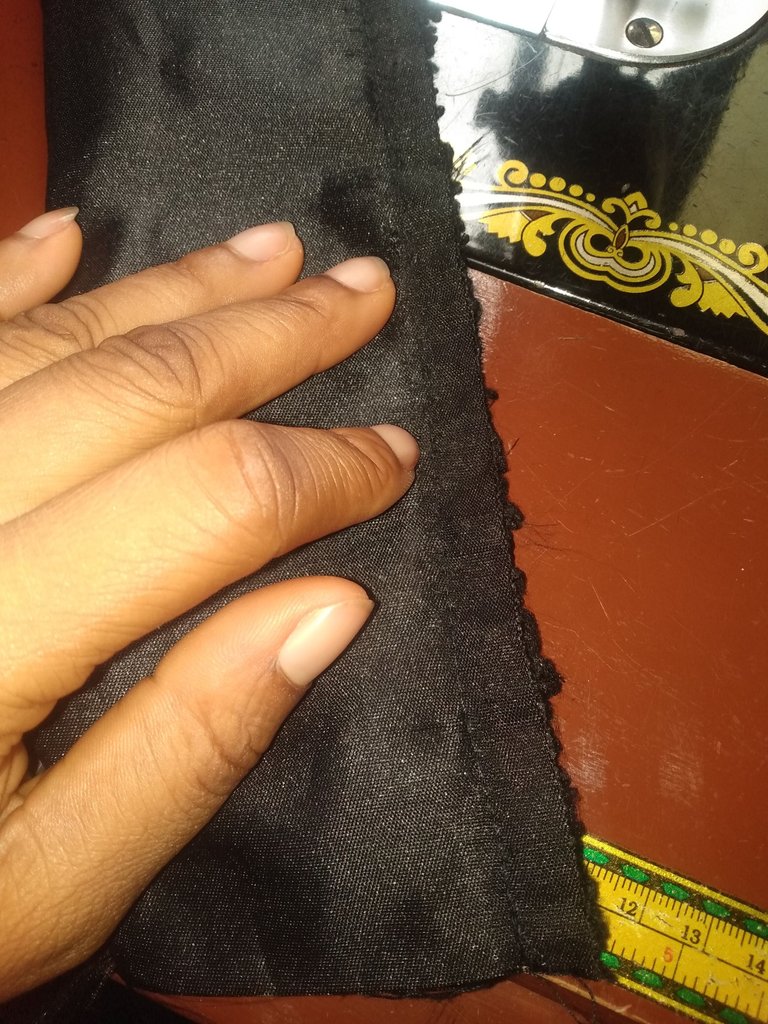
After cutting the 3 straps, fold strap B into two I.e right side to right side and sew, after that do the same to C also. After sewing both straps differently you have this.
Note: you don't need to turn strap A
Step 3
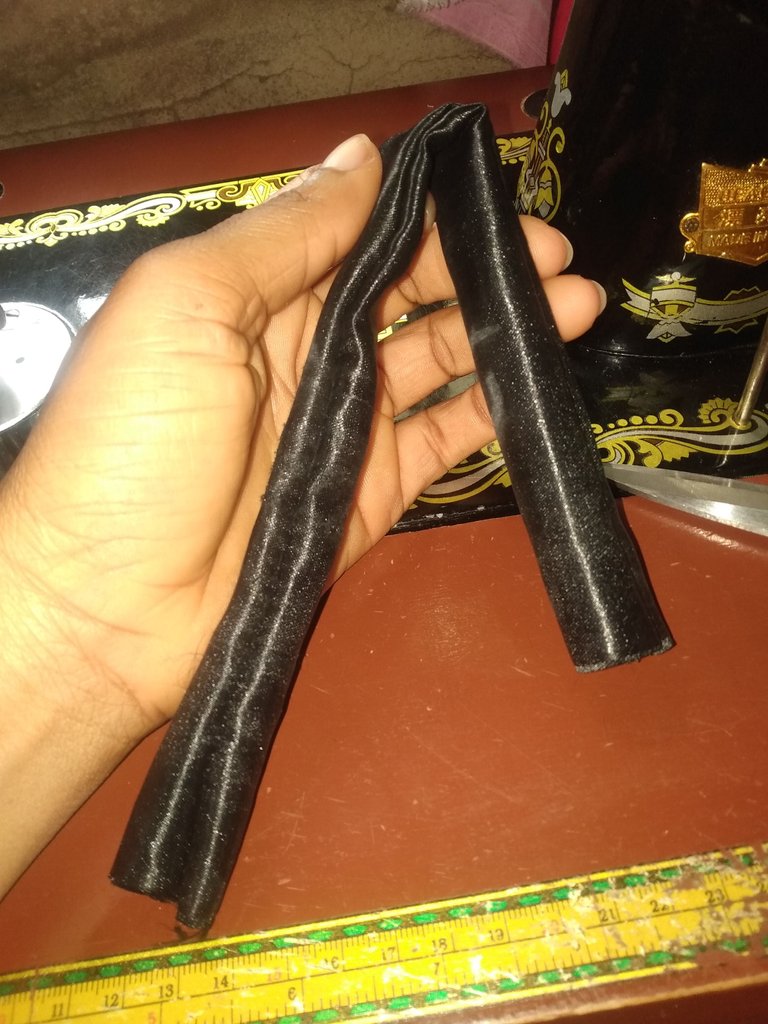
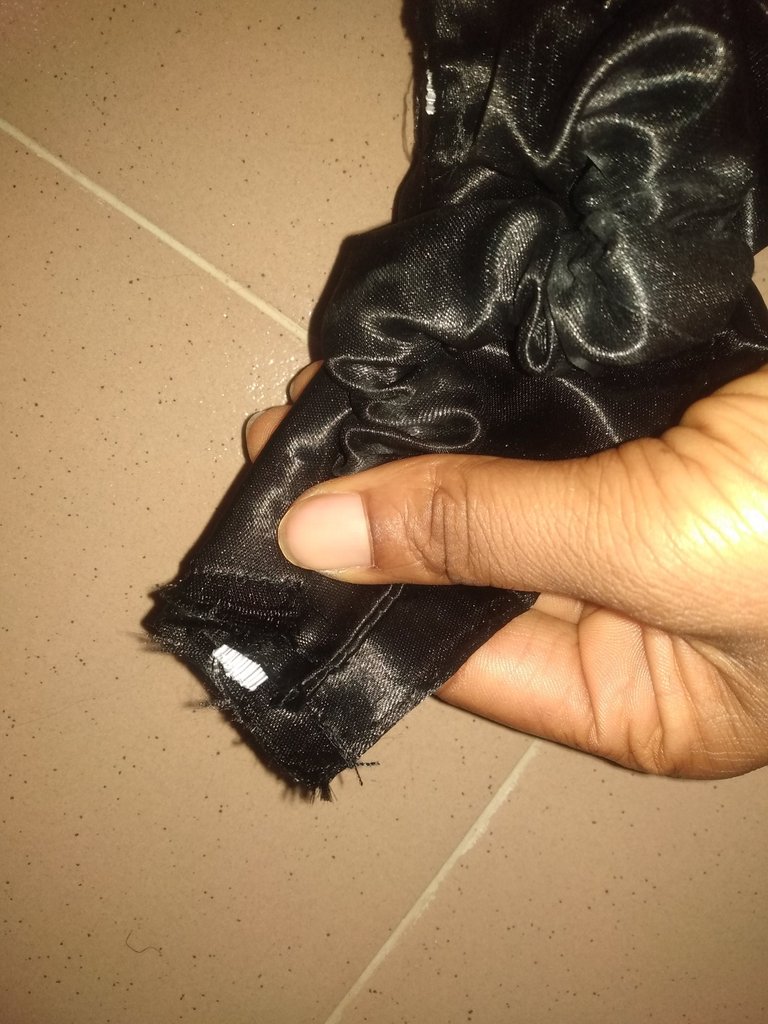
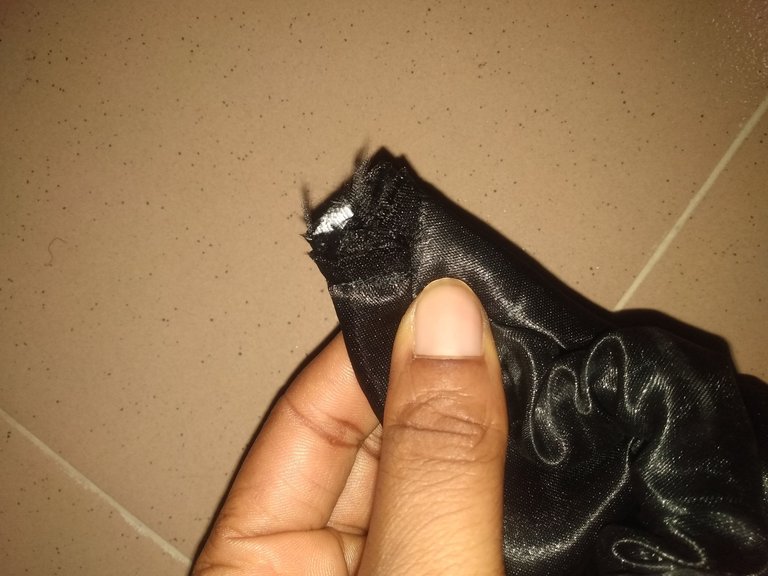
Turn B and C out so that the rough sew side will be inward.
After turning B👇
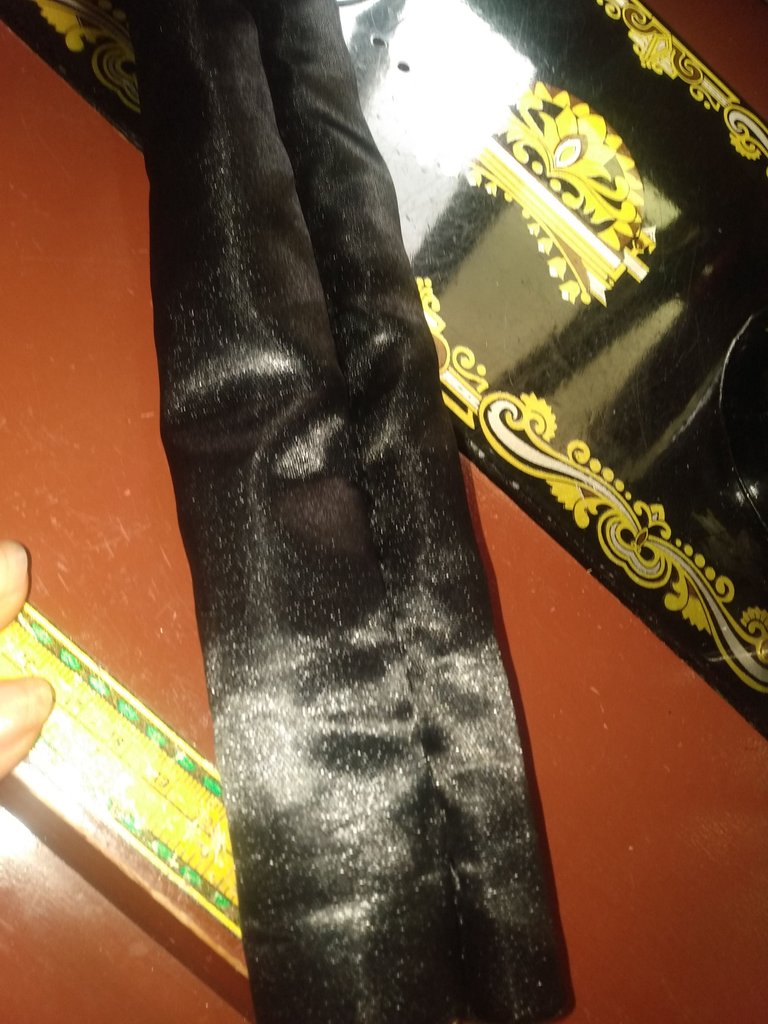
After turning C👇
Step 4
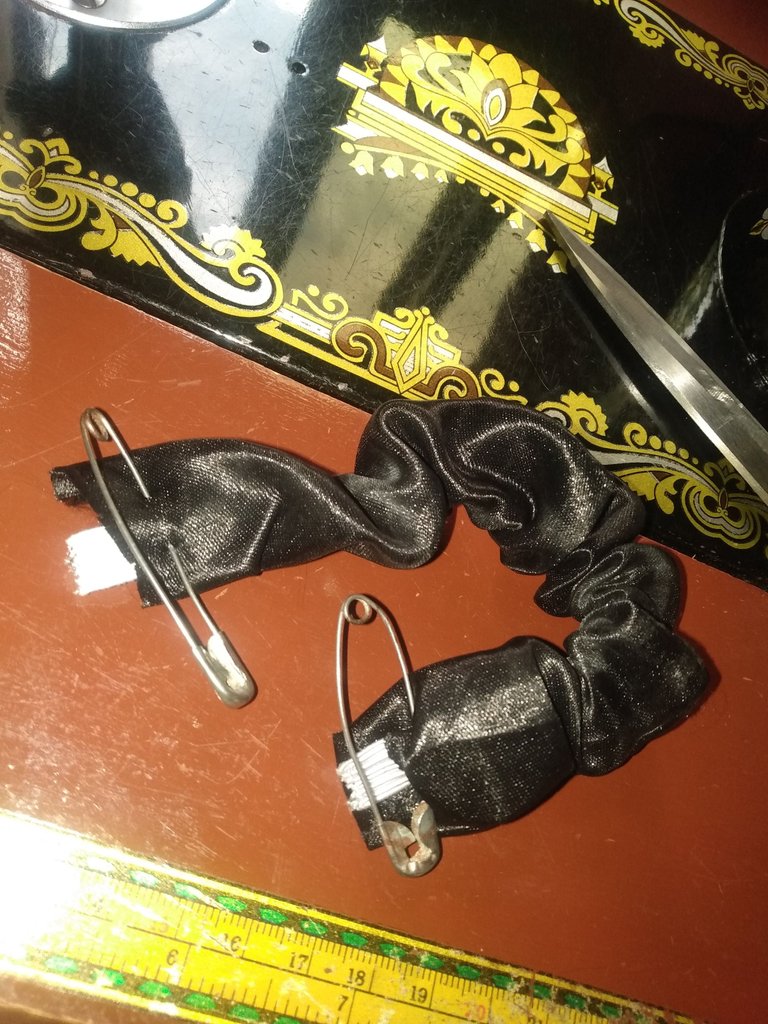
Take the turned B and pass A through it (A is not folded, pass it straight like that). It is A that gives the scrunchies pattern we are looking for. Make sure to secure the edges with pin, then sew the edges.
 |  |  |
|---|---|---|
| content1 | content2 | content3 |
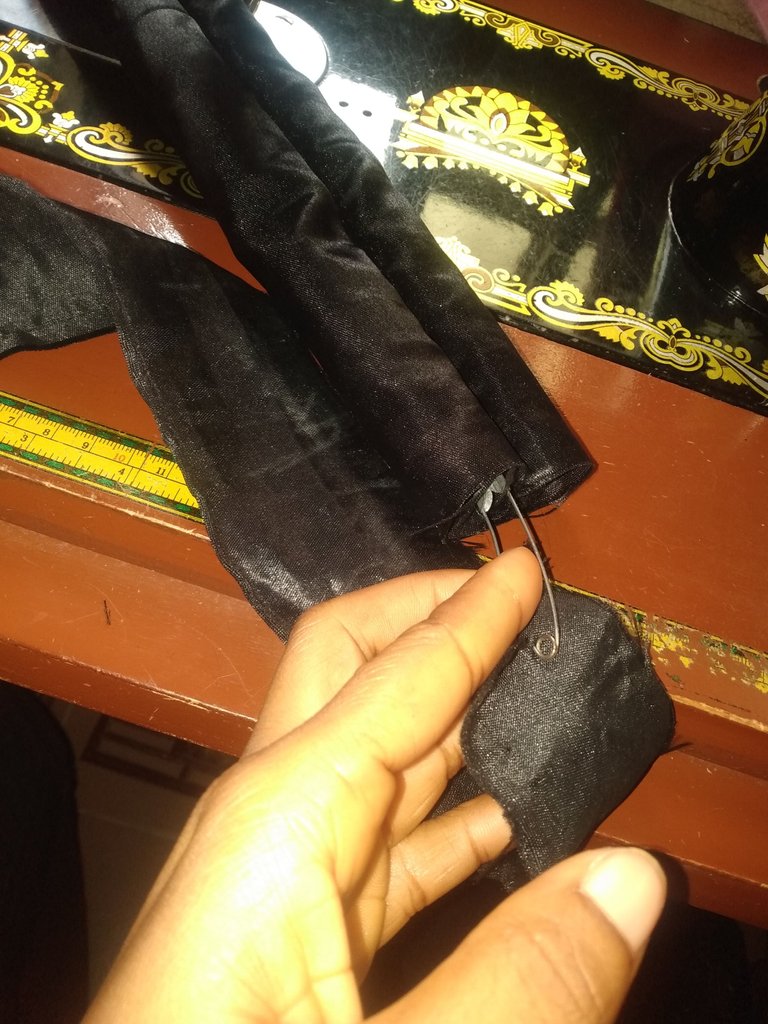
Step 5
Take the turned C and pass your 7inches elastic through it, make sure to secure the edges with a pin. Then after securing sew the 2 edges to hold the elastic to the fabric.
 |  |
|---|---|
| content1 | content2 |
Step 6
We now have 2 new combined straps
Strap D: A passed into B
Strap E: Half inch elastic pass into C
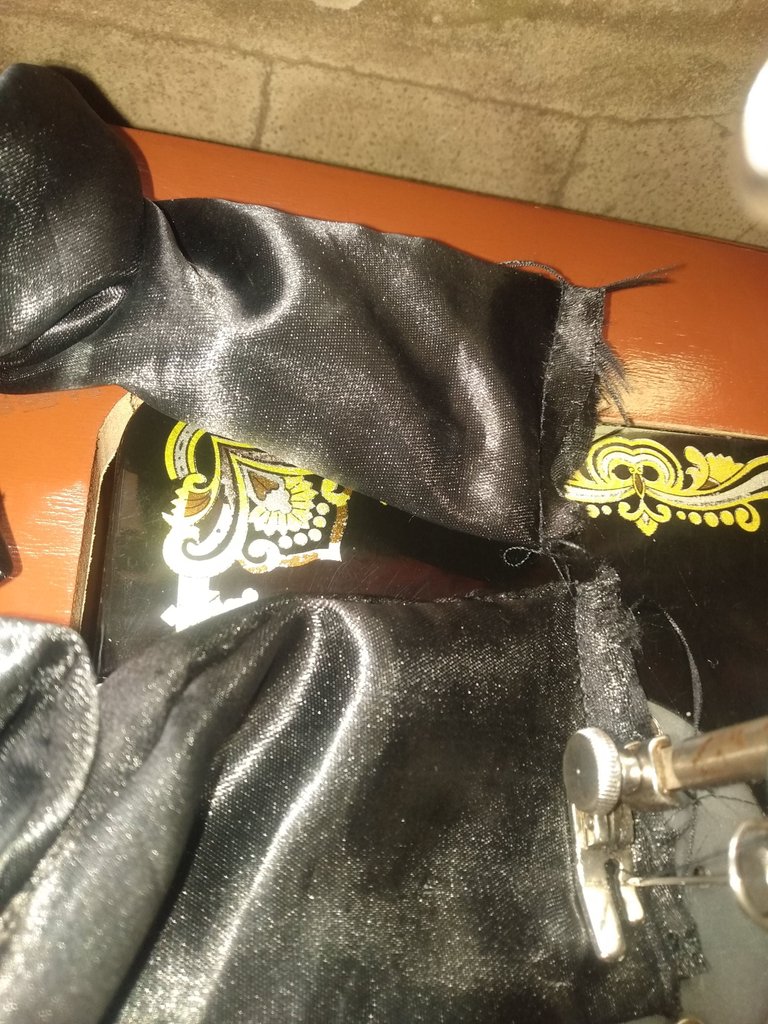
Now place the edges of D on the edges of E. Make sure you fold D on E like a cone to have a nice edge, then sew
 |  |  |
|---|---|---|
| content1 | content2 | content3 |
After sewing the edges, flip backward, you will have something like an overlap
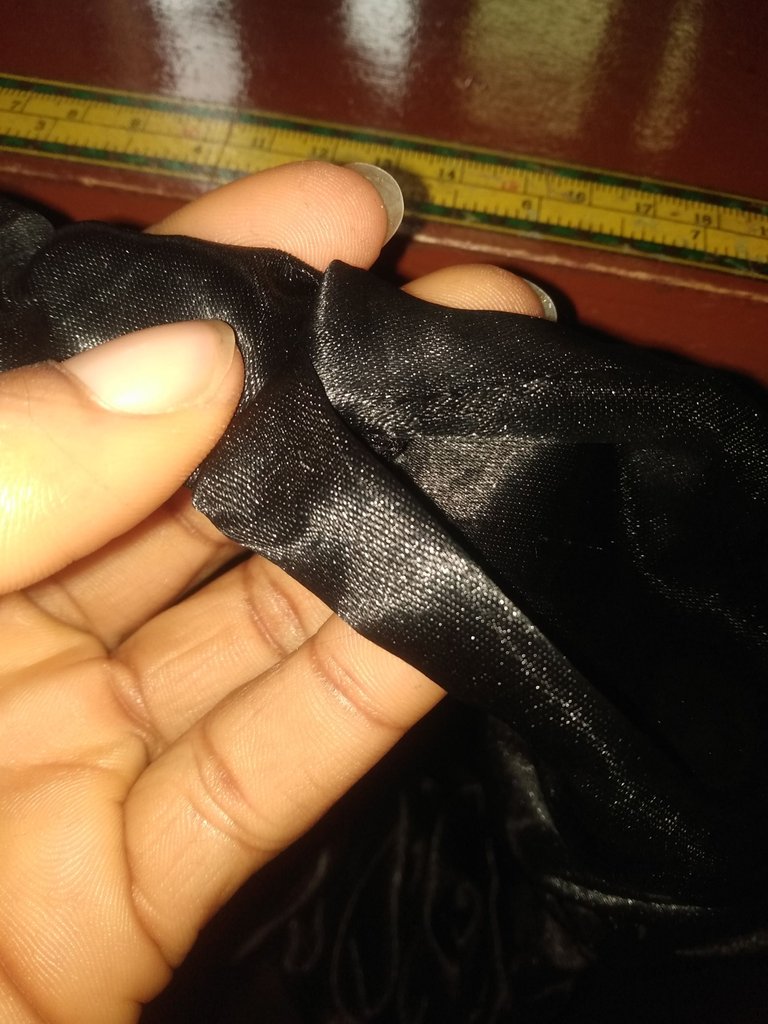
Repeat the same process to join the second edge of D to E and we are done with the sewing.
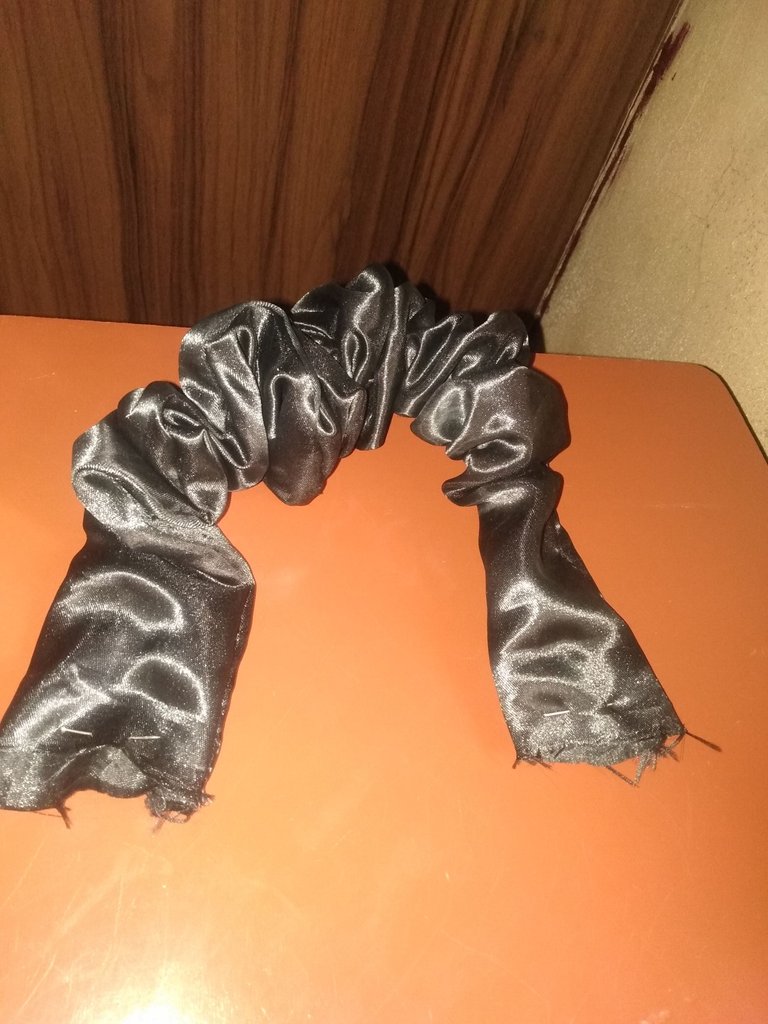
This give the trending scrunchie headband which can be use on both Native and office wears.
Thank You!
Nice hand made headband, it is beautiful and I love it
Thanks for your nice comment sir
Welcome to our home, I was delighted with the fabric you used for this headband and the very simple and useful explanation.
I hope to see more of your content here, good luck.
Thanks for your nice comment. I love to be a member.
Thank you for sharing this amazing post on HIVE!
Your content got selected by our fellow curator @rezoanulvibes & you just received a little thank you via an upvote from our non-profit curation initiative!
You will be featured in one of our recurring curation compilations and on our pinterest boards! Both are aiming to offer you a stage to widen your audience within and outside of the DIY scene of hive.
Join the official DIYHub community on HIVE and show us more of your amazing work and feel free to connect with us and other DIYers via our discord server: https://discord.gg/mY5uCfQ !
If you want to support our goal to motivate other DIY/art/music/homesteading/... creators just delegate to us and earn 100% of your curation rewards!
Stay creative & hive on!
Wow, thanks for your kind gesture. I so much appreciate it