"Creative Sunday" DIY on how to fixed a sagging roof a car by @mosesessien
Hello guys
How are you all doing today, I hope you all are doing well. First of all I wish you all happy first Sunday of the month of October 2022, how was service today I hope it was wow. Today is Sunday and I want to participate on the ongoing contests in which we are to present our creative work today.
Today I have a very interesting and important creative work to share with you all and I know at the end it will really help many on this great platform. I am a well know person here on hive which I fucus on the design of car interior like seat cover, car roof, datch board, door carpet and many others.
Today I how sharing with you all the simple where to change a sagging car roof to become new and it is very simple to do it by your self if you follow my steps very well.
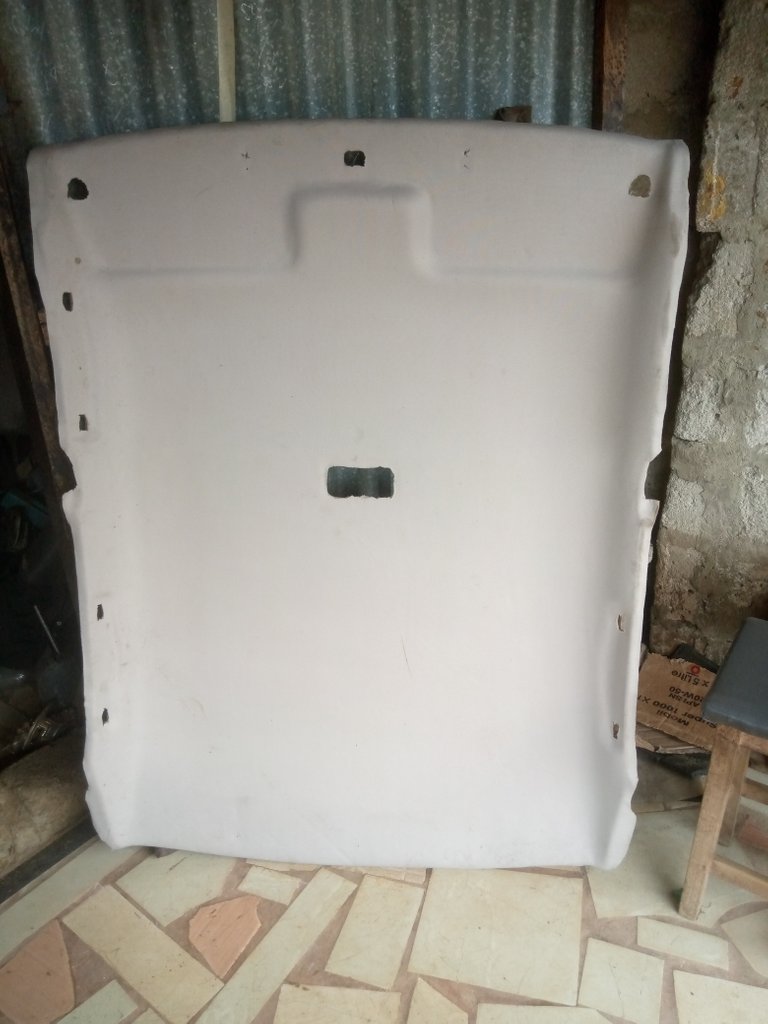
Here is the finished roof work
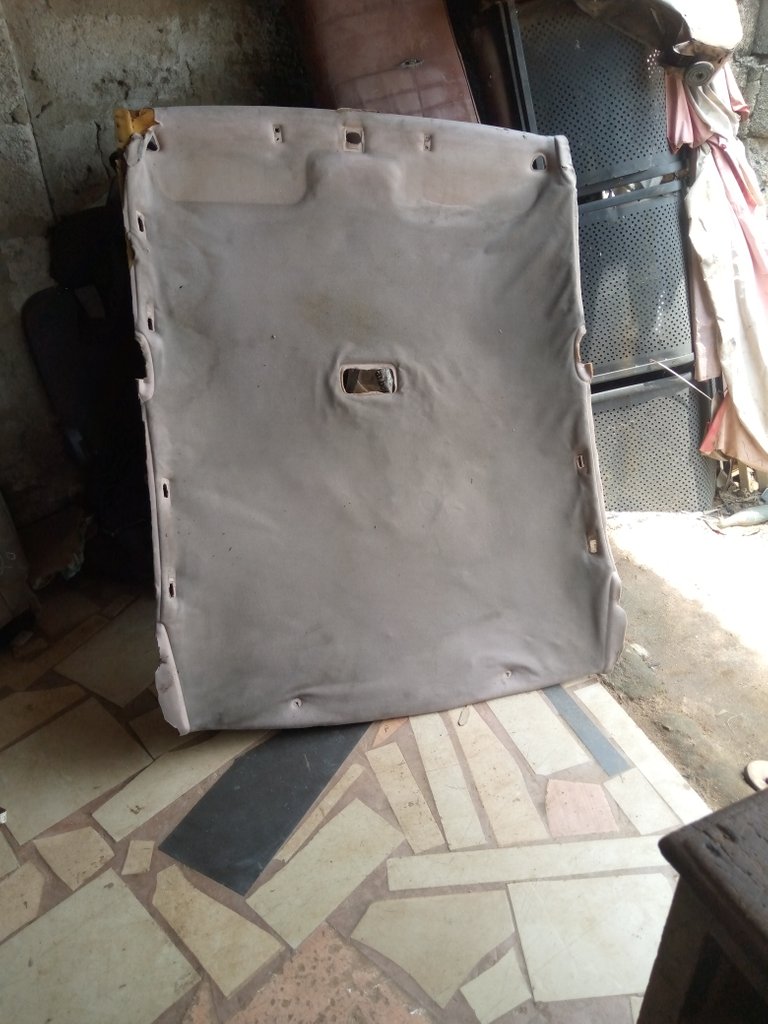
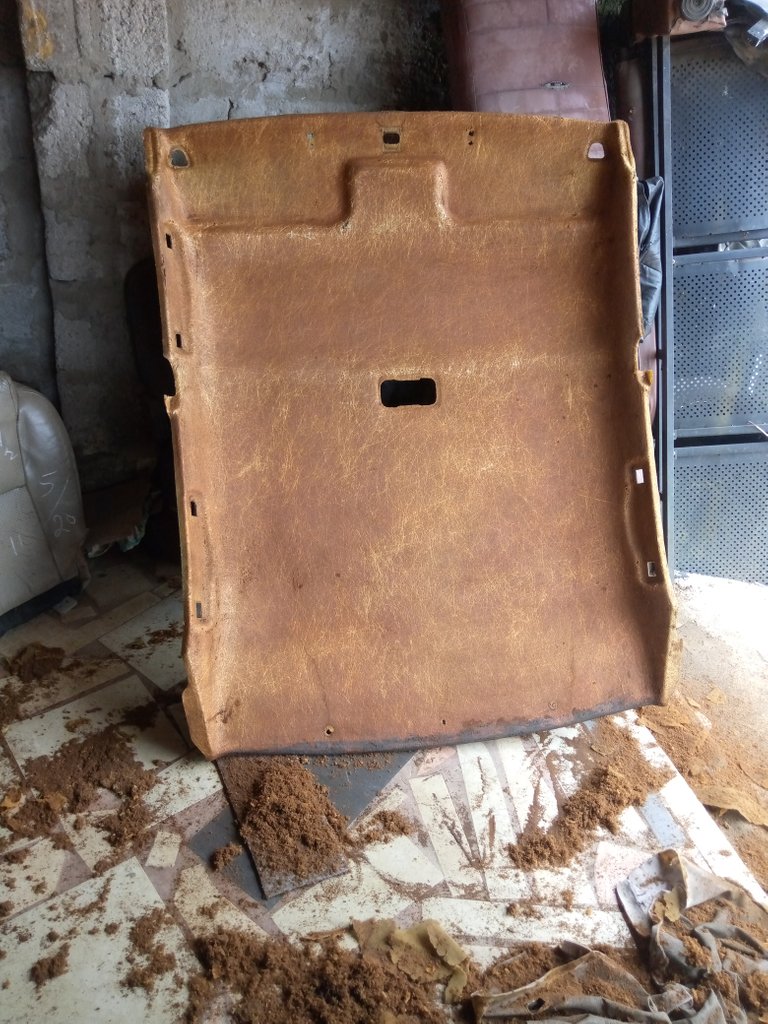
Here was the roof before
Material needed
- new roof fabric
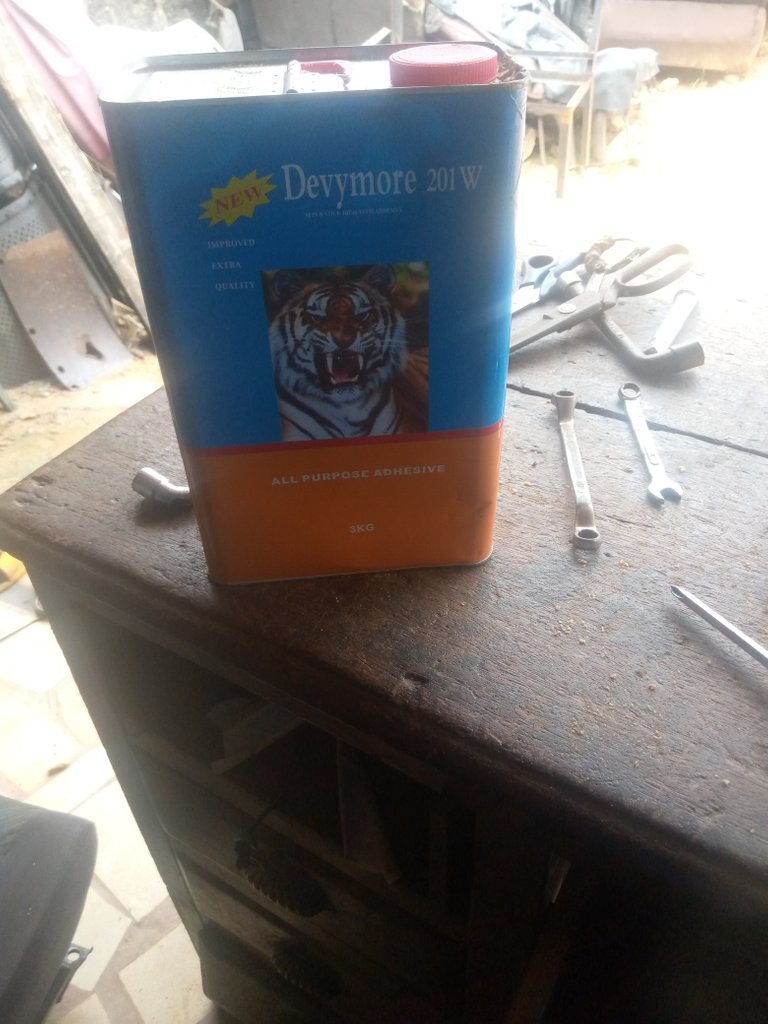
- upholstery gum (original)
- start screwdriver
- iron brush
- broom
- knife etc
steps to follow
Step 1
The first thing to do is to loose the roof from the car to a place you wish to start and do the work. You can simple loose the roof from the car with the help of some tools listen above. First you remove the handle, the light, the sun shade and every other things connected to the roof and then move it to your shop. This particular roof I was not the one that loose it, it was brought to me like this from my trusted customer.
Step 2
After removing the roof from the car, you now cut a sample of the roof material to a market to buy the material that will match with the old color and the gum you are using for the work. Here are the photos.

Step 3
After getting your new material ready, you now use your hand to remove the old fabric from the roof it self. See photos
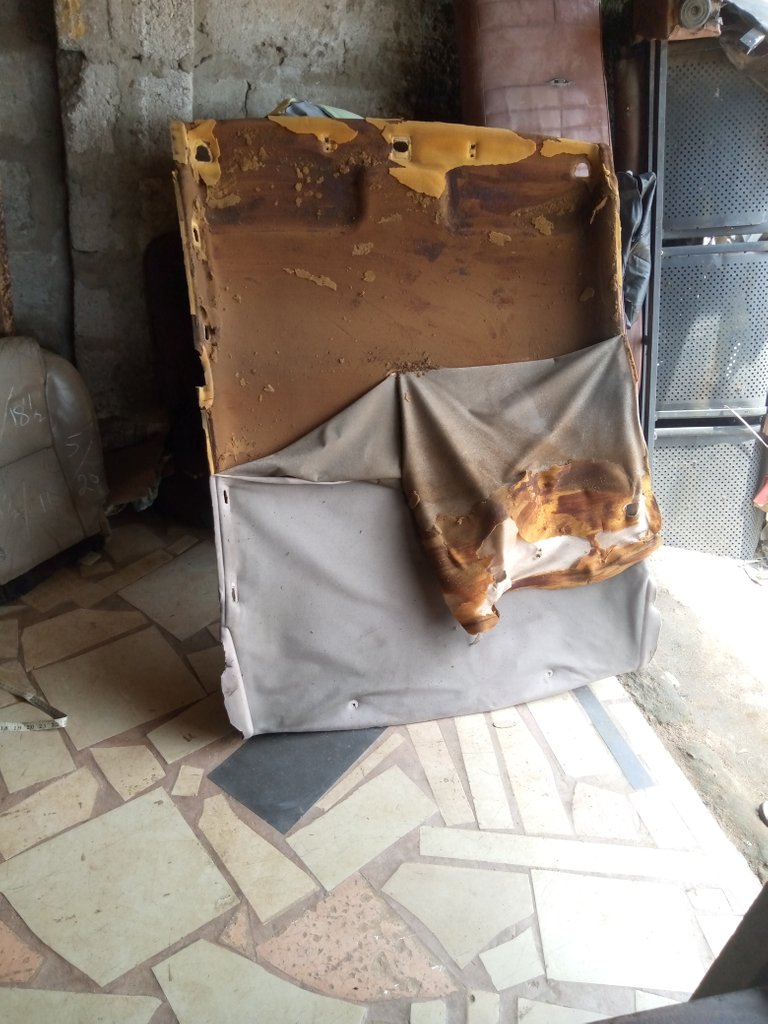
Finally remove it completely.
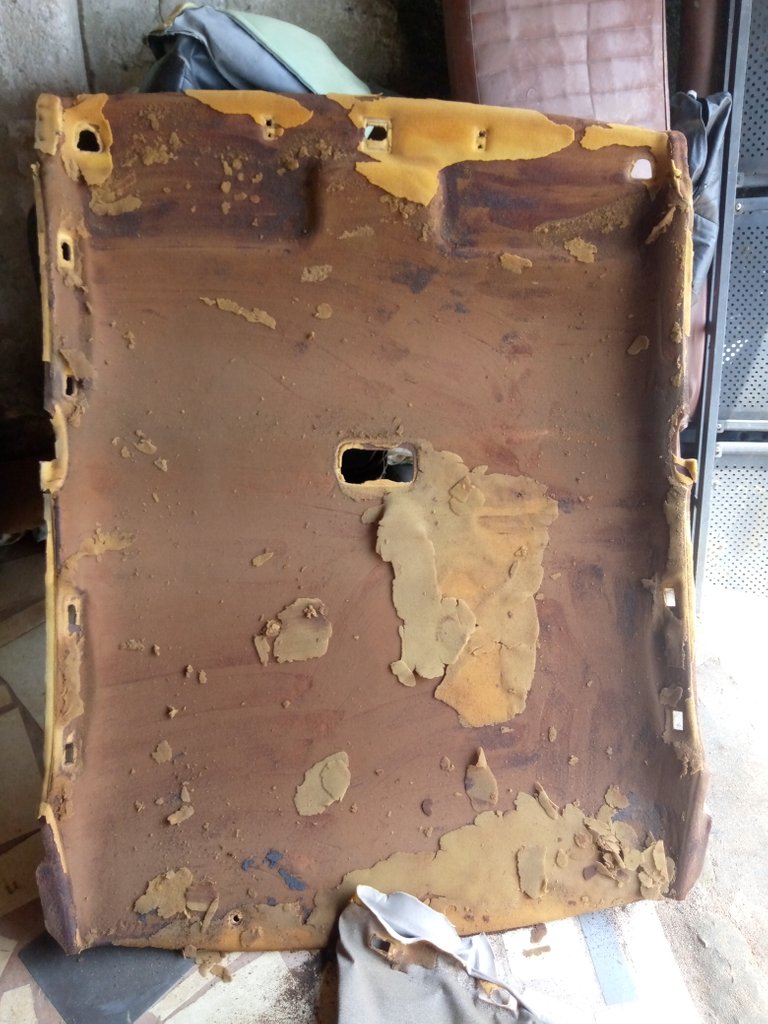
Step 4
After roof the old fabric, you now use iron brush to remove the old deposit material from the roof to enable the new material to gum very well without pulling off after you have gum it together.
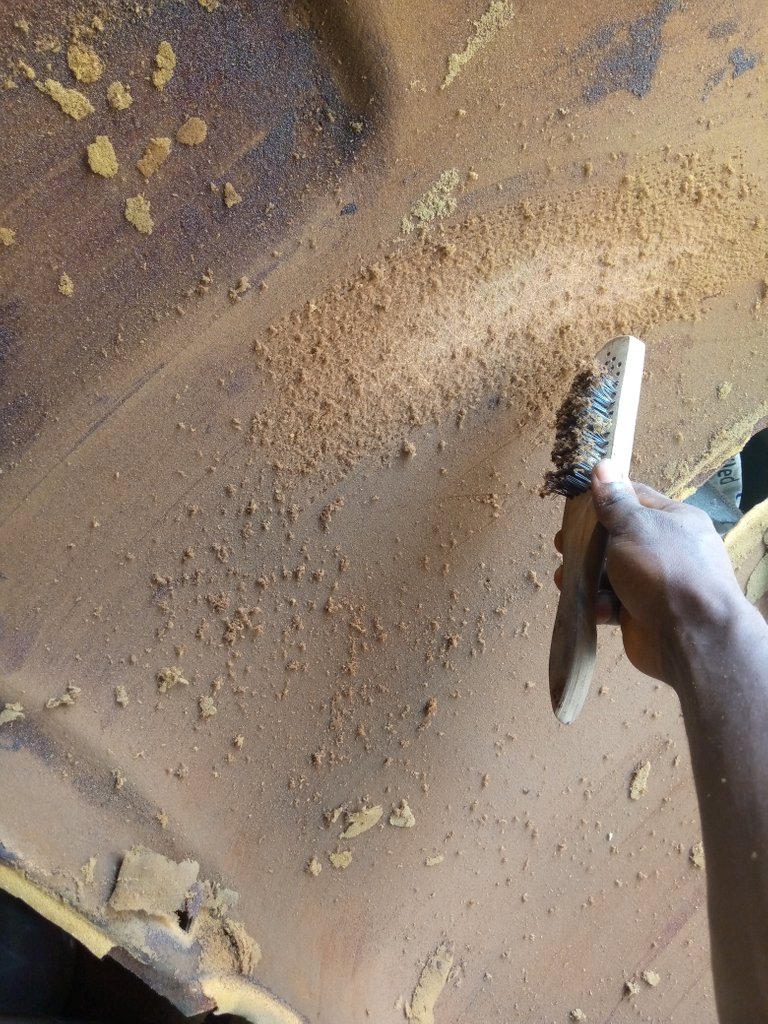
Work in progress, well this is not hard or simply but is easy to do it. 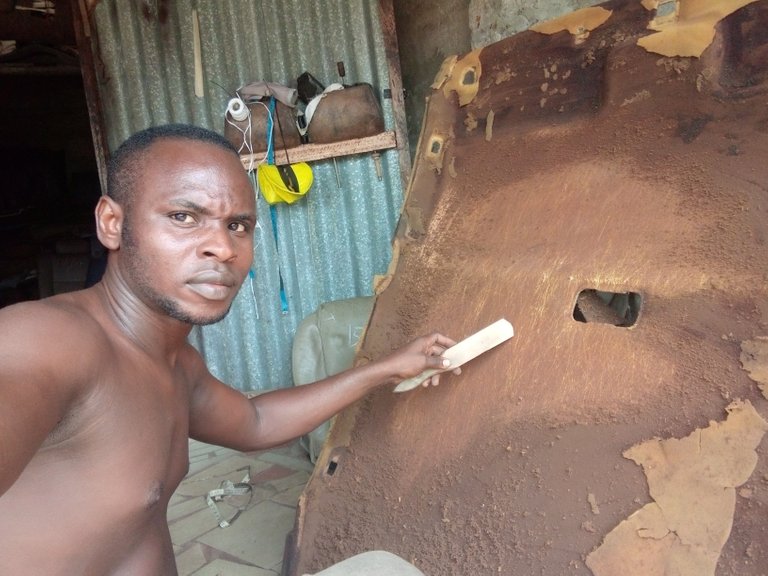

Has you can see on the picture I am sweating and it took my complete 1 hour to finish brunching the old material out has shown below.
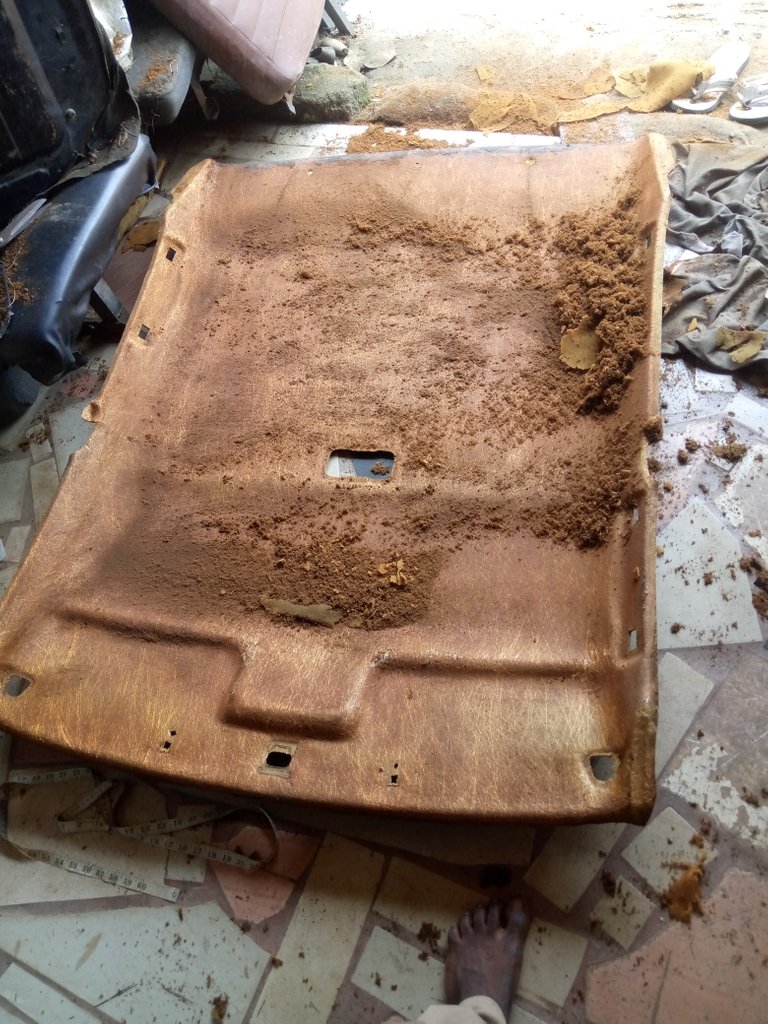
Step 5
After brushing the old material, I now use broom to sweep out the material from the roof board.
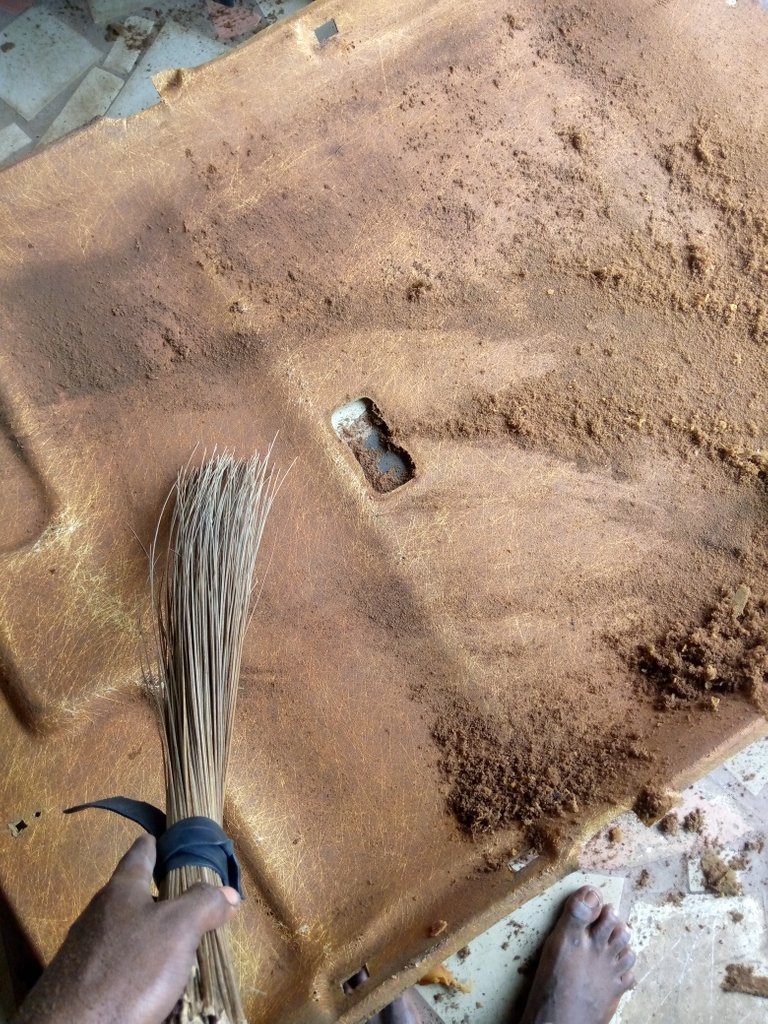
And here is the final look.
My roof board is ready to work on.
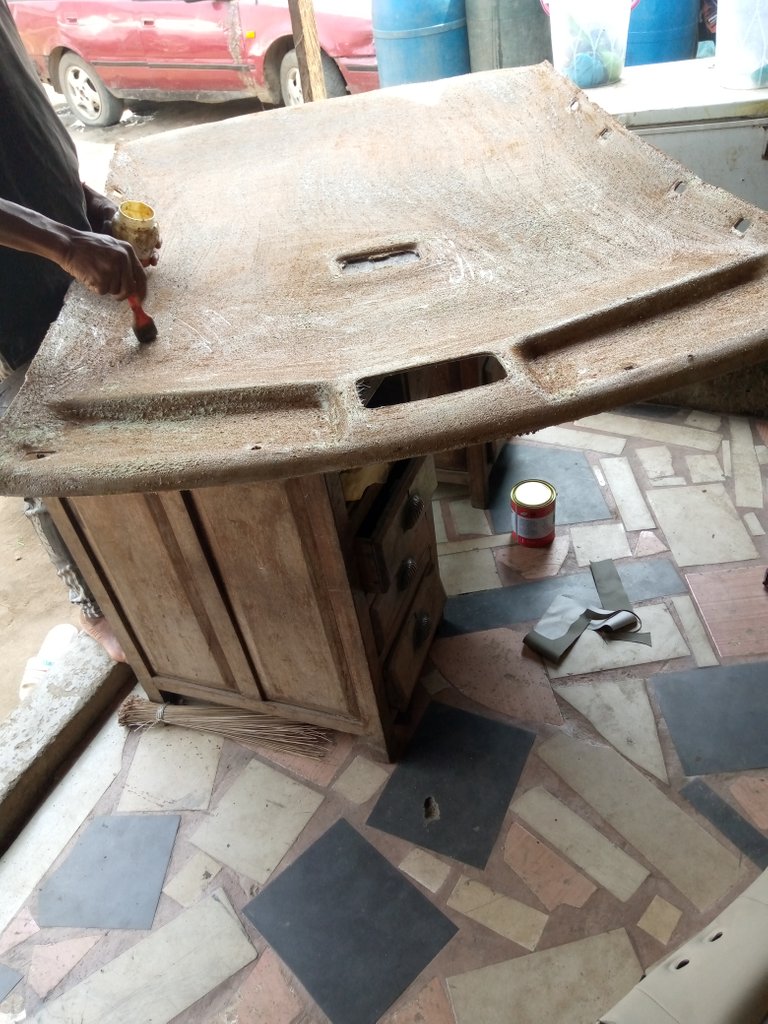
Step 6
I then use my gum and apply it to the roof board first.
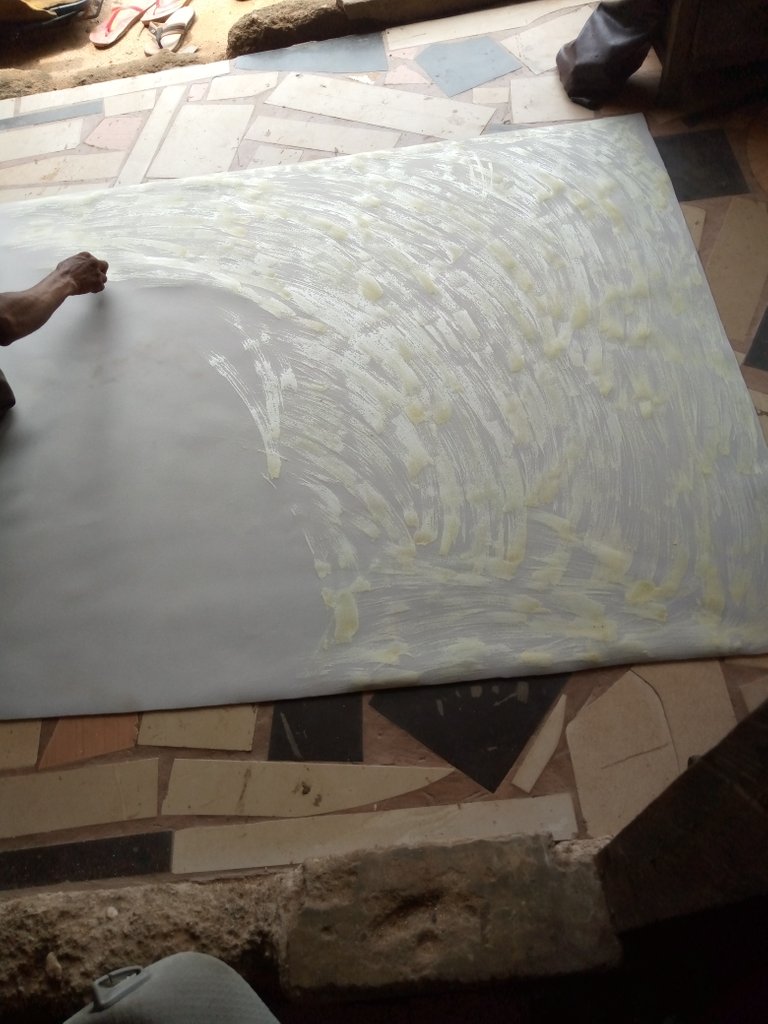
Step 7
I also apply the gum to my new roof fabric.
step 8
I finally bring both the roof material and the fabric together and the gum it together.
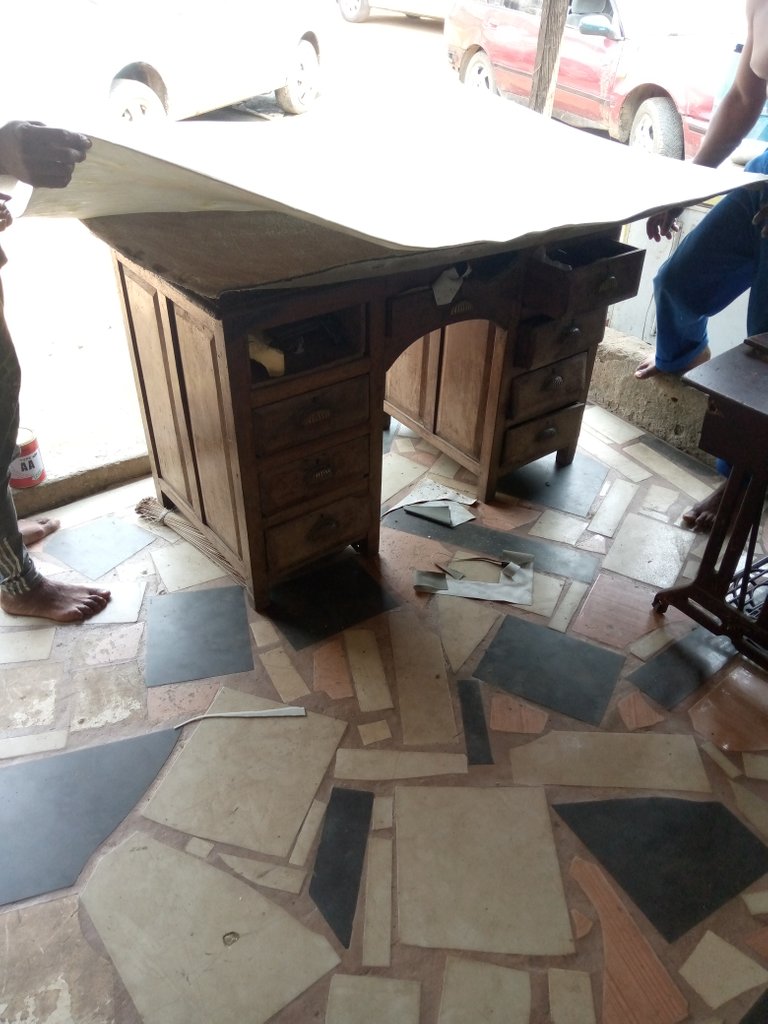
final stages
After gumming the both material together, I now use small knife to open all the opening on the roof board and here is the final out come of it.
This is the end of my entry, hope you enjoy going through it. Thanks for your time I really appreciate it. See you next Sunday for another edition of my creative work.
https://twitter.com/MOSESESSIEN0816/status/1576614697750515712
The rewards earned on this comment will go directly to the people( @mosesessien ) sharing the post on Twitter as long as they are registered with @poshtoken. Sign up at https://hiveposh.com.
Congratulations @mosesessien! You have completed the following achievement on the Hive blockchain and have been rewarded with new badge(s):
Your next target is to reach 100 posts.
Your next target is to reach 900 comments.
You can view your badges on your board and compare yourself to others in the Ranking
If you no longer want to receive notifications, reply to this comment with the word
STOPTo support your work, I also upvoted your post!
Check out the last post from @hivebuzz:
A very nice and thorough job well done Mosesessien.
Thanks so much boss