Needlework: sewing and reupholster of a Lexus back seat by @mosesessien
Hello guys
Virtual greeting to everyone in this amazing community, and happy weekend. How are you all enjoying your weekend, I hope everything thing is going fine.
I am very happy to share a post here in this community today, it is always a thing of Joy to me because I know very well at the end I will get to impact one or two new things you need to know how upholstery of car seat.
It has been some days now not creating a post here because this days to get a work is really something else because the price of everything is really going higher and people do complain of no money to work their car seat and mose of them prefer to buy ready made seat cover wish some time do not last for a year compare to the one I will made wish can last over 8 years depending how you handle it.
I was really lucky to have this work giving to me by one of my customer wish I have already sew the two front seat for him about 2 years ago, by then the back was still ok but I really feel disappointed by him because he did not pay me the complete money he only give me the money for the material and beg me to leave the car for him that he will bring me the balance and he refused to pick my calls. Is not easy the way people do things.
I desire to share with you all today some steps in details how I work on this beautiful seat , it took me just 2 days to work on it and that was on Tuesday and Wednesday of this week. I suppose to post this since but I am trying to work on some old work and that make me feel tire and is weekend like this I always have some rest that is why I choose to post it today hope you will love it.
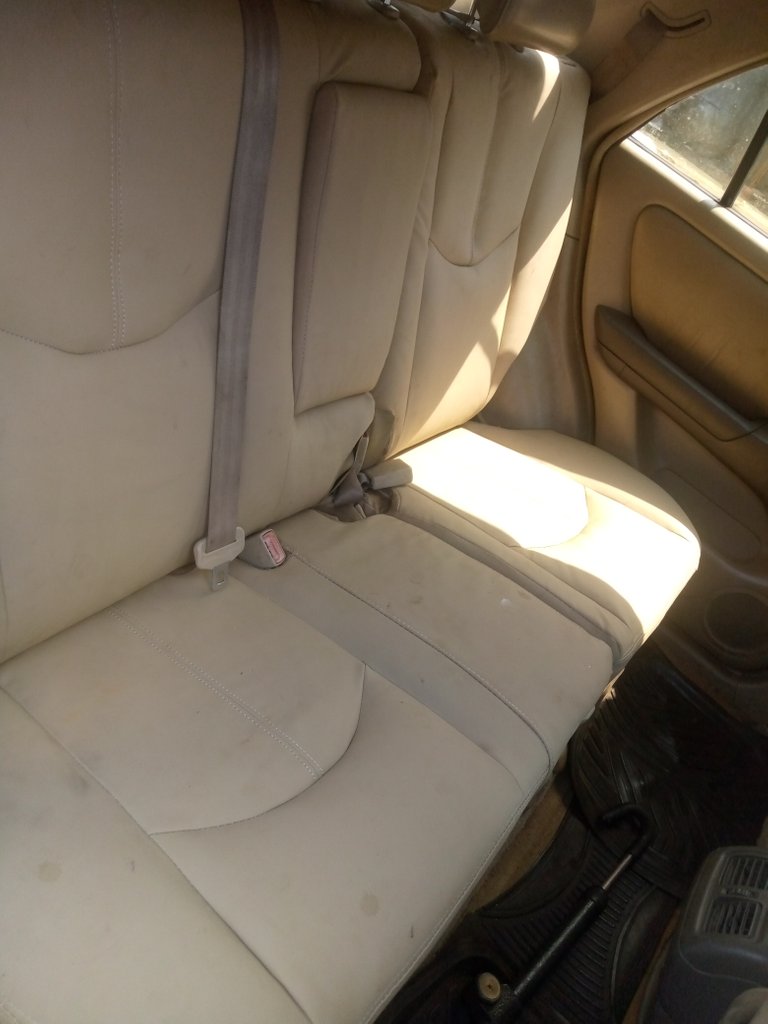
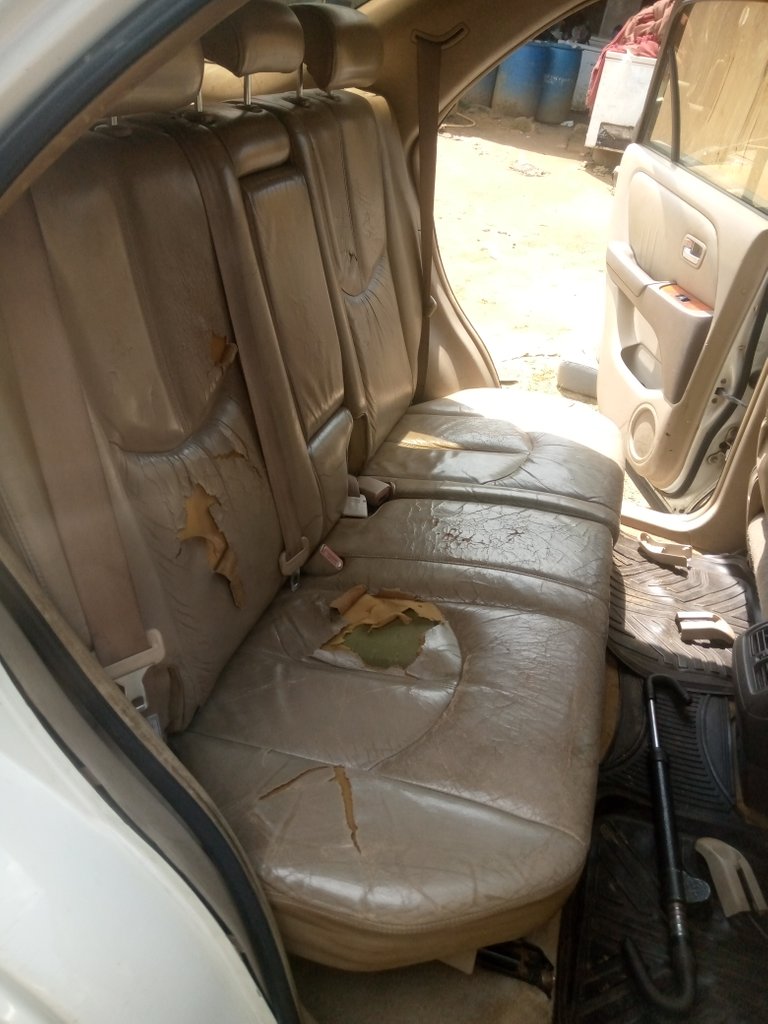
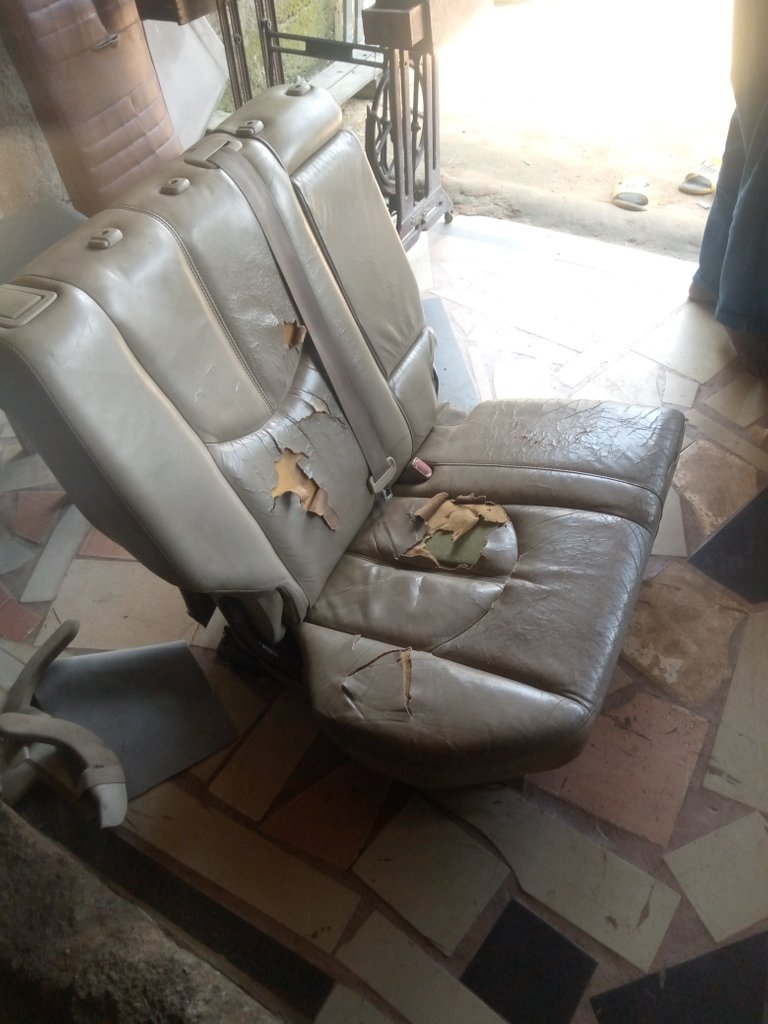
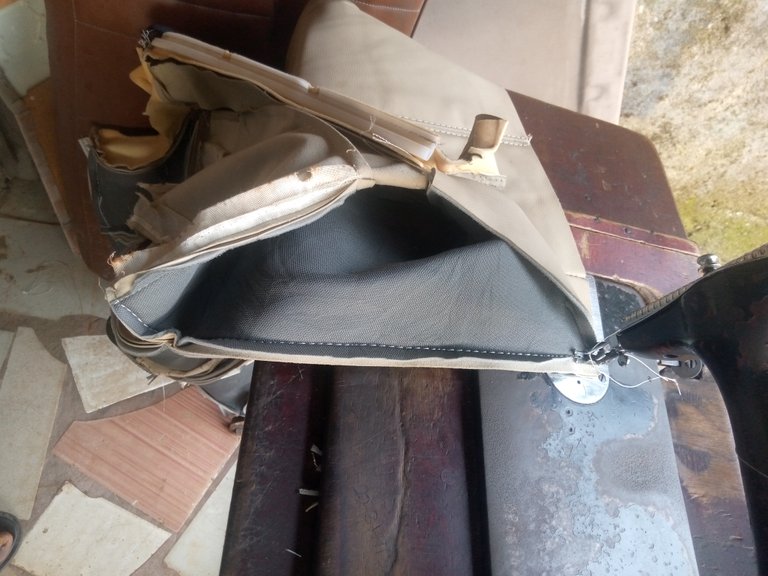
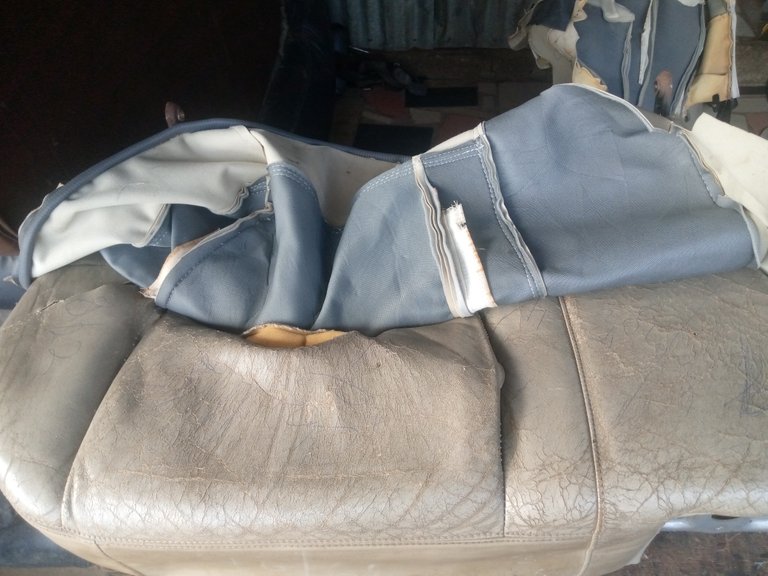
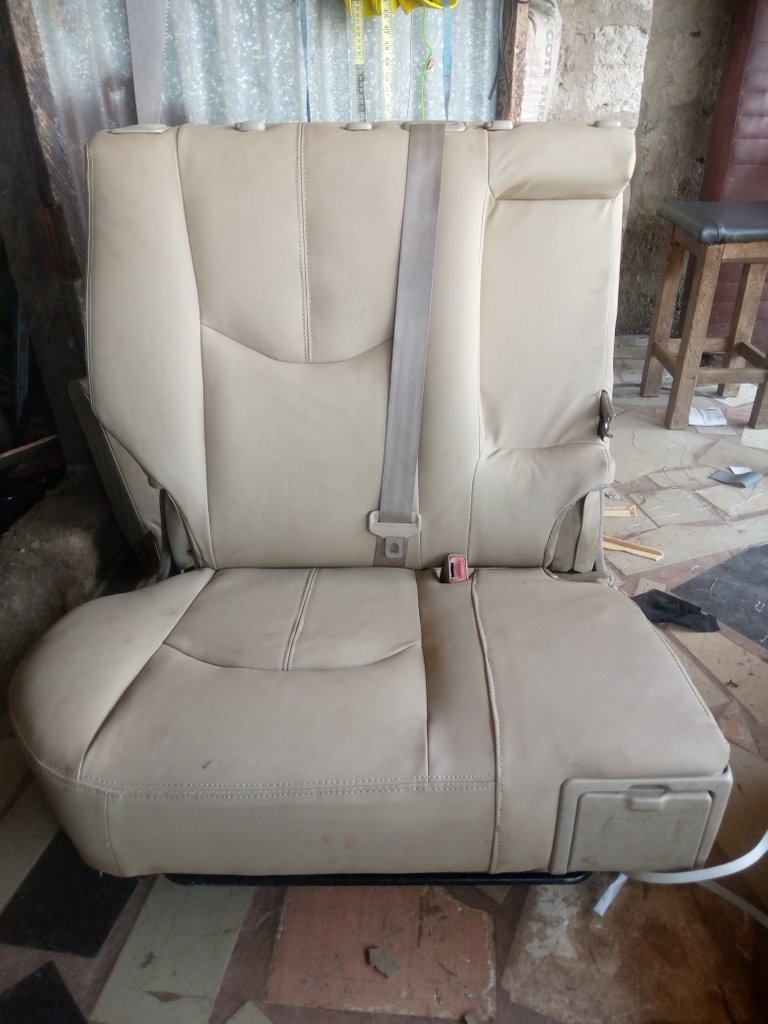
Here was the seat before
Let see some steps I follow to work on the seat, I will use photos to make this post east to understand.
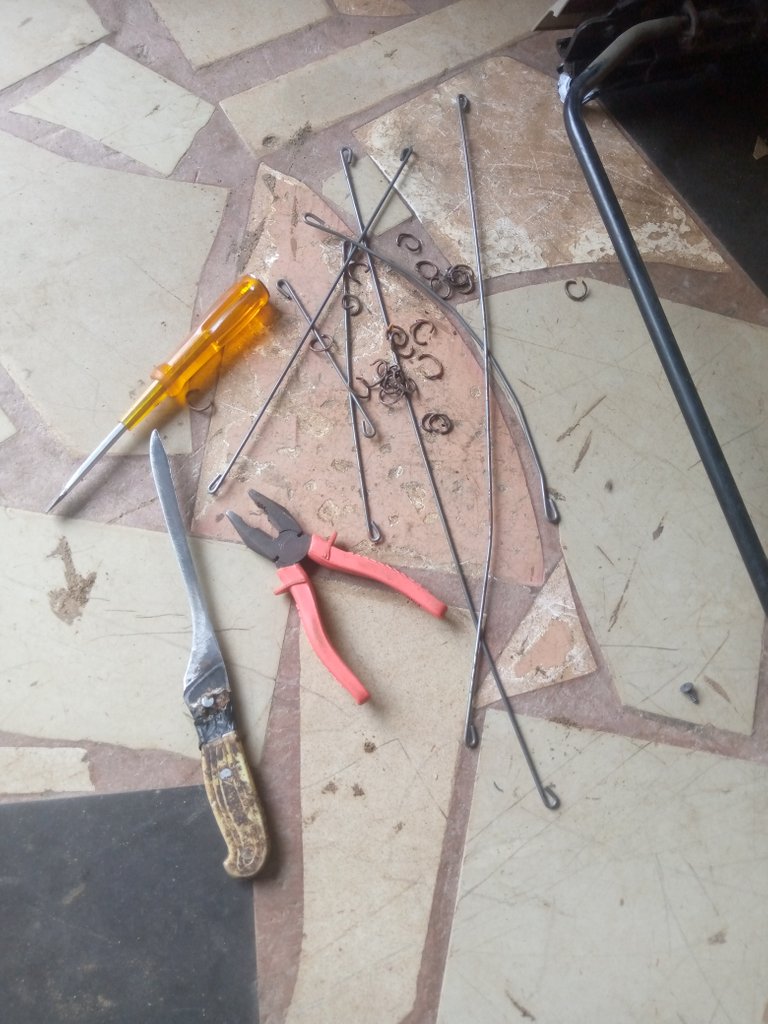
Firstly before any thing I will love to state the tools and material needed for this work
- new leather
- sewing machine
- piliar
- flat and star screwdriver
- 14' sucket spanner
- thread
- car roof fabric
- chalk
- long rule
- upholstery gym etc.
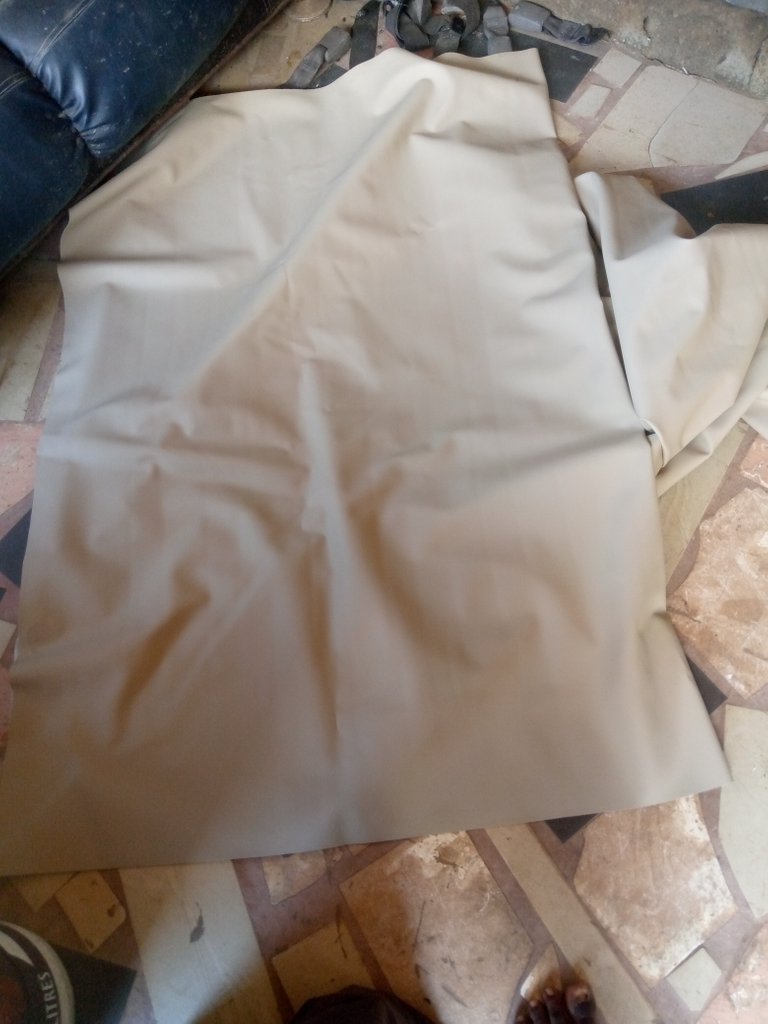
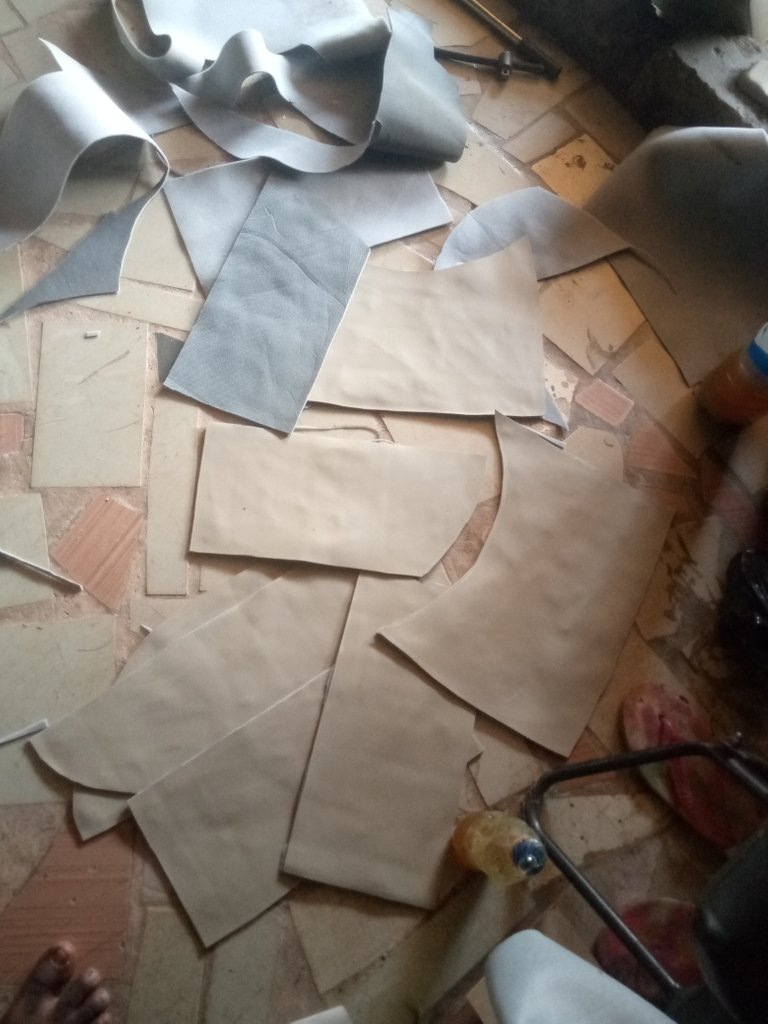
Here is the new leather I am using
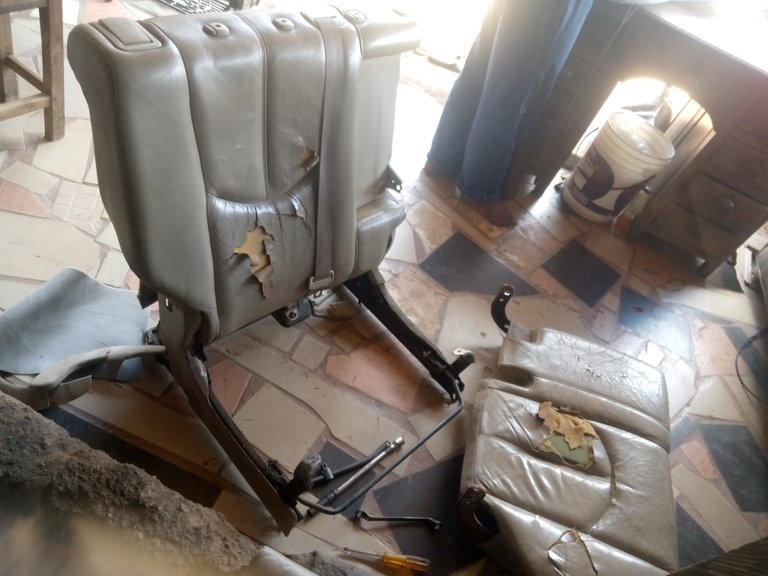
Firstly I loose the seat from the car with the help of 14' sucket spanner to my shop. See photo below
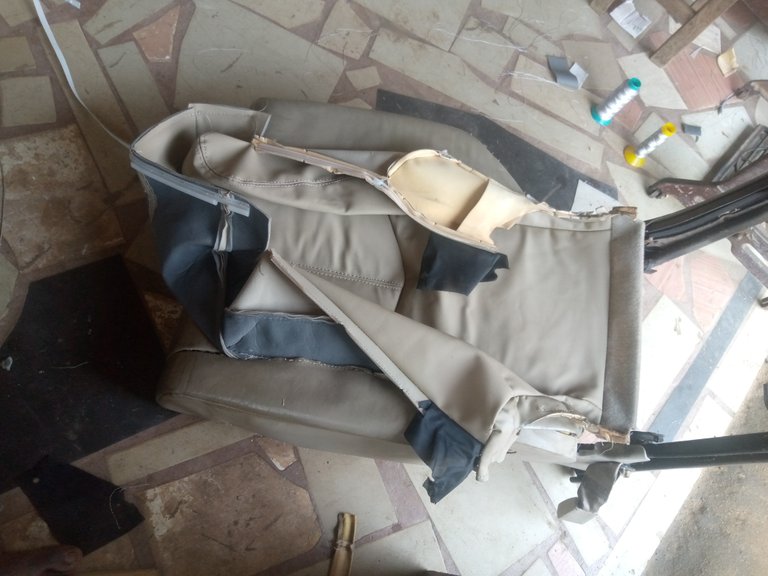
I then use start and flat screwdriver to loose the side cover and also use 14' sucket spanner to loose the main seat from the back for easy measurement and upholstery. See photo below
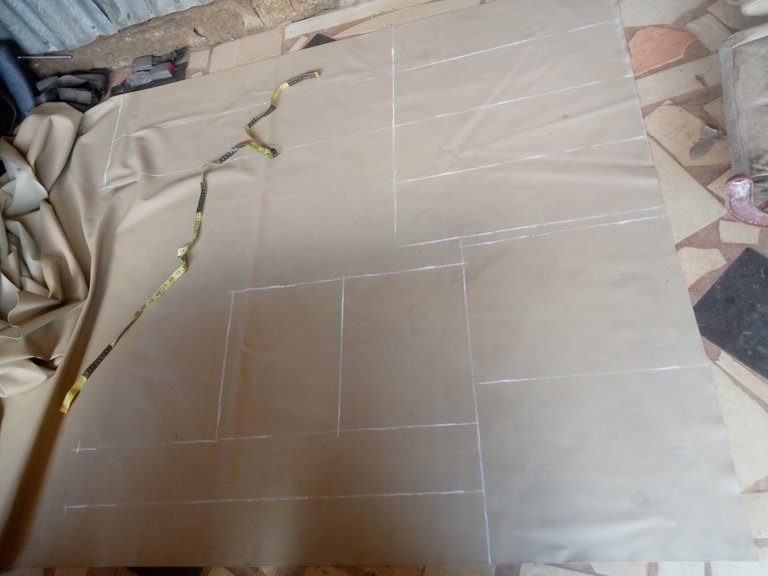
I then use a sewing tape to take the vertical and the horizontal length of each pattern on the seat. See photo below
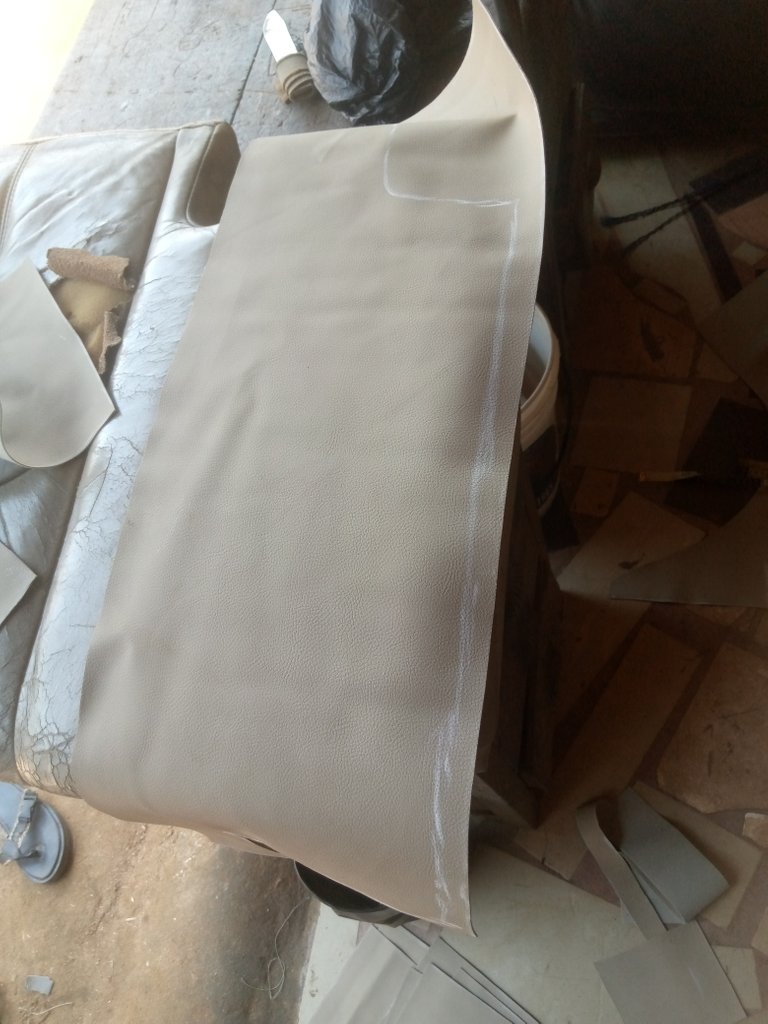
After taking the measurement I then transfer the measurement to my new leather, I mark out the vertical and the horizontal length measurement and then use a long rule to connect the line together. See photo below
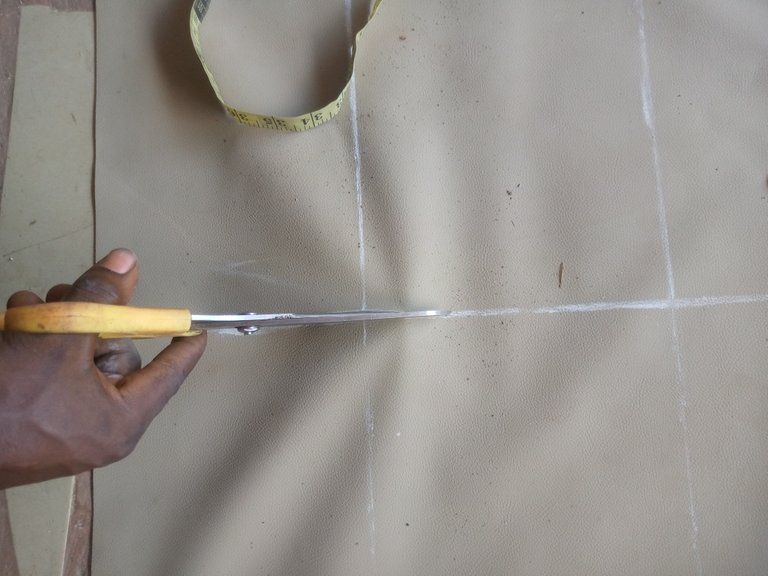
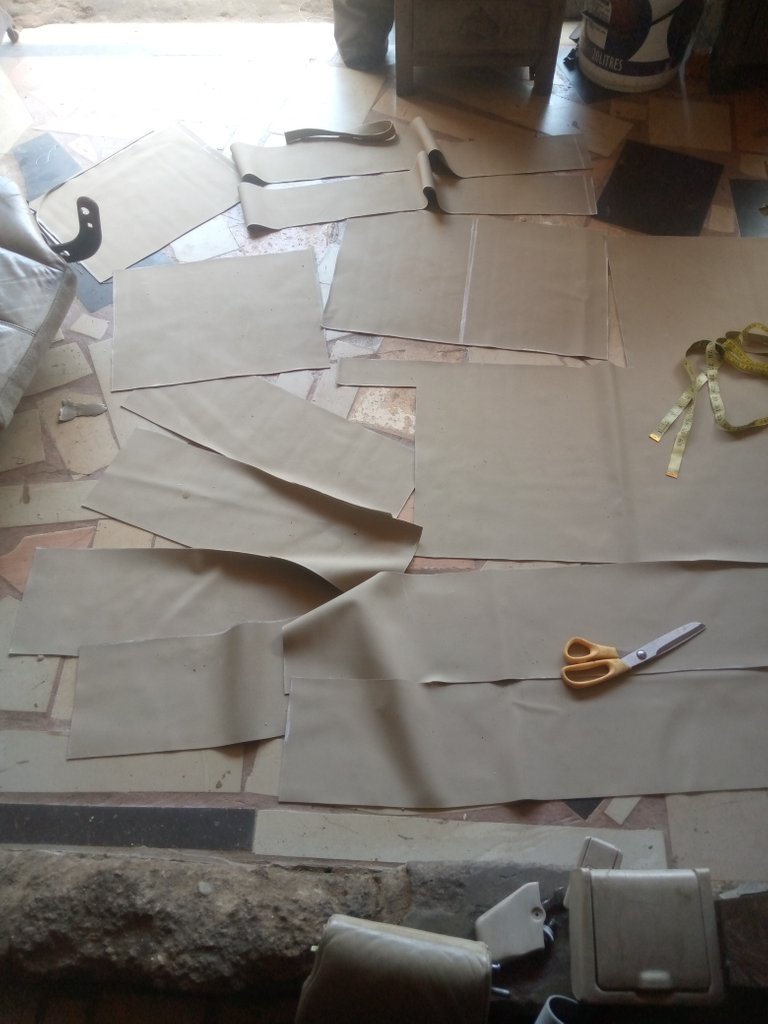
I then use scissors to cut them out following the line I draw. See photos below.
Creative a pattern for my new seat
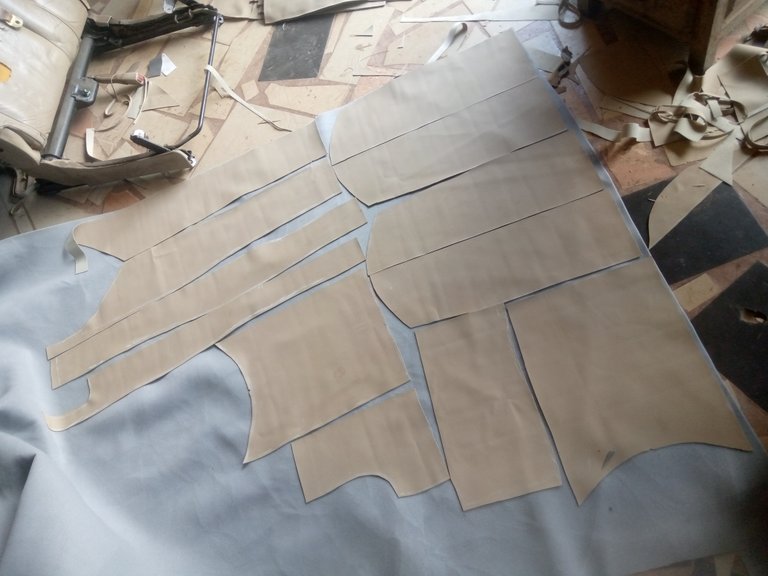
This is very important step, because this is where everything lies. It is very simple to form the pattern. To do that simple place the cut material on it position on the old seat and then use chalk to draw out the shape of the old seat see photo below
Then cut it out, do the same all over to form the pattern, after forming the pattern I then place it on a roof fabric and then gym it together to make the leather think and smooth, this is just like applying lining on a cloth. See photo below
After that I now us scissors to cut it out for sewing process. See photo below
I then proceeded to sewing steps
I carefully use sewing machine to join the pattern together in it right position using the old seat has reference. See photos

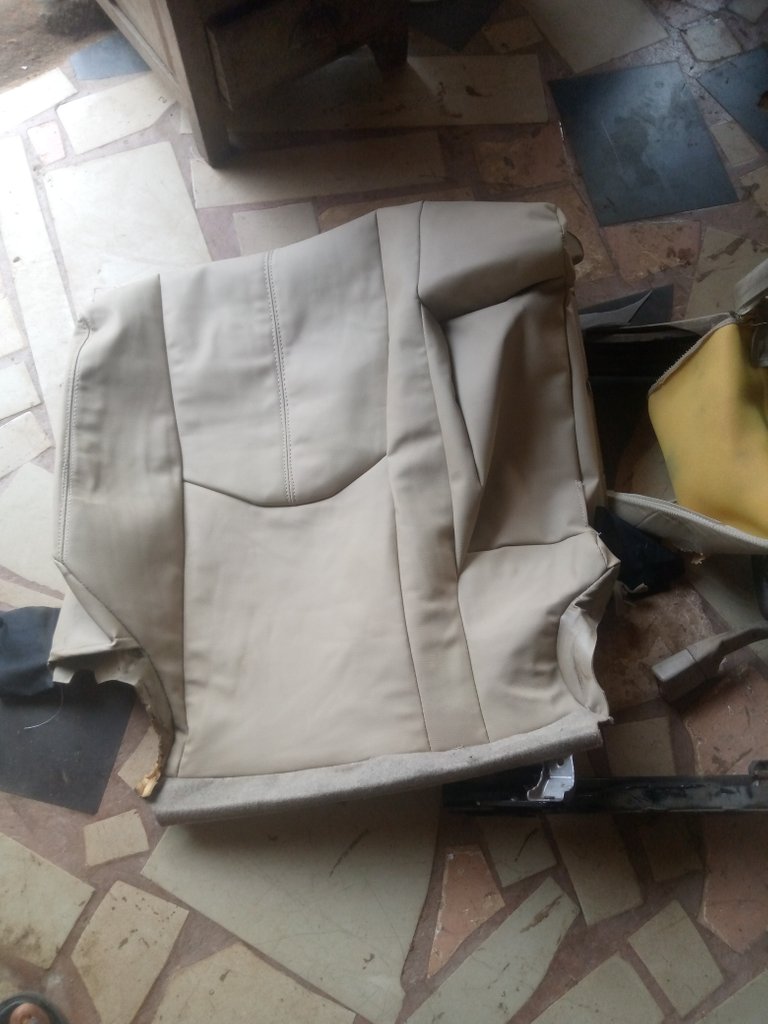
Done sewing my new seat cover
The upholstery process
This is very simple and easy and I have created a video on how this is being done. To cover the seat I use clips, tiny rod at the center and side where I have my joining and a piliar to clip it to the frame of the seat. See photos below
Clipping it to the frames
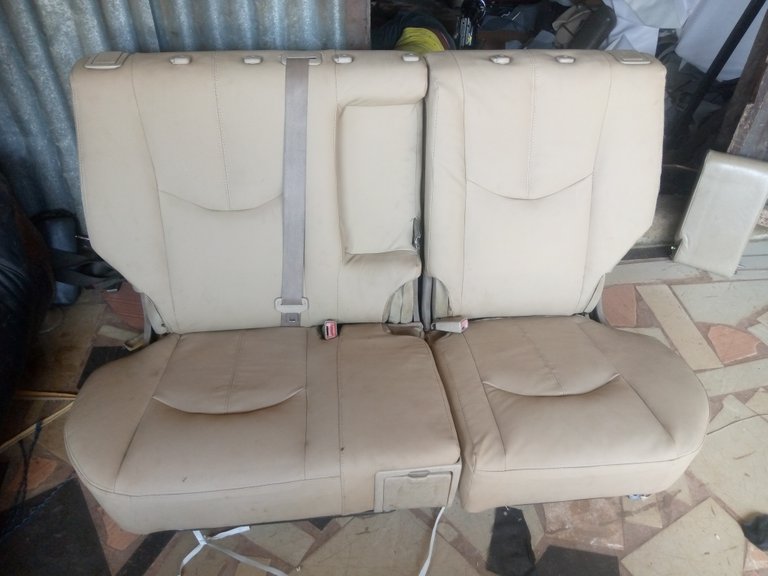
After clipping it I then cover them and here is the out come of it.
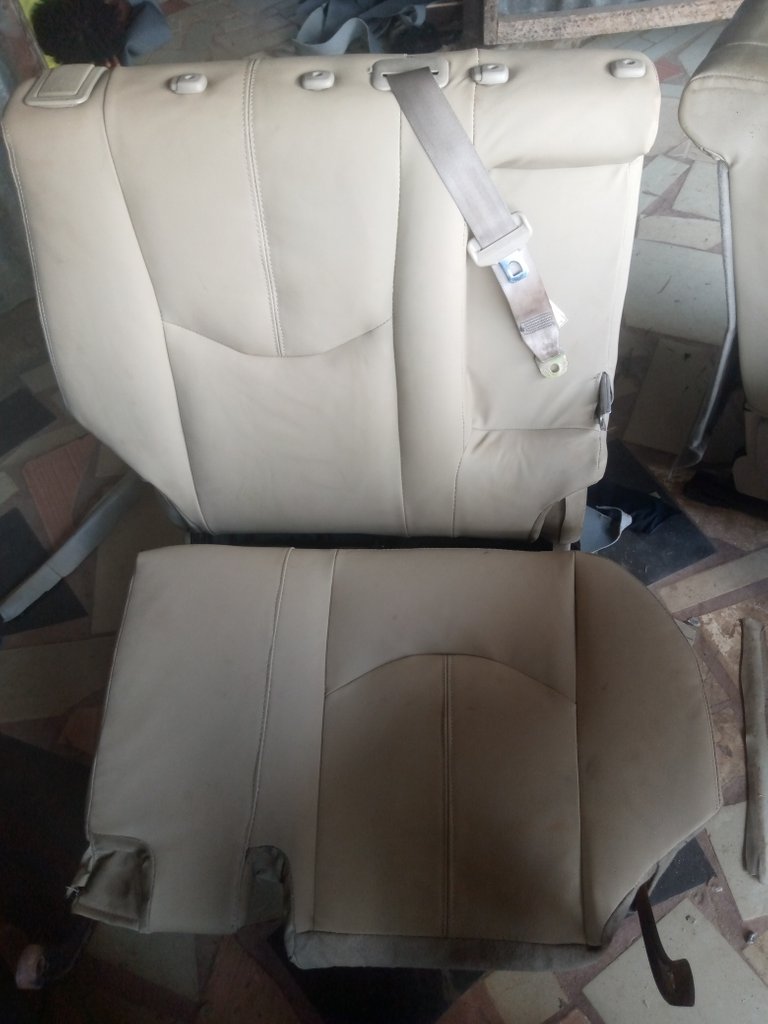
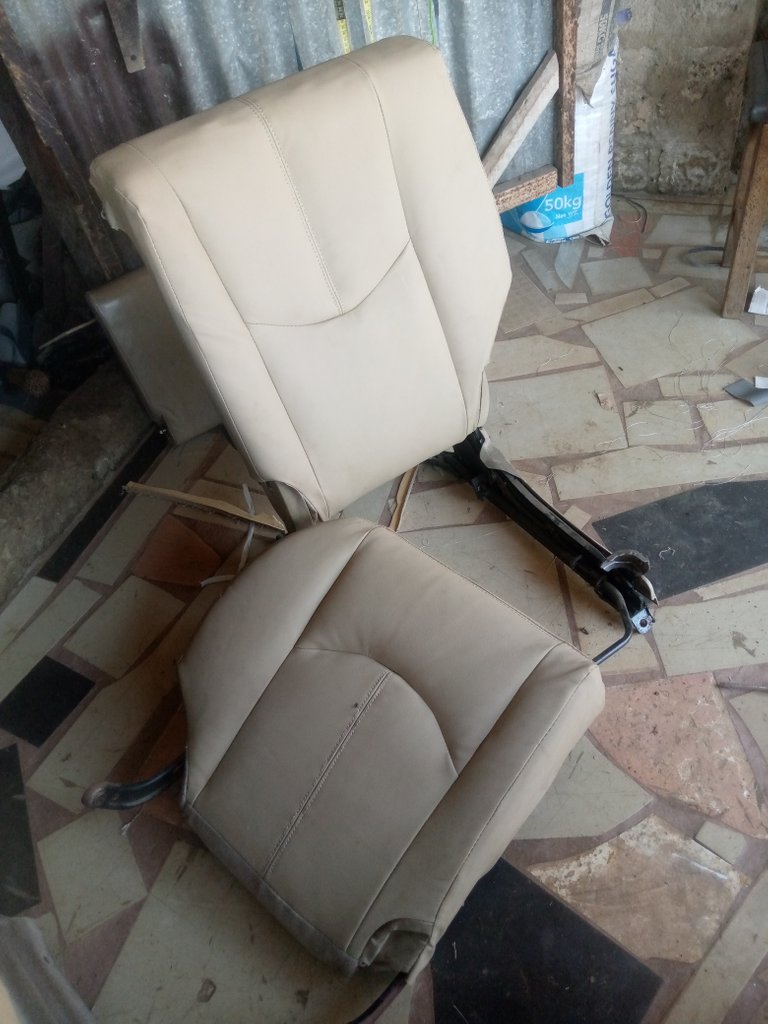
And finally tight them back
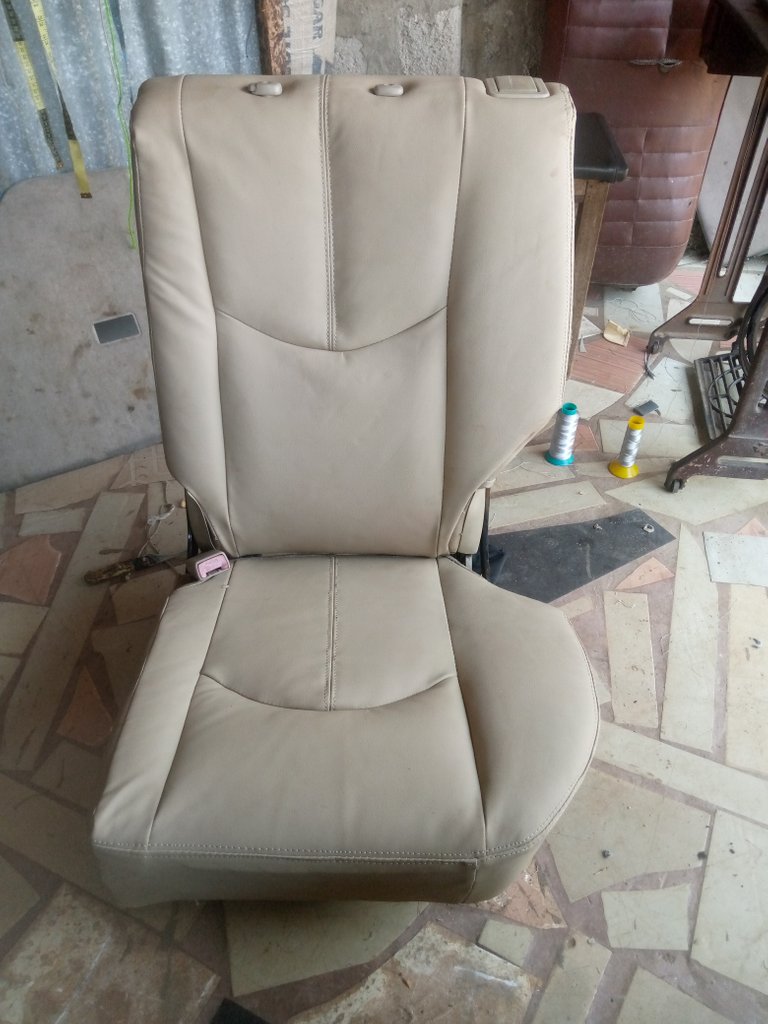
Then store it back to the car
Wow this is really beautiful, hope it you like it. Please do well to drop a comment and support this post thanks.
I will not fail to acknowledge the owner of this community, the community builders, the moderator and all the members of this community, I said my you all live long with good health including my self.
Thanks so much I really appreciate for stopping by .
It's really disappointing when customers didn't pay the exact amount of what is meant to be paid. Your effort+skills were not of value to him as he only paid for the materials. I just hope he will return and pay his remaining balance.
Anyway, you fixed it neatly, and seems durable. Keep up the good work @mosesessien.
I really appreciate sure a quality comment on my post. Thanks for stopping by
Genial tu trabajo! Me gustó mucho el resultado. Te felicito 😊
This is really Amazing and Beautiful keep up with the good work 👍
Excellent work. That customer should’ve paid you properly. Sorry 🥲🤗💕❤️🥲🥲