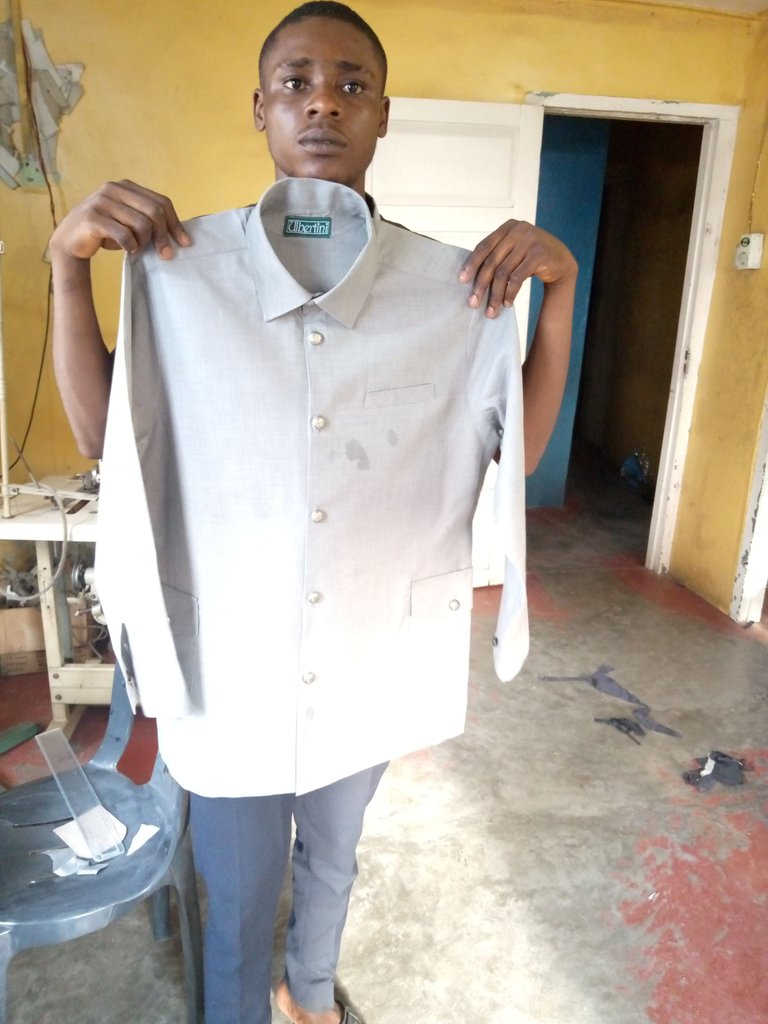
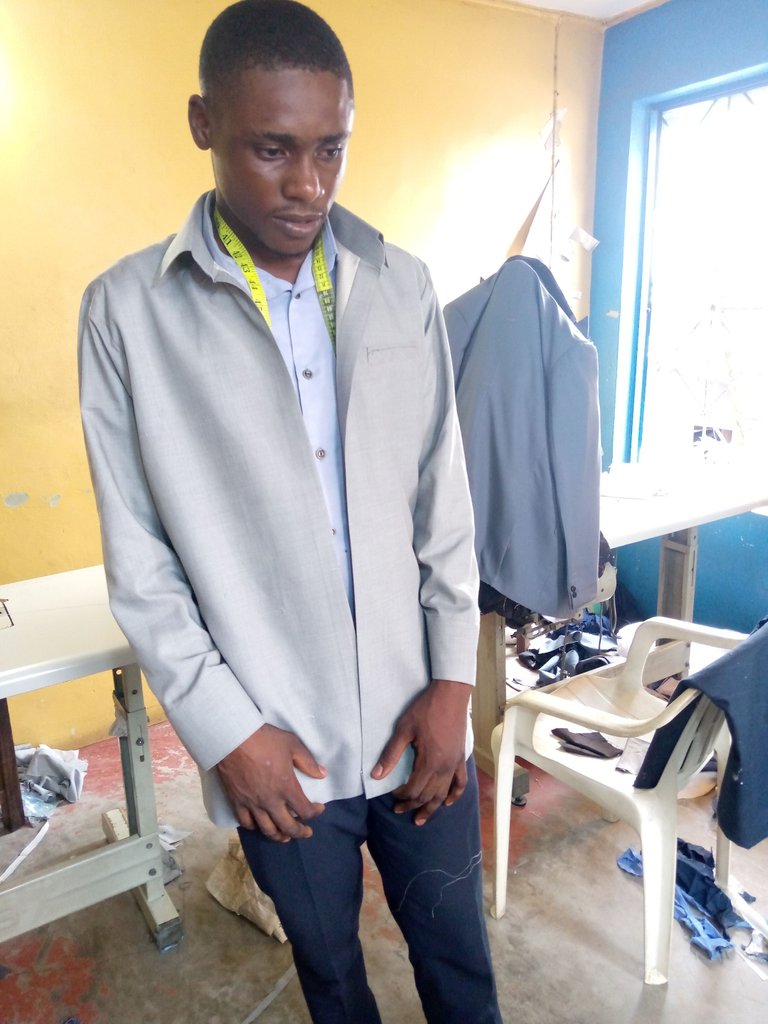
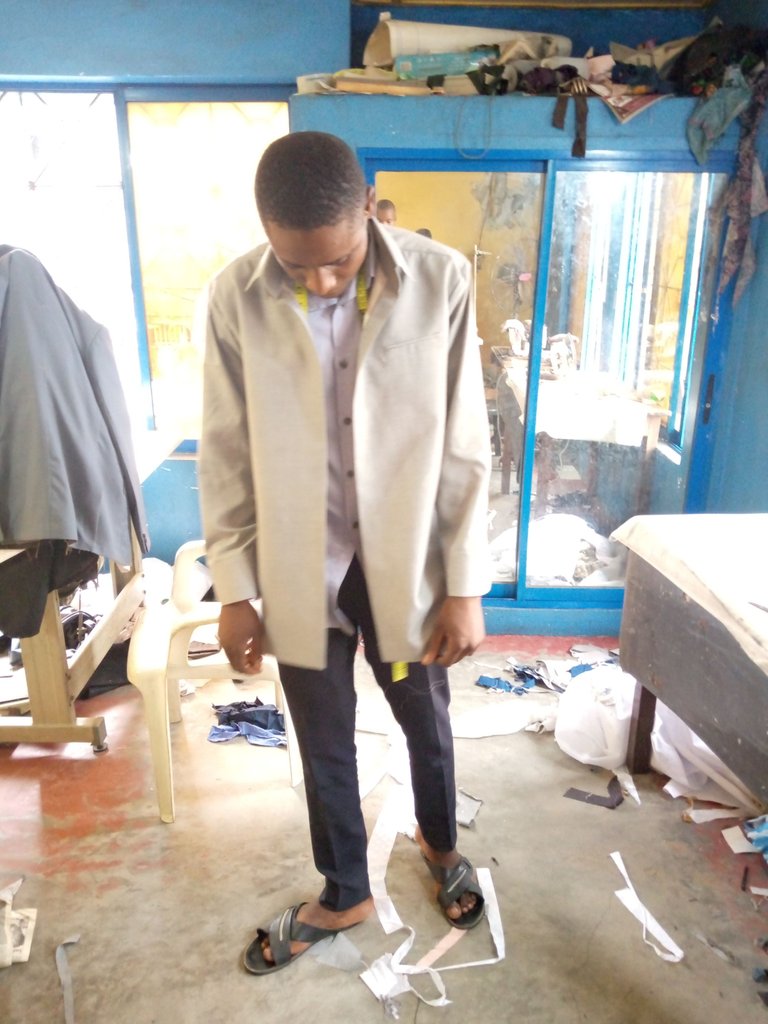
I made a suit jumper today at my work place.
Hi Friends;
happy new week to you all, trust you all are doing great. it's really exciting to join you guys over here at the needwork community, take it from me with all sincerity am super happy to be here with you guys trust me.
joining the hive community the first community that captured my attention was this needlework community, reason is that am a tailor and I sew on a daily basis so getting content to post here will be alot more easier compared to the other communities. Taking a walk through this community, I'm very much impressed and welling to explore here so that's why am here with my own work to share with you all. stay focus and enjoy the session.
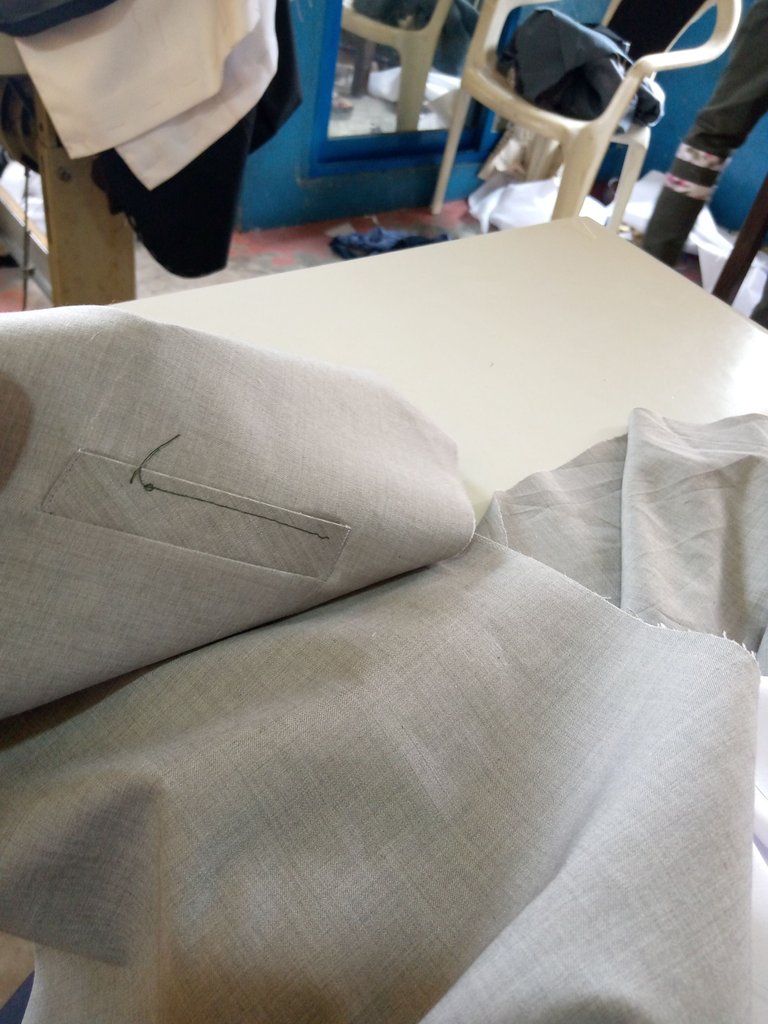
this is the finished work of the cloth I'll be sharing how I made it.
sewing equipment I used:
harsh color fabric
heirstay gum
collar gum
light-stay gum
matching thread
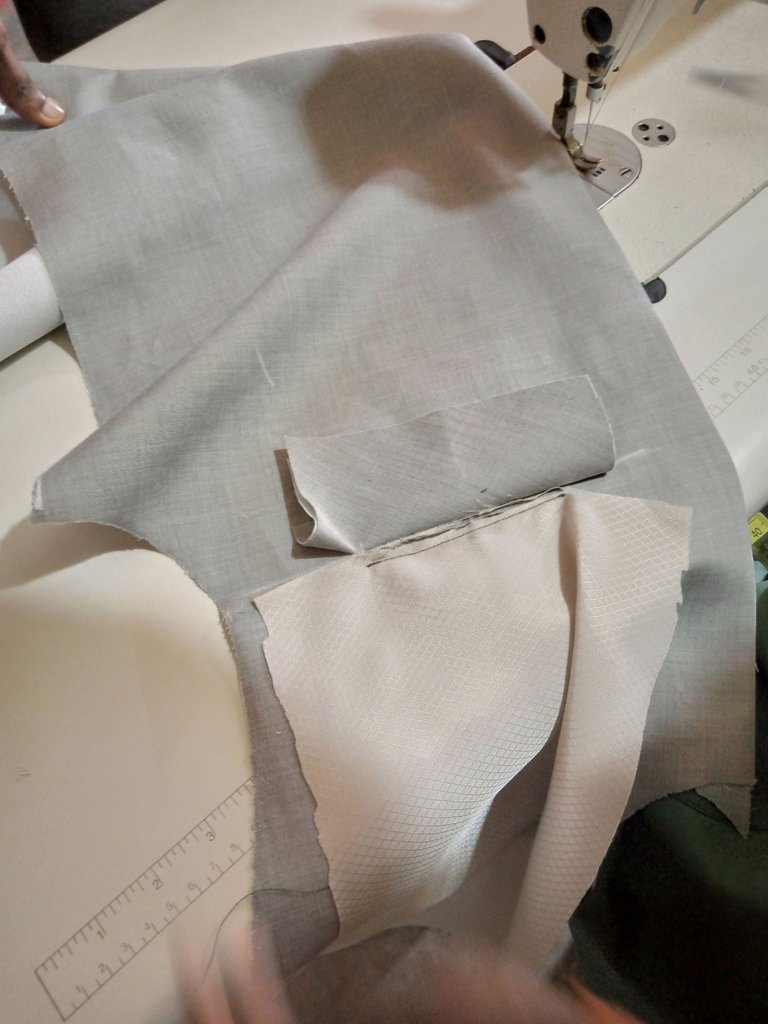
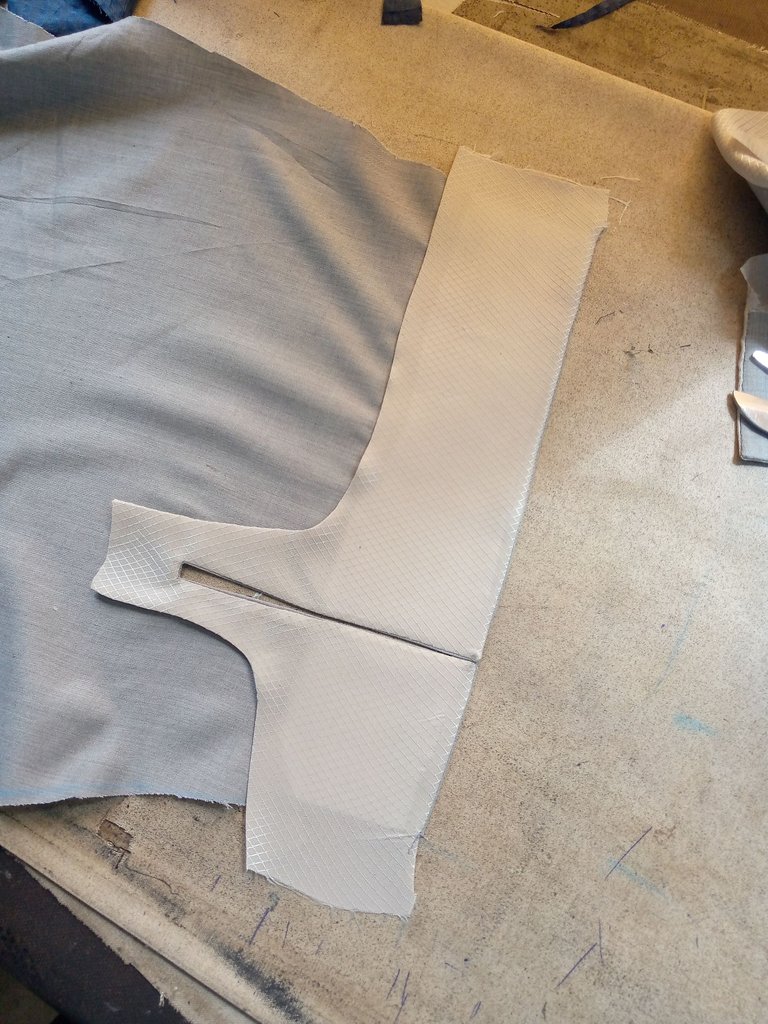
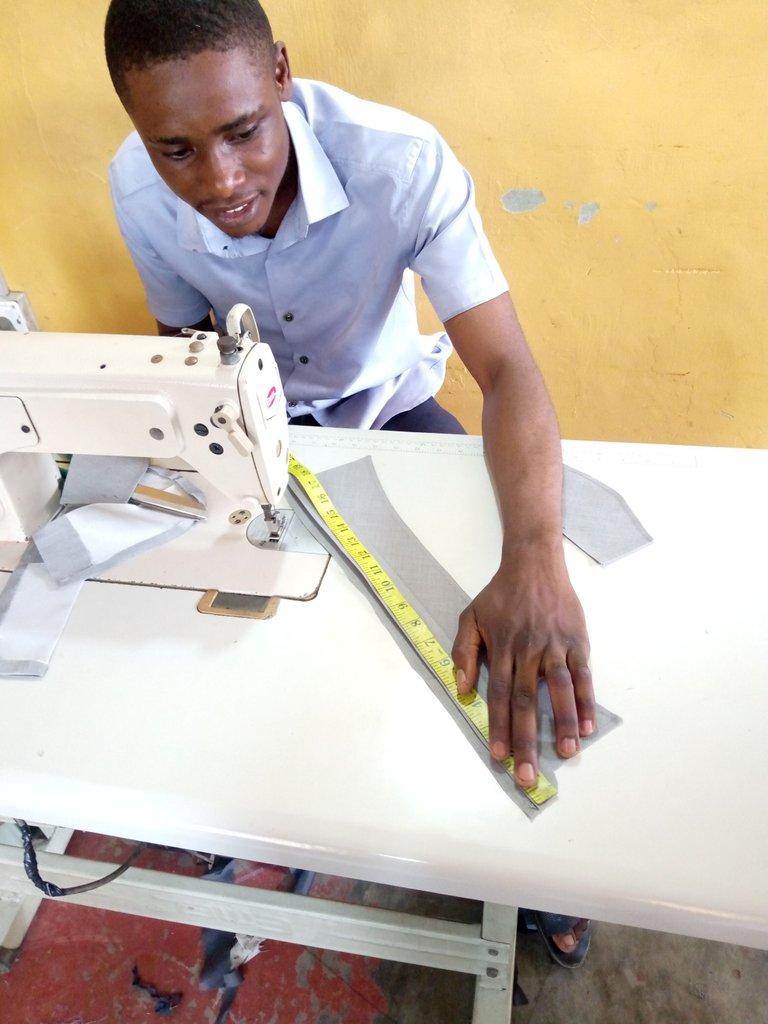
my cutting pattern:
I first of all lay the fabric into two on the table and bend in 2.5inches for the button and hole allowance because the pattern am sewing will be like a shirt but this one is called suit jumper, so after that I made my sketch of the body according to the person body size I measured but I added 3inches in all and I draw out the measurement and I cut it out.
I moved to using the front I just finished cutting to cut out the back view and the sleeve too. with this effort my cutting was done with.
my sewing pattern:
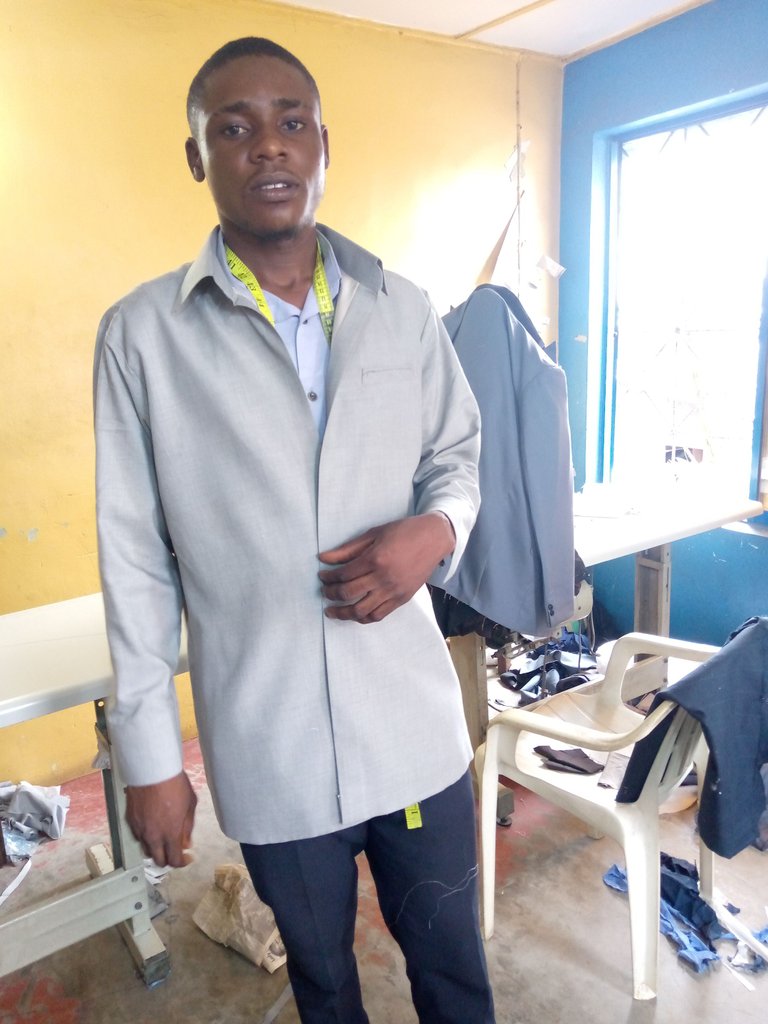
firstly how I got to make the breast pocket by the side of the front.
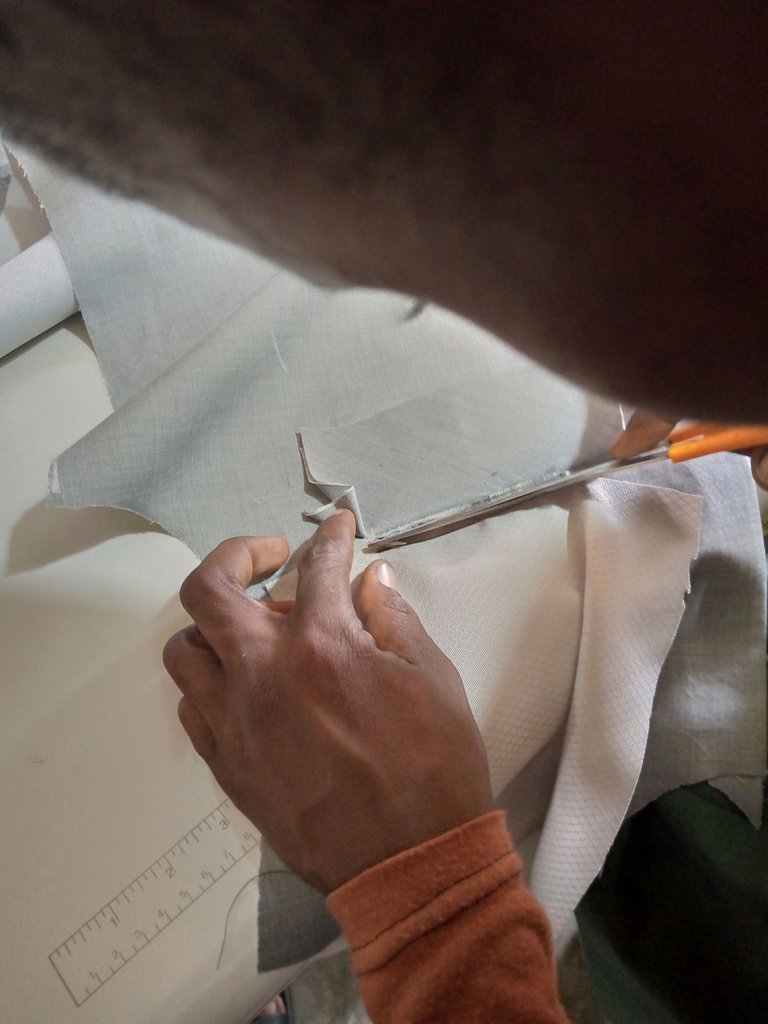
About the pocket:
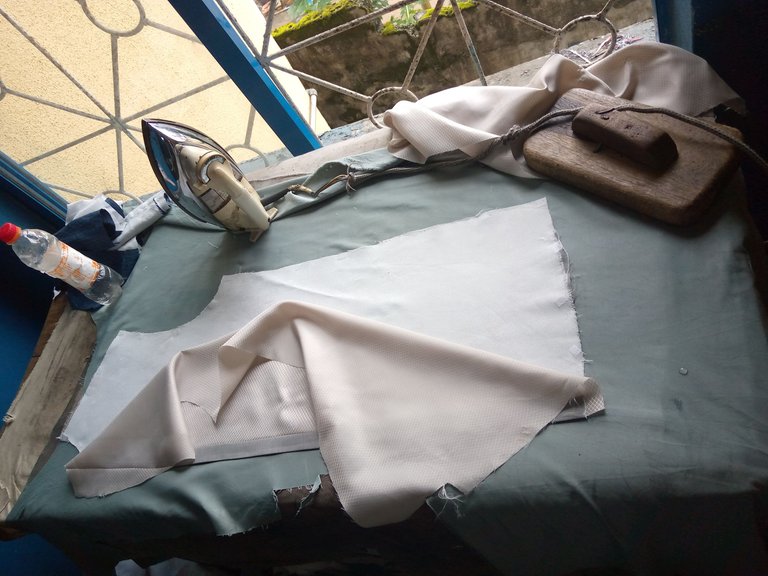
after I finished cutting the cloth, I try fixing this pocket, this pocket is like breast pocket of a suit, this is how I start, I cut the material when I finish cutting the material I cut light stay gum and place ontop the material then I use hot iron place on it so the gum will glue properly on the material.
after that, I draw a line on the front of the cloth then that line is were the pocket will be fixed.
After I finished drawing the line from that front piece I draw about 1inche on the pieces I just finished adding light-stay gum on, then I make sure that the line should should meet then I start sewing, carry the pieces and place in front of cloth then I skatch the pocket size to be 4inches, then i started sewing from where the beginning till the end where I ended the line now when I start sewing I make sure that I tag the first threading.
when I finish sewing it I use scissors and divided it. when I am about to reach the end I then pinch it in a V form.
then I turn the pocket to the front side and i did tagging so that the pocket will not have issues.
now the front was ready and I fixed the lining.
About the back piece:
I start with back piece I gum the pieces before I carry it and paste it on the back view of the cloth then I sew.
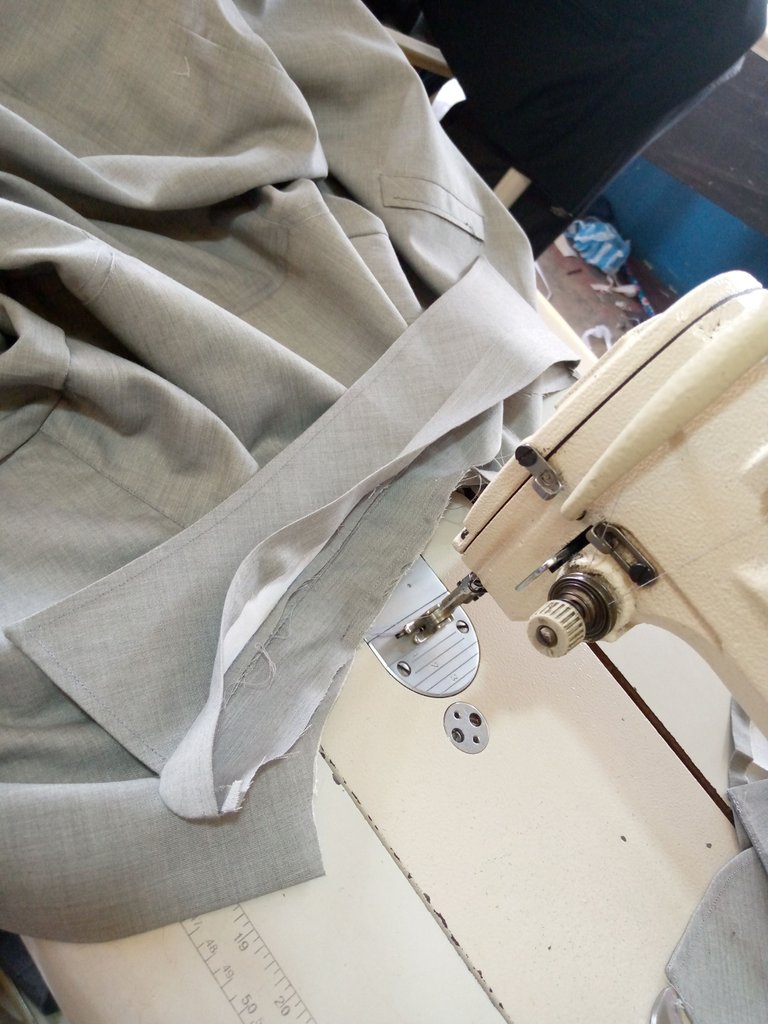
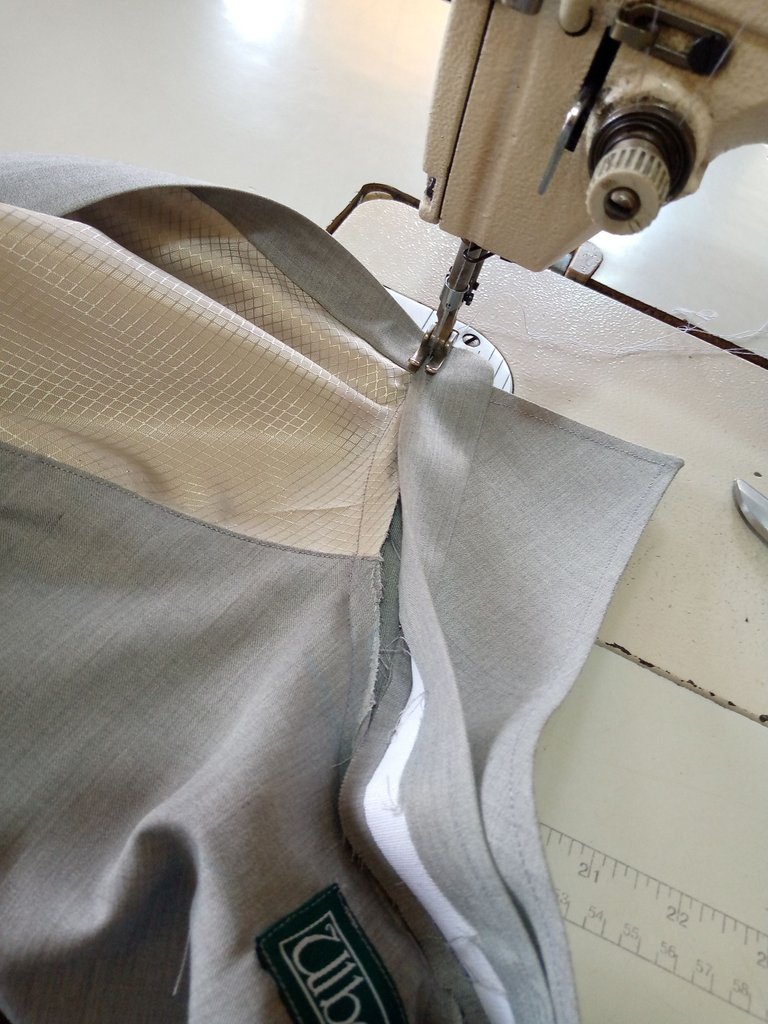
About the shoulder joining:
after I was done with the front and the back view I joined them together.
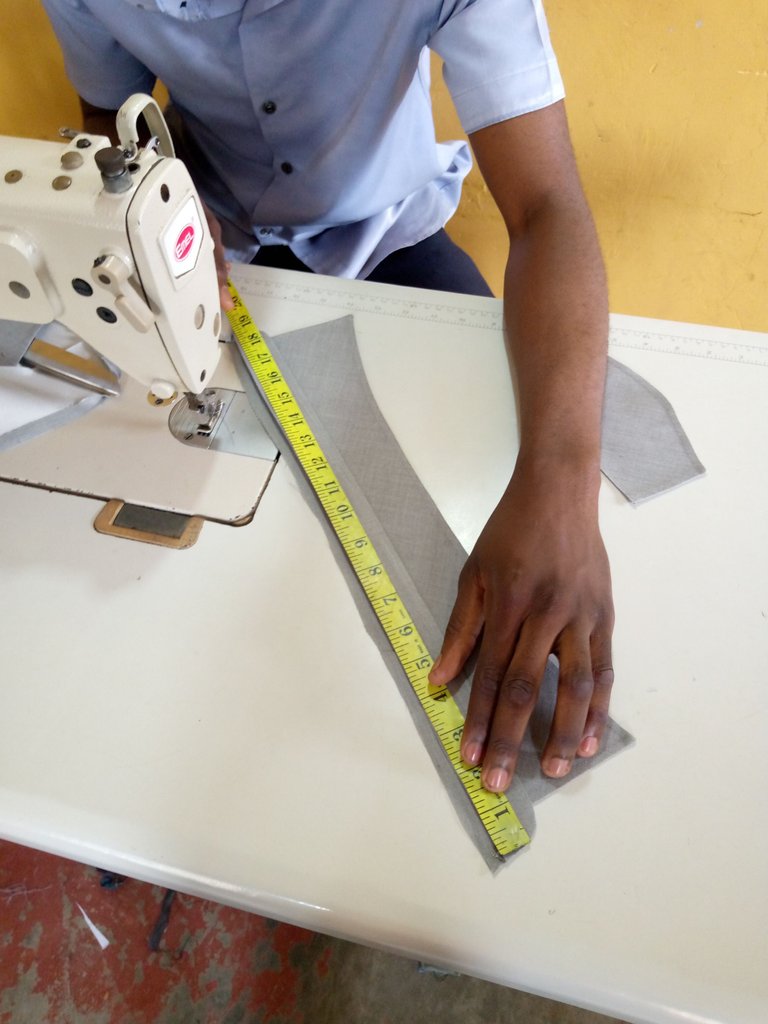
About the sleeve:
for the sleeve we use collar gum to prepare them. when am doing the cutting, i cut it like turning sleeve add allowance on it that allowance called sewing allowance

then I sew it round the collar gum and pieces must be down so that as u finish sewing u can use that pieces to turn it so that the pieces will cover the gum inside.
About the collar:
first of all I will draw the neck size on a color gum then I cut it,
after I finish cutting it I use the pieces of the material carrying the colar gum place on that pieces and use hot iron on it, that is how i prepare and fix my collar.
Congratulations @needleman! You have completed the following achievement on the Hive blockchain and have been rewarded with new badge(s):
Your next target is to reach 200 upvotes.
You can view your badges on your board and compare yourself to others in the Ranking
If you no longer want to receive notifications, reply to this comment with the word
STOPTo support your work, I also upvoted your post!
Check out the last post from @hivebuzz:
This is beautiful tailoring. !CTP !BBH
Because this is such an awesome post, here is a BBH Tip for you. . Keep up the fantastic work
Your work is encouraging and I just hope I keep seeing things like this from you in the community. Thanks for sharing and welcome.
Hey Hello! I'm glad you found us :) Good to see you around here with cute tailoring projects like these :) Welcome to the NeedleWorkMonday community 🌺.
Every week needleworkers from around the globe get together to share our work, patterns, tips, ideas and shortcuts as we support one another. Our goal is to inspire the Hive blockchain to give crafting a try.
On Monday’s we use the #needleworkmonday tag and on all other days we use the #needlework tag without the word Monday attached. We share and post our work directly from the Community page.
We encourage our members to share about their needlework life with us. We love hearing stories and what types of things inspired your projects. We challenge you to put some feeling and emotion into your publications and help us get to know the needler behind the fabric.
Feel free to share photos of your work but it’s optional if you choose to share the steps with us (we do require you share the step process in at least one of your posts for validation purposes). If you just want to needle and share about that time we’d love to hear about it. 😊
For more information about what we do and for our posting guidelines please visit our FAQs.
Thank you ~
Excellent work, congratulations
Thank u much @leslieq78
Bro this is beautiful and I like the idea of a suit pocket on the top part really gave it a very different and stylish look i must admit you know exactly what you're doing that's great!!
Thank so much sir @smilestitches
Ya welcome 😀
wow it's spectacular, it's a great job
Thank u @youyowi