Nerdy spielt mit Stable Cascade[GER/ENG]
Guten Tag meine lieben Squadis.
Es ist mal wieder soweit Nerdy kann über AI schreiben.Stability AI hat etwas neues heraus gebracht ,nämlich Stable Cascade eine neues Model zur Generierung von Bildern. Für Stable Cascade wurde auch eine andere Methode zum Trainieren benutzt die sogenannte Würstchen Methode. Wer mehr über die Würstchen Methode wissen will der klickt auf den vorrigen link :)
Good day my dear Squadis.
It's time again for Nerdy to write about AI.Stability AI has released something new, namely Stable Cascade, a new model for generating images.
For Stable Cascade, another method of training was also used, the so-called sausage method. If you want to know more about the sausage method, click on the previous link :)
Stable Cascade generiert Bilder nach einem dreistufigen Prozess: Zunächst wird mit dem Diffusionsmodell der Stufe C ein latentes Bild mit niedriger Auflösung erzeugt. Dieser Latenzwert wird dann mit dem Diffusionsmodell der Stufe B hochskaliert.Dieses hochskalierte latente Bild wird dann erneut hochskaliert und mit der Stufe A VAE in das fertige Bild umgewandelt.
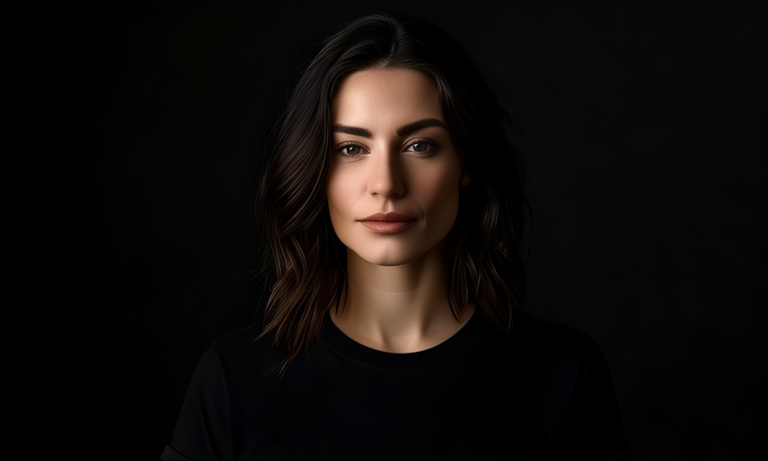
Stabilty AI bietet die Modele in 2 Varianten an "Normal" und Light und ich wollte einfach heraus finden ob große Unterschiede gibt bei den Modelen. Aus diesem Grund habe ich 4 Bilder generiert einmal mit den "Normalen" Modelen und einmal mit den "Light" Modelen.
Wie immer habe ich die gleichen Prompts, Seeds ,Sampler und die gleichen CFG(4 und 2.2) Werte benutzt bei den Bildern. Die Prompts und Seeds findet ihr hierAuf der linken Seite seht ihr immer das "Light" Bild und auf der rechten das "Normale" Bild.
Stable Cascade generates images according to a three-stage process:
First, a latent image with low resolution is generated using the diffusion model of level C. This latent value is then scaled up using the diffusion model of level B.
This upscaled latent image is then upscaled again and converted into the final image using the A VAE stage.
Stabilty AI offers the models in 2 variants "Normal" and "Light" and I just wanted to find out if there are big differences in the models. For this reason I generated 3 pictures once with the "Normal" models and once with the "Light" models.
As always, I used the same prompts, seeds, samplers and the same CFG(4 and 2.2) values for the pictures. You can find the prompts and seeds hereYou will always see the "Light" image on the left and the "Normal" image on the right.
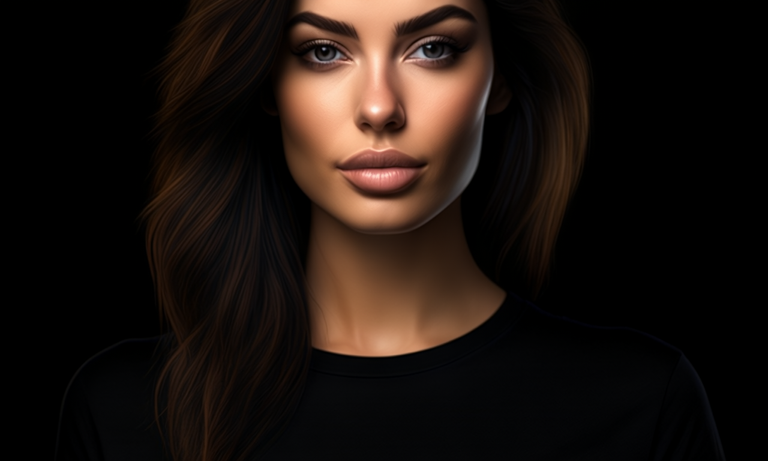

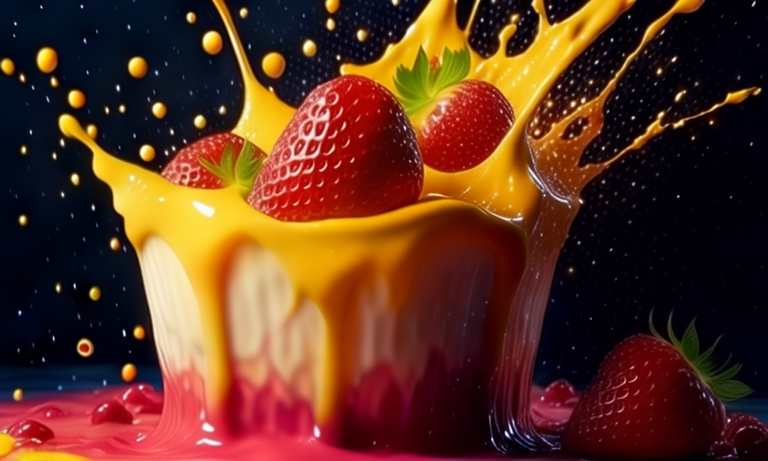
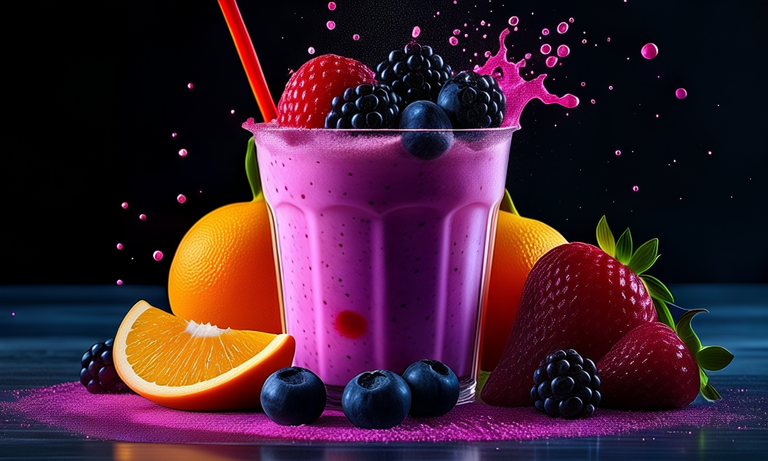
Eins fällt sofort auf die Light Bilder sehen alle so aus als hätte jemand den Zoom betätigt um ganz nahe zu sein.
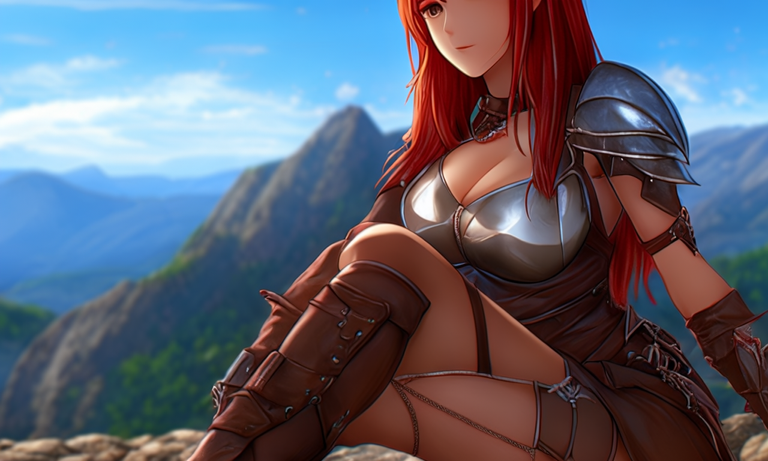
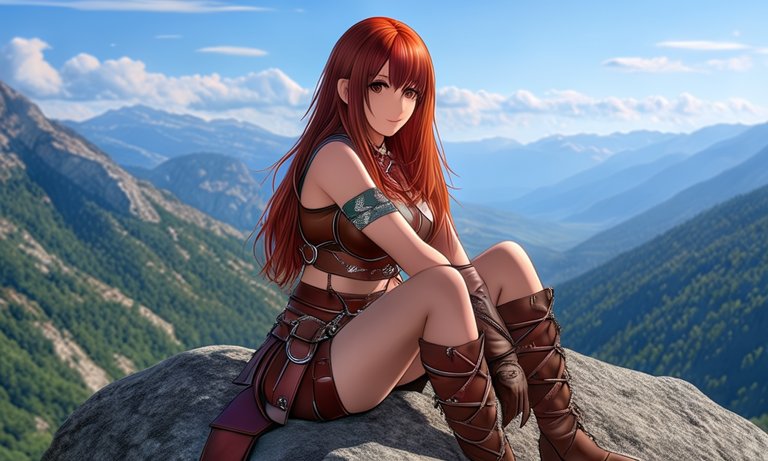
Was mir auch auf gefallen ist das normale Model verweigert viel öfters die Ausgabe eines Bildes und spuckt nur Artefakte aus (wie beim Auto).Unsere Red Sonja wollten beide Modele erst ausgeben als ich Anime an den Anfang des Prompts geschrieben habe.
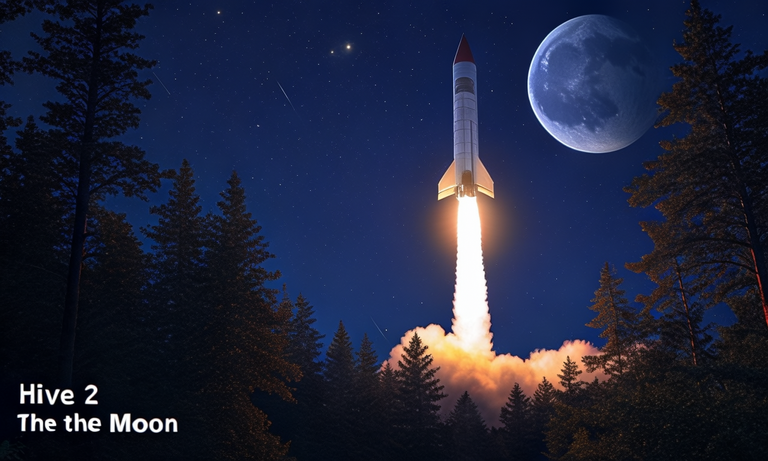
Das Light Model hat auch Probleme mit den Schriften,das Titelbild ist mit dem normalen Model entstanden.
Runter laden könnt ihr euch die Modele bei Hugginface.Stage A gehört in den VAE folder der Comfyui installation, Stage B und C in den Unet Folder.Zusätzlich benötigt ihr noch den Text Encoder (auch bei Huggingface) welcher dann in den Clip(nicht clip_vision) Ordner unter Models kopiert wird.
Wer den Workflow benötigt lädt ihn sich einfach hier herunter.
Für das Light Model benötigt ihr mindestens 6 GB Vram für das normale Model mindestens 10 GB Vram und damit alles funktioniert müsst ihr einmal comfyui updaten.
Wieder sehr viel zu lesen geworden,aber ich hoffe euch hat es gefallen.
One thing is immediately noticeable: the light pictures all look as if someone has used the zoom to get very close.
What I also noticed is that the normal model often refuses to output an image and only spits out artifacts ( just like the car).Our Red Sonja only wanted to output both models when I wrote Anime at the beginning of the prompt.
The light model also has problems with the fonts - the cover picture was created with the normal model.
You can download the models at Hugginface.Stage A belongs in the VAE folder of the Comfyui installation, Stage B and C in the Unet folder.In addition, you need the Text Encoder (also from Huggingface) which is then copied into the Clip (not clip_vision) folder under Models.
If you need the workflow, simply download it here.
For the light model you need at least 6 GB Vram for the normal model at least 10 GB Vram and for everything to work you have to update comfyui once. Once again a lot to read, but i hope u liked it.


0
0
0.000
schade, dass red Sonja ihre hände ganz kaputt hat 🙃
Das hört sich kompliziert an.
Ich nutze comfyui seid November 23 und blicke immer noch nicht durch. Für einfache workflows reicht mein Verständnis mittlerweile aber wenn ich dann workflows von anderen sehe mindblowing.
Und ja auch Stable Cascade mit den 3 verschiedenen Modelen die in unterschiedliche Ordner gehören war nicht so einfach zum laufen zu bekommen 😆
Wird echt immer besser. Mal schauen wie weit sie das noch treiben können.
!BBH !WITZ !hiqvote
@dotwin1981, the HiQ Smart Bot has recognized your request (2/2) but the mana is too low. Try again later.
As a consolation, @dotwin1981 gets !PIZZA from @hiq.redaktion.
For further questions, check out https://hiq-hive.com or join our Discord. And don't forget to vote HiQs fucking Witness! 😻
@nerdtopiade! Your Content Is Awesome so I just sent 1 $BBH (Bitcoin Backed Hive) to your account on behalf of @dotwin1981. (18/50)
lolztoken.com
Er drückt die Enter-Taste.
Credit: werkseber
@nerdtopiade, ich habe dir im Namen von @dotwin1981 einen $LOLZ Token gesendet
Verwende den Befehl !WITZ oder !LOOL, um einen Witz und ein $LOLZ zu teilen.
.(3/10)
Wenn es nur so einfach wäre....
in wie fern so einfach ?
Eben nicht, schrieb ich ja. Ich scheitere schon an Github.
Das erinnert mich immer an die verkrampften Jahre, die ich mit Linux gearbeitet habe.