How to make paper yourself/Cómo elaborar papel tú mismo


Hello Hivers! I hope you are well, today I have come with a blog out of the ordinary in me, as the title says, it's about paper crafting, I rarely do manual things, however, before going for it, I thought it would be correct to start with the why of this and some history.
I know that there are many artists here, suddenly they could have papers that they don't use or that are already used, that's why I thought of this blog, there is a way to make paper with the paper already used, in this case it is used decoratively or to paint, it would no longer be a paper that can be used for printing or something other than what I said before, now as for the historical part, papyrus is the oldest paper made by the egyptians, in the third millennium before Christ, and later comes the parchment, although it is said that the first to create paper was Cai Lun in the year 105 AC, as Cai Lun focused on the bark of the trees, this was during the Han Dynasty, Now that we have a bit of history, I'll go into elaboration.
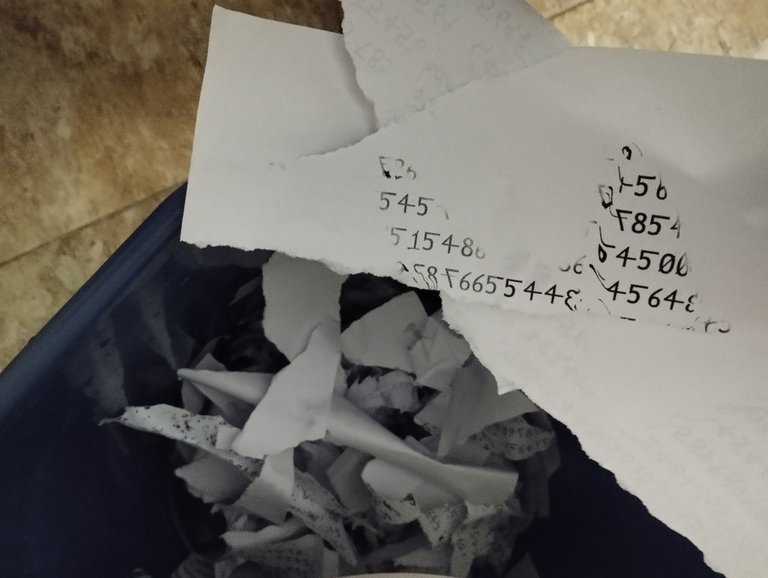
- The first thing to keep in mind is to fill a bucket with enough water, break the paper as small as possible, although you don't have to break it to the size of your fingers either, only in strips is enough. After that, the normal thing is to leave it soaking for a whole night, but it is also valid to just soak the paper for two hours, In my case, I left it for two hours because it was for a university assignment.
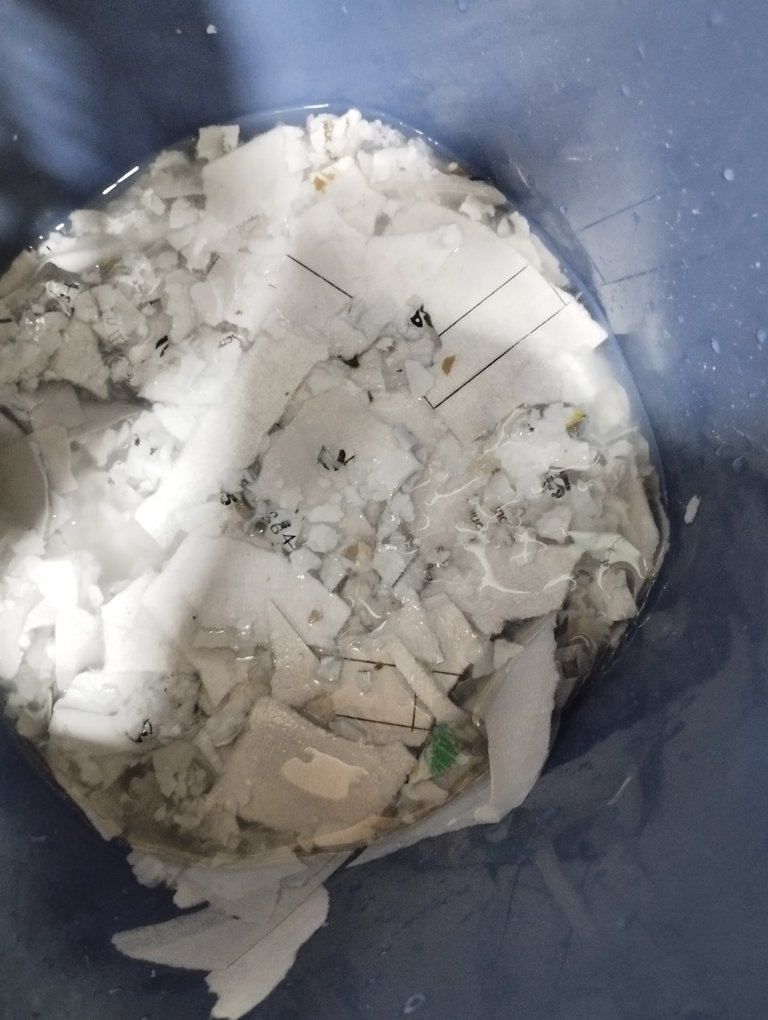
- After two hours you can stir the paper so that it comes undone, that will be important, after doing it, you have to put those wet papers inside the blender, It is very important to keep in mind that there must be much more water than paper, when you turn on the blender, use it by hand because you have to go little by little with it or the motor will be damaged.
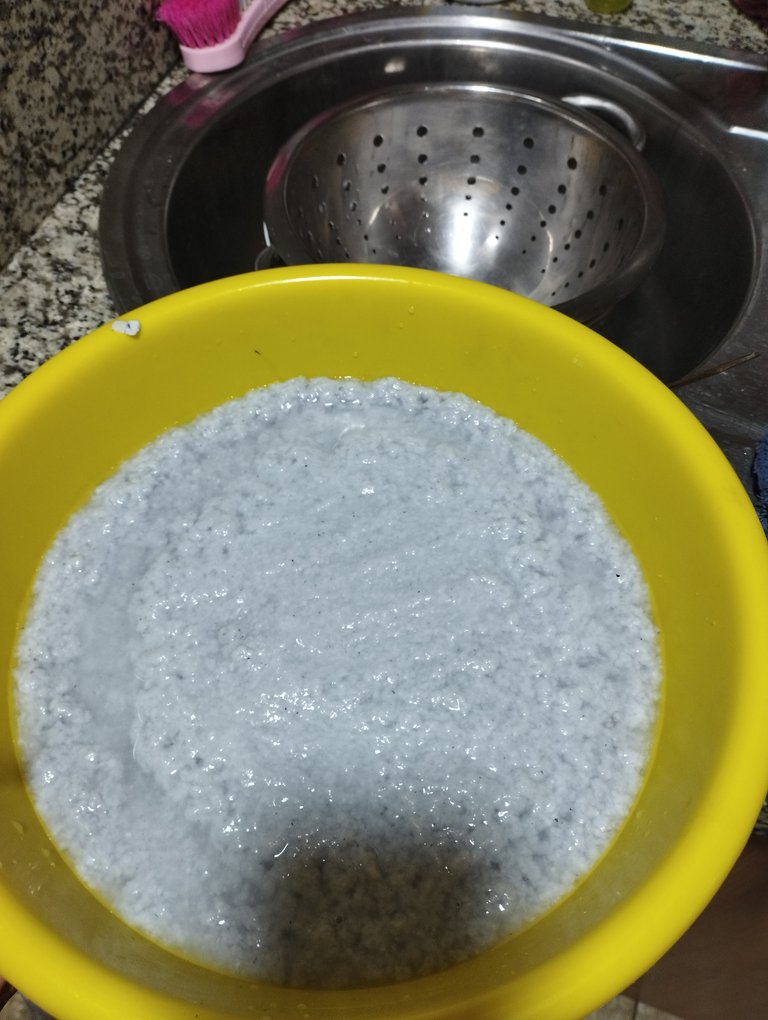
- After having made all that bucket of water, there will be a kind of mass with the paper, I used a spaghetti strainer to remove all the excess water.
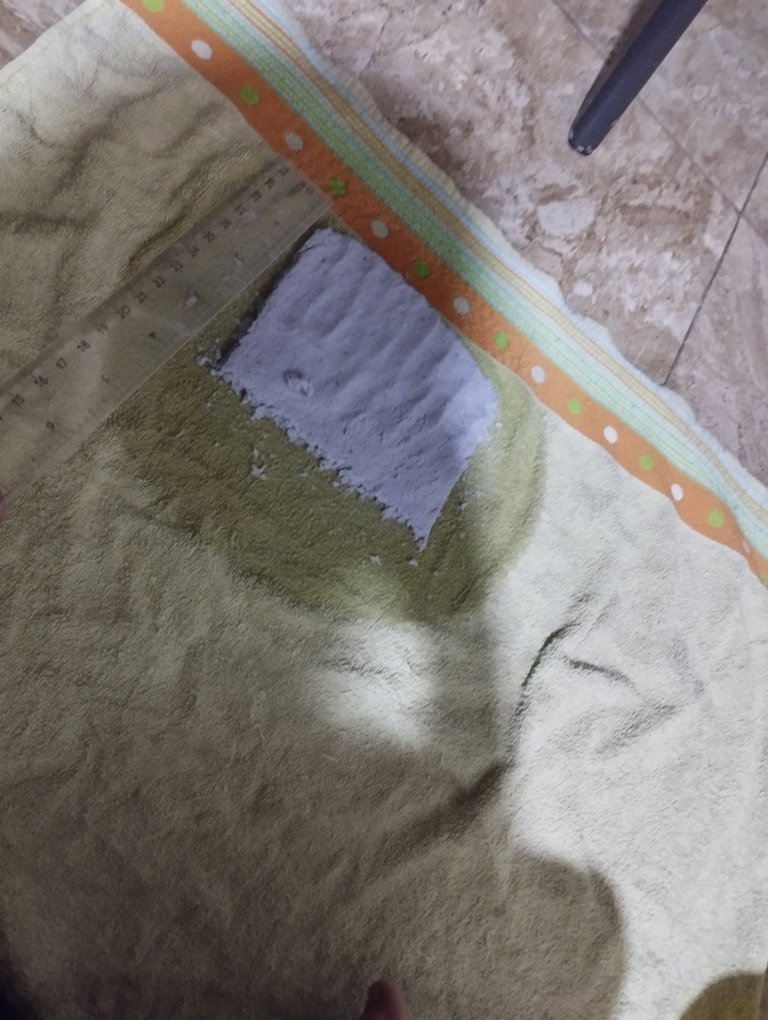
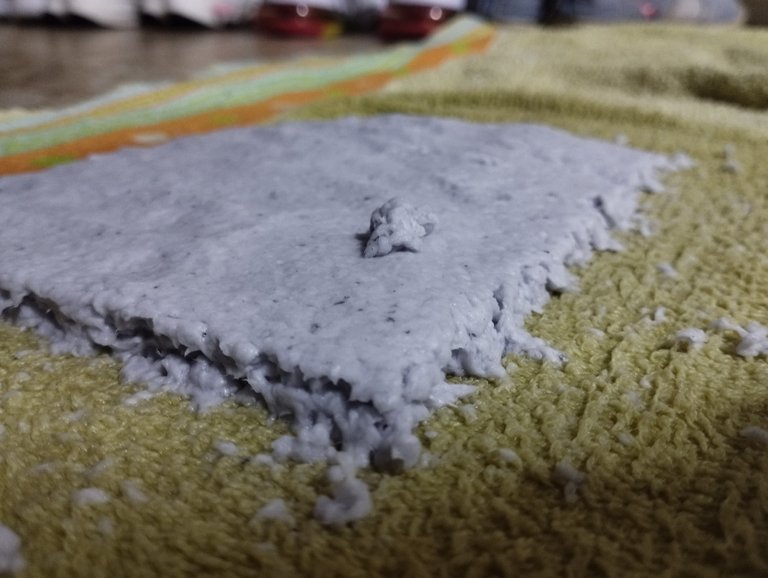
- Now the paper is shaped, throwing it in a towel so that it absorbs the excess water and with the hands it is molded, I used a ruler to chop and make the rectangular shape. Something that must be taken into account is that the sheets should not be very thin or very thick, if they are very thin they will break to the touch, just like if they are thick sheets, the same thing will happen.
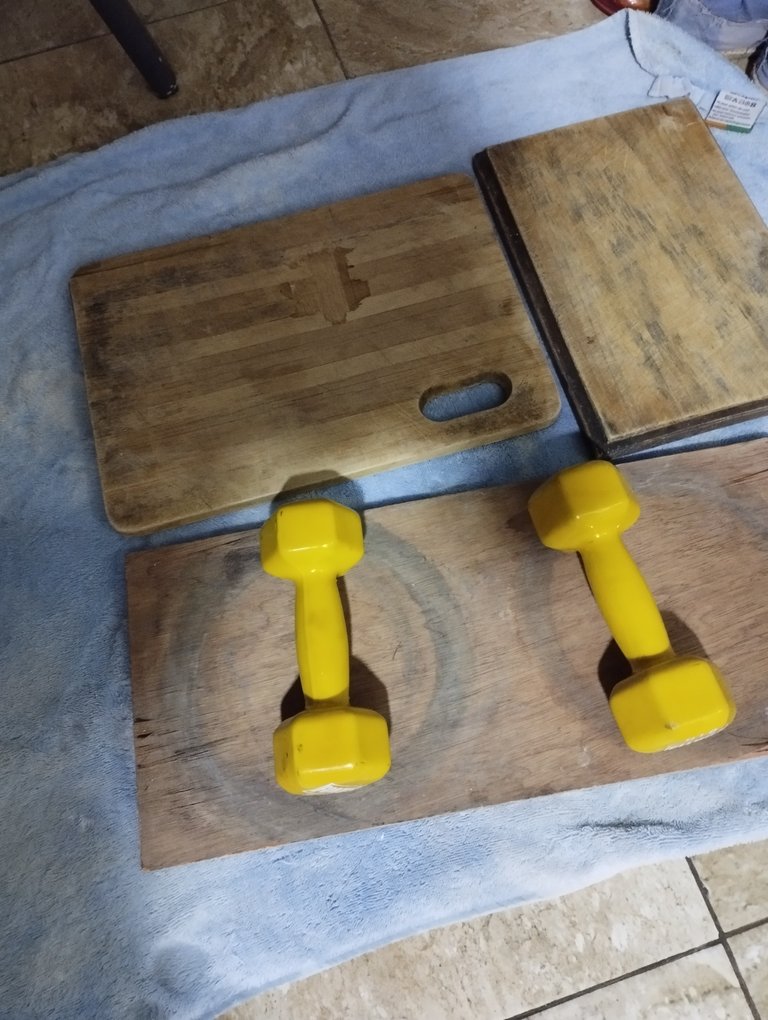
- At the end, when everything is assembled, you have to exert pressure on the paper because when it dries it will bend and might not even compact, so I used tables and weights for that.
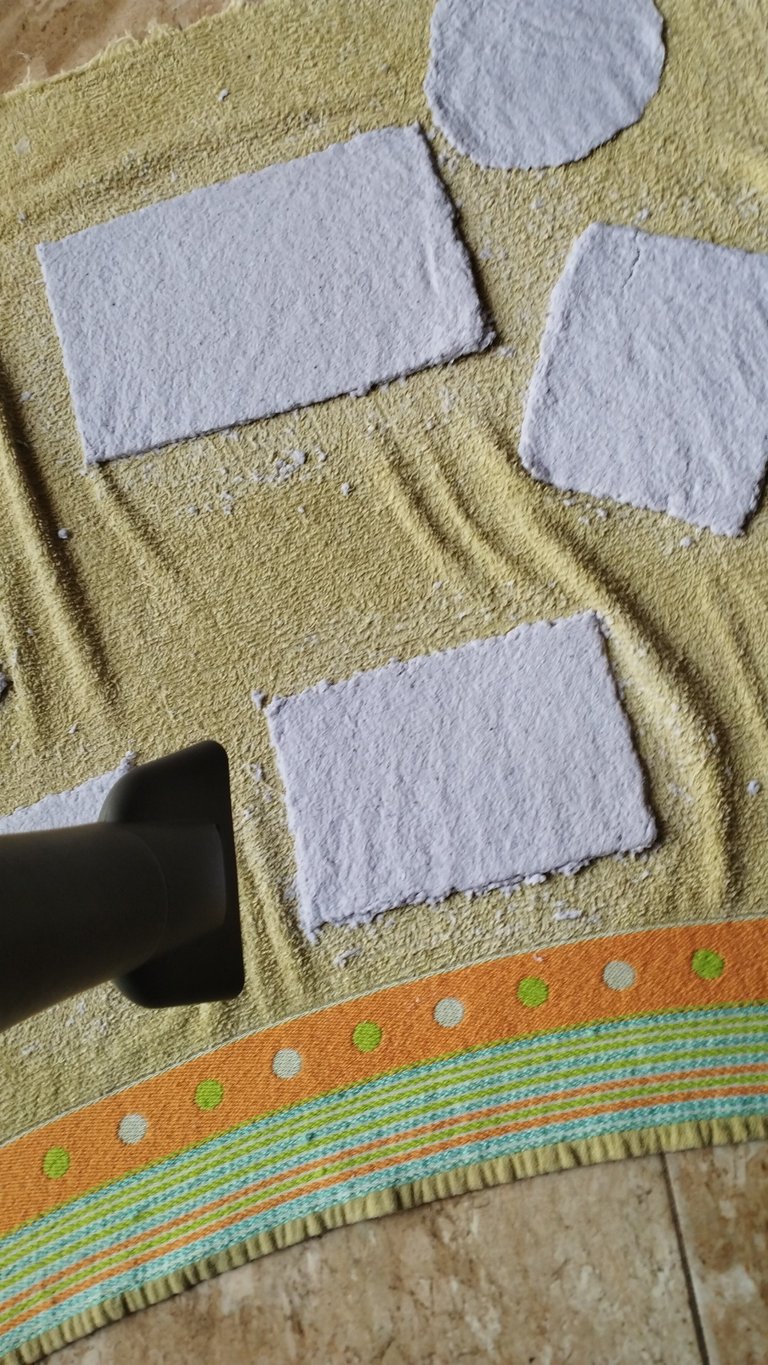
- As I said before, it was for a university assignment so to speed up the process the next day I started drying it with a hair dryer, in normal weather they should be left for at least 2 or 3 days to dry in the sun.
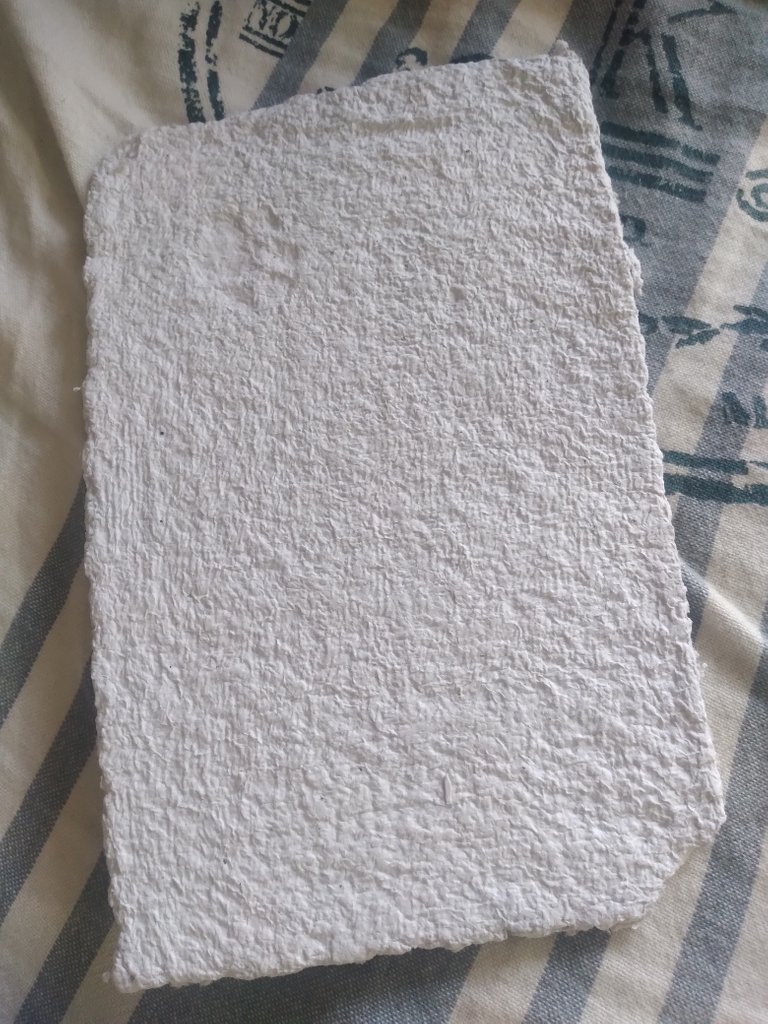
- Afterwards, when the whole process is done, this is how the paper would look, I admit that inadvertently it was a bit thick but it compacted well, a funny detail is that my cat walked over it while it was still wet and if you look at the image, my cat's footprint is marked 😺.
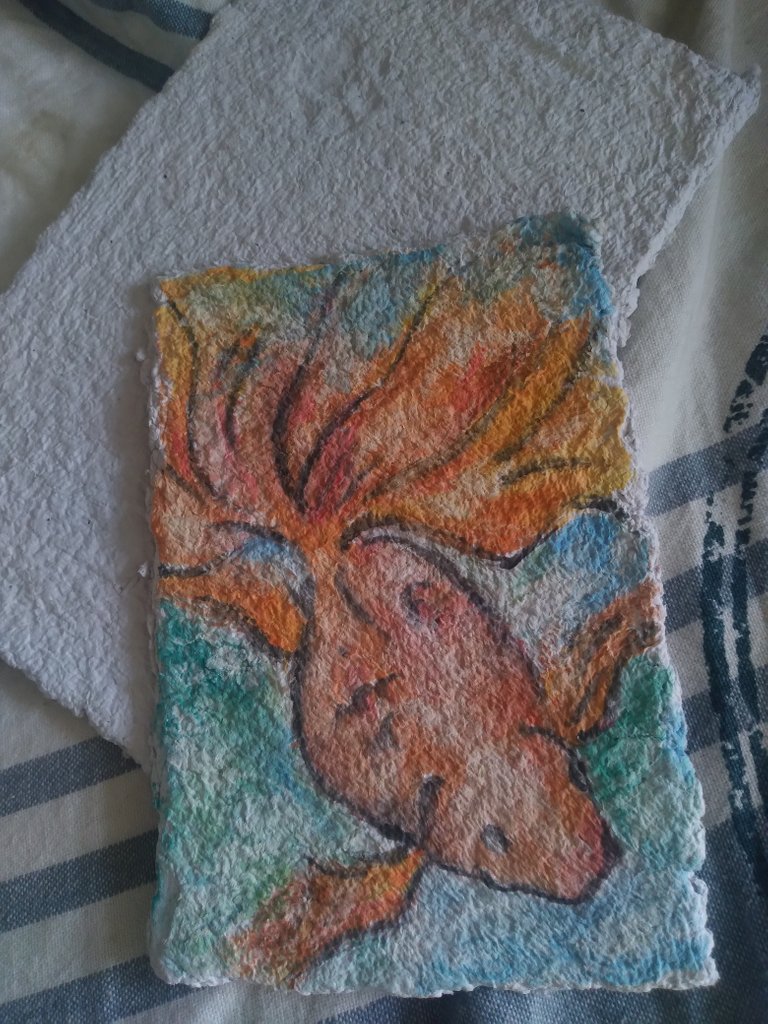
- This drawing is not made by me but by a friend, she used watercolors so you can see that it is a paper that absorbs quite well and gives a rustic but beautiful touch to her art.
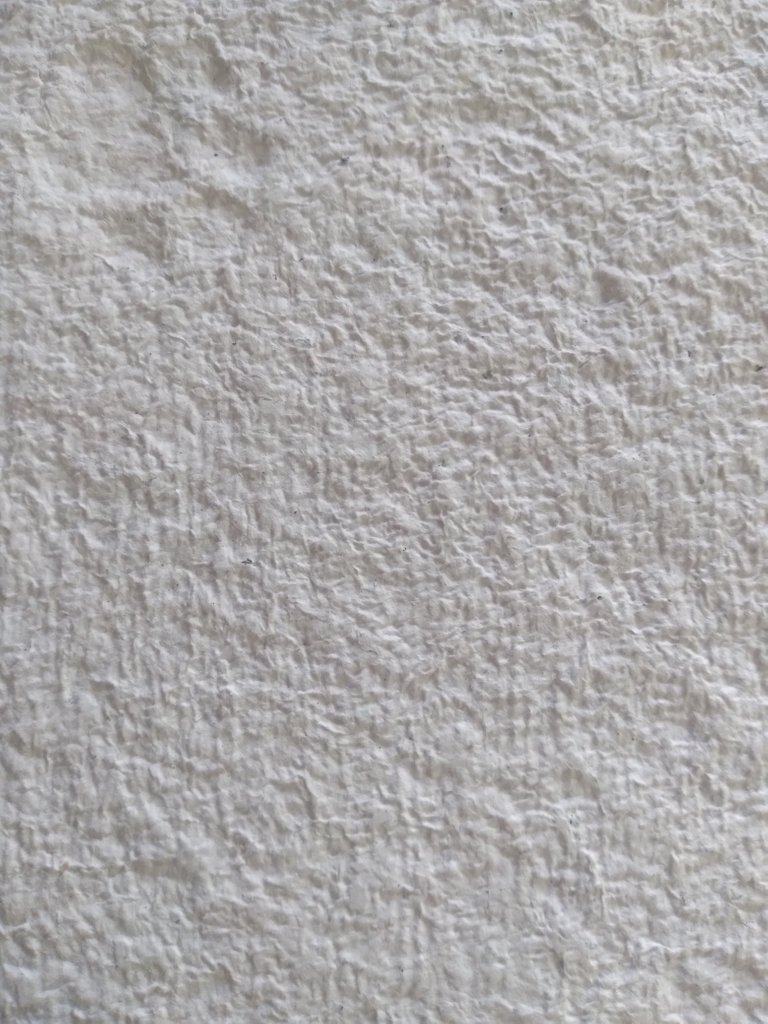
This is an image of the texture in good quality.
This is an exercise that takes time, plus it's excellent because you're recycling, I tell you that this is worth it, with the friend that I mentioned before, she is interested in joining this beautiful community, I'm encouraging her to enter but if you also want to tell her something in the comments, I'll make your messages reach her 💗.
Thank you for being here and paying attention!


¡Hola Hivers! Espero que estén bien, hoy he venido con un blog fuera de lo común en mí, como dice el título, se trata de manualidades con papel, rara vez hago cosas manuales, sin embargo, antes de hacerlo, pensé que sería correcto que comencemos con el porqué de esto y algo de historia.
Sé que aquí hay muchos artistas, de repente pueden tener papeles que no usan o que ya están usados, por eso se me ocurrió este blog, hay una manera de hacer papel con el papel ya usado, en este caso se usa para decorar o para pintar, ya no sería un papel que se pueda usar para imprimir o algo diferente a lo que dije antes, ahora en cuanto a la parte histórica, el papiro es el papel más antiguo hecho por los egipcios, en el tercer milenio antes de Cristo, y más tarde viene el pergamino, aunque se dice que el primero en crear el papel fue Cai Lun en el año 105 D.C, ya que Cai Lun se centró en la corteza de los árboles, esto fue durante la Dinastía Han, ahora que tengo un poco de historia, voy a entrar en elaboración.
- Lo primero a tener en cuenta es llenar una cubeta con suficiente agua, romper el papel lo más pequeño posible, aunque tampoco hay que partirlo del tamaño de los dedos, solo en tiras es suficiente. Después de eso, lo normal es dejarlo en remojo toda la noche, pero también es válido dejar el papel en remojo solo dos horas, en mi caso lo dejé dos horas porque era para un trabajo de la universidad.
- Pasadas las dos horas puedes revolver el papel para que se deshaga, eso será importante, después de hacerlo, tienes que meter esos papeles mojados dentro de la batidora, es muy importante tener en cuenta que debe haber mucha más agua que el papel, cuando enciendas la batidora, úsala a pulso porque hay que ir poco a poco con ella o se estropeará el motor.
- Después de haber hecho todo ese balde de agua, quedará una especie de masa con el papel, utilicé un colador de espagueti para quitar todo el exceso de agua.
- Ahora se le da forma al papel, echándolo en una toalla para que absorba el exceso de agua y con las manos se va moldeando, yo usé una regla para picar y hacer la forma rectangular. Algo que hay que tener en cuenta es que las láminas no deben ser muy finas ni muy gruesas, si son muy finas se romperán al tacto, al igual que si son láminas gruesas pasará lo mismo.
- Al final, cuando todo está ensamblado, hay que hacer presión sobre el papel porque cuando se seque se doblará y tal vez ni siquiera se compacte, así que usé tablas y pesas para eso.
- Como dije antes, era para un trabajo de la universidad así que para acelerar el proceso al día siguiente comencé a secarlo con un secador de cabello, en clima normal se deben dejar por lo menos 2 o 3 días para que se sequen al sol.
- Luego cuando terminé todo el proceso, así quedaría el papel, reconozco que sin querer quedó un poco grueso pero se compactó bien, un detalle curioso es que mi gata lo pisó cuando aún estaba húmedo y si miran la imagen, la pisada de mi gata está marcada 😺.
- Este dibujo no lo hice yo sino una amiga, usó acuarelas para que vean que es un papel que se absorbe bastante bien y le da un toque rústico pero hermoso a su arte.
Esta es una imagen de la textura en buena calidad.
Este es un ejercicio que lleva tiempo, además es excelente porque estás reciclando, te digo que esto vale la pena, con la amiga que te mencioné antes, ella está interesada en unirse a esta hermosa comunidad, la estoy animando a que entre pero si ustedes también quieresn decirle algo en los comentarios, haré que le lleguen sus mensajes 💗.
¡Gracias por estar aquí y prestar atención!
Me encanto de hecho podríamos cortar algunas flores y hojas y queda super lindo
También! Incluso si quieres papel de colores puedes usar colorantes o de repente papeles que ya tengan alguna tonalidad nwn 💗
Un proceso muy interesante. Hay que reciclar lo más posible, pensar en verde, pensar en el planeta 🌍
Gracias nwn incluso es divertido reciclar, te distraes mucho y además puedes hacerlo varias veces ~
Te quedo genial el papel, sería genial hacer uno 🐸. Felicitaciones por el resultado.
Gracias Mary uwu 💗💗 podrías intentarlo y dibujar en el papel! Te quedaría asombroso!
See sería genial ve el acabado en un papel asi~✨
Muy bueno!! Recuerdo haber hecho esto en la escuela, era muy pequeña. Papel reciclado. Es genial en estos momentos, ya que no solo hacemos una gran contribución al planeta (sobre todo si más y más personas reciclan), sino que además obtenemos un producto realmente bonito.
Gracias por compartir!
Muchísimas gracias 💗 exactamente, es una contribución al mundo y además, es bastante útil, después de todo el papel es necesario nwn ya queda en uno ver cómo lo aprovecha 💗
Yay! 🤗
Your content has been boosted with Ecency Points, by @noctav.
Use Ecency daily to boost your growth on platform!
Support Ecency
Vote for new Proposal
Delegate HP and earn more
Congratulations @noctav! You have completed the following achievement on the Hive blockchain and have been rewarded with new badge(s):
Your next target is to reach 6000 upvotes.
You can view your badges on your board and compare yourself to others in the Ranking
If you no longer want to receive notifications, reply to this comment with the word
STOPDear @noctav,
May I ask you to review and support the new HiveSQL Proposal so we can keep it free to use for the community?
You can do it on Peakd, ecency, Hive.blog or using HiveSigner
Thank you!