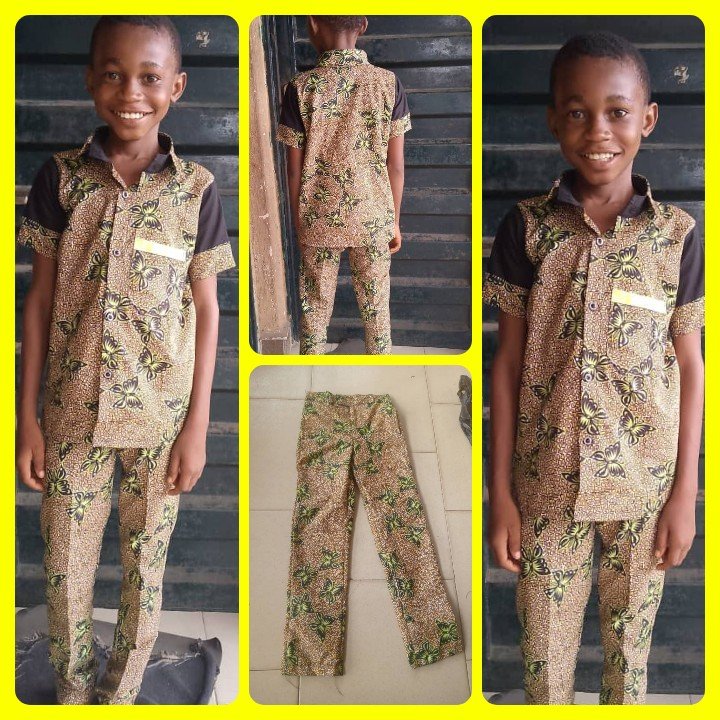
Cutting and sewing of a male trouser and shirt for my kids brother .
Hello needleworkers
Happy new week, and happy Monday, the first working day of the week, how was your weekend guys, hope it was good and you had a lot of fun.
Today I want to be sharing with you all on how I cut and sew a male trouser and shirt to my kids brother.
This is my first time of sewing a shirt, I wanted to try on myself if I will be able to make it all by myself because I know that making it by myself will really help me next time and it will also motivate me to sew for another person very well and gain more knowledge in it.
Being a fashion designer is not just by the name but by the the work, I'm learning more because a tailor learn to sew by sewing.
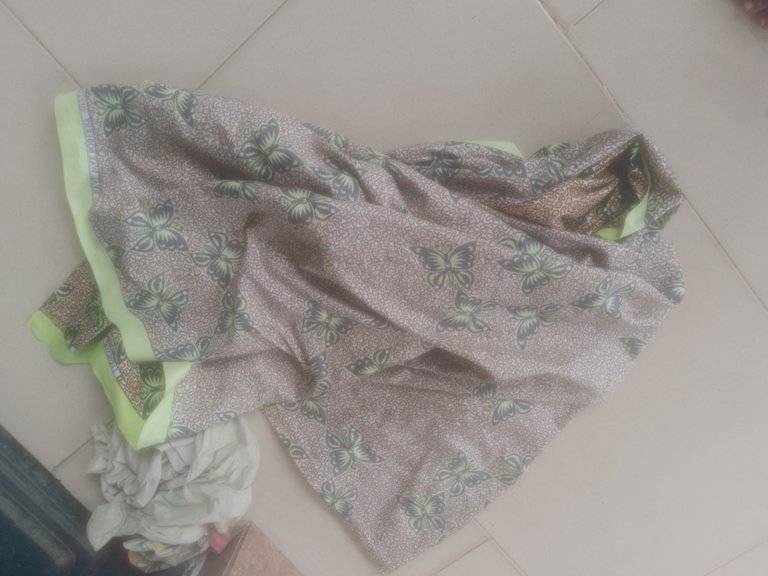
I was thinking on a fabric so I remember I had this fabric that I was given by a friend and it is not even enough for me to use, it is only 2 and the half yard but the half is bigger than half, I have to manage it.
Here is the fabric
The procedure
I started with the trousers by folding the fabric by two, I measured out the full length, I divide the waist by four, I also divide the hips by four, after dividing the hips I put 2 and the half inches which I used for crouch length and I divide the laps by two, after drafting it, I cut it out.
After cutting out the front I folded the fabric again and I placed it on top of the fabric, I put 3 Inches allowance and on that I front side I slant the wait part by 1 inch, so I return the 1 inch to the back part, so the back will not be as slant as the front part, so after everything I cut it out.
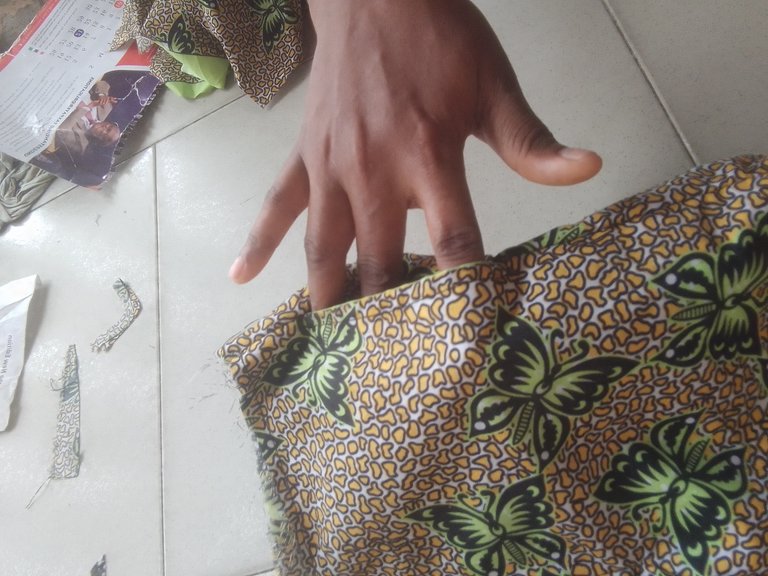
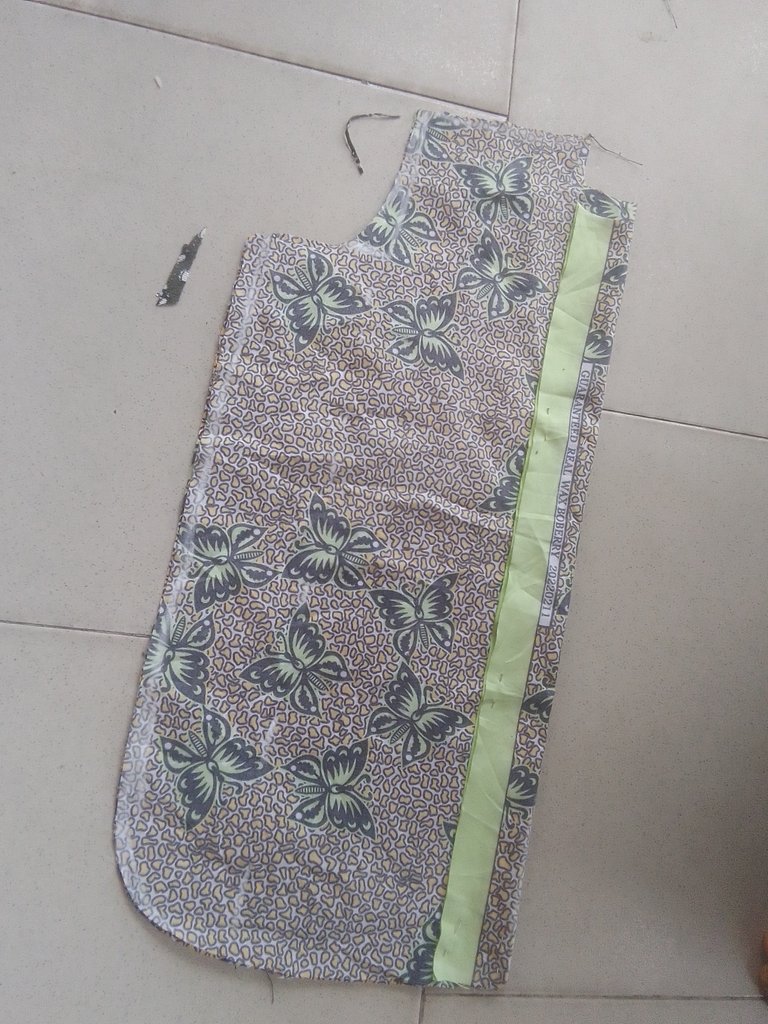
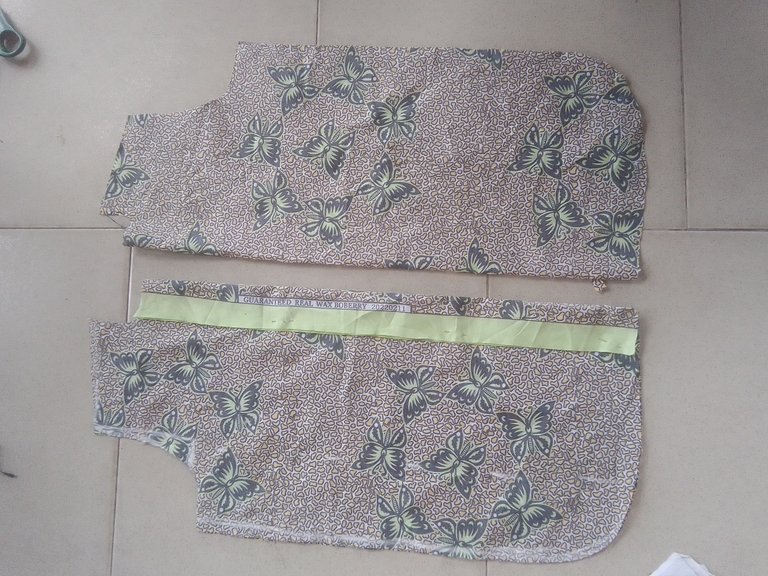
Here is the front with the back side after cutting out

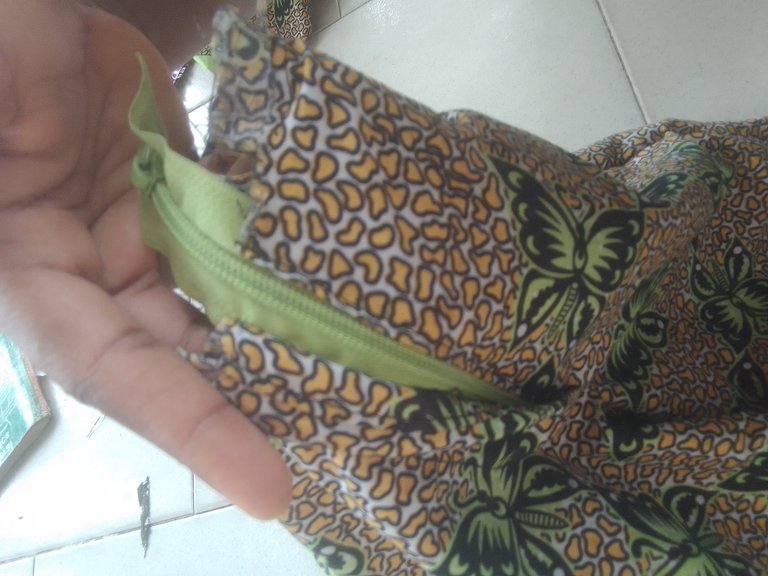
I went to the sewing machine, I firstly put the side pocket, after putting the side pocket I joined the back side with the front, i put the side pocket at the other side and joined the back side too, after that I put the front zip and close the flap of the crouch extension and I close the body of the trouser, then I move to the waist band and I cut the waist band and the loop, I sew the loop and turn, after that I cut them into six places, the I sew in the waist band according to his waist measurement, after putting the waist band I tack the loop on top and put a elastic at the back side only, then I give the hem bending.
After putting the side pocket

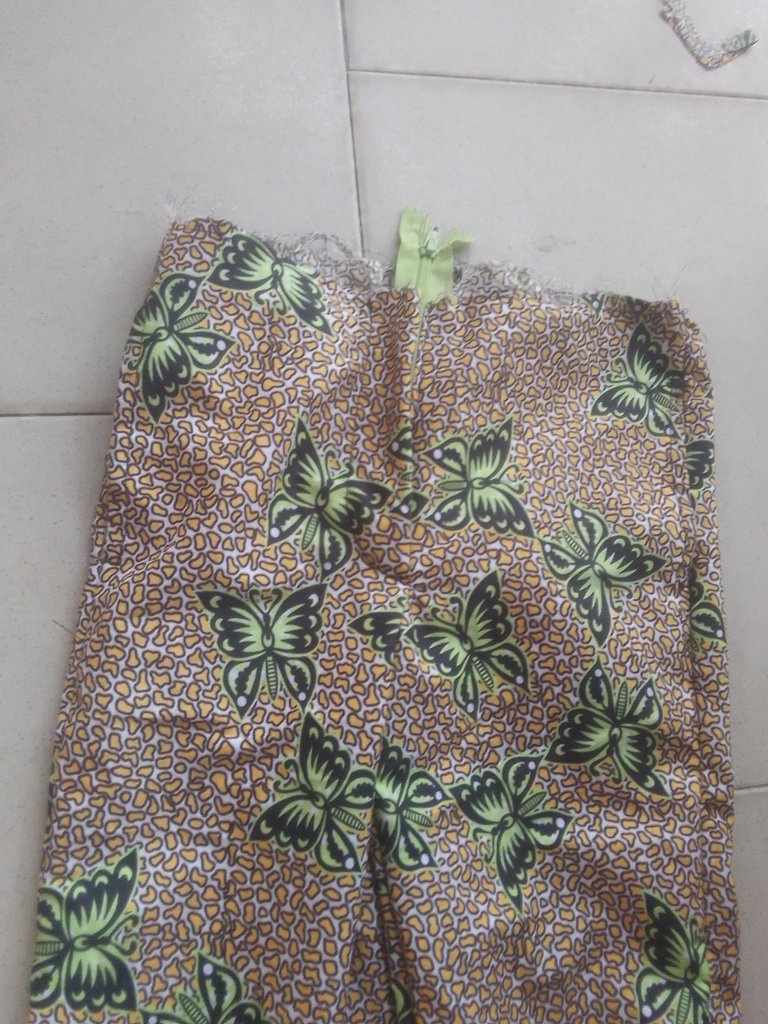
After putting the zip


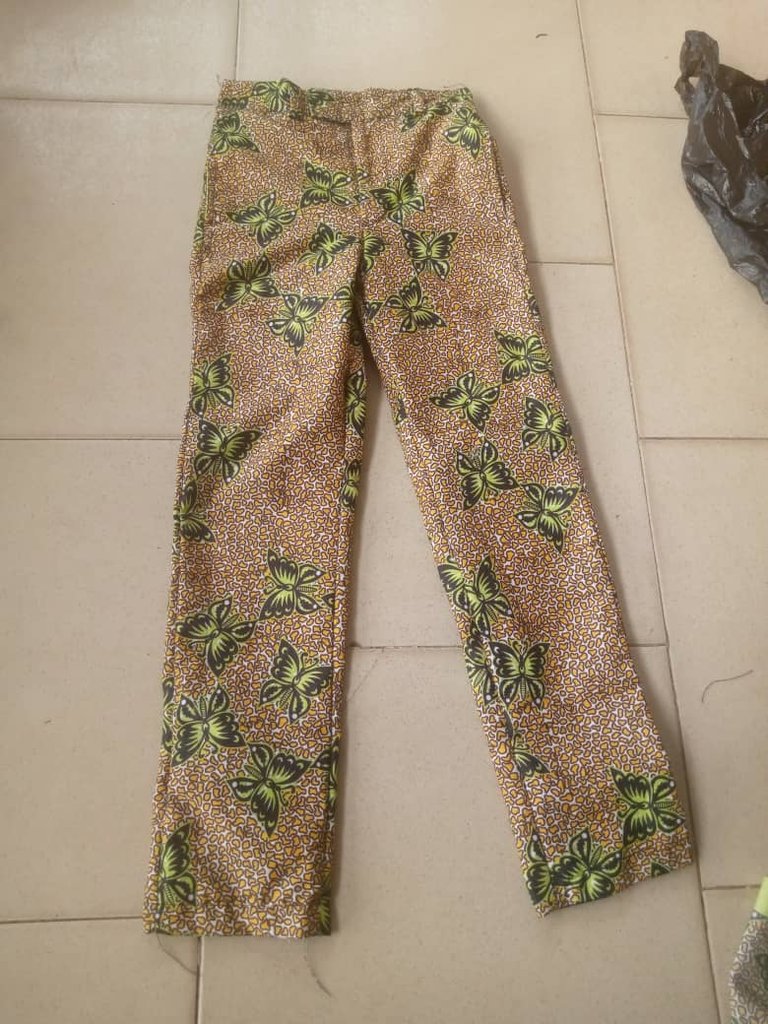
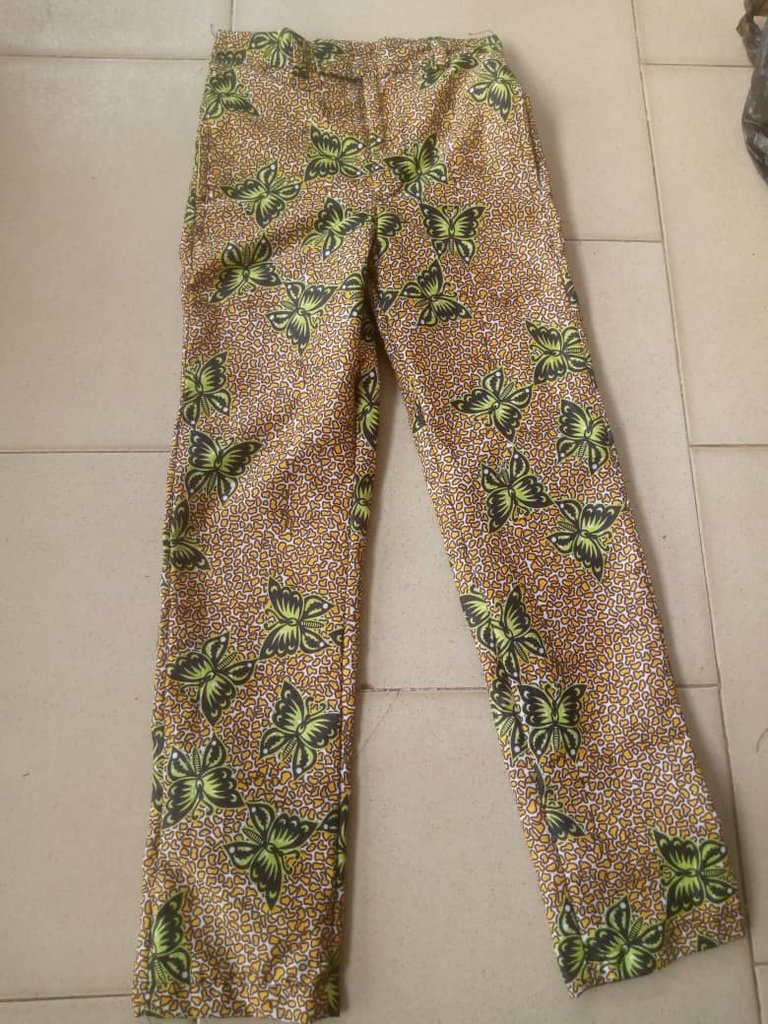
so guys I'm done with the trouser.
The shirt procedure
I folded the remaining fabric in to two, I put in 2 and the half inches for front buttons part, I measured his shoulder, his normal length and body, I measured his ham hold length and I cut it out.
After cutting the front side I folded the fabric again and I placed the front on it and cut it out.
I went ahead and sew the front buttons part and join the body together.

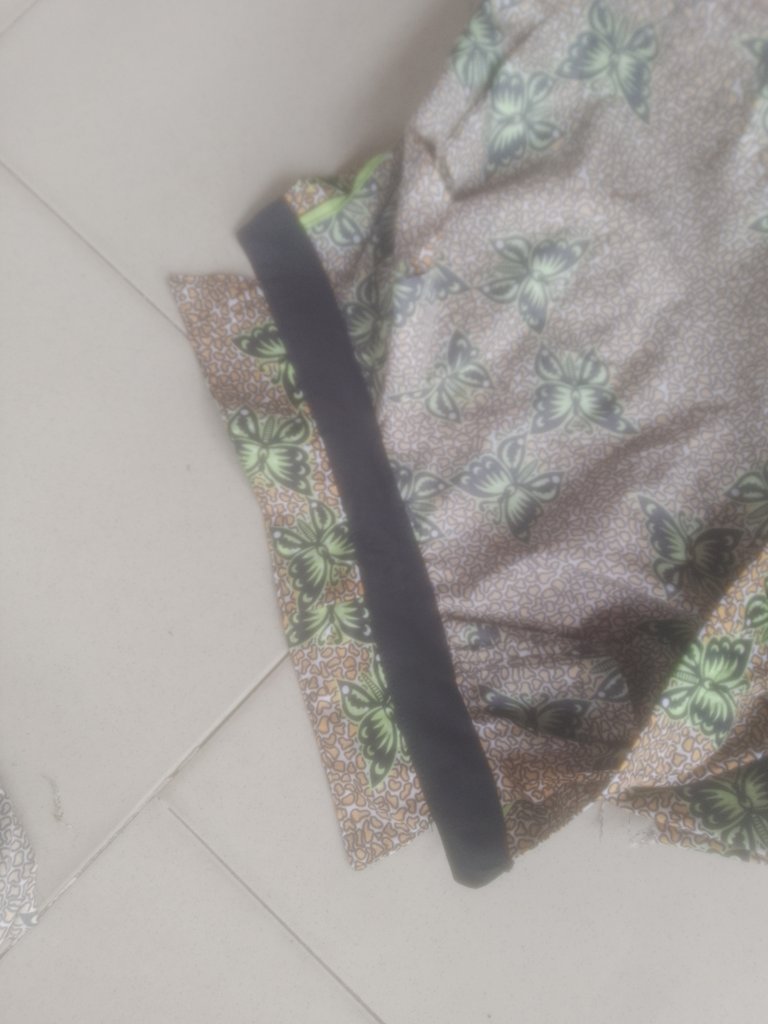
After joining the body, I put in the front pocket, the I cut the neck collar both the big and the small one and turn them round, then I join them together and sew it down the neck of the shirt, after that I cut the sleeves, I used black material for the sleeves because the fabric wasn't enough to for me, so I cut the fabric 5 inches and design the sleeves, then I join the sleeves on the body of the shirt, then I bend the hem and put some buttons on shirt and it is ready to wear.

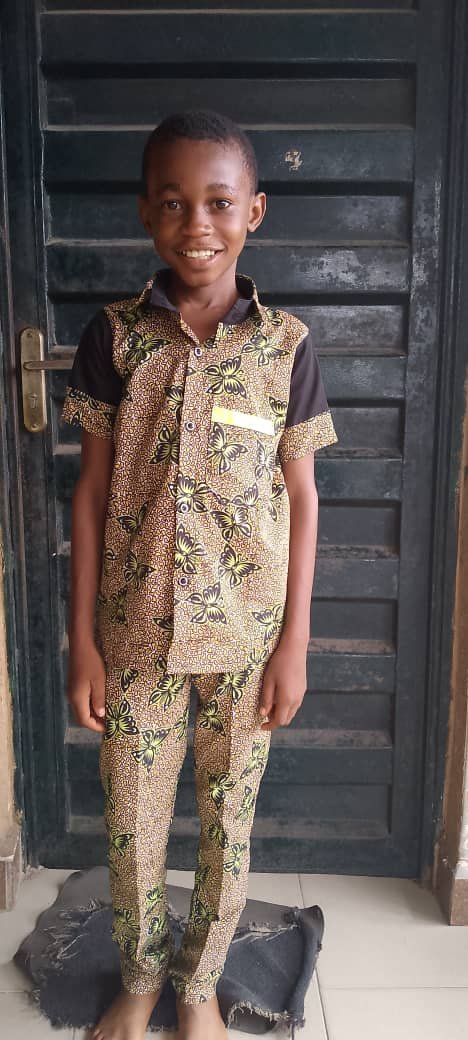
Here is my last born Sunday outfit, he was so happy.
Thank you so much for reading through my post, have a blissful day.
Hello @pepefashion welcome to the community. Thanks for sharing your sewing creations with us.
As you ar a new user, here you have some guidelines for you to read.
Every week needleworkers from around the globe get together to share our work, patterns, tips, ideas and shortcuts as we support one another. Our goal is to inspire the Hive blockchain to give crafting a try.
On Monday’s we use the #needleworkmonday tag and on all other days we use the #needlework tag without the word Monday attached. We share and post our work directly from the Community page.
We encourage our members to share about their needlework life with us. We love hearing stories and what types of things inspired your projects. We challenge you to put some feeling and emotion into your publications and help us get to know the needler behind the fabric.
Feel free to share photos of your work but it’s optional if you choose to share the steps with us (we do require you share the step process in at least one of your posts for validation purposes). If you just want to needle and share about that time we’d love to hear about it. 😊
For more information about what we do and for our posting guidelines please visit our FAQs.
I also invite you to join our Discord channel.
Thank you ~
He looks so handsome!
Congratulations @pepefashion! You have completed the following achievement on the Hive blockchain And have been rewarded with New badge(s)
Your next target is to reach 500 upvotes.
You can view your badges on your board and compare yourself to others in the Ranking
If you no longer want to receive notifications, reply to this comment with the word
STOPCheck out our last posts:
It turned out great, your work really is beautiful 😁👍