How to make Color Splash photo effect using Lightroom
Hey Photography Peeps!
Today, I would like to share an interesting photo editing technique that's fun and easy to do; the Color Splash effect.
For this post, I will be sharing the technique I use to achieve this effect using Lightroom. A quick note, Lightroom is a software that's developed by Adobe to allow photographers to organized their archive, edit, and perform simple manipulation on the photos. It's a personal favorite of mine.
Without further ado, let's proceed to the tutorial.
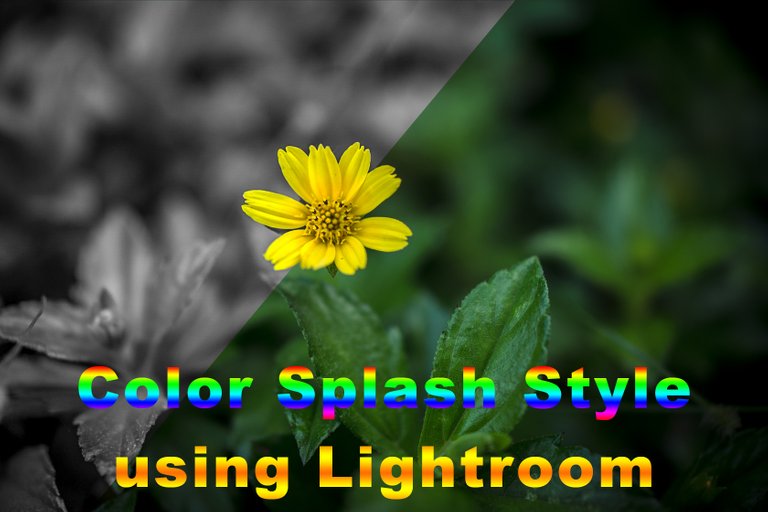
What is the Color Splash effect?
It's a black and white image with certain parts of the image that retains its color. It may sound simple however it also requires a clever judgment on the appropriate subject to use. My personal preference is that it has to have a vibrant color and the main subject has to have well-defined edges.
Let me show you a Google search showing some amazing examples:
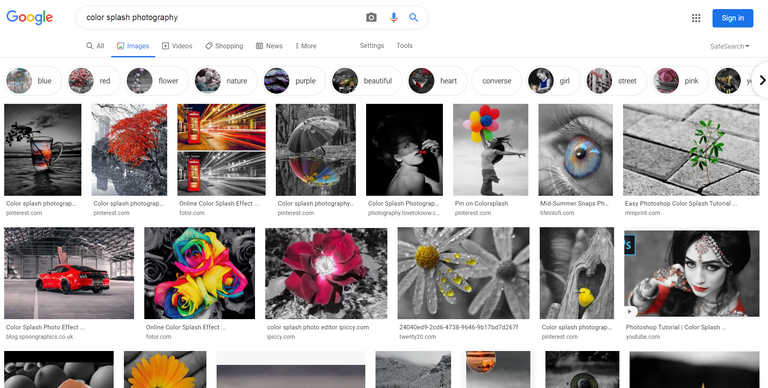
Now that you have the basic idea of what exactly is a color splash effect, let me show you how to do it using Lightroom.
Step 1
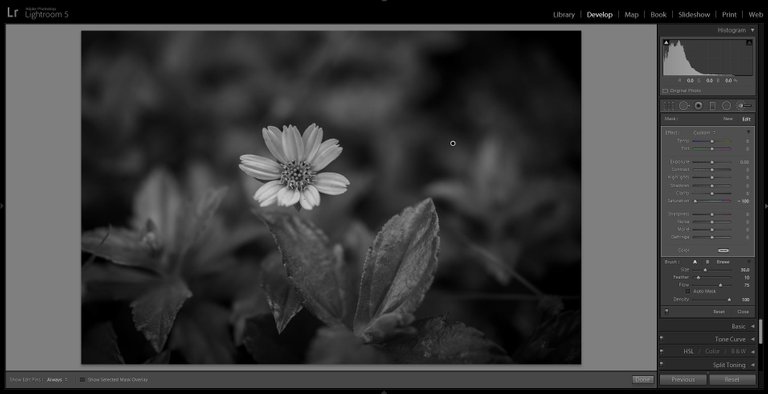
Upon importing the image to the Library, head over to the Develop mode to start editing.
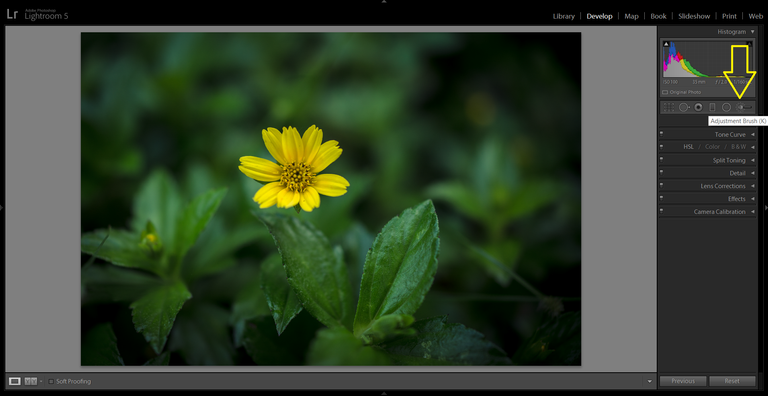
The only tool that we will be using for this tutorial is the Adjustment Brush Tool. You may find it at the top-left portion of the panel (below the Histogram).
Step 2
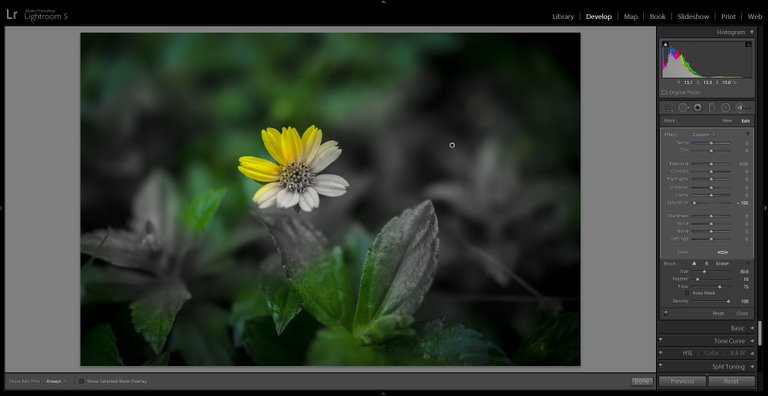
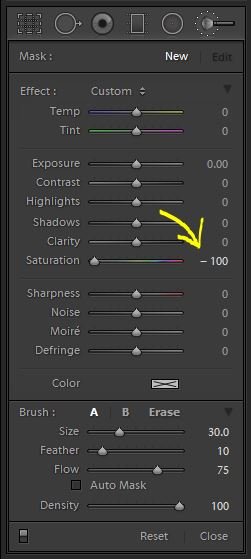
Set the Saturation level to -100.
Step 3
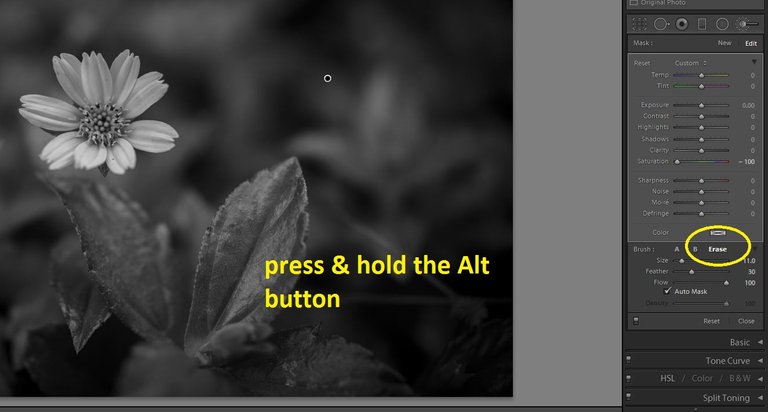
The fun part begins, brush the whole image. It will the photo into a black & white image.
Step 4
Now that we removed all of the colors, it's time to reinstate the color of the main subject that we wanted to feature in this color splash image.
For this part, you will have to click & hold the Alt button or simply click on the Erase option on the adjustment panel.
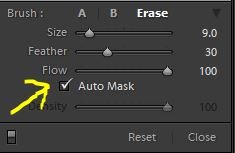
And before you stroke the brush, make sure to tick the "Auto Mask" option.
The auto mask will assist you in clearly defining the edges of the main subject.
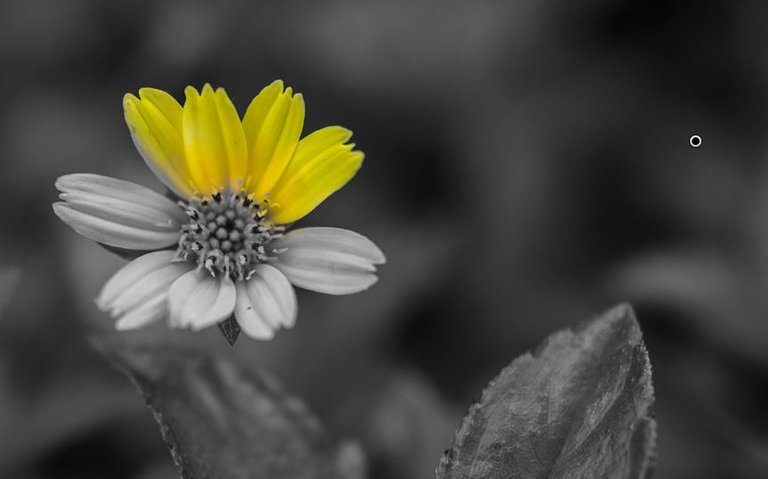
Continue brushing until you painted every part of the subject.
The result will be like this...
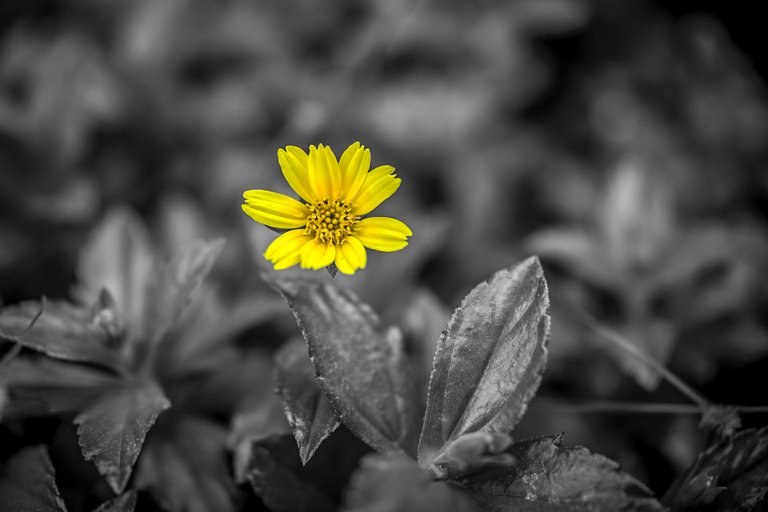
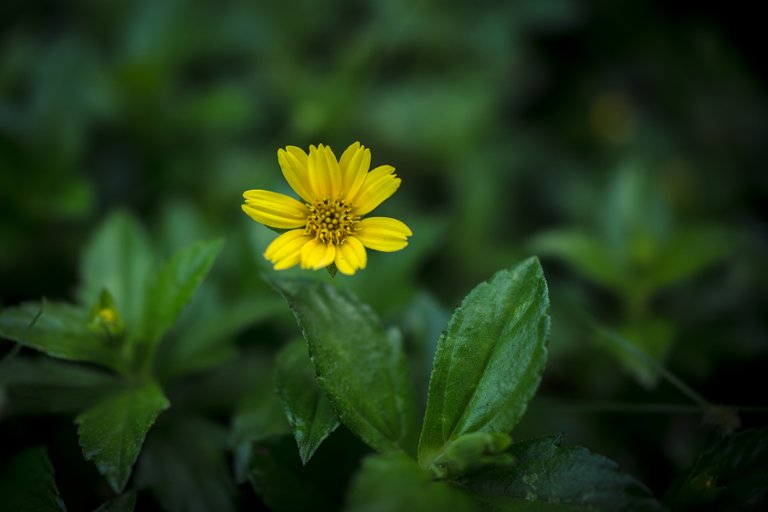
For reference, here's the original photo.
Last note
Needless to say, there are many ways to achieve the same effect however the technique that I use I feel is the most efficient. The best part of the procedure is that the Lightroom brush is equipped with the Auto Mask feature that simply made my work a lot easier. For the most part, the auto mask is the one defining the edges and I just simply stroke the brush much like what I do in a coloring book.
I hope you enjoyed this quick tutorial.
Have a great day everyone!
Congratulations, @photocircle Your Post Got 100% Boost By @hiveupme Curator.
"Delegate To @hiveupme Curation Project & Earn 95% Curation Rewards"
Contact Us : CORE / VAULT Token Discord Channel or Join Us : UPMELINK Web Site
Thank you @hiveupme for appreciating my work.
Have a great day ahead!