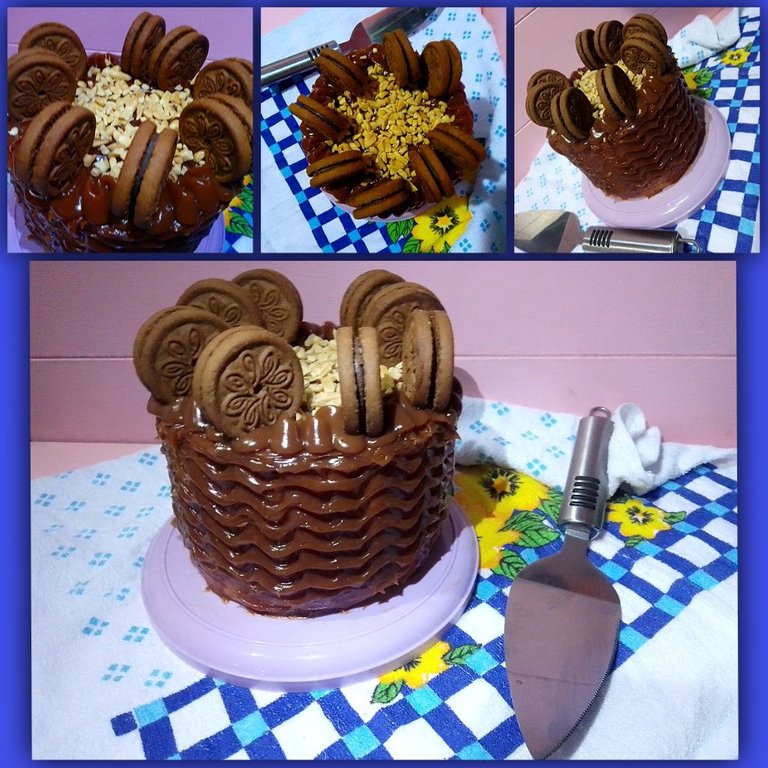
Vanilla, Arequipe and Peanut Mini Cake. A little delight! / Esp: Mini Cake de Vainilla, Arequipe y Maní. ¡Una pequeña delicia.!
Hello, Hello Foodies of the World!
👩🍳👩🍳
Have a wonderful Tuesday, everyone.
🌟
For my Foodie section today, I want to present you a basic vanilla cake with arequipe and peanuts. It's fluffy and really easy to make.
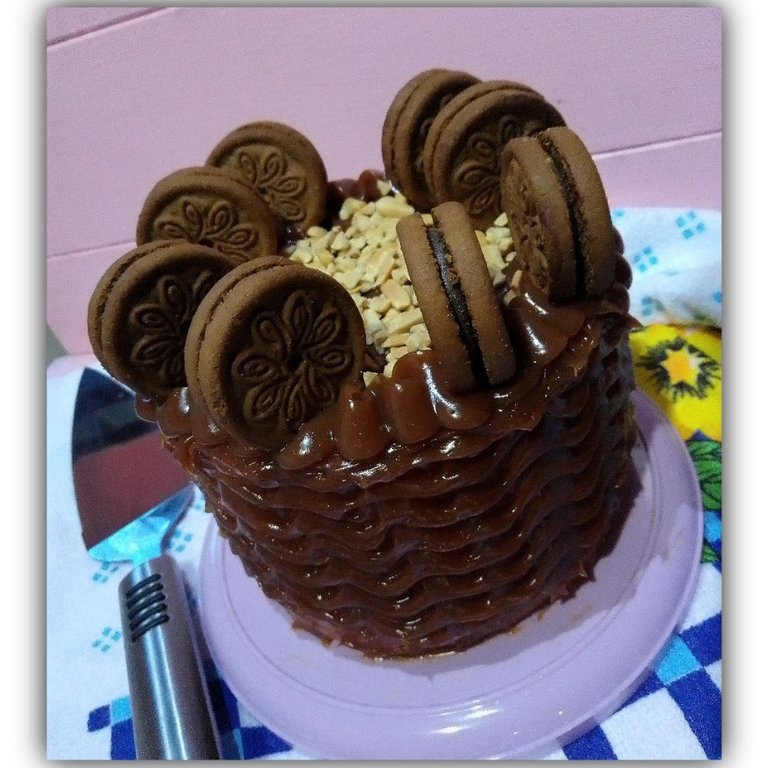
These measurements are for a tall mini Cake. In the pictures, it seems to be big, but it is not. It's small, but very cute. perfect for gift giving! 😊
One of the particularities of this cake is that only one egg is used to make it. Many other versions are prepared with a higher quantity of eggs.
I tell you that the vanilla is a delight when combined with arequipe or dulce de leche, a delight.
Let's go to the step by step!
🙌🙌🙌🙌
👩🍳👩🍳👩🍳👩🍳👩🍳👩🍳
Ingredients:
📌 3 level tablespoons butter.
📌 1 cup sugar.
📌 2 cups leavening wheat flour.
📌 1 egg.
📌 1 tablespoon baking powder.
📌 1 cup fluid milk.
To decorate:
📌 Arequipe or dulce de leche.
📌 Chocolate cookies.
📌 Natural peanuts.
👩🍳👩🍳👩🍳👩🍳👩🍳👩🍳
Step by step:
A.- We place in our bowl, butter, sugar and flour. See figure 1. We beat until a sandy mixture is formed. Now add the egg, vanilla and baking powder. See figure 3. We beat and then add the milk. See figure 4.
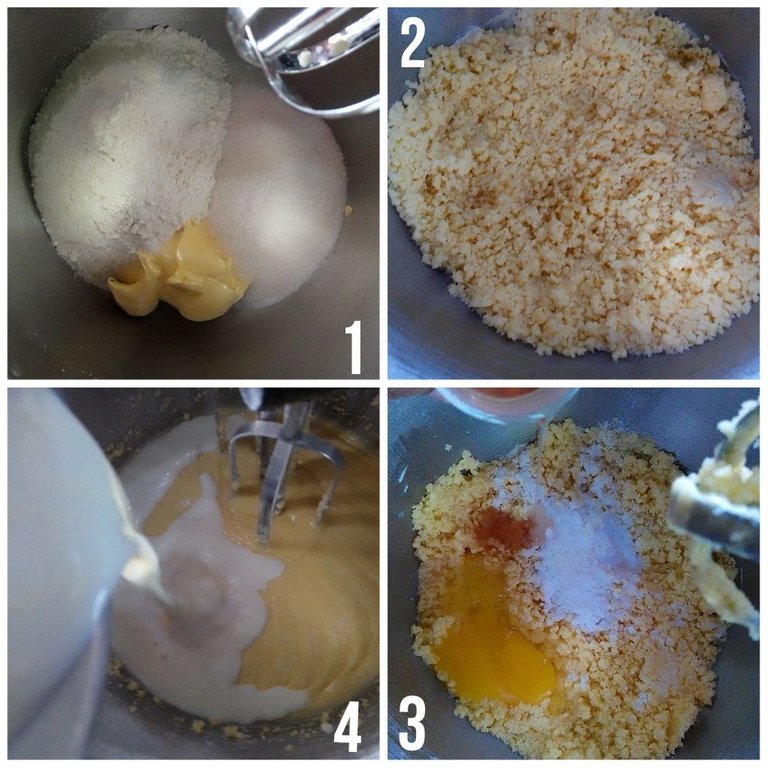
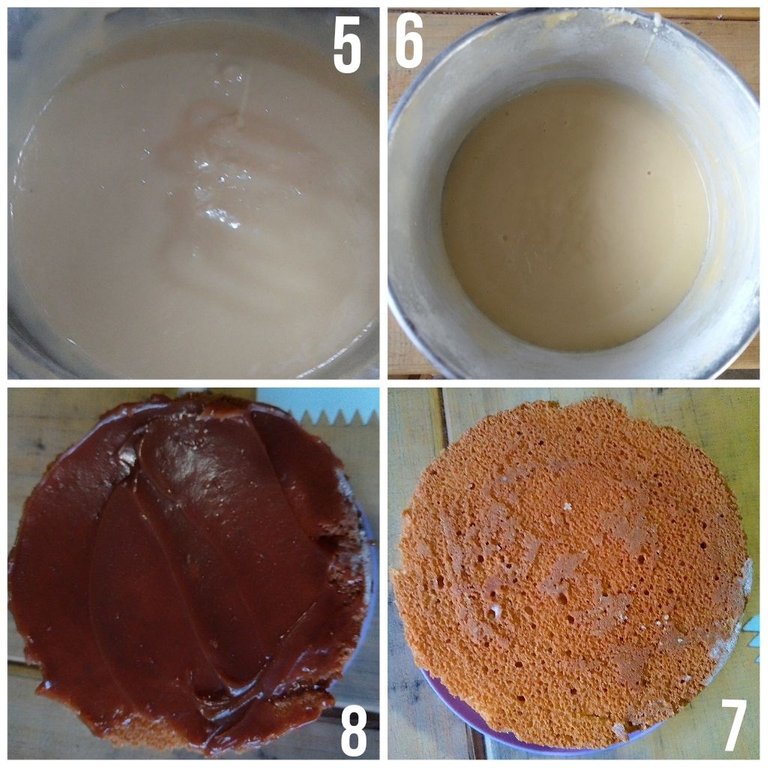
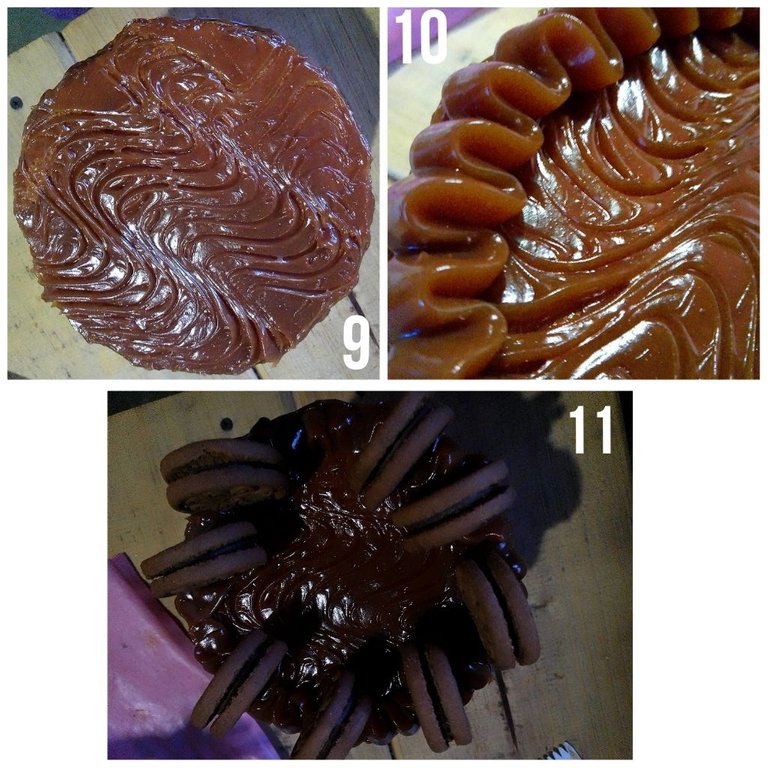
B.- After beating for a few minutes, we will obtain a homogeneous mixture. See figure 5. We take our mold, grease and flour, then pour our mixture. Bake in a preheated oven for approximately 30 minutes, until it passes the toothpick test. We wait for it to cool and then unmold. See figure 7. We take our arequipe and spread it. See figure 8.
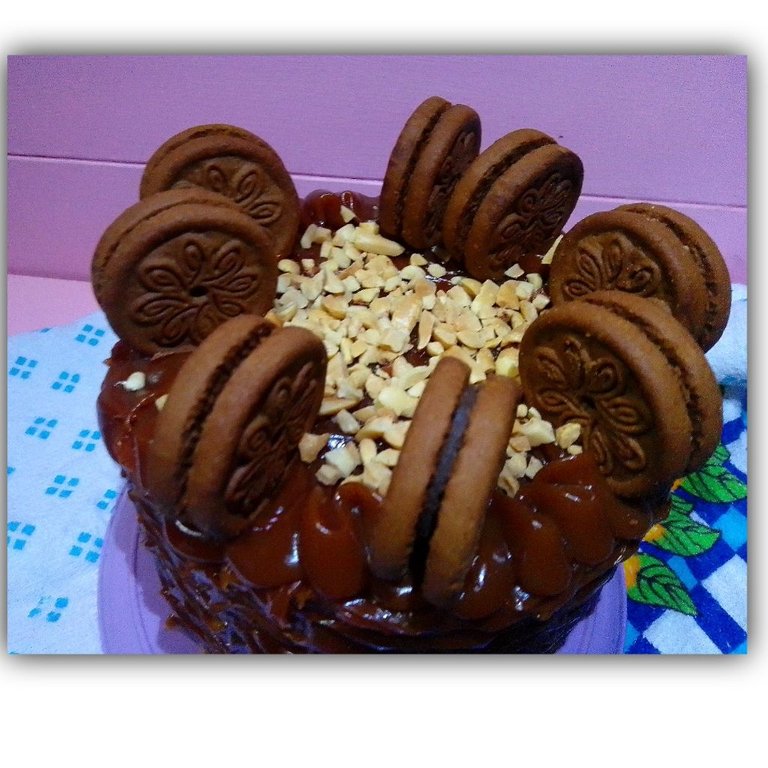
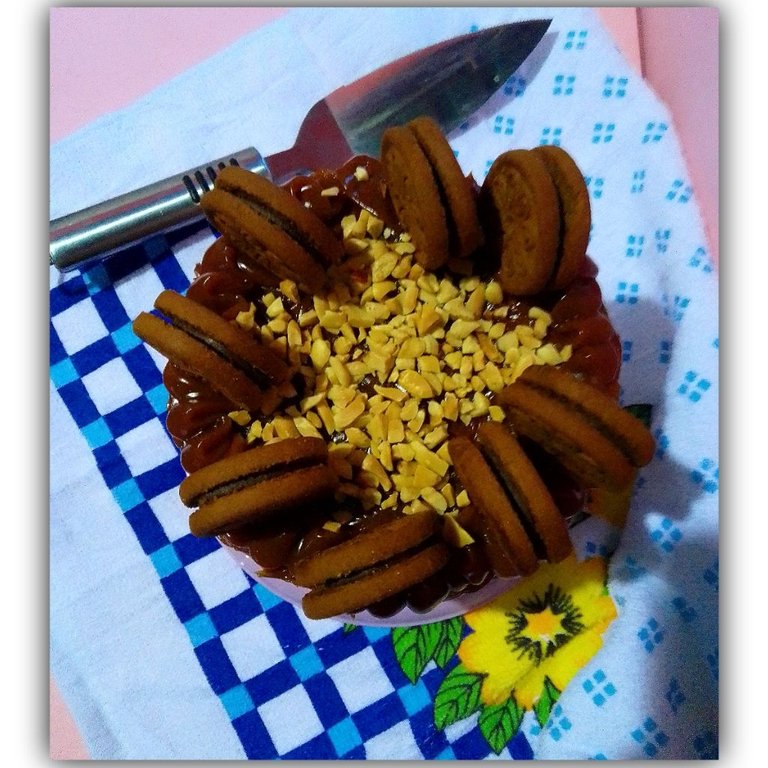
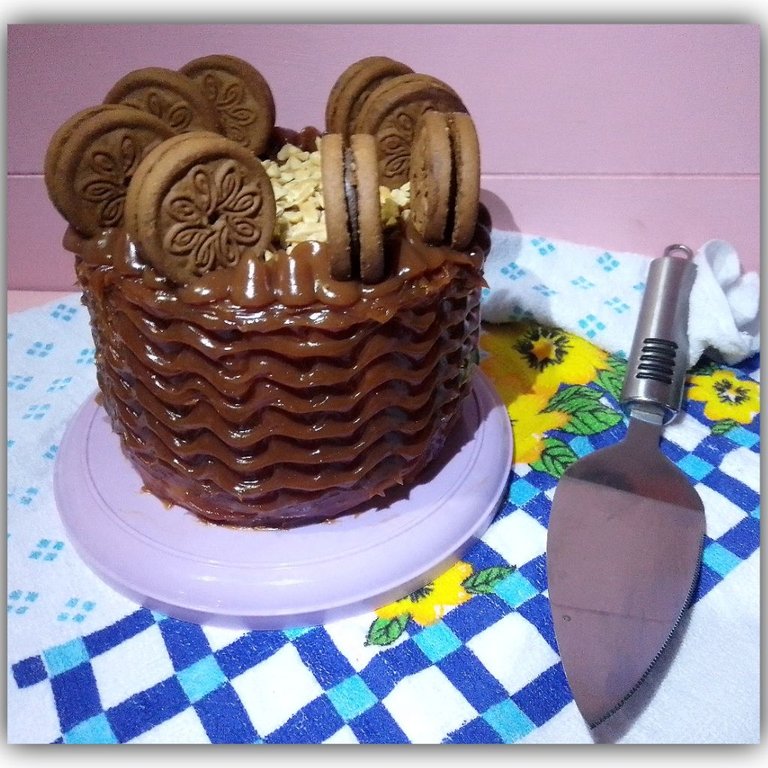
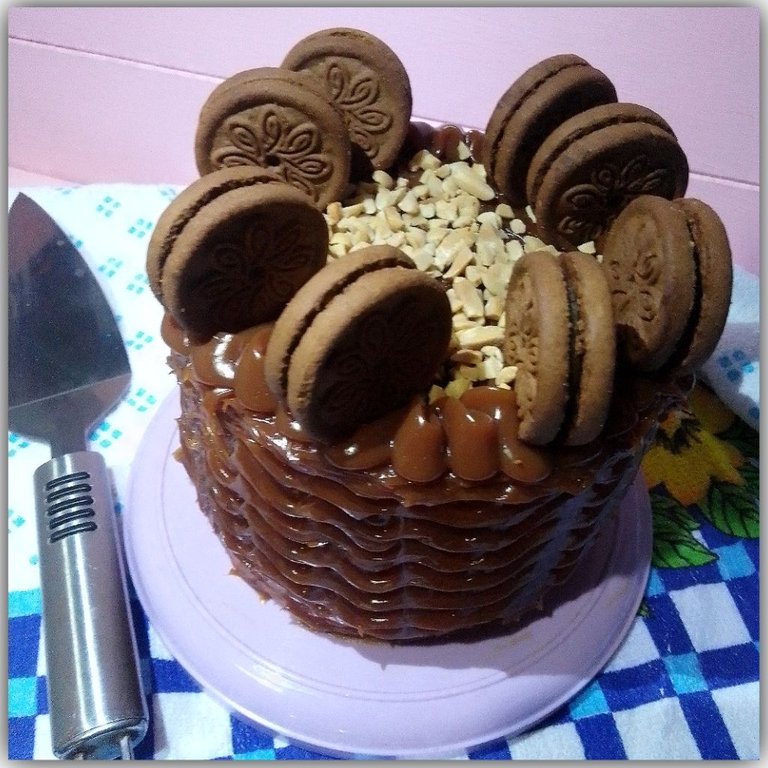
C.- We take our toothed trowel and make figures on the surface of the cake. Then, place arequipe in a piping bag with a nozzle and make a noticeable border. See figure 10. We place cookies, see figure 11. Sprinkle peanuts on the surface.
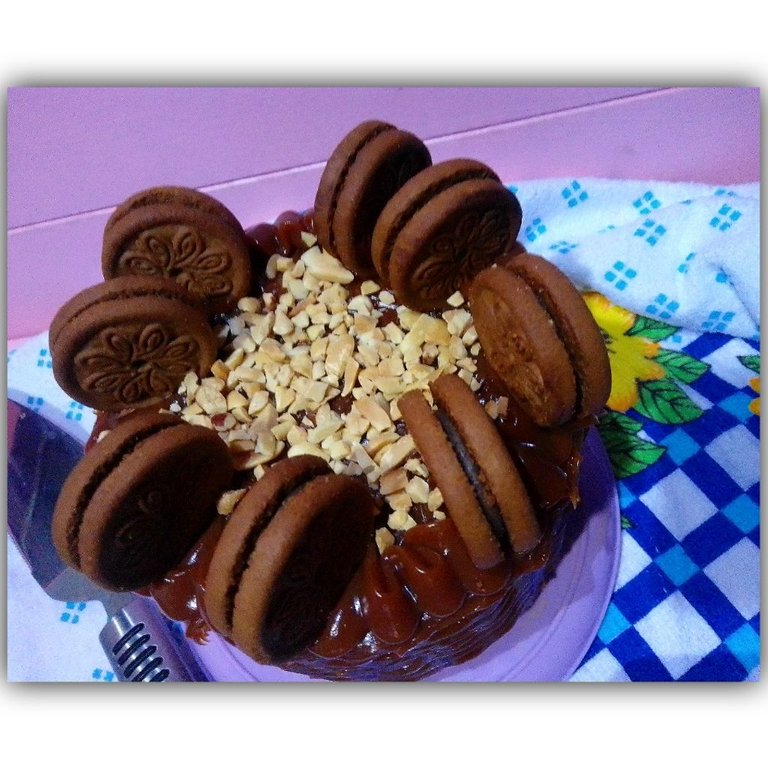
Standing ready, take a look:
Thank you for your attention, kind regards: Ana Pialejo, under my user of : @pialejoana.
Do you like to cook?👩🍳
I invite you to share on Foodies Bee Hive your experiences in the kitchen, recipes, tricks, trials and errors.
The kitchen is magic, food brings us together...🥰🥰🤗🤗🥰🤗
🌟🌟🌟🌟🌟🌟🌟🌟🌟
Versión en Español:
¡Hola, Hola Foodies del Mundo!
👩🍳👩🍳
Tengan todos un maravilloso martes.
🌟
Para mí sección Foodie de hoy, les quiero presentar una torta básica de vainilla con arequipe y maní. Es esponjosa y realmente fácil de elaborar.
Estas medidas son para un mini Cake alto. En las fotos, pareciera ser grande, pero no lo es. Es pequeña, pero muy linda. ¡Perfecta para obsequiar! 😊
Una de las particularidades de esta torta, es que se usa un solo huevo para elaborarle. Muchas otras versiones, son preparadas con una cantidad más alta de huevos.
Les cuento que la vainilla queda a pedir de boca cuando se combina con arequipe o dulce de leche, una delicia.
¡Vamos al paso a paso.!
🙌🙌🙌🙌
👩🍳👩🍳👩🍳👩🍳👩🍳👩🍳
Ingredientes:
📌 3 cucharadas rasas de mantequilla.
📌 1 taza de azúcar.
📌 2 tazas de harina de trigo leudante.
📌 1 huevo.
📌 1 cucharada de polvo de hornear.
📌 1 taza de leche líquida.
Para decorar:
📌 Arequipe o dulce de leche.
📌 Galletas de chocolate.
📌 Maní natural.
👩🍳👩🍳👩🍳👩🍳👩🍳👩🍳
Paso a paso:
A.- Colocamos en nuestro tazón, la mantequilla, azúcar y harina. Ver figura 1. Batimos hasta formar una mezcla arenosa. Ver figura 2. Ahora agregaremos el huevo, vainilla y polvo de hornear. Ver figura 3. Batimos y luego agregamos la leche. Ver figura 4.
B.- Luego de batir unos minutos, lograremos una mezcla homogénea. Ver figura 5. Tomamos nuestro molde, engrasamos y enharinamos, después volcamos nuestra mezcla. Ver figura 6. Llevamos a horno precalentado y horneamos aproximadamente 30 minutos, hasta que pase la prueba del palillo limpio. Esperamos que se enfríe y luego desmoldamos. Ver figura 7. Tomamos nuestro arequipe y lo vamos esparciendo. Ver figura 8.
C.- Tomamos nuestra paleta dentada y hacemos figuras en la superficie de la torta. Ver figura 9. Después, colocamos arequipe en una manga con boquilla y hacemos un borde notable. Ver figura 10. Colocamos galletas, ver figura 11. Esparcimos maní en la superficie.
Estando lista, da un vistazo:
Gracias por su atención, atentamente: Ana Pialejo, bajo mi usuario de : @pialejoana.
ahahaha pero que deliciooosoo. Uffs exquisito se ve, excelente trabajo anita.
Gracias. 🌟😊
Yum! You have been curated @taco.cat on behalf of FoodiesUnite.net on #Hive. Thanks for using the #foodie tag. We are a tribe for the Foodie community with a unique approach to content and community and we are here on #Hive.
Join the foodie fun! We've given you a FOODIE boost. Come check it out at @foodiesunite for the latest community updates. Spread your gastronomic delights on and claim your tokens.
Join and Post through the Community and you can earn a FOODIE reward.