Lapicero decorado con estambre y pompón / Pencil decorated with yarn and pompoms
Hola buenas noches ,Dios les bendiga a todos mis amistades , es agradable compartir con ustedes , les quiero compartir como decorar un lápiz utilizando estambre , es perfecto tanto como para las niñas como para nosotras las adultas , está inspirado en un pompón con una corona una decoracion sencilla pero muy linda ,estoy segura que las niñas les gustará
Hello good evening, God bless you all my friends, it is nice to share with you, I want to share with you how to decorate a pencil using yarn, it is perfect for both girls and for us adults, is inspired by a pompom with a crown a simple but very cute decoration, I'm sure the girls will like it.
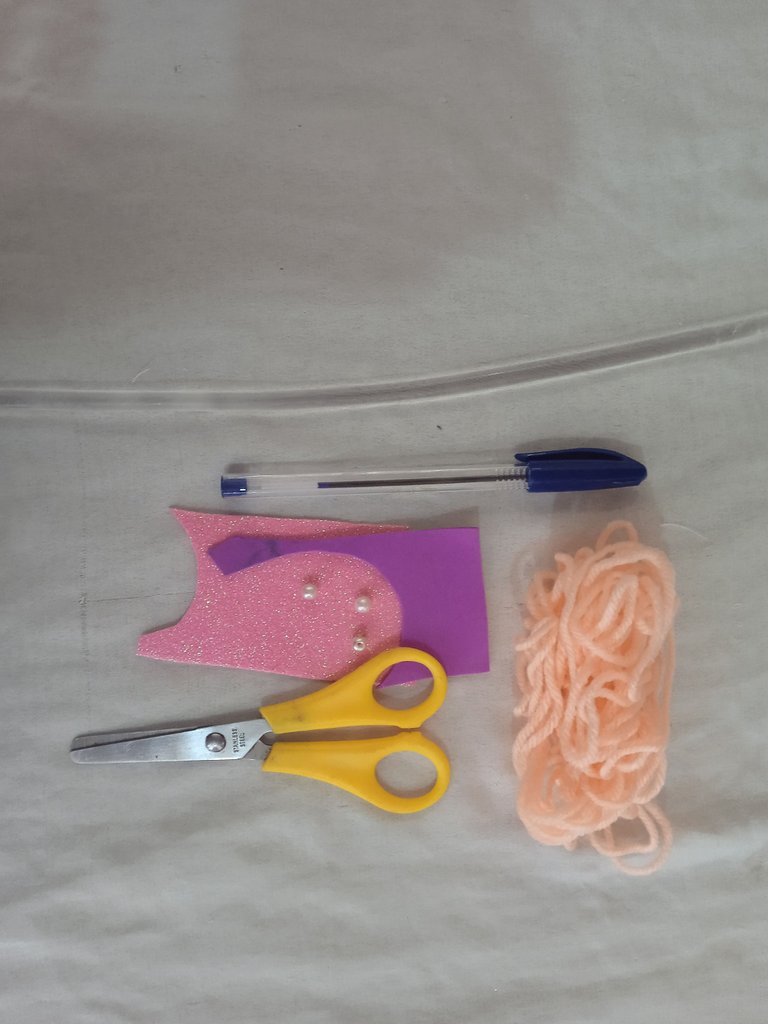
Materiales :
-Lapicero
-Estambre
-Foamis
-Silicon
-Tijera
Materials :
-Lapicero
-Wire
-Foamis
-Silicon
-Scissors
Pasos a seguir:
Comenzaremos realizando la pieza con la que vamos a decorar la parte de arriba de nuestro lápiz en este caso lapicero ,para ello vamos a realizar un pompón , con la ayuda de nuestros dos dedos (índice y medio) vamos a comenzar a enrollar el estambre hasta tener una porcion abundante , realice 25 vueltas para que el pompón quedara redondo y abundante ,debemos dejar un hilo sobrante para poder amarrar
Steps to follow:
We will begin by making the piece with which we will decorate the top of our pencil in this case pencil, for this we will make a pompom, with the help of our two fingers (index and middle) we will begin to wind the yarn until we have an abundant portion, make 25 turns for the pompom to be round and abundant, we must leave a leftover thread to tie.
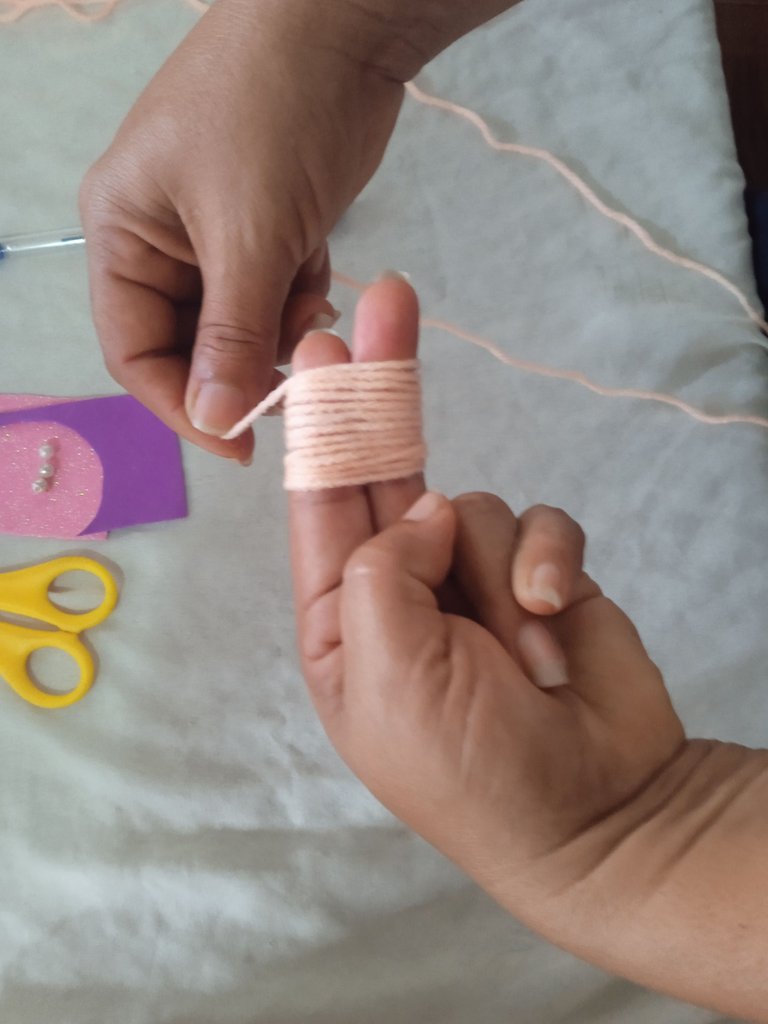
Con el hilo sobrante ,vamos a introducir lo por el centro de los rollos ,con mucho cuidado por el medio de nuestros dedos y comenzaremos a realizar tres nudos que queden bien fuertes y no se desate el nudo
With the leftover thread, we will introduce it through the center of the rolls, carefully through the middle of our fingers and begin to make three knots that are very strong and do not untie the knot.
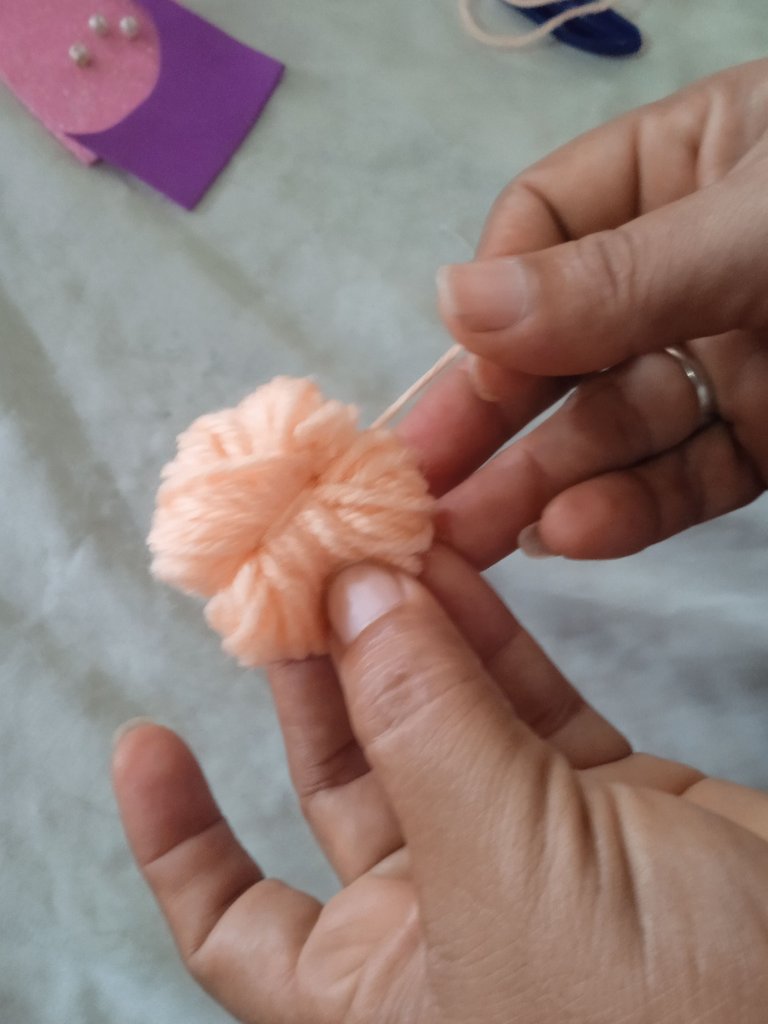
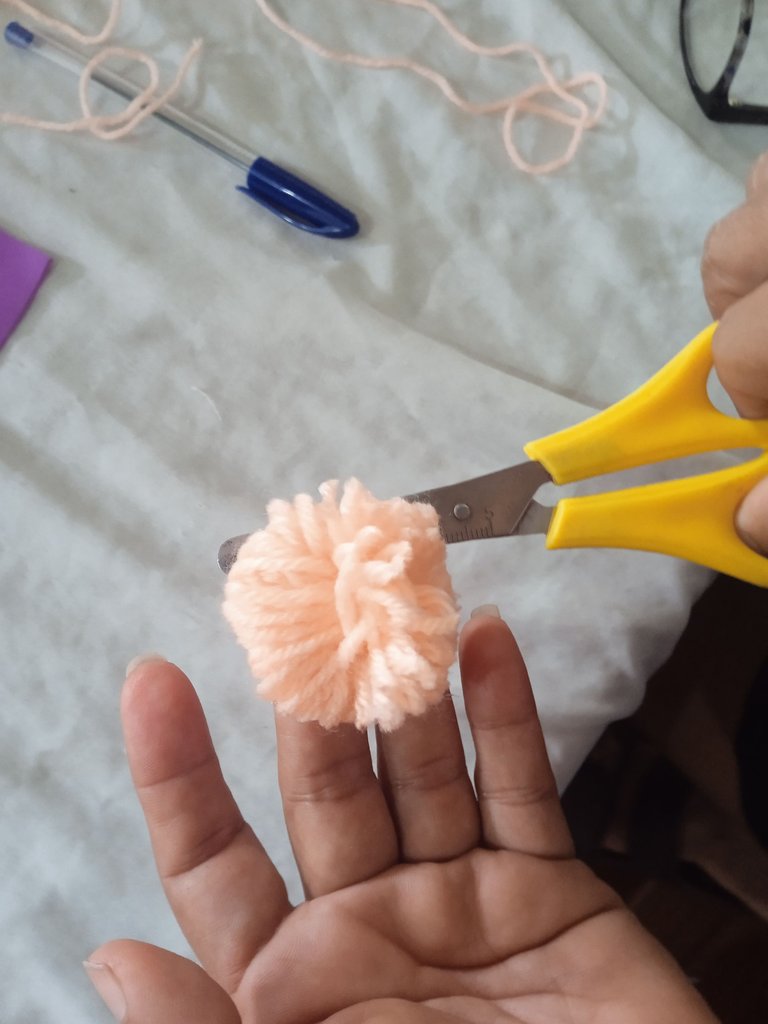
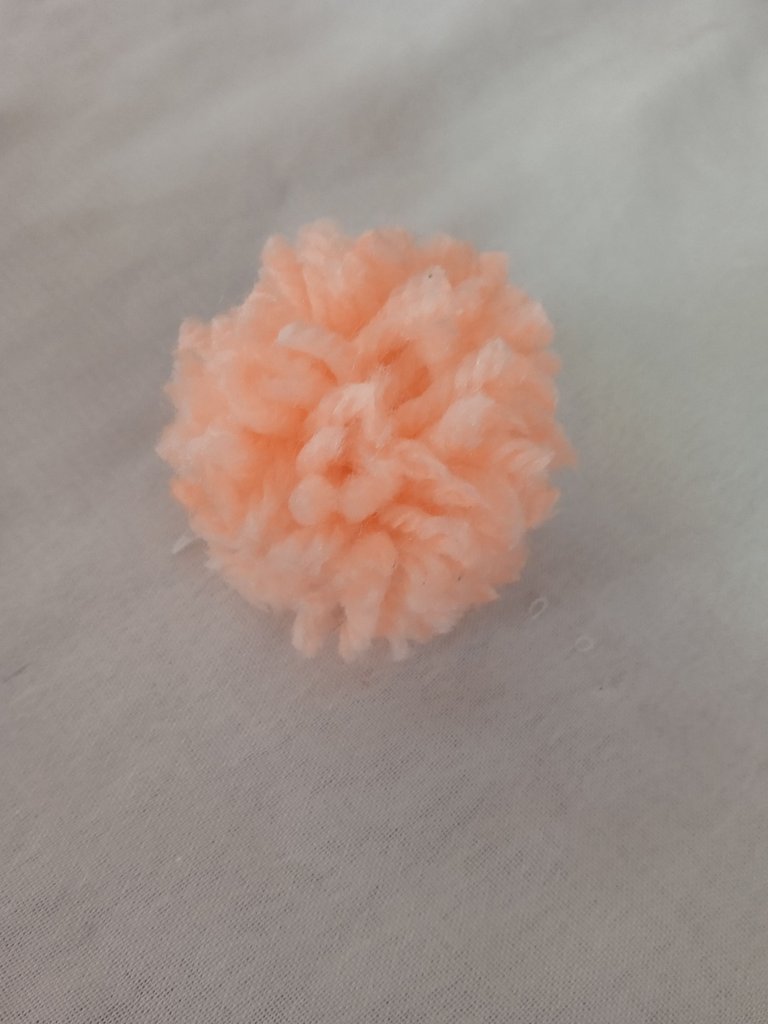
A continuación en este paso vamos a tomar nuestra tijera y comenzaremos a recortar con mucho cuidado he ir soltando el estambre y obteniendo nuestro pompón , a medida que vamos soltando vamos cortando los hilos que queden más grande y dejando lo redondo como es debido
Next in this step we are going to take our scissors and we will begin to cut very carefully and we will be releasing the stamen and obtaining our pompom, as we are releasing we are cutting the threads that are larger and leaving the round as it should be.
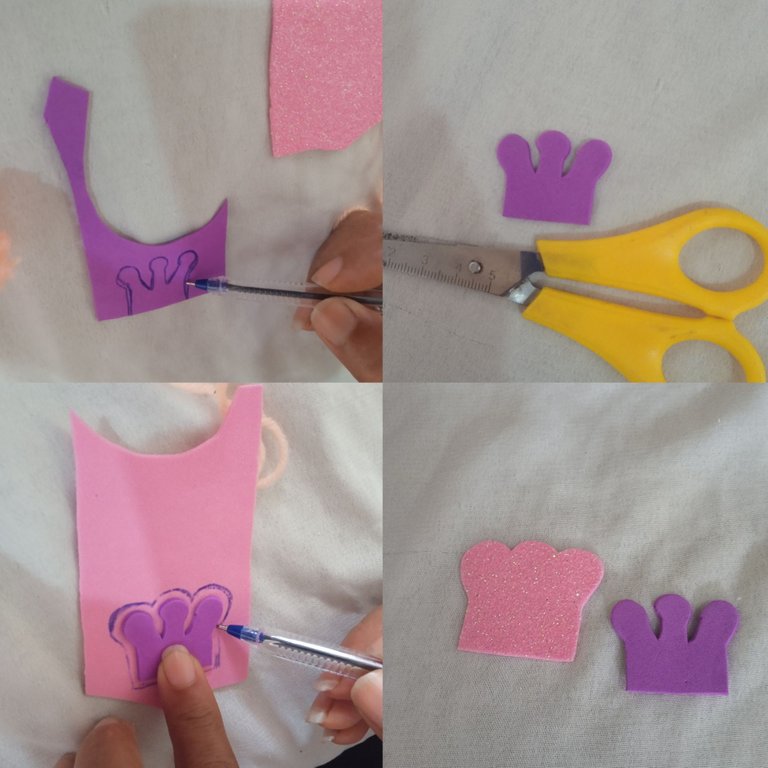
Luego continuaremos realizando una corona para decorar nuestro pompón en la parte de arriba ,iniciamos marcando lo con nuestro lápiz , recortaremos primeramente una pequeña morada ,luego una más grande color rosa que será la base de nuestra corona y resalte entre ambos colores
Then we will continue making a crown to decorate our pompom at the top, we start marking it with our pencil, we will first cut a small purple, then a larger pink that will be the base of our crown and highlight between the two colors.
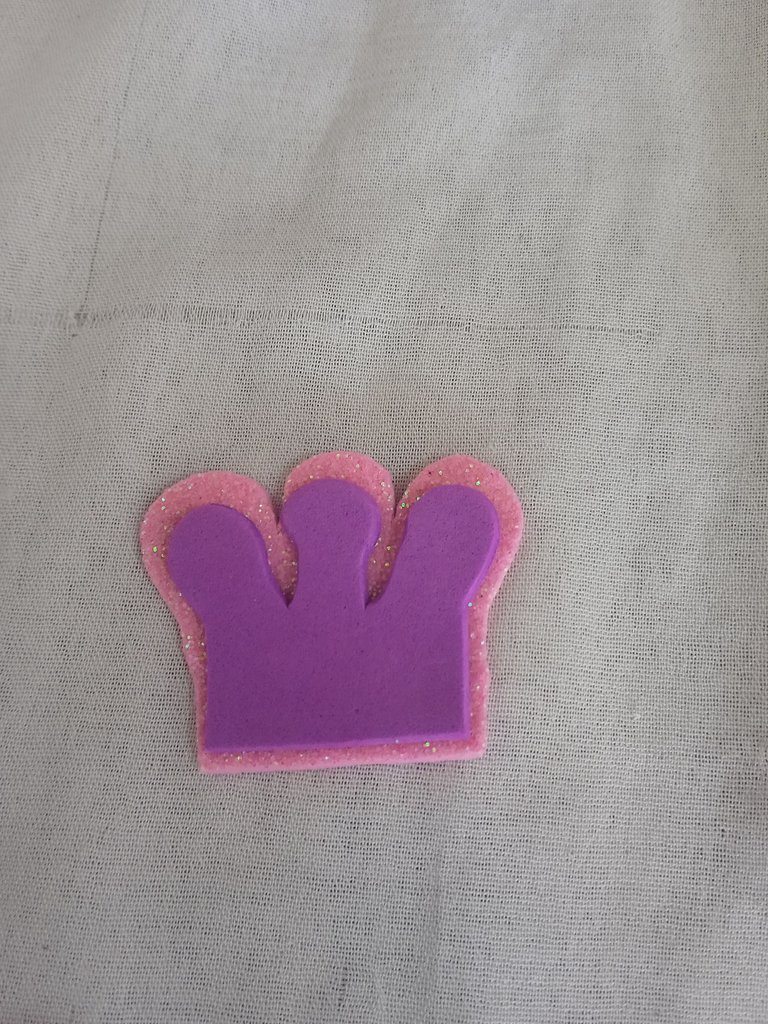
Una vez que tengamos listas nuestras coronas vamos a comenzar pegando la morada encima de la rosada en todo el centro , debe quedar en todo el centro para que por el alrededor se note la corona color rosa y quede más linda con dos tonos
Once we have our wreaths ready we will start gluing the purple one on top of the pink one in the center, it should be in the center so that the pink wreath is more beautiful with two tones.
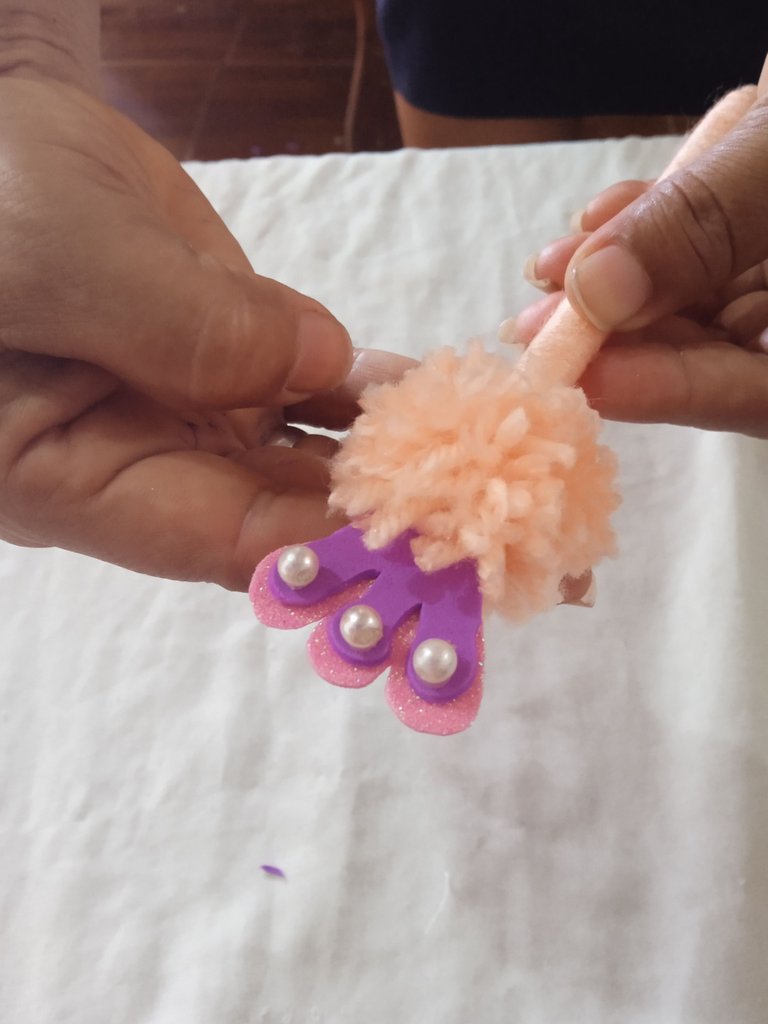
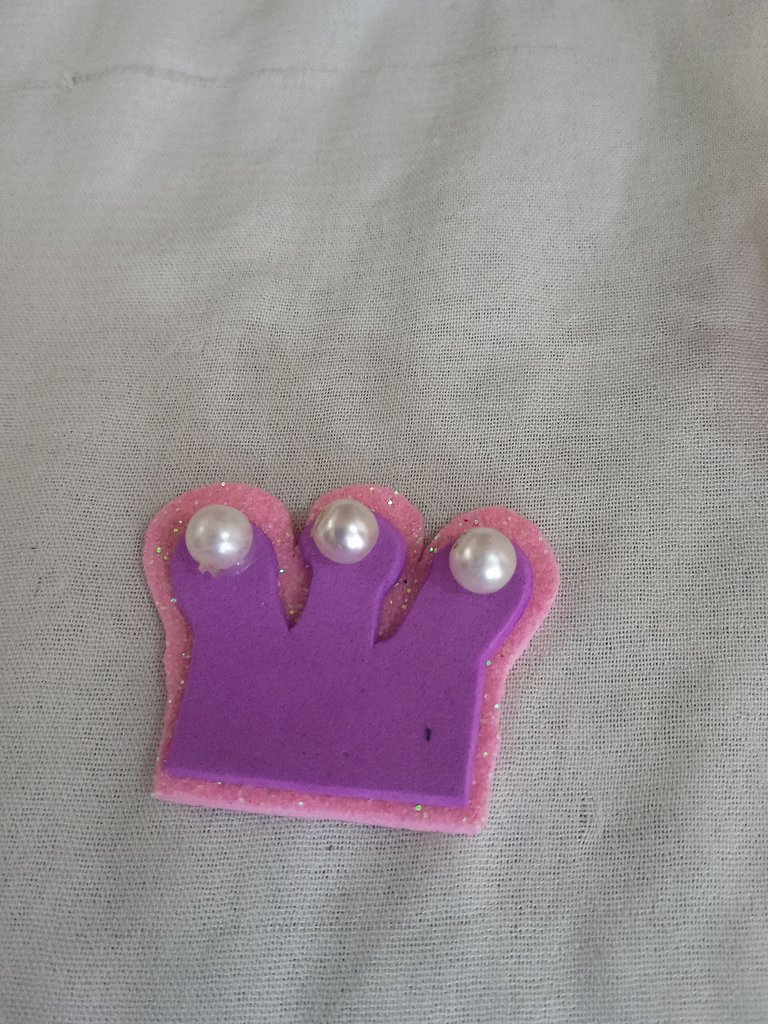
Seguidamente en este paso ya a punto de finalizar ,tomaremos tres piedras torno perla y las pegaremos en la parte de arriba de la corona en las partes exactamente que son semi circular ,así decoramos la corona y queda más delicado
Next in this step we will take three pearl stones and glue them on the top of the wreath in the parts that are exactly semi-circular, so we decorate the wreath and it is more delicate.
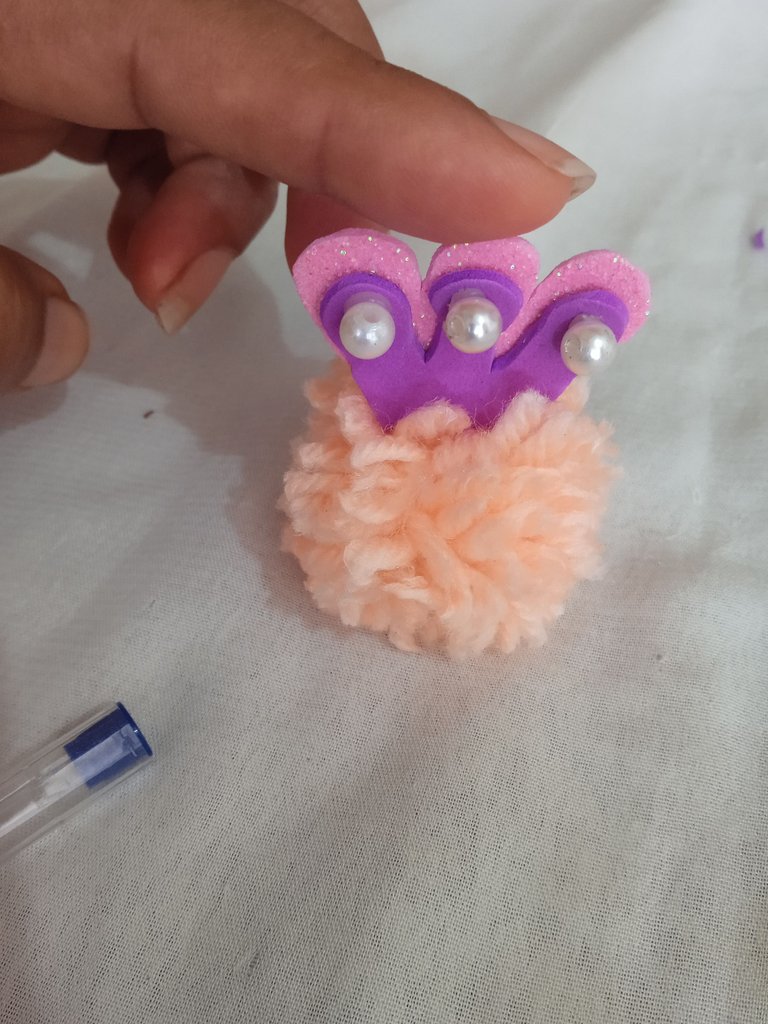
Cuando tengamos listo nuestro pompón de estambre con junto nuestra corona ,ahora vamos a proceder a pegar en la parte de arriba ,ubicada en todo el centro nuestra corona
When we have our worsted pompom ready with our wreath, now we will proceed to glue on the top, located in the center of our wreath.
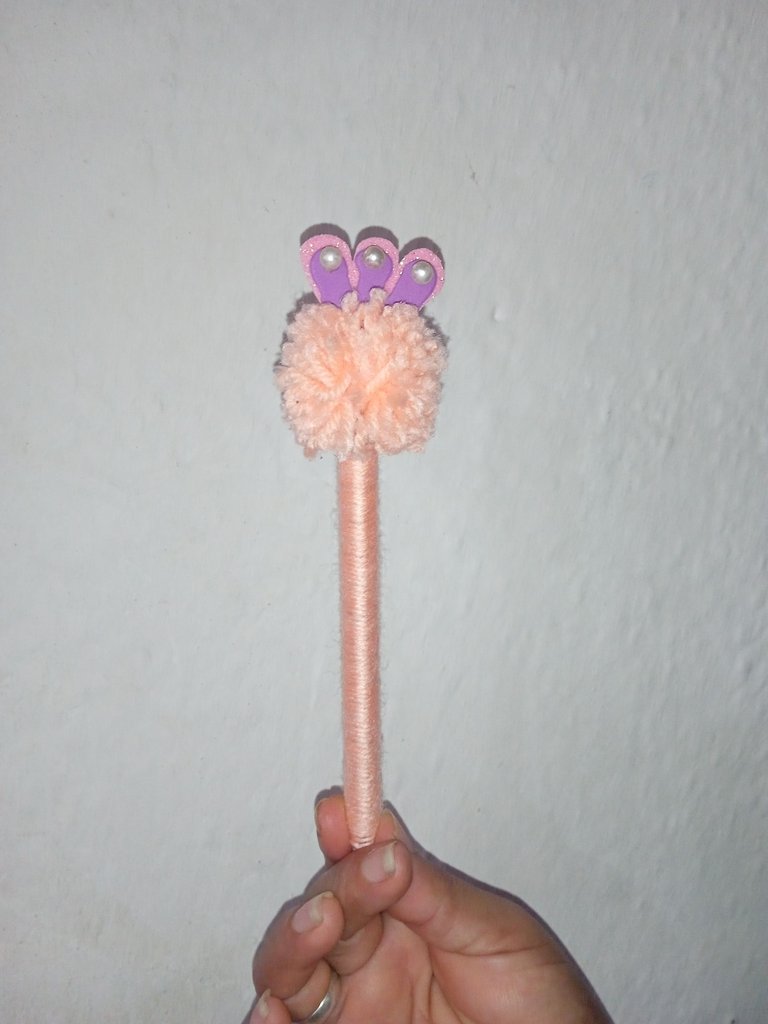
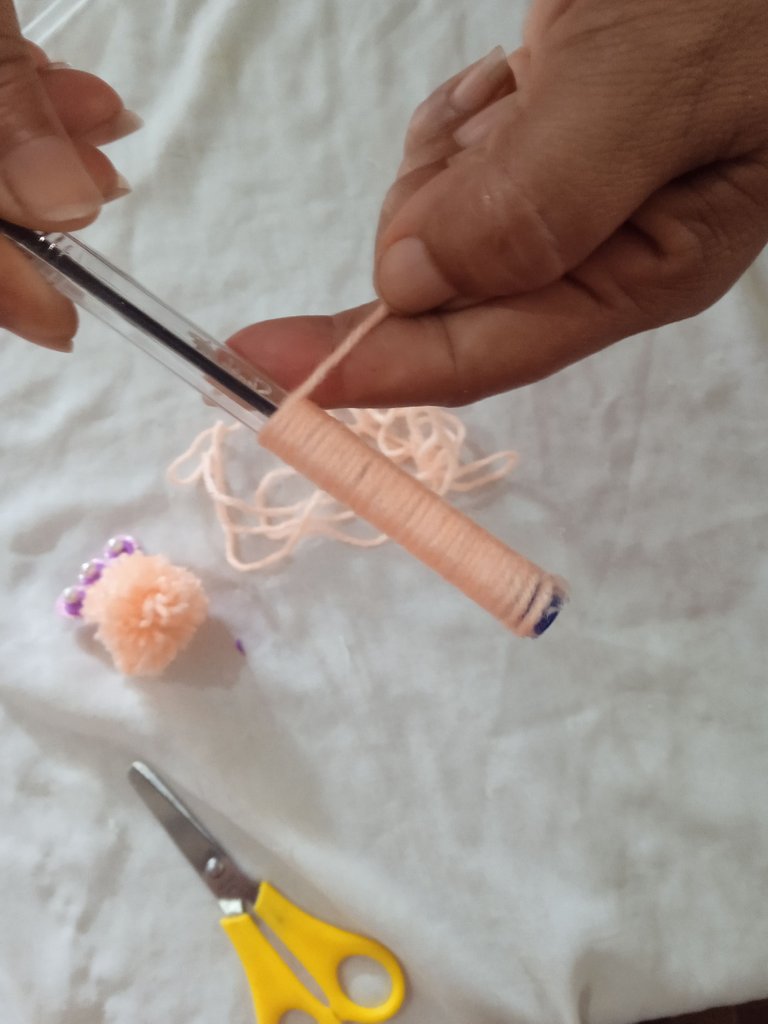
Luego continuaremos decorando el lápiz con el mismo estambre con que iniciamos y realizamos el pompón,añadiremos silicón en la parte de arriba y comenzaremos a enrollar hasta cubrirlo por completo, comenzaremos de arriba a bajo decorando
Then we will continue decorating the pencil with the same yarn with which we started and made the pompom, add silicone on top and begin to roll up to cover it completely, we will start from top to bottom decorating.
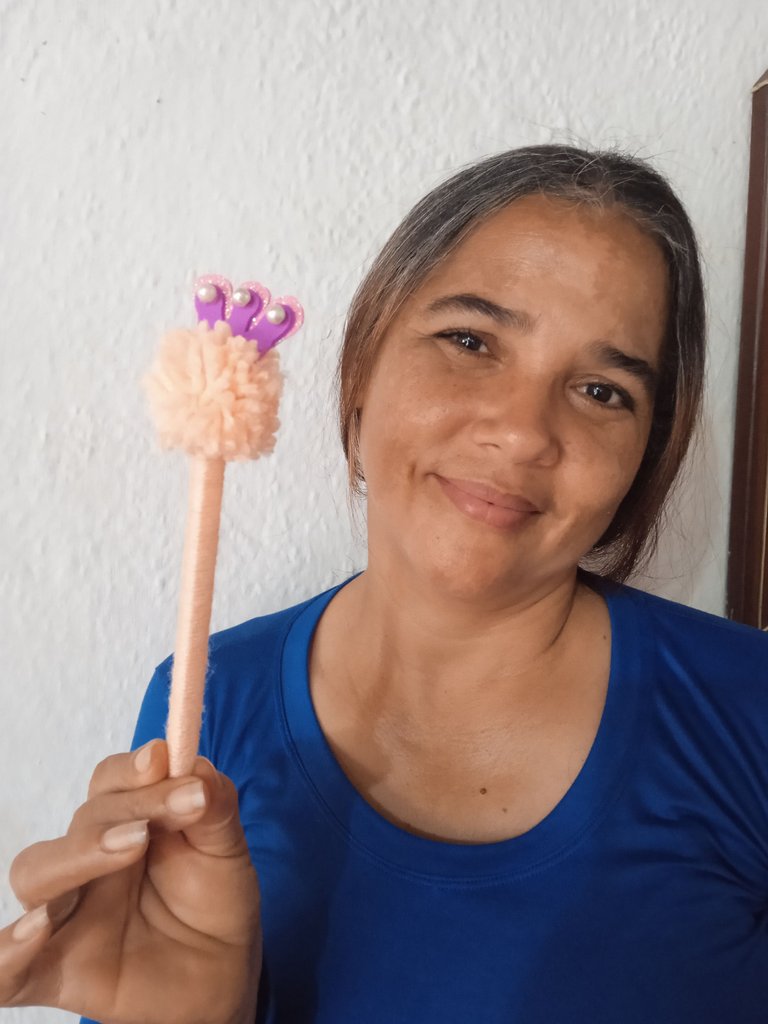
Finalmente tomaremos nuestro pompón y lo pegaremos en la parte de arriba ,terminando de esta manera nuestro hermoso lápiz con pompones y corona ,una excelente decoración para que nuestras niñas salgan al colegio y siempre esten hermosas
Finally we will take our pompom and glue it on the top, finishing this way our beautiful pencil with pompoms and crown, an excellent decoration for our girls to go to school and always look beautiful.