Diy sewing hack.//. Eyelets made easy
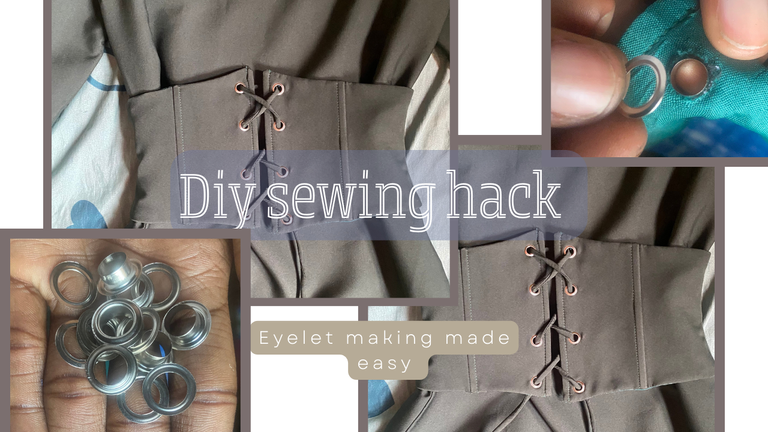
Hi needleworker, how are y'all doing, I'd love to share a hack I learned last week. If you are a sewist with no eyelet maker like me, then this post is a must-read for you. I had a pitiful but courageous journey in uncovering this hack, and I'm so proud to share it with you cause it is life-saving.
As we all know, sewing is fun when you have enough resources to play around with. However, After relocating to my new place, I had to work with limited facilities because the only thing I could carry with me was my sewing machine. It was really hard to carry, but my love for sewing was even harder haha.
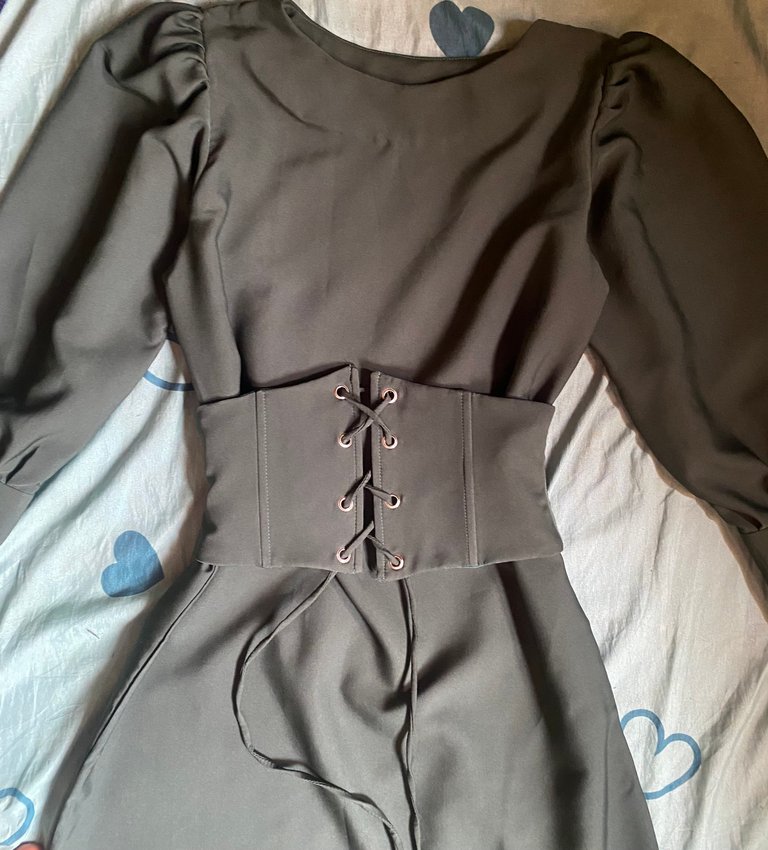
To cut a long story short, I received an order last week to make a long, simple dress with a corset belt. Since the cloth was at an easy-to-make level, I decided to sew it a day before delivery. I wish I had sewn it sooner, but due to procrastination getting the better of me, I decided to make it a day before delivery.
I made the dress within approximately 5 hours, I can’t remember exactly, but the real issue was looking for where I could fix eyelets to the corset belt. Since I didn’t bring my press button machine with me, I had to look for a place to do the corset eyelets. The annoying part was that I was not even familiar with the environment yet, so I had to look for several tailor shops and start asking for help and directions on where I could get the eyelets done.
After wasting my time, energy, and money, I decided to go back because I had already lost hope in finding where I could get the eyelets. As I was going back home displeased, I saw a tailor shop by the roadside, so I decided to give it one last try. Then she directed me to another tailor shop. When I got there, she explained that she didn’t have the machine but she did them manually. I was surprised! “Manually? How is that possible?” I thought. Then she illustrated how she does them, and I was so surprised it turned out better than I expected it to be.
I did the remaining eyelets myself when I got home, and I was so relieved to get it done. So if you are in a tight spot and need an eyelet, you can try this hack. But the only downside to it is that it is not as smooth as when done with the machine, thus it can ruin the cloth or fabric on contact. Aside from that, it was amazing trying the new hack, and I'm thrilled to share my steps with you. Continue reading if you are interested >>
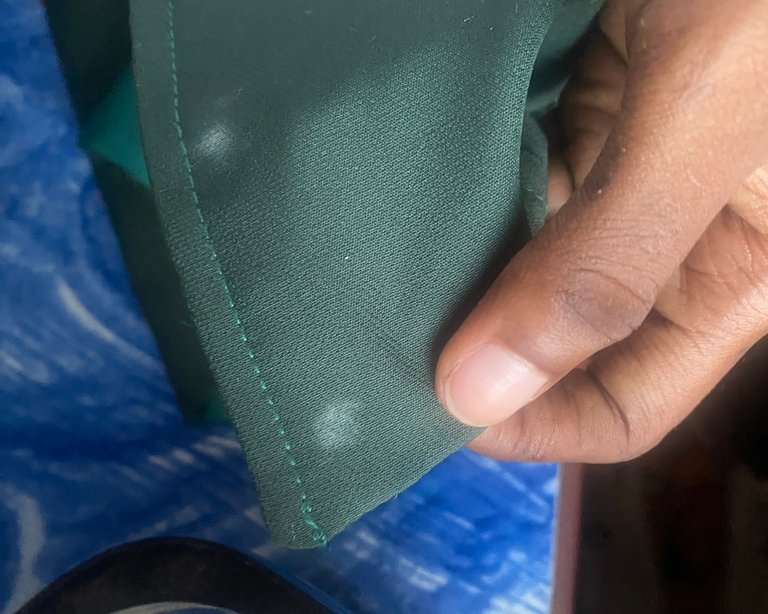
STEP ONE
Chalk or mark where you want your eyelets to be.
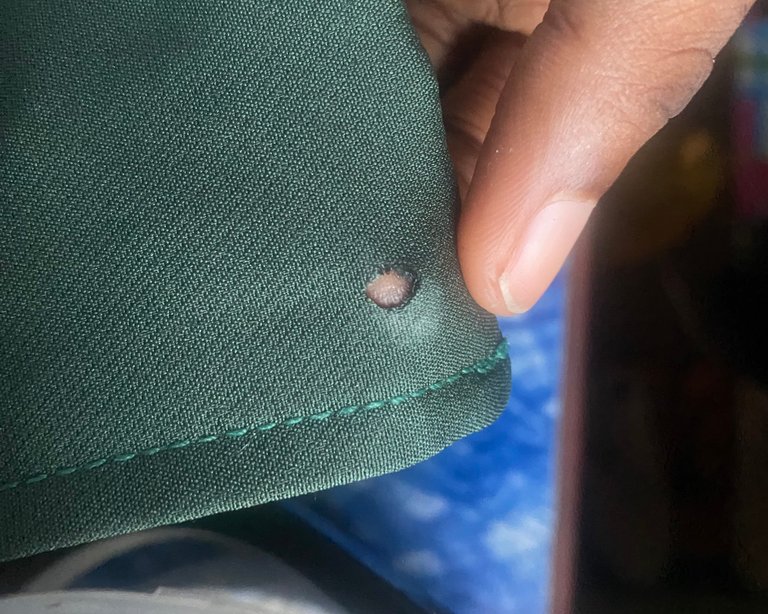
STEP TWO
Fold the point where you mark and cut to create a hole be extra careful not to make the hole too big. You can use a perforator instead.
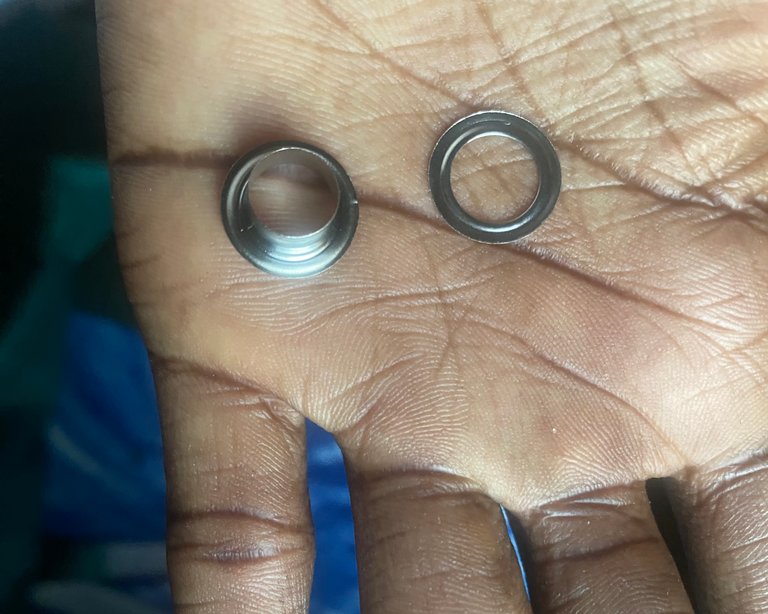
STEP THREE
Take out your eyelet rings. And selects the top and bottom.

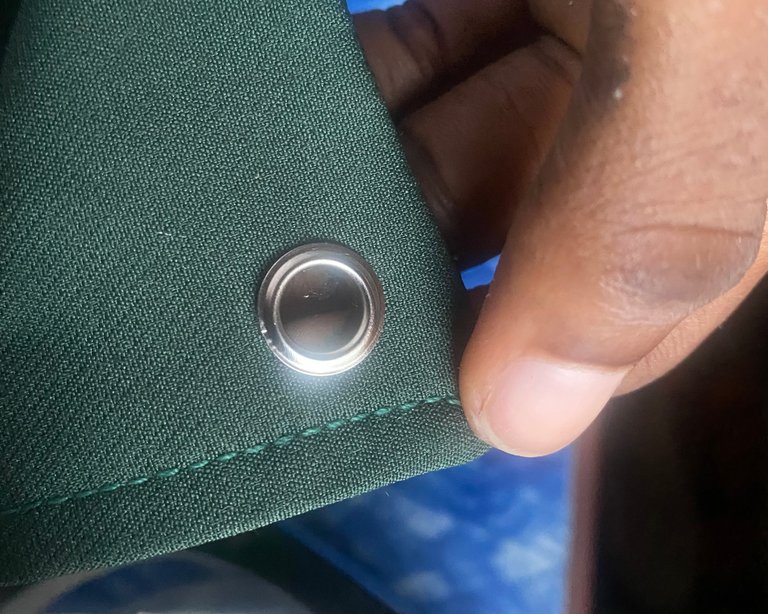
STEP FOUR
Then place the top into the hole from the front.
The back

The front
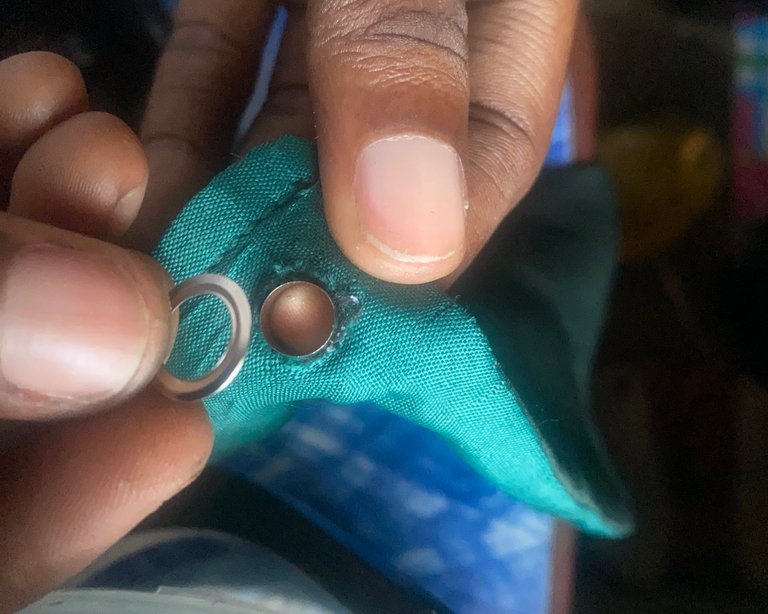
STEP FIVE
Put the bottom eyelet ring on the top eyelet ring.

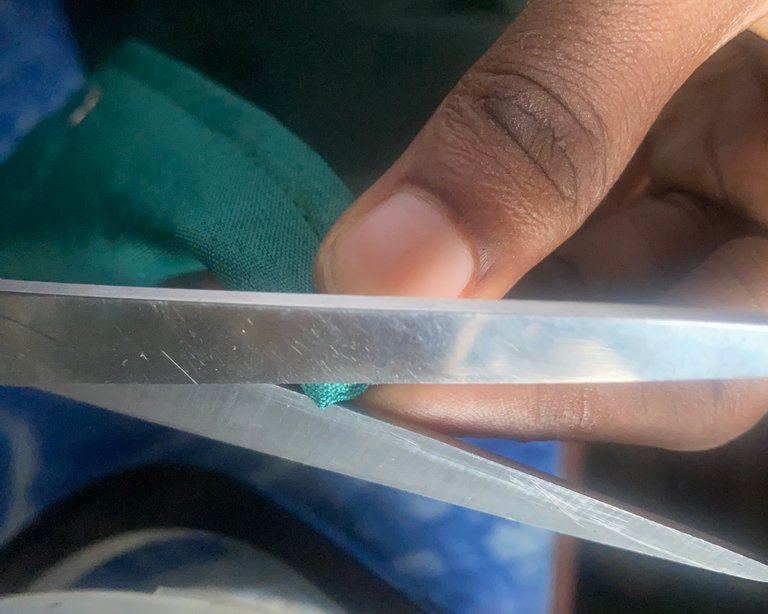
STEP SIX
I notched the tip of the top eyelet ring with scissors.
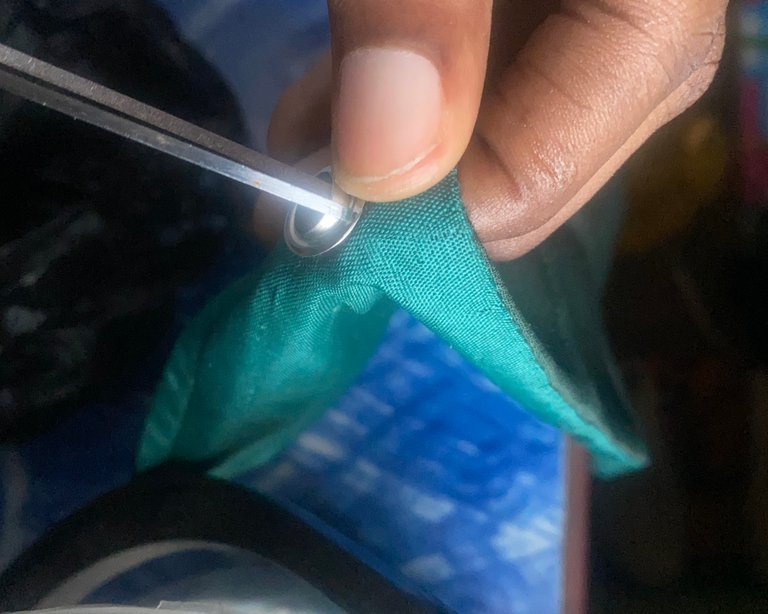
STEP SEVEN
I use the scissors to press down the tip that I notched and make it as flat as possible. I also hit it with a hammer just to make sure they are as flat as possible to avoid abrasion marks.

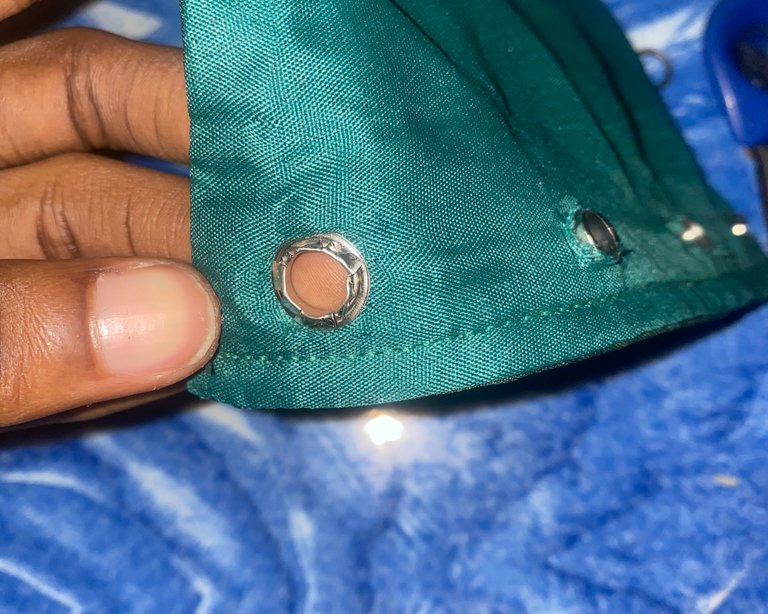
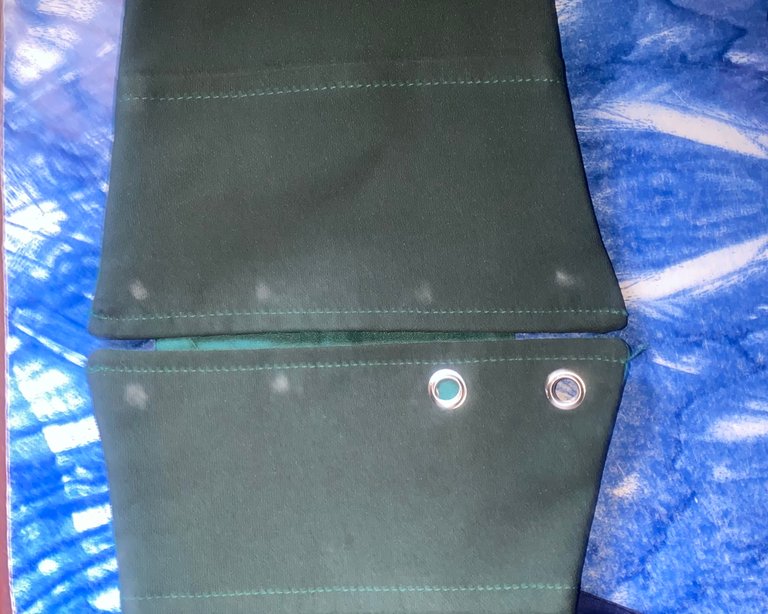
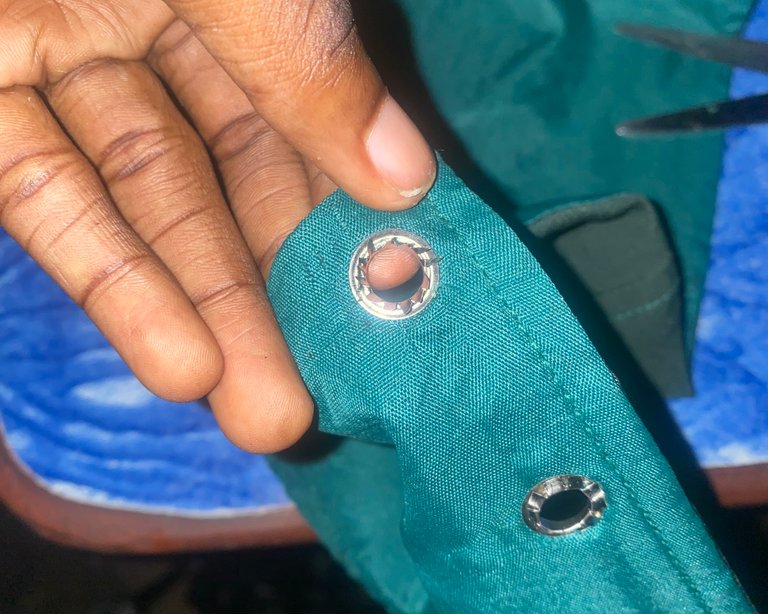
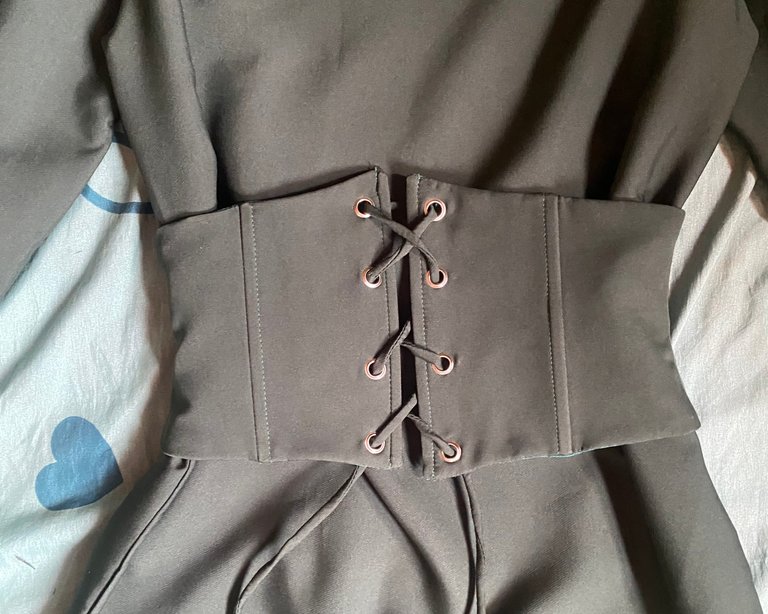
This is the final result.
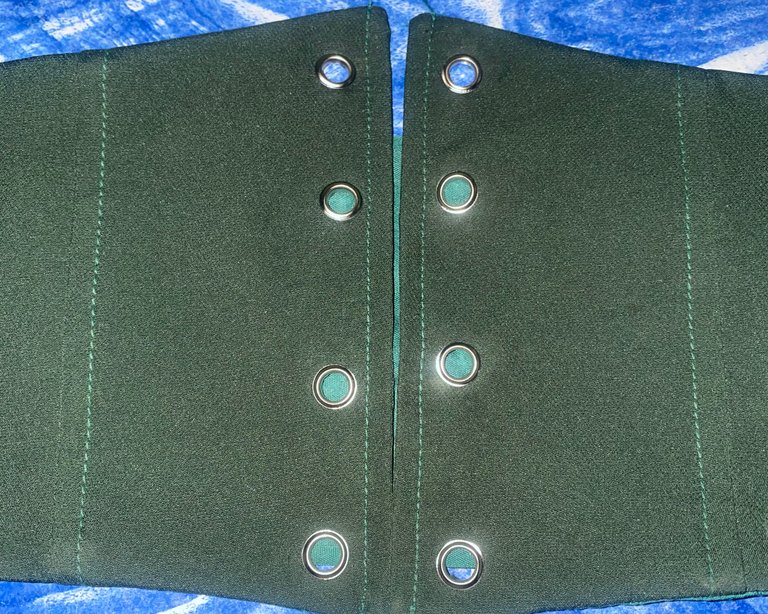

The belt on the cloth
I hope this tutorial was helpful, comment your thoughts.
Thanks for reading and have a fabulous day ❤️✨
All images used are mine and the thumbnail was created using canva
Congratulations @rayoo! You have completed the following achievement on the Hive blockchain And have been rewarded with New badge(s)
Your next target is to reach 600 upvotes.
You can view your badges on your board and compare yourself to others in the Ranking
If you no longer want to receive notifications, reply to this comment with the word
STOPCheck out our last posts:
The dress with the corset is beautiful. The trick was great, you had a good result, I congratulate you.
Thank you so much, I'm glad you like it :)
These eyelets are great, typical for corsets and are very easy to apply. The outfit turned out very well, congrats ❤️. Happy weekend!
Thank you so much for your comment.
Thank you for sharing. I have pliers for attaching eyelets, but if I did not I think I would use heavy thread to do buttonhole stitch around the holes. !BBH
@rayoo! Your Content Is Awesome so I just sent 1 $BBH (Bitcoin Backed Hive) to your account on behalf of @fiberfrau. (4/5)
Yh, I think I should get the pliers, it will save me a lot of time.
!PIZZA
$PIZZA slices delivered:
@fiberfrau(1/5) tipped @rayoo
Ciao @rayoo - this is a brilliant hack, I really like it! Especially for where the backs of the eyelets are not touching bare skin - otherwise they might be scratchy, eh? So good to find a quick and straightforward solution like this which can also be applied to other projects... Thank you for sharing! 🤗