Making an inbuilt corset dress.//. My first attempt
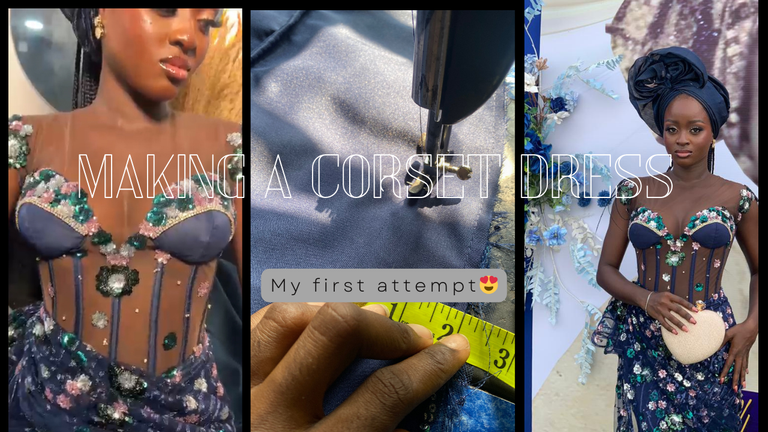
Good day, my fellow needleworkers, happy weekend to you all. I'd like to share my experience making an inbuilt corset dress for a friend. My friend messaged me last month that she wanted me to make a corset dress for her. I was skeptical at first because I had never sewn a corset dress for anyone except myself. So, I was kinda scared but I decided to gather all the little confidence I had and accept to make her dress.
Due to the high price of sewing materials and the price she bargained for being too low for the style she wanted, I told her she would not be able to get the style she wanted. she later agreed to me sewing any nice style for her. I was happy because of the freedom I would have sewing her clothes but there were some challenges that I faced when making this dress. One challenge was that I had to sew a “nice and beautiful dress”, though it was not really much of a challenge at first until I started making the cloth. Another one was that I had to manage her 2.5 yards of lace fabric because she told me she’d love to have a wrap in front of the dress which would use about 1.25 of 1.5 yards of lace. The last challenge was that I had limited resources due to the amount she paid. But I am glad at the end of the day I made it work and I'm so excited to share my process with you.
This work took me a whole 3 days excluding the hour spent on getting the materials. It could have taken me a lesser amount of time but the fact that have to create the design myself really took more of my time than I expected. It was fun but I was unable to get pictures of some steps because my phone battery died, so annoying.
Material used
A yard of Illusion net
1.5 yards of dull face fabric
1.5 yards of lining
A pair of bra cup
A yard of stoned trimmings
About 4 yards of plastic boning
Half a yard of air stays interfacing
Half a yard of paper stays interfacing
Hemming gum
Hook and eye
threads
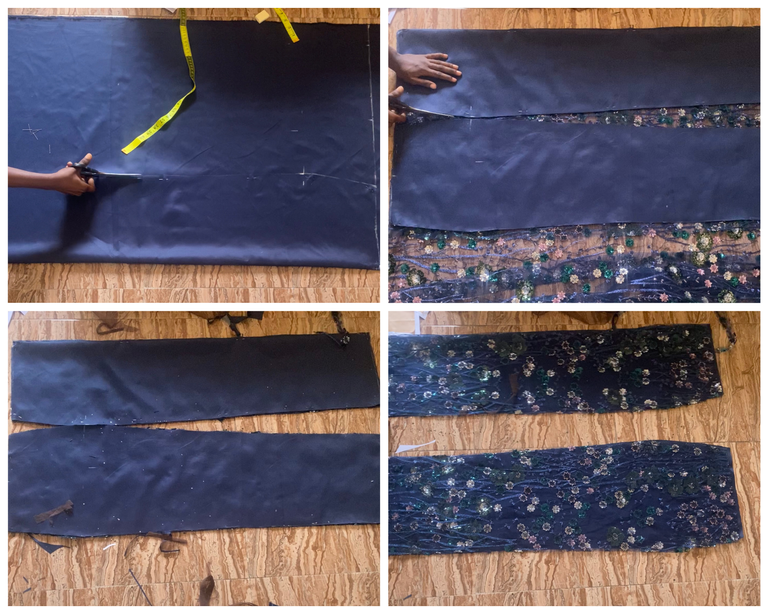
Step 1 patterning and cutting
The first step is patterning. For patterning, I usually use brown paper and white paper. I draft the main pattern on the brown paper then I glue it to the white paper and cut it out again with half an inch of allowance all through.
Since I'm making a corset I made a little adjustment to the measurements. I reduced 2 inches from the waist to give it a snatched look.

After patterning the corset part of the dress, I cut the bottom part (the skirt) without a pattern
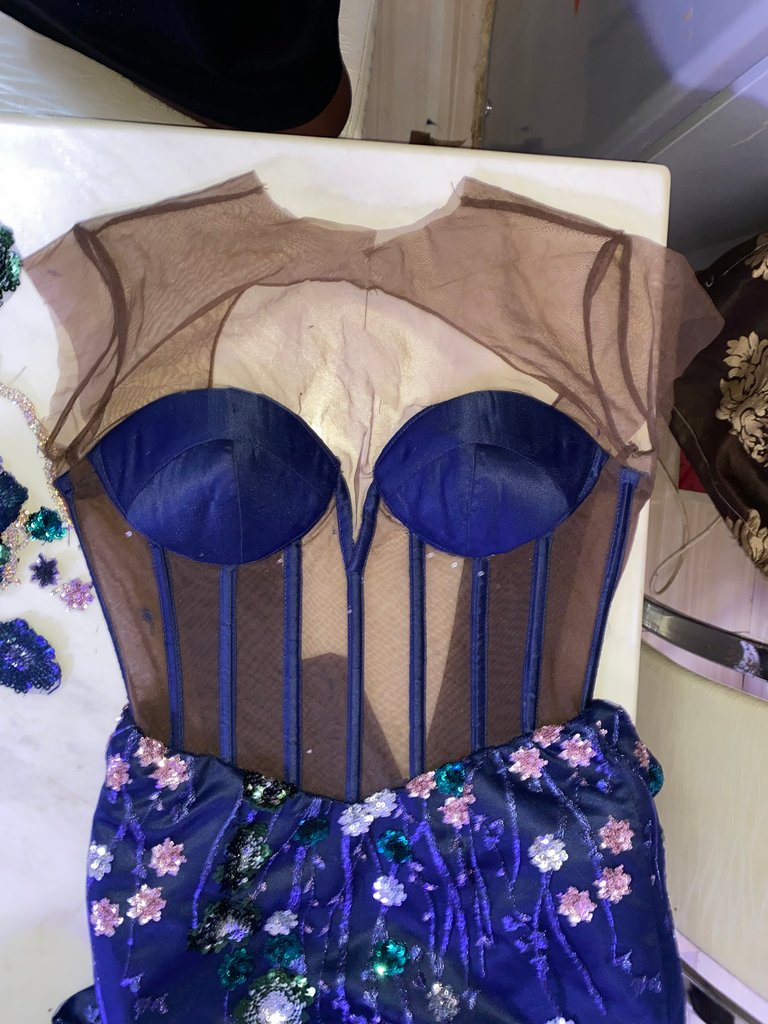
Step 2 sewing process
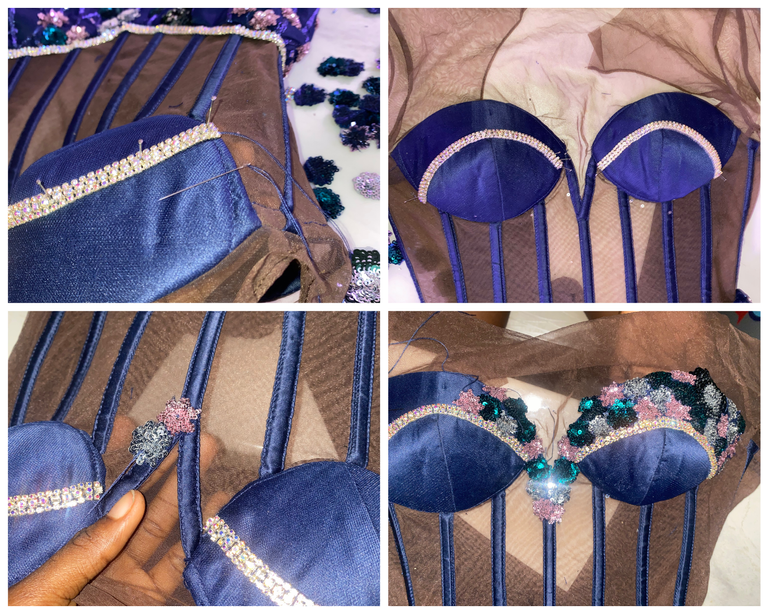
After patterning and cutting, I went ahead to sewed the pieces together. I started with the corset because that's the most difficult part. I sew the cup first then attach the already-made cup I bought. The already-made cup was a little smaller than the cup I patterned.
I sewed the illusion net patterns together and sewed half an inch of the blue fabric I used in lining the skirt so It could serve as a boning case for the corset. A total of 11 lines were sewn on the corset illusion.
Then I attached the cup to the corset and I sew two bone casings on the back on each side so I can put the eyelets in between.

I decided to add small sleeves to it. I sew the shoulders and sleeves in a French seam to give it a nice finish.

I sewed the skirt pieces together

I went ahead to insert the bonings into the boning case. For my bonings to give a flat look I cut my bonings first according to the length of the boning case I'm inserting it too but I reduce it by 0.75.
I sandwich the boning in between two clothes and I steam-pressed with a steam iron to make it straight.

I attached the corset to the skirt by hand-sewing because I couldn't sew over the bonning. I hand-sewed the front while I left the back unattached the the corset because of the in-built corset style.
I cut the front of the skirt in a V shape. To give it a nice shape
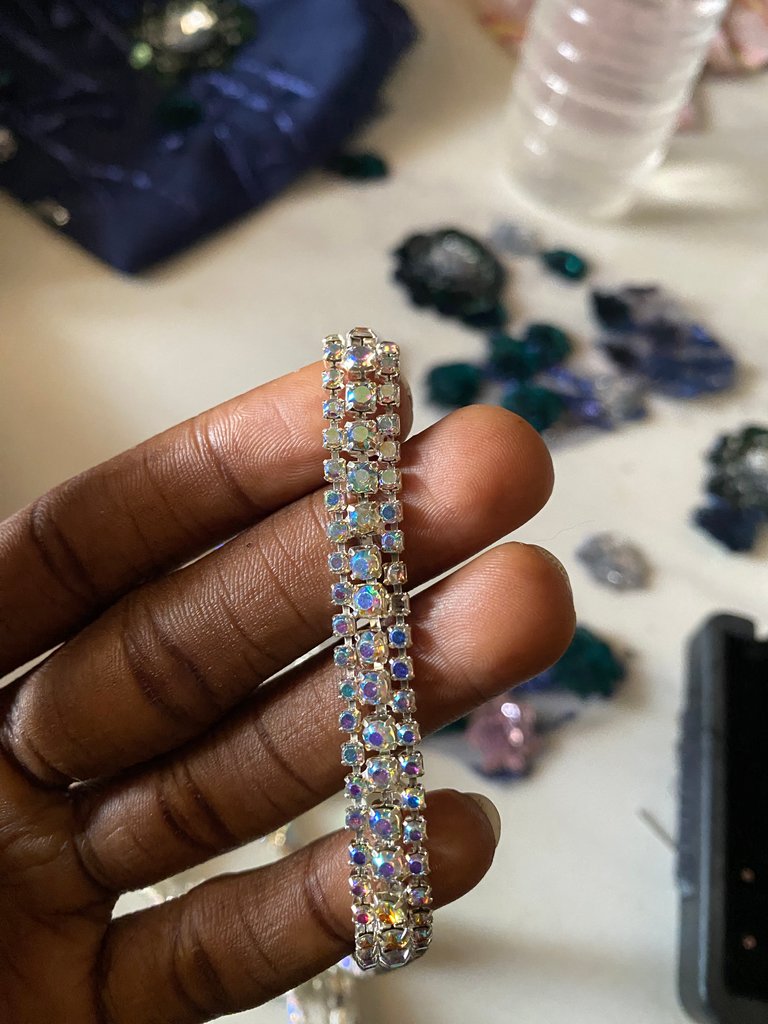
Step 3 Design and embellishment
After seeing the corset and the skirt together, I start to add the designs to it. This took longer than I expected because I had to brainstorm on what design would be nice
I decided to use the stoned trimmings I bought and cut out flowers from the lace fabric.
 |  |
After a lot of back and forth, I decided on this design and it actually turned out beautiful
I hand-sewed the stoned trimmings to the cup and also the cut-out flowers as illustrated in the picture below
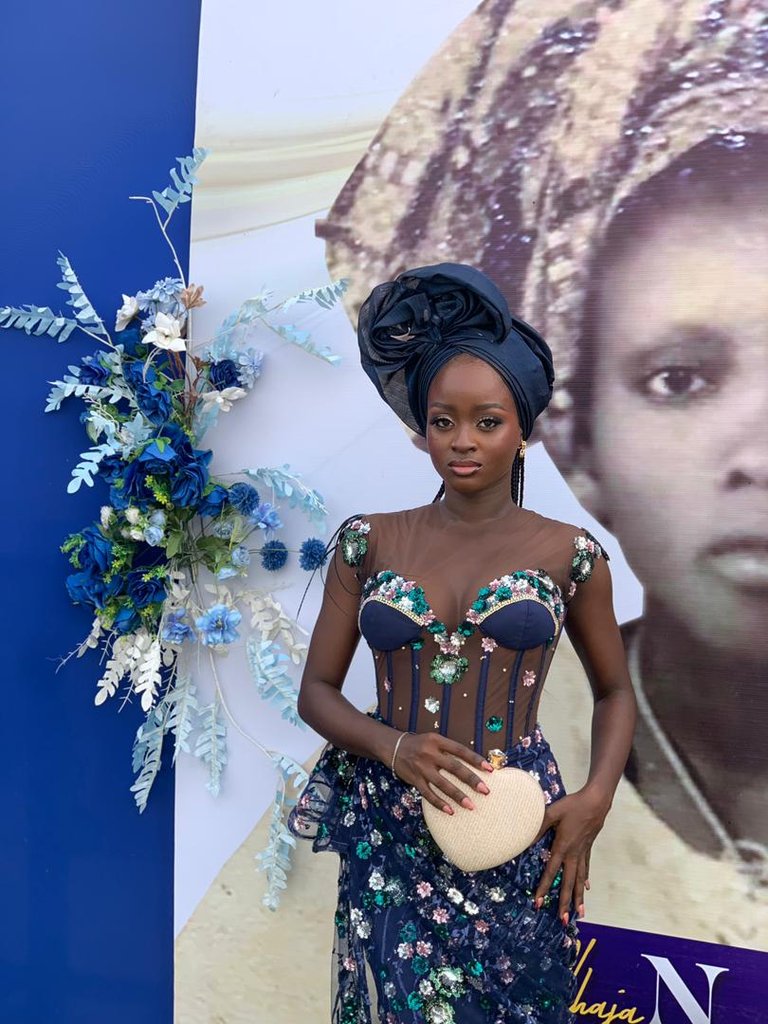
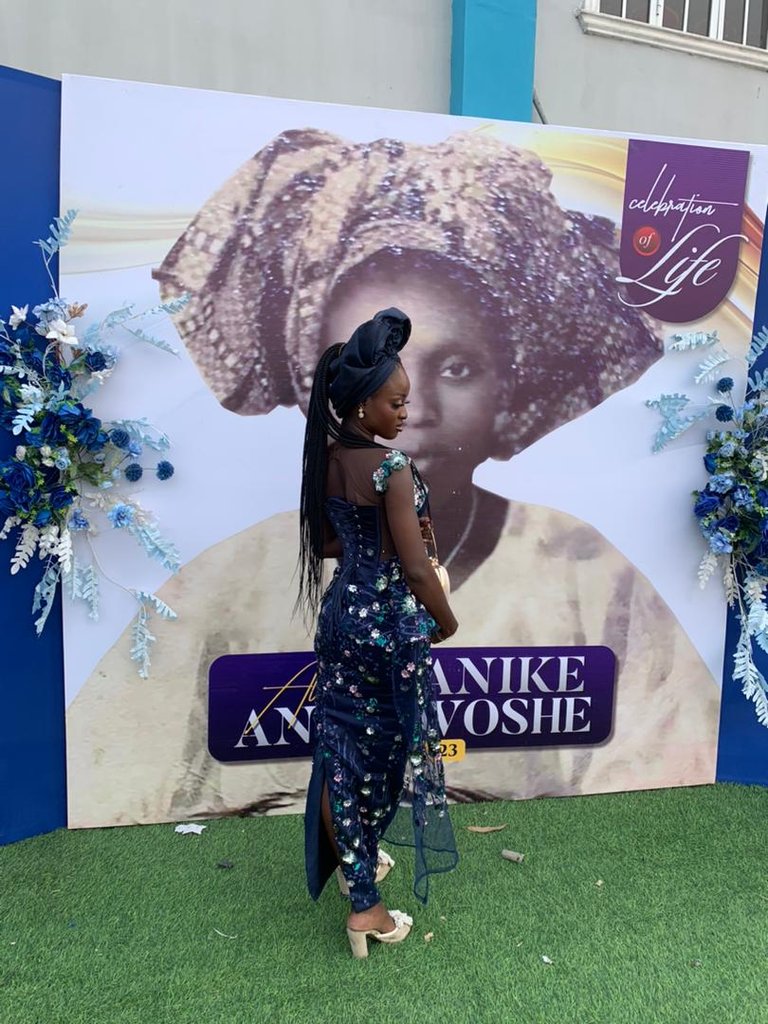
I also attached the cut-out flowers to the sleeve and the body of the corset. I sewed a wrap I the front of the dress I was unable to snap the remaining process because my phone died
This is the final result I hope you like it

Thanks for reading my blog and have a fabulous weekend ✨❤️
All images are mine. Photo collage and thumbnail was made using Canva
Amazing!. This is a whole new level of detail. Big hugs!.
Thank you. Big hugs!
It’s hard to believe this was your first time attempt
3 days on this was definitely worth it
Please should I leave me measurement?😂😂
This is so beautiful
You did so well
Thank you, really it actually my first attempt. Do you know how many YouTube videos I watched 😭😂
I can feel your pain🤣
I am impressed with so much beauty, you have a great talent, it is a great job, beautiful and that we all would like to have. 🥰👏🤗❤️
Thank you, I'm glad you like it
I really don't believe my eyes seeing this as your first trying, this is so unique, the beautiful catches up my eyes, your friend is so lucky to have you as a friend, I can see how happy she is, well done dear
It's funny that people don't believe me. But this is my first attempt. And for me to make this cloth, I had to watch a lot of YouTube videos and I'm a fast learner so I was able to do well. Thanks for commenting
Wow, Too beautiful, I would really like to try to make one, I congratulate my friend, it turned out very beautiful, thank you for sharing your tutorial with us, greetings 🥰
Thank you for your comment