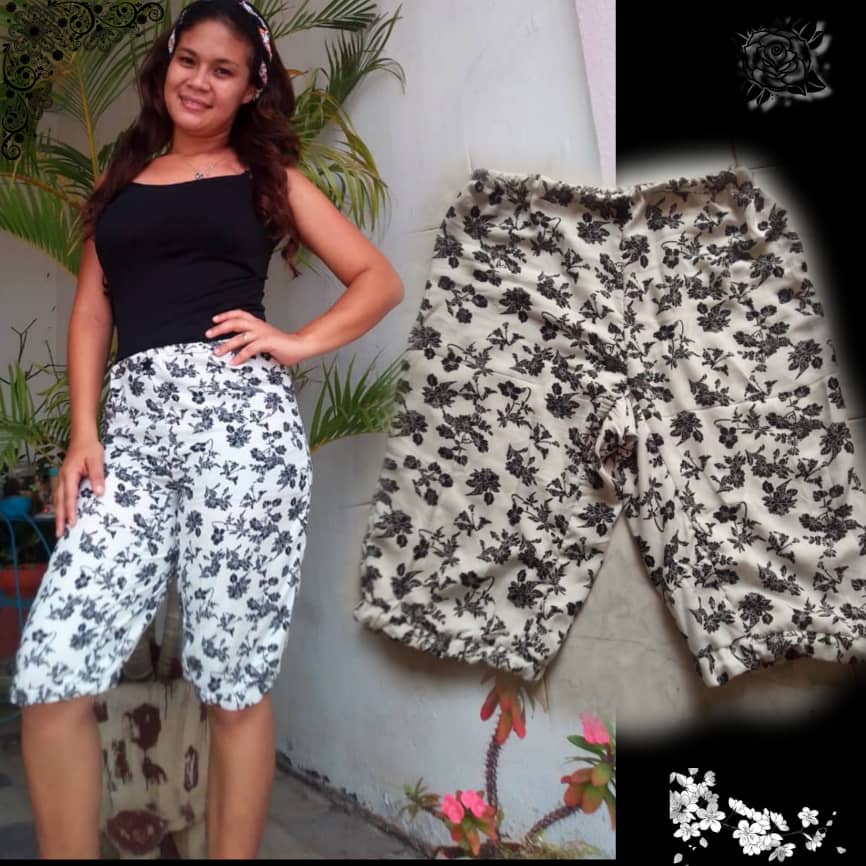
“Cuando no todo es color de rosa” Hermoso pantalón Capri hecho a mano//"When not everything is rosy" Beautiful handmade Capri pants.
Hola mi bellos artistas textiles, hermosa noche tengan todos, Dios les bendiga grandemente! Espero que todos se encuentren muy bien, gozando de una buena salud! Yo por mi parte estoy muy inmensamente agradecida por todo el apoyo y por su hermosos comentarios que me animan muchísimo. Hoy me causa mucha alegría compartir con ustedes un nuevo contenido hecho a mano.
Hello my beautiful textile artists, have a wonderful night everyone, God bless you greatly! I hope everyone is very well, enjoying good health! For my part, I am very immensely grateful for all the support and for your beautiful comments that encourage me a lot. Today I am very happy to share with you a new handmade content.
Se preguntaran porqué decidí agregar en el título de este nuevo post -“Cuando no todo es color de rosa"- , y es que días pasados alguien me dijo - !Oye pero coser debe ser fácil, pues lo haces rápido y te queda muy bonito!, yo solo sonreí y respeté su punto de vista, pues para mí fué un halago y son comentarios que amo escuchar, aunque no sea la realidad.
You may be wondering why I decided to add in the title of this new post -“When not everything is rosy"-, and it's that days ago someone told me - Hey, but sewing must be easy , Well, you do it quickly and it looks very nice on you! I just smiled and respected his point of view, because for me it was a compliment and they are comments that I love to hear, even if it is not reality.
Si bien es cierto que hay tipos de telas que se pueden trabajar de manera rápida, hay otras que de verdad requieren de mucha precisión, cuidado, paciencia, mucha concentración en ocasiones de mucho tiempo, ya que no siempre las cosas que deseas hacer con ellas salen como quieres, y este fue mi caso en esta confección de un pantalón Capri hecho con tela rayón, quizás en realidad no se trataba de la tela, tal vez fue algo que hice mal lo cierto es que no era lo que yo quería hacer al principio, y aunque no quedó como esperaba, el resultado me gustó mucho y sentí que valió la pena el esfuerzo y además me hizo comprender lo que se requiere tener para aprender este hermoso arte y cuánto amo hacerlo, entonces el título no es por el color de la tela que tuve sino por todo lo que me pasó mientras lo hacia. Te invito a leer hasta el final! Vamos!
Although it is true that there are types of fabrics that can be worked quickly, there are others that really require a lot of precision, care, patience, a lot of concentration on occasions of a long time, since that not always the things you want to do with them turn out the way you want, and this was my case in this confection of a Capri pants made with rayon fabric, maybe it wasn't really the fabric, maybe it was something I did wrong is that it was not what I wanted to do at first, and although it did not turn out as expected, I liked the result very much and I felt that it was worth the effort and also made me understand what it takes to learn this beautiful art and how much I love to do it, so the title is not because of the color of the cloth I had but because of everything that happened to me while I was doing it. I invite you to read until the end! Let's go!
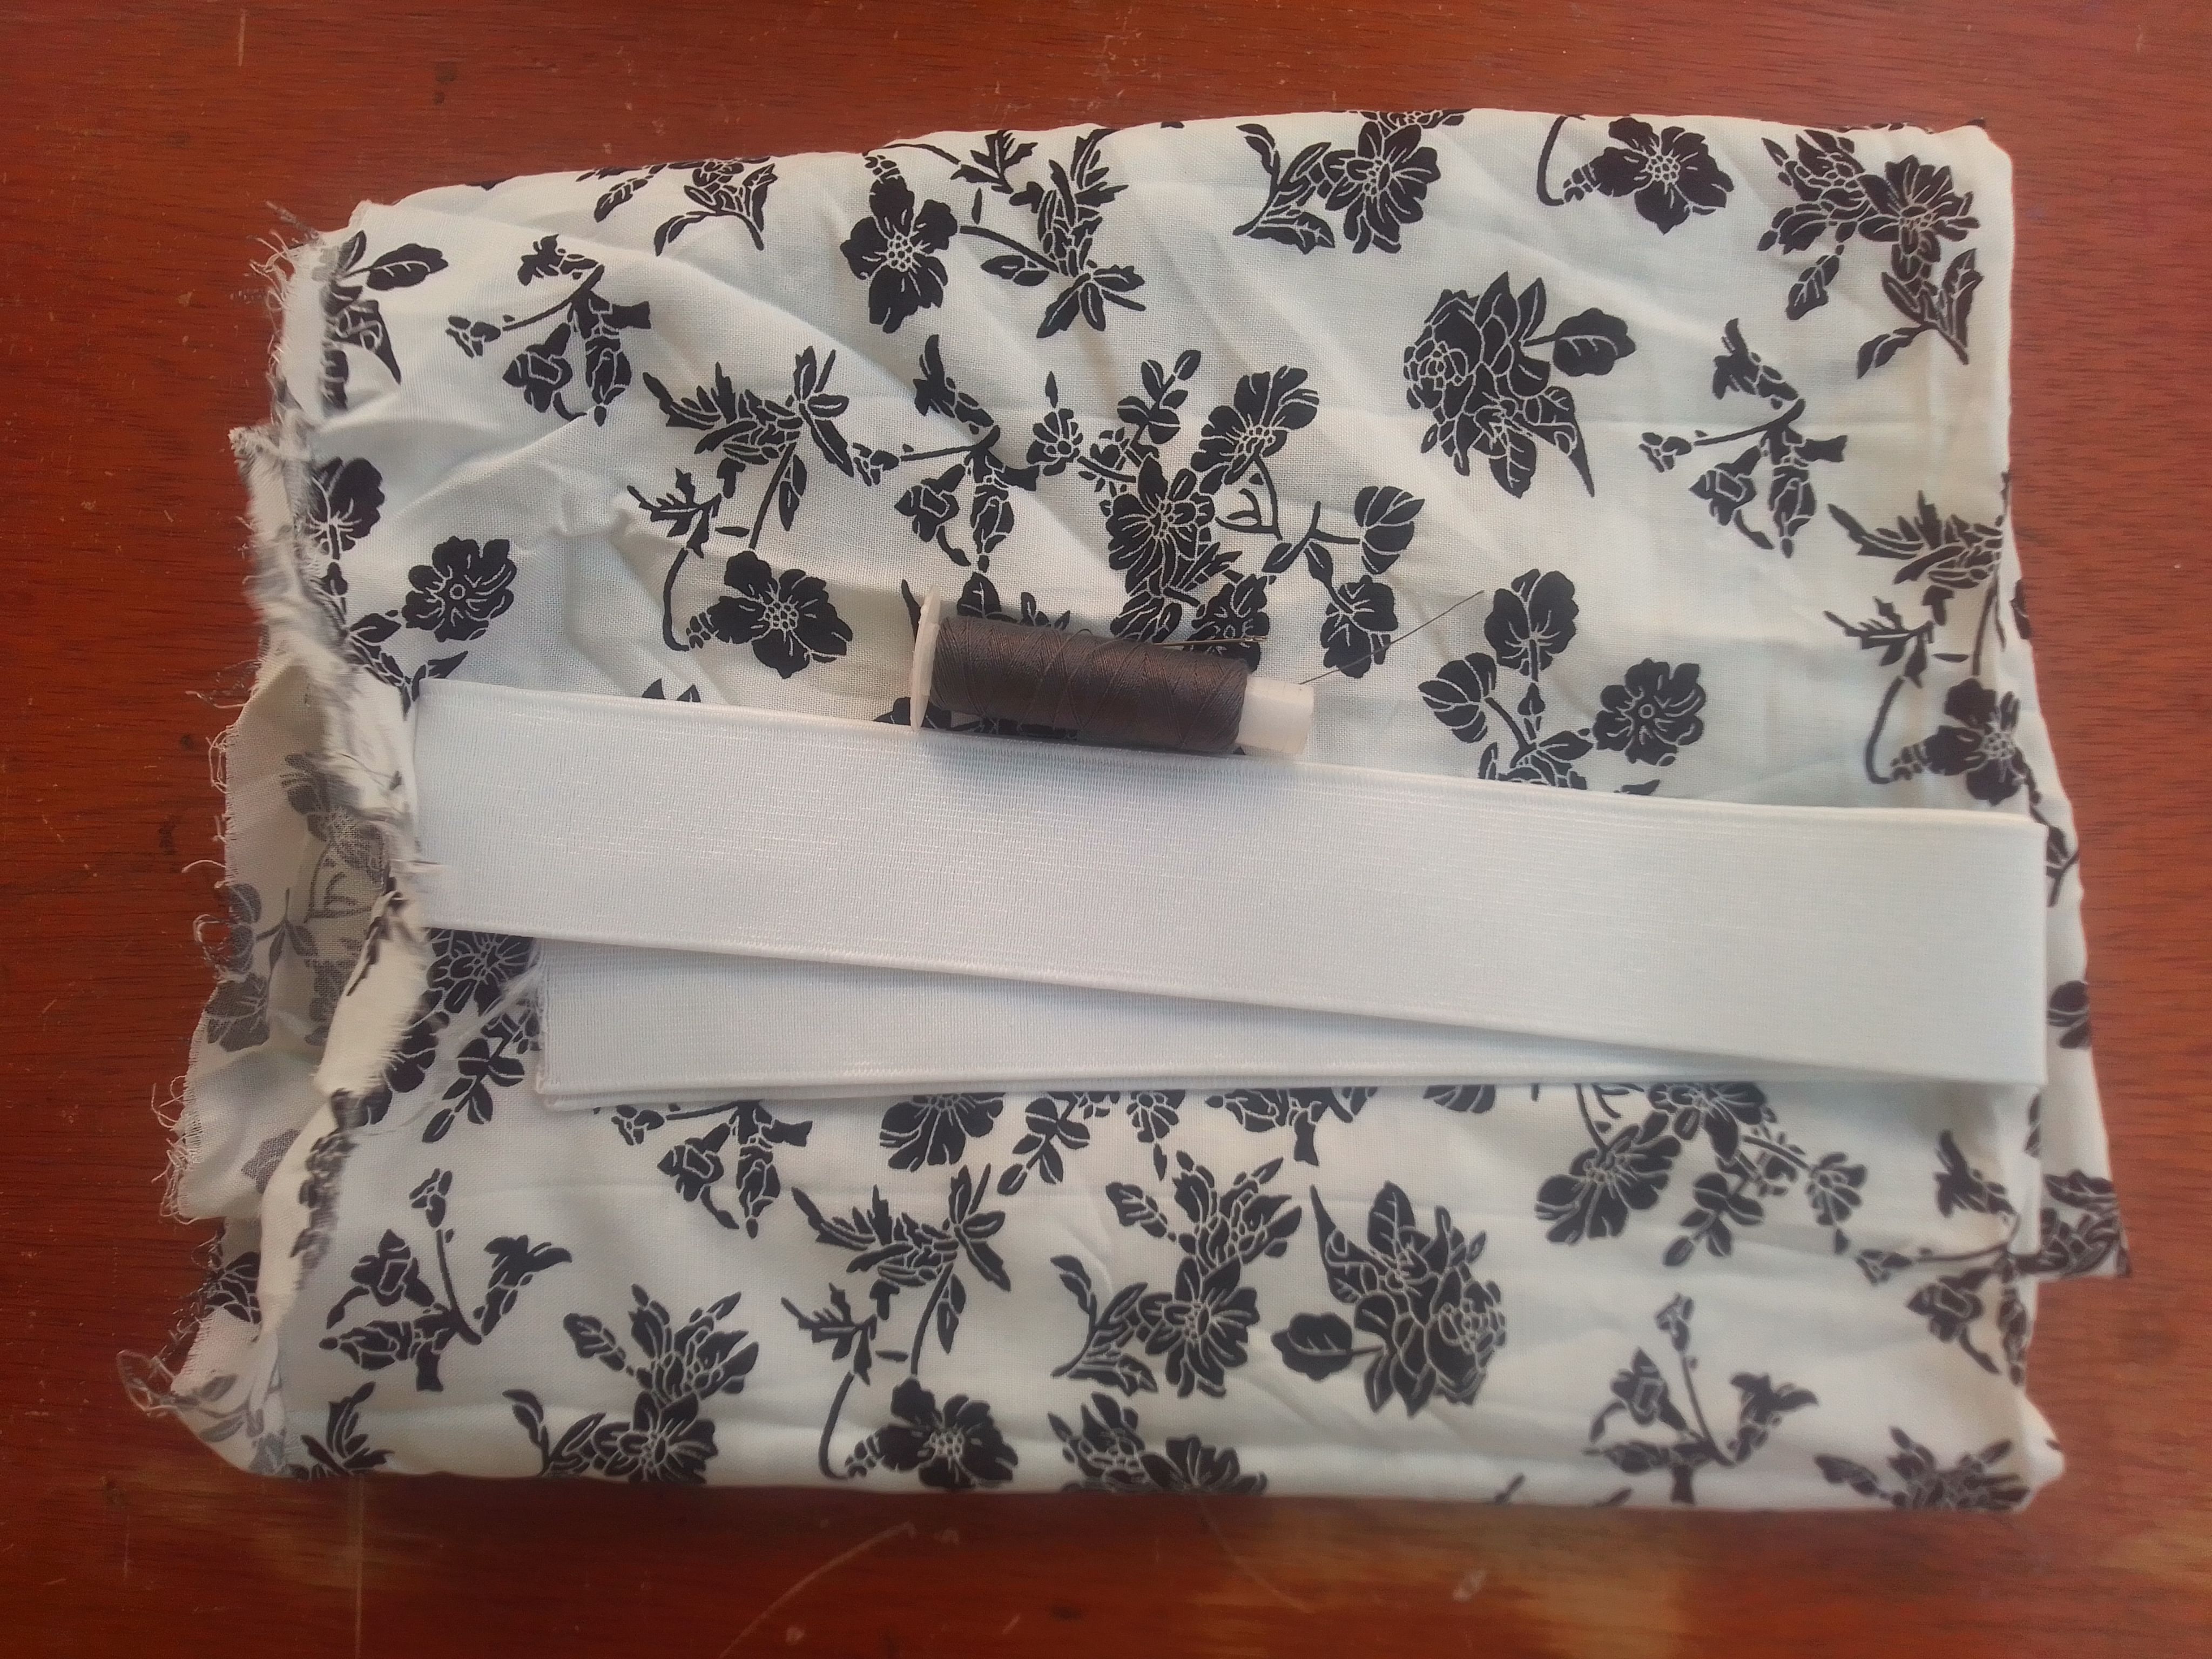
Materiales que utilicé:
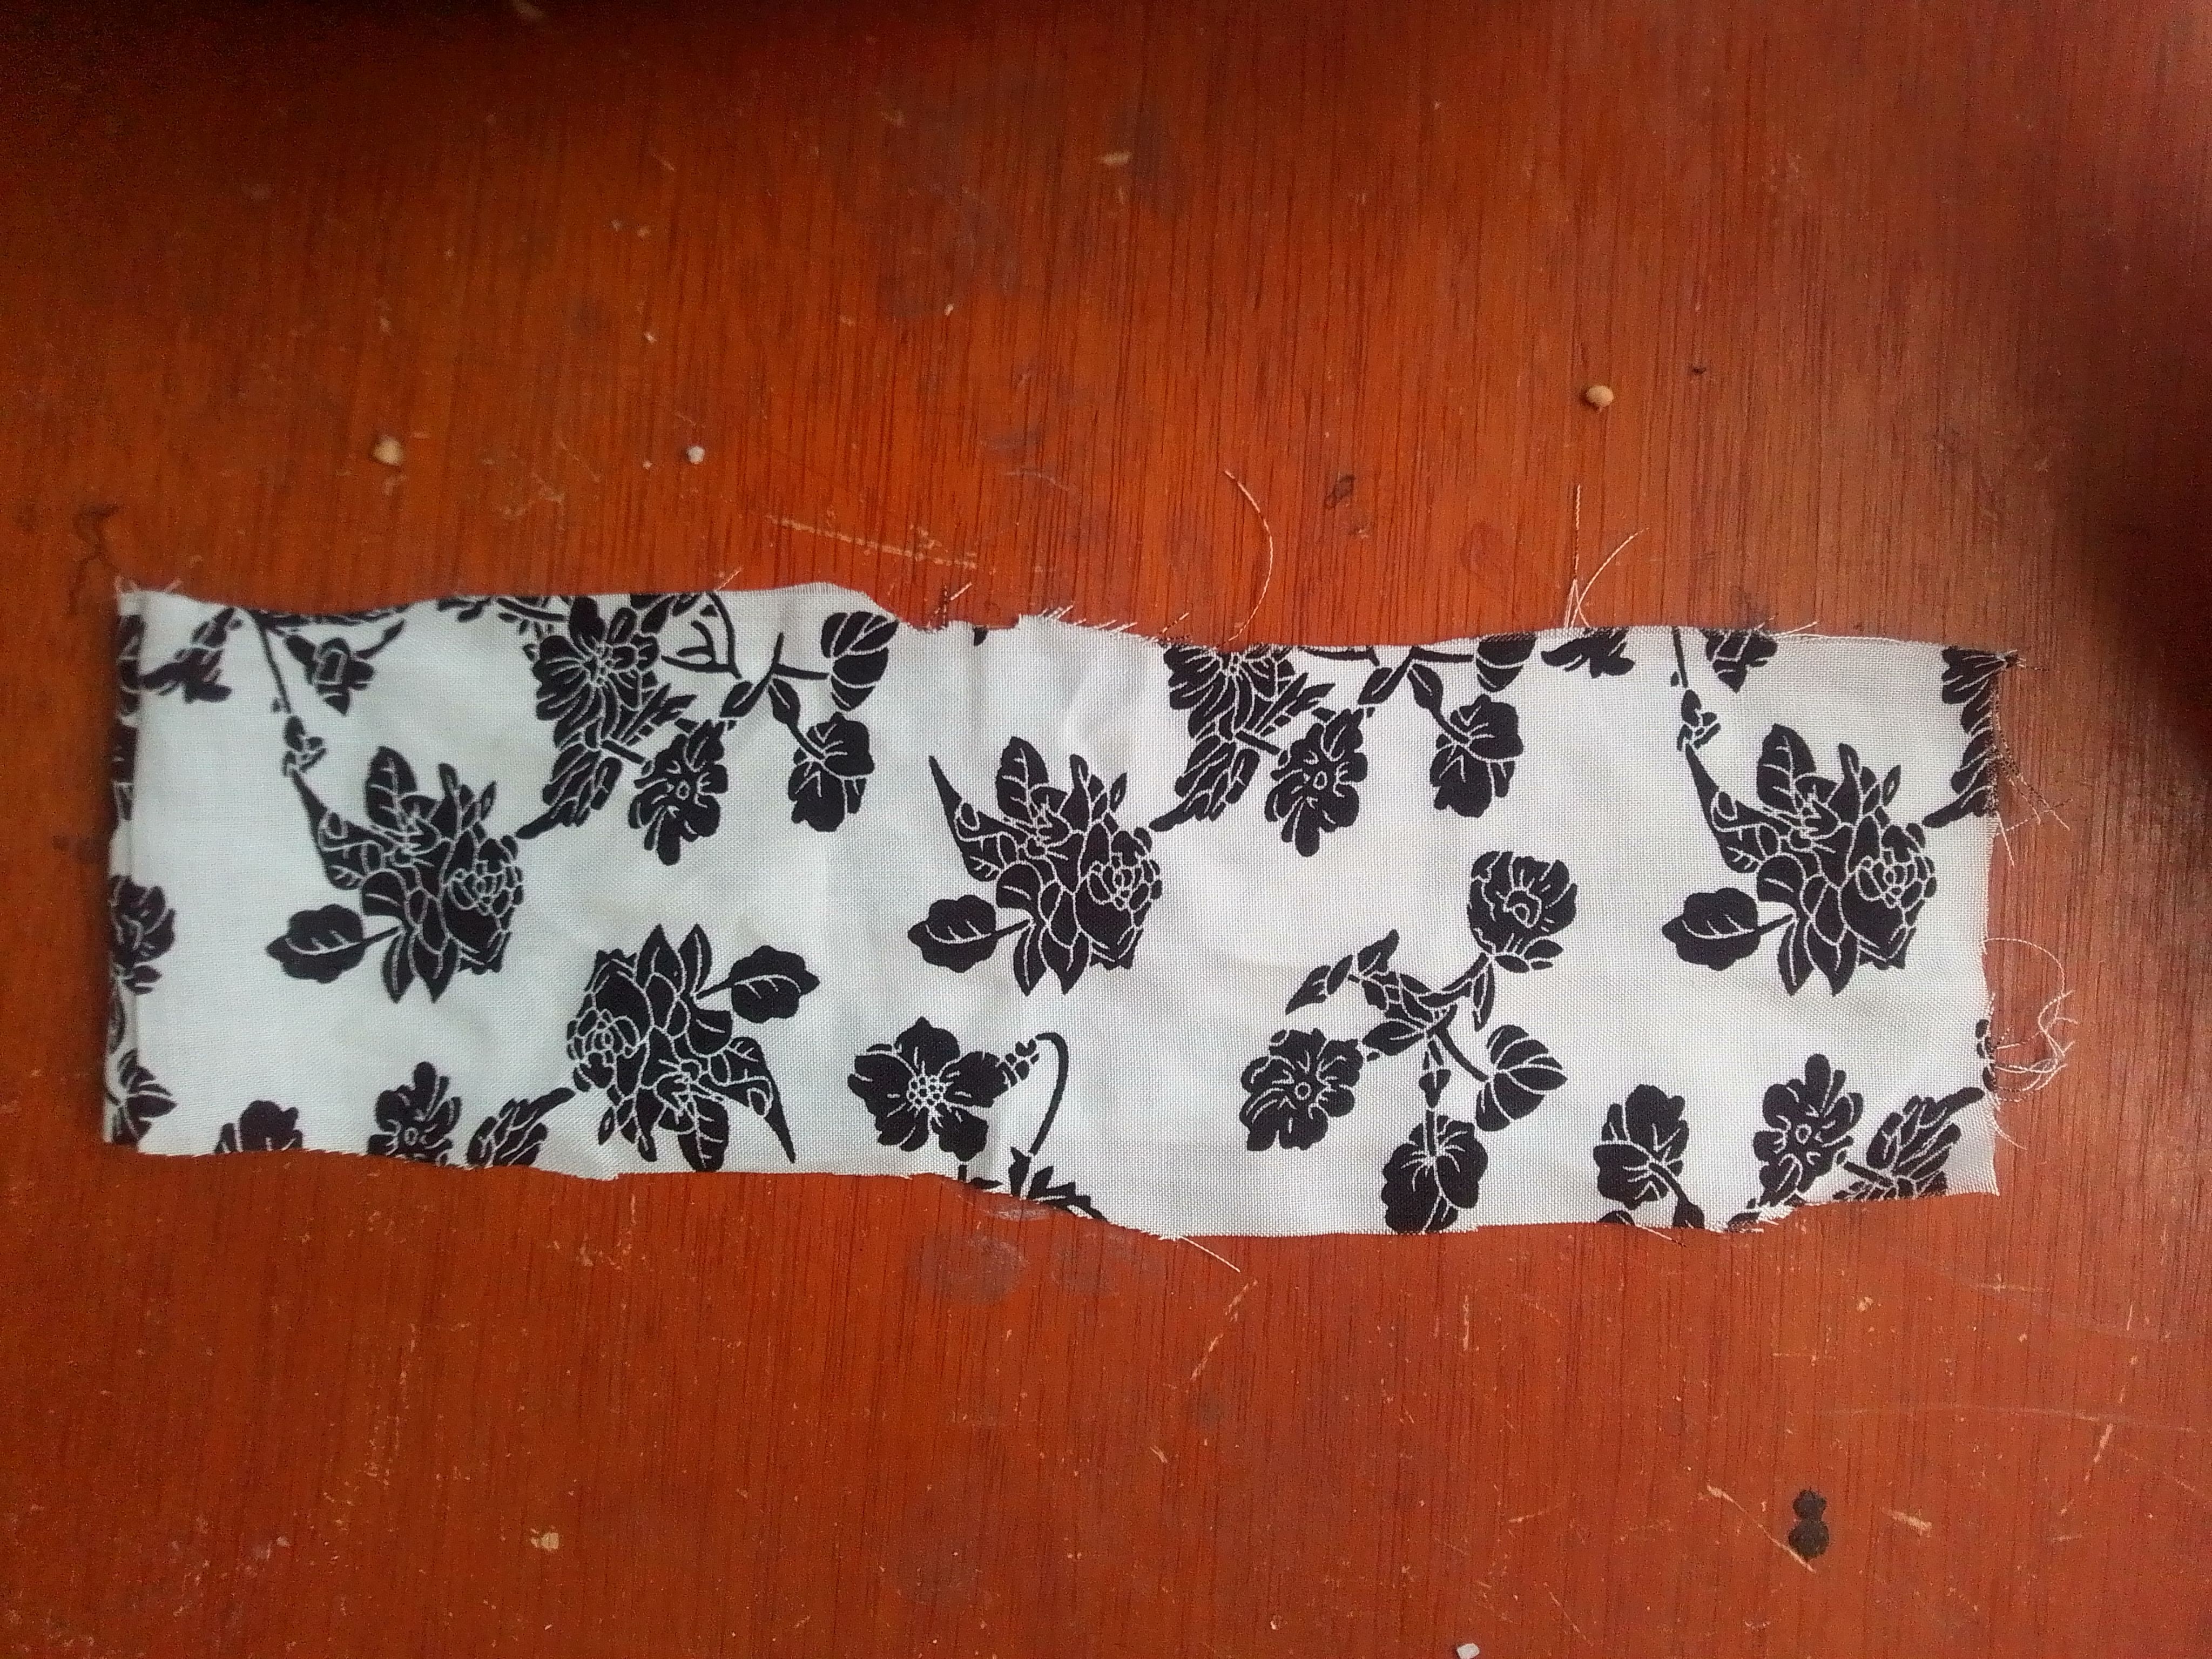
- Tela rayón estampada.
- Elástica.
- Hilo y aguja.
- Tijeras.
Materials I used:
- Printed rayon fabric.
- Elastic.
- Thread and needle.
- Scissors.
(PROCEDIMIENTO)
Paso 01
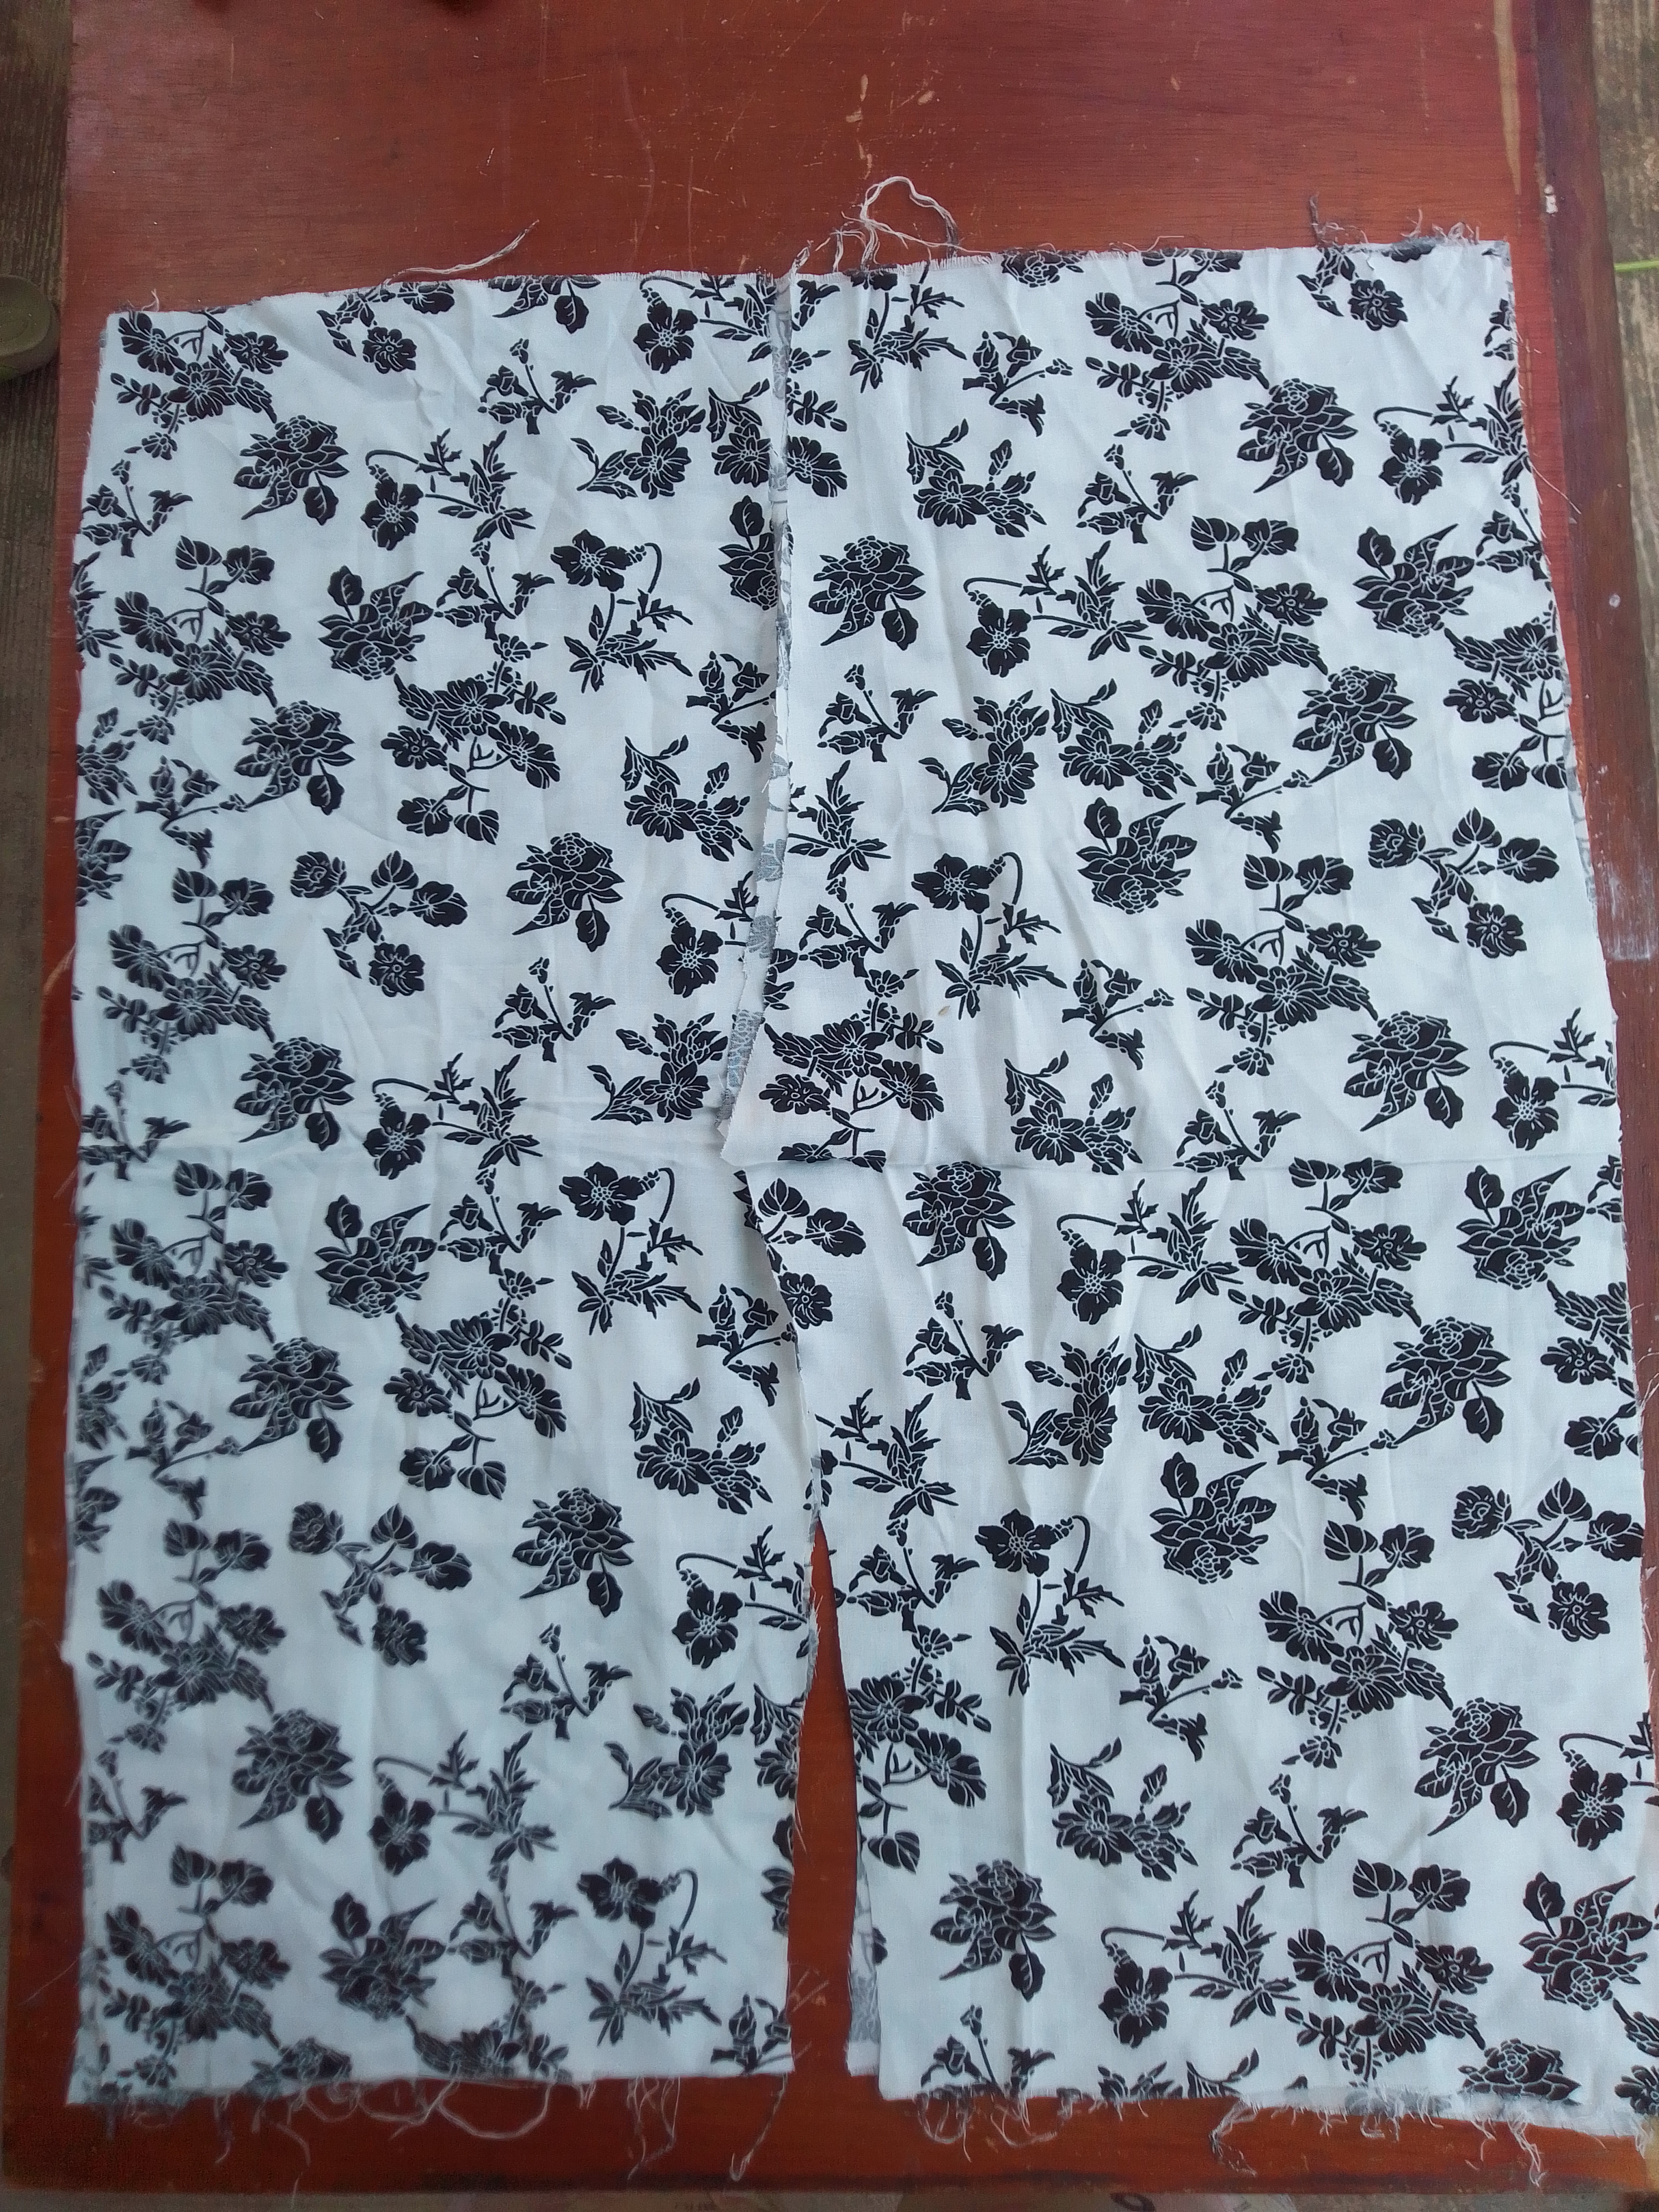
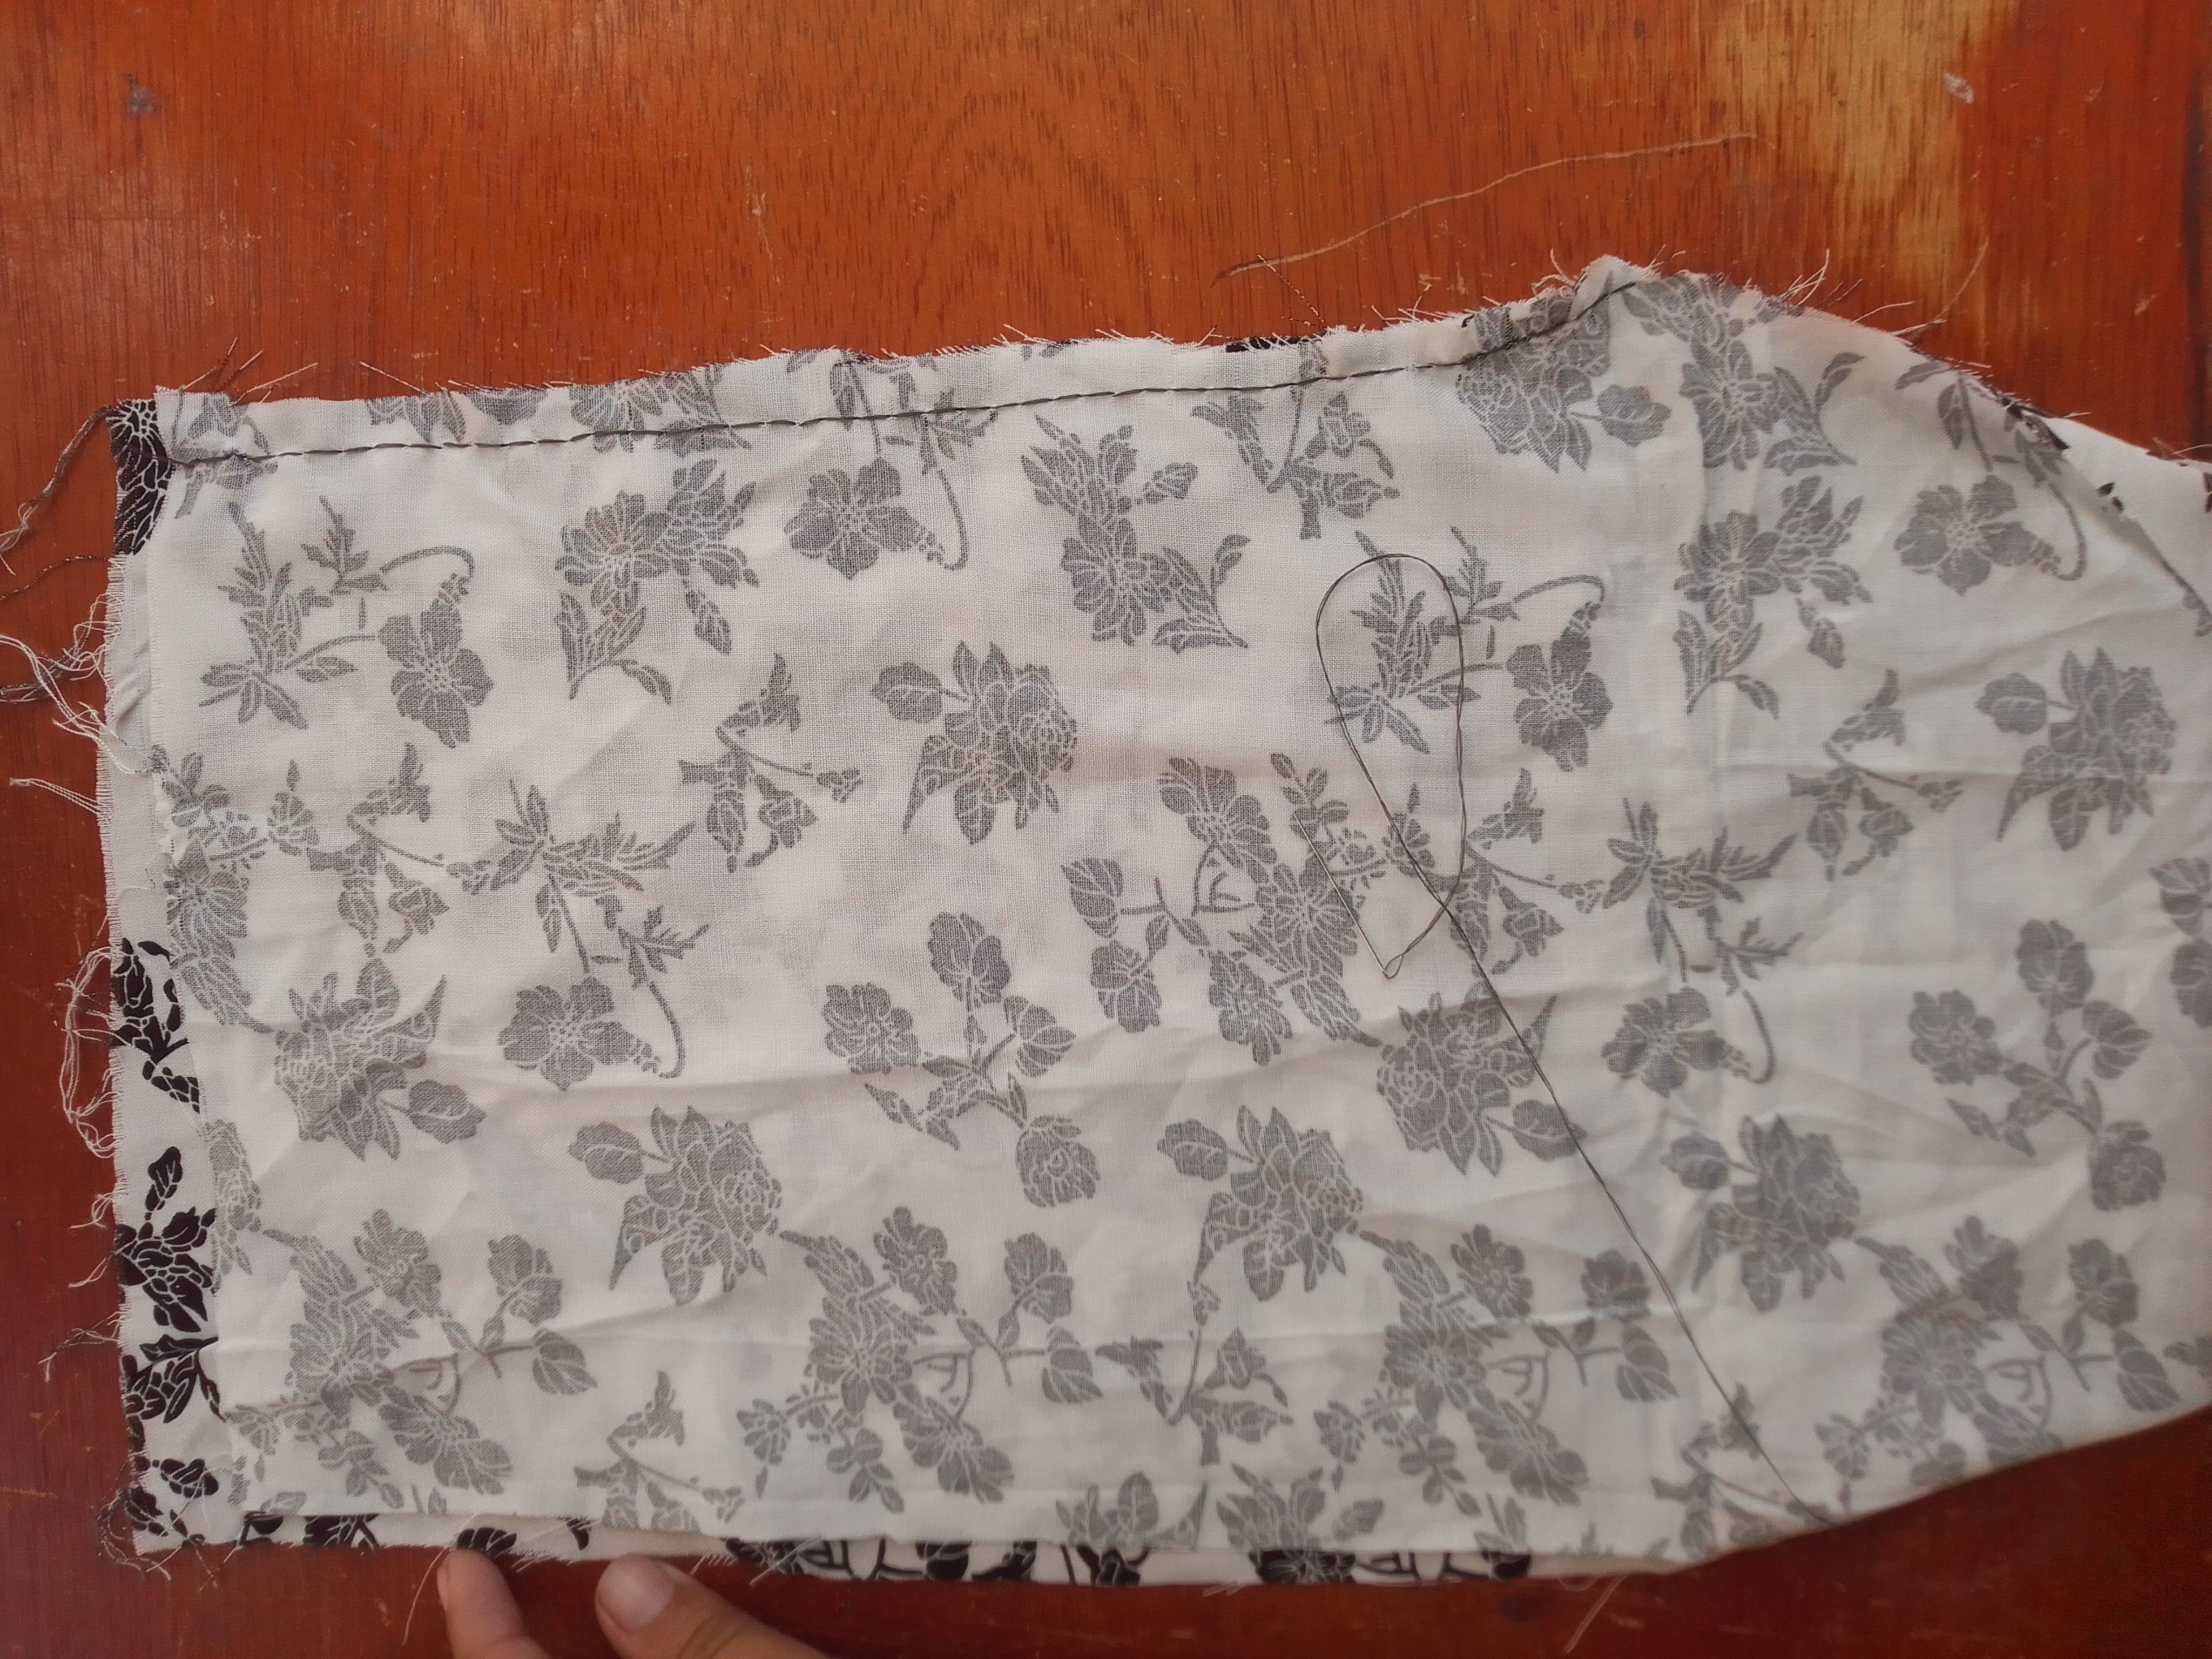
Les cuento que primera idea era realizar un pantalón bombacho de pretina gruesa, por lo que tomé una medida de un pantalón de uso diario y lo coloqué sobre mi tela doble, luego corté todo el contorno y aunque la sostuve con alfileres se me movía mucho, pero aún así logré cortar las dos partes que conformarían mi pantalón.
Step 01
I'll tell you that my first idea was to make baggy pants with a thick waistband, so I took a measurement of a pair of everyday pants and placed it on my double fabric, then I cut all the way around and Although I held it with pins, it moved a lot, but I still managed to cut the two parts that would make up my pants.
Paso 02
Es este paso todo iba bien, hice una costura empezando desde el fundillo del pantalón hacia la pretina, realicé un acabo en sisa varias veces ya que la tela se me deshilachaba mucho y pensaba que se podía romperse al ponermelo sino lo hacía. Luego realicé la costura de los costados de la misma manera.
Step 02
In this step everything went well, I made a seam starting from the bottom of the pants towards the waistband, I made an armhole finish several times since the fabric was fraying a lot and I thought it could be done break when putting it on if it didn't. Then I sewed the sides the same way.

Paso 03
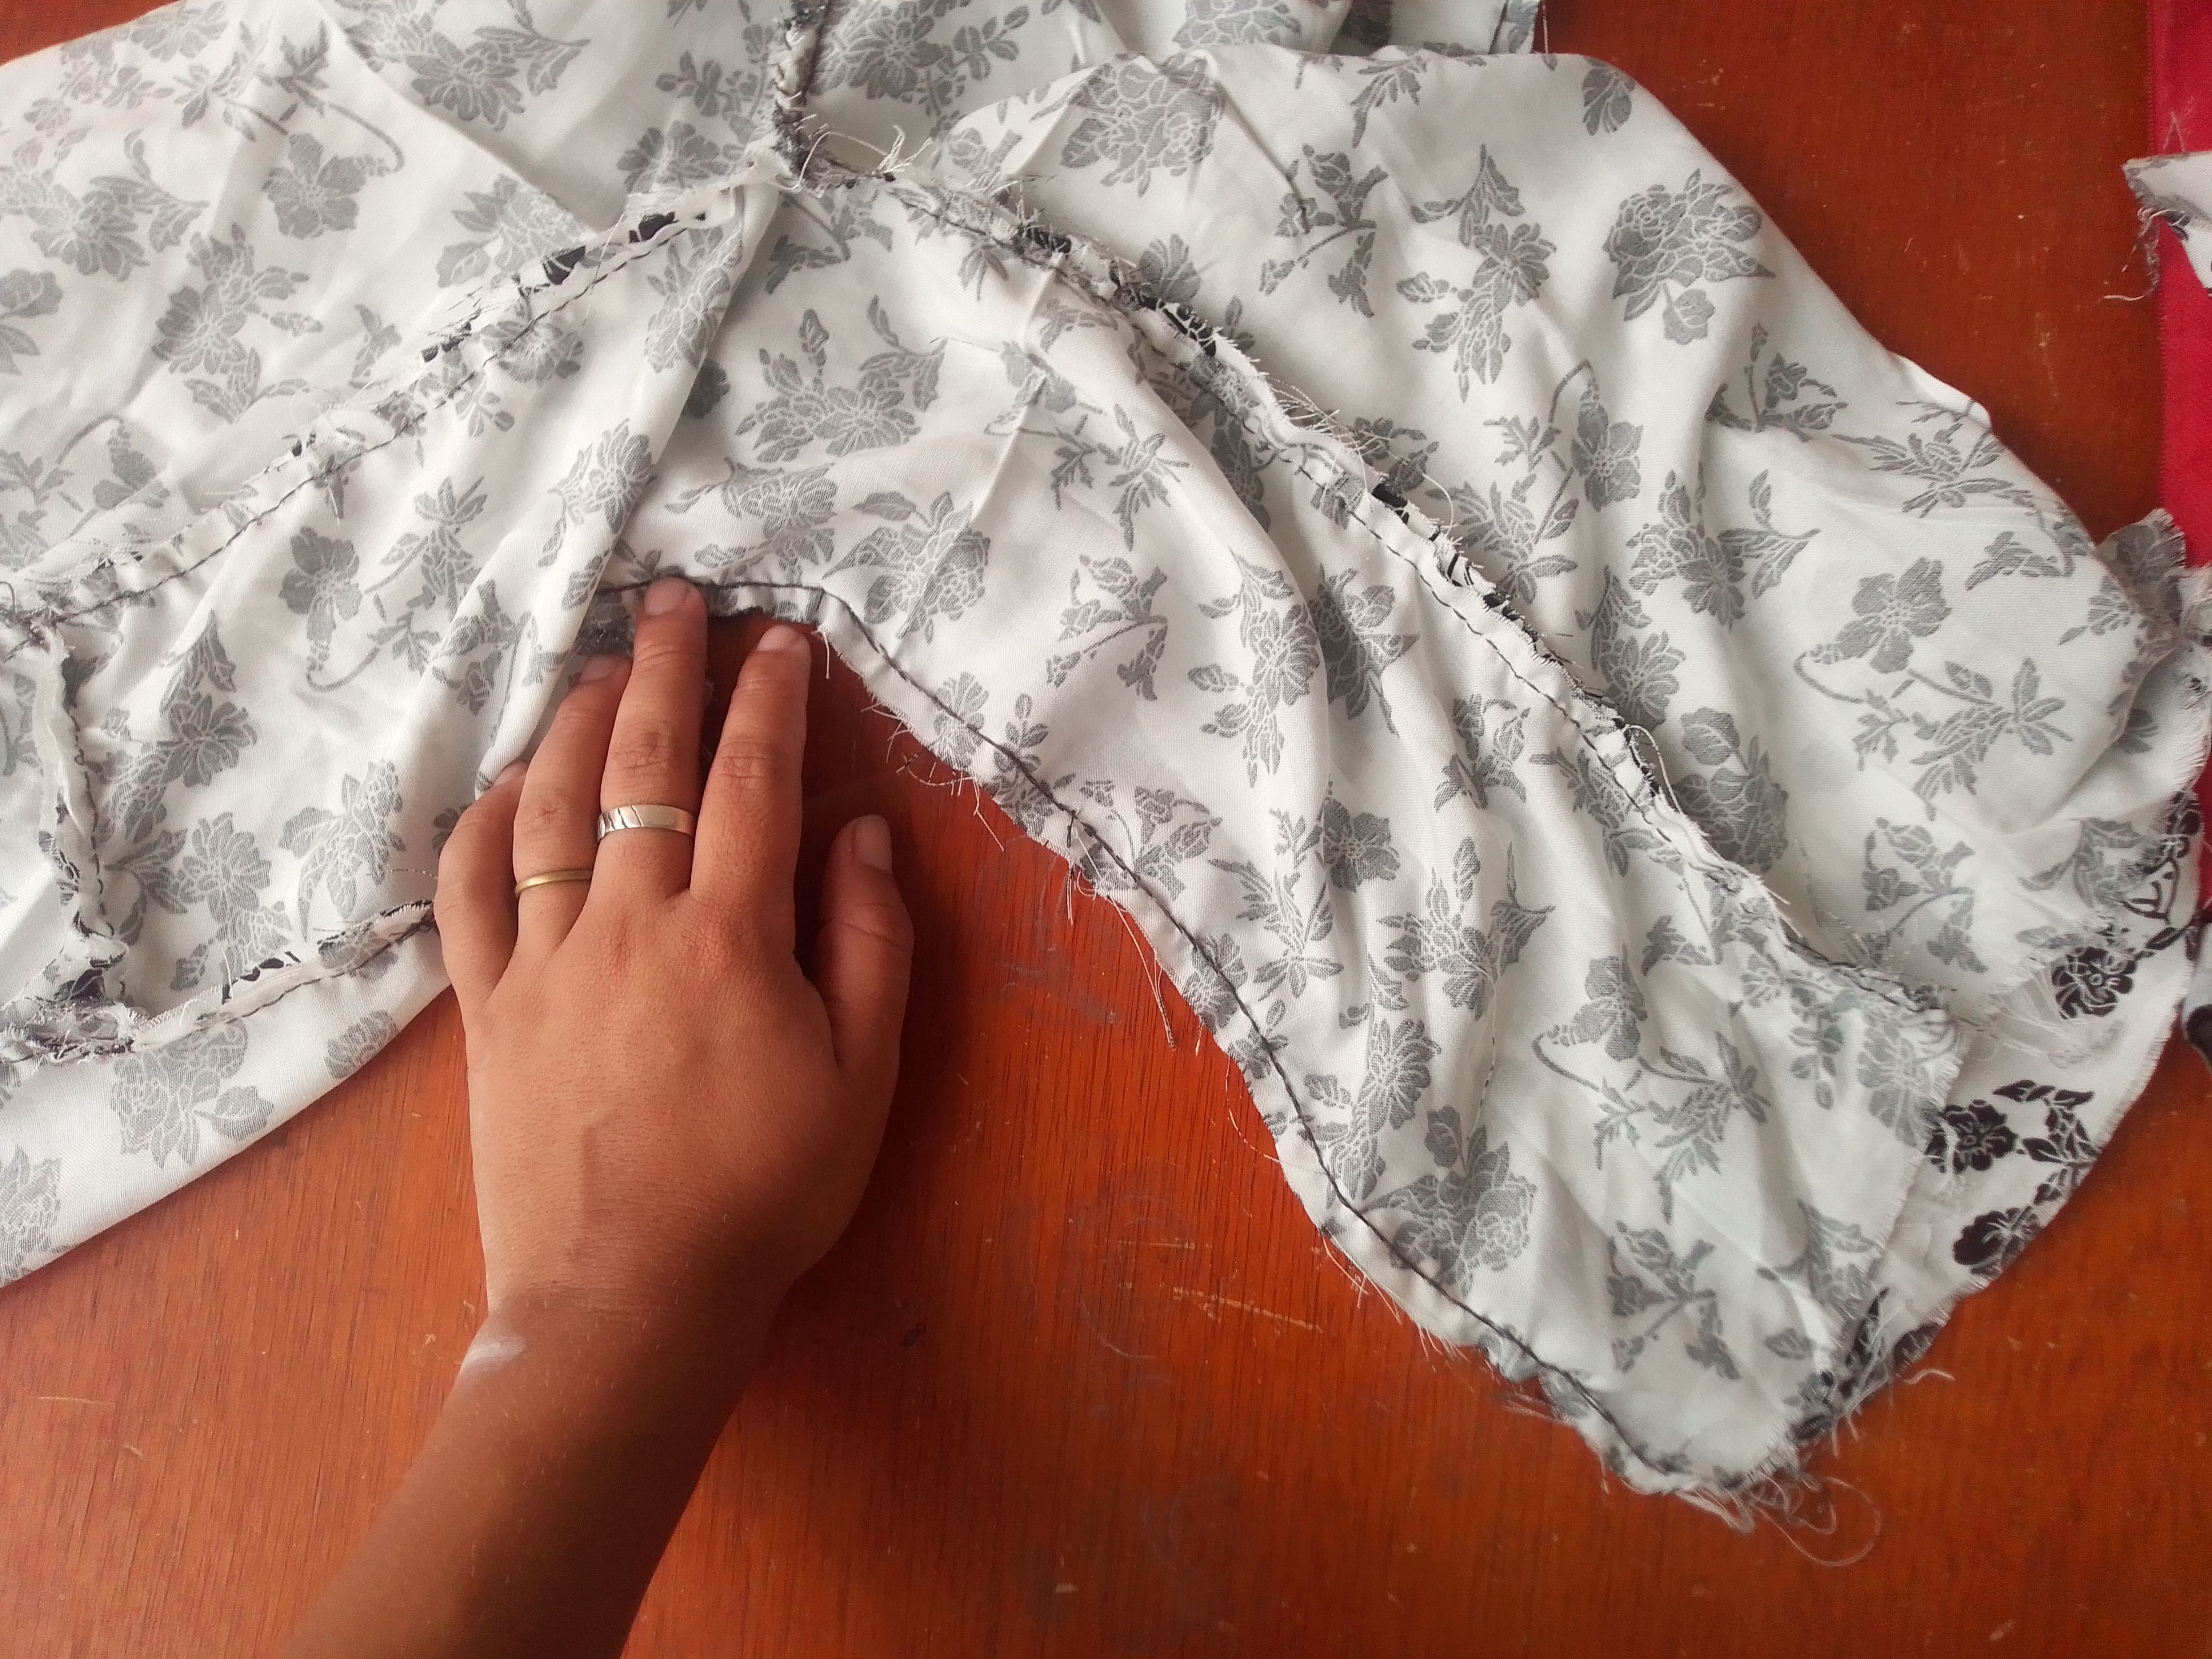
Estaba muy emocionada pues todo estaba quedando como quería, entonces realicé la costura de las piernas y noté que está quedando pequeño por lo que decidí medirmelo y resultó que estaba muy pequeño; por lo que tuve que descoser y cortar una tira con la tela que utilizaría para mí pretina y coserla en ambas partes de la piernas y así agrandar un poco más mi pantalón.
Step 03
I was very excited because everything was turning out the way I wanted, so I did the sewing of the legs and I noticed that it is getting small so I decided to measure it and it turned out that it was very small; so I had to unsew and cut a strip with the fabric that I would use for my waistband and sew it on both parts of the legs and thus enlarge my pants a little more.
Paso 04
Tuve que mantener la calma para descoser está tela y que no se me fuera a romper; pero ya mi pantalón no tendría una pretina gruesa pues había utilizado la tela que me quedaba para poder acomodarlo, por lo que le hice una costura recta en la parte superior para una pretina sencilla, introduciendo una elástica fina en ella y ajustar el pantalón.
Step 04
I had to stay calm to unsew this fabric so it wouldn't break; but my pants would no longer have a thick waistband because I had used the fabric I had left to accommodate it, so I made a straight seam at the top for a simple waistband, inserting a thin elastic in it and adjusting the pants.

Paso 05
Entonces me lo medi una vez más; y mi pantalón me estaba quedando más corto de lo quería jajaja, había llegado la noche y ya estaba a punto de renunciar... Entonces tomé unas tiras que quedaban y las doble para luego coserlas al final de cada pierna y alargarlo un poco más pero una parte me quedo más gruesa que la otra por lo que tuve que descoser nuevamente, ya estába que lloraba jajaja.
Step 05
Then I measured it one more time; and my pants were getting shorter than I wanted hahaha, the night had come and I was about to give up... So I took some remaining strips and doubled them and then sewed them to the end of each leg and lengthened it a little more but One part was thicker than the other so I had to unsew it again, I was already crying hahaha.

Paso 06
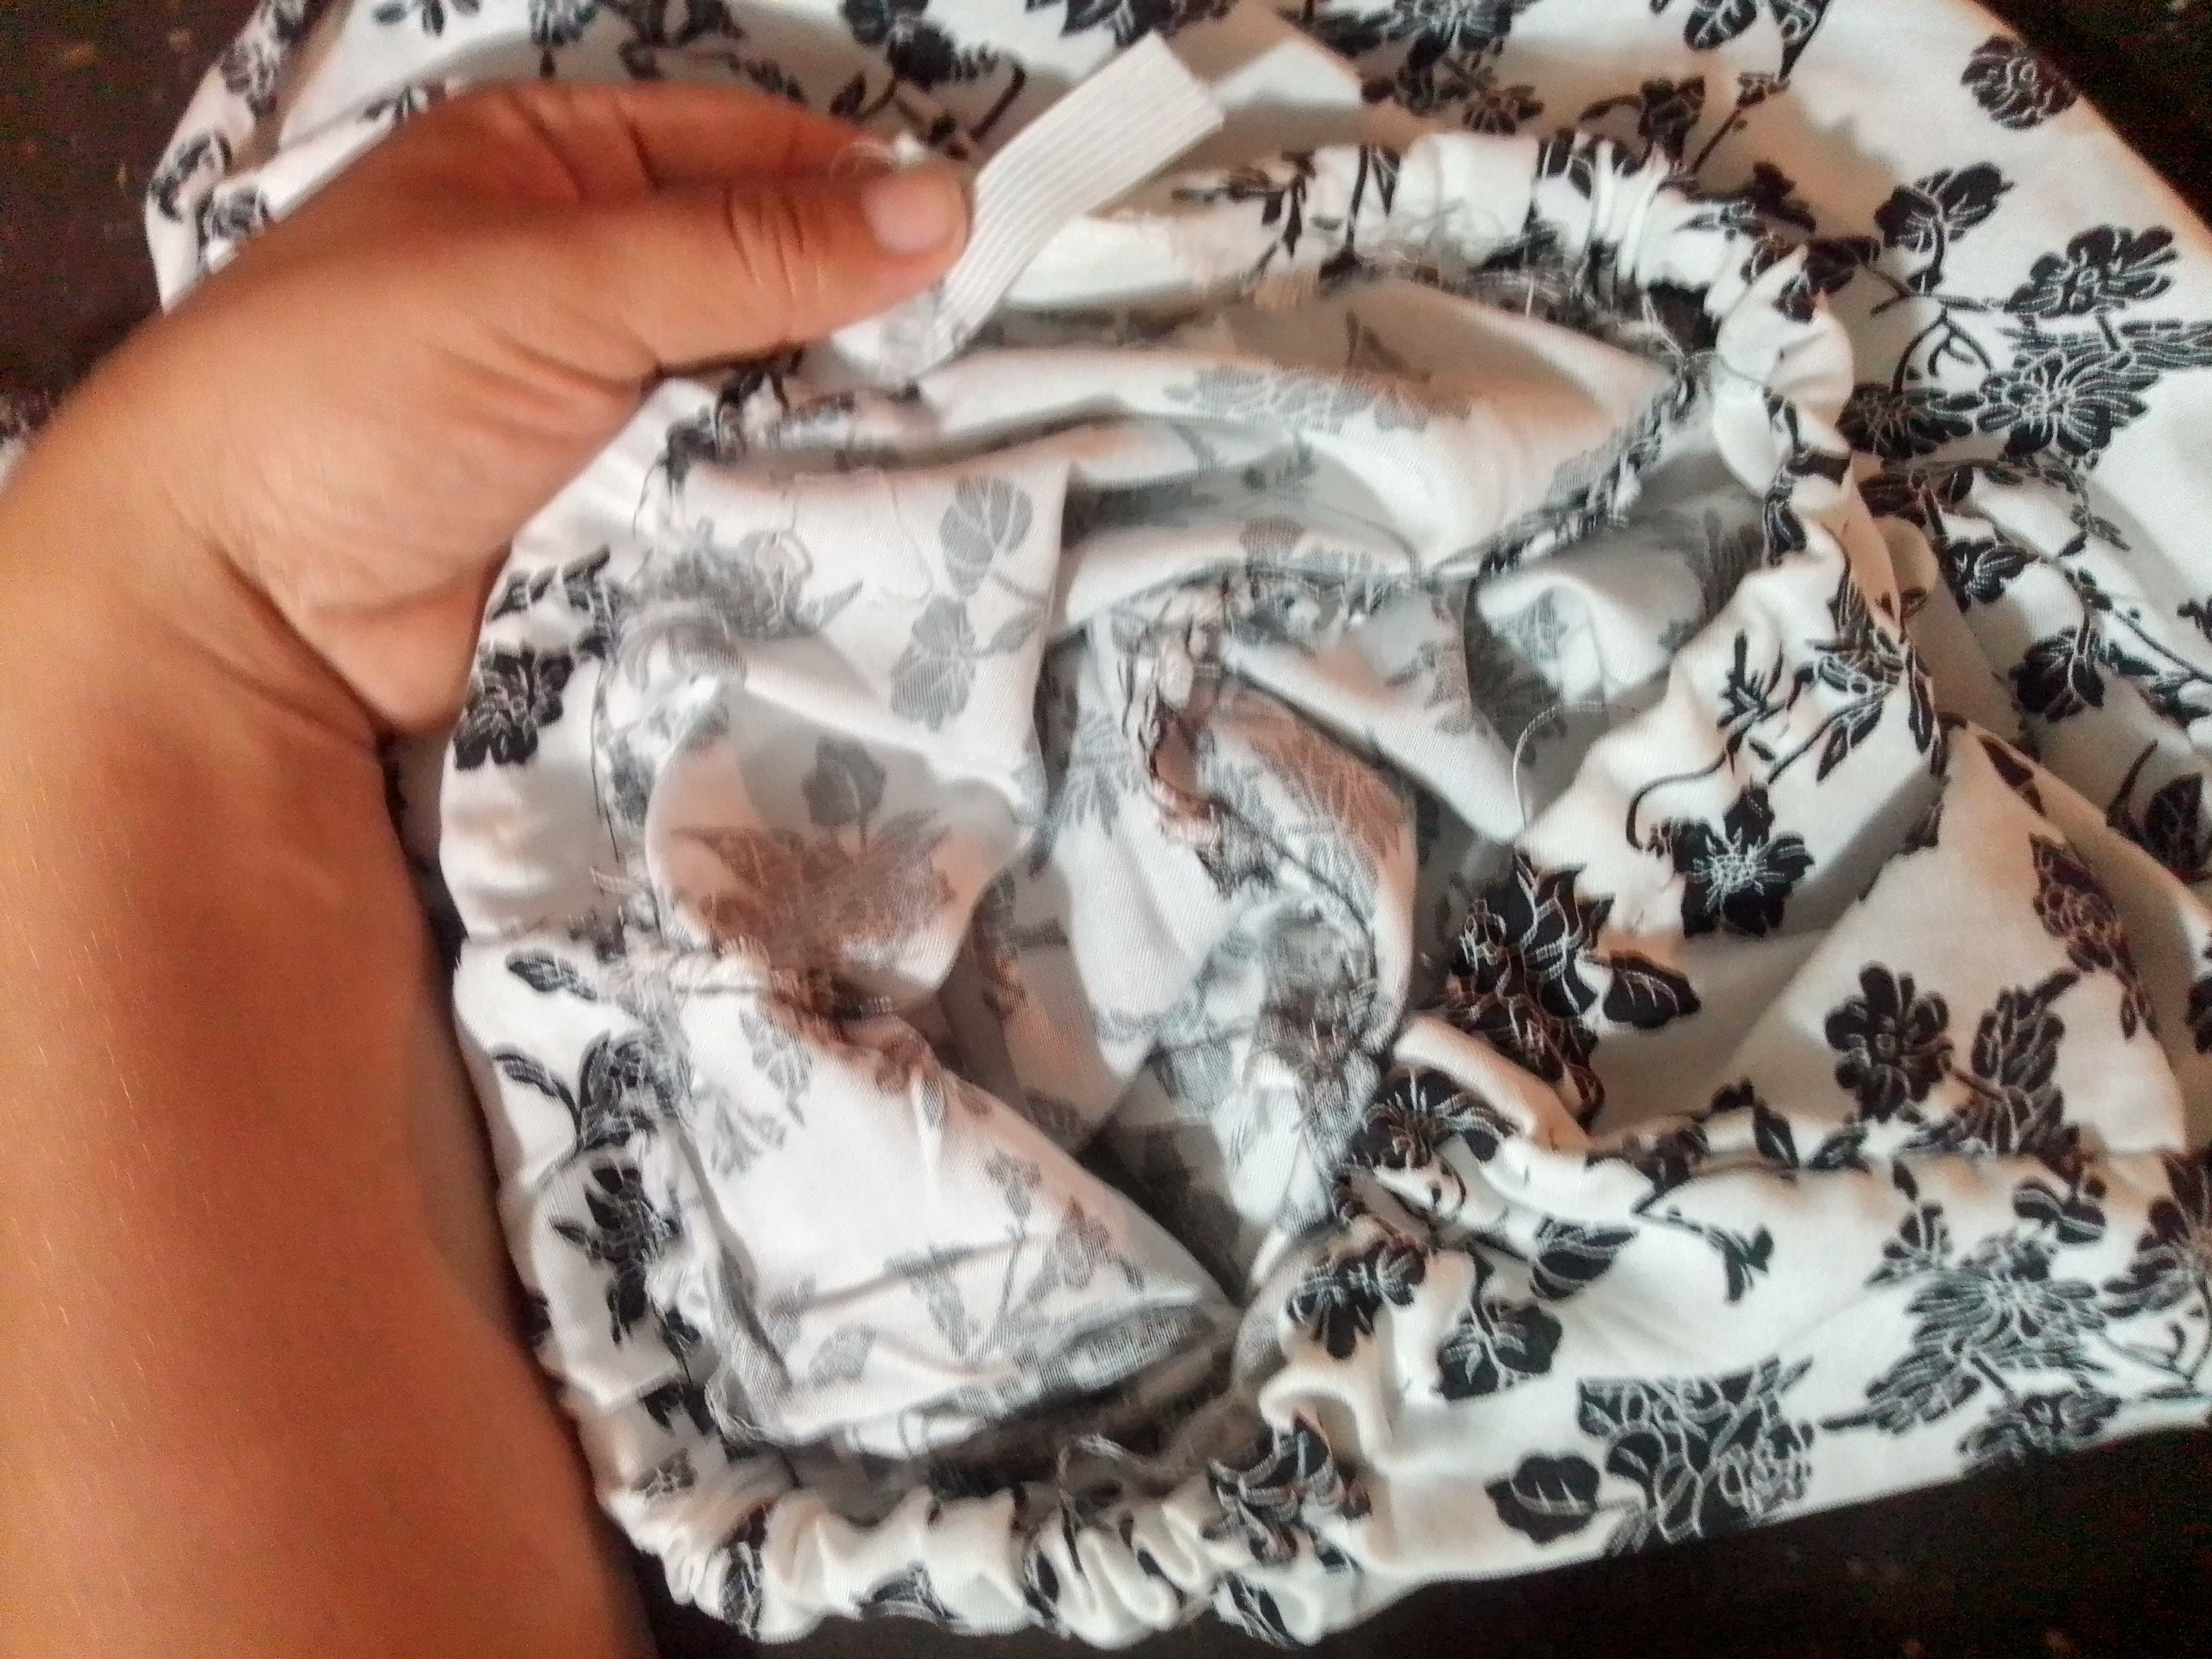
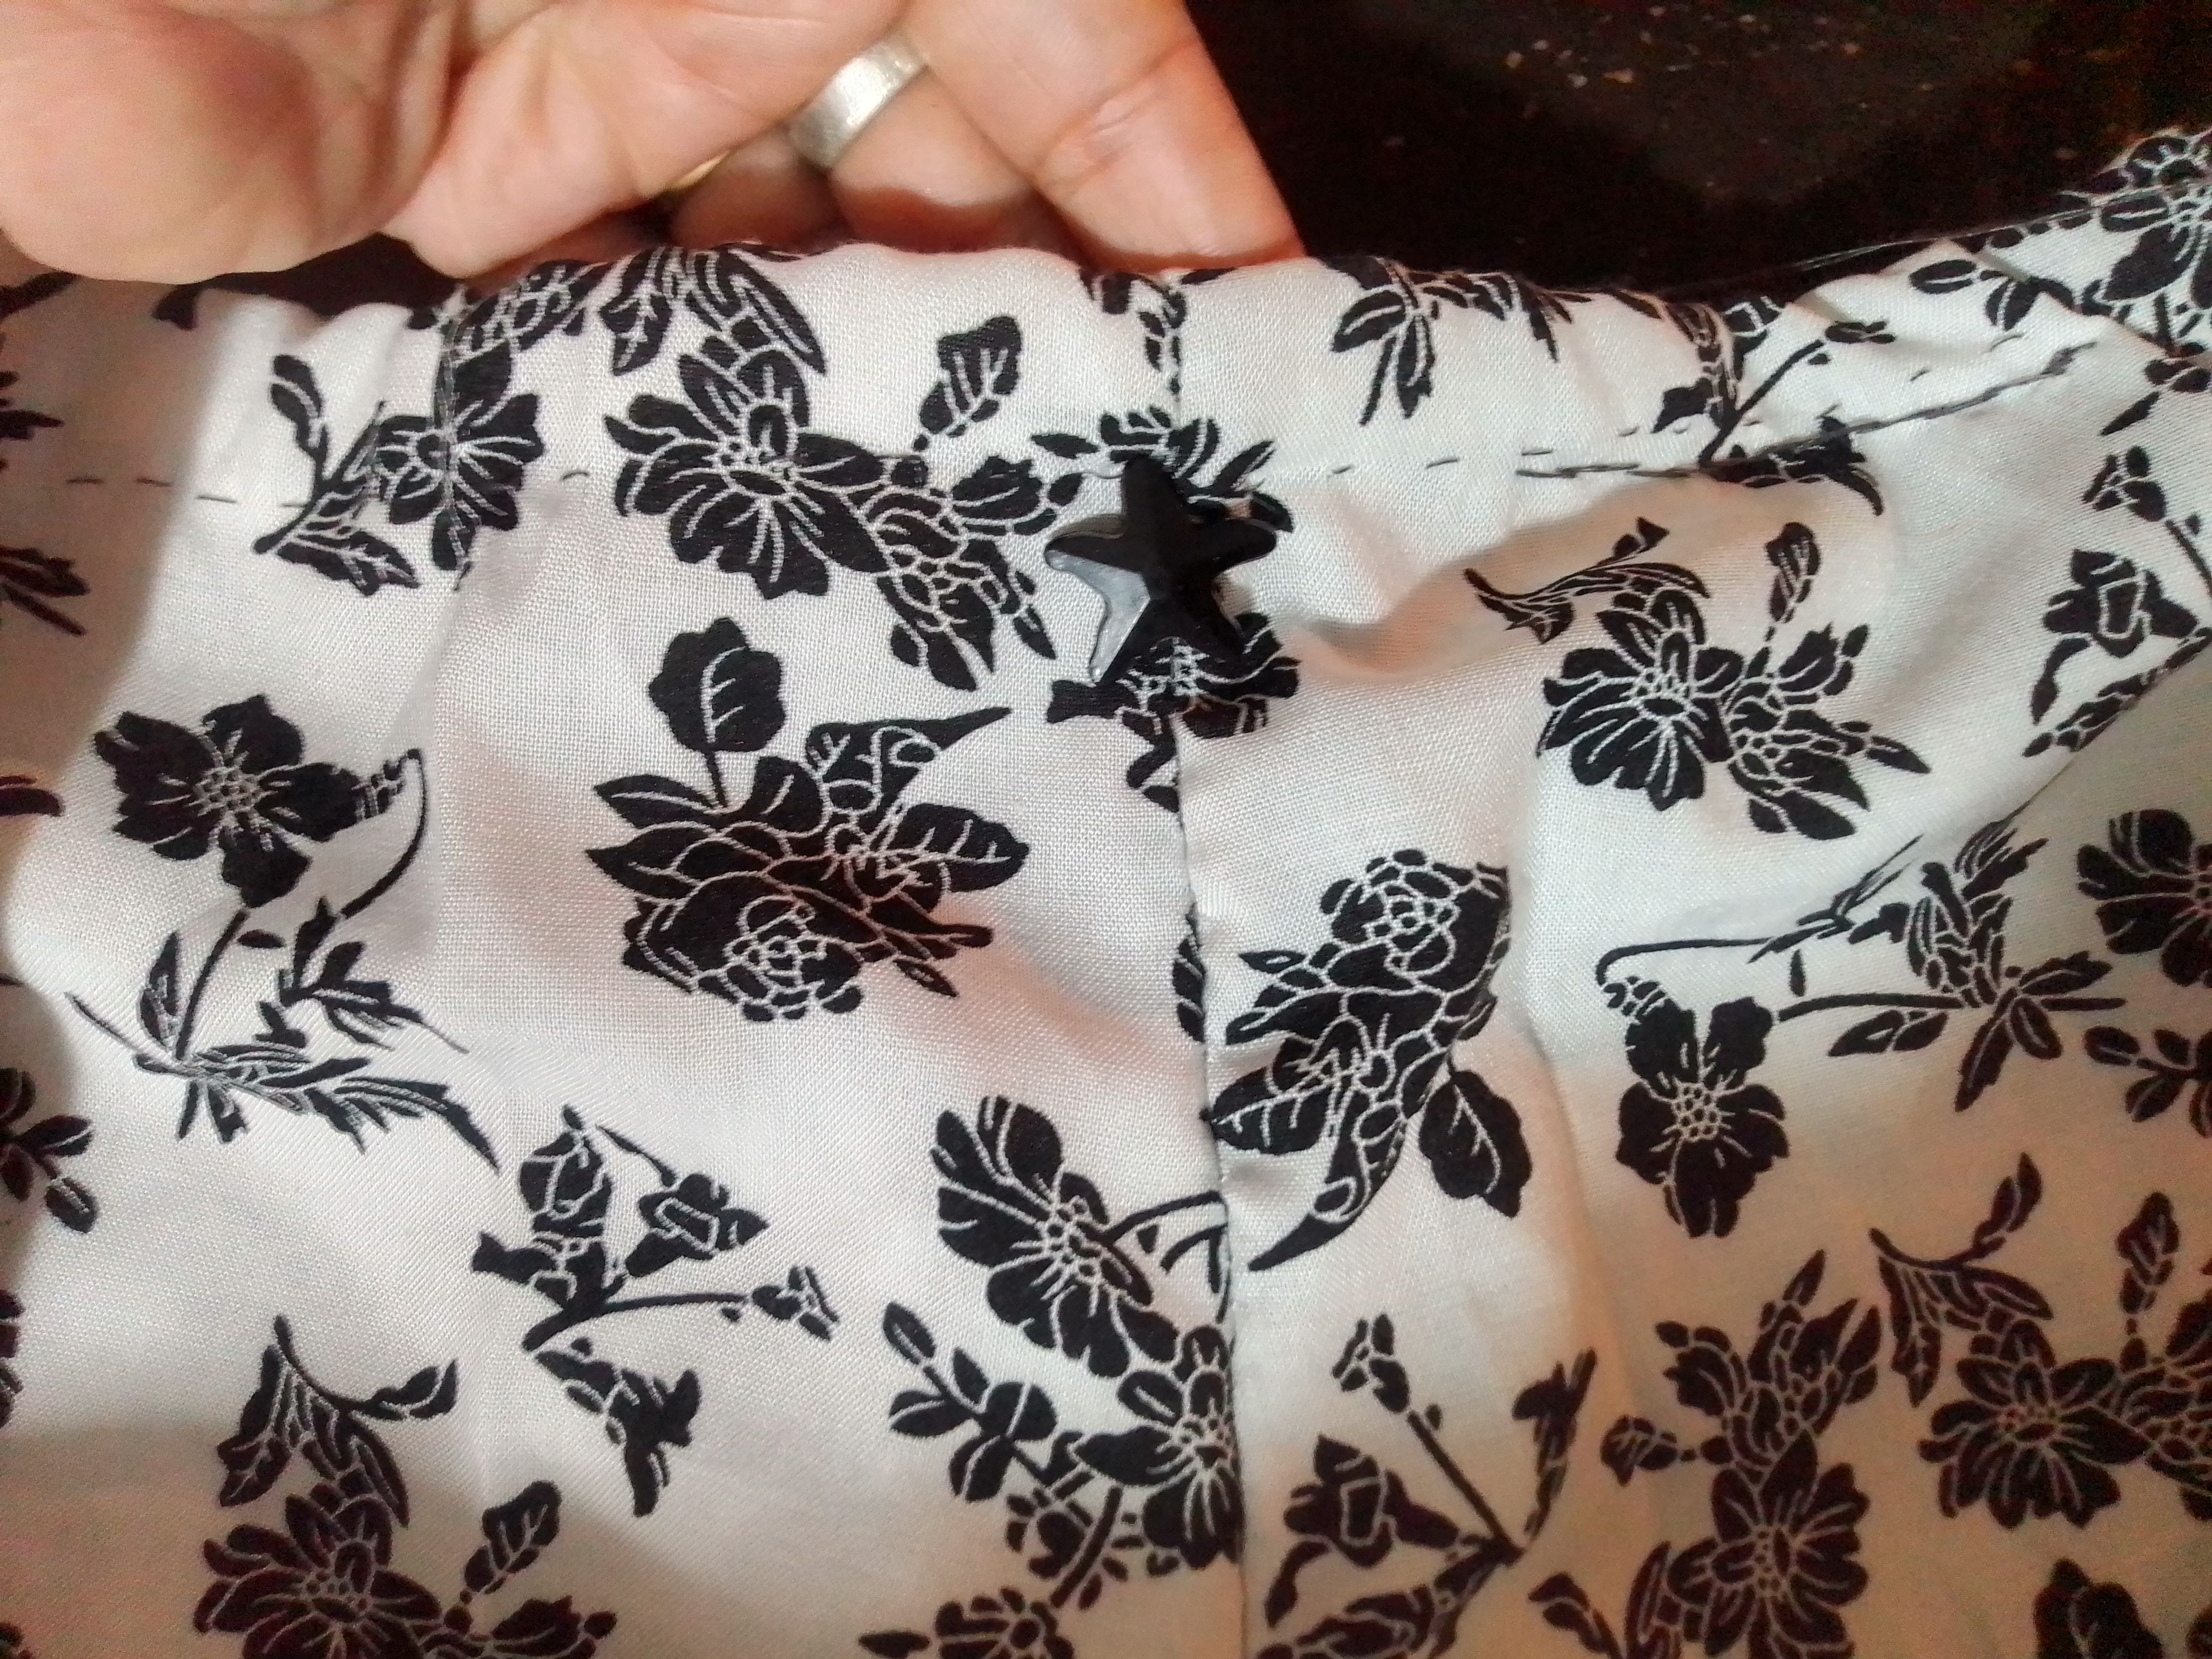
A pesar de lo cansada que ya estaba, descosí con mucho cuidado y volví a realizar esta parte, pero ya me había percatado que me había quedó un poco ancha en la rodillas e introduje una goma finita para ajustarla un poco y así al fin terminarlo.
Step 06
Despite how tired I was, I undid it very carefully and did this part again, but I had already noticed that it was a bit wide at the knees and I inserted a thin rubber band to adjust it a little and thus finally finish it.
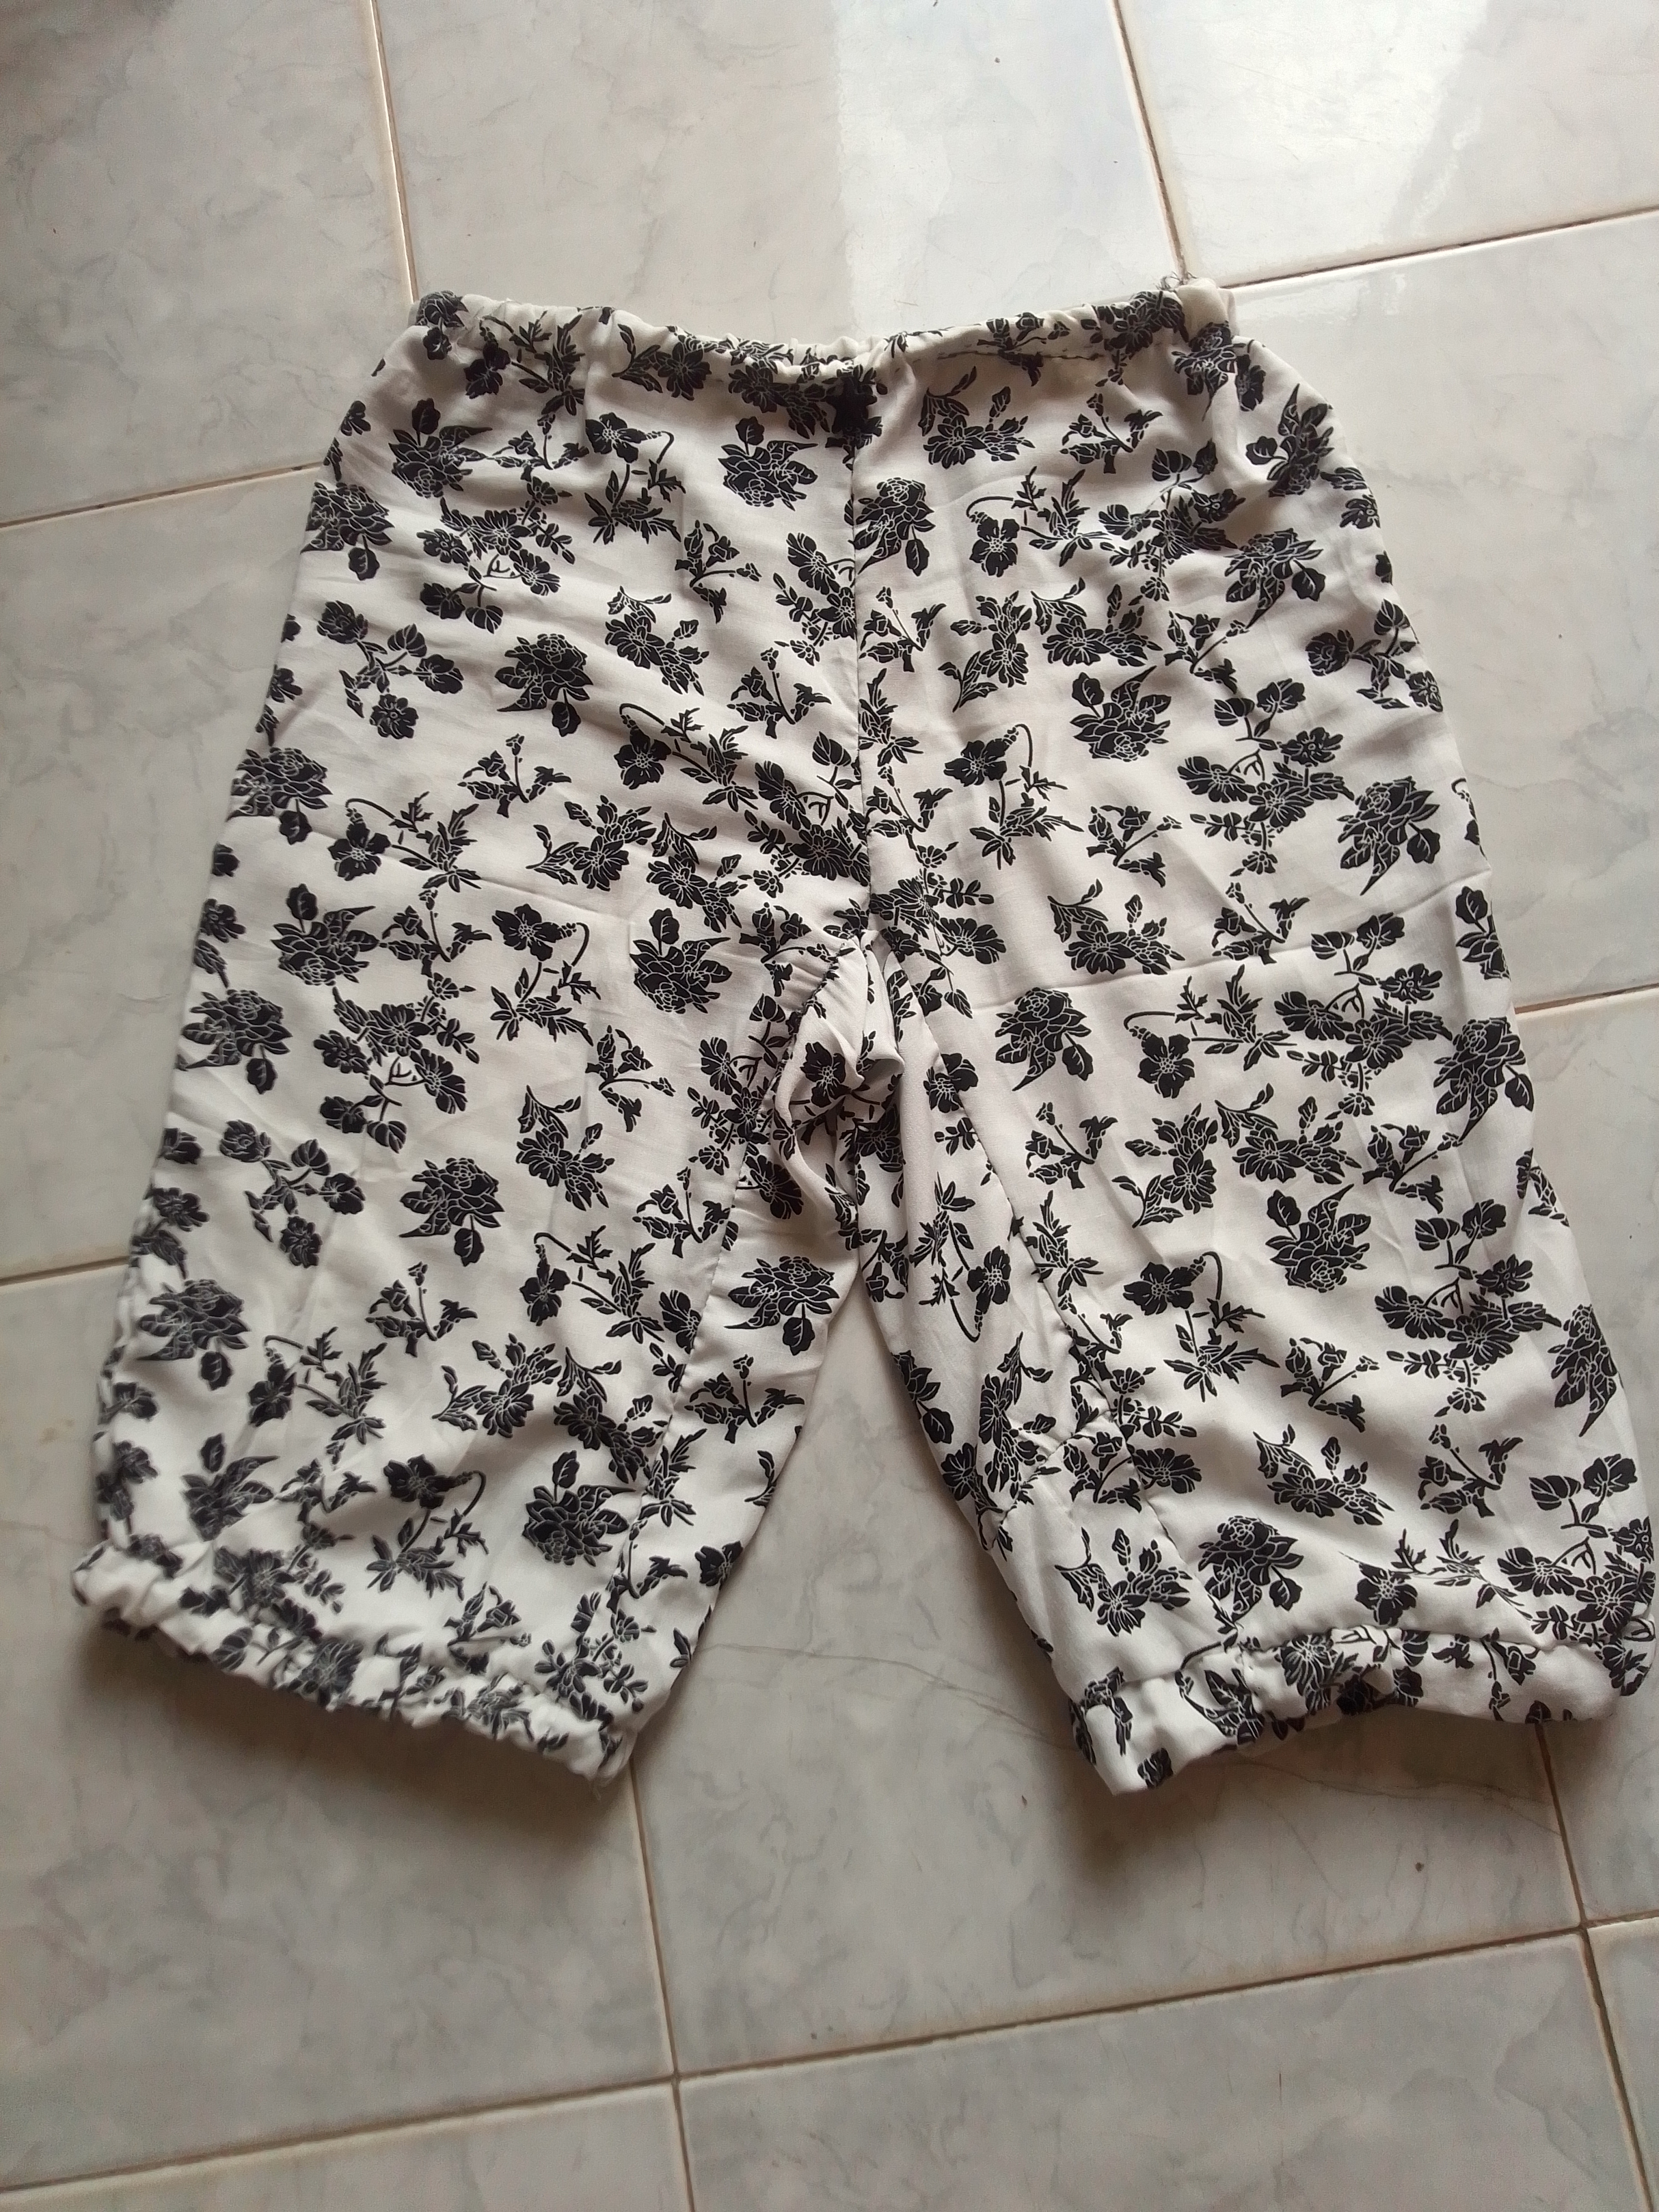
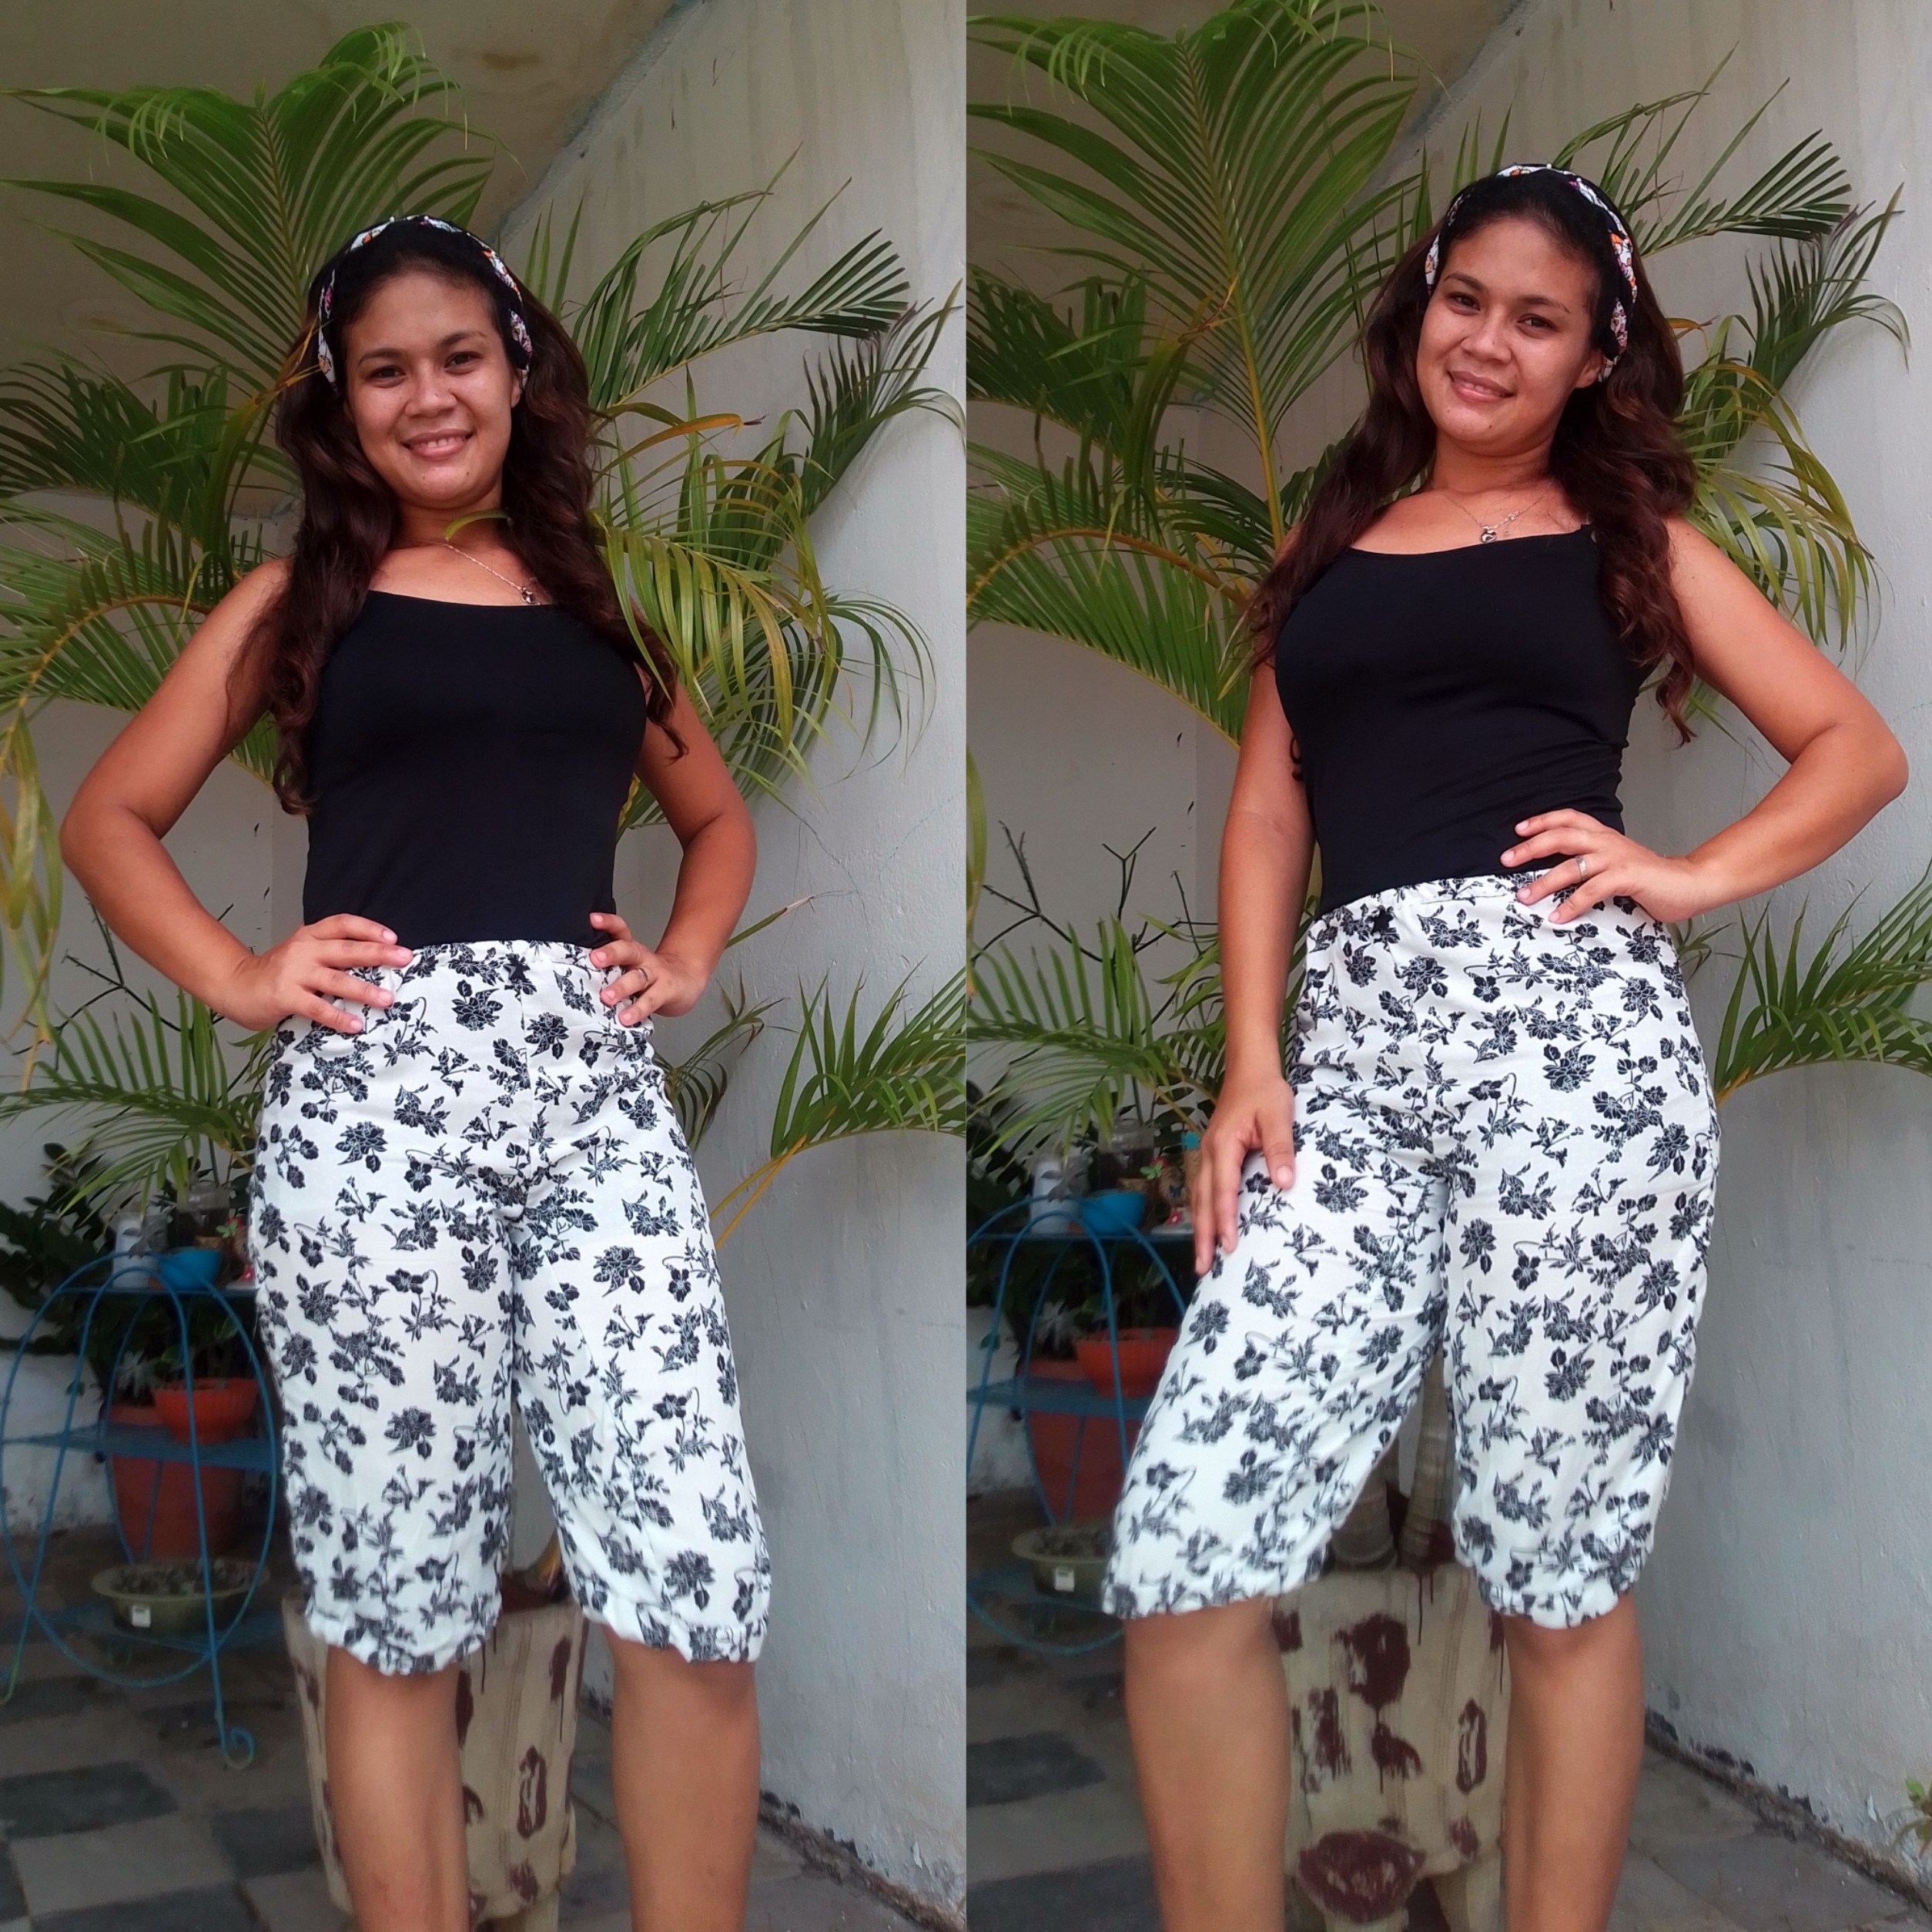
😃 Resultado! 😃
Intentar mantener la calma ante algunos imprevisto no es del todo fácil y parece tonto que algo que hasta yo consideraba que sería algo sencillo me costaría tanto hacerlo. Pero al final me quedo este bonito pantalón, que como les dije me dejó una gran enseñanza hacerlo, y es que de muchos intentos consiste vivir, y aunque no tengamos los resultados que esperamos debemos aprender del proceso, rectificar lo que hacemos mal y seguir adelante, pero sobre todo debemos amar lo que hacemos y agradecer lo que tenemos. Aquí les muestro este hermoso resultado, espero te haya gustado mi trabajo el día de hoy!
Trying to stay calm in the face of some unforeseen event is not entirely easy and it seems silly that something that even I thought would be something simple would cost me so much to do. But in the end, I keep these beautiful pants, which, as I told you, left me with a great lesson in doing it, and it is that living consists of many attempts, and even if we do not have the results we hope for, we must learn from the process, rectify what we do wrong and move on , but above all we must love what we do and be grateful for what we have. Here I show you this beautiful result, I hope you liked my work today!
☺ Gracias por tu linda visita a mi post! ☺
Una buena actitud es lo que define tu futuro, me encantaría leer que te parece este post, me despido esperando que tengas una gran noche, te mando un fuerte abrazo. Cuidense mucho. Hasta una próxima oportunidad!
A good attitude is what defines your future, I would love to read what you think of this post, I say goodbye hoping you have a great night, I send you a big hug. Take care. Until a next opportunity!
All images in this post are my own. Taken from my Smooth 6.5 device | Translated text in Google translator.

0
0
0.000
Me encanta esa tela!😁😊
Thank you for sharing this amazing post on HIVE!
Your content got selected by our fellow curator @rezoanulvibes & you just received a little thank you via an upvote from our non-profit curation initiative!
You will be featured in one of our recurring curation compilations and on our pinterest boards! Both are aiming to offer you a stage to widen your audience within and outside of the DIY scene of hive.
Join the official DIYHub community on HIVE and show us more of your amazing work and feel free to connect with us and other DIYers via our discord server: https://discord.gg/mY5uCfQ !
If you want to support our goal to motivate other DIY/art/music/homesteading/... creators just delegate to us and earn 100% of your curation rewards!
Stay creative & hive on!
. Explicaste detalladamente Él proceso. Te Felicito, muchos Exitos.
Voy a Seguir tus post. 🌟