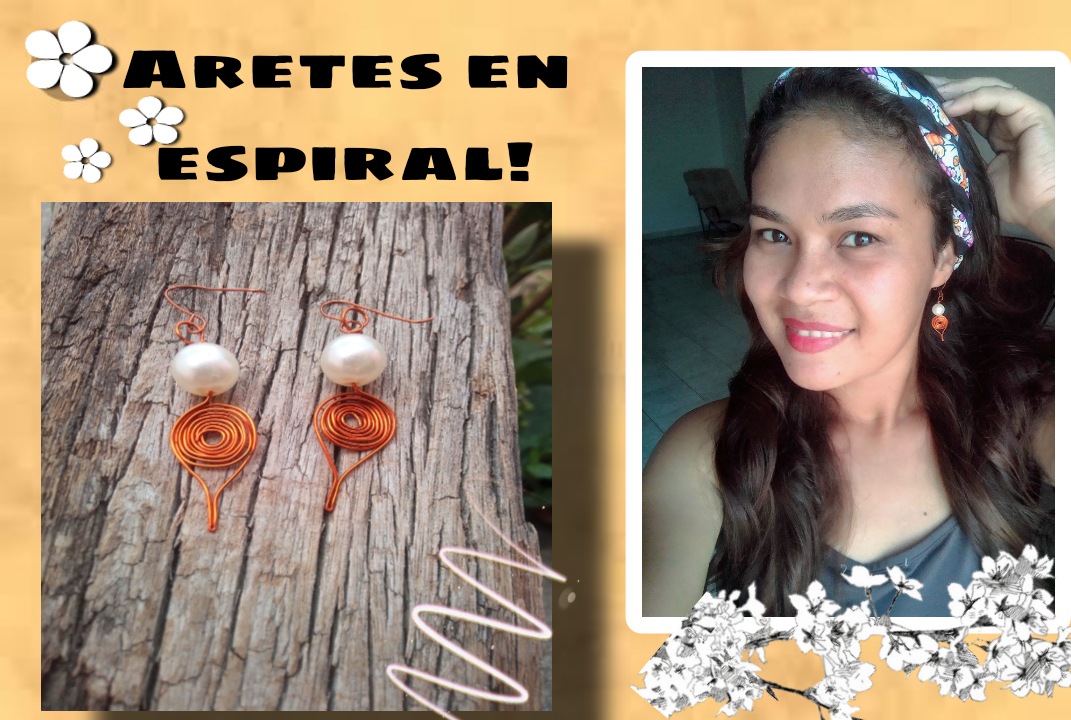
✨Lindos aretes, hechos en pocos pasos para principiantes//Cute earrings, made in a few steps for beginners.✨
Que tal linda comunidad creativa en joyería, que bonito es saludarlos nuevamente y presenciar su hermosas ideas. Considerablemente en estos momentos me siento como toda una aprendiz en este arte, aunque lo practicaba hace mucho tiempo, deje de hacerlo y aunque dicen que lo bien aprendido no se olvida, yo digo que lo que no se practica seguramente puede olvidarse, quizás no del todo pero si la destreza puede disminuir con el tiempo si no hay práctica, tal vez eso es lo que me ha sucedido , pienso que retomar este arte en bisutería, es totalmente nuevo para mi, pero estoy muy feliz por esto, nada que con una buena práctica no se pueda lograr.
Hello nice creative jewelry community, how nice it is to greet you again and witness your beautiful ideas. Considerably right now I feel like an apprentice in this art, although I practiced it a long time ago, I stopped doing it and although they say that what is well learned is not forgotten, I say that what is not practiced can surely be forgotten, perhaps not everything, but if the skill can decrease over time if there is no practice, maybe that is what has happened to me, I think that returning to this art in jewelry is totally new for me, but I am very happy about this, nothing that with a good practice cannot be achieved.
Así que empezar de nuevo, no es sencillo, mucho menos lo debe ser para las personas que nunca lo han hecho, es por esta razón que hoy les traigo un bonito tutorial para las personas que por primera vez quieren hacer sus propios accesorios. Se tratan de un lindo par de aretes en espiral con una delicada y bella perla blanca, ideales para lucir en eventos especiales, colocarse con prendas elegantes y lo mejor de todo es que puedes hacerlos en pocos paso y no requiere de muchos materiales para hacerlos. Acompañarme hasta el final.
So starting over is not easy, much less it should be for people who have never done it, it is for this reason that today I bring you a nice tutorial for people who for first time want to make their own accessories. They are a nice pair of spiral earrings with a delicate and beautiful white pearl, ideal to wear at special events, to wear with elegant clothes and best of all, you can do them in a few steps and it does not require many materials to make them. Accompany me until the end.
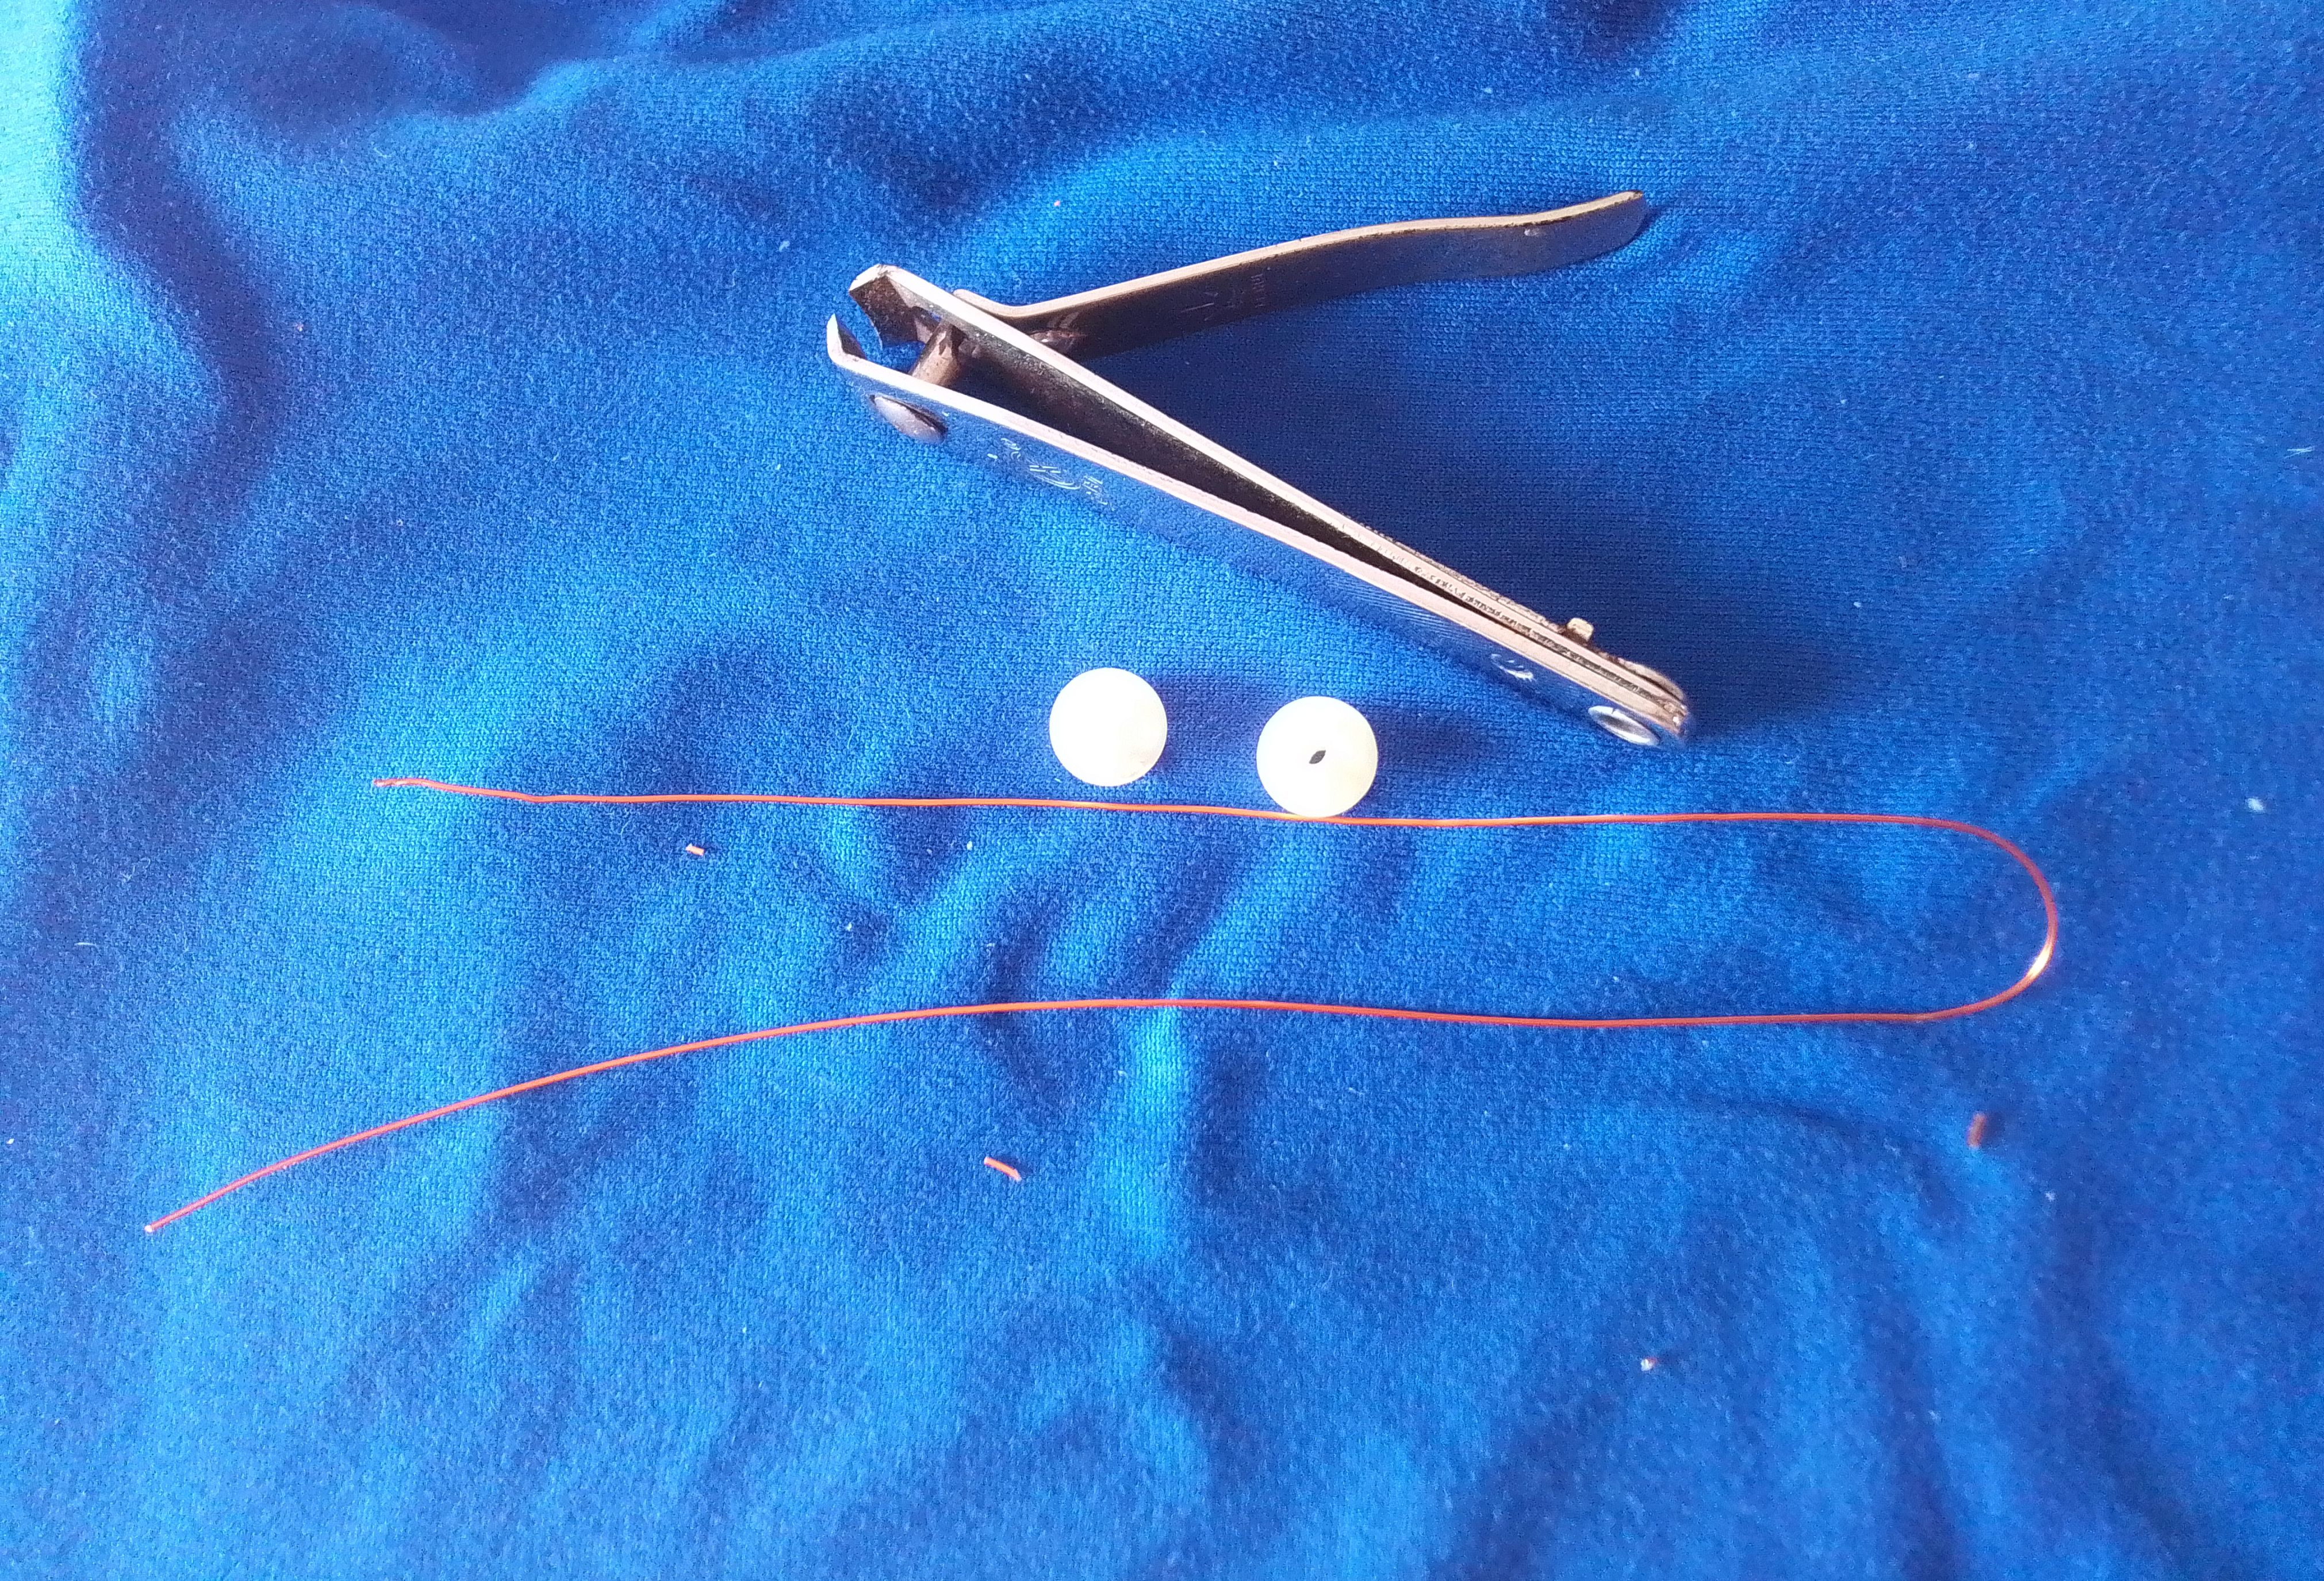
Materiales que necesitas:
- Alambre de bisuteria.
- Pinzas.
- 2 perlas blancas.
Materials you need:
- Jewelry wire.
- Tweezers.
- 2 white pearls.
(PROCEDIMIENTO)
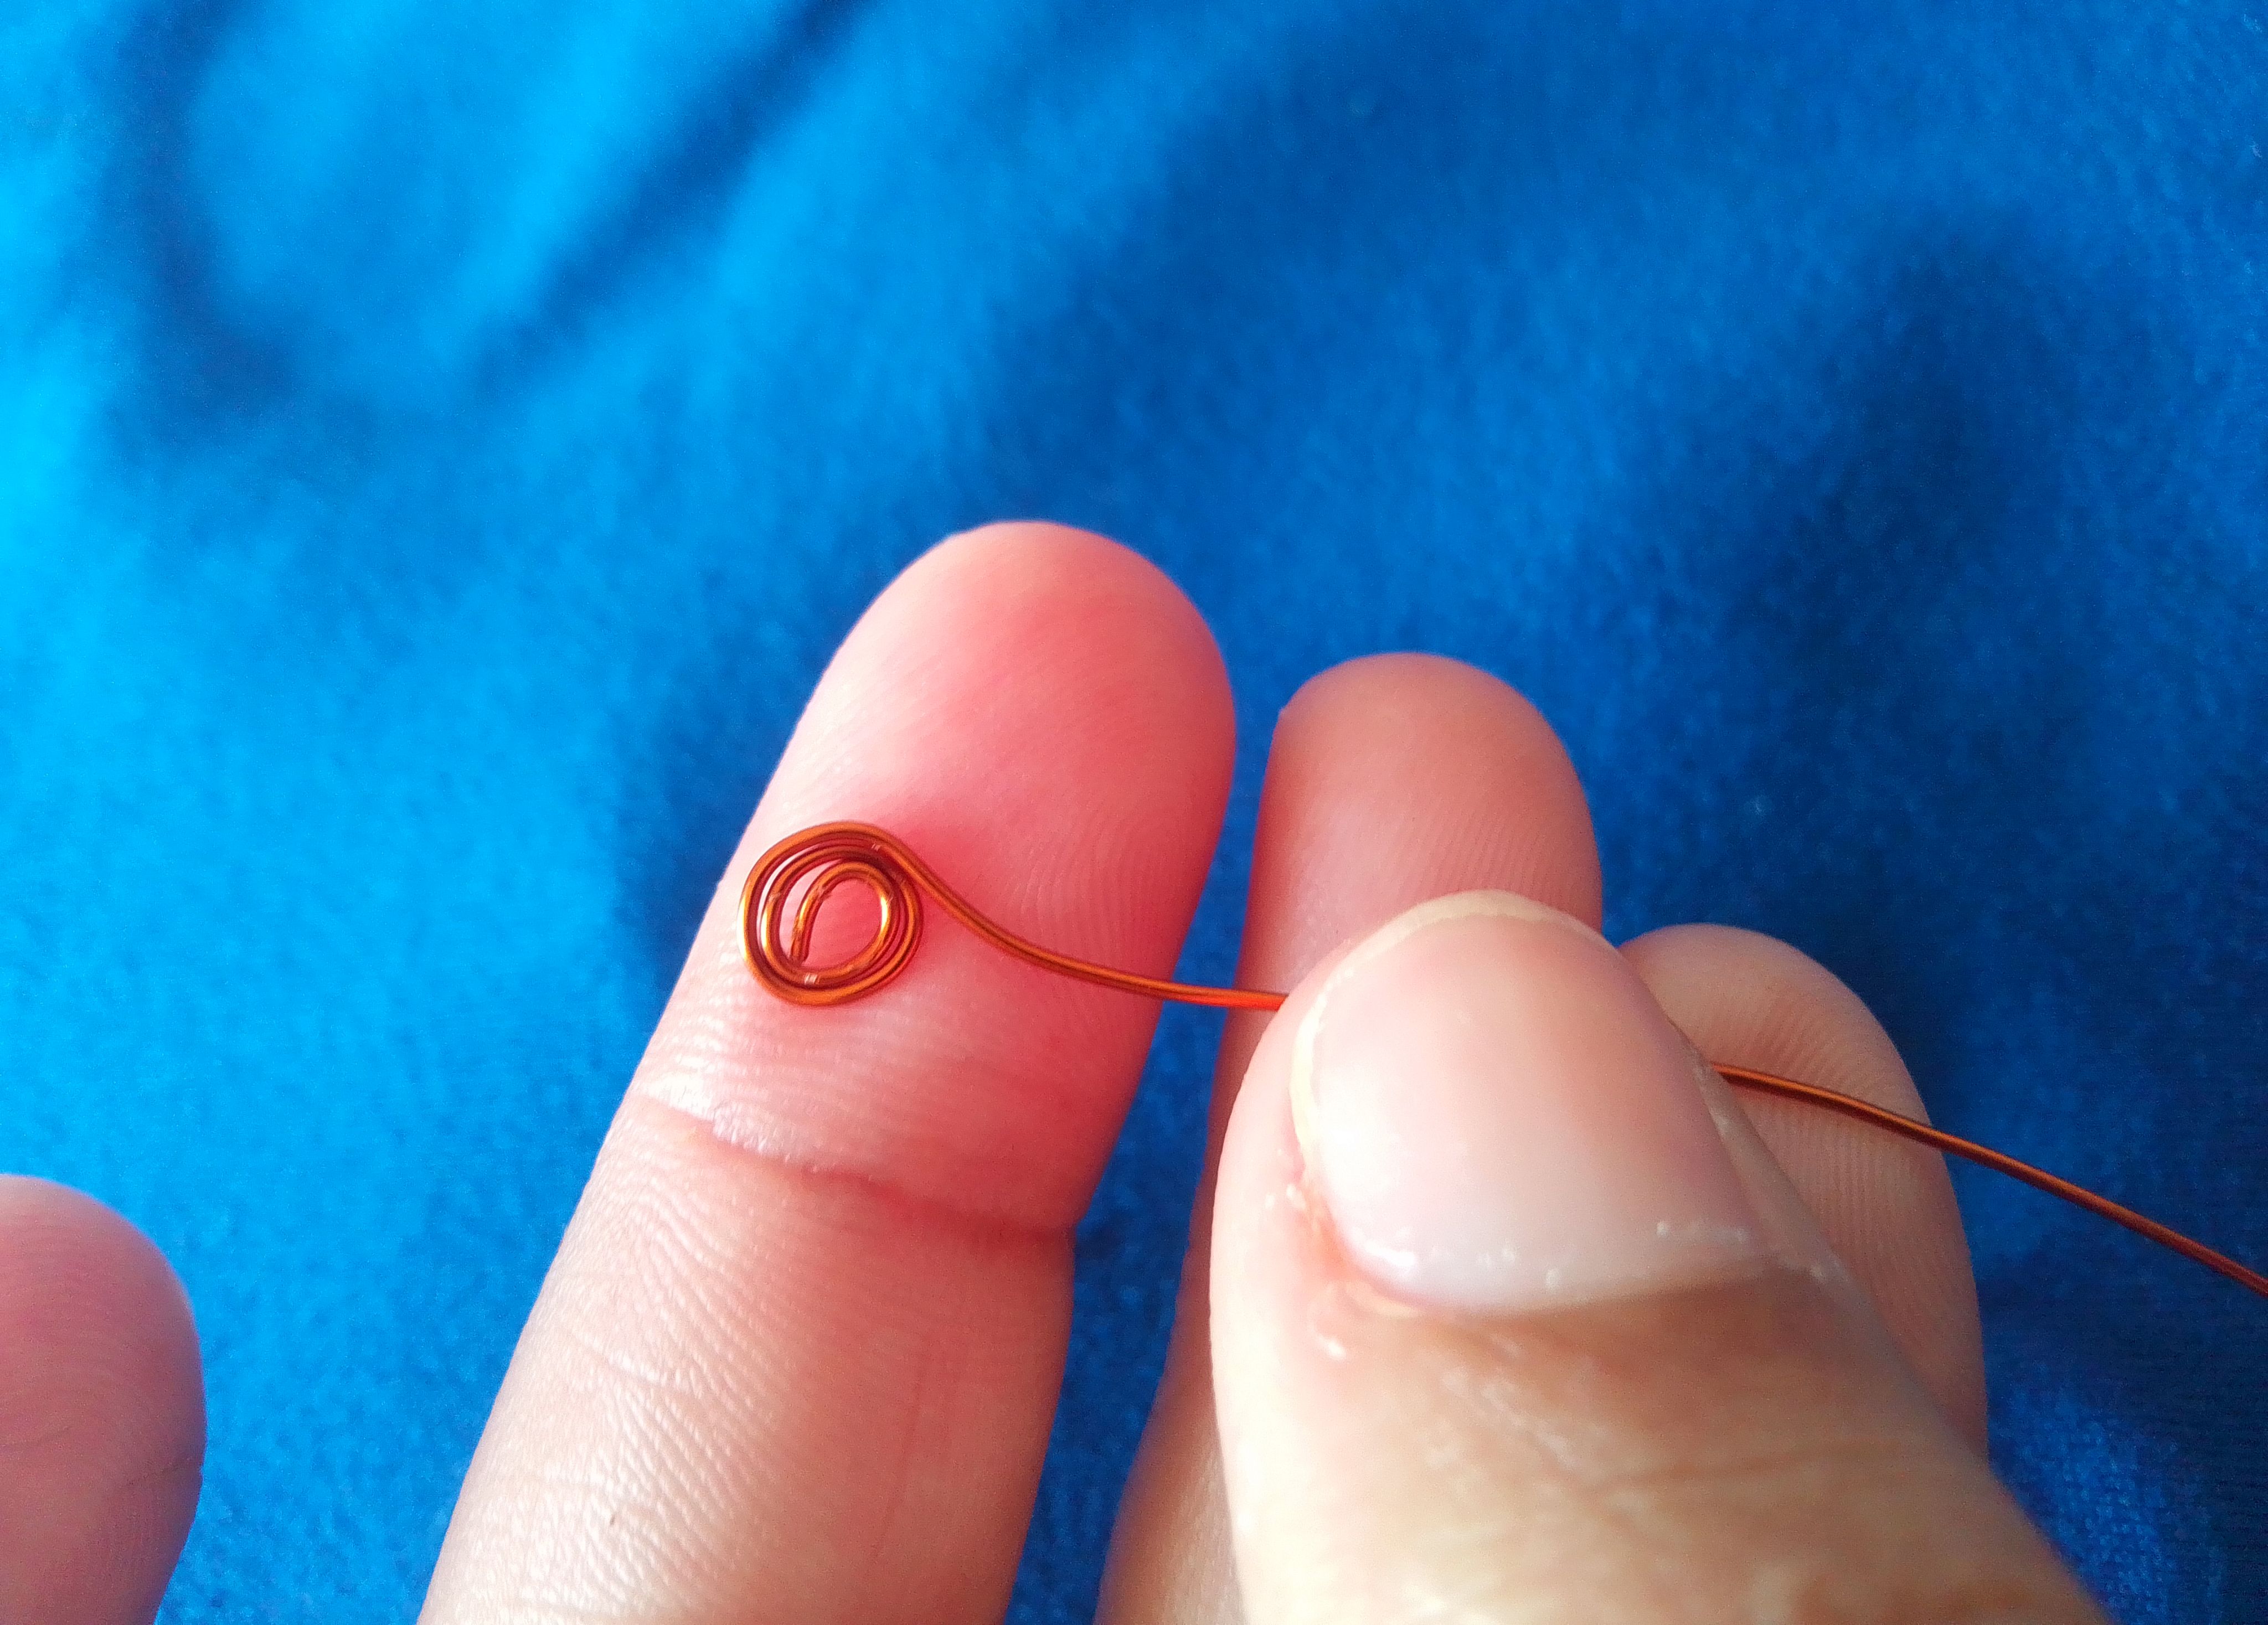
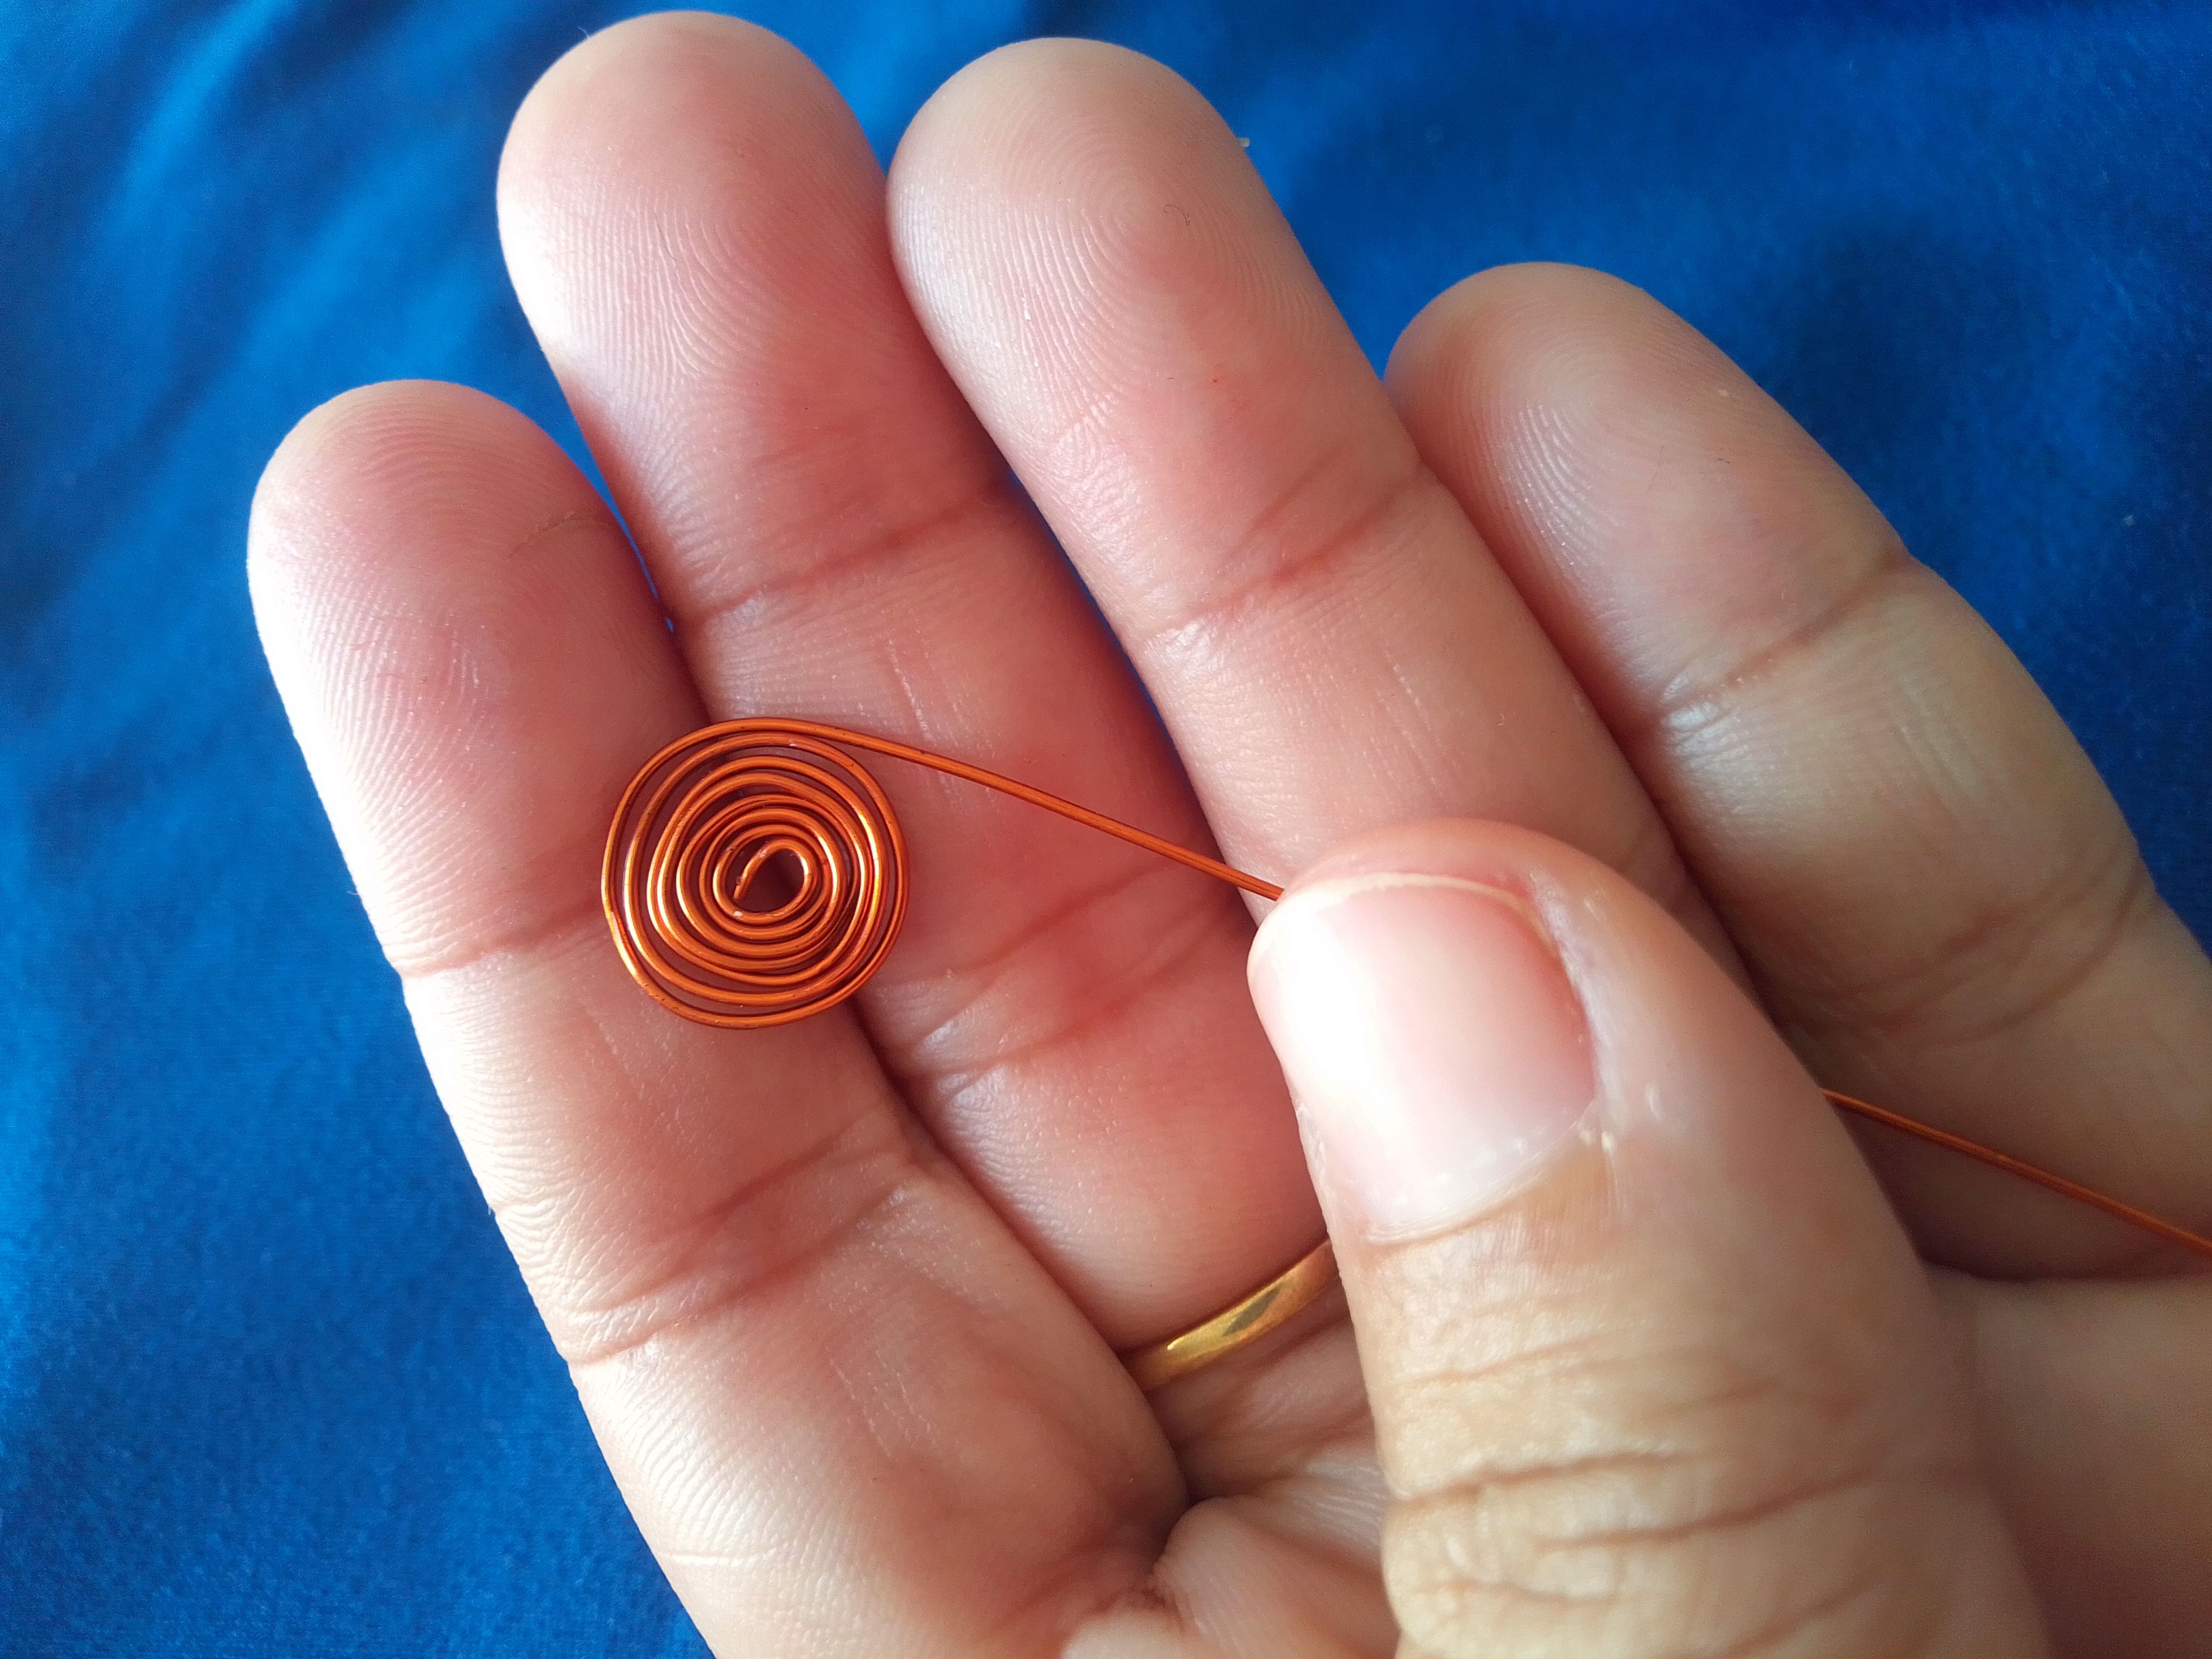
Paso 01
Iniciamos cortando un trozo de alambre de 20cm de largo, con ayuda de una pinza haremos un pequeño aro en la punta. Luego iremos dando vuelta al rededor en forma de espiral, para ser específicos daremos 7 vueltas para forma un pieza de 8mm, todo depende del tamaño de la perla y del tamaño que quieras hacer tu pendiente.
Step 01
We start by cutting a piece of wire 20cm long, with the help of a pliers we will make a small ring at the tip. Then we will go around in a spiral, to be specific we will give 7 turns to form an 8mm piece, it all depends on the size of the pearl and the size you want to make your earring.
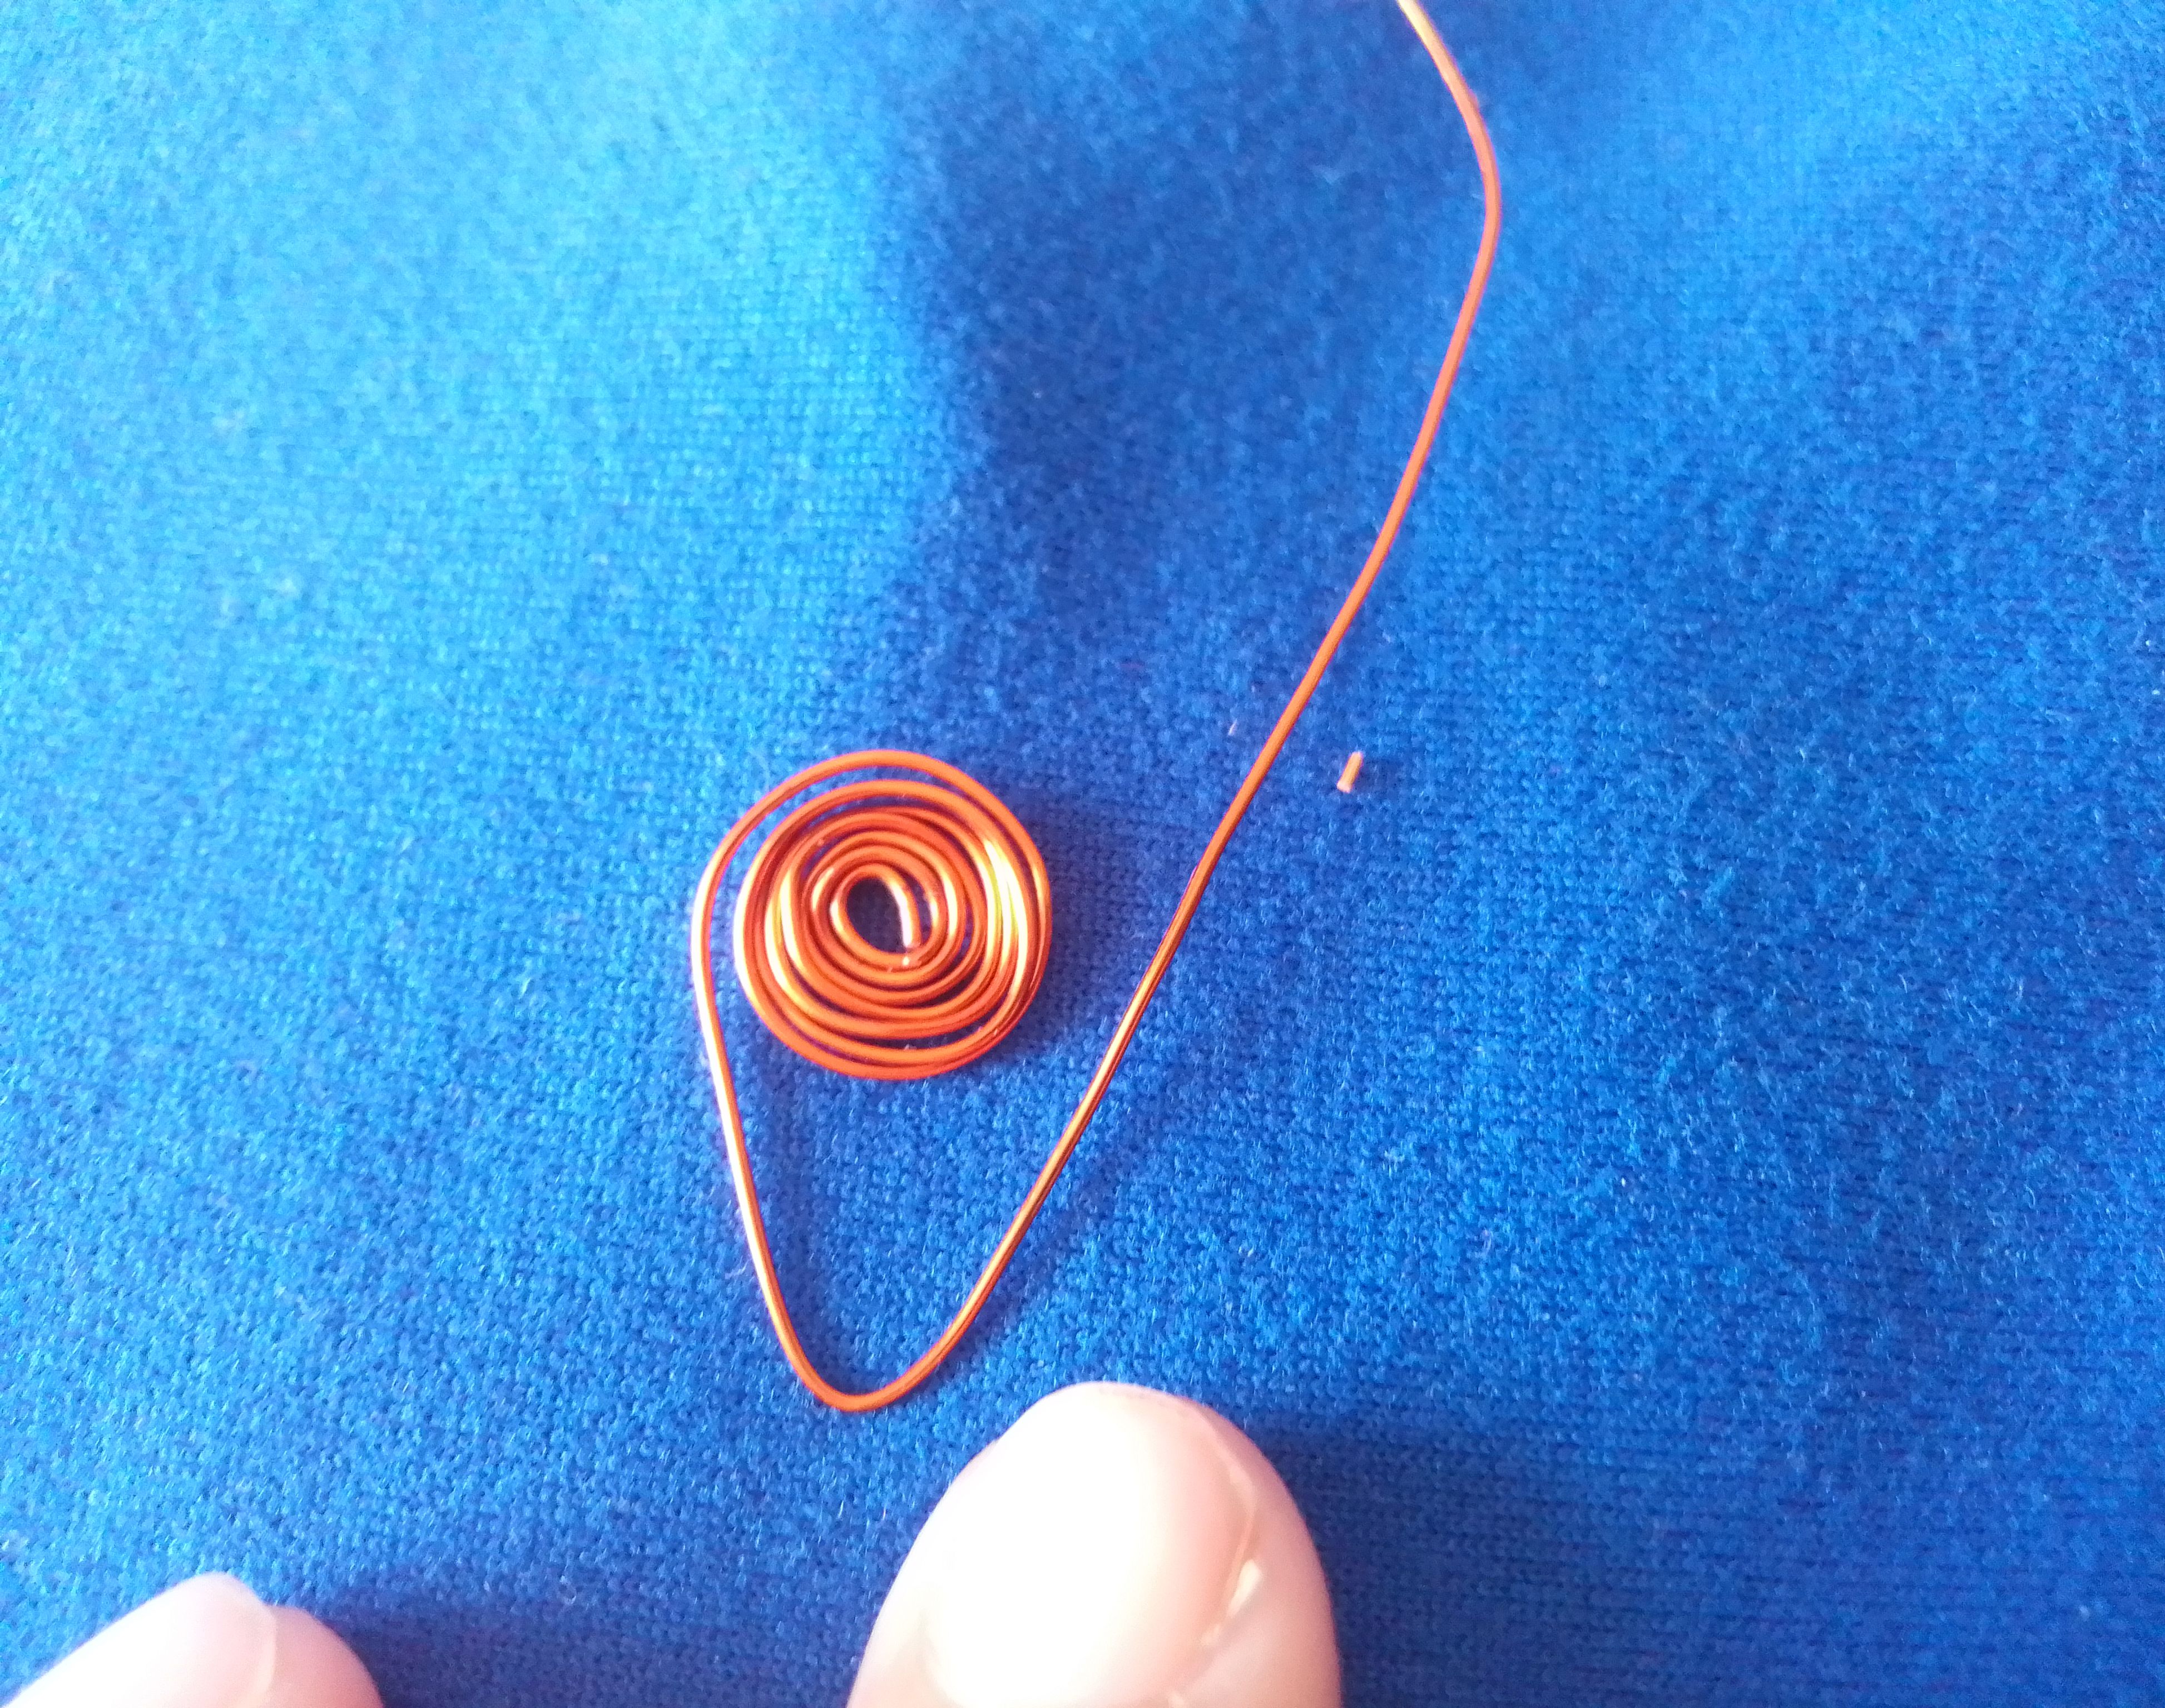
Paso 02
El alambre que ha quedado, lo doblamos cuidadosamente hacia arriba pasando por detrás del espiral y luego apretamos en toda la punta de ambos alambres , formando una especie de lágrimas o gota.
Step 02
The remaining wire, we carefully bend it upwards passing behind the spiral and then we squeeze the entire tip of both wires, forming a kind of teardrop or drop.

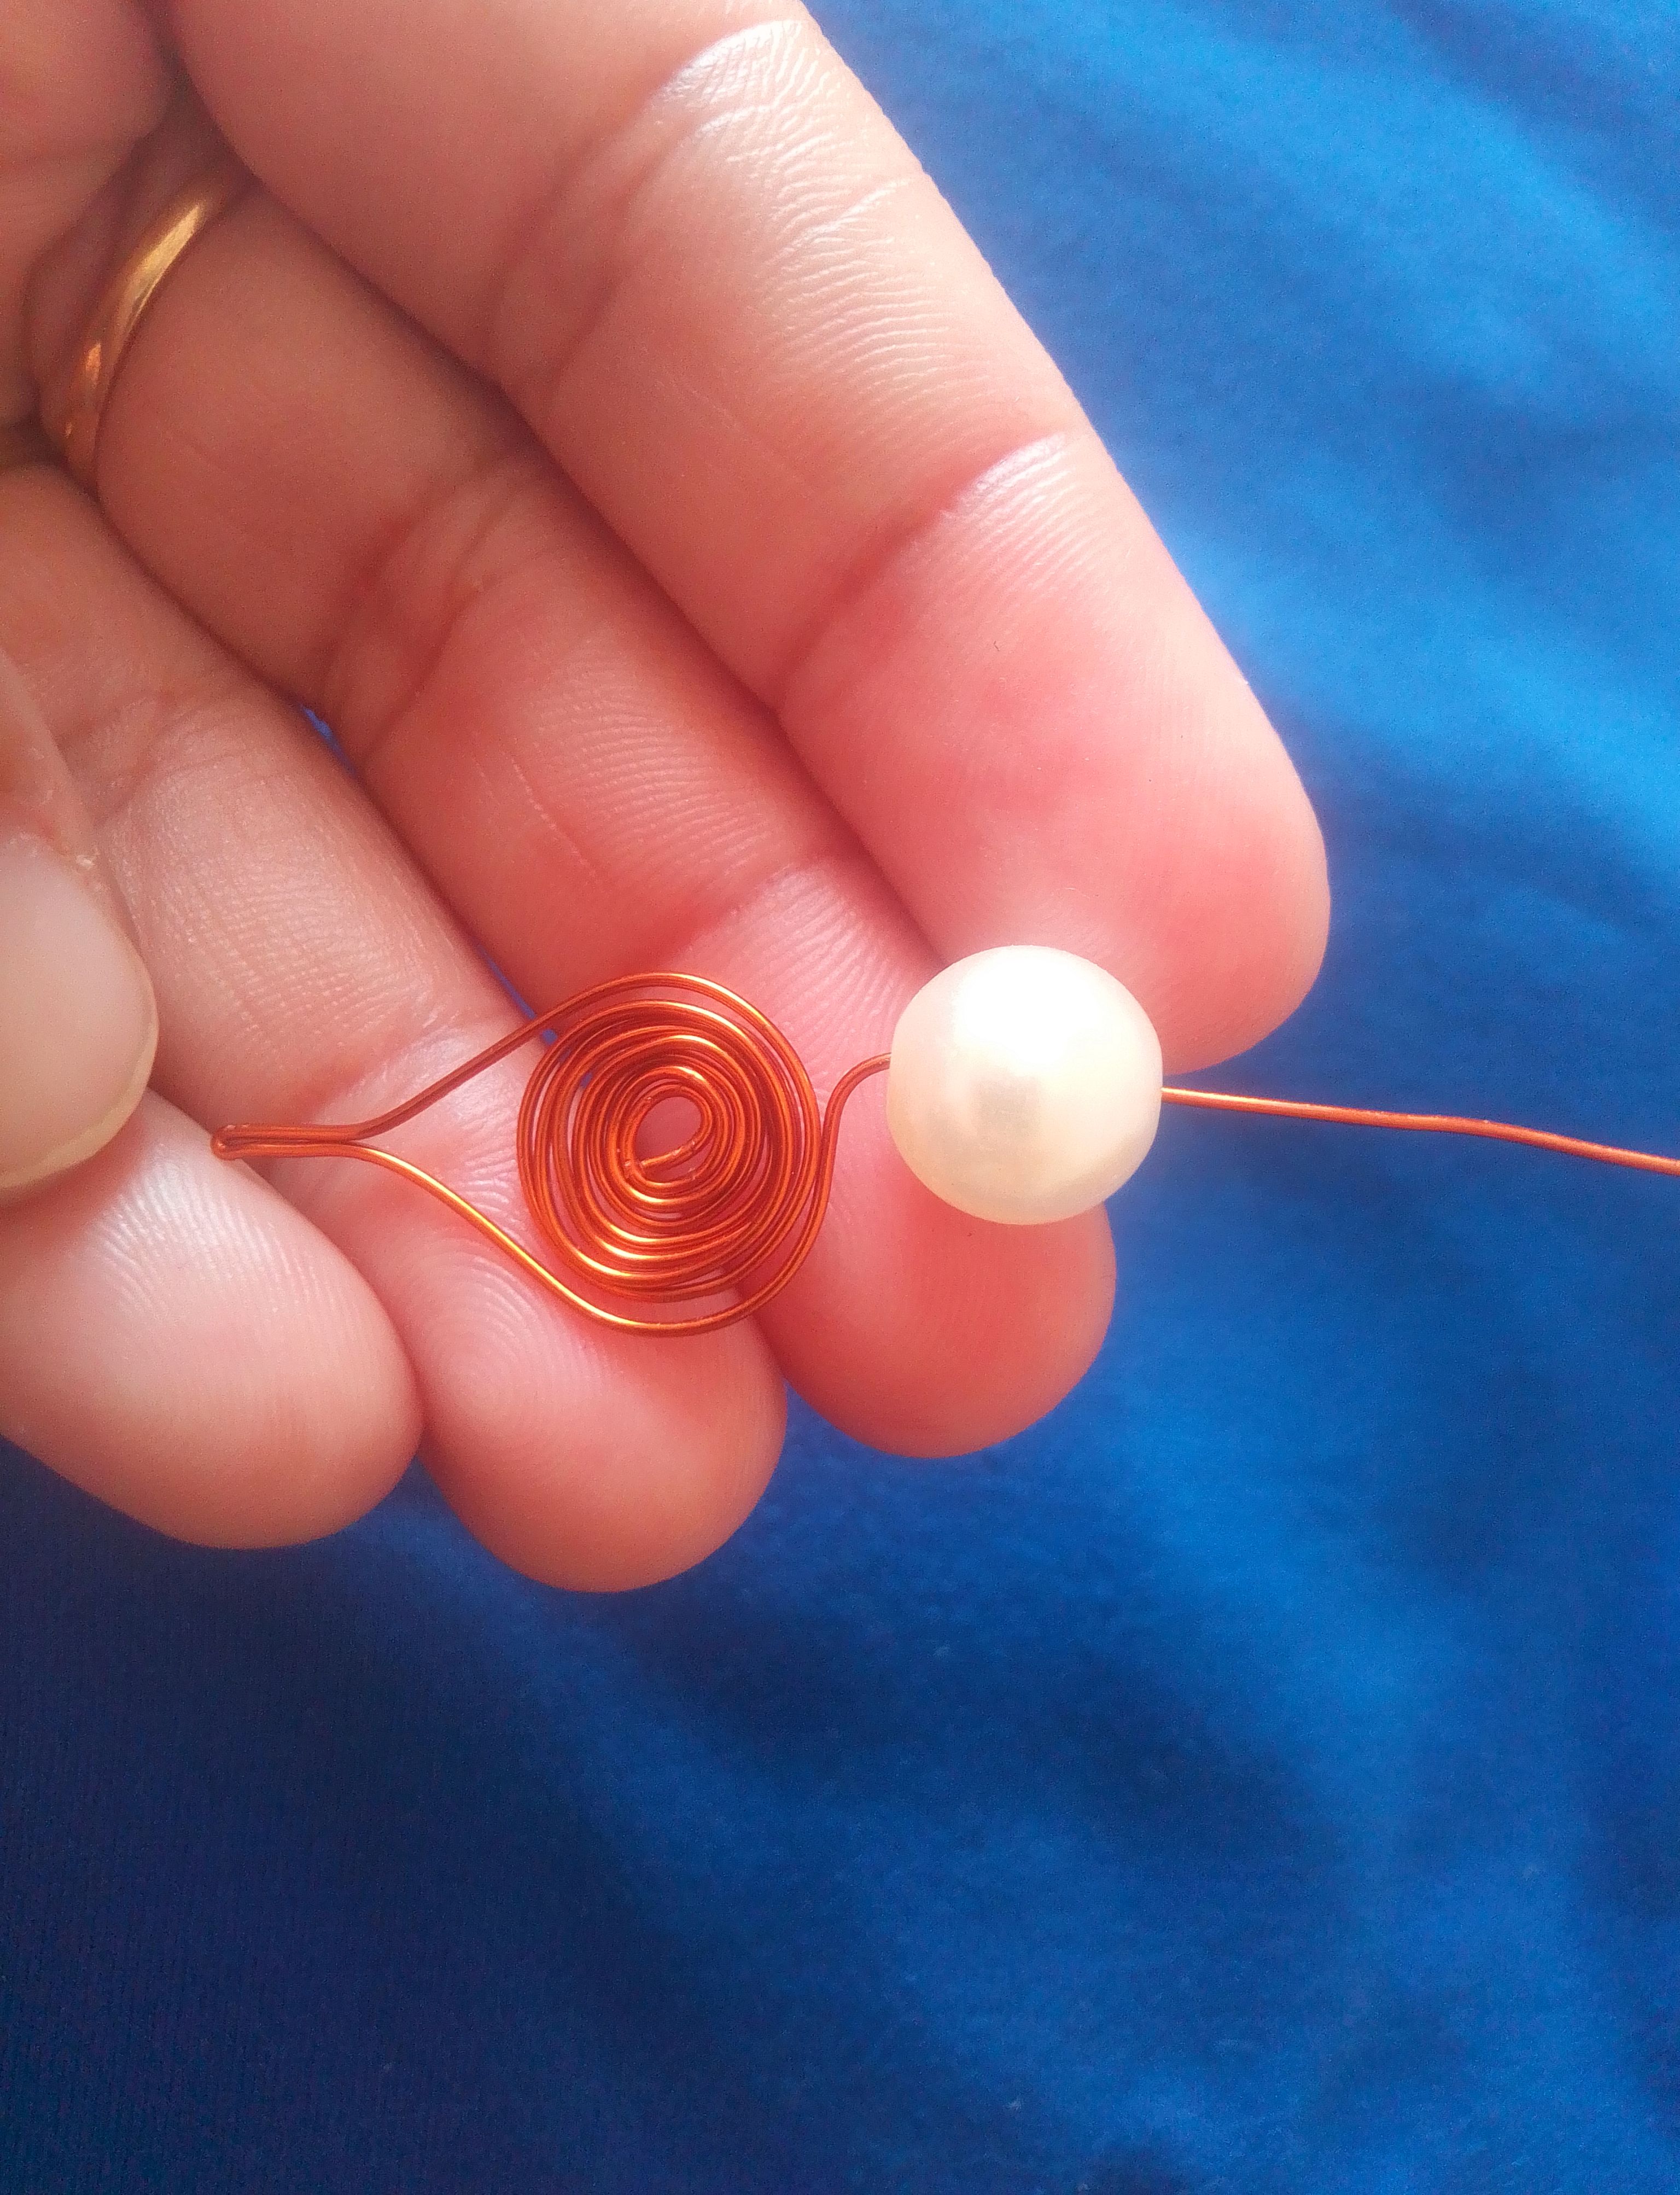
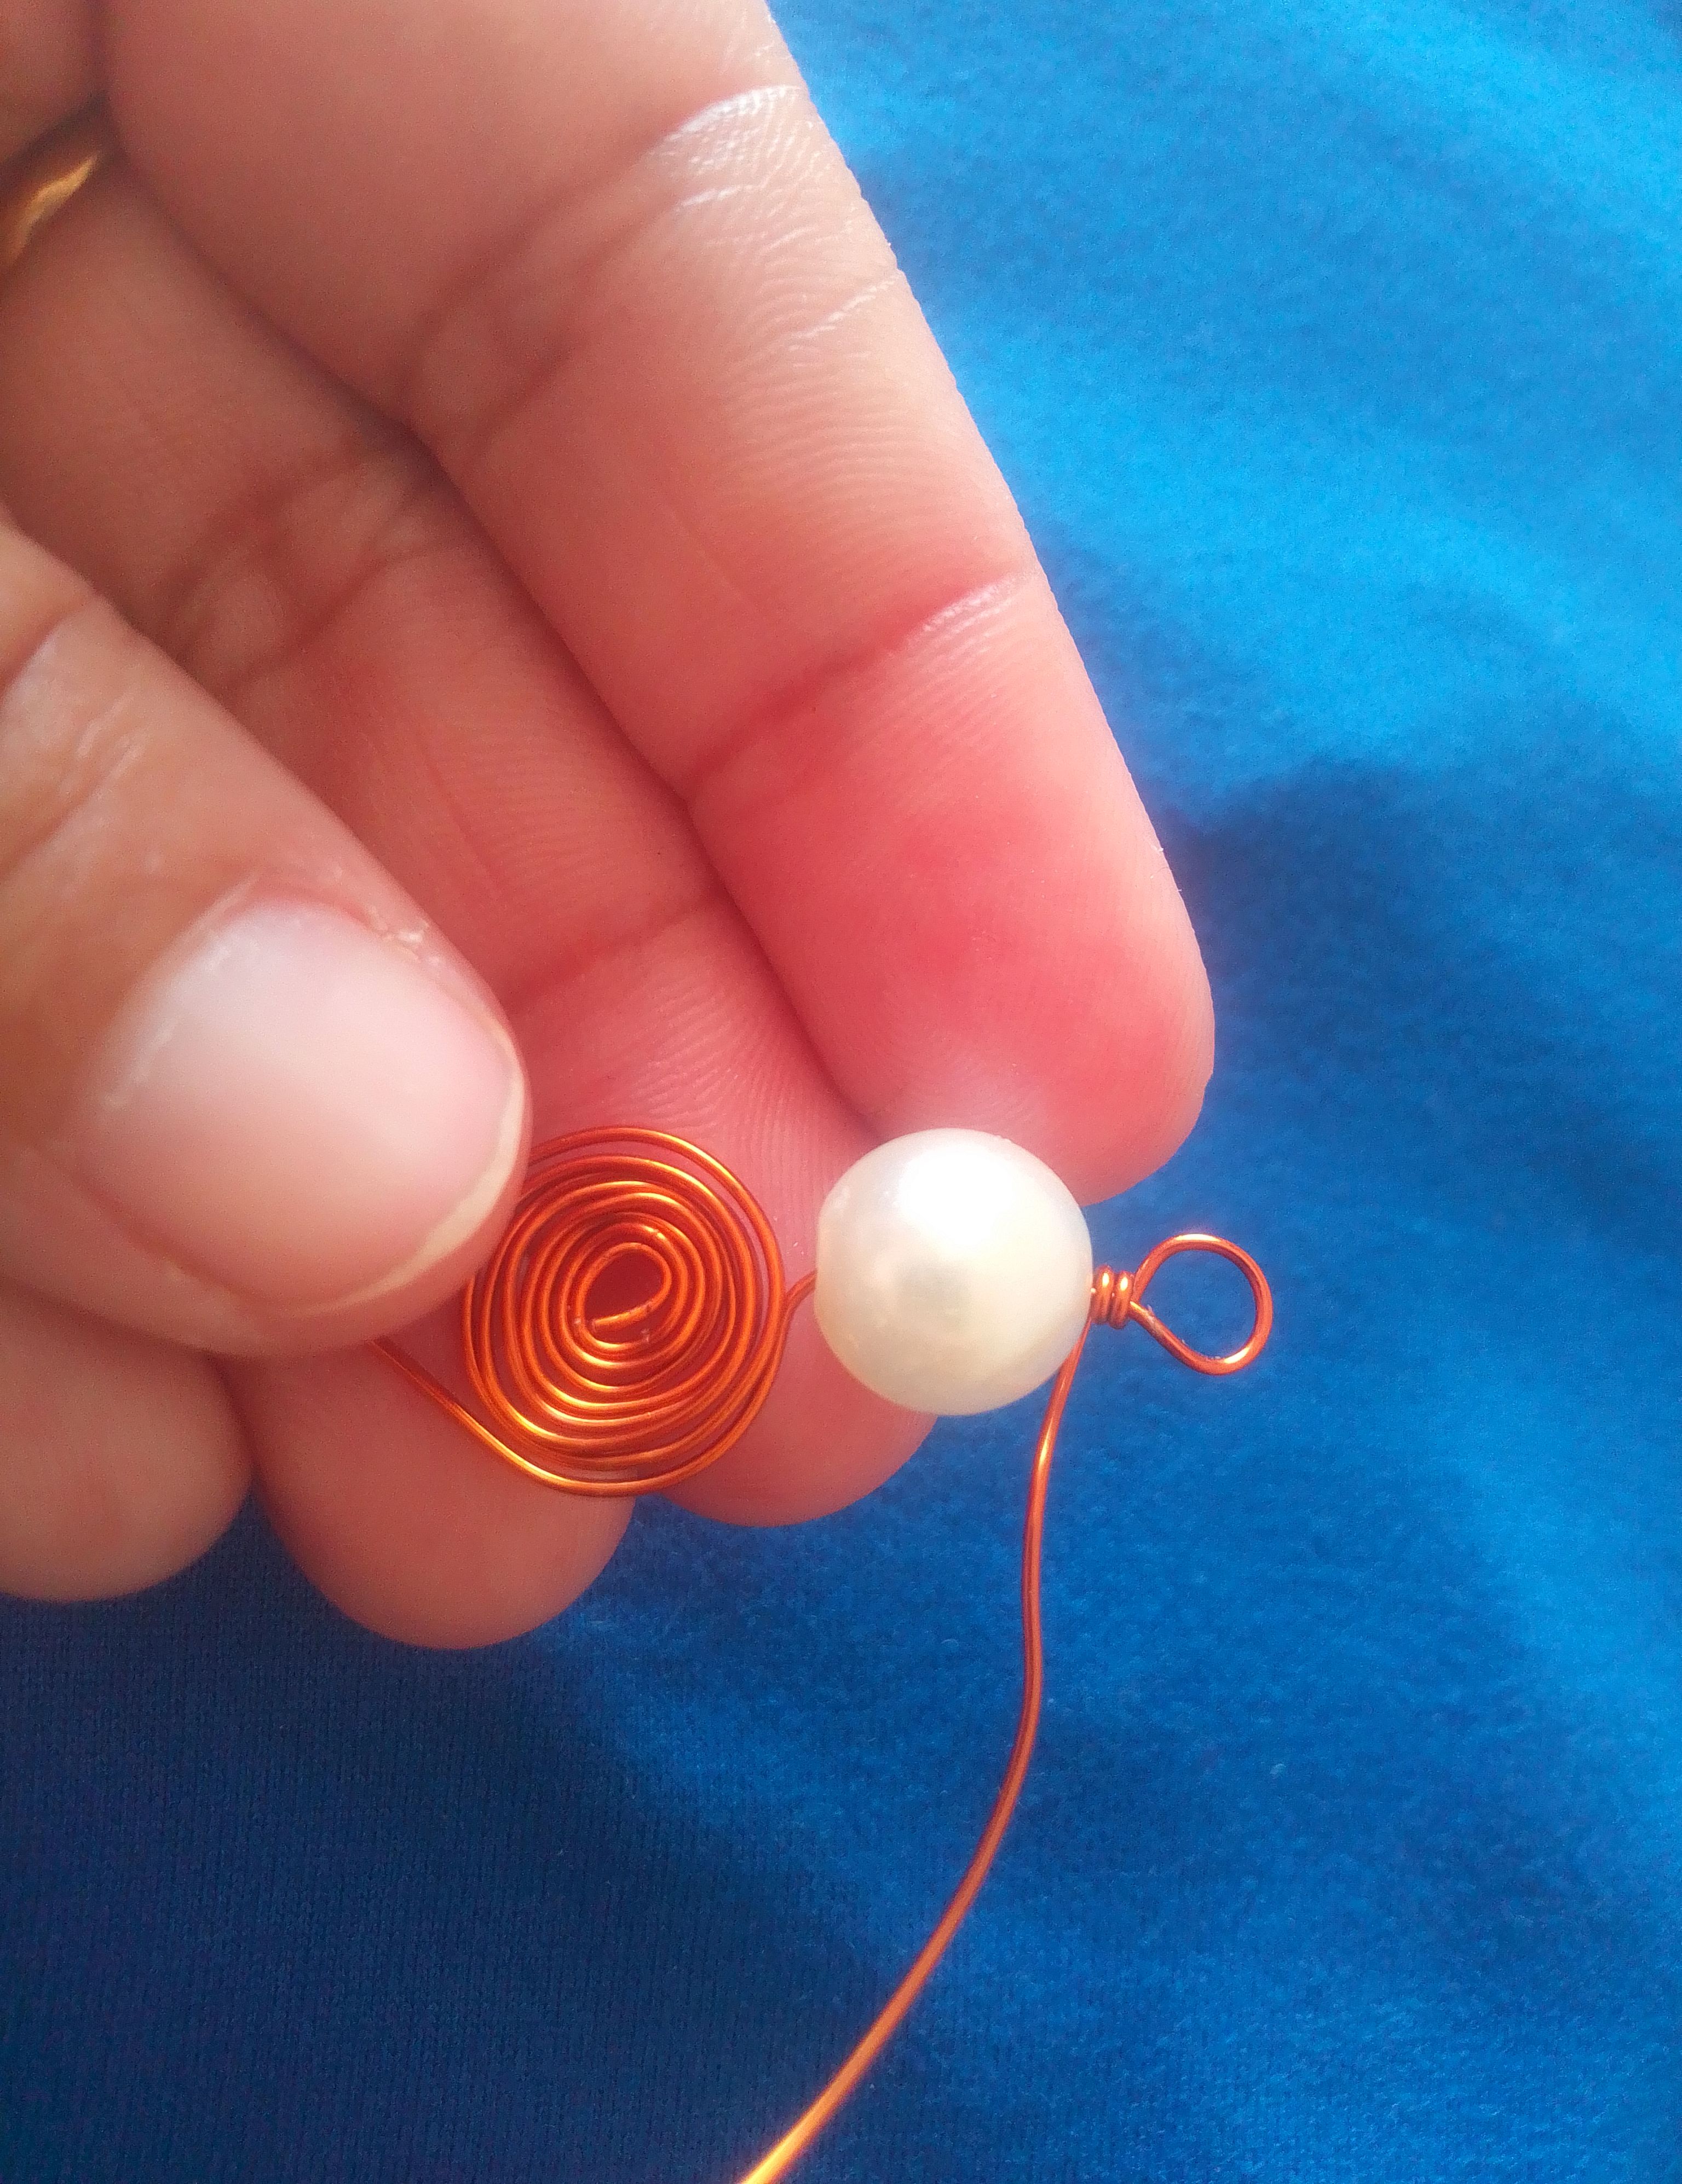
Paso 03
Una vez tengamos esto listo, lo que haremos será insertar la perla blanca, puedes usar el color de tu preferencia o la que tengas a la mano. Luego con ayuda de las pieza formamos una aro al final de alambre y enroscamos sobre la perla, recuerda apretar muy bien y acomodar para que el arete no quede flojo.
Step 03
Once we have this ready, what we will do is insert the white pearl, you can use the color of your choice or the one you have on hand. Then with the help of the pieces we form a ring at the end of the wire and screw on the pearl, remember to press very well and accommodate so that the earring is not loose.
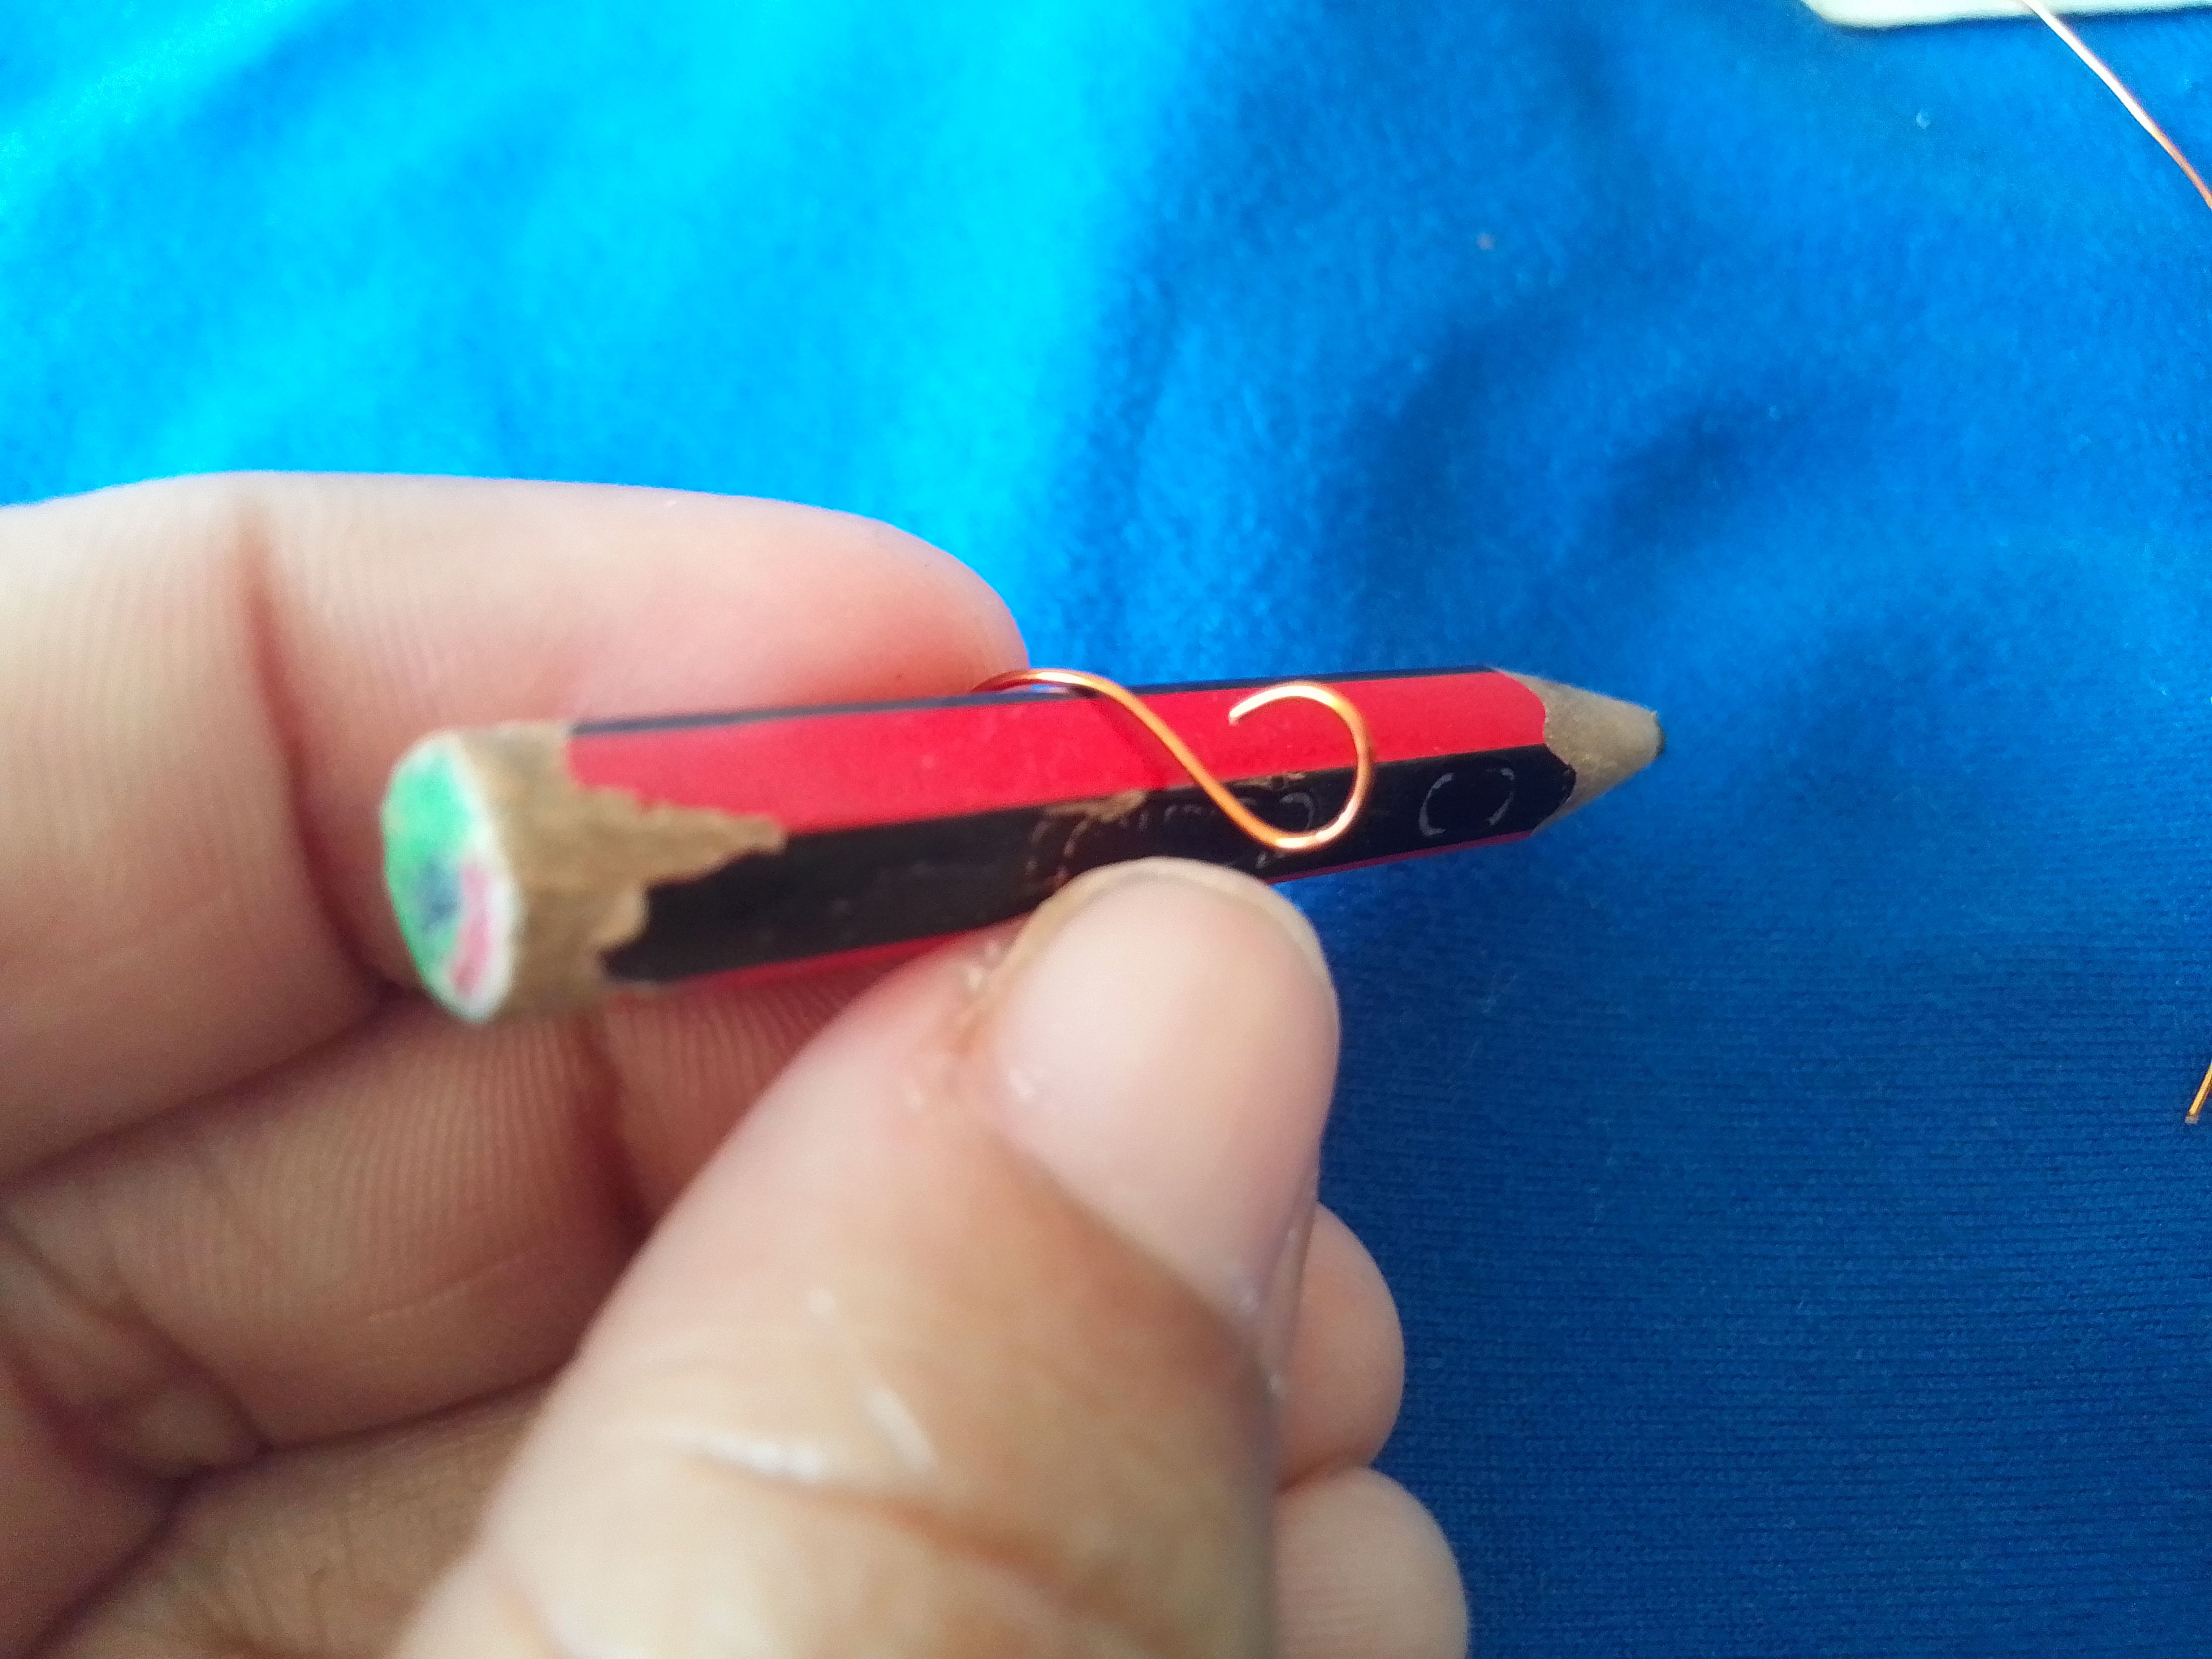
Paso 04
Repetimos los pasos y haremos un segundo aretes. Luego utilizamos el mismo alambre para hacer los ganchos colgantes. Yo normalmente me ayudó con un lápiz, porque no tengo la pinza, coloco el alambre sobre el lápiz y le doy la forma circular, doblo un extremo y realizo un argolla en otro para introducir el arte, presionó un poco y listo.
Step 04
We repeat the steps and we will make a second earrings. We then use the same wire to make the hanging hooks. I usually helped me with a pencil, because I don't have a clamp, I place the wire on the pencil and give it a circular shape, bend one end and make a ring in another to insert the art, press a little and that's it.
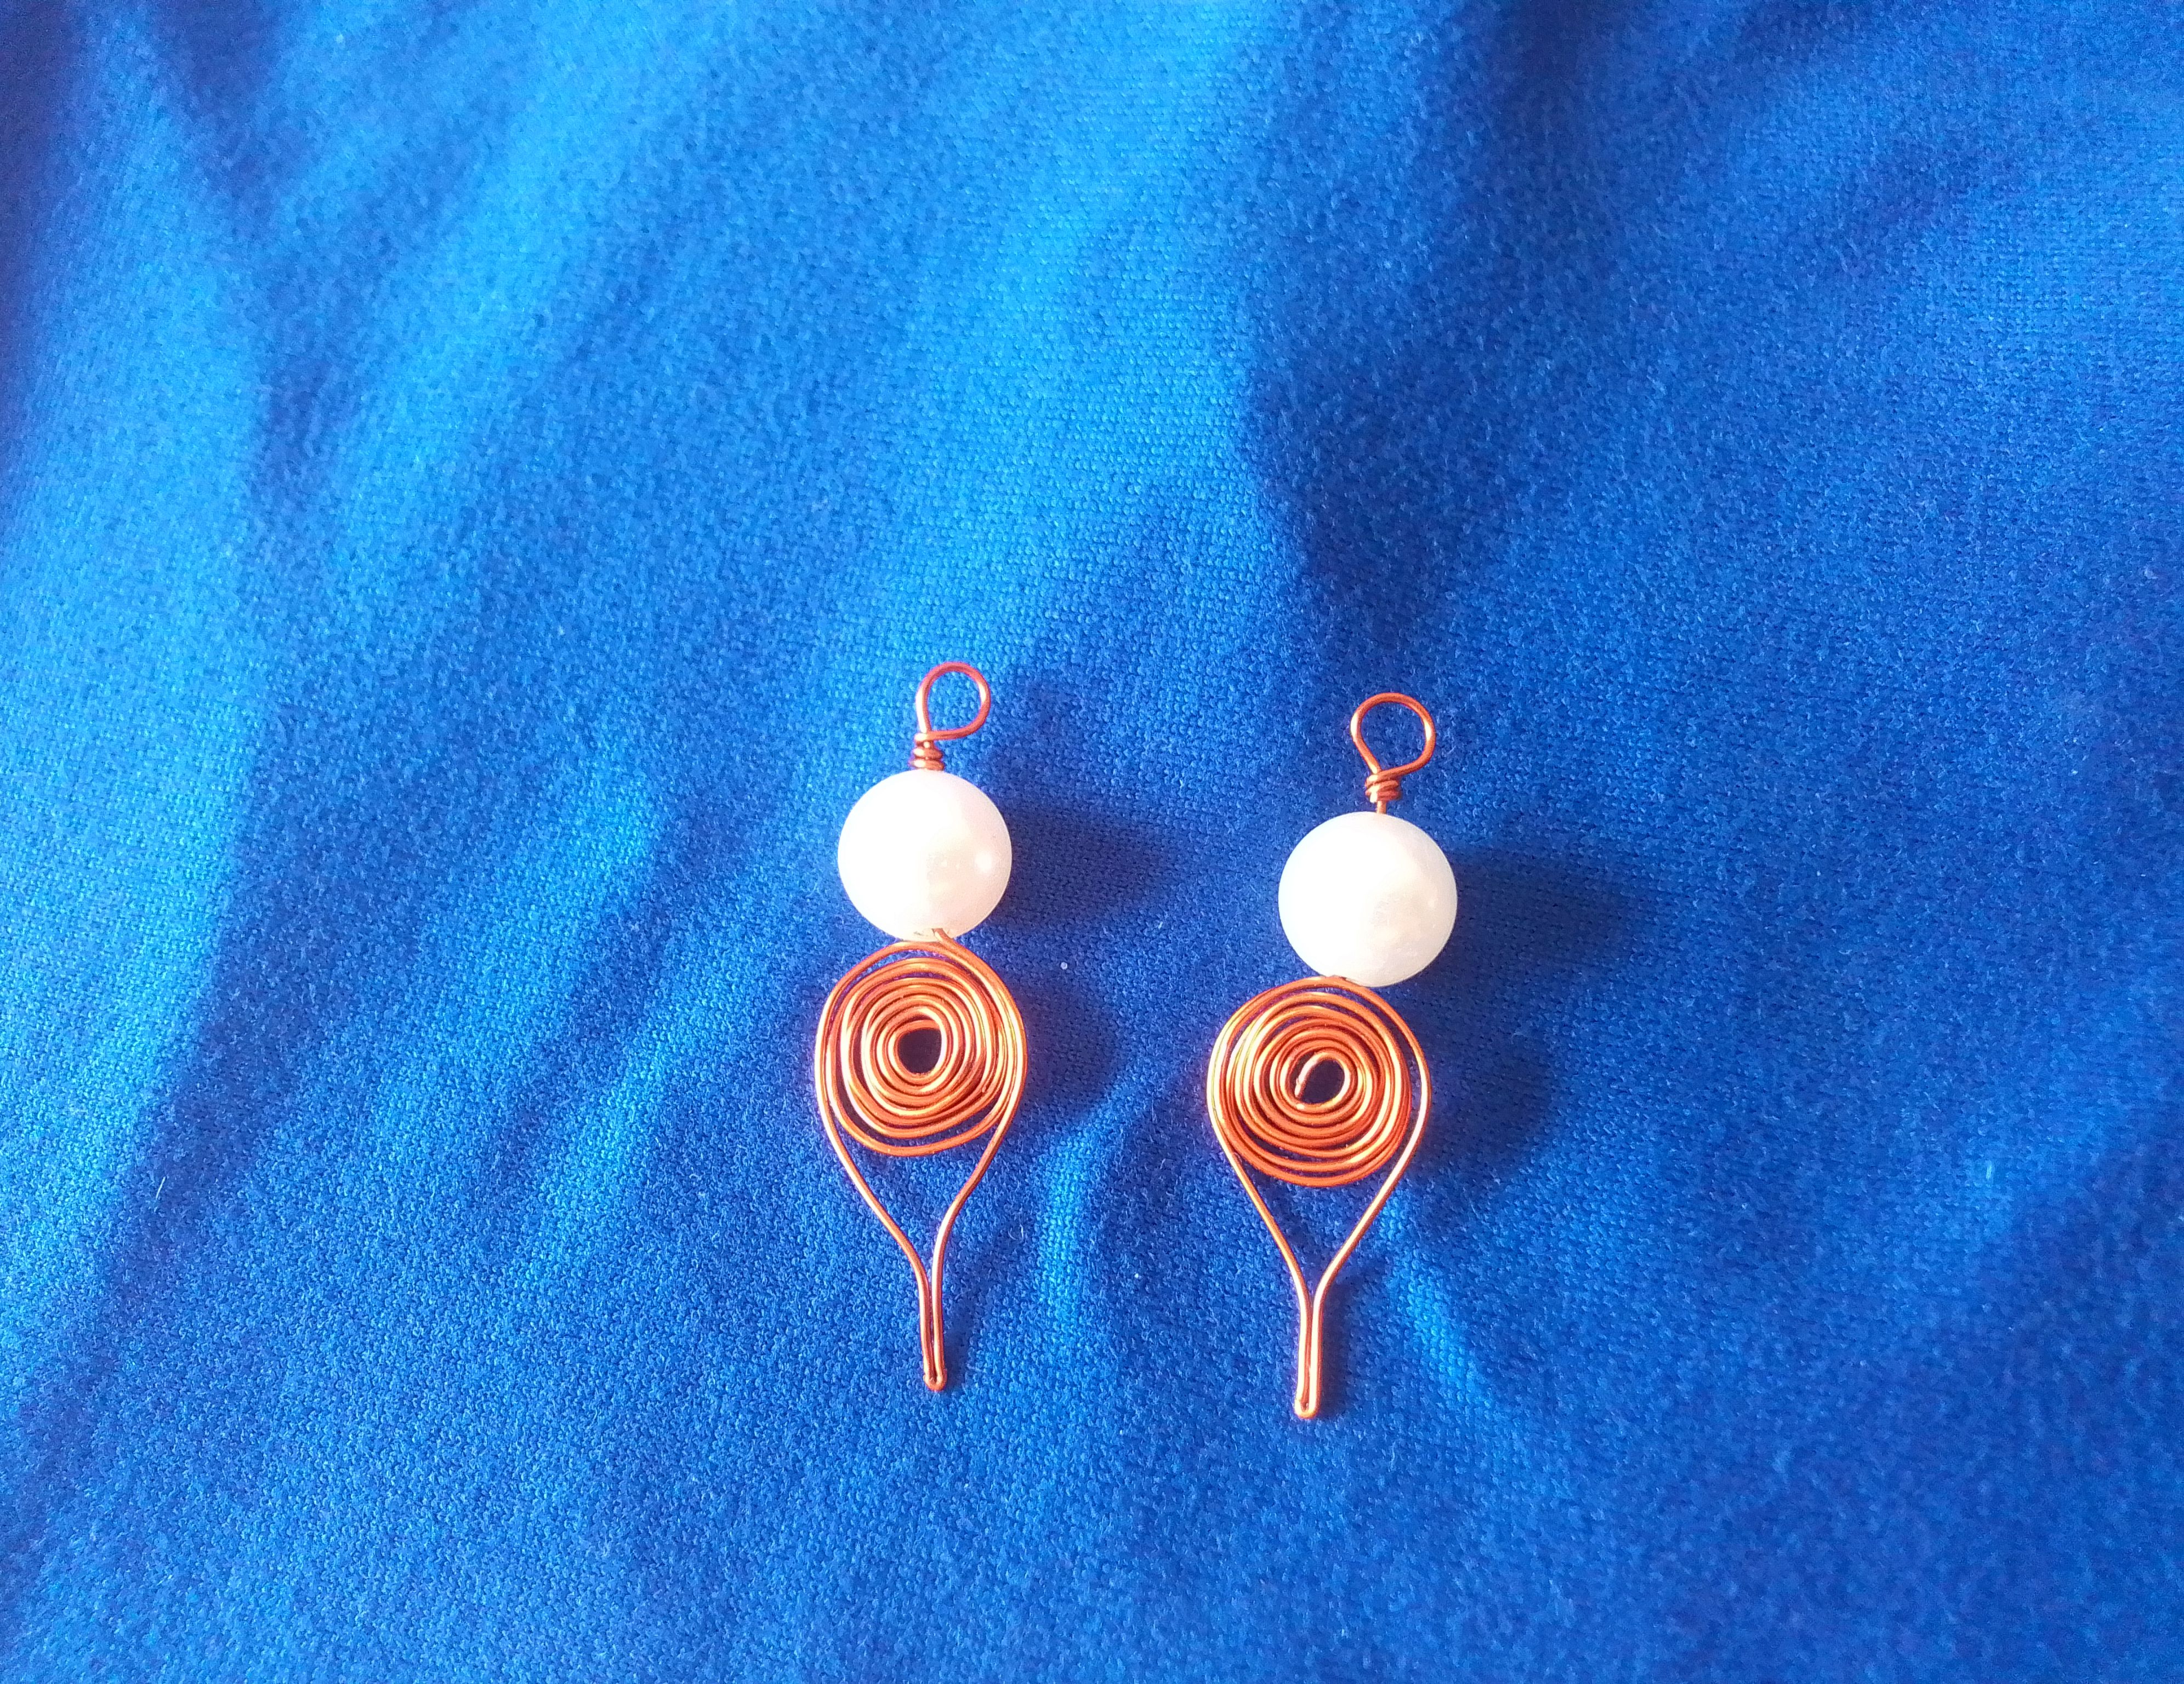

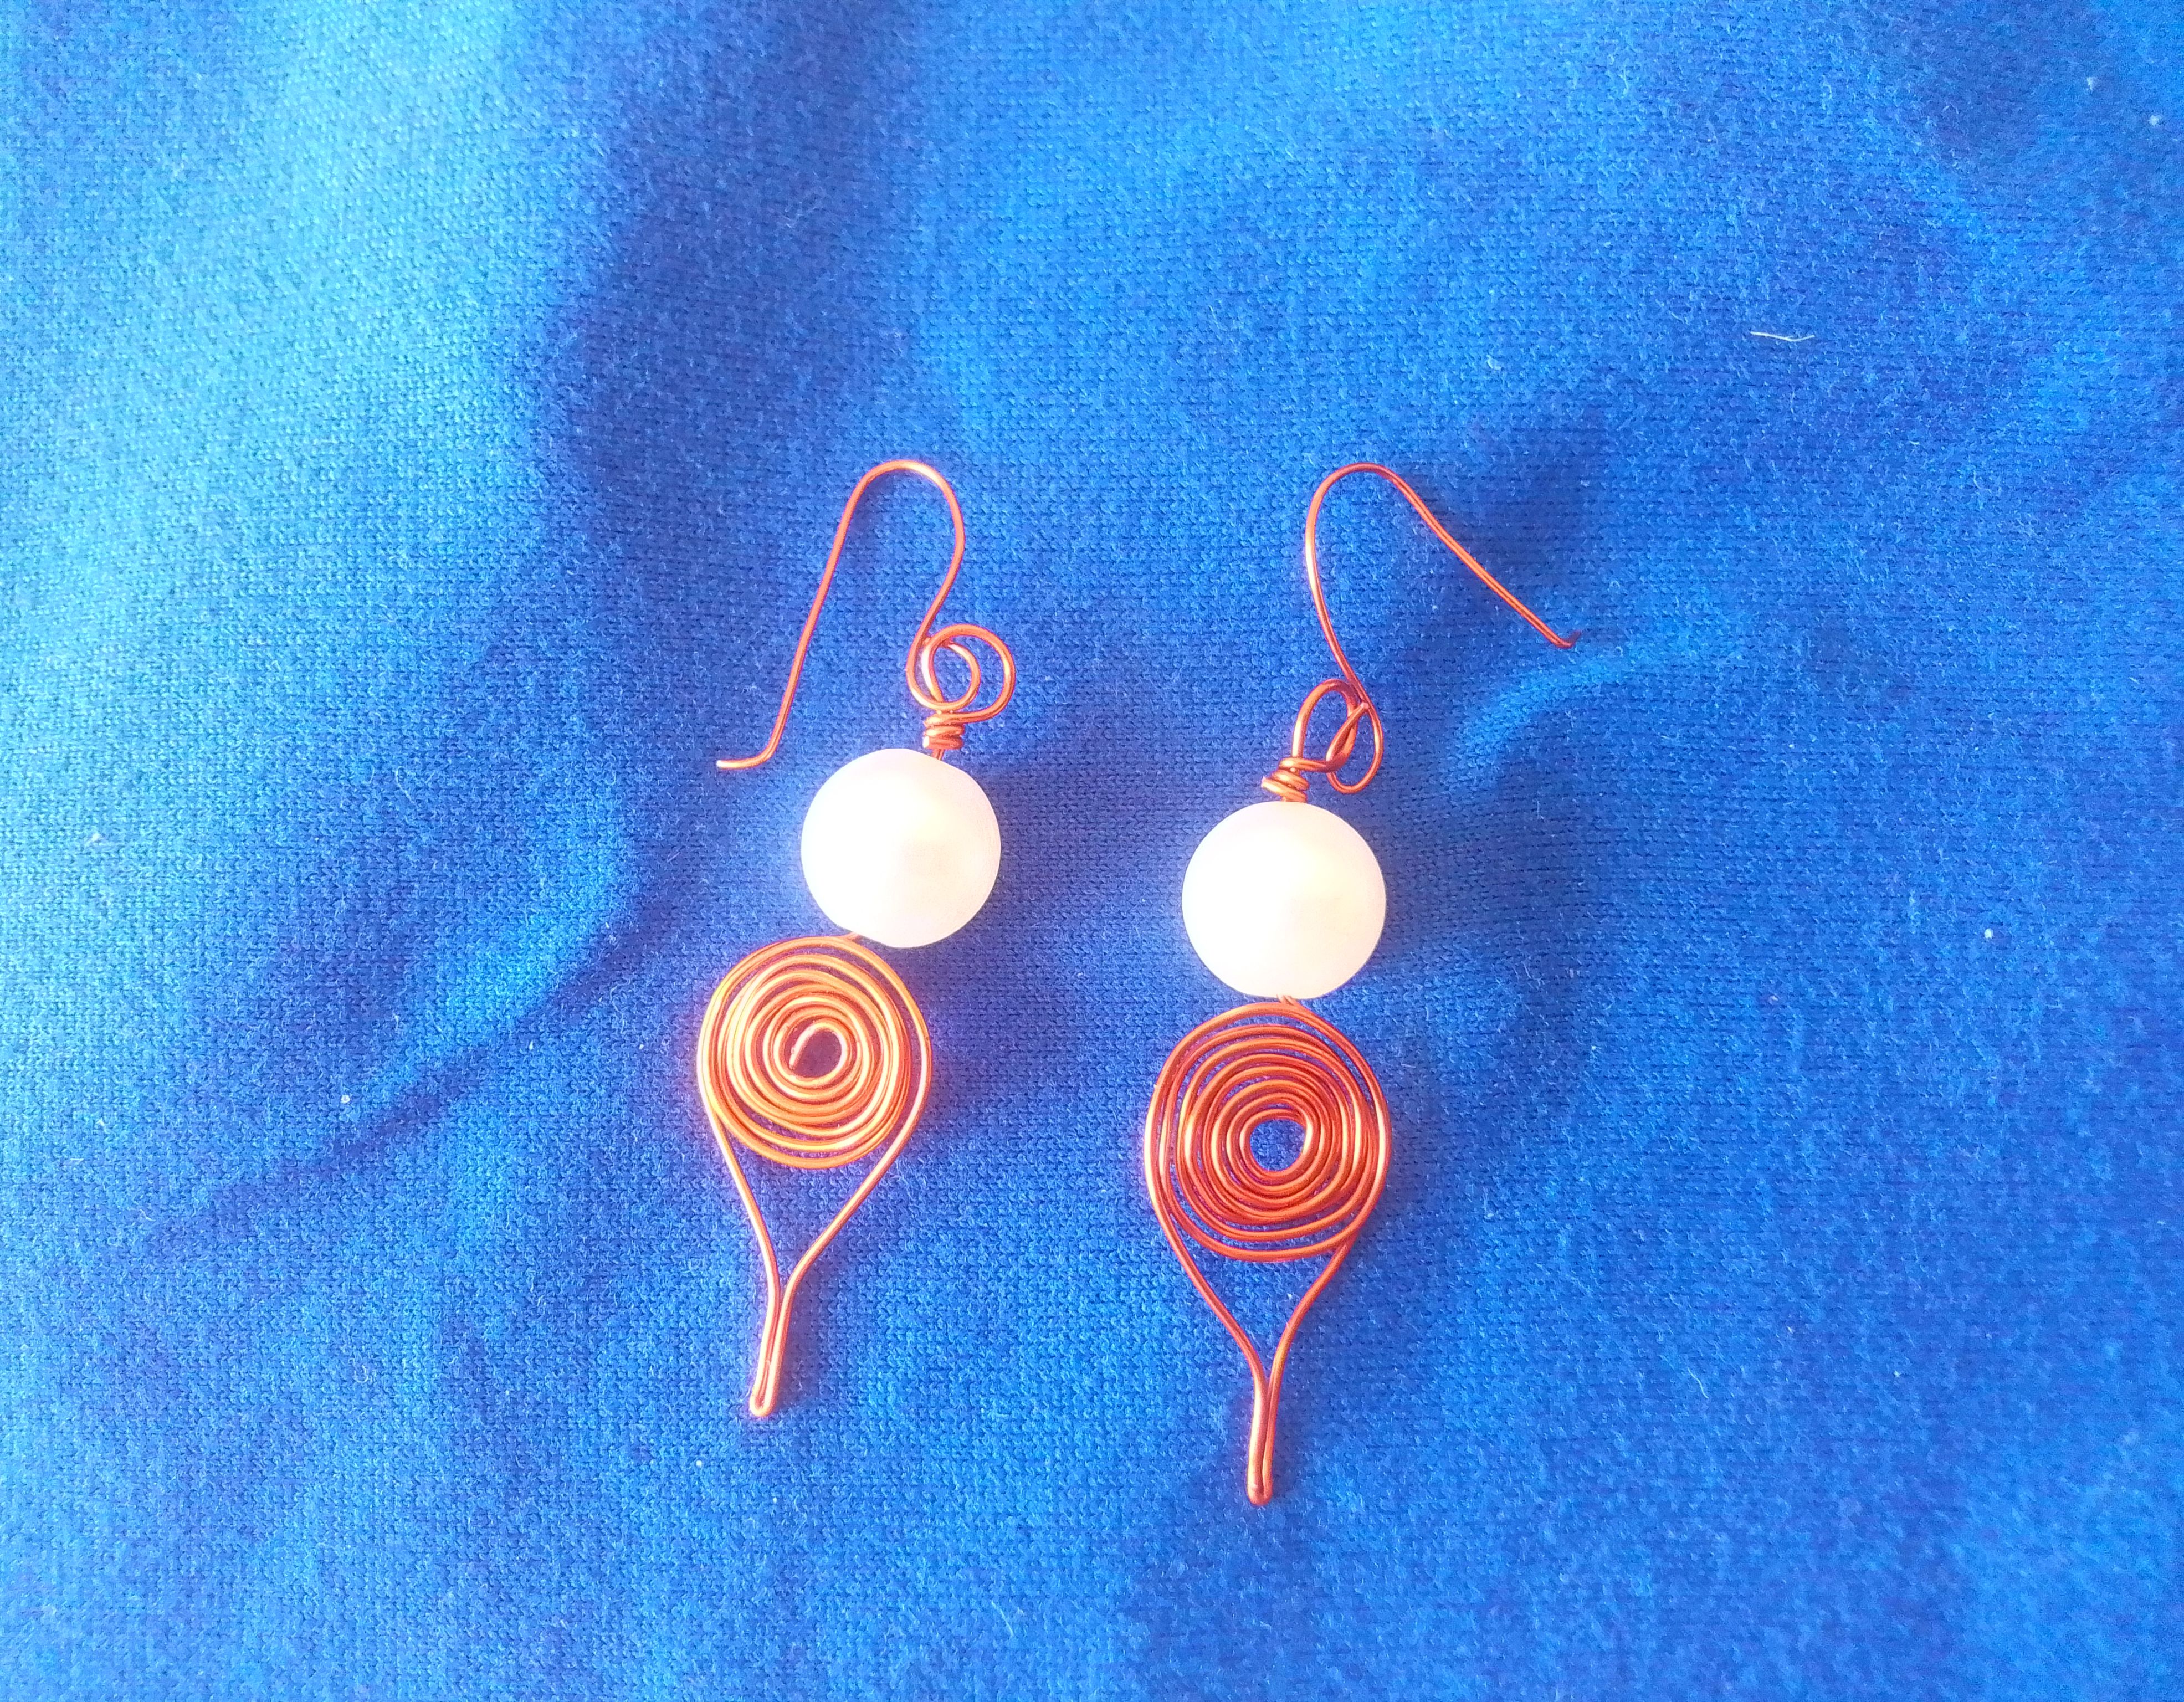
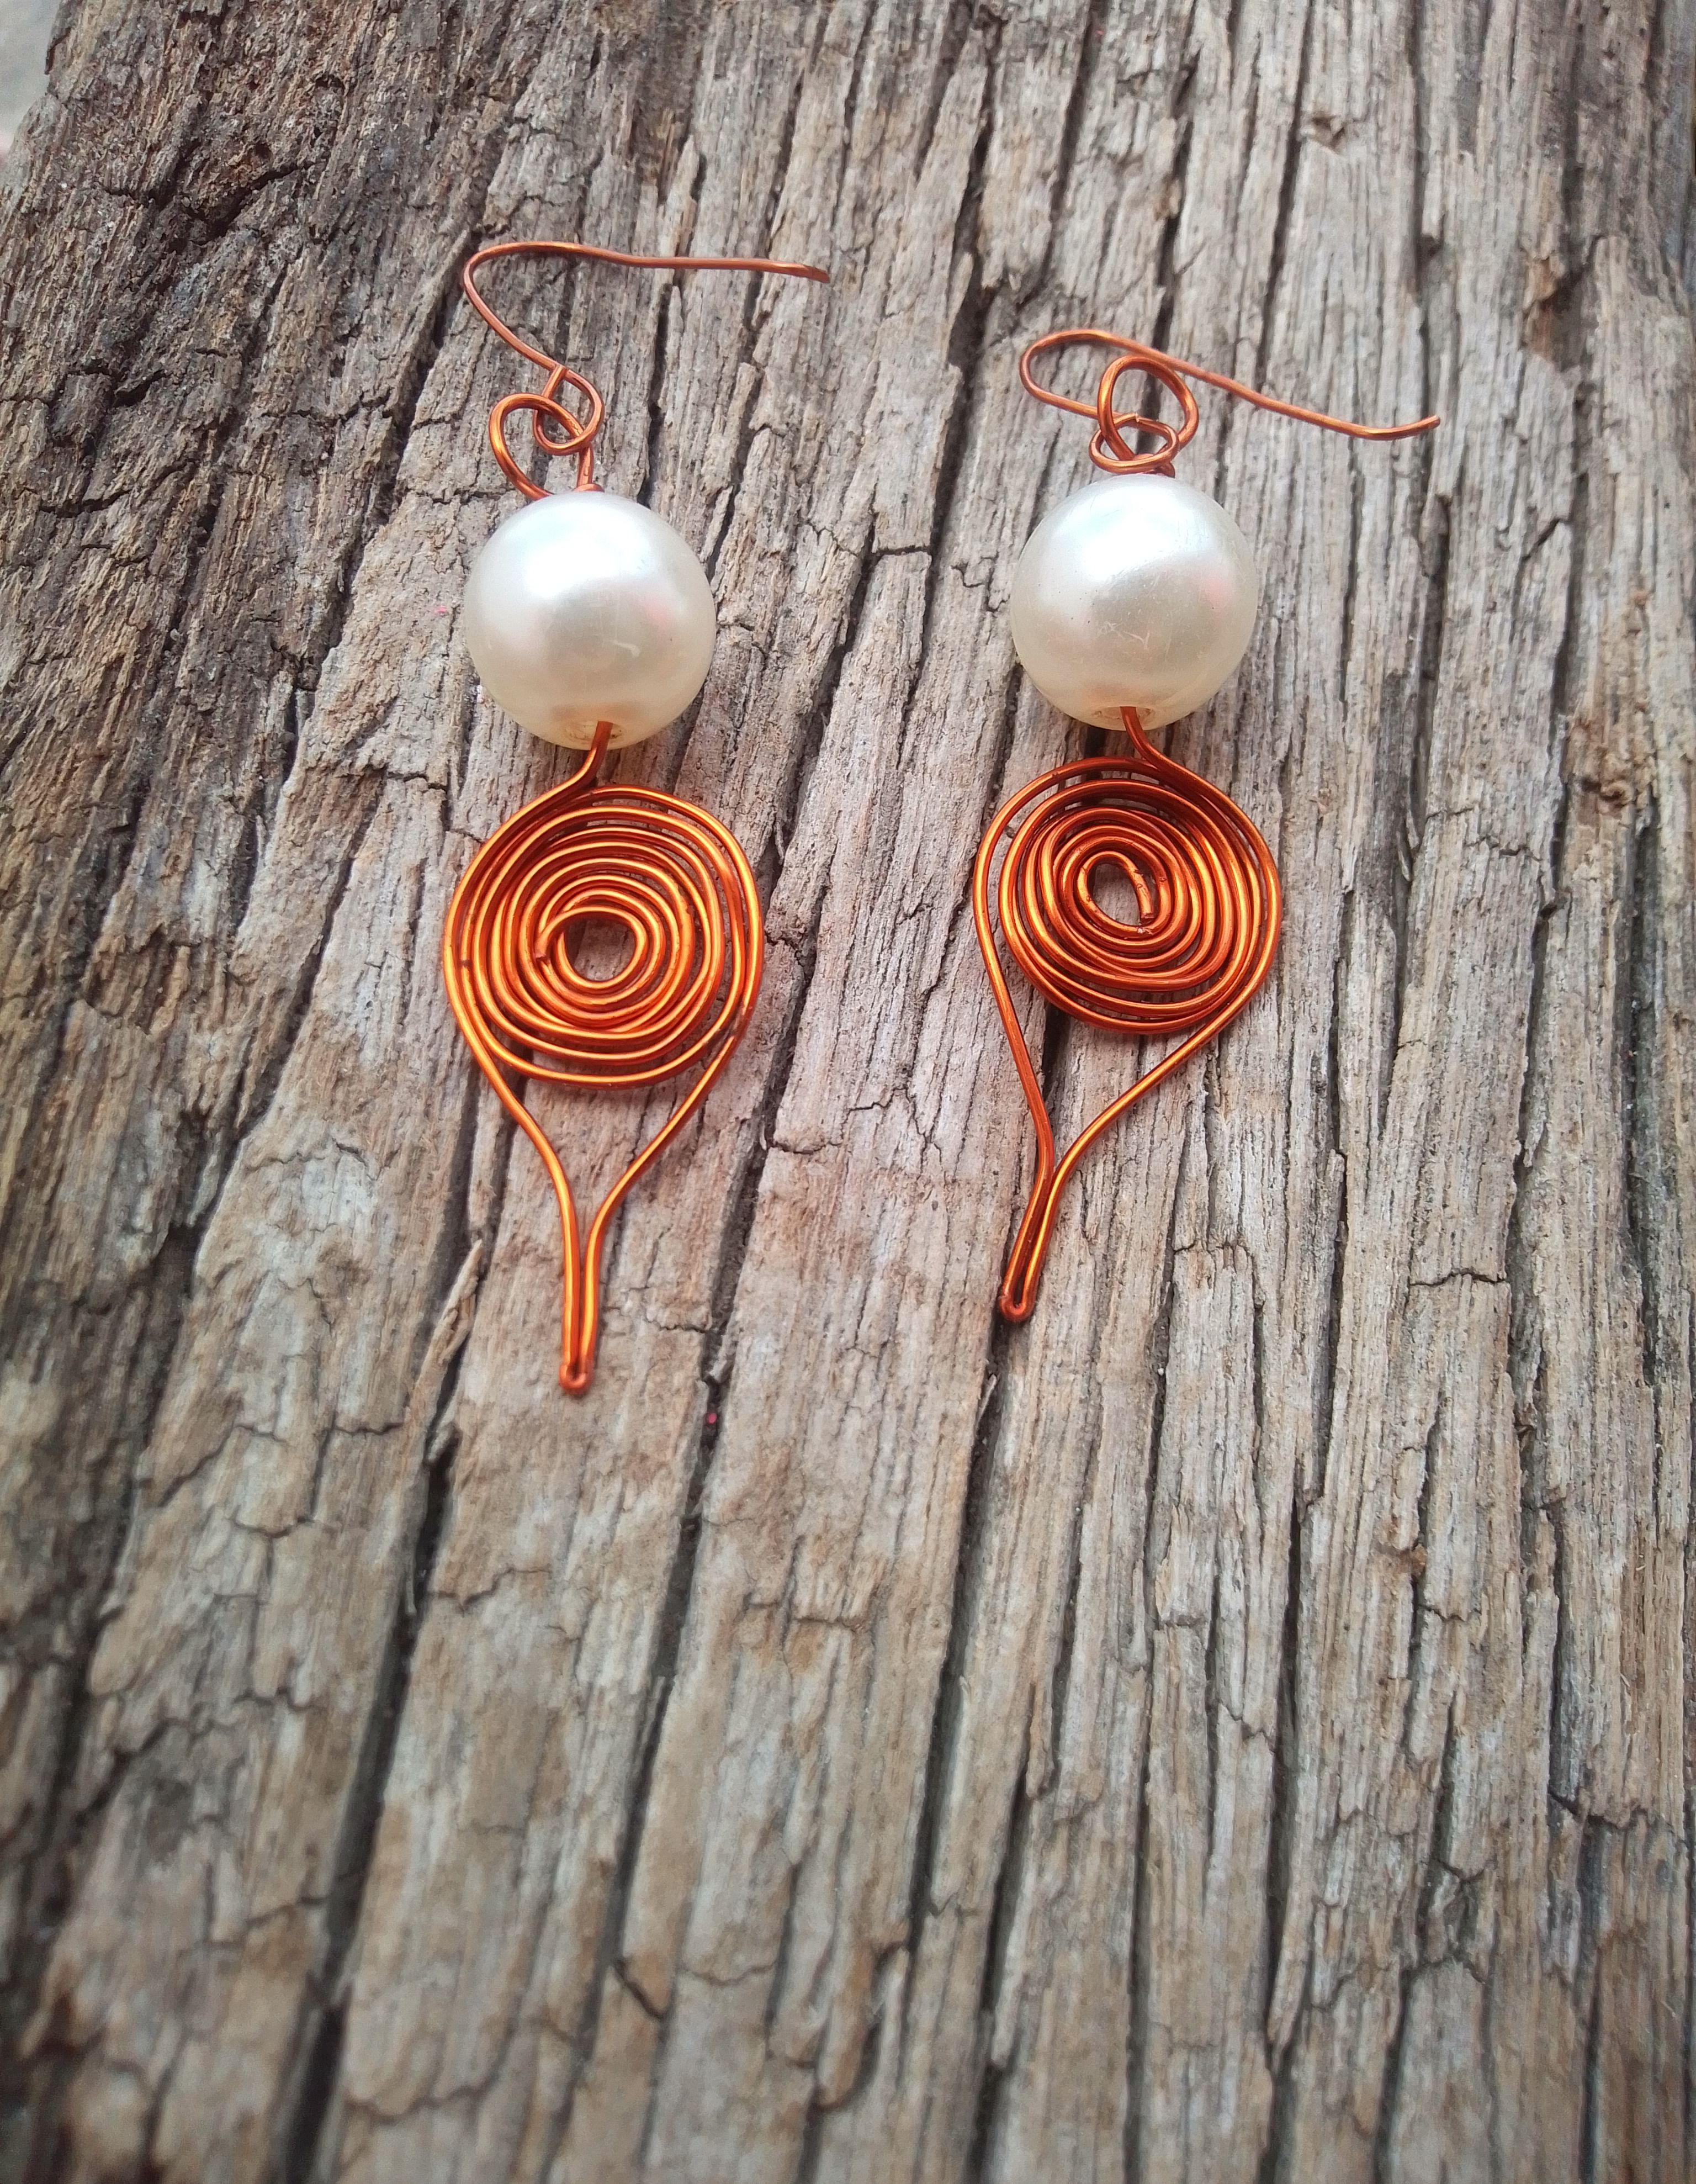
✨Resultado! ✨
Me gustó mucho el resultado, el brillo y la delicada forma de estos aretes creo lo hacen ver muy elegantes y la verdad me gustan mucho, me gustaría en algún momento poder hacerlos en otros colores para tener muchos más. Pero lo hice con perlas blancas, pues pienso que es un color que va con todo. Espero les guste, con mucho cariño les muestro fotografías del resultado final.
I really liked the result, the shine and the delicate shape of these earrings I think make them look very elegant and I really like them, I would like at some point to be able to make them in other colors to have many more. But I did it with white pearls, because I think it's a color that goes with everything. I hope you like it, with great affection I show you photographs of the final result.


Me despido agradeciendo mucho el apoyo, esperando que este tutorial le sea de utilidad para que te animes a empezar en este bello arte. Que Dios les conceda muchas bendiciones, no vemos en una próxima oportunidad!
I say goodbye thanking you very much for your support, hoping that this tutorial will be useful for you to encourage you to start in this beautiful art. May God grant you many blessings, we don't see you in a next opportunity!
0
0
0.000
Hermosos, sencillo y elegantes 😍😍
@razielmorales definitivamente sencillo y muy lindos , justo lo que me gusta , saludos un Abrazote 🤗