Maceta con material reciclado [Esp/Eng]
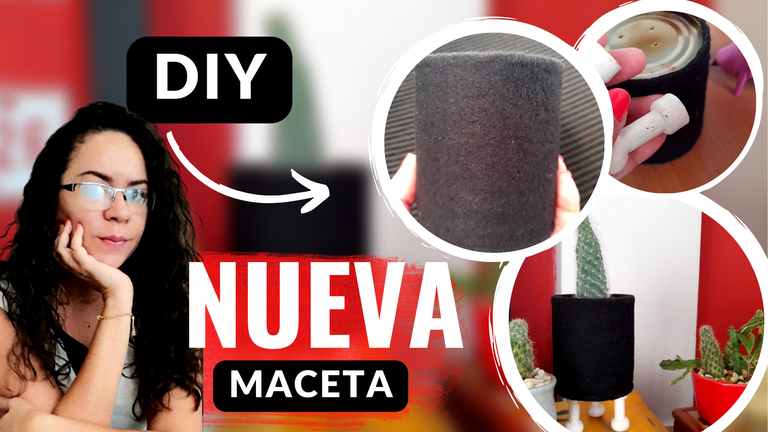

Hace poco una tía de mi esposo me regaló un cactus bastante particular, porque en lugar de tener espinas, este cactus tiene una especie de pelusa que lo hace ver bastante lindo, y por supuesto necesitaba una maceta digna de él, así que por aquí le comparto mi nueva maceta, para un cactus súper especial.
Esta maceta, al igual que la última que hice, fue elaborada con material de provecho, con algunas cositas que tenía en casa, y el resultado fue justo lo que estaba buscando. Una maceta súper diferente y especial como mi nuevo cactus, y por aquí les comparto los materiales que utilicé para su elaboración por si quieren hacerlo en casa.
Recuerden que no necesitan tener exactamente las mismas cosas que yo utilicé, pues como les he dicho en otras oportunidades, todos se pueden reemplazar por lo que tengan en casa, así que toca ser creativos.
MATERIALES
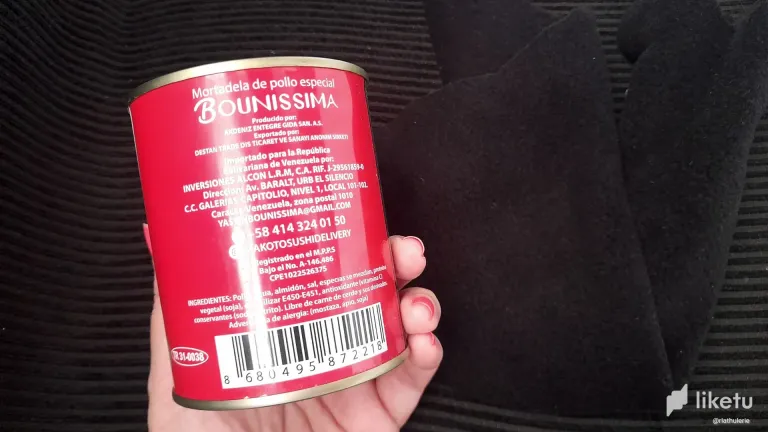
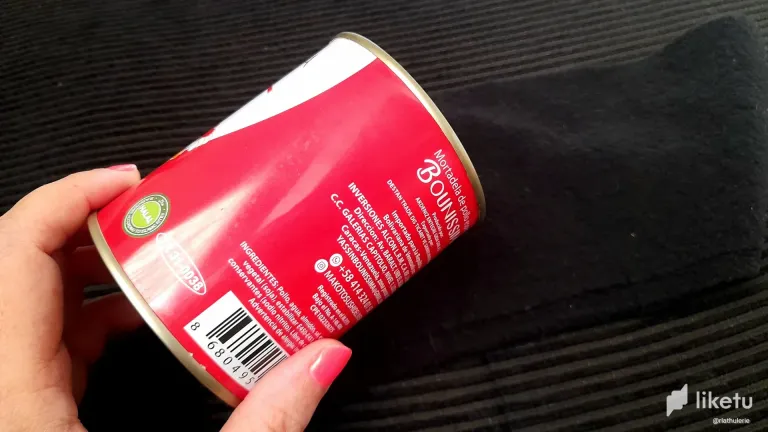
Lata de metal
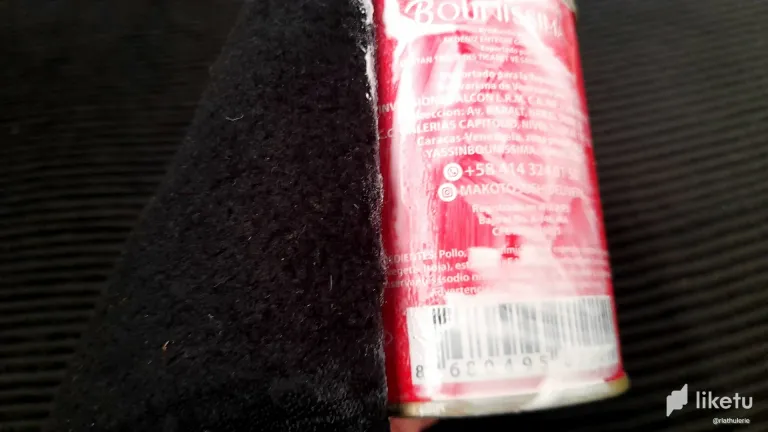
Retazo de tela
Perchas de madera
Silicon caliente
Pega blanca
Pincel
Un clavo
Martillo
PROCEDIMIENTO
La verdad que los pasos son bastante sencillos, y es un trabajo que pueden realizar en pocos minutos siempre que tengan todos los materiales a mano.
Paso 1
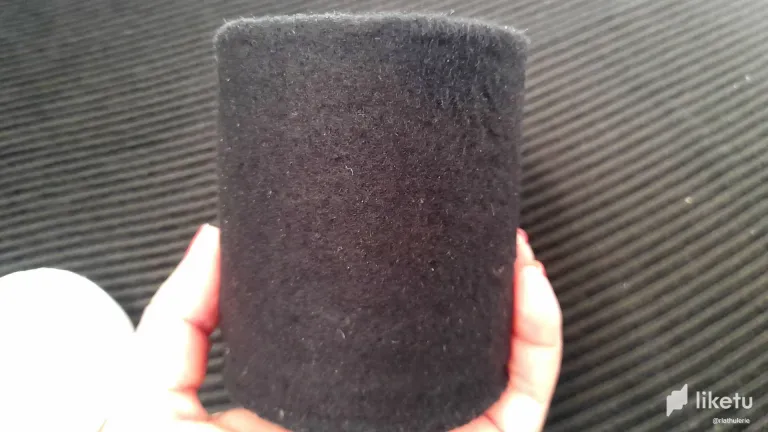
Marcar y recortar la pieza de tela que vamos a utilizar dejando dos centímetros adicionales en el borde superior.
Paso 2
Con ayuda del pincel esparciremos la pega por la lata, asegurándonos de cubrir muy bien, y pegaremos la tela.
Paso 3
Una vez cubierta toda la lata con la tela, lo siguiente que haremos es colocar pega en la parte superior interior de la lata y doblar el restante de la tela hacia adentro para que no se vea la lata.
Paso 4
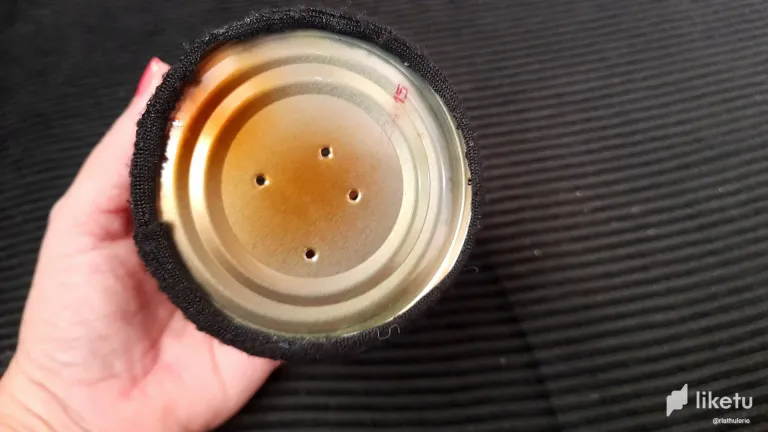
Una vez ha secado la pega, con el clavo y el martillo haremos algunos agujeros en la parte de abajo de la lata, que servirán como drenaje para cuando roguemos nuestra planta.
Paso 5
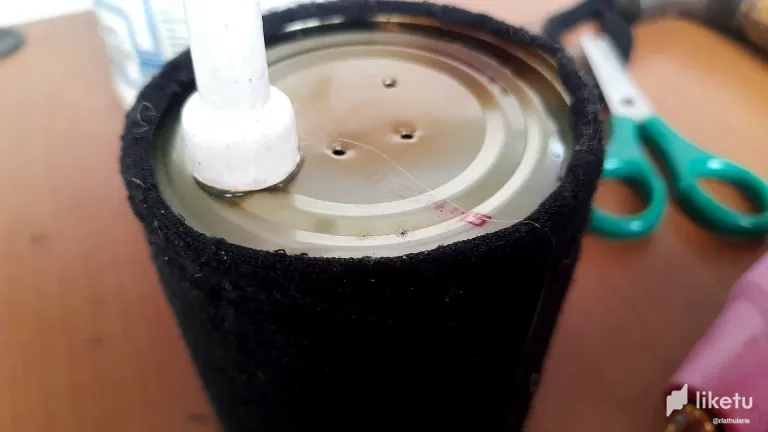
Y como último paso pegaremos las patitas de nuestra maceta, que en este caso son tres perchas que tenía en casa de un perchero de los niños que ya no estaban usando. En este caso solo utilicé la pistola de silicon para fijarlos, y listo. Tenía una maceta preciosa, fuera de lo común y sin gastar absolutamente nada.


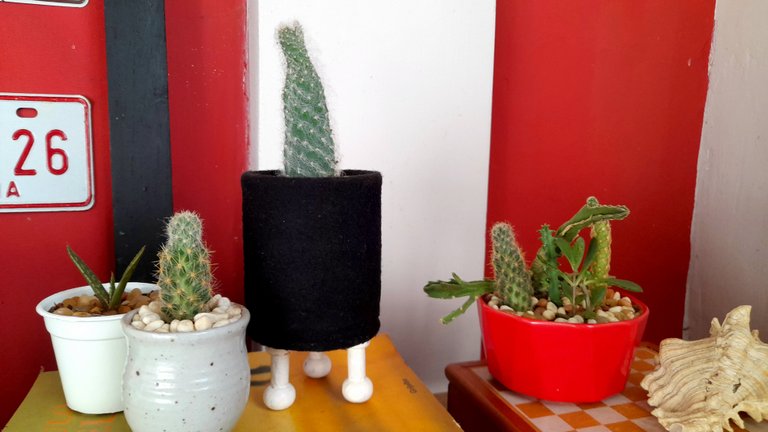
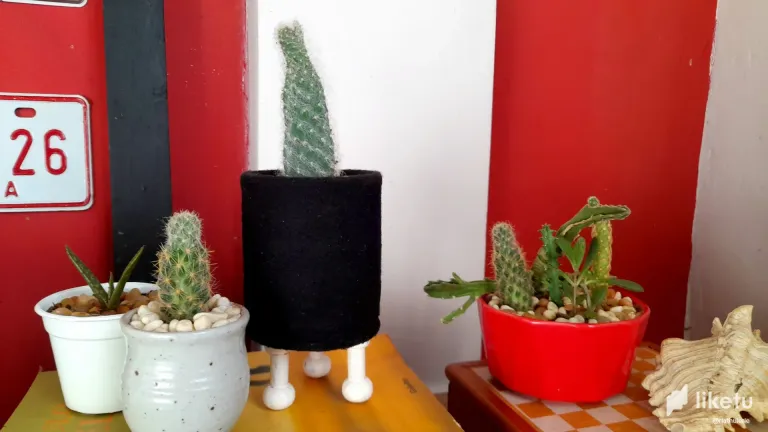
Como pueden ver mi cactus se ve súper lindo en esta nueva maceta, que además es una pieza decorativa para mi sala, como la mayoría de las macetas de mis plantas, ya que viven en el interior. Así que tenemos una maceta que no solo cumple su función de recibir nuestra planta, sino que decora nuestro hogar.
ENG 
Recently an aunt of my husband gave me a very particular cactus, because instead of having thorns, this cactus has a kind of fuzz that makes it look pretty cute, and of course it needed a pot worthy of it, so here I share with you my new pot, for a super special cactus.
This pot, like the last one I made, was made with scrap material, with some things I had at home, and the result was just what I was looking for. A super different and special pot as my new cactus, and here I share with you the materials I used for its elaboration in case you want to make it at home.
Remember that you don't need to have exactly the same things I used, because as I have told you in other opportunities, all of them can be replaced by what you have at home, so it's time to be creative.
MATERIALS
Metal can
Piece of fabric
Wooden hangers
Hot silicon
White glue
Paintbrush
Nail
Hammer
PROCEDURE
The truth is that the steps are quite simple, and it is a job you can do in just a few minutes as long as you have all the materials on hand.
Step 1
Mark and cut out the piece of fabric we are going to use leaving two extra centimeters on the top edge.
Step 2
With the help of the brush we will spread the glue on the can, making sure to cover very well, and glue the fabric.
Step 3
Once the entire can is covered with the fabric, the next thing to do is to place glue on the top inside of the can and fold the rest of the fabric inwards so that the can is not visible.
Step 4
Once the glue has dried, with the nail and hammer we will make some holes in the bottom of the can, which will serve as drainage for when we spray our plant.
Step 5
And as a last step we will glue the legs of our pot, which in this case are three hangers that I had at home from a children's coat rack that were no longer in use. In this case I just used the silicone gun to fix them, and that was it. I had a beautiful pot, out of the ordinary and without spending absolutely nothing.
As you can see my cactus looks super cute in this new pot, which is also a decorative piece for my living room, like most of my plant pots, since they live indoors. So we have a pot that not only fulfills its function of receiving our plant, but also decorates our home.
For the best experience view this post on Liketu
Súper linda amiga, cada vez tienes más macetas y lo mejor de todo es que tú las has personalizado. Por allí tengo unos envases que ya he visto unas ideas para aprovecharlos. Gracias por tus maravillosas ideas ami. Saludos 🤗
Gracias ami. Me gustó mucho el resultado final, las patitas son mi parte favorita!
Bueno, estaré atenta a ver que nos traes. Te extrañamos por Home.
Abrazos
https://twitter.com/hivediy47901/status/1766273540817297762
Rosa pero que belleza🥰🥰🥰, me encanta quedó súper hermosa!!!
Gracias mi Yage, yo la amé jaja todas esas cosas chiquitas se ven lindas
Me encantó, amiga, se ve hermoso y elegante, además con materiales reciclables. Te mando un abrazo.
Gracias Auro, entre los cactus y las macetas ando feliz feliz jeje abrazos ami
Que belleza amiga 😍
Gracias amiga
Te quedó muy bonita,y combina perfecto con todas las cosas de la casa
Sii y para ese cactus está perfecto
Estas ideas recicladas son maravillosas, yo también estoy pensando en hacer unas macetas, ya tengo algunos recipientes para ese fin, es una buena forma de aprovechar materiales útiles, gracias por compartir amiga.
Totalmente amiga, y lo que me encanta es que podemos personalizarlas y eso es genial.
Que bella amiga, me encanta como luce aterciopelada, con los colores que tienes en tu casa luce super bien!!! 😍
Gracias ami, viste,quise que hiciera juego con el cactus y quedó cuchi
Es que cuando mi amiga se pone modo creativa es la mejor.❤️ Me encanta esta idea amiga, la tela le da una apariencia peludita muy elegante junto con esas paticas en blanco.
Gracias por compartir mi Rosita 💓
Exacto ami, justo escogí la tela porque el cactus es así, como felpa jaja y bueno, negro porque ya tu sabes que lo amo jaja
Me alegra que te gustara ami.
Abrazos
Ami eres muy creativa para las macetas, esa te quedó linda y hasta se ve elegante, sin duda va muy bien con ese cactus que por cierto está hermoso ❤️
Gracias ami, he visto muchas ideas en pinterest y las voy ajustando a lo que tengo en la casa, y me encanta porque personalizo mis cosas.
Saludos amiga buena idea la de crear estás macetas, tengo varias suculentas en casa en envases de refresco voy a usar tu idea para embellecer mis suculentas