Repisa Vertical [Esp/Eng]
Hace unos dias compartí en mi blog, cómo había decorado un pequeño espacio de mi casa con una repisa bastante fácil de hacer utilizando como base partes de un closet viejo, y hoy quiero compartir con ustedes el paso a paso.

Esta repisa en un primer momento sería completamente diferente a como terminó, pues en un inicio el plan era hacer una repisa colgante, para lo que necesitaría las dos partes delanteras de una gaveta y unas cintas que haría con una tela negra que tenía en casa.
Pero todos mis planes cambiaron cuando estando listas las dos tablas, fui a buscar la tela para colgarlas y resulta que mi esposo la había botado, pero eso no me detuvo, porque sí o sí yo tendría mi repisa, y eso hice, no como yo la había imaginado, pero sin lugar a dudas igual de linda.
MATERIALES
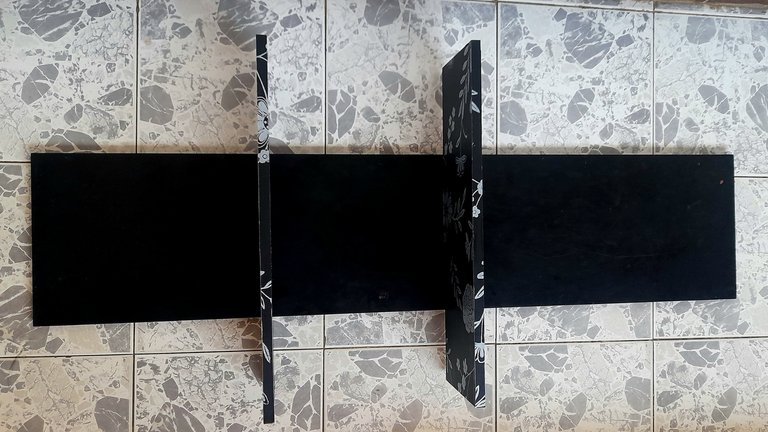
Para realizar esta repisa utilicé tres piezas de un closet que hace un tiempo desarmamos en casa, específicamente la parte delantera de dos gavetas, y una puerta. El resto de los materiales se los dejo a continuación:
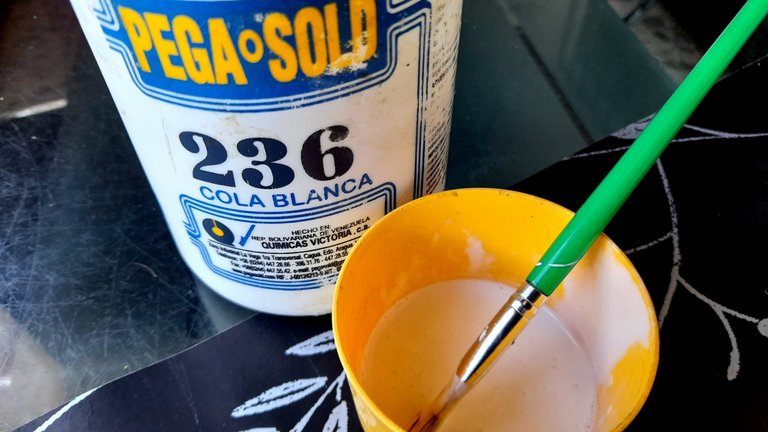
Pega blanca
Papel tapiz
Regla
Cortador
Tijera
Pincel
Tornillos
Ramplug
Taladro
Destornillador
PASO A PASO
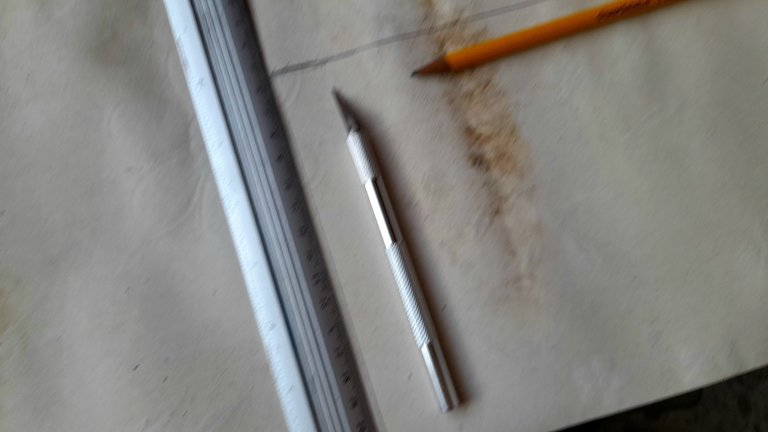
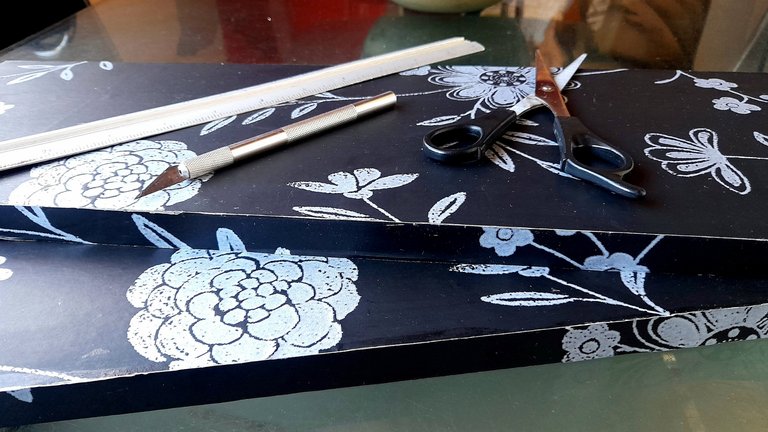
Lo primero que hice fue marcar y recortar en el papel tapiz las piezas necesarias para cubrir las tablas por todos sus lados, para lo cual utilicé la regla y el cortador, con la finalidad de obtener cortes prolijo.
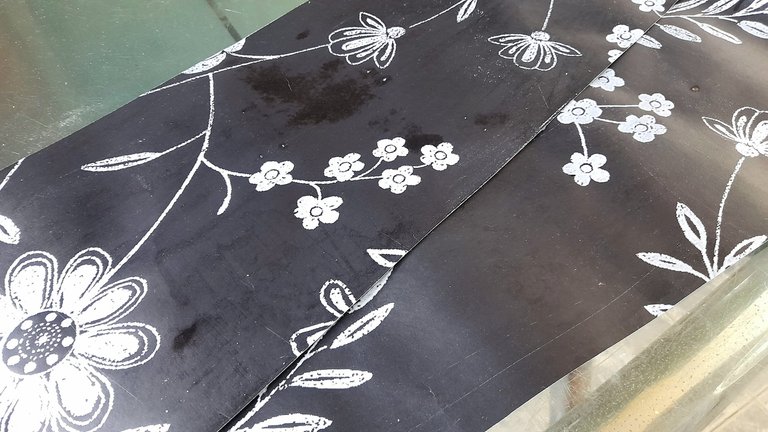
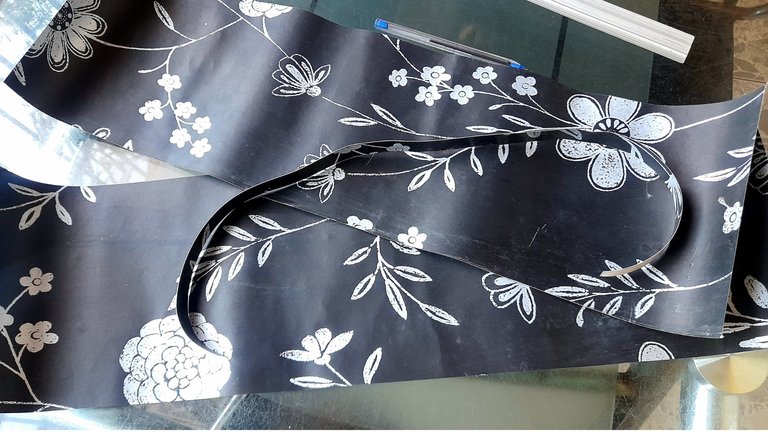
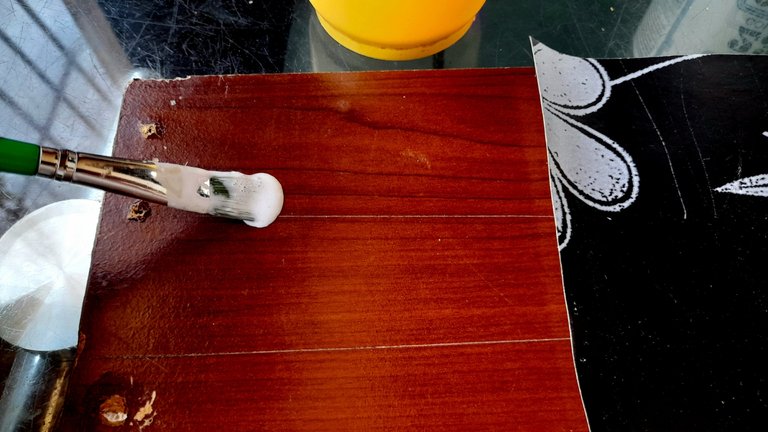
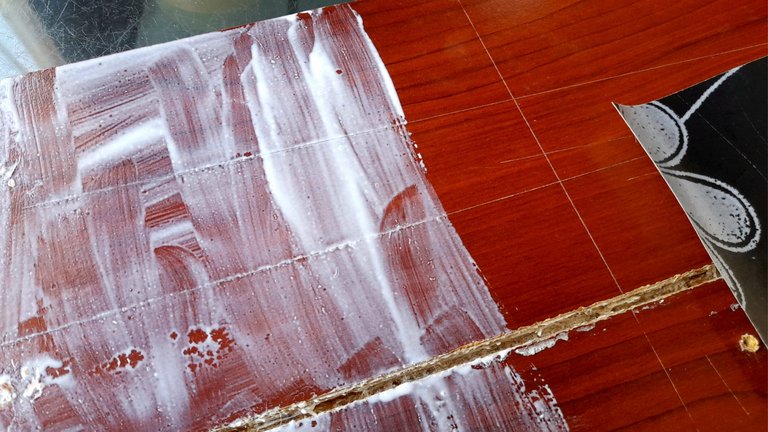
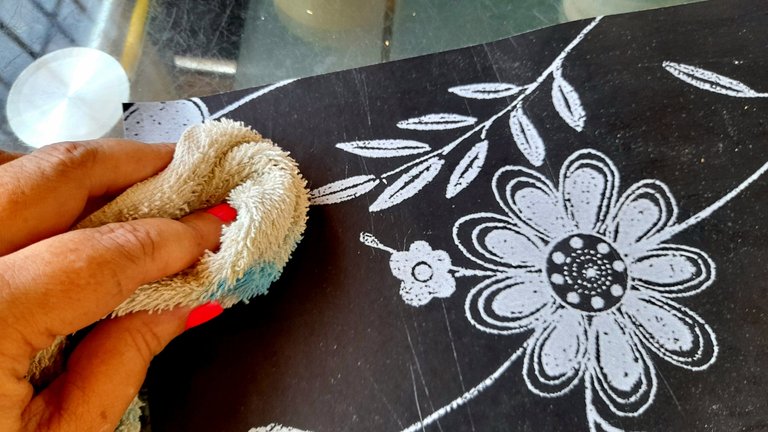
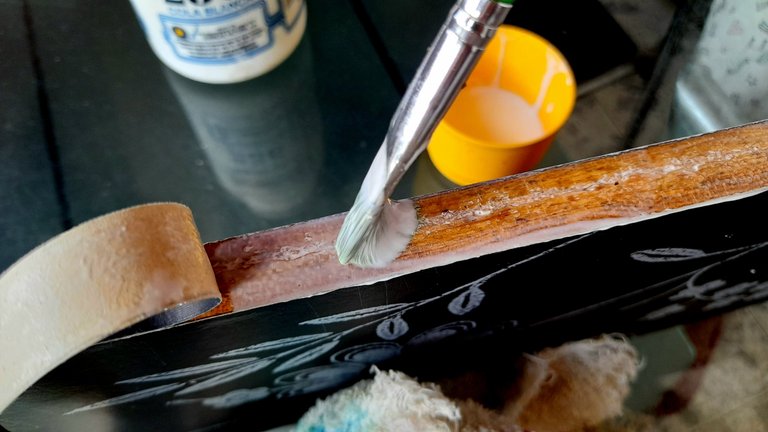
Seguidamente con el pincel esparcí la pega sobre la tabla, para finalmente colocar el papel y con ayuda de un paño el cual pasé por toda la superficie me aseguré de pegarlo muy bien y que no quedaran burbujas de aire.
Esto lo hice por partes, es decir por sectores, ya que la pega seca relativamente rápido, y una vez cubierta por todos lados, estaban listas para unir a la puerta que luego fijaríamos a la pared.
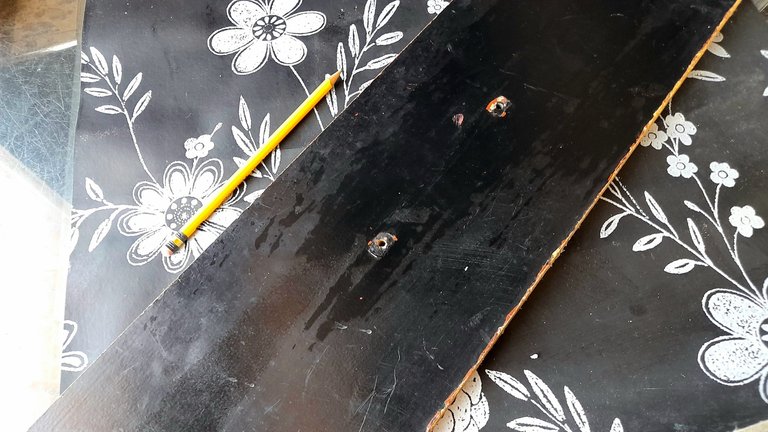
En el caso de la puerta decidí dejarla como estaba pues se conservaba muy bien la pintura y el material en sí, por lo que ubiqué las dos repisas en su lugar y marqué el área donde las fijaría.
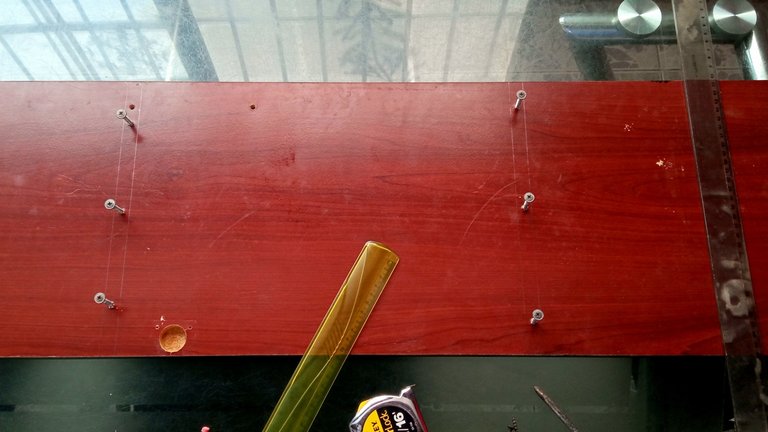
En este punto necesité la ayuda de mi esposo para fijar las repisas, cada una con tres tornillos tirabuzon, que son los que suelen utilizarse para madera, y mientras yo sujetaba las tablas, él se encargó de colocar los tornillos, y fijar cada repisa.
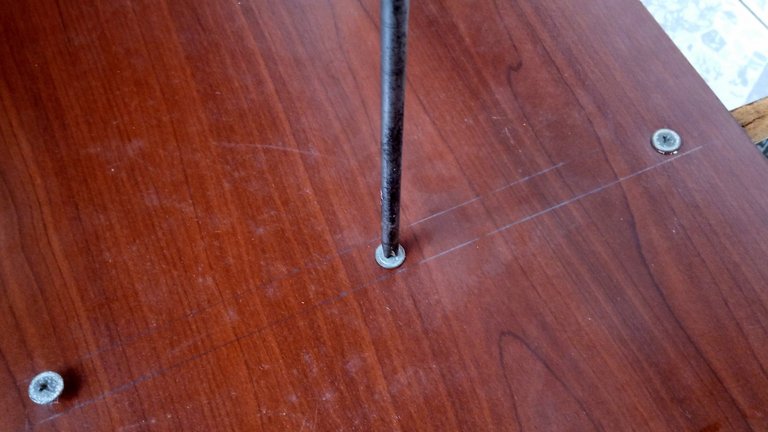

Fijadas las dos repisas a la base, marcamos en la pared dónde la ubicaríamos, y con ayuda del taladro, mi esposo hizo los huecos para ubicar cada ramplug y finalmente fijar la repisa a la pared.
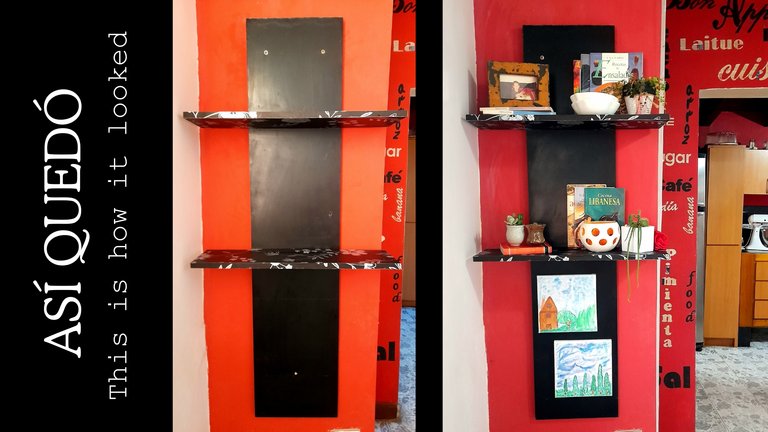
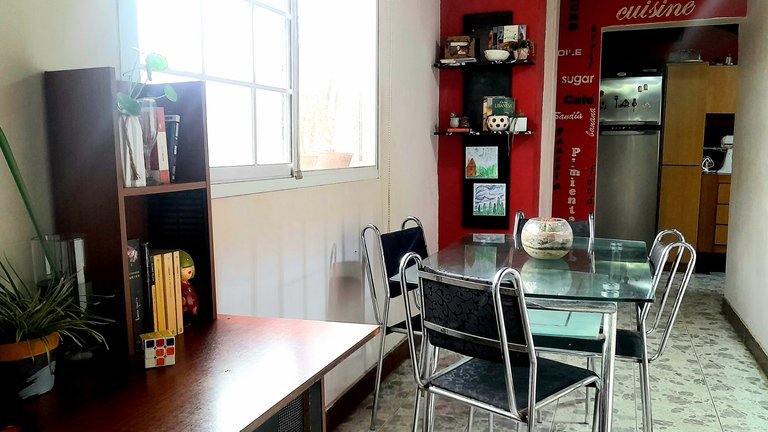
Una vez lista pasó por varios cambios, cosa que no ha parado aún porque cada día le quito o agrego algo, pero solo con respecto a los objetos decorativos, de hecho, justo ahora, tengo por ejemplo libros de recetas de cocina, algunos tazones, objetos decorativos, porta retratos, macetas y unos cuadros hermosos que pintó mi hija Miranda.
Como ven, es un trabajo bastante sencillo de hacer, y le di nueva vida a algunas piezas del closet, y tengo otras en espera de algún proyecto que se me meta entre ceja y ceja.

A few days ago I shared on my blog, how I had decorated a small space in my house with a shelf quite easy to make using parts of an old closet as a base, and today I want to share with you the step by step.
This shelf at first would be completely different from how it ended up, because at first the plan was to make a hanging shelf, for which I would need the two front parts of a drawer and some ribbons that I would make with a black fabric that I had at home.
But all my plans changed when the two boards were ready, I went to look for the fabric to hang them and it turned out that my husband had thrown it away, but that did not stop me, because yes or yes I would have my shelf, and so I did, not as I had imagined it, but undoubtedly just as nice.
MATERIALS
To make this shelf I used three pieces from a closet that we disassembled some time ago at home, specifically the front of two drawers, and a door. The rest of the materials are listed below:
White glue
Wallpaper
Ruler
Cutter
Scissors
Brush
Screws
Ramplug
Drill
Screwdriver
STEP BY STEP
The first thing I did was to mark and cut out on the wallpaper the necessary pieces to cover the boards on all sides, for which I used the ruler and the cutter, in order to obtain neat cuts.
Then with the brush I spread the glue on the board, to finally place the paper and with the help of a cloth which I passed over the entire surface I made sure to stick it very well and that there were no air bubbles.
I did this by parts, that is to say by sectors, since the glue dries relatively quickly, and once covered on all sides, they were ready to be attached to the door that we would later fix to the wall.
In the case of the door, I decided to leave it as it was because the paint and the material itself were very well preserved, so I placed the two shelves in place and marked the area where I would attach them.
At this point I needed my husband's help to fix the shelves, each one with three screws, which are usually used for wood, and while I held the boards, he was in charge of placing the screws and fixing each shelf.
Once the two shelves were fixed to the base, we marked on the wall where we would place them, and with the help of the drill, my husband made the holes to place each ramplug and finally fix the shelf to the wall.
Once it was ready it went through several changes, something that has not stopped yet because every day I remove or add something, but only with respect to decorative objects, in fact, right now, I have for example recipe books, some bowls, decorative objects, portrait holders, flower pots and some beautiful pictures that my daughter Miranda painted.
As you can see, it's a pretty simple job to do, and I gave new life to some pieces in the closet, and I have others waiting for a project to come along.
¡Me encantó! Te quedó muy linda, amiga. Es un proyecto fácil de hacer y decorativo. Gracias por compartirlo, abrazos para ti.
Gracias amiga bella, me alegra te haya gustado. Aún tengo partes del closet e ideas, pero para esas necesito cortar tablas así que me toca fastidiar a mi esposo jajaja
Abrazos
Jajaja, eso suele pasar. Espero ver pronto esas ideas hechas realidad. ¡Abracitos!
Amiga te quedó precioso, esos detalles que tienes en tu casita, le dan un estilo único y precioso, de verdad que no exagero cuando te digo que tienes una creatividad y mucha elegancia en tus proyectos. Estaba tratando de montar una repisa pero no me la llevo con el taladro, voy a pedir ayuda, quiero algo lindo. Haces maravillas amiga. Abrazos 🤗
Que bella amiga. Gracias!!
Yo me pongo a buscar ideas por Internet y aunque no tengo todo lo que necesito voy dándole forma para que se vea similar a lo que vi con lo que tengo aquí. A mi me gusta inventar jaja
Me alegra que te gusten las cositas que hago ami, tu también tienes lo tuyo y ya te he copiado varias cosas!
Yo tampoco sé usar taladro, se lo tiro a mi esposo jaja
Abrazos amiga
Me encanta! Excelente idea
Hola amiga, que bonito ese trabajo que nos compartes, donde eres todo una diseñadora y genial que hayas usado esa pieza vieja y armar esa gran repisa, que podrás usarla y sacarle el máximo provecho, además ese color negro hacer una gran combinación con esas flores y decorar ese espacio de la casa. Éxitos.
Me gusto mucho el papel que le colocaste a las maderas amiga, combina mucho con tu decoración de la casa. Excelente publicación! Gracias por compartir tu arte con nosotros!🤗
Amiga me encanta tu creatividad... Así es mi esposo sabes.. el guarda cosas y luego con eso hace otras cosas. Jajaja
Yo aquí tengo repisas hechas con unos pedazos de madera que el corto de una puerta y tú lo ves y crees que eso lo compre yo en una tienda jajaja 🫣🫣🫣
Hacer esta repisa se ve fácil y con tu paso a paso aún más...
Gracias por compartir ✌🏻🙏🏻
Besos
Congratulations your publication has been chosen among the best of the day.
KEEP CREATING GOOD CONTENT.