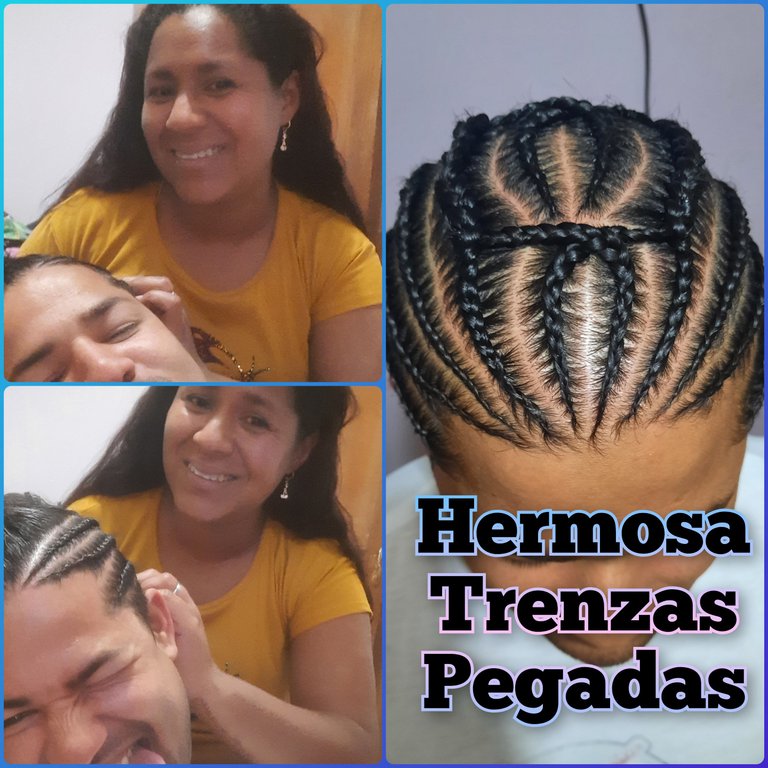
(Esp//Eng) Hermoso diseño de trenzas pegadas para Caballero// Beautiful braided braid design for Gentleman
Hola mis amigos creadores
Hello my creator friends.
Otro día más para compartir mis creaciones con ustedes, espero se encuentren muy bien y tengan un lindo y Bendecido día, en esta ocasión les voy a mostrar como elaborar un hermoso diseño de trenzas pegadas para caballero.
Another day to share my creations with you, I hope you are very well and have a nice and blessed day, this time I'm going to show you how to make a beautiful design of braids glued for men.
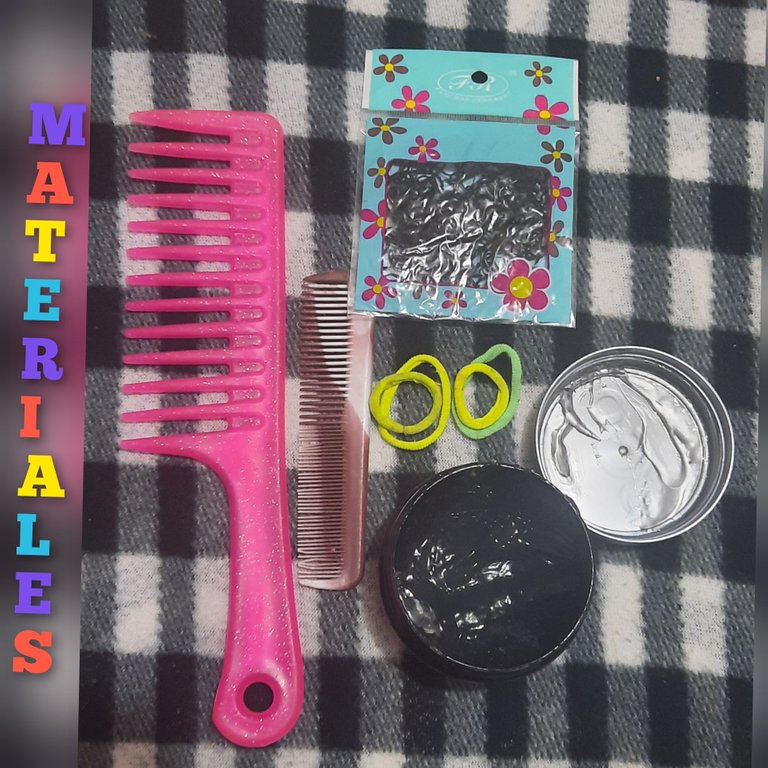
Materiales
Peine de punta fina
Ligas de cabello
Colas o moñeras
Gelatina o Gel Fijador para cabello
Materials
- Fine-tip comb
- Hair ties
- Tails or buns
- Gelatin or hair gel
Acompañenme a ver el procedimiento paso a paso.
Join me for a step-by-step procedure.
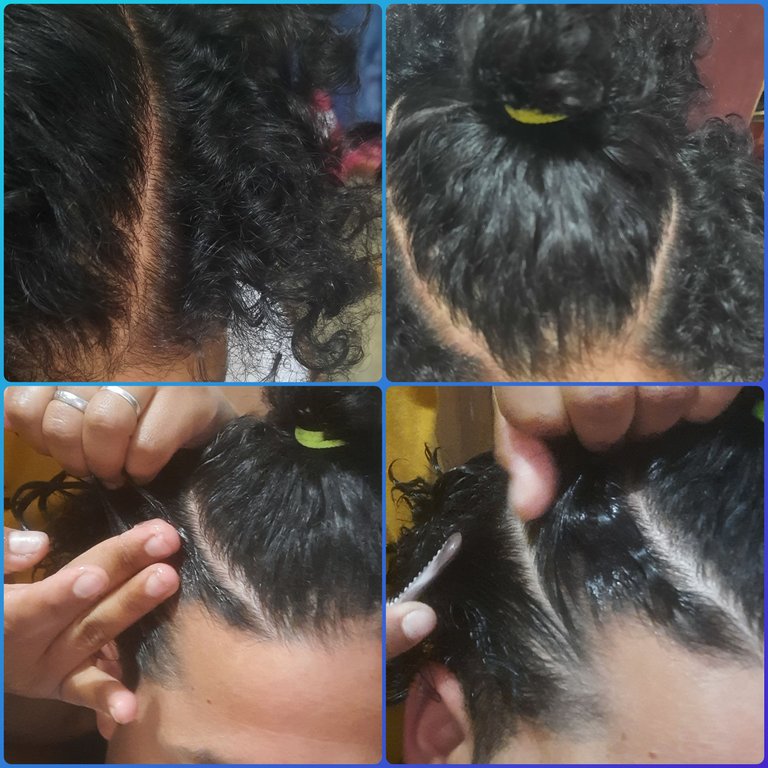
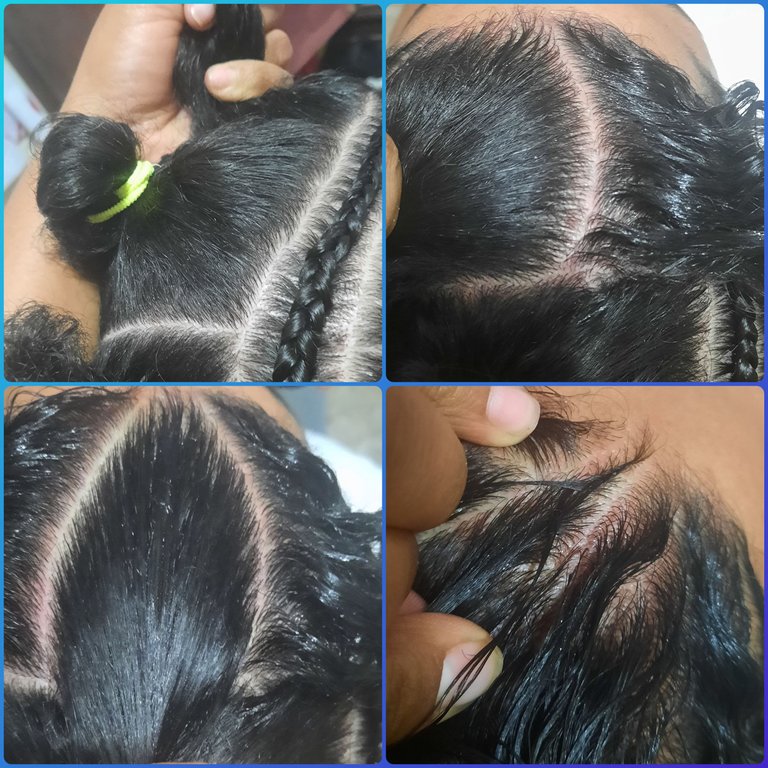
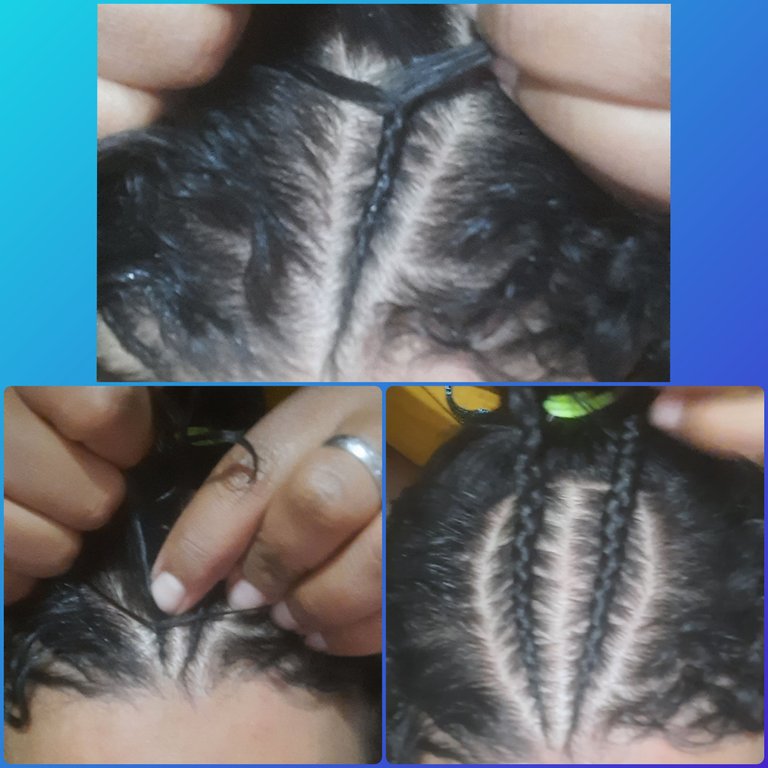
Comenzamos peinando todo el cabello un poco humedo hasta desenredar todo, luego hacemos un retiro de un lado de la cabeza de la frente hacia atrás y sacamos una cantidad de cabello para separar el centro de cabello, sujetamos con las Colas o moñeras.
We start combing all the hair a little wet to untangle everything, then we make a withdrawal of one side of the head from the forehead to the back and remove an amount of hair to separate the center of hair, hold with the tails or buns.

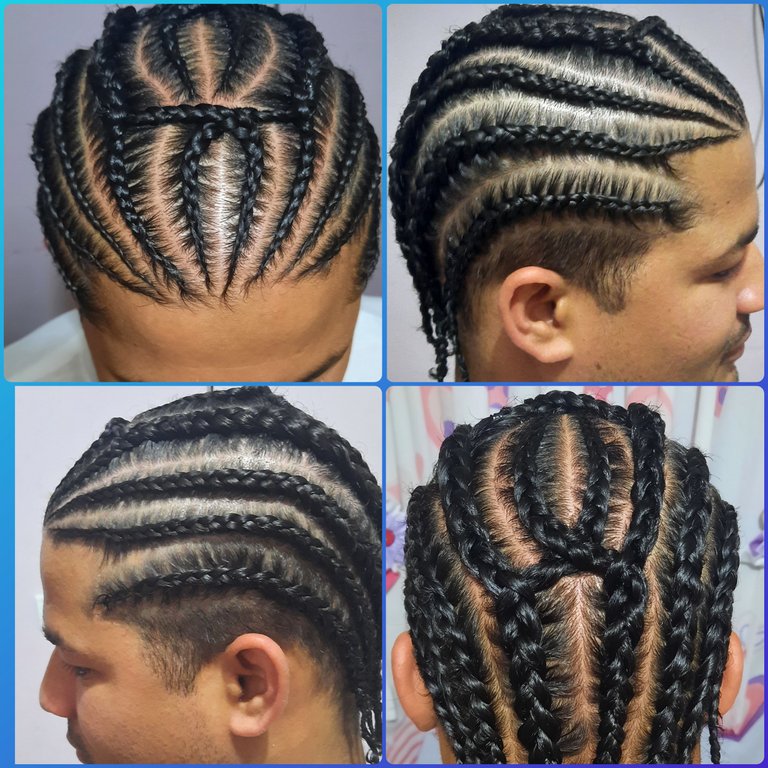
Luego vamos a sacar una pequeña cantidad de cabello del lado derecho desde la frente hacia la nuca, teniendo la cantidad deseada aplicamos gel Fijador y comenzamos a trenzar hasta la punta del cabello y colocamos una liga para sujetar.
Then we are going to take a small amount of hair from the right side from the forehead to the nape of the neck, having the desired amount we apply fixative gel and begin to braid to the tip of the hair and place a rubber band to hold.
Seguidamente sacamos la segunda cantidad de cabello de modo que la trenza quede delgada, haciendo un línea recta desde el centro de la frente hasta la nuca, trenzamos hasta el final y sujetamos con la liga en la punta del cabello, con el mismo procedimiento hacemos una tercera trenza.
Then we take out the second amount of hair so that the braid is thin, making a straight line from the center of the forehead to the nape of the neck, we braid until the end and fasten with the rubber band at the end of the hair, with the same procedure we make a third braid.
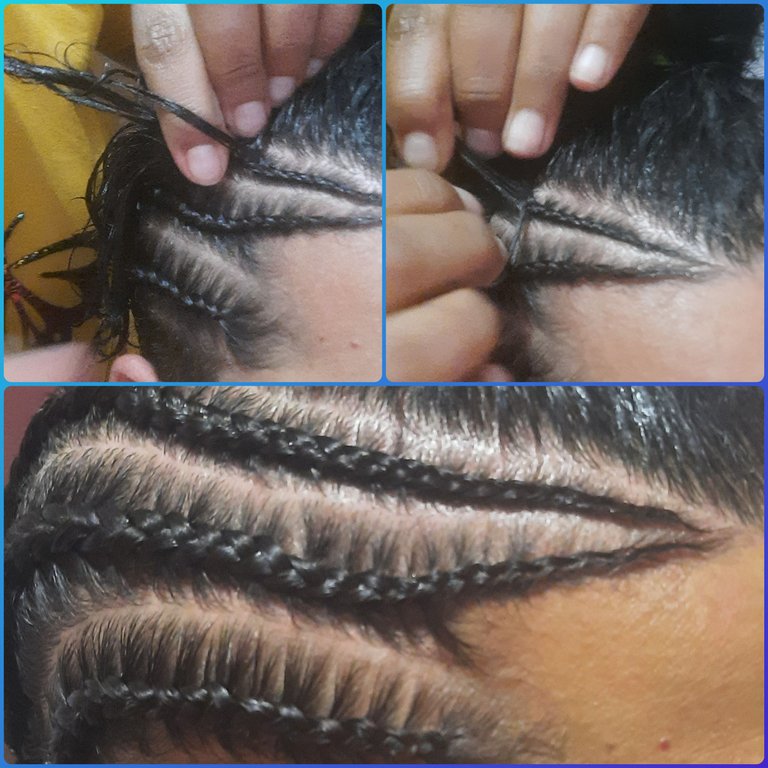

Del lado izquierdo repetimos los 3 pasos anteriores para obtener la misma cantidad de trenzas de cada lado.
On the left side we repeat the 3 previous steps to obtain the same amount of braids on each side.
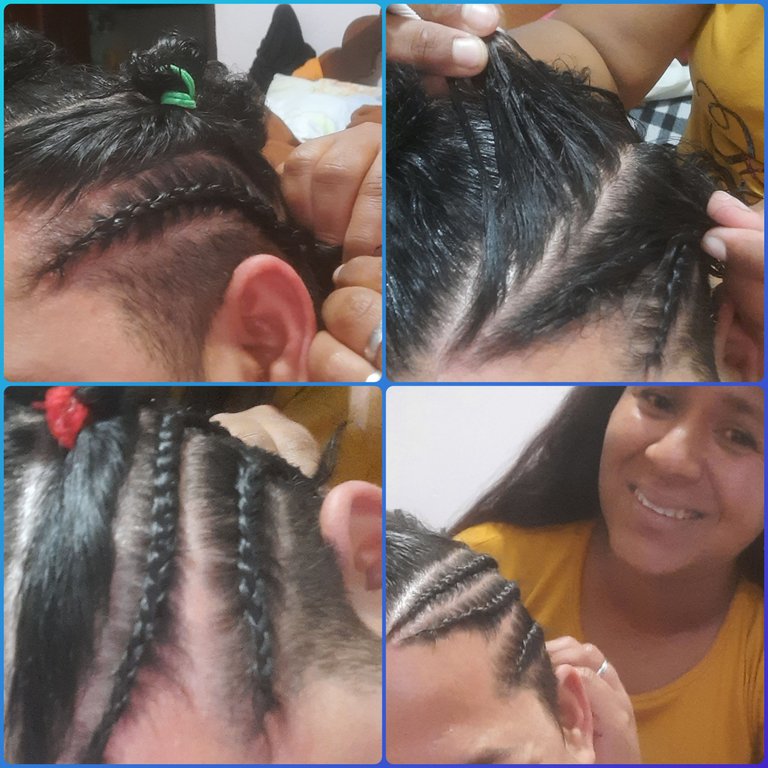
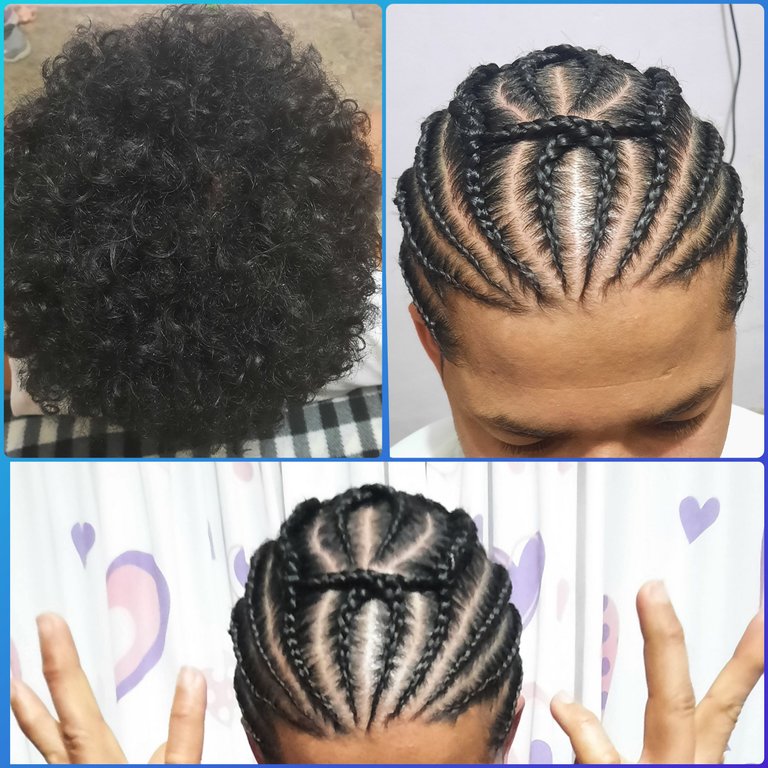
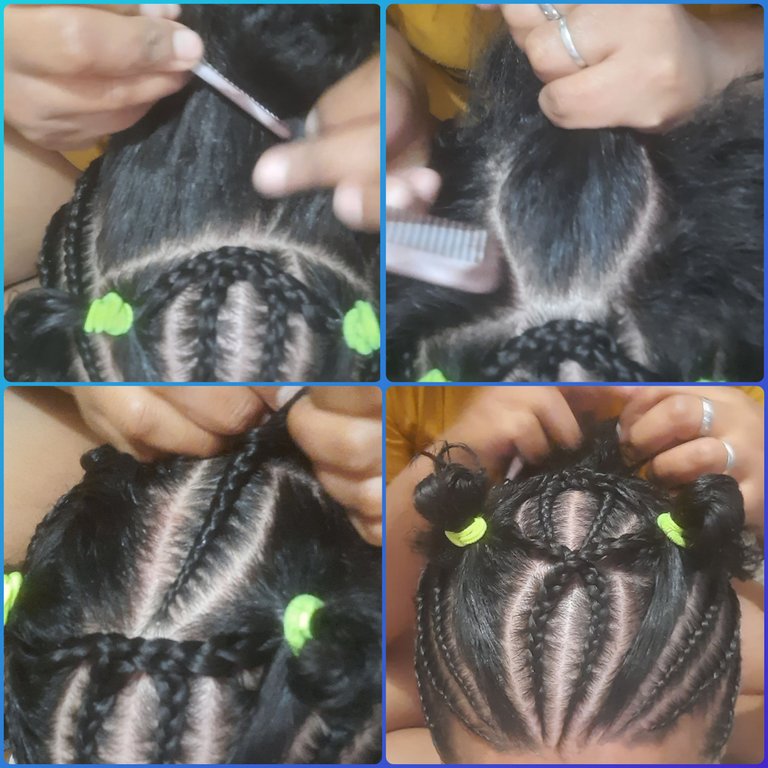
Retiramos las moñeras que colocamos al comienzo y separamos el cabello en 4 secciones, sujetamos con las moñeras cada una, luego vamos a separar la primera sección en 3 partes haciendo una línea curva de cada lado, nos va a quedar un avaló en el centro y separamos a la mitad y trenzamos los dos mitades sujetamos en la punta con una liga.
We remove the buns that we placed at the beginning and separate the hair in 4 sections, we hold with the buns each one, then we are going to separate the first section in 3 parts making a curved line on each side, we will have an avaló in the center and we separate in half and braid the two halves, we hold at the tip with a rubber band.
Repetimos el mismo paso a 2 secciones más.
Repeat the same step for 2 more sections.
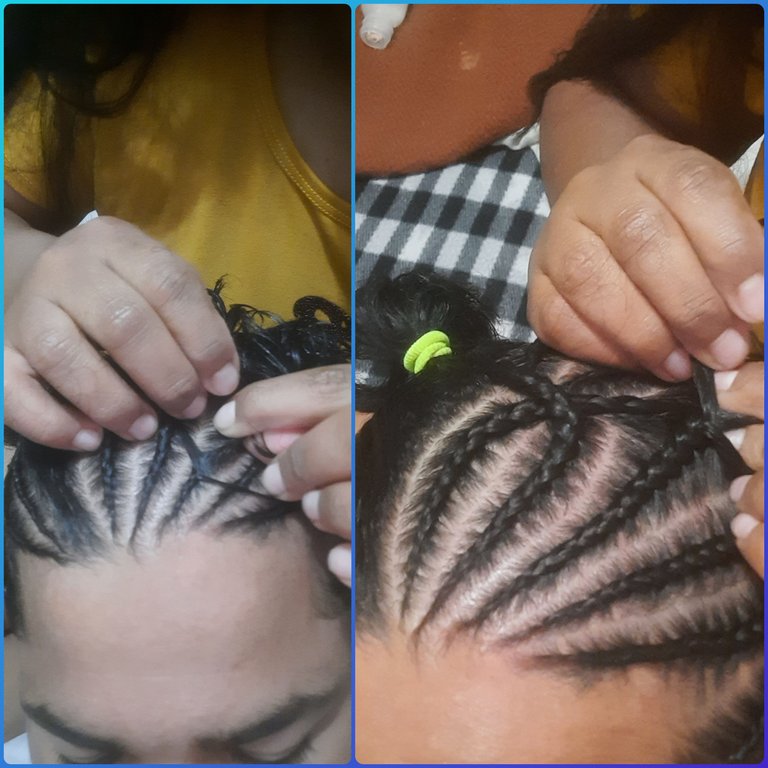
Teniendo las primeras 3 sección listas, separamos en 2 la cuarta sección de cabello que nos queda y pasamos a trenzar el lado izquierdo vamos agregando las trenzas pequeñas que hicimos en el paso anterior.
Having the first 3 sections ready, we separate in 2 the fourth section of hair we have left and we braid the left side adding the small braids we did in the previous step.
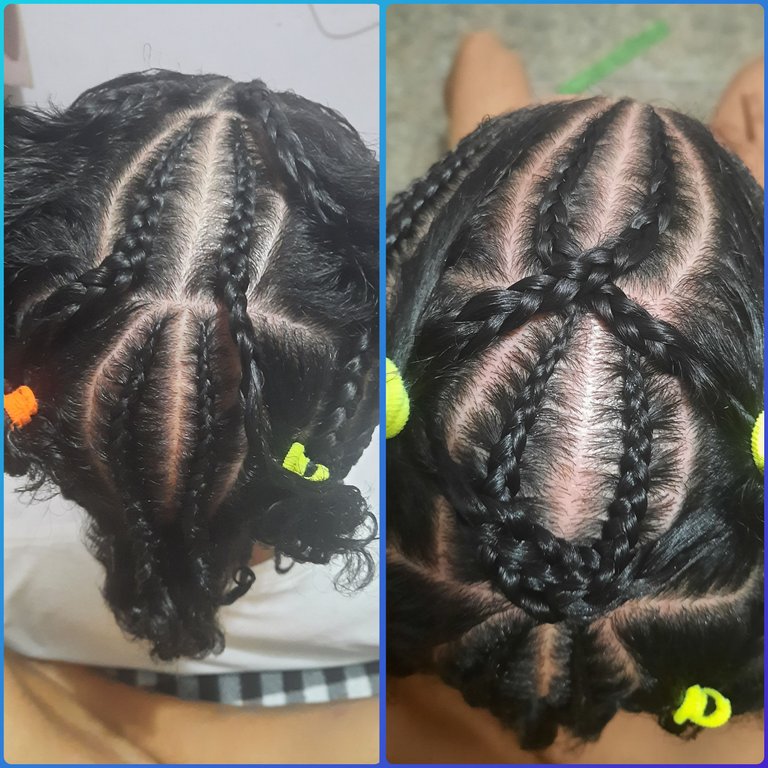
Resultado // Result

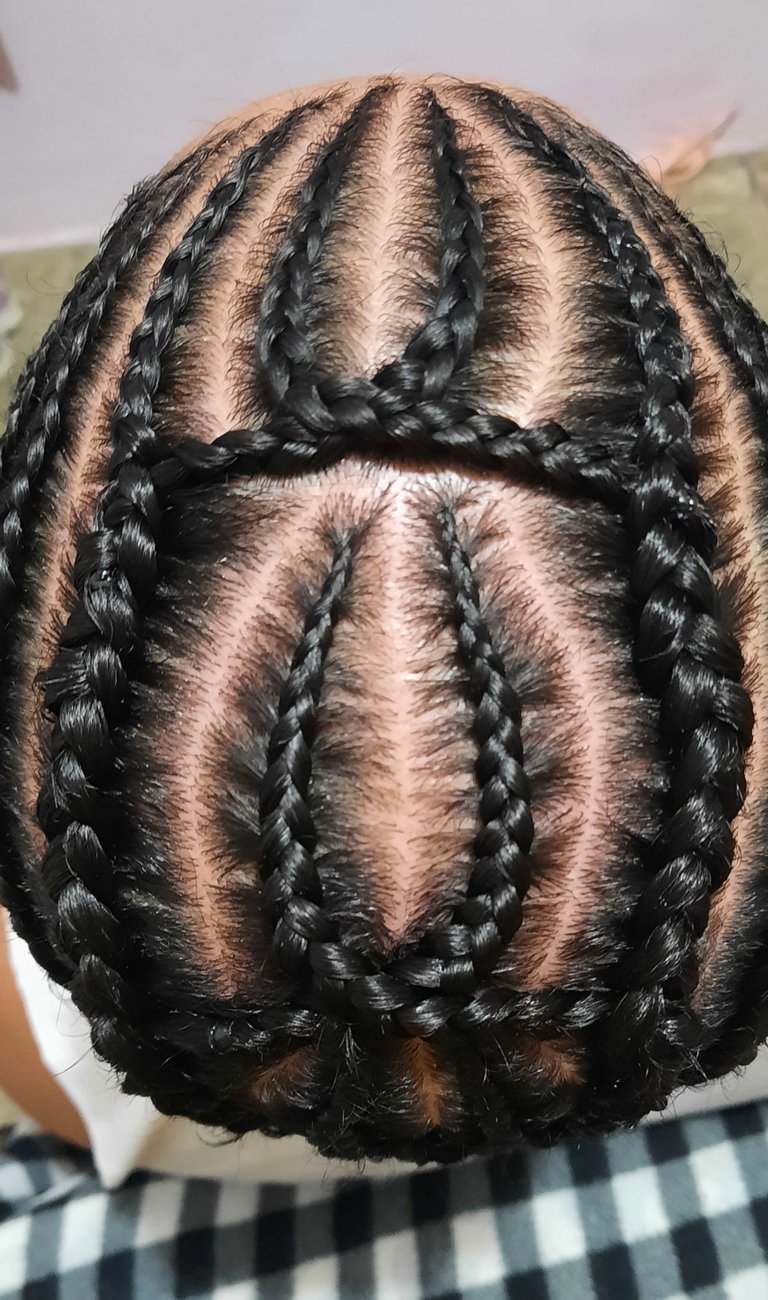
Espero les guste y puedan elaborarlo, me despido, que tengan un excelente día en el nombre de Dios, hasta luego.
I hope you like it and can elaborate it, I say goodbye, have a great day in the name of God, see you later.
Muchas gracias por ver mi trabajo
Thank you very much for viewing my work
LAS FOTOS SON DE MI AUTORIA Y EDITADAS EN INCOLLAGE,TRADUCIDOBEN WWW.DEEPL.COM

THE PHOTOS ARE OF MY AUTHORSHIP AND EDITED IN INCOLLAGE, TRANSLATED AT WWW.DEEPL.COM