Has una bolsa de regalo con sobres de Manila - Make a gift bag with Manila envelopes
 )
)

Hola amigos! en este mes de los regalos quiero mostrarles como hacer una bolsa de regalos con un sobre de manila.
MATERIALES
- Sobre de Manila
- Fieltro y cinta verde
- Silicón Liquido
- Fieltro rojo
PASO A PASO
1
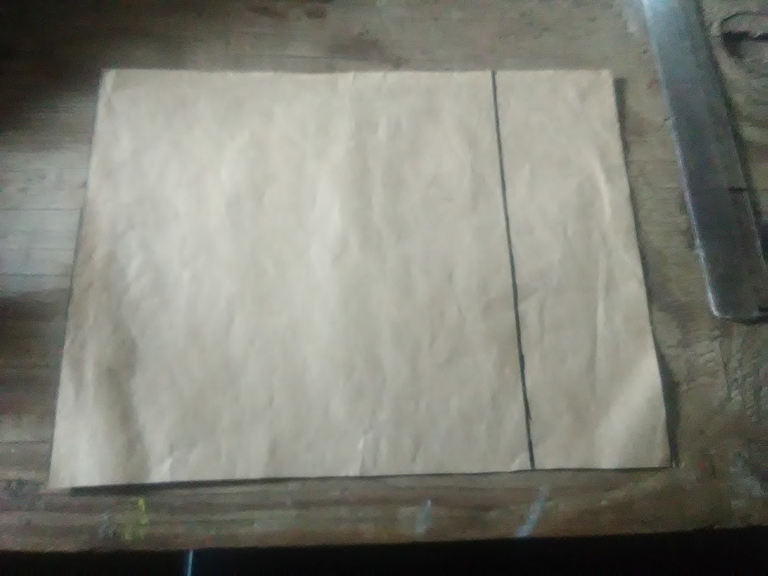
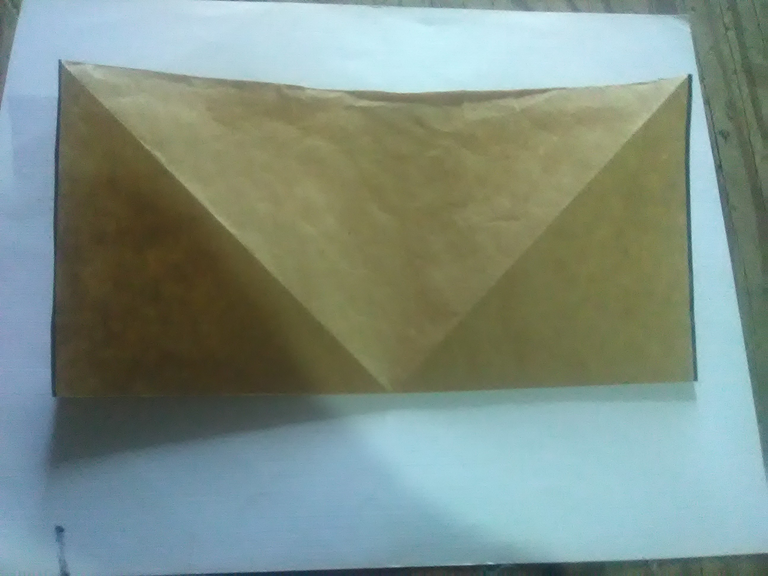
Se abre el sobre y se toma una de las caras del sobre. Se traza una linea sobre el sobre para hacer un cuadrado.

El cuadrado mide 22 cm x 22 cm
2
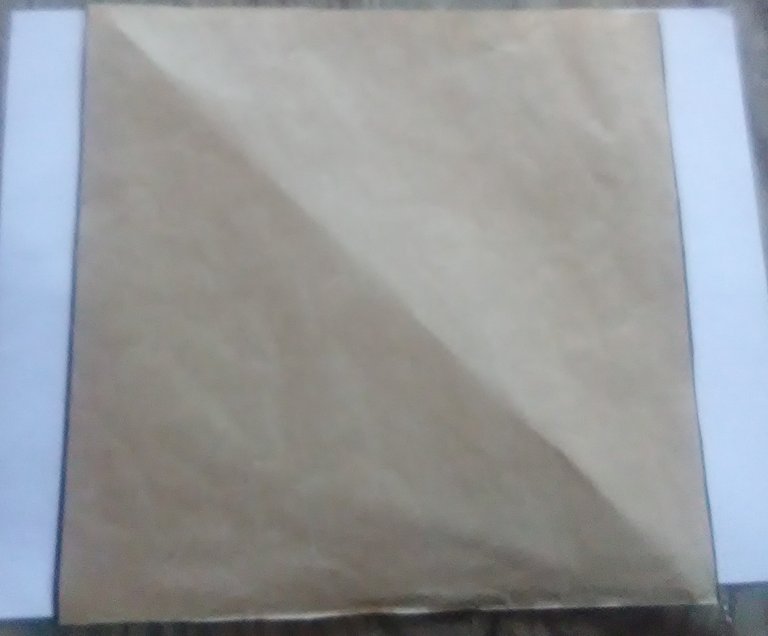
Se unen ambas puntas del cuadrado para formar una linea diagonal.
3
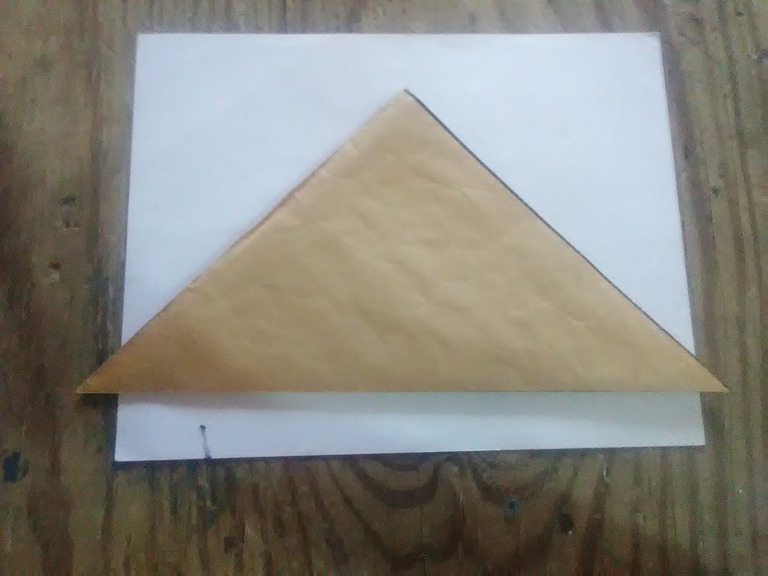
Luego se vuelve a doblar
4
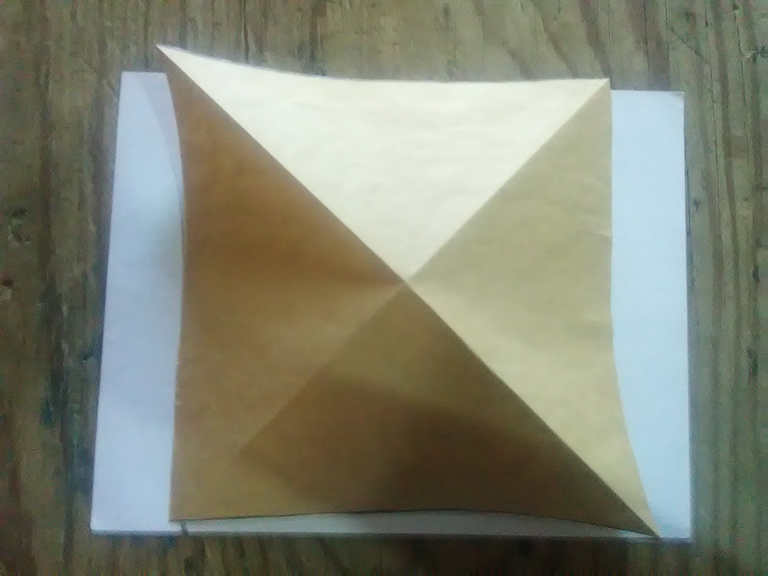
Se va a formar una x sobre el cuadrado.
5
Se dobla a la mitad el cuadrado en forma horizontal.
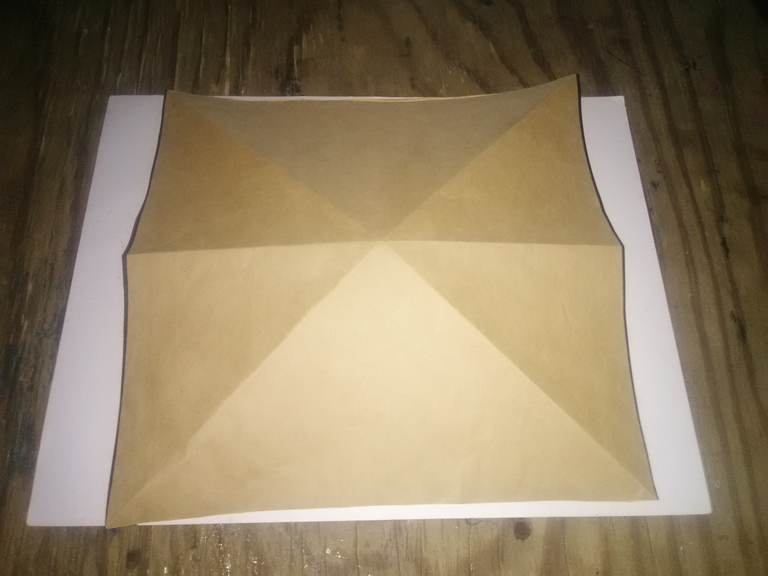
Asi debe quedar la hoja con todos los doblés.
6

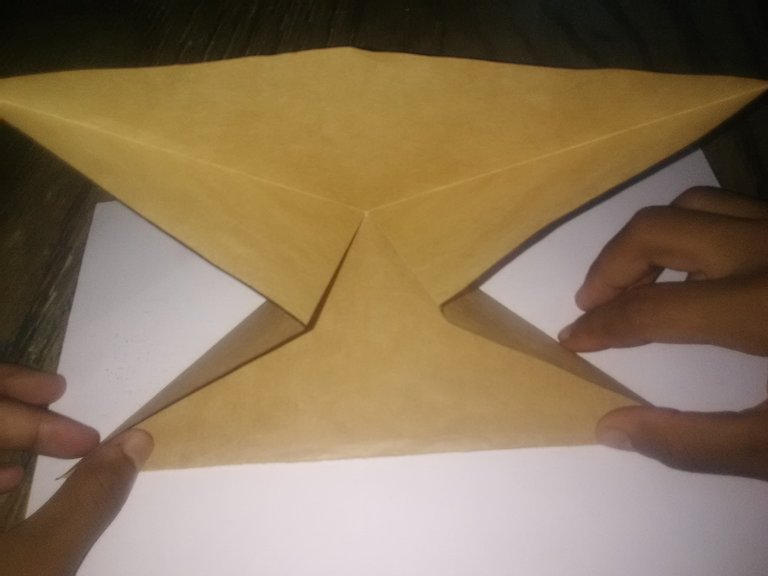
Luego se dobla desde la linea del medio para hacer la forma de la bolsa de regalo.
Se doblan 4 las esquinas de los triangulos que se han formado.
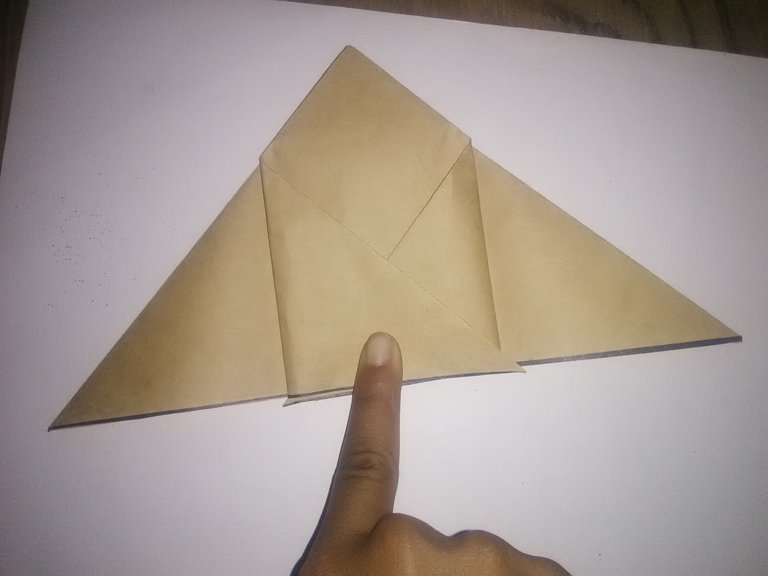
Las esqinas se doblan hacia dentro.
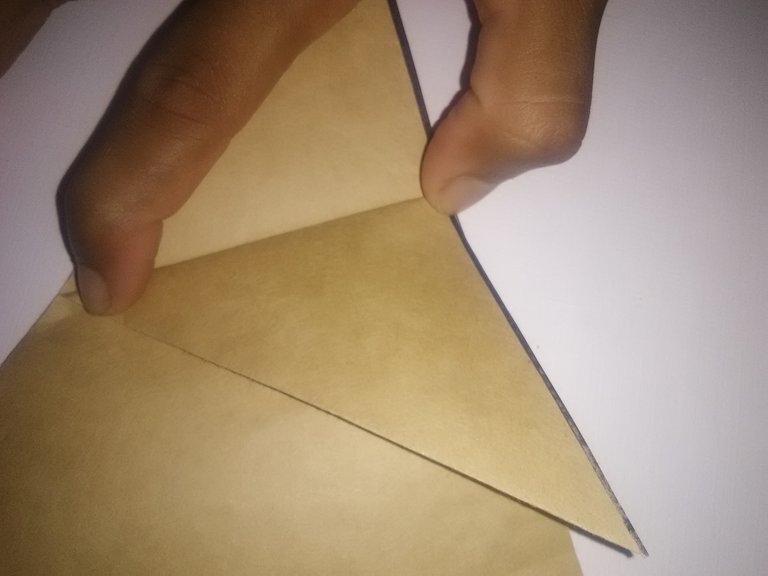
De esta forma queda el triangulo doblado.
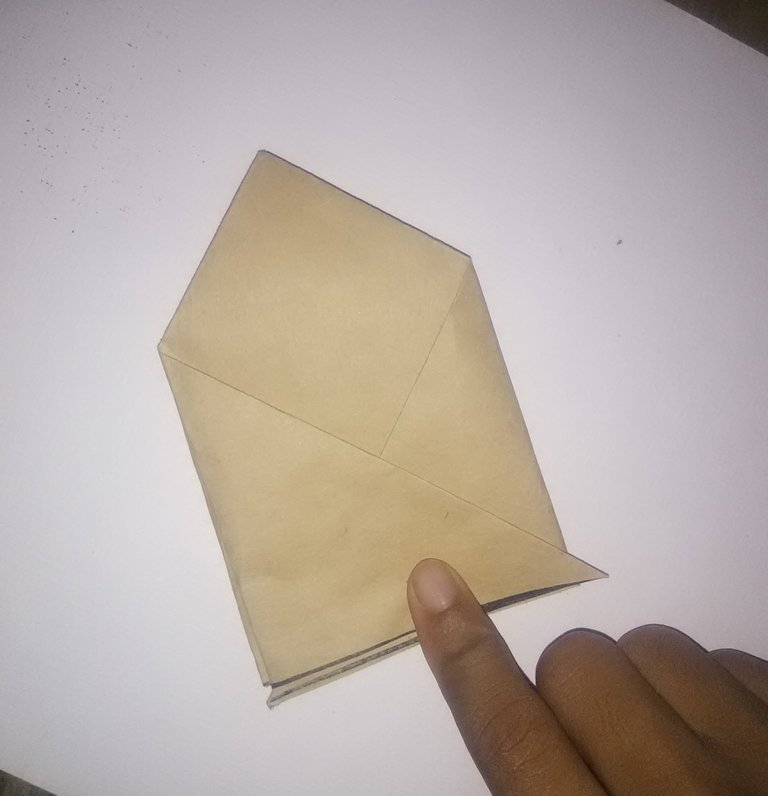
Luego se vuenvlen a doblar formando otro triangulo

Asi quedaria la forma del papel.

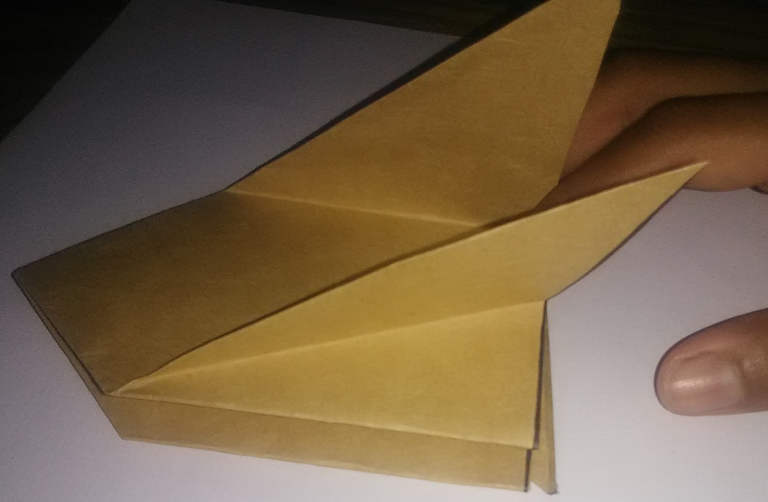
Esos triangulos que se ven se van a doblar y a la vez se le va a aplicar silicon al frio y se pegan en la parte interna de la bolsa.
7

Luego se procede a abrir la bolsa

Nos qudaria esta bolsa cuadrada con esas formas en esta.

8

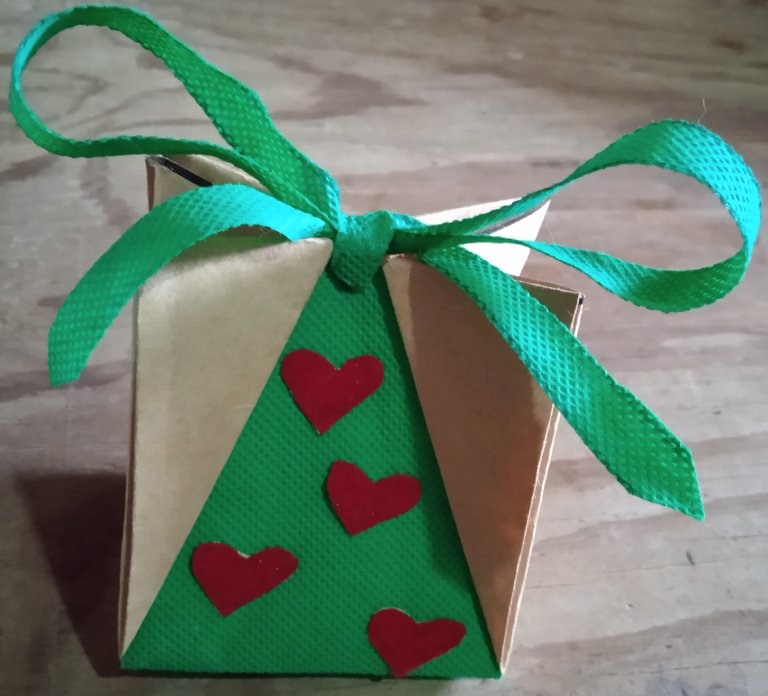
Luego sobre el fieltro verde se va a marcar un cuadrado del tamaño de la bolsa. este cuadrado se va a introducir por los bordes triangulares de la bolsa.

El material sobrante de fieltro se pega con silicon al frio en la bolsa.

Luego se le añade cualquier decoración a la bolsa. Yo apliqué unos corazones. Se le agrega una cinta a la bolsa.

Espero que sea una idea util para hacer una bolsa de regalo. Saludos @Hivers...
Las fotos fueron tomadas por un tlf ZTE Blade.
Las fotos son de mi autoria
Traductor: https://www.deepl.com/es/translator

Hello friends! In this month of gifts I want to show you how to make a gift bag with a manila envelope.
MATERIALS
- Manila envelope
- Felt and green ribbon
- Liquid Silicone
- Red felt
STEP BY STEP
1
Open the envelope and take one side of the envelope. Draw a line on the envelope to make a square.
The square measures 22 cm x 22 cm
2
Join both ends of the square to form a diagonal line.
3
Then fold it again
4
An x will be formed on the square.
5
Fold the square in half horizontally.
This is how the sheet should look with all the folds.
6
Then fold from the middle line to make the shape of the gift bag.
Fold 4 corners of the triangles that have been formed.
The corners are folded inward.
In this way the triangle is folded.
Then fold them again to form another triangle.
This is the shape of the paper.
These triangles that you can see will be folded and at the same time you will apply cold silicone and glue them to the inside of the bag.
7
Then proceed to open the bag
We would have this square bag with these forms in this one.
8
Then on the green felt we will mark a square the size of the bag. This square will be inserted through the triangular edges of the bag.
The remaining felt material is glued to the bag with cold silicone.
Then add any decoration to the bag. I applied some hearts. A ribbon is added to the bag.
I hope this is a useful idea to make a gift bag. Greetings @Hivers...
The pictures were taken by a ZTE Blade tlf.
The photos are of my authorship
Translator: https://www.deepl.com/es/translator
Great work bud
!discovery 30
Thank you so much!
You're welcome bud🤝🏿
This post was shared and voted inside the discord by the curators team of discovery-it
Join our community! hive-193212
Discovery-it is also a Witness, vote for us here
Delegate to us for passive income. Check our 80% fee-back Program
Congratulations @rodriguezkike232! You have completed the following achievement on the Hive blockchain And have been rewarded with New badge(s)
Your next target is to reach 300 upvotes.
Your next target is to reach 700 upvotes.
You can view your badges on your board and compare yourself to others in the Ranking
If you no longer want to receive notifications, reply to this comment with the word
STOPTo support your work, I also upvoted your post!
Check out our last posts:
Support the HiveBuzz project. Vote for our proposal!
Quedó hermosa, es muy sencilla de hacer y además es muy útil para hacer un regalo en estas fechas 🤗
Hola. Gracias
https://twitter.com/1484281013413023756/status/1607874551848771585
The rewards earned on this comment will go directly to the people( @dayadam ) sharing the post on Twitter as long as they are registered with @poshtoken. Sign up at https://hiveposh.com.
Te quedo bellísima @rodriguezkike232, prolija y muy delicada la cajita que nos regalas. Me encanto el diseño y los colores. Algo prefecto para dar un bonito detalle. Felicidades... ✨
Muchas gracias amiga.
Thank you for sharing this post in the DIYHUB Community!
Your content got selected by our fellow curator desro & you just received a little thank you upvote from us for your great work! Your post will be featured in one of our recurring compilations which are aiming to offer you a stage to widen your audience within the DIY scene of Hive. Stay creative & HIVE ON!
Please vote for our hive witness <3
Such a great work, indeed. 💙✨
Thank you very much
Hermoso