[Esp/Eng]Tutorial para hacer Lazos Coquettes con tela de satén// Tutorial to make Coquette Bows with satin fabric
[Esp/Eng]Tutorial para hacer Lazos Coquettes con tela de satén// Tutorial to make Coquette Bows with satin fabric
Saludos amigos de #hivediy la casa de todos los artesanos hoy nuevamente estoy por acá para compartir otra de mis manualidades espero sea de su agrado
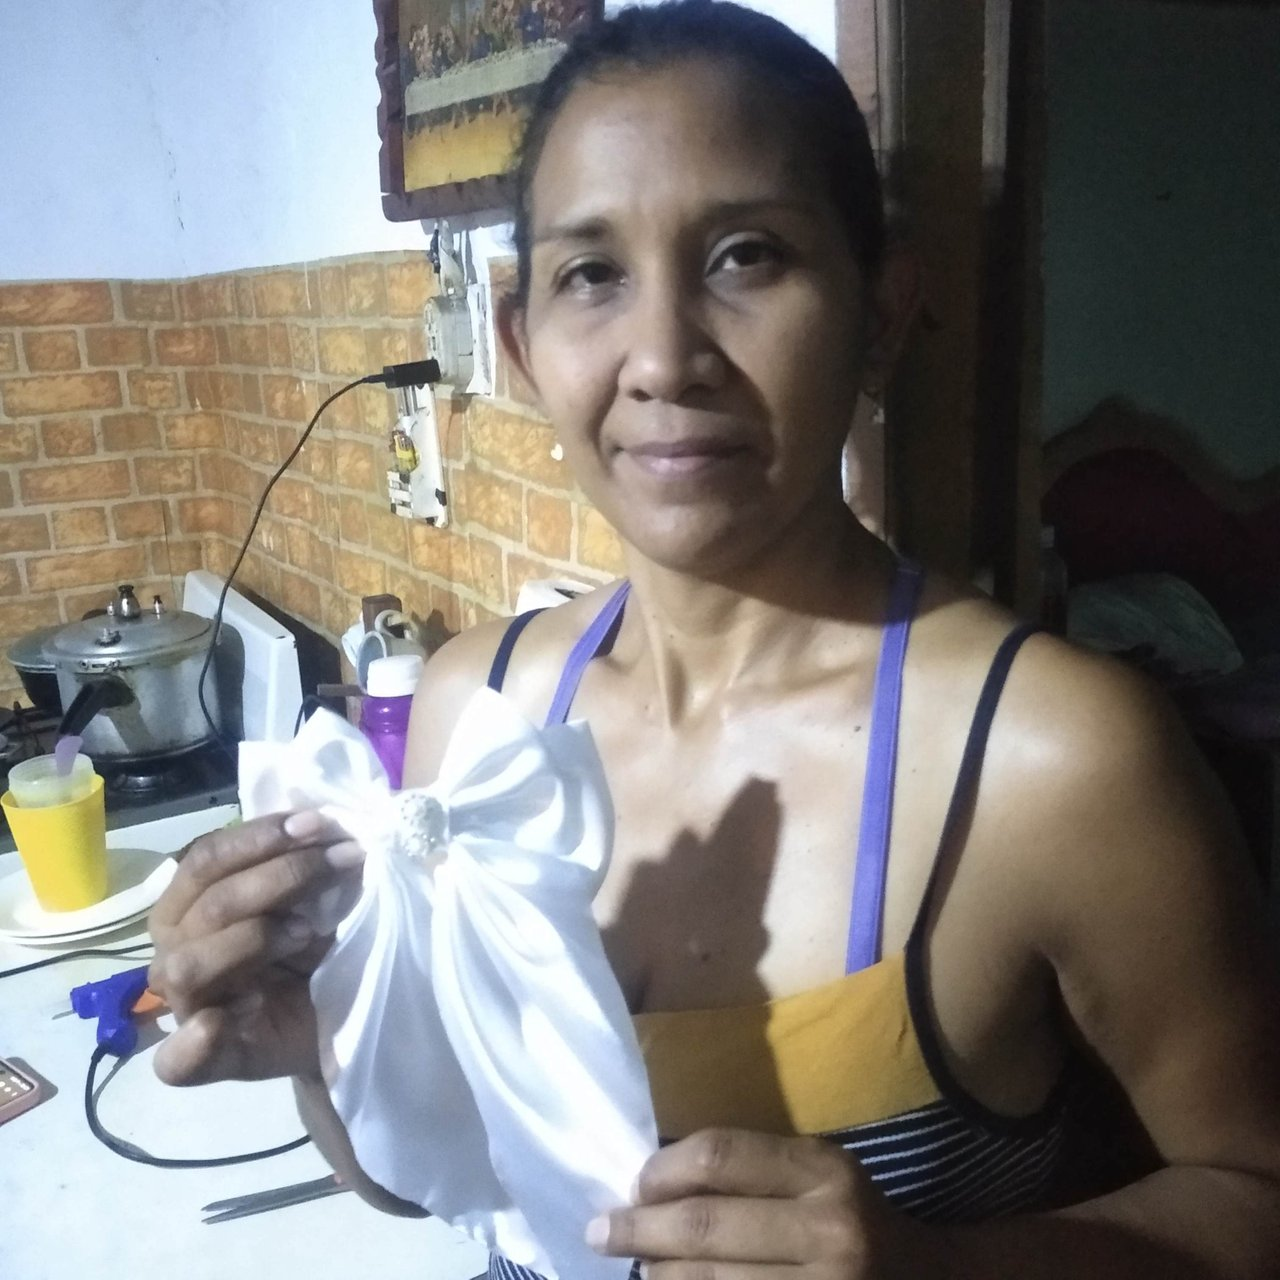
Aprovechando la nueva moda de los lazos coquettes les comparto una práctica forma de hacer estos lazos, ya he realizado varios y por eso les quiero mostrar el proceso de elaboración para que ustedes lo hagan en sus casas, asi que manos a la obra
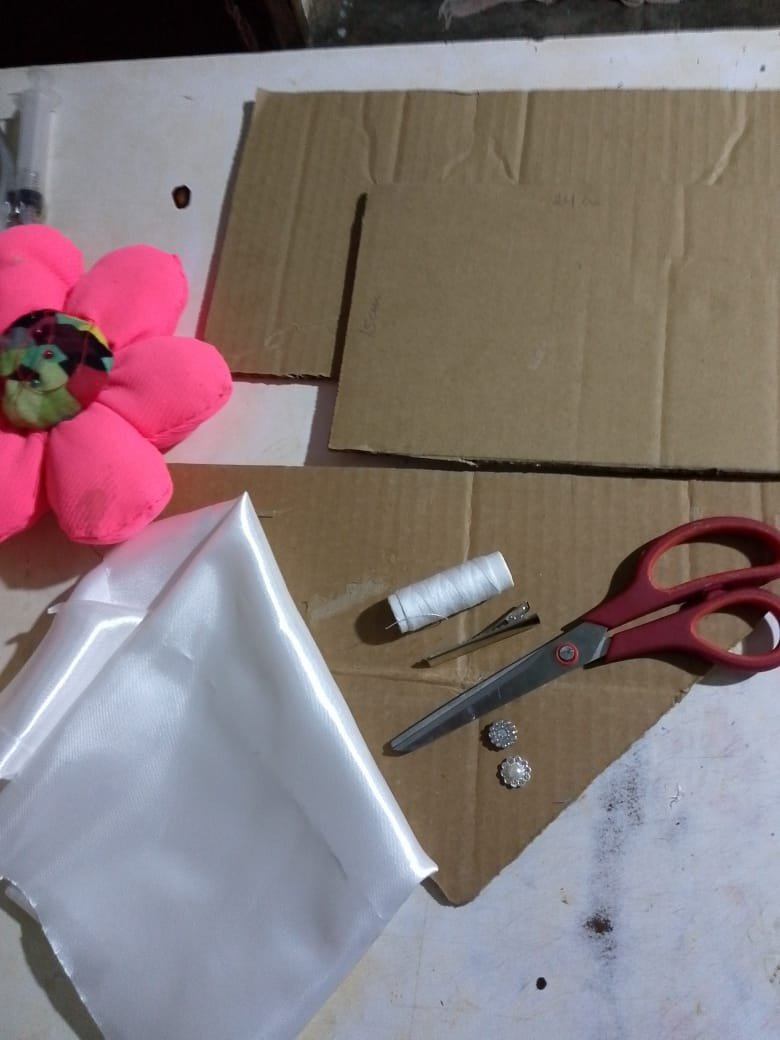
Los materiales para crear estos lazos son los siguientes
- 1/2 Metro de tela de satén del color que deseemos yo use blanco
- Hilo y aguja
- Tijera o cautín
- Patrones en cartón
( rectángulo de 18 x 33 centímetros
rectángulo de 15 x 24 centímetros
triangulo de 18 centímetros por todos sus lados) - Pistola de silicón caliente
- Gancho de cabello
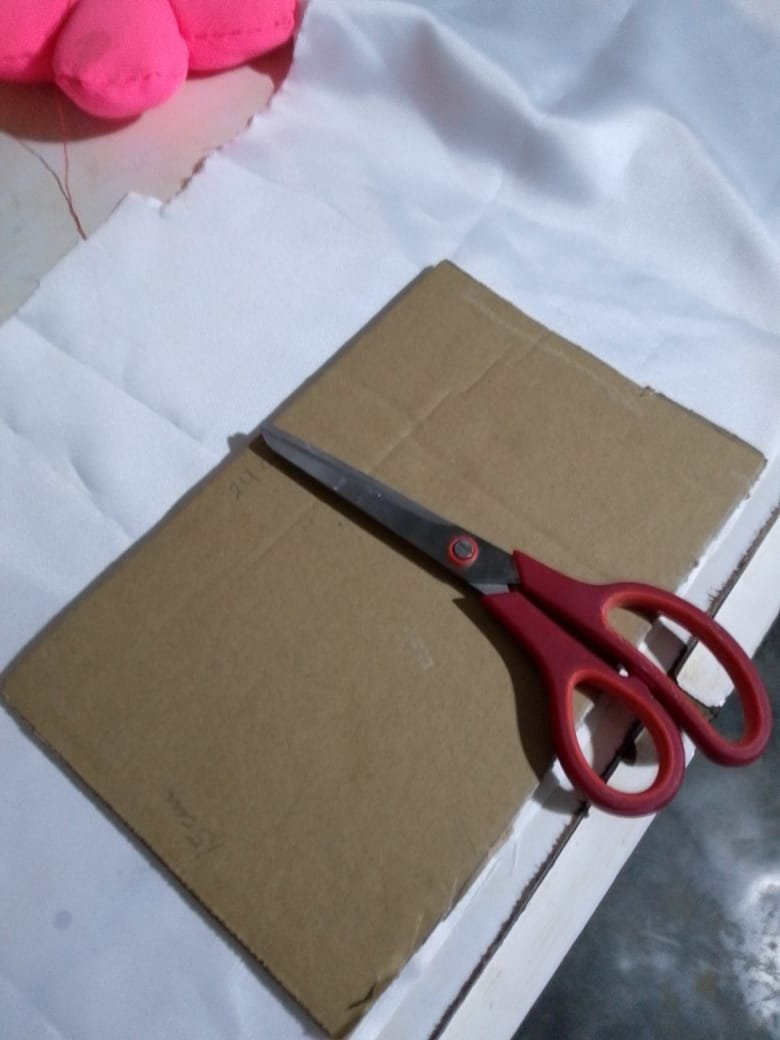
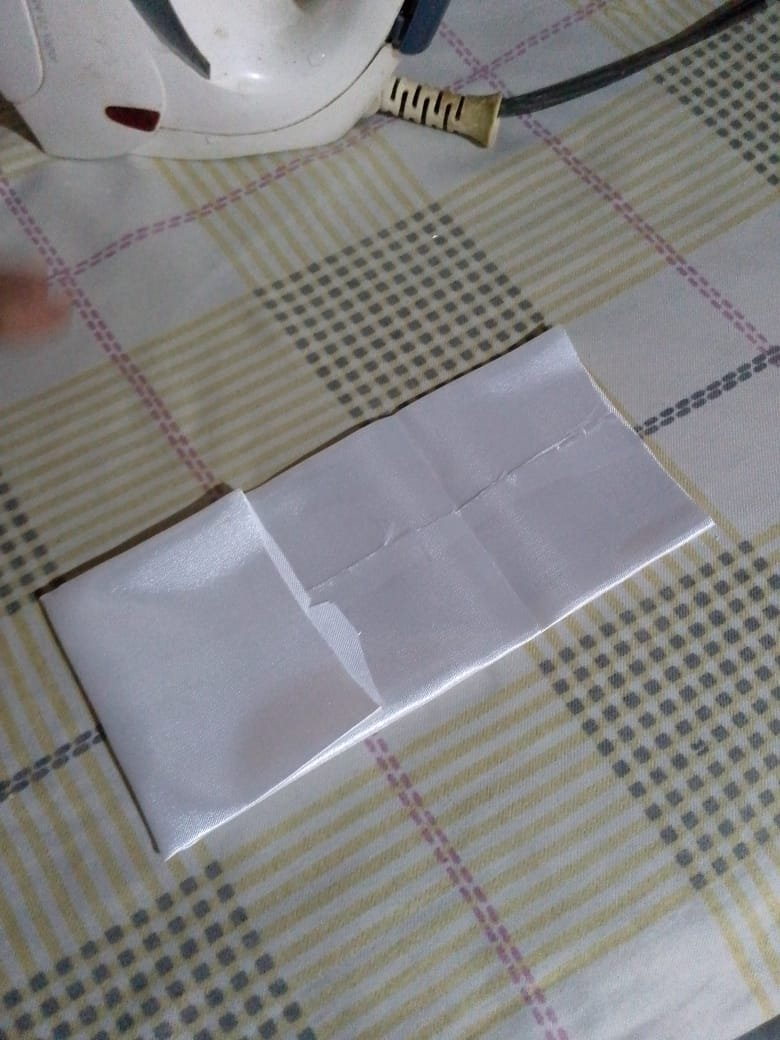
Primero les voy a decir que de esta cantidad de tela 1/2 metro salen unos 5 lazos, vamos a tomar nuestros patrones de cartón y vamos a colocarlos sobre la tela para copiar y cortar los patrones para nuestros lazos, yo los cortaba antes tijeras y luego con un mechero quemaba el borde de la tela,pero ahora estoy usando un cautin que de paso me cauteriza la tela de una vez para que no se me deshilache/div>
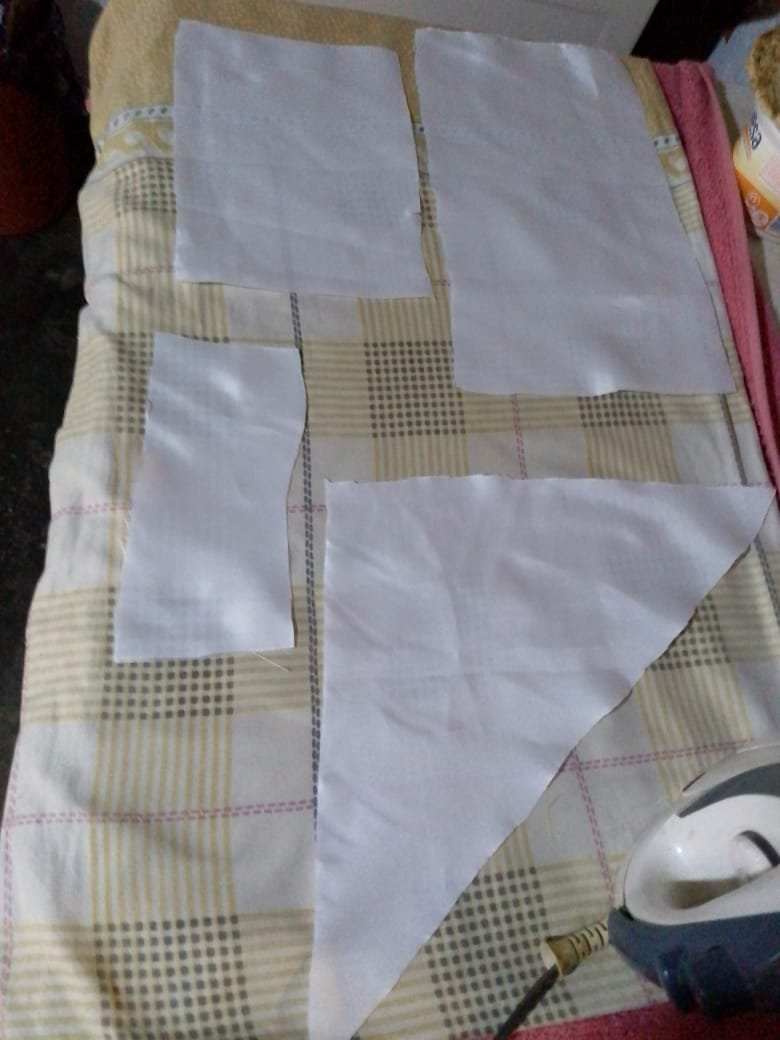
Vamos a cortar cuatro piezas una en forma de triángulo, dos en forma derectángulos y una tira como de 10 centímetros de largo por 5 centímetros de ancho, este último corte nos servirá para cubrir la costura al unir el lazo
Lo siguiente será planchar las piezas, los cortes rectangulares los planchamos de la siguiente manera, primero lo vamos a doblar a lo largo en tres partes iguales y luego de afuera hacia adentro, como se ve en la figura superior, esto solo en los cortes rectangulares les repito

Ahora vamos a unir los rectángulos que ya hemos planchado serán dos piezas una pequeña y otra más grande y lo cosemos con aguja e hilo, y de igual forma el corte triangular lo vamos a coser desde el borde superior hasta su base, así como podemos observar en la figura, este formará la cola del lazo
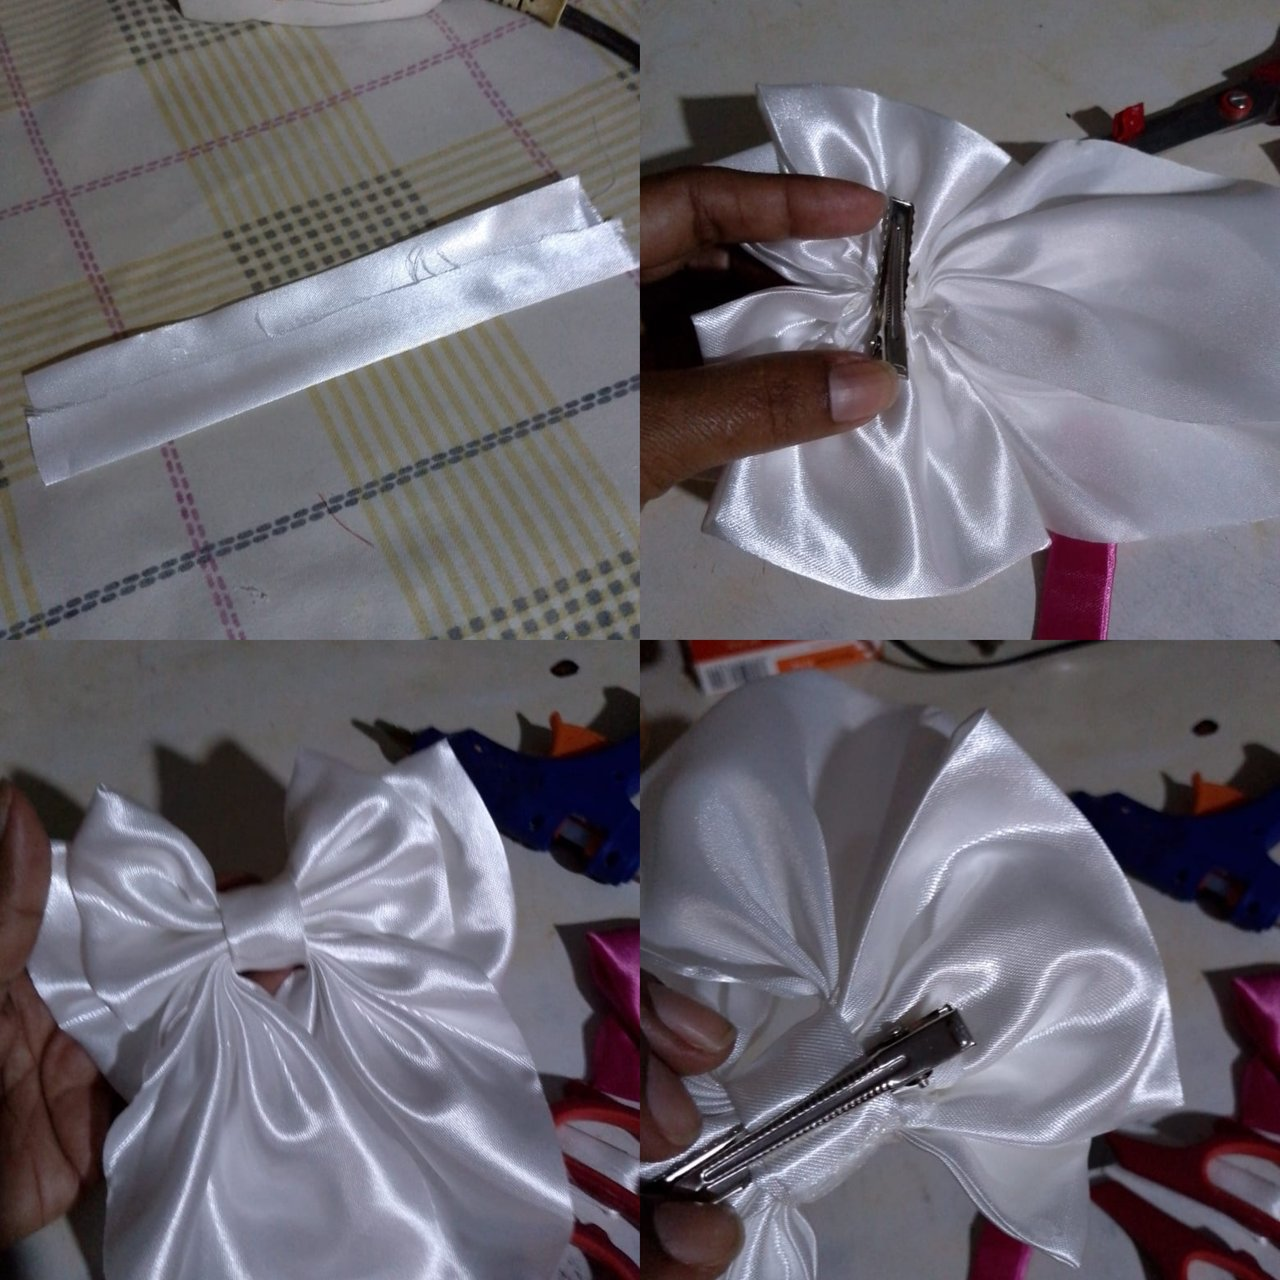
El próximo pasa es doblar el rectángulo más pequeño el de 5 por 10 centímetros y procedemos a unir el lazo con la cola, aprovechamos de colocar el gancho y la pequeña cinta para ocultar las uniones
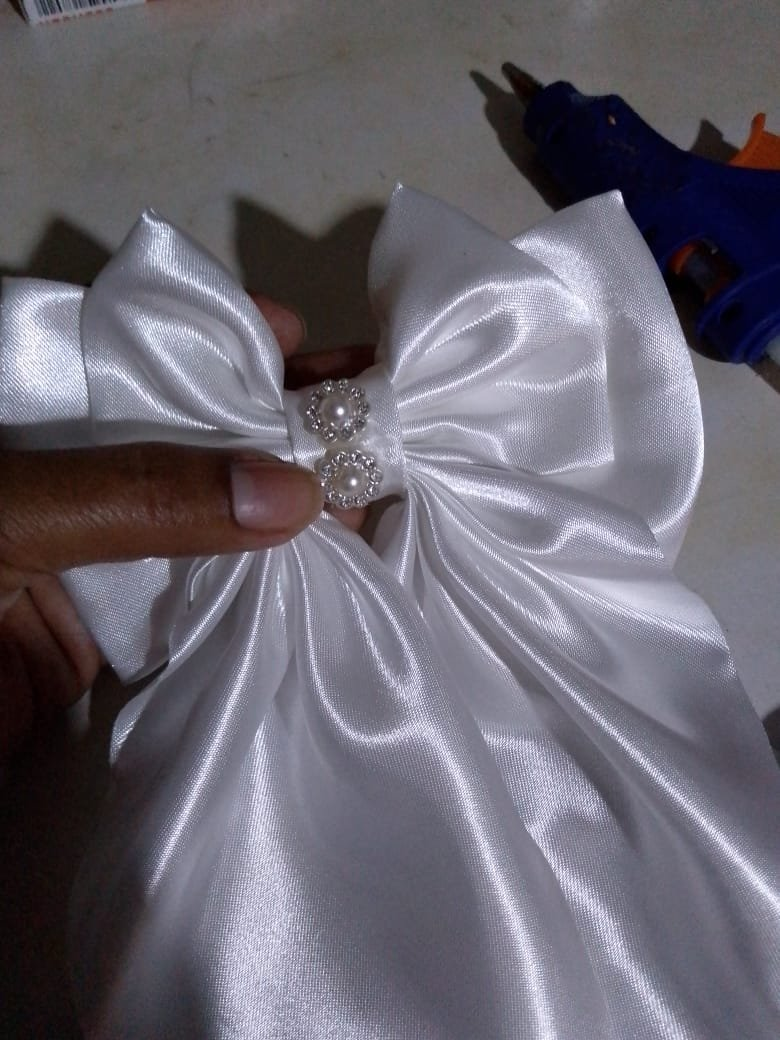
Por último terminamos colocando alguna decoración y listo tenemos nuestro lazo, como les mencioné yo del metro de tela saque 5 lazos y todos los vendi es una muy buena inversión
Todas las imágenes mostradas fueron realizadas con mi teléfono Infinity Hot Play 12
Cómo traductor use Google en línea
Greetings friends from #hivediy, the home of all artisans, today I am here again to share another of my crafts, I hope you like it
Taking advantage of the new fashion of flirty bows, I share with you a practical way to make these bows, I have already made several and that is why I want to show you the making process so that you can do it at home, like this let's get to work
The materials to create these ties are the following
- 1/2 meter of satin fabric of the color we want, I used white
- Thread and needle
- Scissors or soldering iron
- Cardboard patterns
(rectangle of 18 x 33 centimeters
15 x 24 centimeters rectangle
triangle of 18 centimeters on all sides) - Hot glue gun
*Hair hook
First I am going to tell you that from this amount of fabric 1/2 meter comes out about 5 loops, we are going to take our cardboard patterns and we are going to place them on the fabric to copy and cut the patterns for our ties, I used to cut them with scissors and then with a lighter I burned the edge of the fabric, but now I am using a soldering iron that cauterizes the fabric at once so that it does not fray/div>
We are going to cut four pieces, one in the shape of a triangle, two in the shape of rectangles and a strip about 10 centimeters long by 5 centimeters wide, this last cut will serve to cover the seam when joining the lasso
The next thing will be to iron the pieces, we iron the rectangular cuts in the following way, first we are going to fold it lengthwise into three equal parts and then from the outside in, as seen in the figure upper, this only in the rectangular cuts I repeat
Now we are going to join the rectangles that we have already ironed, they will be two pieces, one small and one larger and we will sew it with a needle and thread, and in the same way we will sew the triangular cut from the upper edge to its base, as we can see in the figure, this will be the tail of our loop
The next step is to fold the smallest rectangle, the 5 by 10 centimeters and we proceed to join the bow with the tail, we take advantage of placing the hook and the small ribbon to hide the joints
Finally we finish placing some decoration and ready we have our bow, as I mentioned I took 5 bows from the meter of fabric and sold them all, it is a very good investment
All images shown were taken with my Infinity Hot Play 12 phone
How to translate use Google online
0
0
0.000
Excelente trabajo, el estilo coquette sigue están en tendencia y ahora más que nunca, te recomiendo usar el traductor Deelp para traducir tus publicaciones de manera mucho más cómoda, saludos
Saludos amigo muchas gracias por tu apoyo y por tu recomendación lo tendré en cuenta en mis próximas publicaciones
¡Felicidades! Esta publicación obtuvo upvote y fue compartido por @la-colmena, un proyecto de Curación Manual para la comunidad hispana de Hive que cuenta con el respaldo de @curie.
Si te gusta el trabajo que hacemos, te invitamos a darle tu voto a este comentario y a votar como testigo por La Colmena.
Si quieres saber más sobre nuestro proyecto, te invitamos a acompañarnos en nuestro servidor de Discord.
Muchas gracias por brindarme el apoyo amigos saludos
Que lindos lazos.. Saludos
Gracias mi linda amiga
Está precioso!
Gracias amiga por tu visita y apoyo saludos
Me encantan estos lazos, te quedó muy bien 😍
Muy coquette de su parte, encantada con esta nueva moda y el tutorial, saludos.🤍✨
Saludos estimada amiga muchas gracias por la visita me alegro mucho que te haya gustado el lazo
Feliz tarde