LIRA THE DARK FAN ART - SPLINTERLANDS // WEEK // 188 MY CONTRIBUTION FOR THIS WEEK CHALLENGE
Wassup hive and splinterlands community it's me again competing for another weekly fan art challenge on SPLINTERLANDS this is my contribution for this week
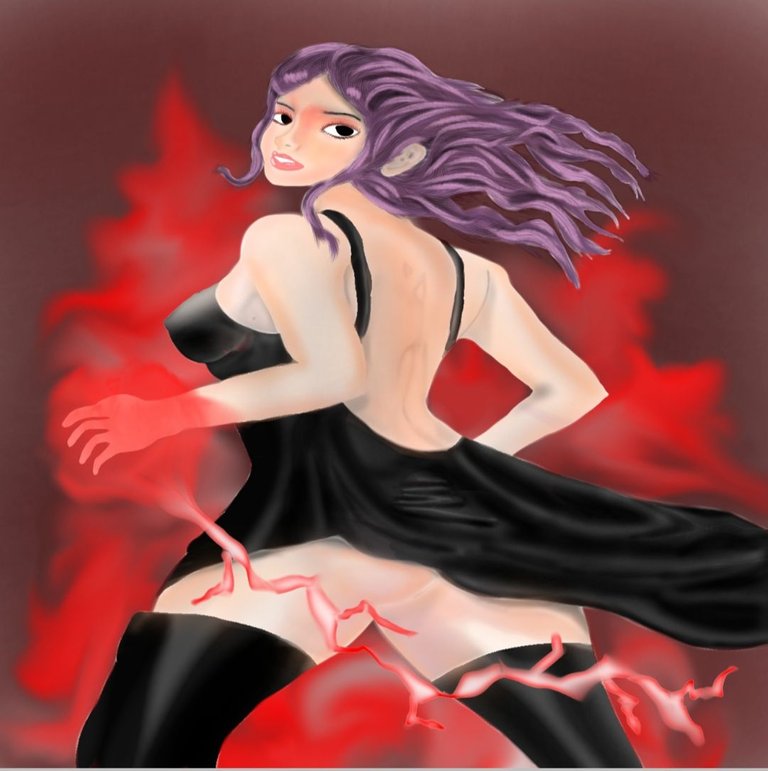
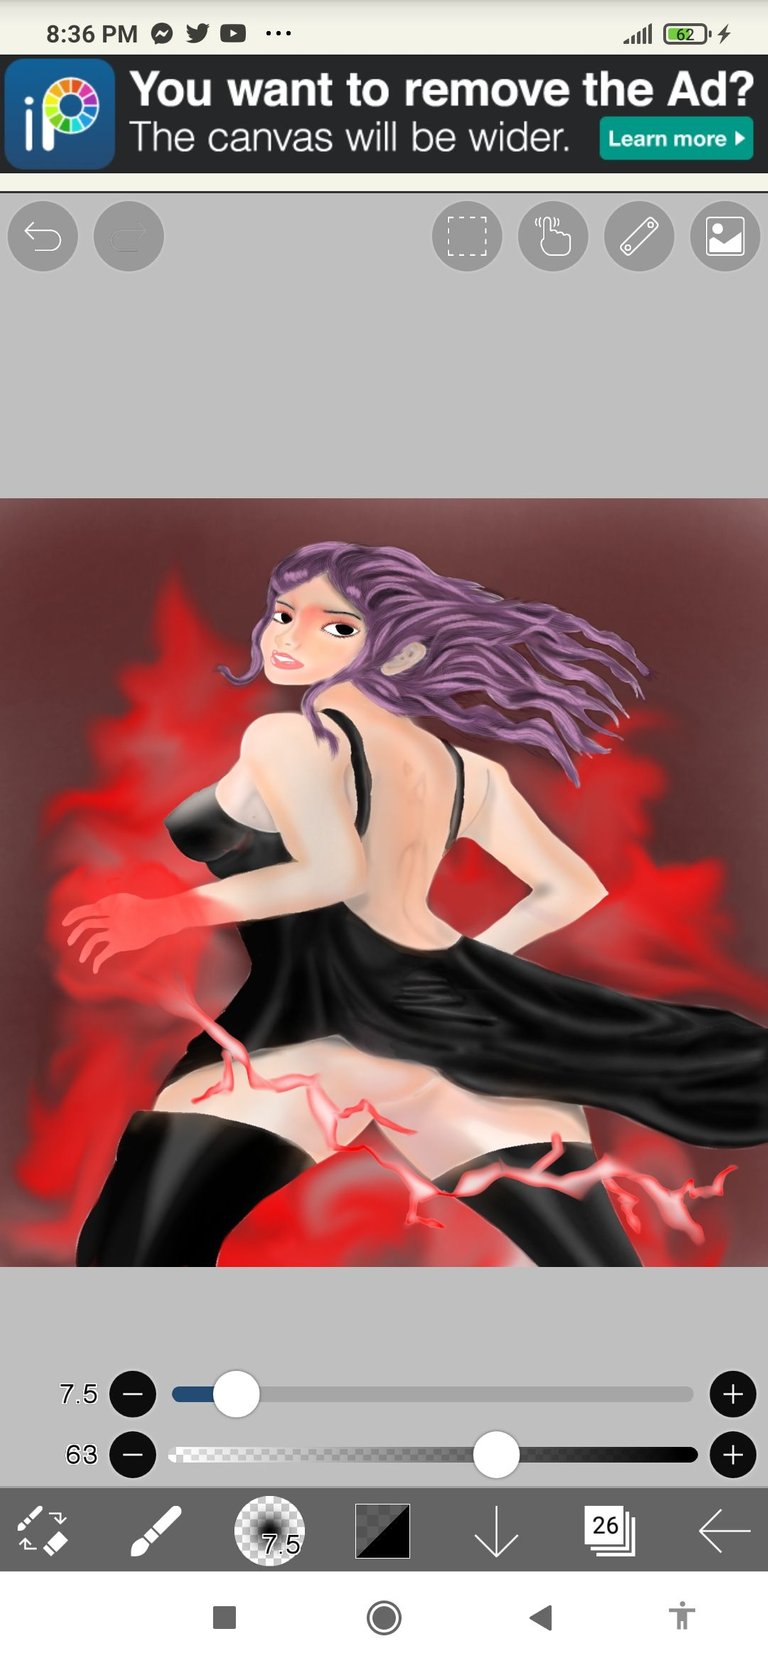
This is my version of lira the dark a legendary card in death splinter i came to the idea of this version of lira the dark to look of how she is beautiful but do not be deceived by her gorgeous look because behind of how she is gorgeous she has the ability to kill.

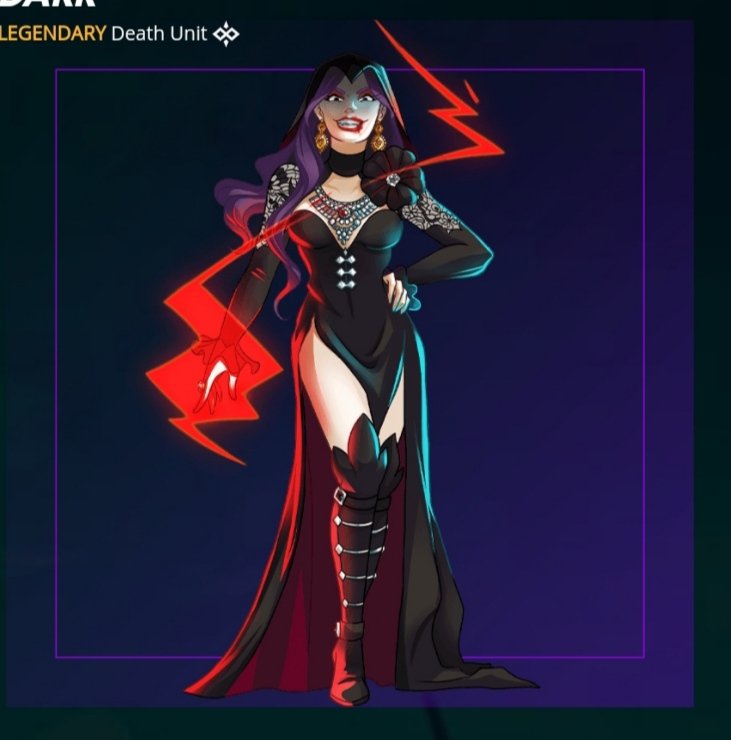
REFERENCE
LORE
Lira was turned into a vampire as a young woman when she attended a party of the rich and powerful, only to later realize that the majority of the guests were vampires. However, Lira did not see her new self as a monster. Rather, she saw her vampirism as an opportunity. Lira was born into a high-standing family that struggled with maintaining their wealth, so she embraced the transformation and set to work building her power and influence.
After her parents passed away, Lira took over their ancient manor nestled deep within the mountains. It is a manor always wreathed in shadow, and it is there that Lira conducts her rituals. A pact with shadow itself gave Lira immense spellcasting prowess. It enabled her to traverse the Splinterlands by moving from shadow to shadow. It also enabled her to use shadows as weapons against her enemies, allowing her to attack from afar.
Over the years Lira has led a cult of vampires. With her guidance, they have infiltrated the sects of the rich and powerful. Lira can make anyone do as she wishes through exploitation and threats, but if those don't work, she is more than happy to feast on her prey.
Across the Splinterlands, the name Lira the Dark is said with fear and awe. Other vampires envy the power she has achieved. She has had to defend her manor many times against those seeking to unseat her. The corpses of those who have tried now hang from her walls as a warning to others.
MY ART PROCEDURE
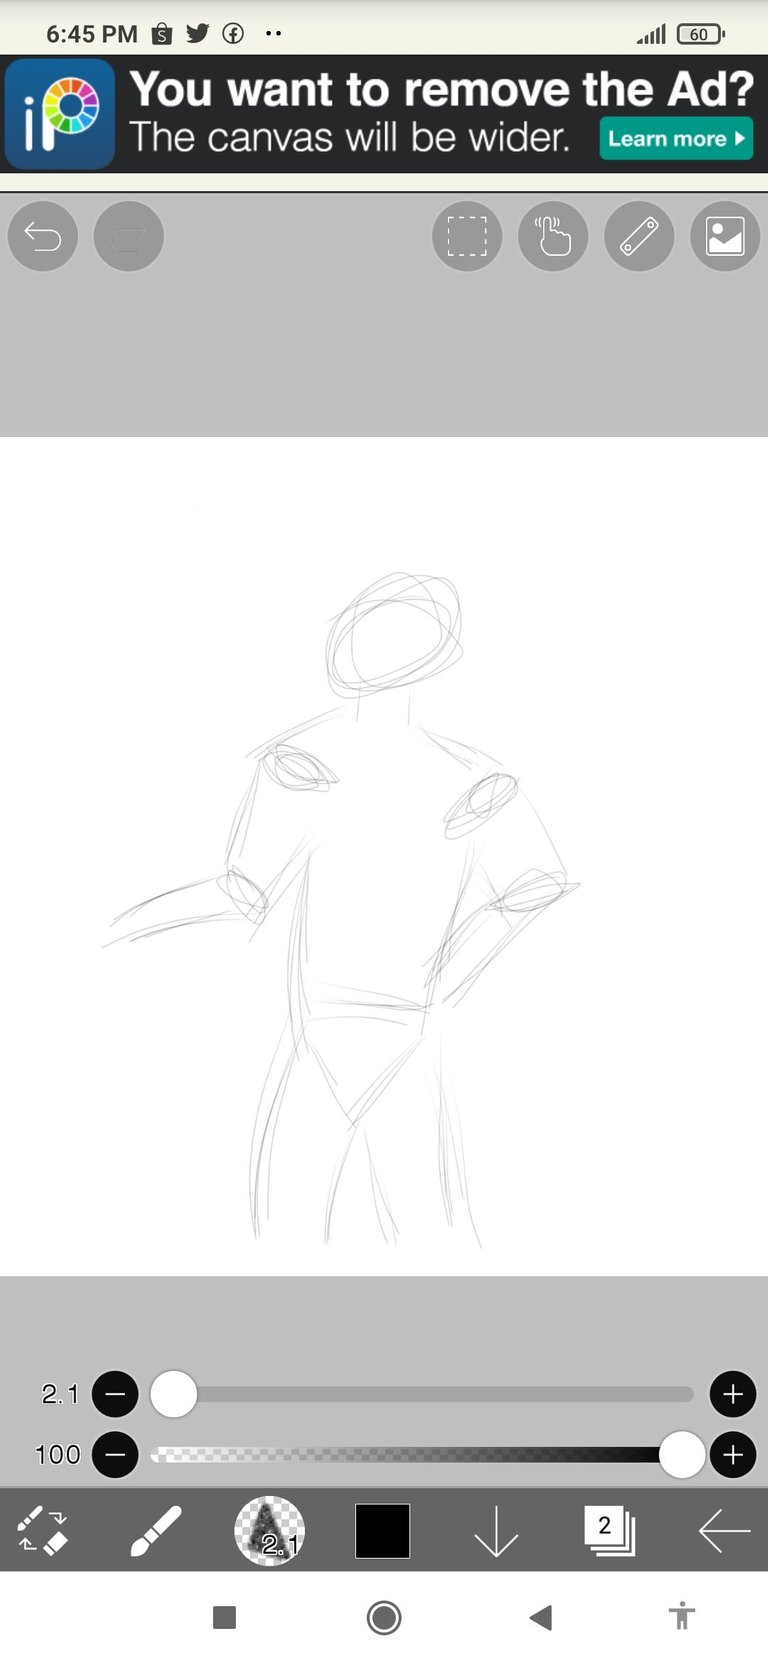
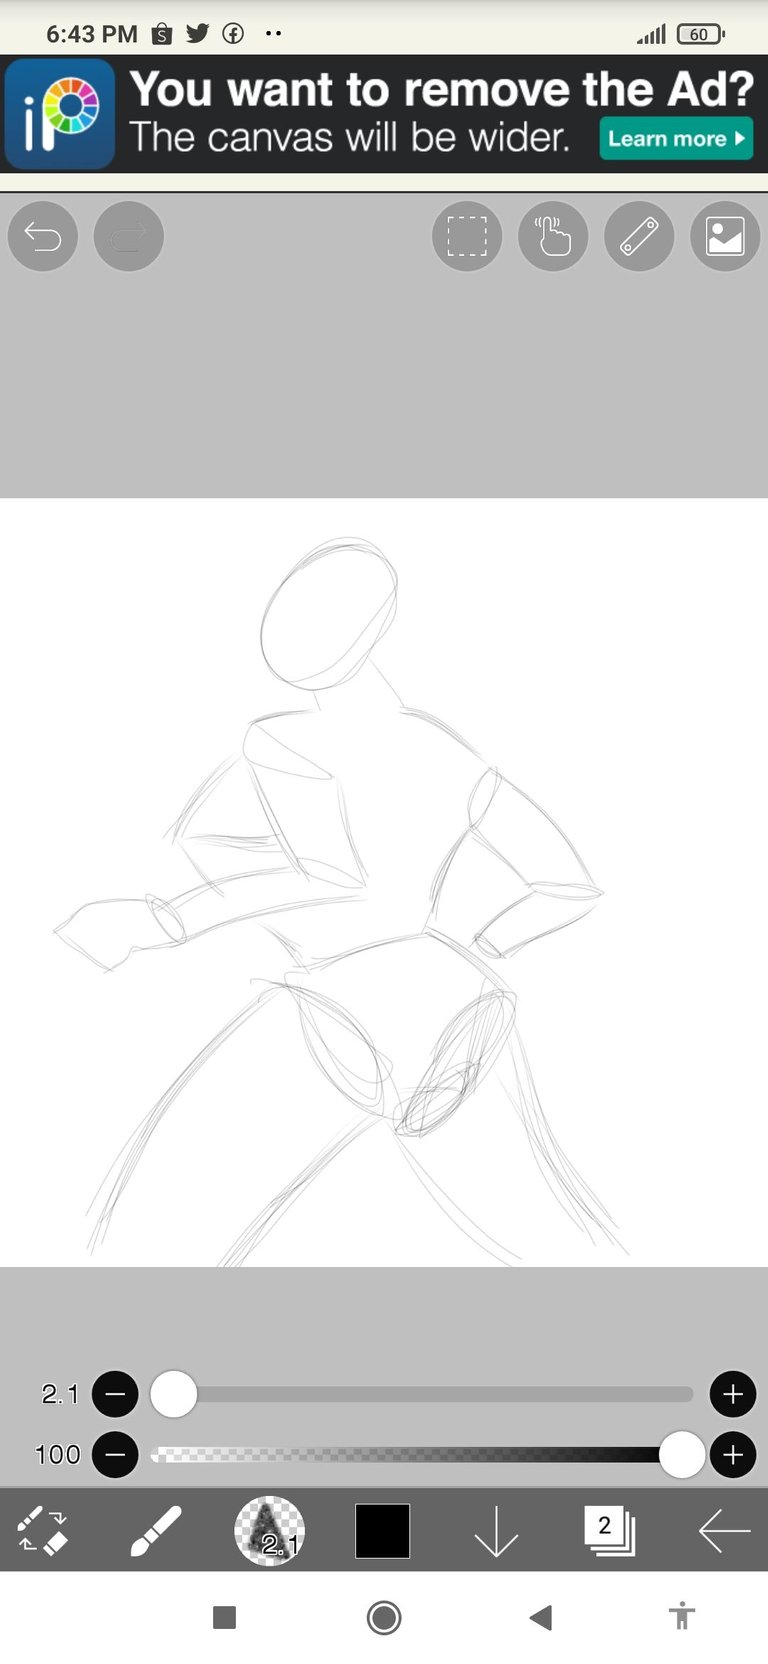
ROUGH SKETCH
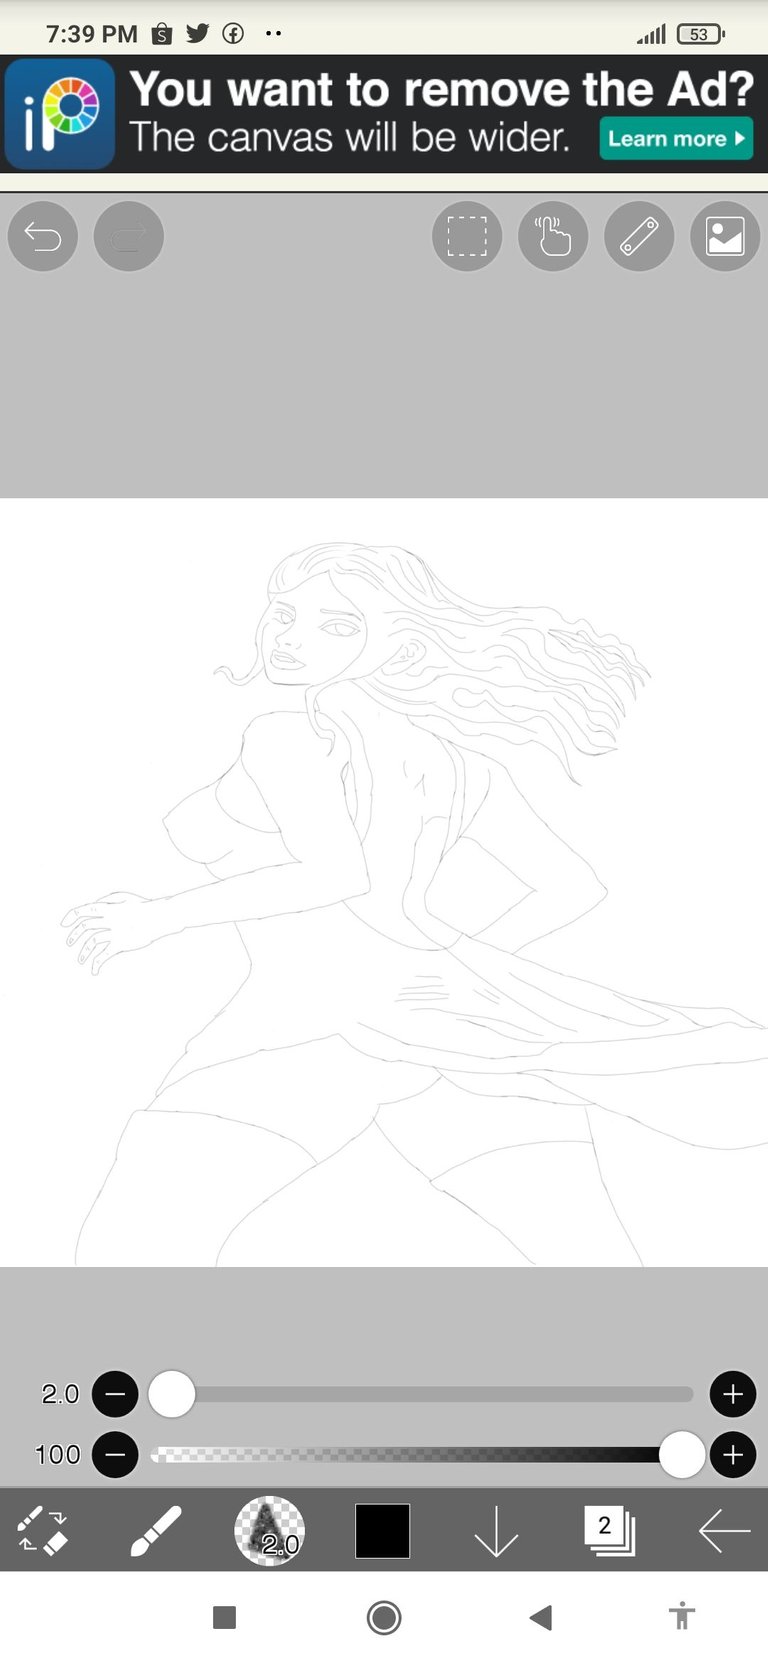
First i draw a rough sketch to see how will my line art
 |  |
|---|
I struggle to see of how the line art will post so i came to this idea
LINE ART/ DETAILS
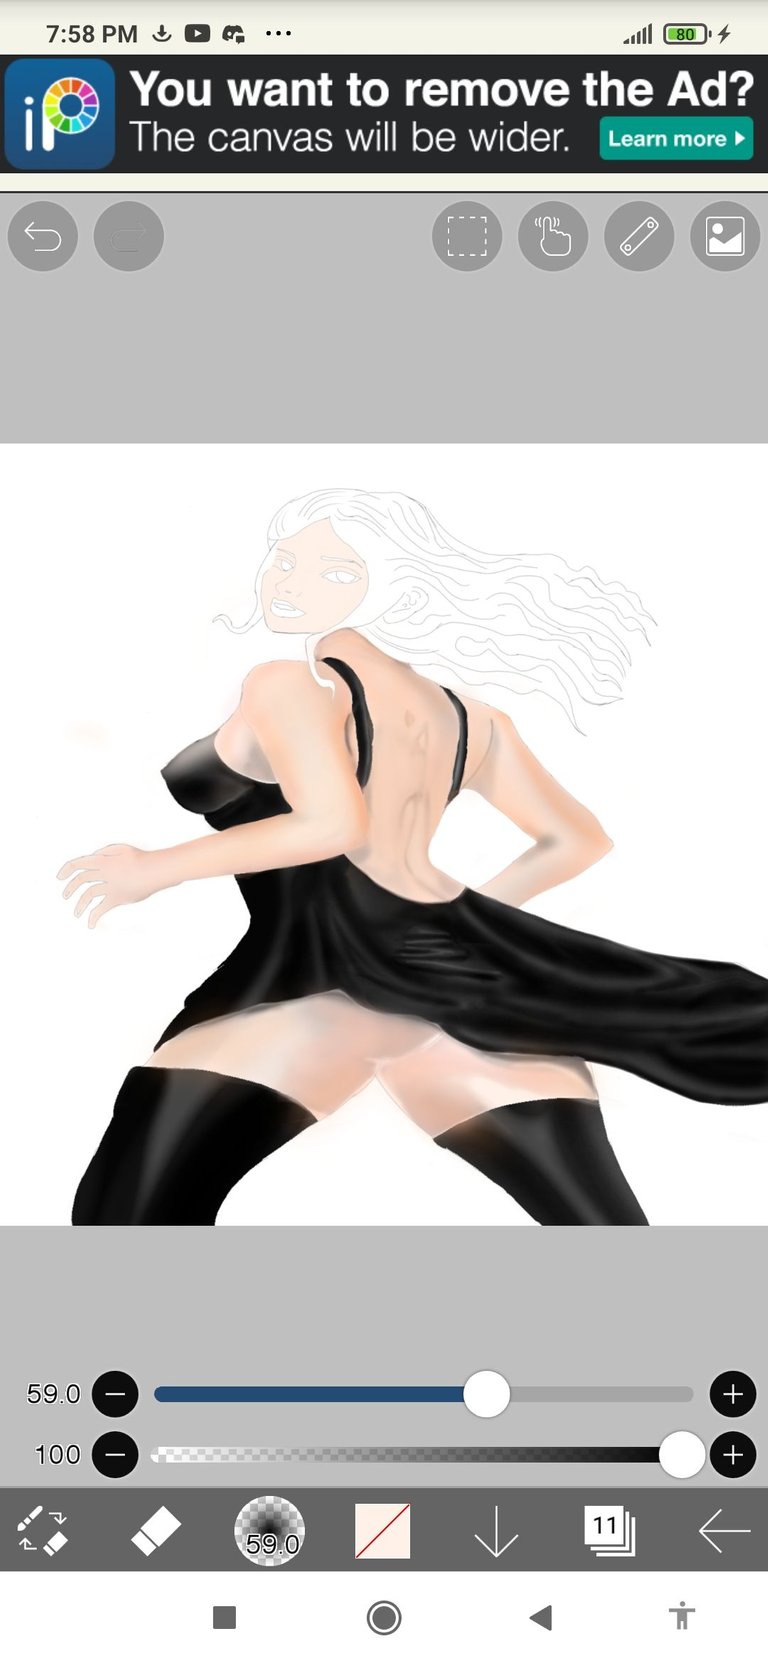
Second i draw the line art and put the hair and the dress
COLORING PROCEDURE
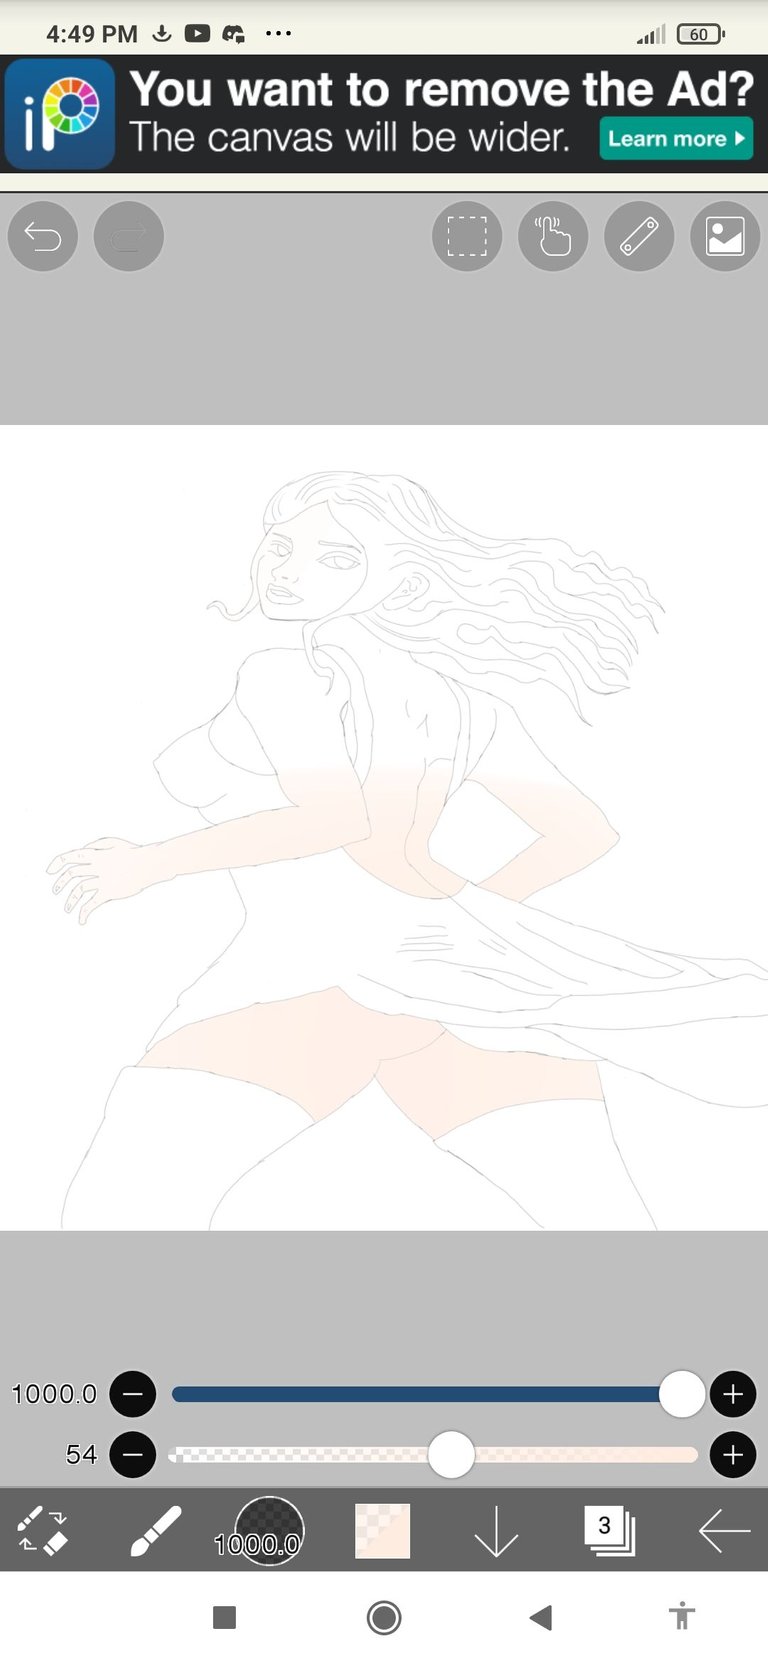
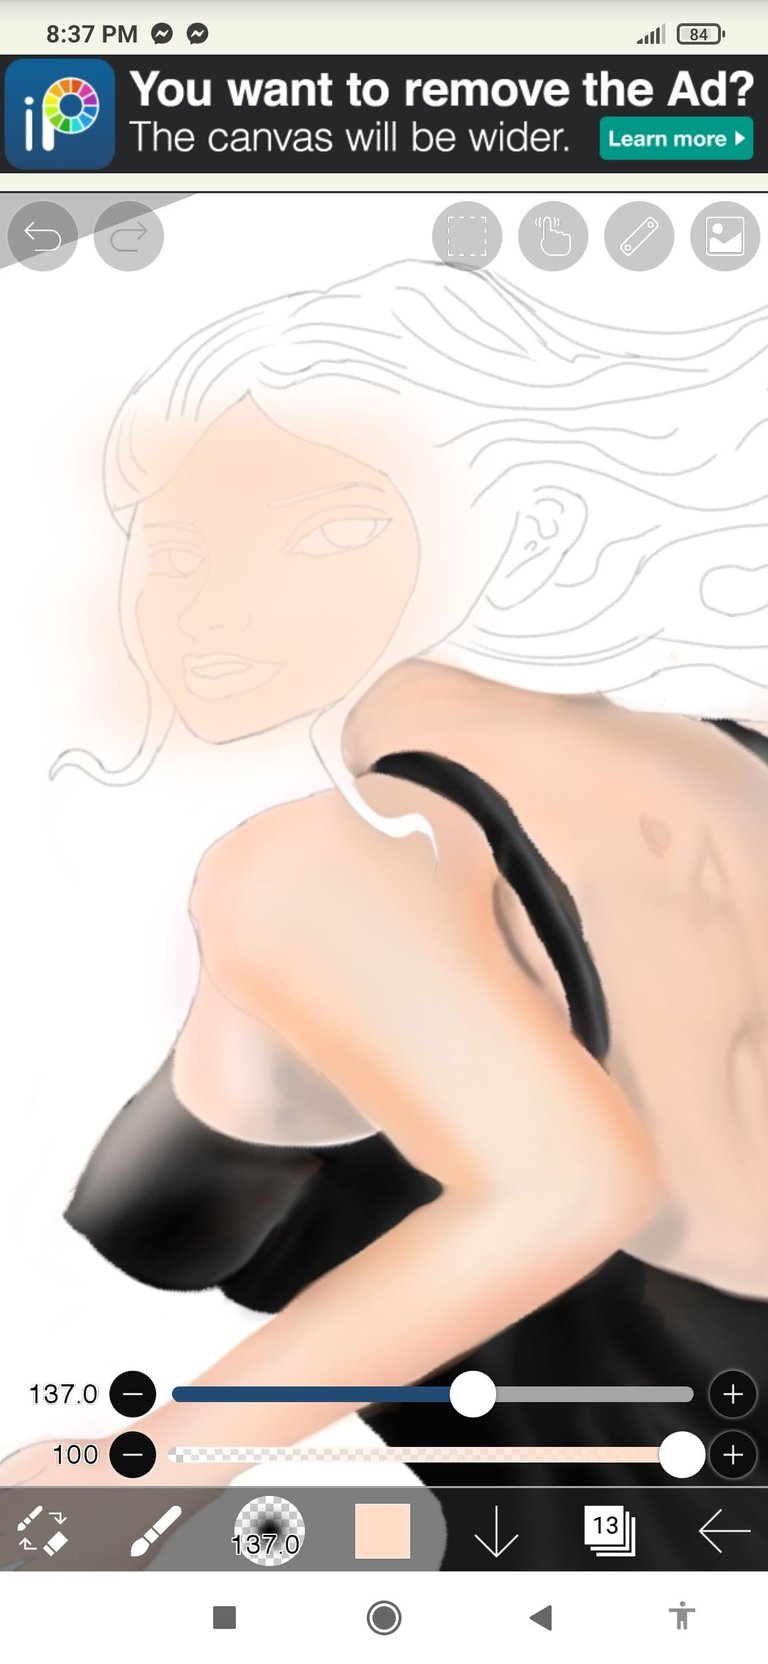
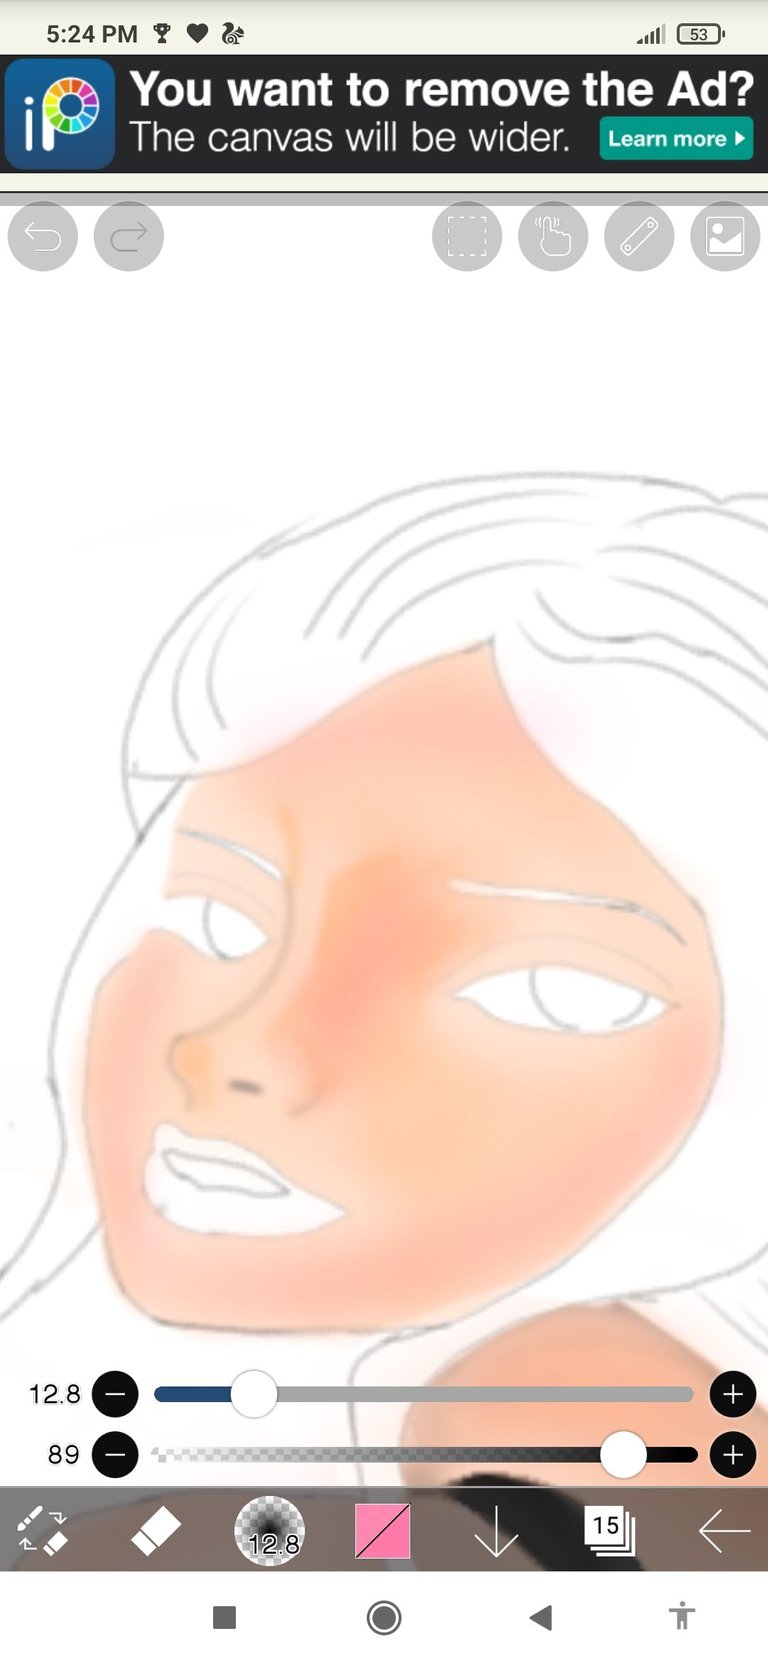
Third step is to color the line art so i add a layer and start to color the skin using airbrush normal
 |  |
|---|
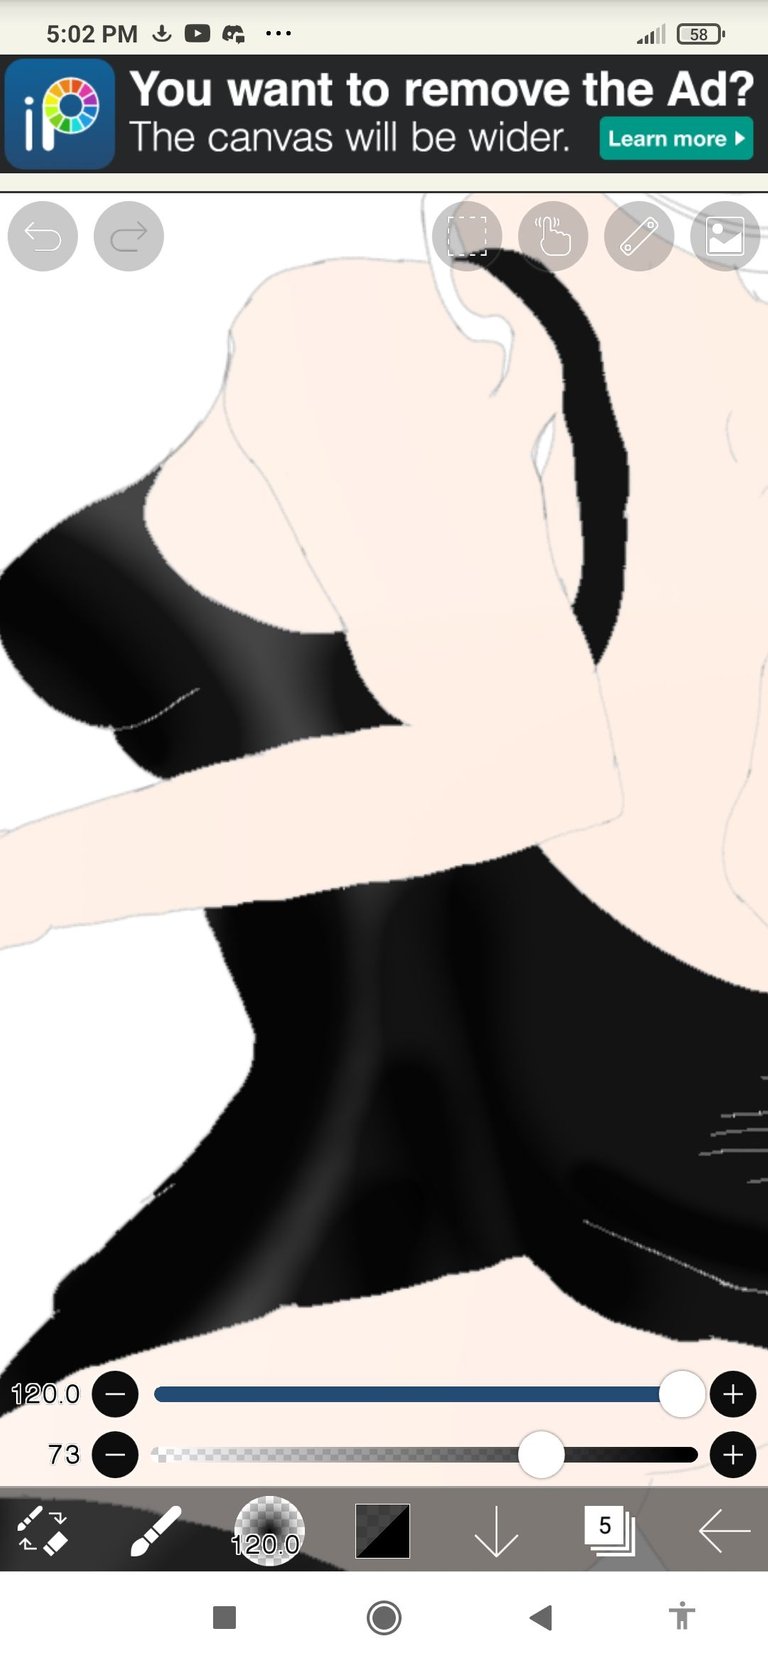
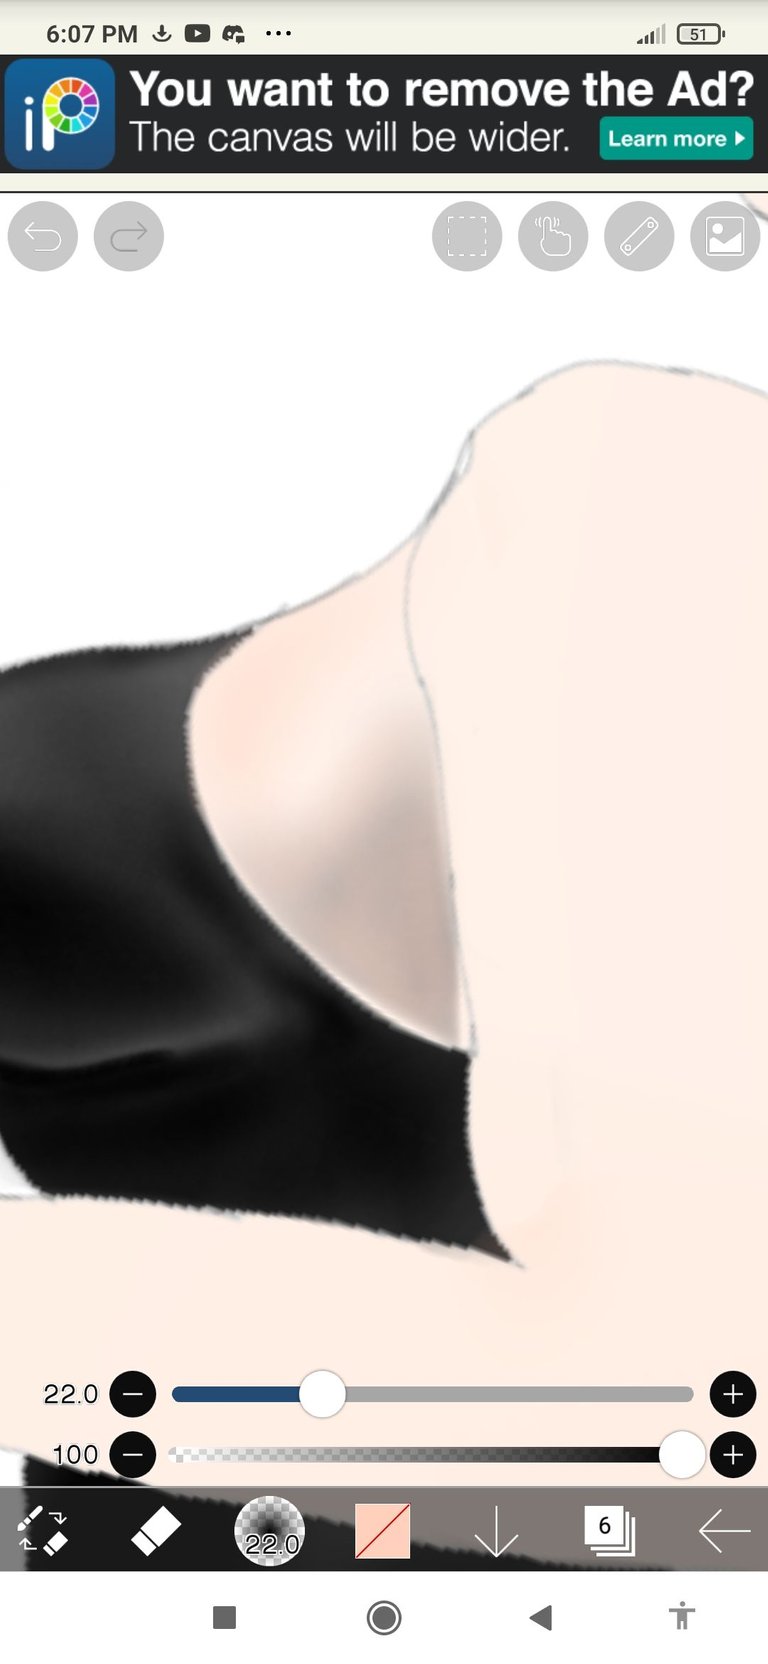
Fourth step i also add another layer every color that i put i add a layer for better erasure and then i color the dress using the same brush
 |  |
|---|
COLORING OF THE DETAILS
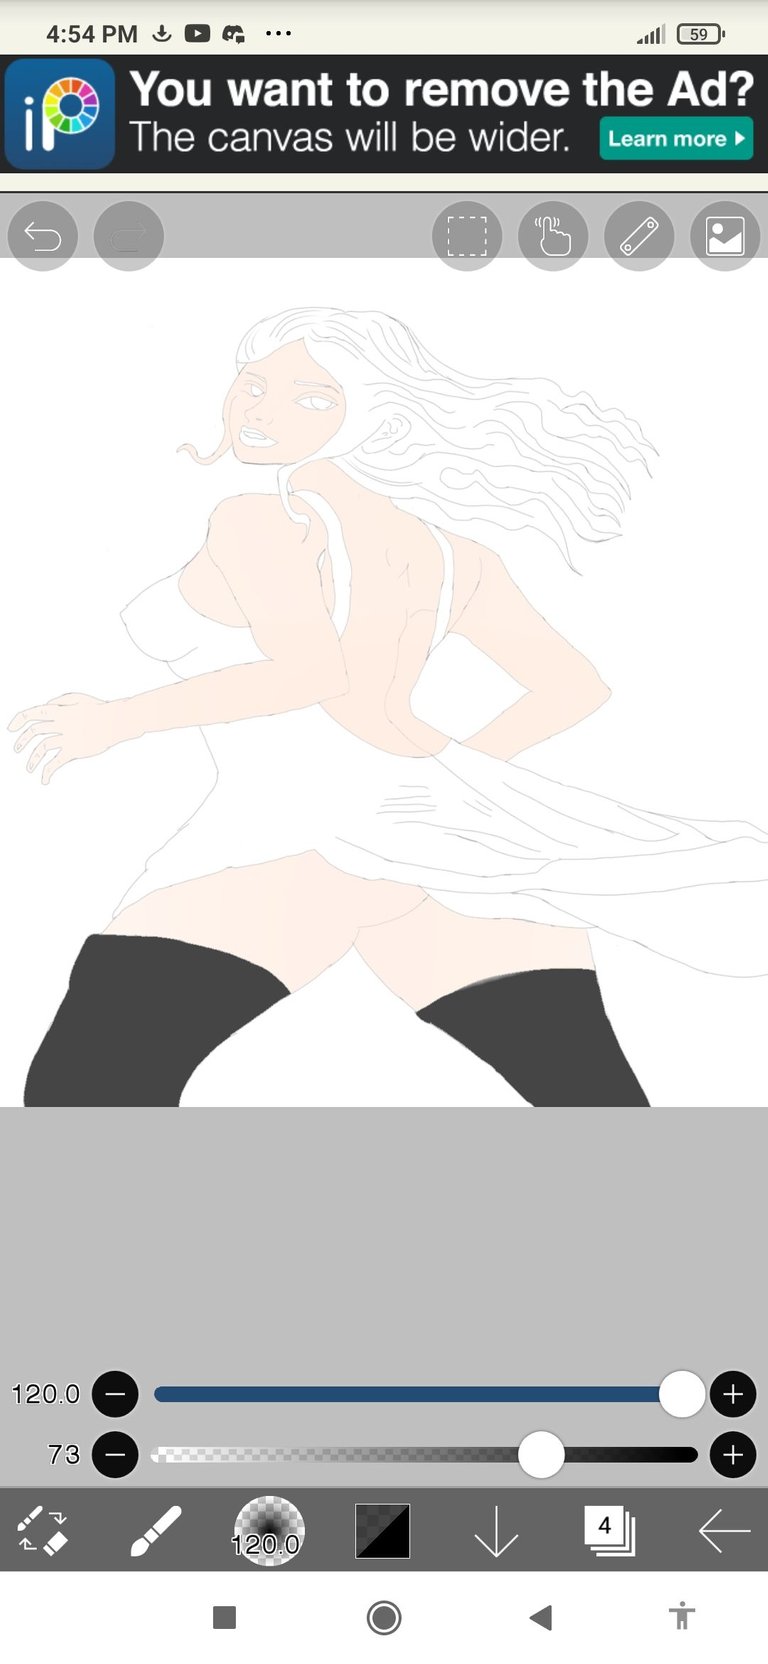
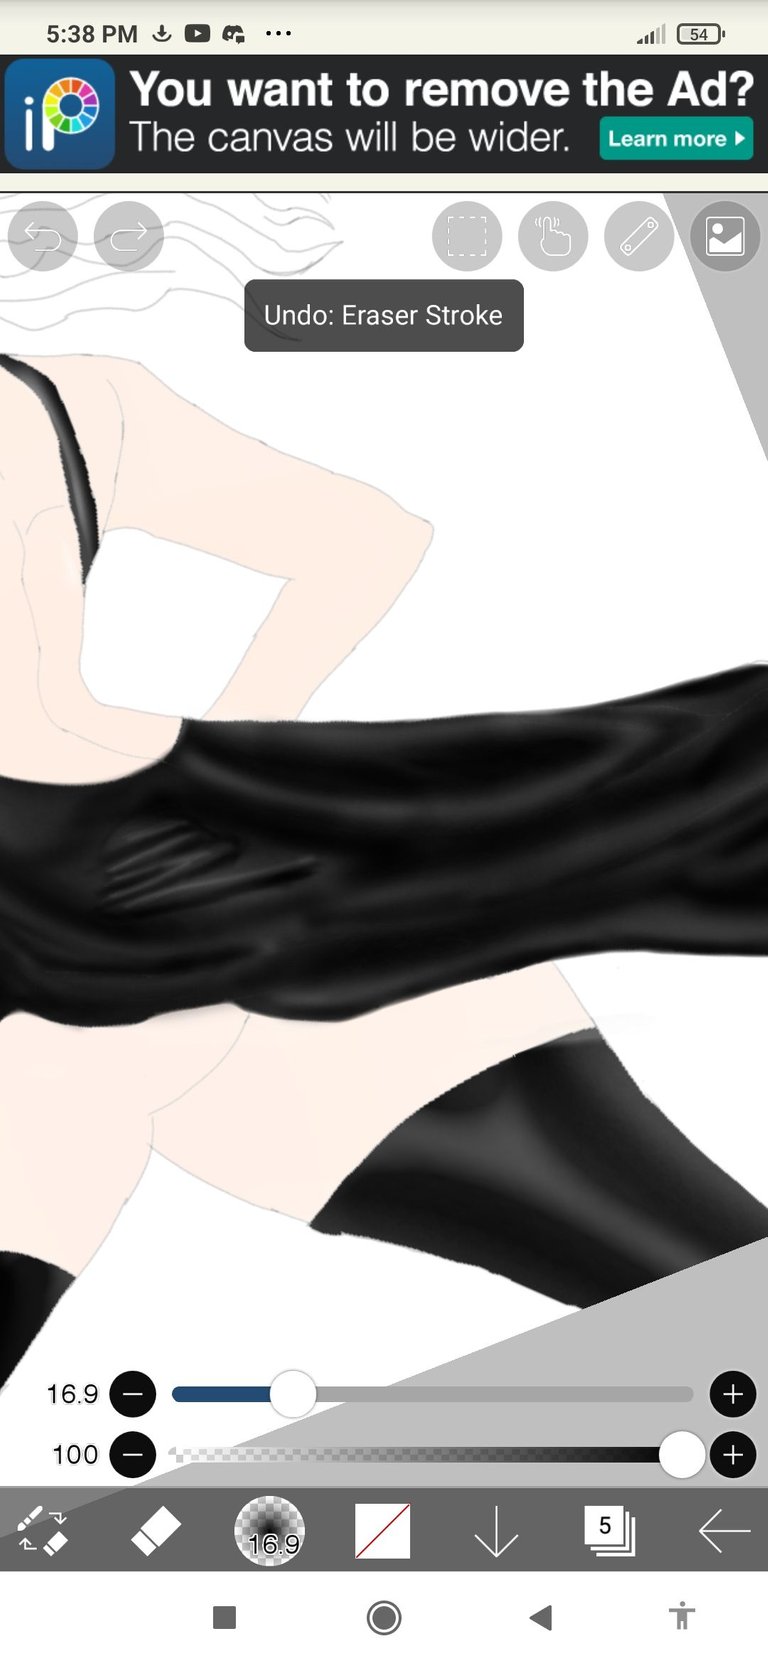
Fifth step coloring of the details of the dress she wear i use airbrush normal to put details in the dress
 |  |  |
|---|
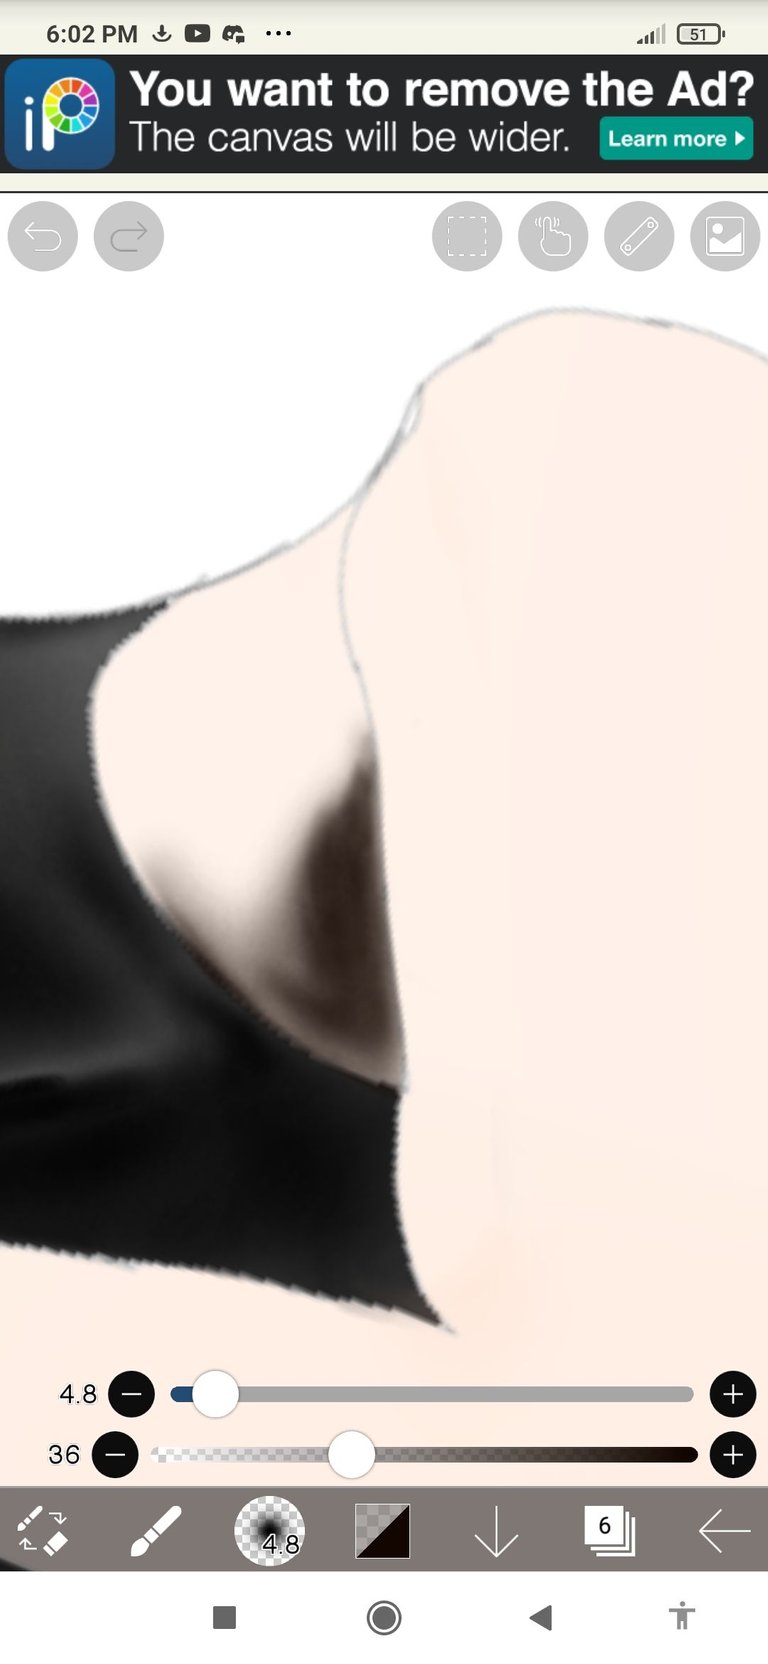
Sixth step is coloring the details of the skin in this step i also use airbrush normal and i start to color the shadows of the skin
 |  |
|---|
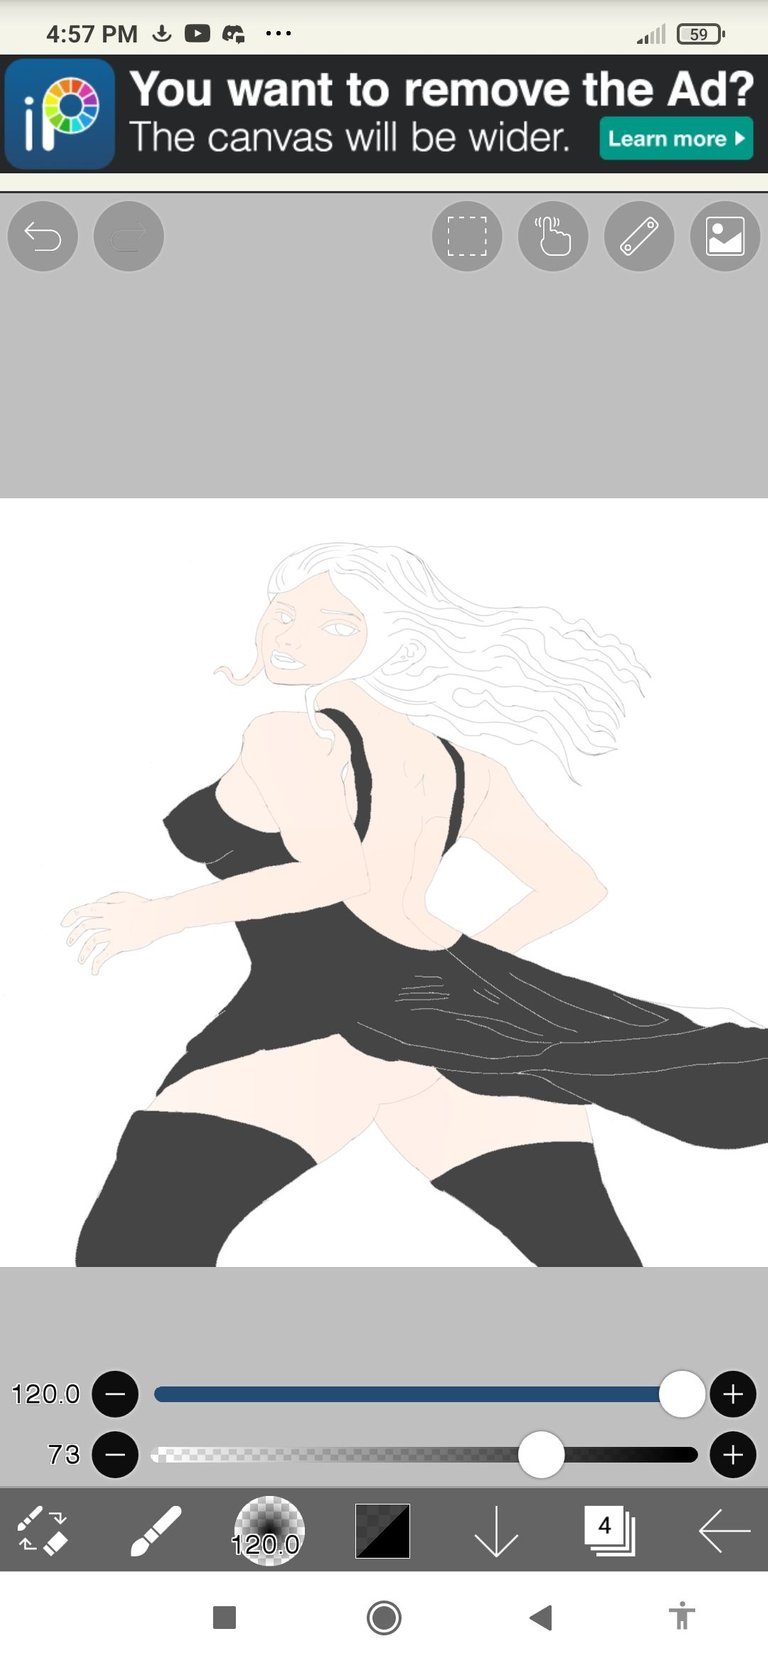
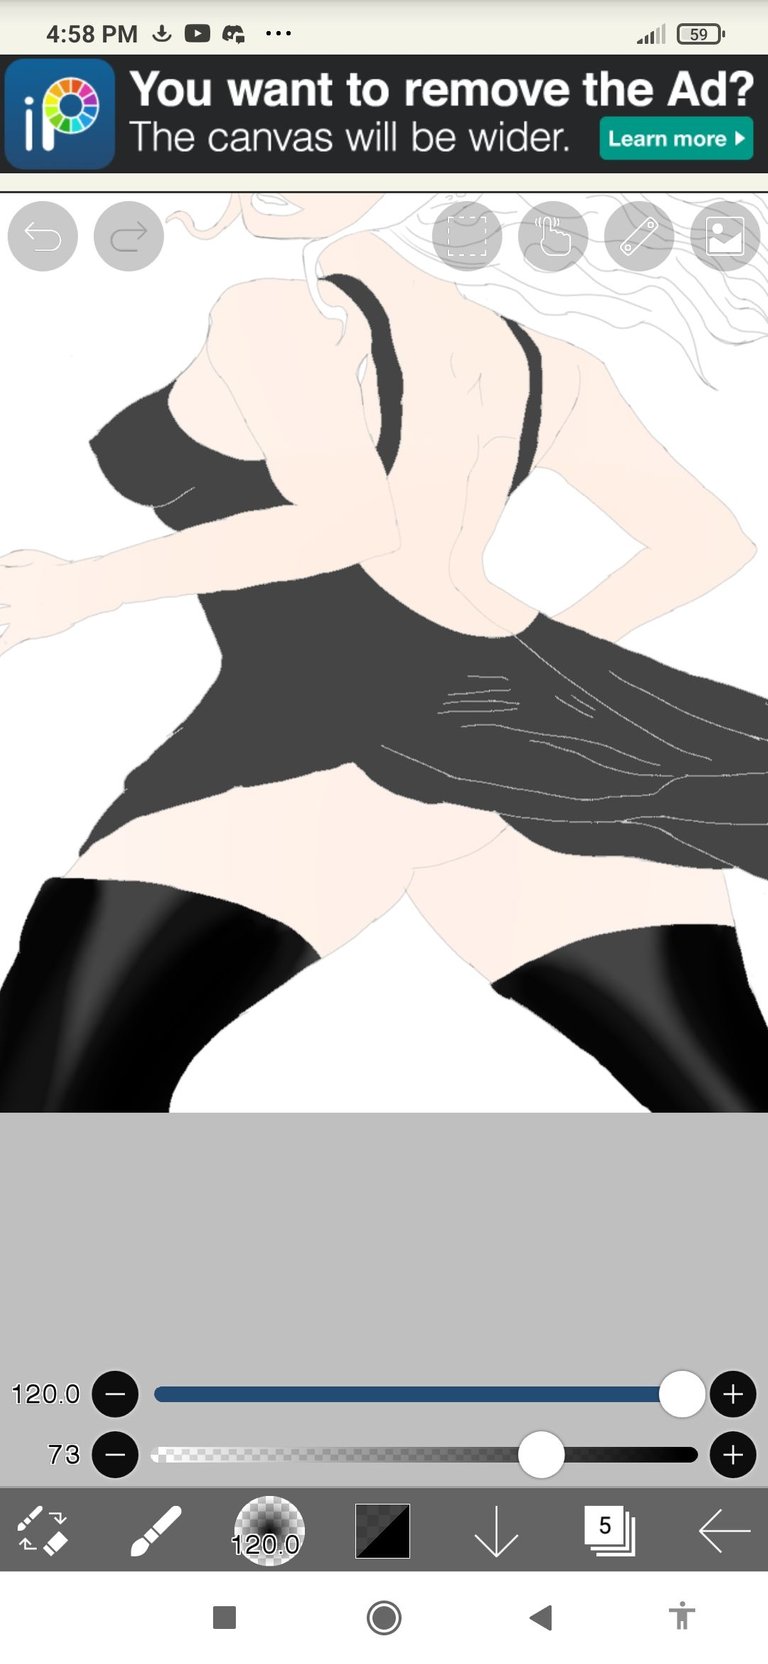
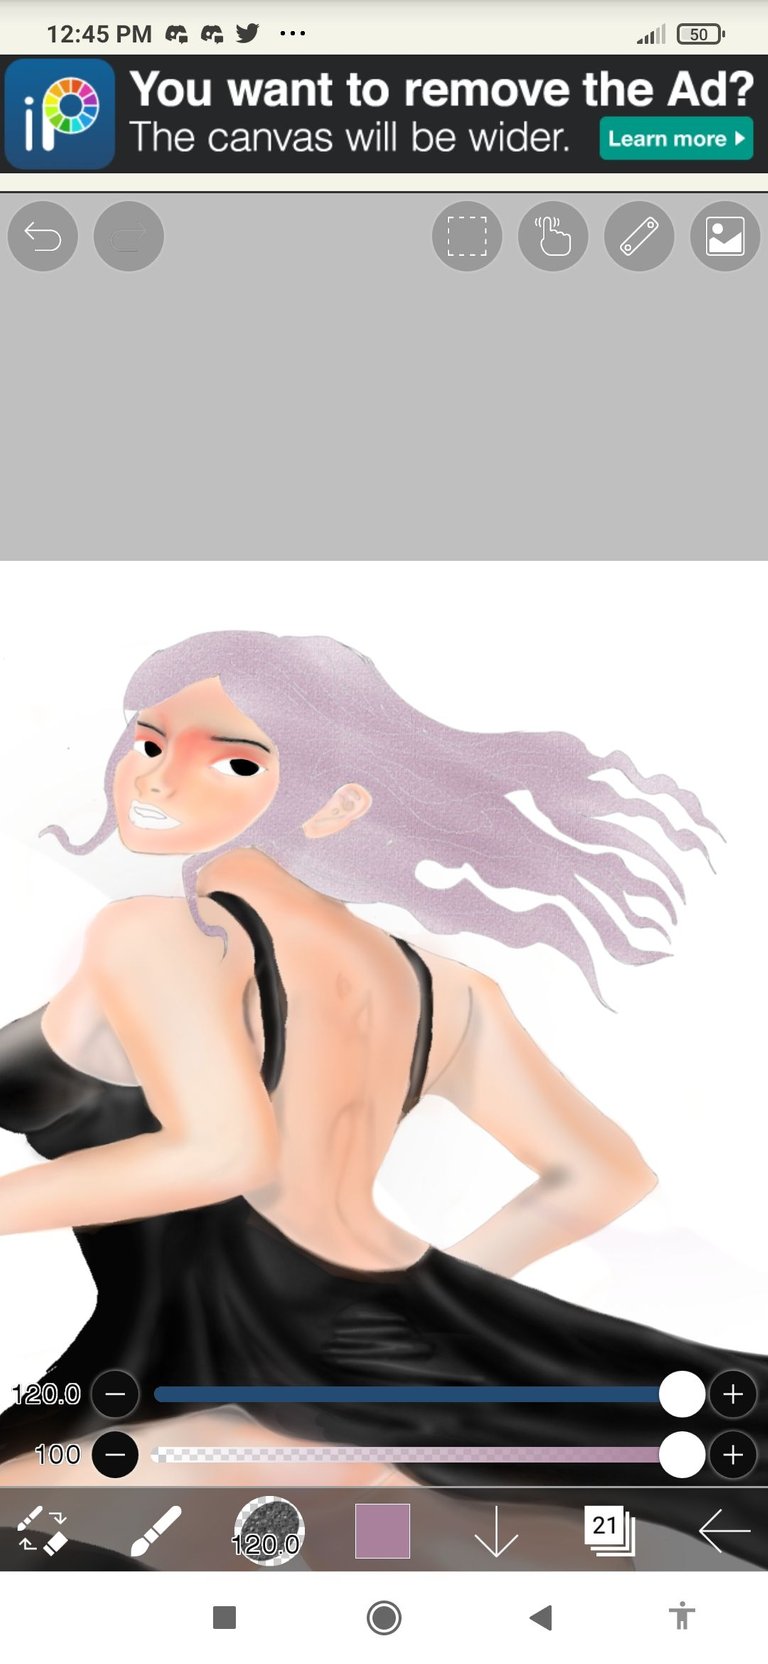
Seventh step i color the whole details in the body also using airbrush normal
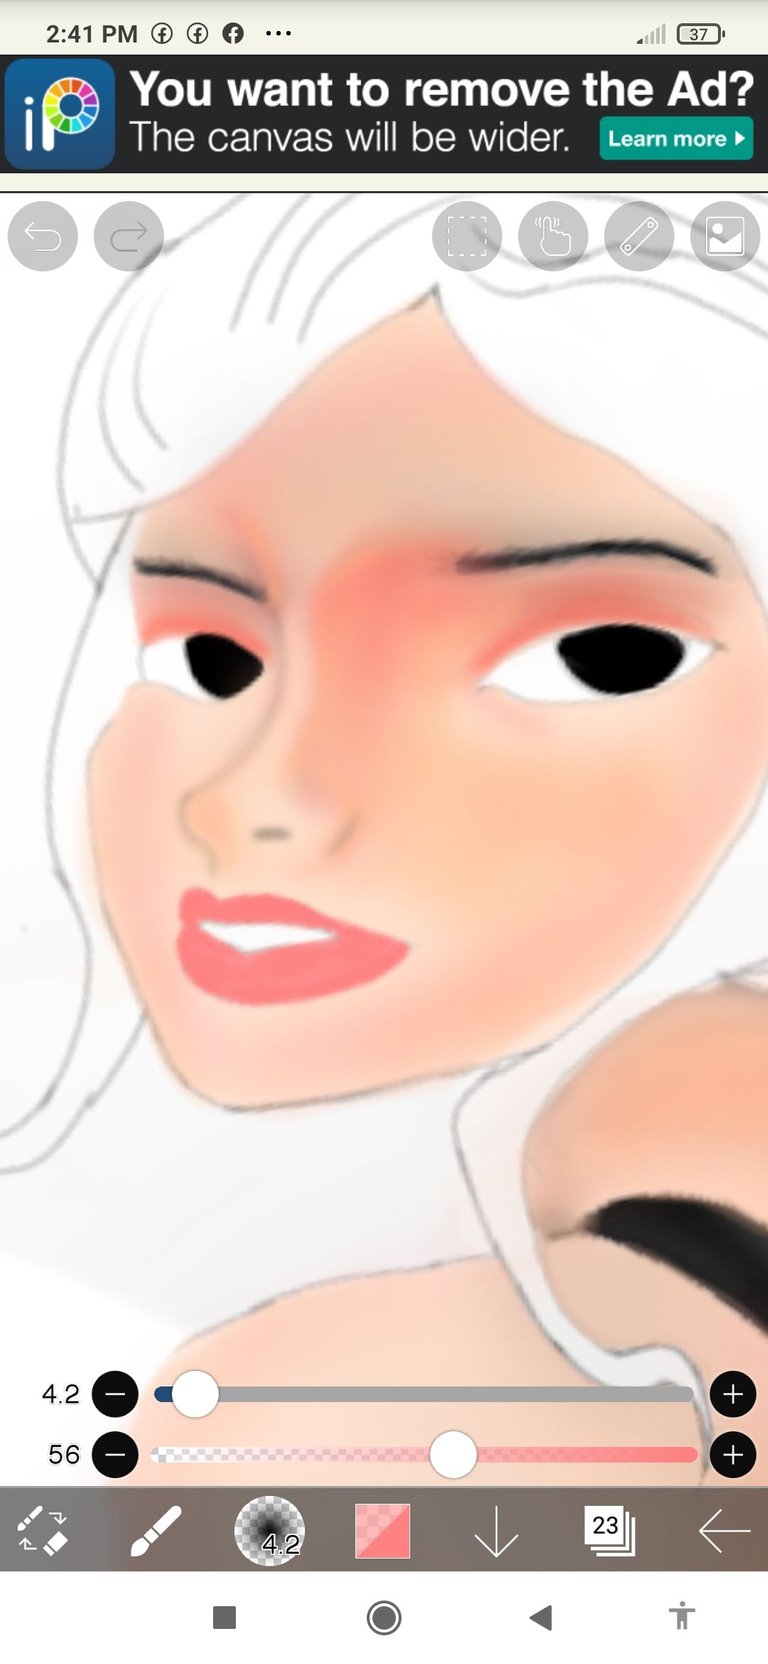
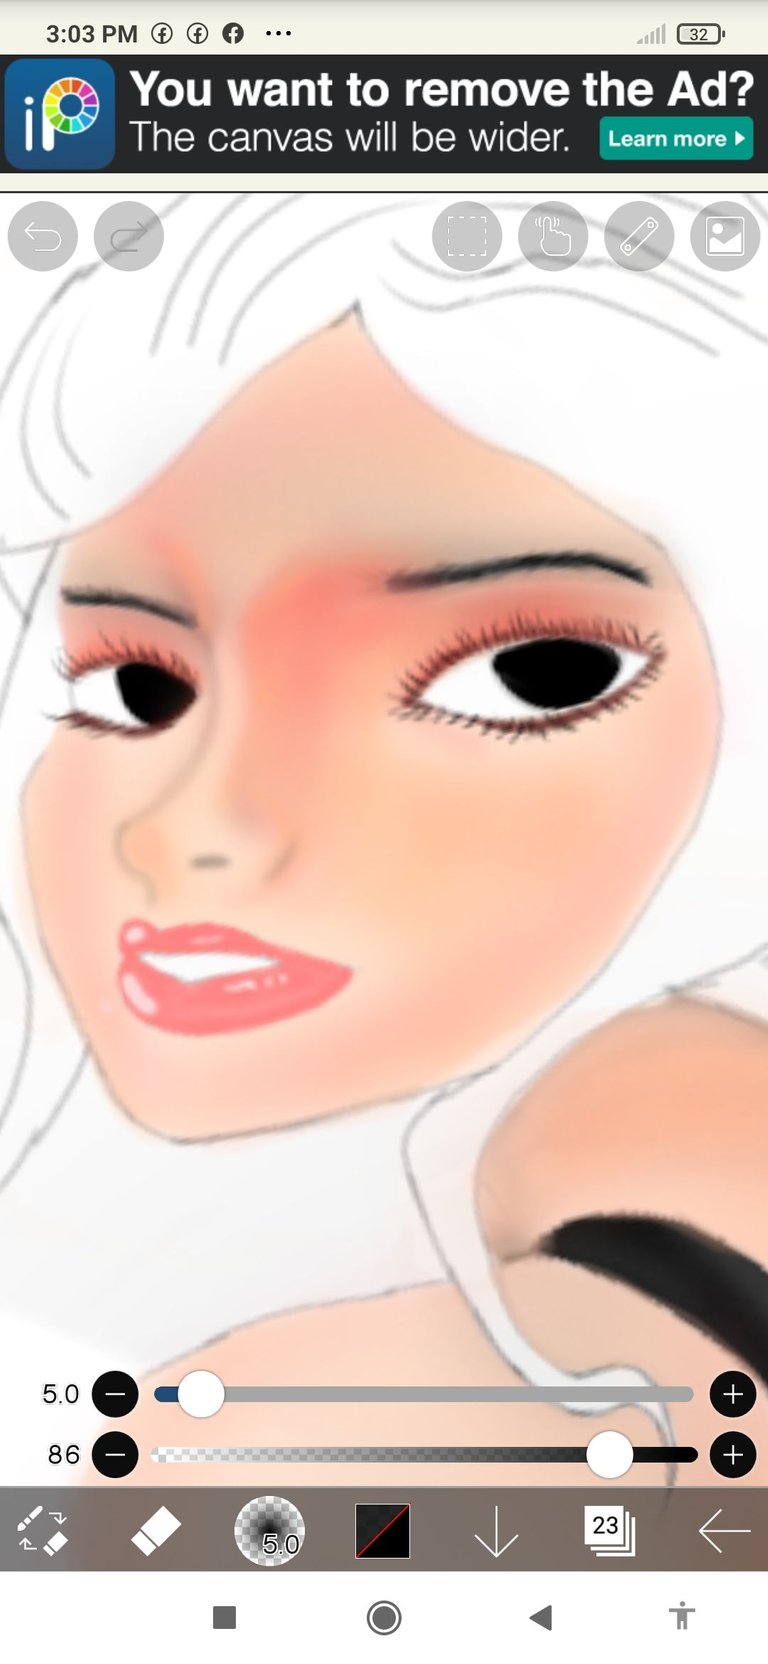
Eight step i color the details in the face
 |  |  |
|---|
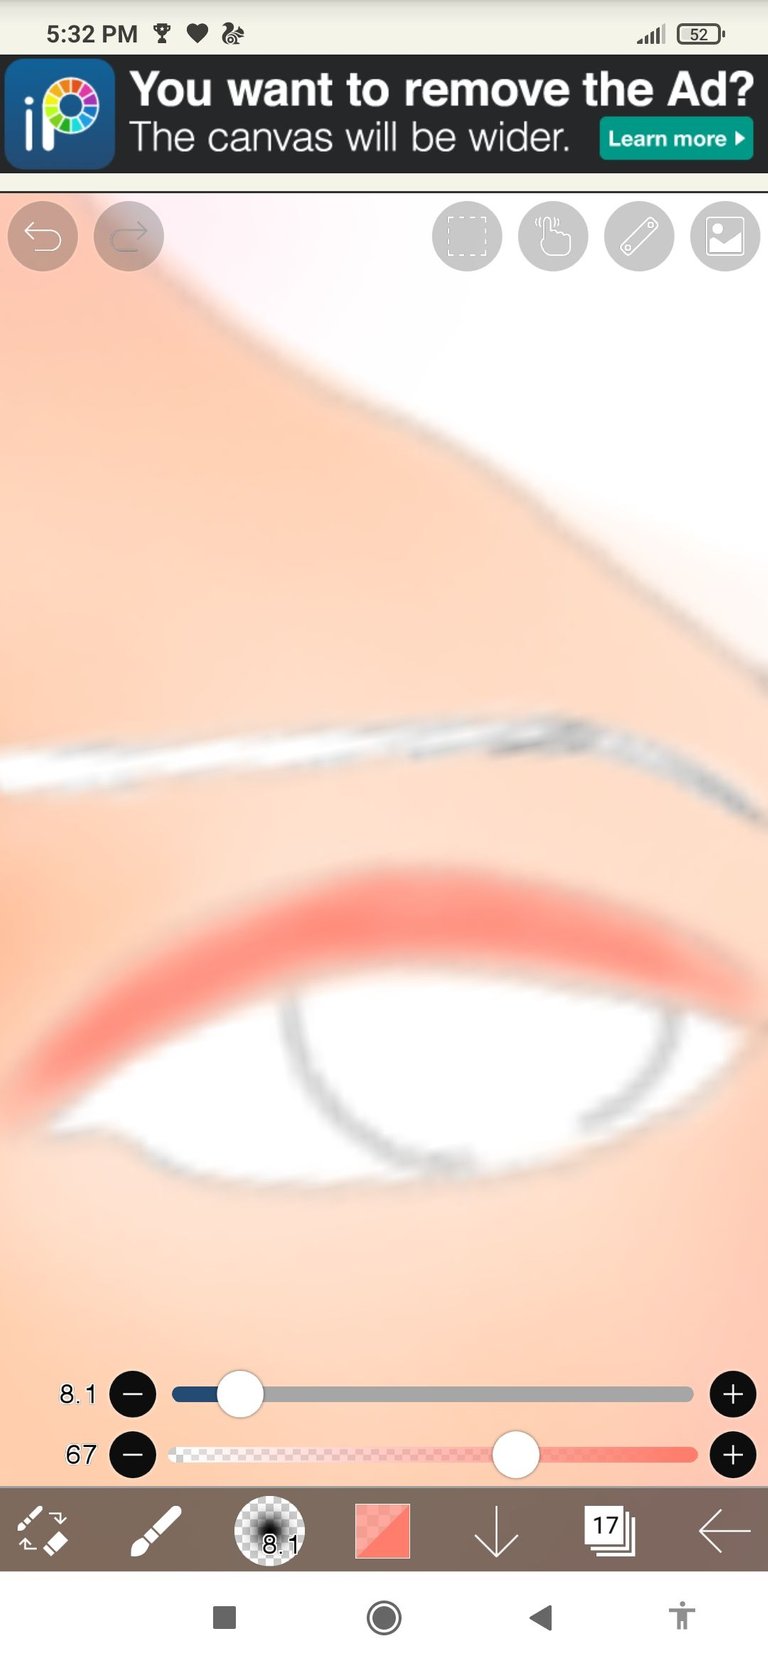
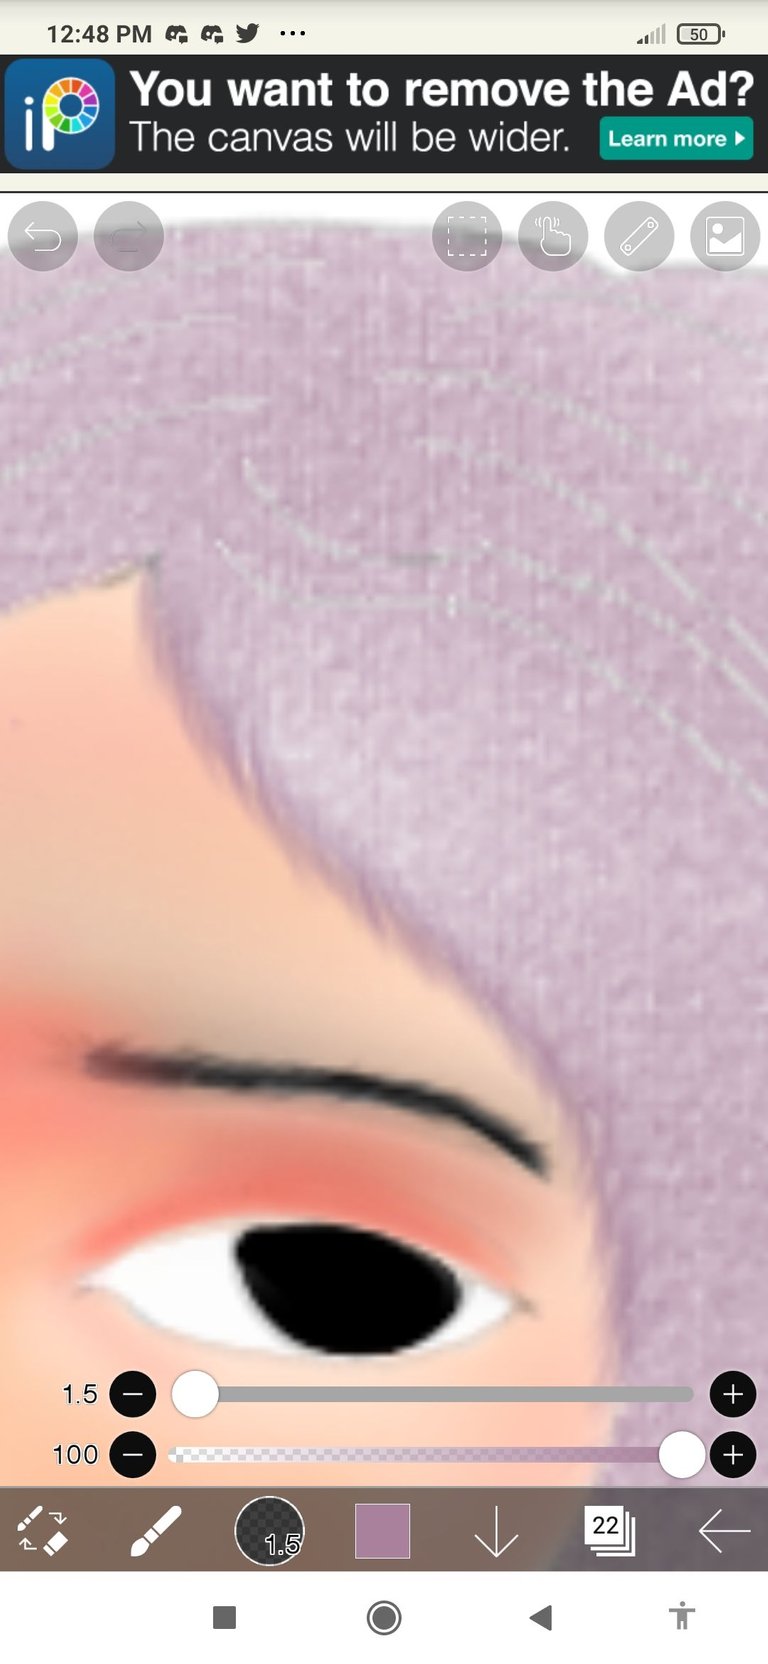
Nine step i color the eyes and the details like eyebrows and eyelashes and i also color the lips i use to color the eyes and the other details with dip pen
 |  |
|---|
Tenth step the coloring of the hair
 |  |  |
|---|
Eleventh step is coloring the details of the hair i use 3 brushes to put the details in the hair airbrush normal hair pen and hair light pen

BACKGROUND PROCEDURE
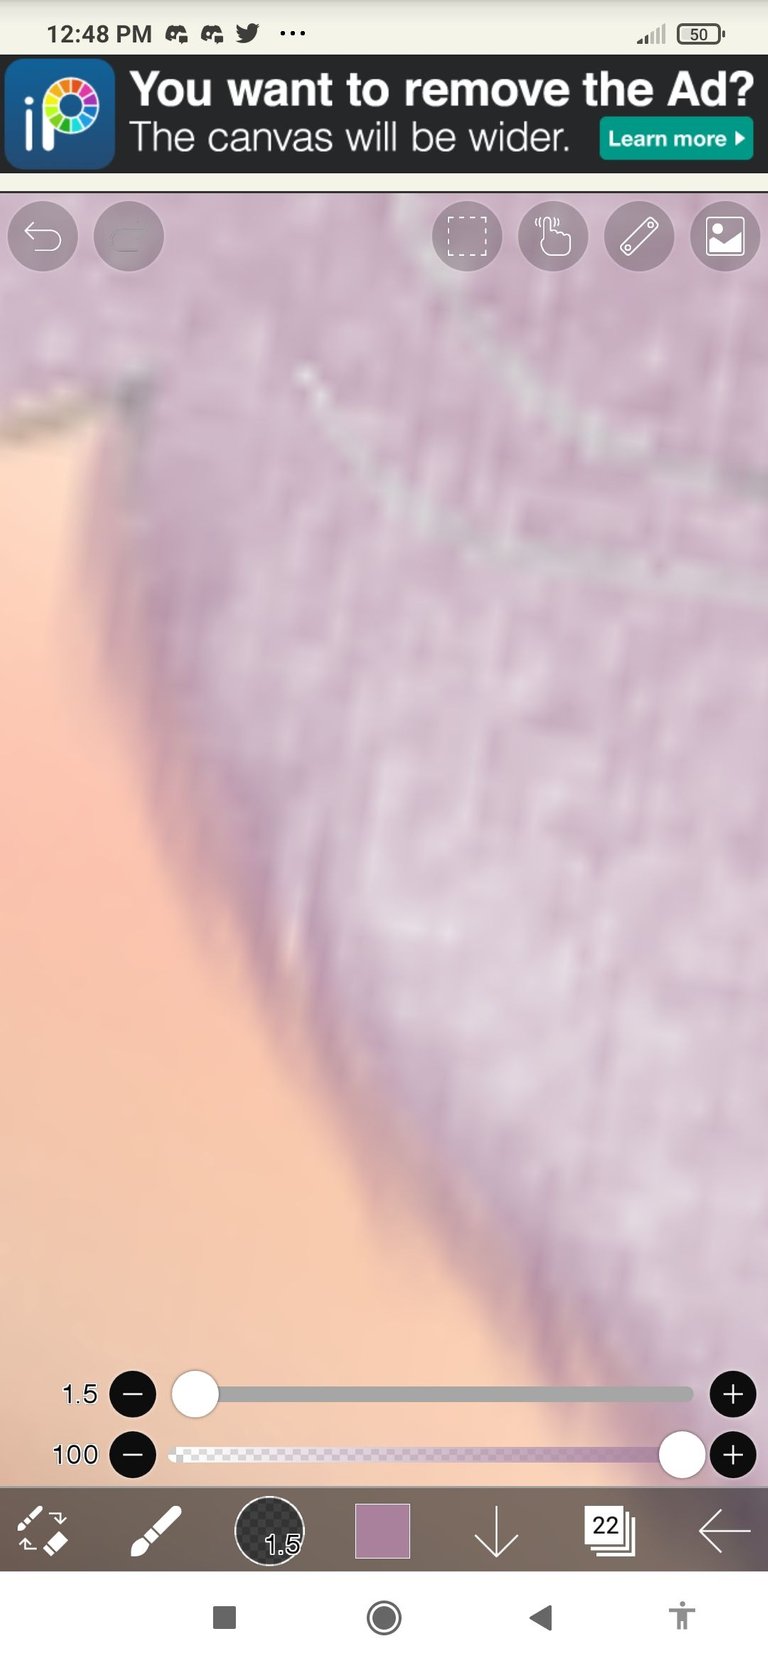
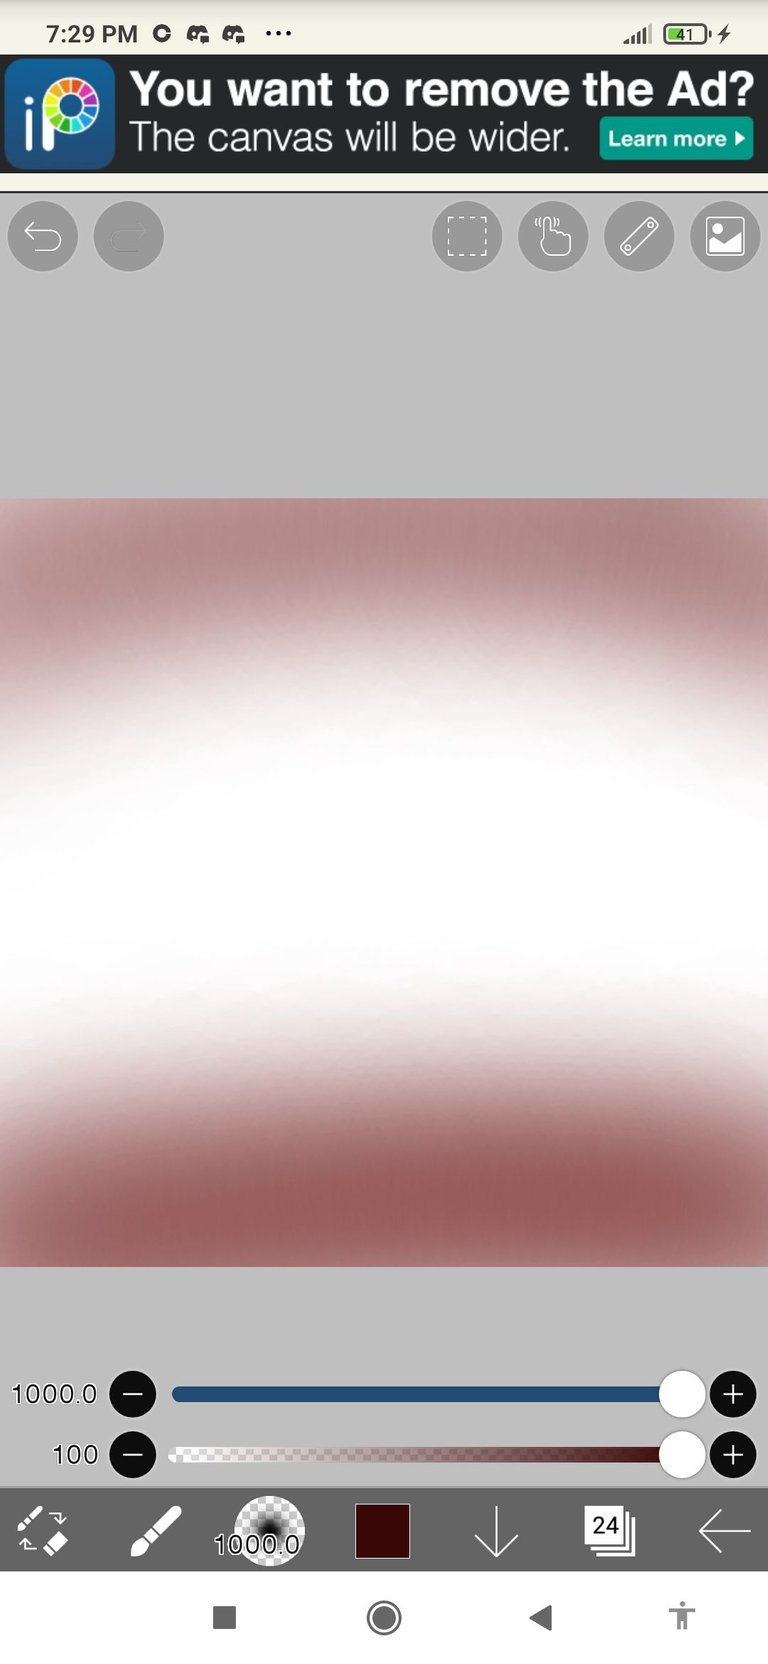
Twelfth step is the back ground i use 3 colours in the background dark red black and red i use airbrush normal
 |  |  |
|---|
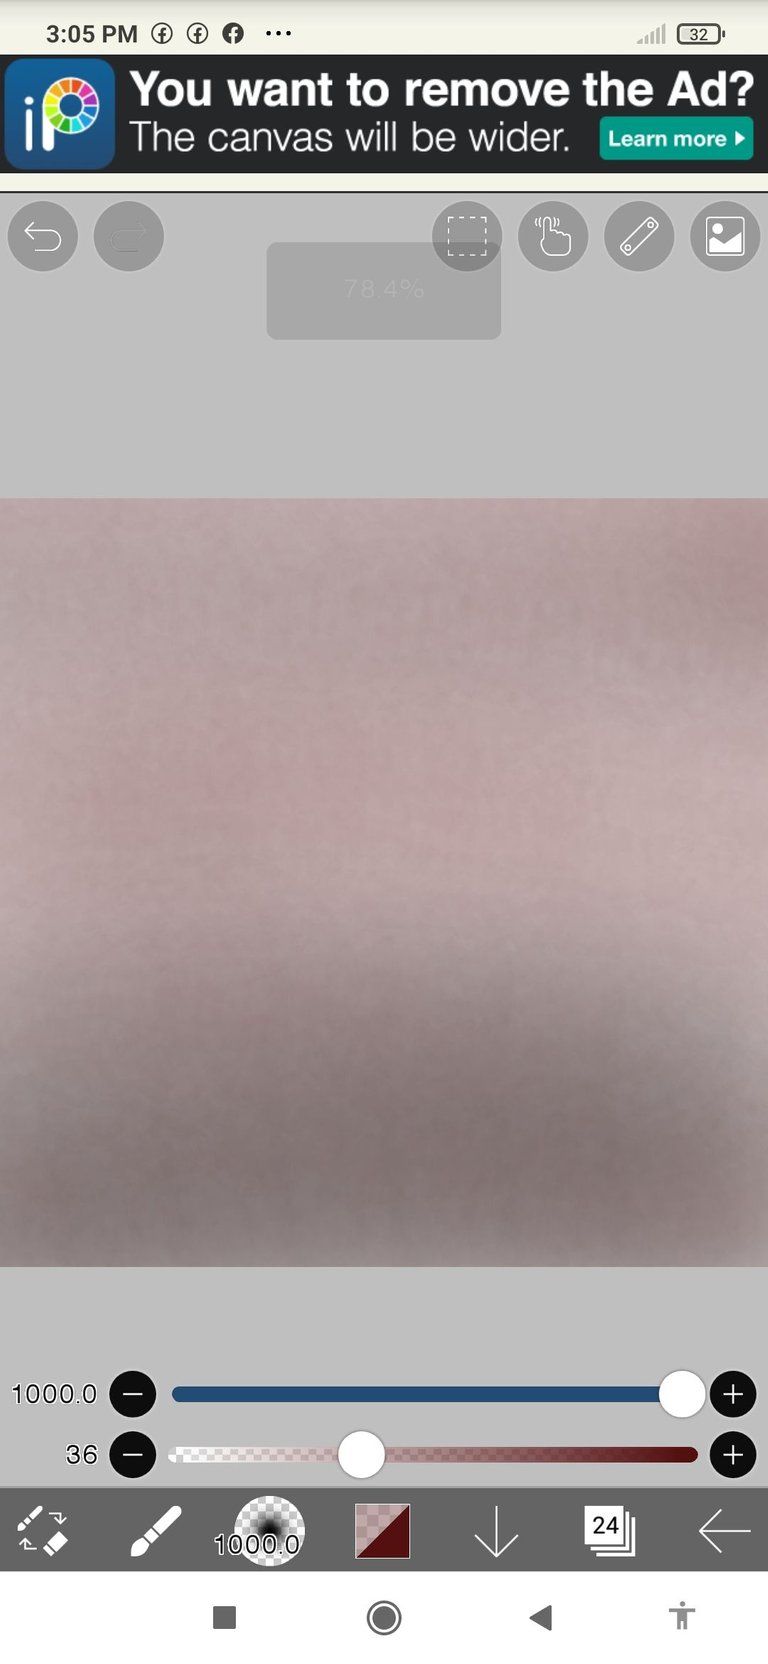
And in the last step i use smudge to color the red in the background and and polyline pen in the thunder details my used layers in this art is 26
This is how i done my fan art
And if you reach this point Thank you for reading and supporting me guys 👍👊 salute to you all 👊
!PIZZA
Thanks bro 👊
PIZZA Holders sent $PIZZA tips in this post's comments:
@shikiphantom(4/10) tipped @sanabwenas (x1)
Please vote for pizza.witness!
Thanks for sharing! - castleberry#6859

Thank you 🥰